Spellbinders November 2021 Clear Stamp + Die of the Month Club

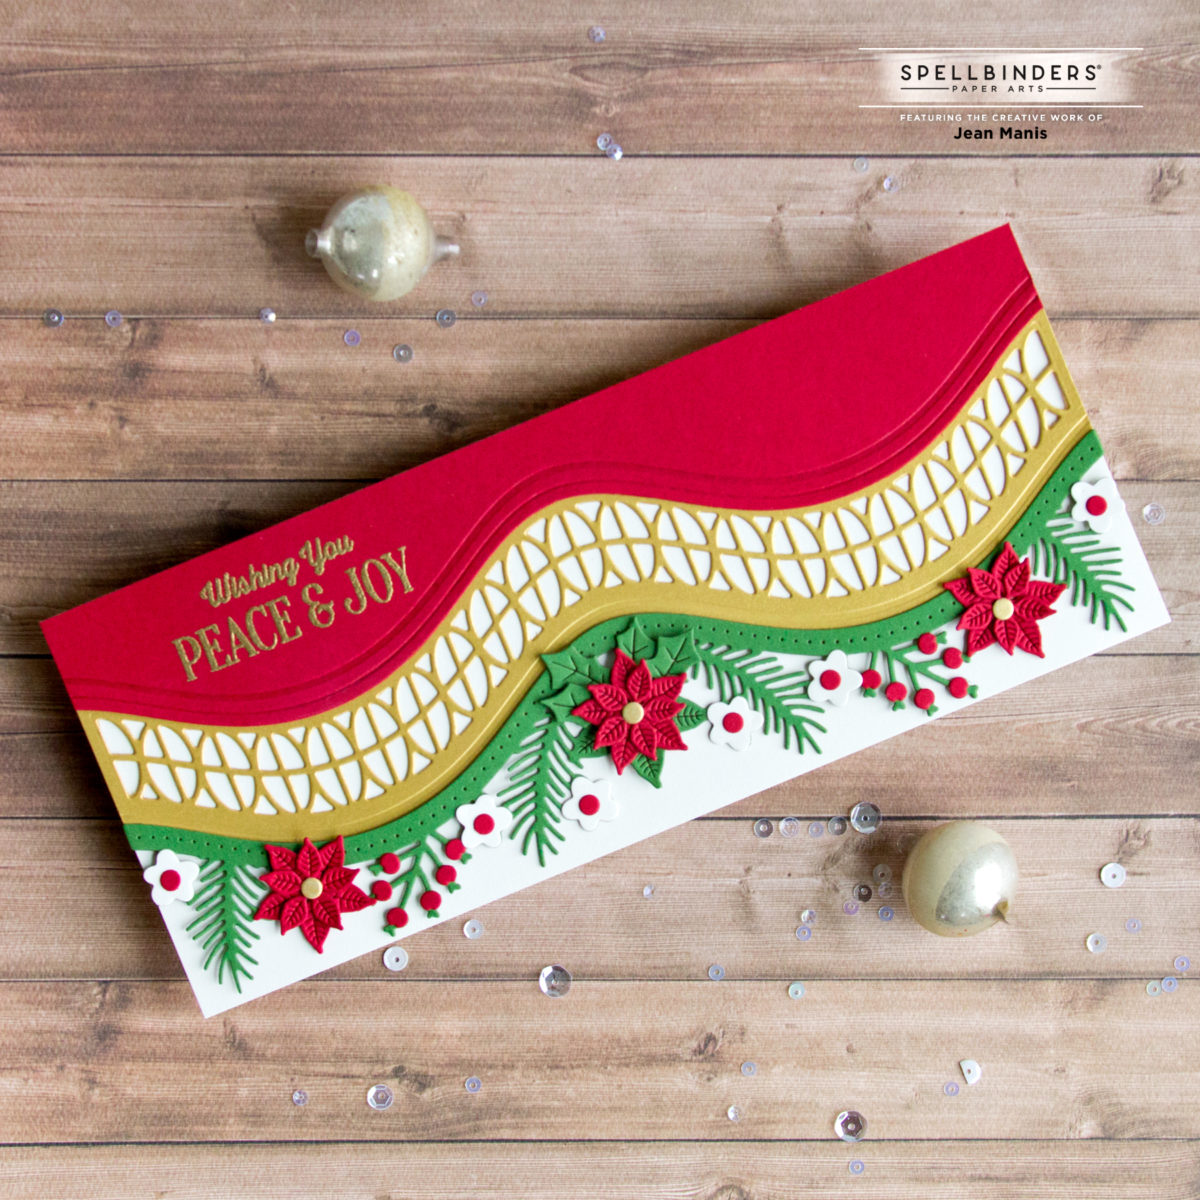
Hello crafty friends! Today, I’m sharing a holiday card created with the Spellbinders November 2021 Clear Stamp & Die of the Month Club – “Around The Holidays.” Read more about this club here.
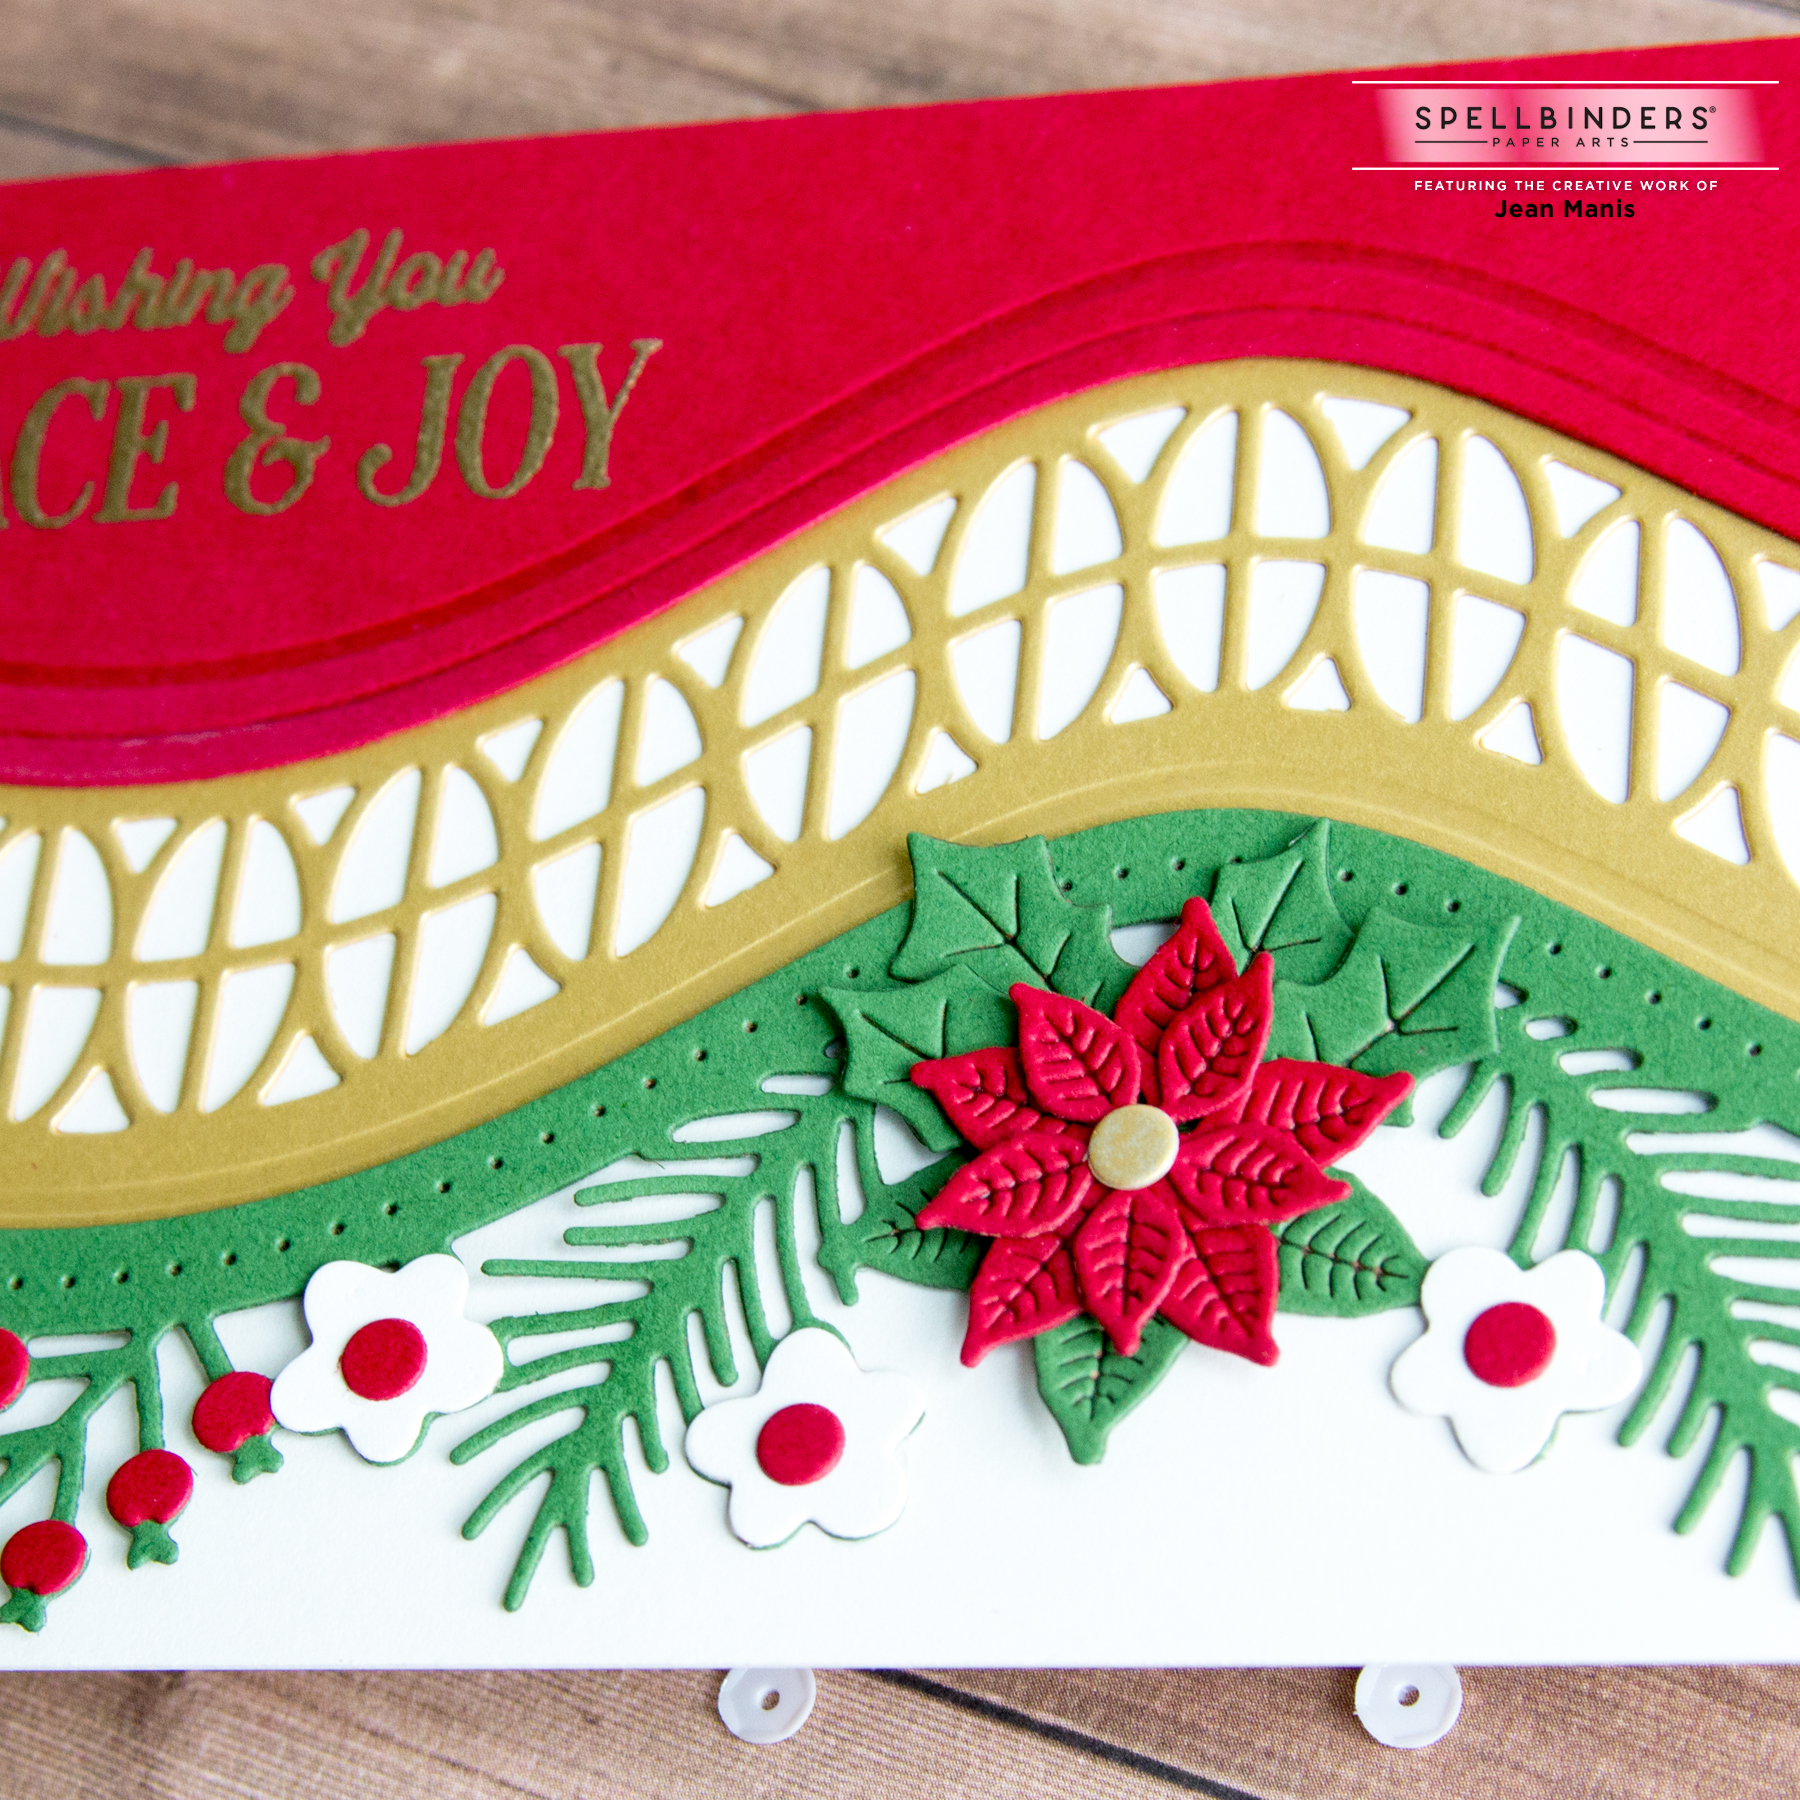
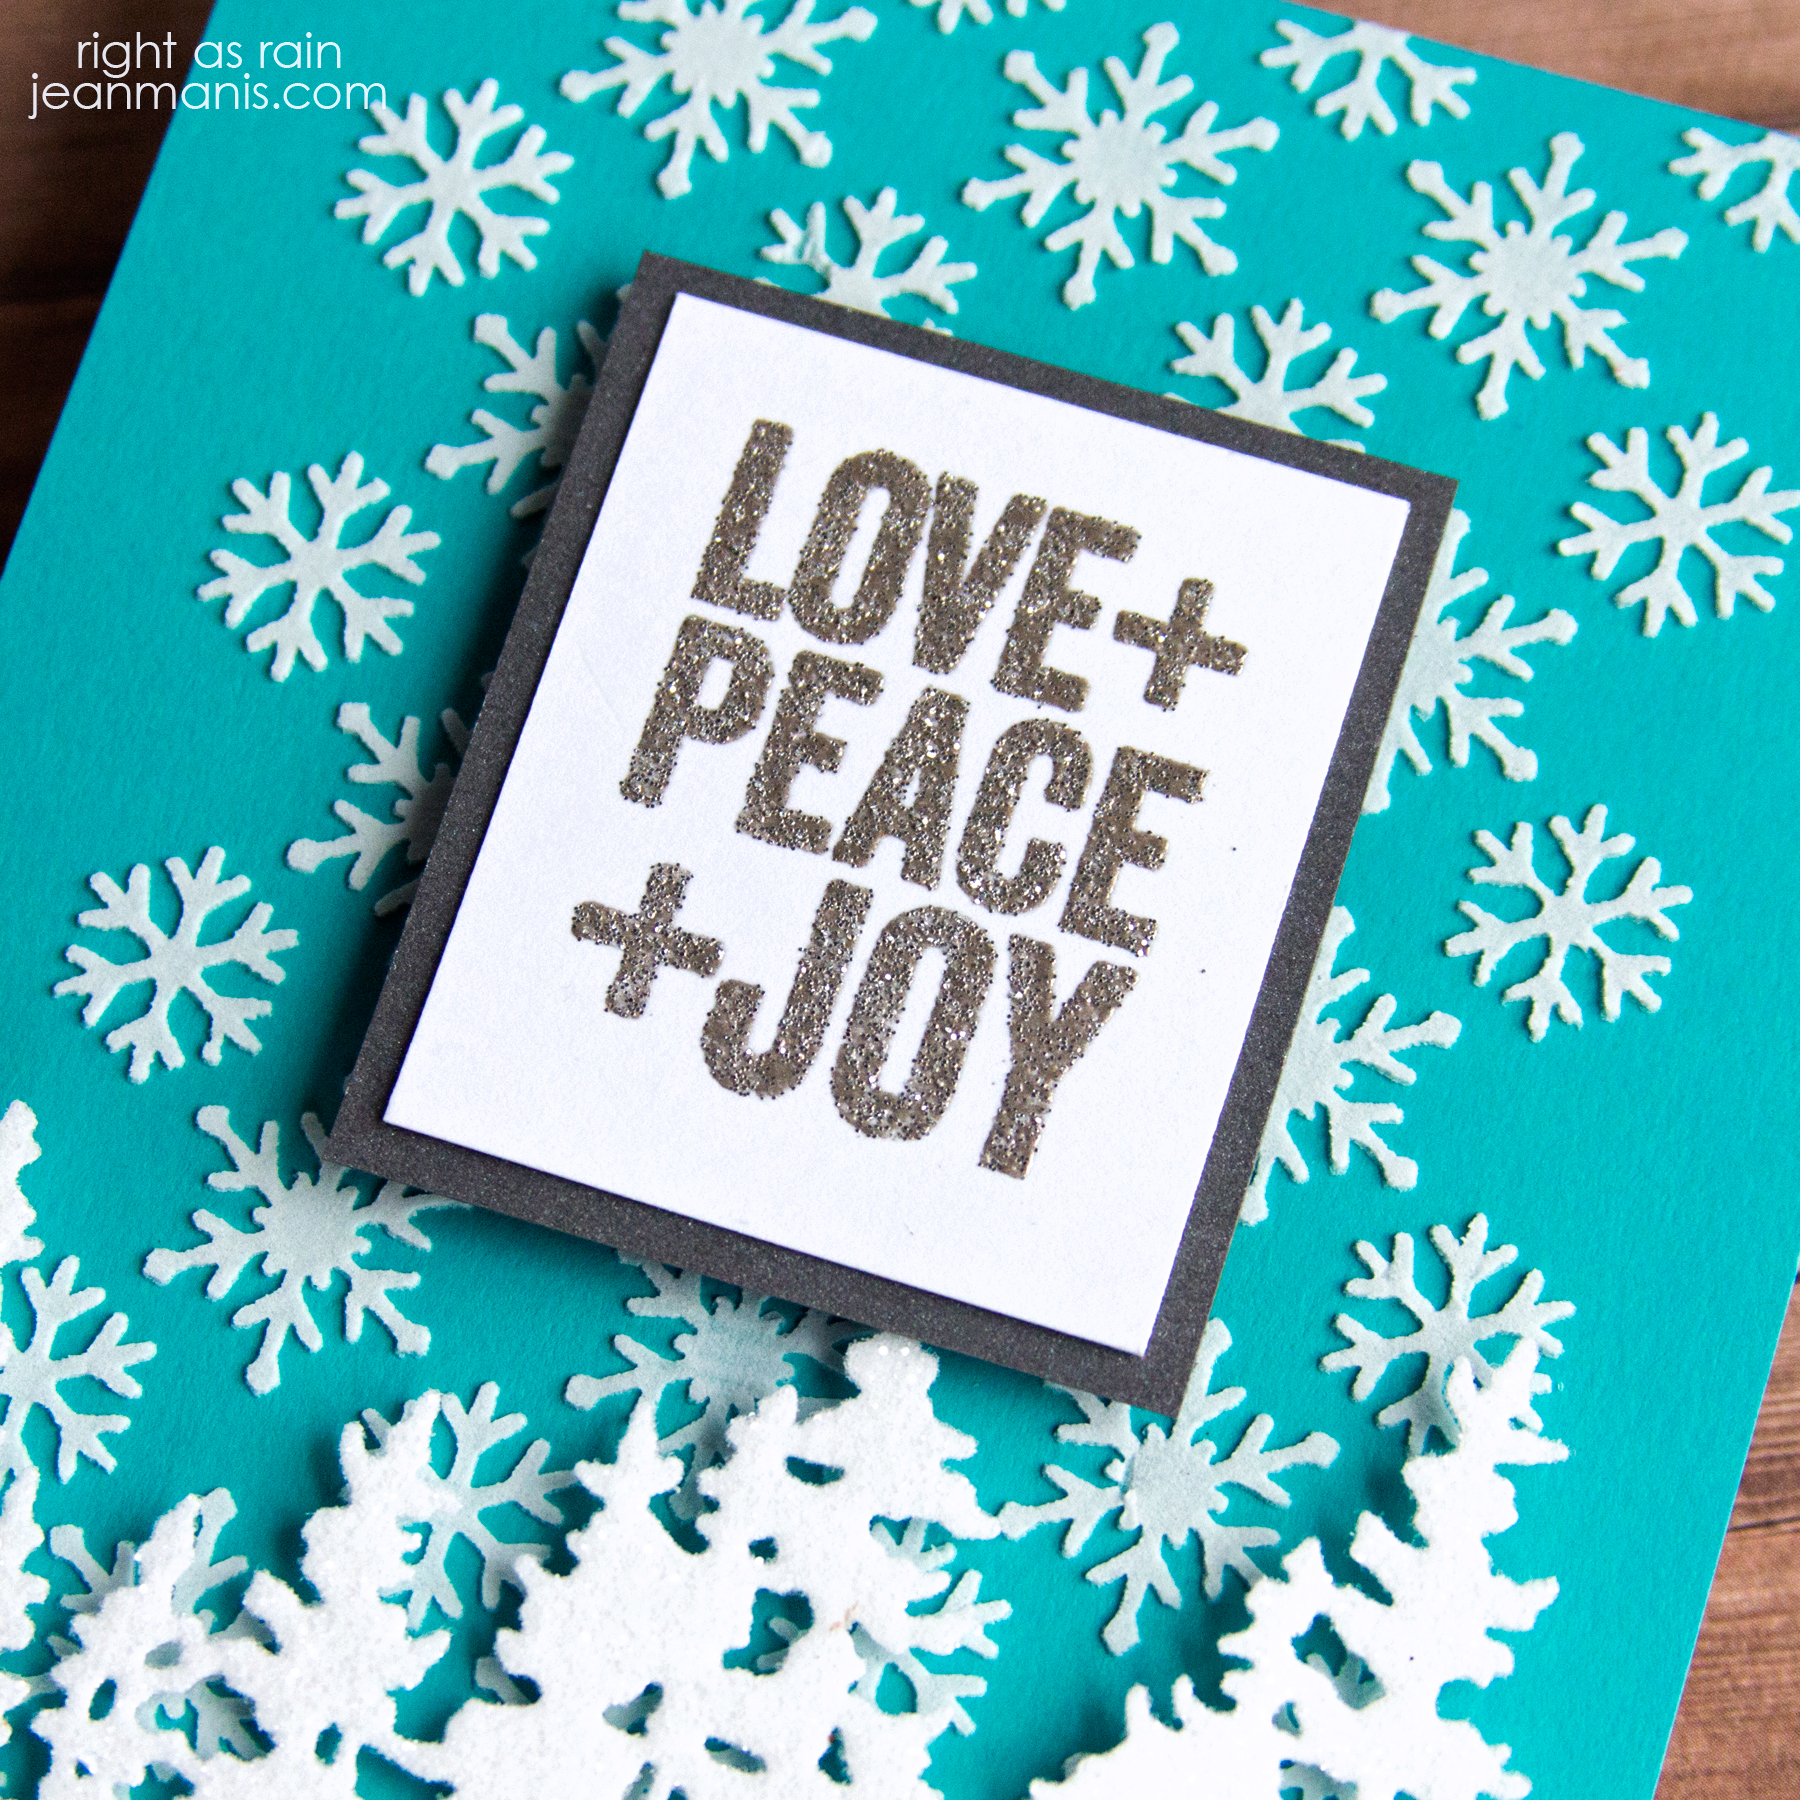
Spellbinders November 2021 Clear Stamp + Die of the Month Club

Spellbinders November 2021 Clear Stamp + Die of the Month Club

Spellbinders November 2021 Clear Stamp + Die of the Month Club


Spellbinders November 2021 Large Die Kit Club

Hello crafty friends! Happy November! I’m delighted to share a slimline holiday card created with the Spellbinders November 2021 Large Die of the Month “Christmas Foliage Strip & Borders.” This jam-packed set includes 13 dies with which to create elegant and distinctive slimline cards. (Find out more about this set here.) The border dies in the set mix-and-match; I have paired three on my card, which I crafted from traditional Christmas colors.

Spellbinders November 2021 Large Die Kit Club

Spellbinders November 2021 Large Die Kit Club

  • With one of the Large Die of the Month border dies, I cut the top piece from red cardstock, trimmed to 8 1/2 inches long, and heat-embossed the Christmas Time Sentiments sentiment.
  • I die-cut the center section from Brushed Gold cardstock and adhered it to the red cardstock.
  • I die-cut the floral border (Noble Fir cardstock) and additional elements.
  • I adhered the elements to the floral border before adding the assembly to the red and gold piece.
  • I added the entire assembly to an off-white, slimline-sized cardstock base.

Spellbinders November 2021 Large Die Kit Club

There are a number of possible variations with these dies! While I chose  traditional Christmas colors, I am envisioning another version in a palette of white and silver, for example. Additionally, the borders can be run vertically for an entirely different look.


Tim Holtz Bold Tidings Mini

Hello! Today, I am sharing a CAS Christmas card created with Tim Holtz supplies that combines my favorite techniques: stenciling, die-cutting, and heat-embossing.

Tim Holtz Bold Tidings Mini

  • I applied white embossing paste through the Flurries stencil on an A2 teal card base.
  • I heat-embossed the Bold Tidings Mini sentiment with Wow silver glitter powder on white cardstock. I trimmed the sentiment and backed it with a silver cardstock mat.
  • I die-cut the Tree Line from white cardstock to which I had applied double-sided sheet adhesive. I added Clear Rock Candy glitter to the exposed trees. I like using Clear Rock Candy glitter as it does not have an undertone (some premade glitter sheets are blueish, yellowish, or pinkish).
  • Once the background was dry, I added the trees and the sentiment panel with foam adhesive.

Tim Holtz Bold Tidings Mini


Rubbernecker – Cabin in the Woods

Hello! Today I am sharing a Christmas, winter-themed card created with Rubbernecker supplies.

Rubbernecker - Cabin in the Woods

  • I heat-embossed the Snowmen with Presents sentiment in white on dark blue cardstock. After masking the sentiment, I added white embossing paste through a Carta Bella snow stencil and set the panel aside to dry.
  • I die-cut the Pine Tree Forest and Deckle Frame from white cardstock.
  • I trimmed the Pine Tree Forest to fit behind the Deckle Frame. Once the stenciled background was dry, I adhered the forest and frame to the background.
  • I added the assembly to a light gray card base.
  • I die-cut the Cabin from a variety of cardstock colors and assembled the pieces. The small trees, snow on the chimney, and roof were cut from Doodlebugs Lily White glitter cardstock. I added the assembled cabin and trees to the scene with foam adhesive.

Rubbernecker - Cabin in the Woods


Penny Back – Snowfall and Serenity

Hello! Today I am sharing a quick-to-make Christmas card created with Penny Black supplies from the Home for Christmas release. I chose colors to coordinate with the 50-001 Pinecones and Peace panel.

Penny Back - Snowfall and Serenity

Penny Back - Snowfall and Serenity