Coffee-themed Winter Wishes

Hello! While visiting my blog archive for my post on cardmaking with the hot beverage theme, I decided to do a mash-up of two of the cards shown HERE and HERE. I eagerly delved into my supplies, reigniting my passion for crafting with these products.

Coffee-themed Winter Wishes

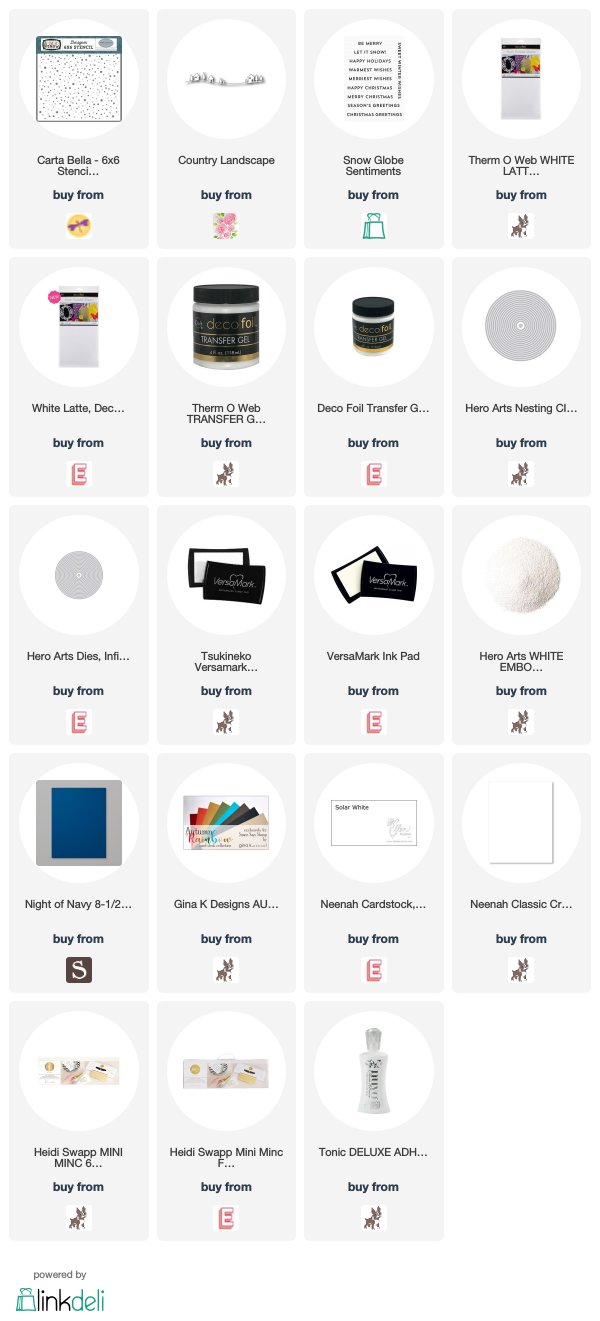
To create the card, I used a number of now retired supplies. I’m calling this a “Shop Your Stash” post! I know there are a lot of shiny new products out there that I could easily buy. It is more of a challenge to use what I already own. The retired supplies are listed at the bottom. I have emboldened supplies that are currently available and included them in the LinkDeli list.

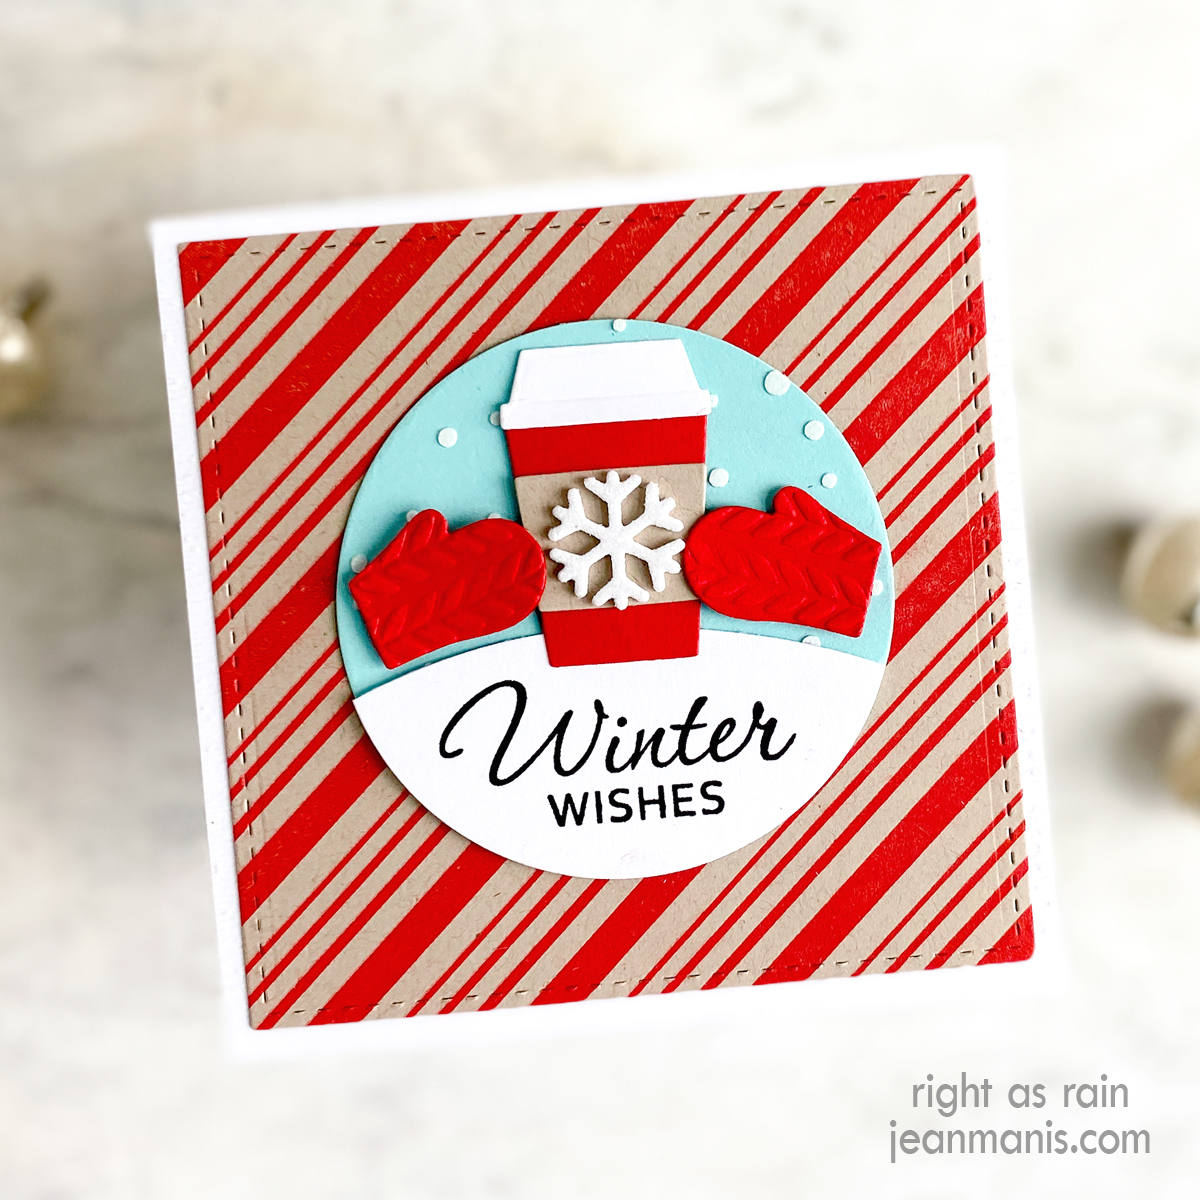
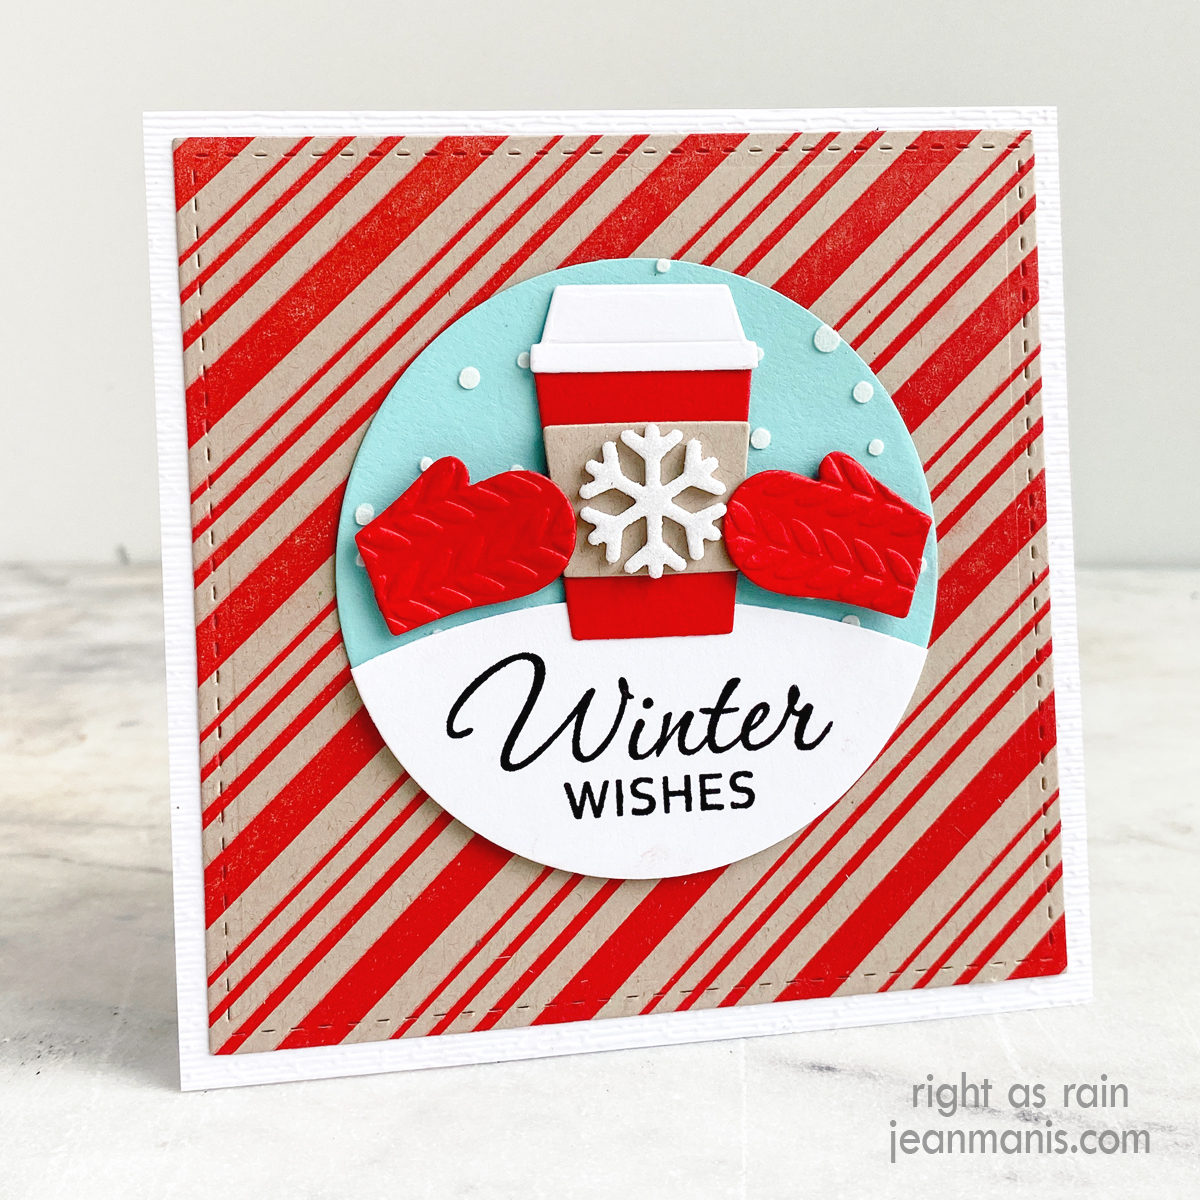
    • Dry emboss a white cardstock square (4 1/2″) with a folder for subtle texture. (Note: I used the now-retired SU Subtle Dynamic Textured Impressions folder. The shim required is the base platform, the folder with the cardstock inside, and one cutting plate.) Add to card base.
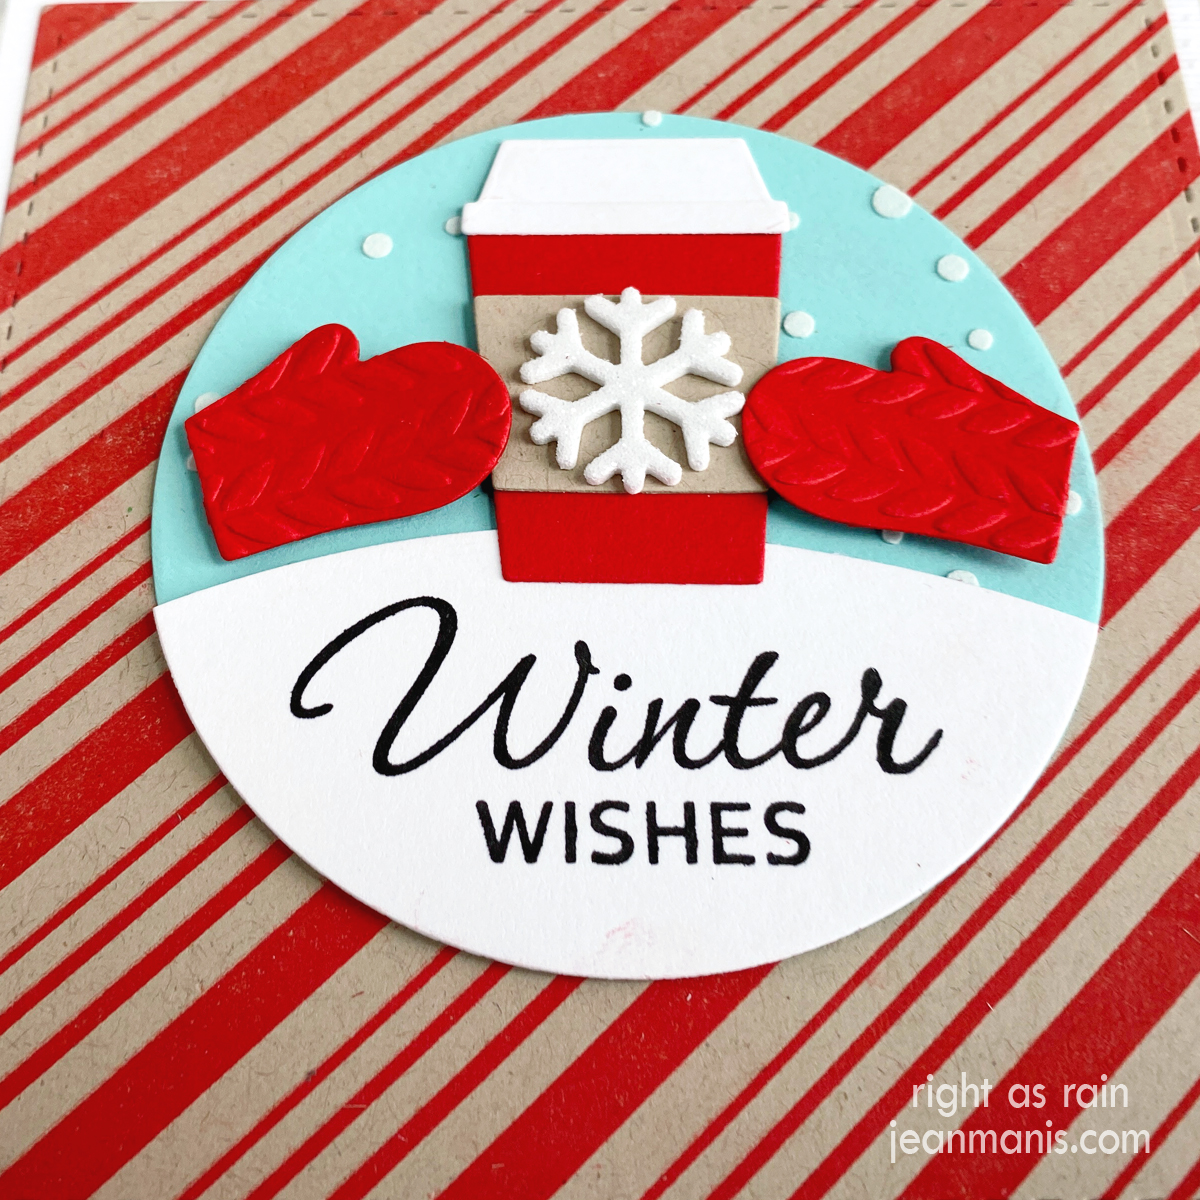
    • Stamp Lawn Fawn Kraft cardstock with the Hero Arts Candy Stripe Bold Prints background stamp in red pigment ink. Once dry, cut with the Lil’ Inker 4 1/4″ stitched square. Add to card base.
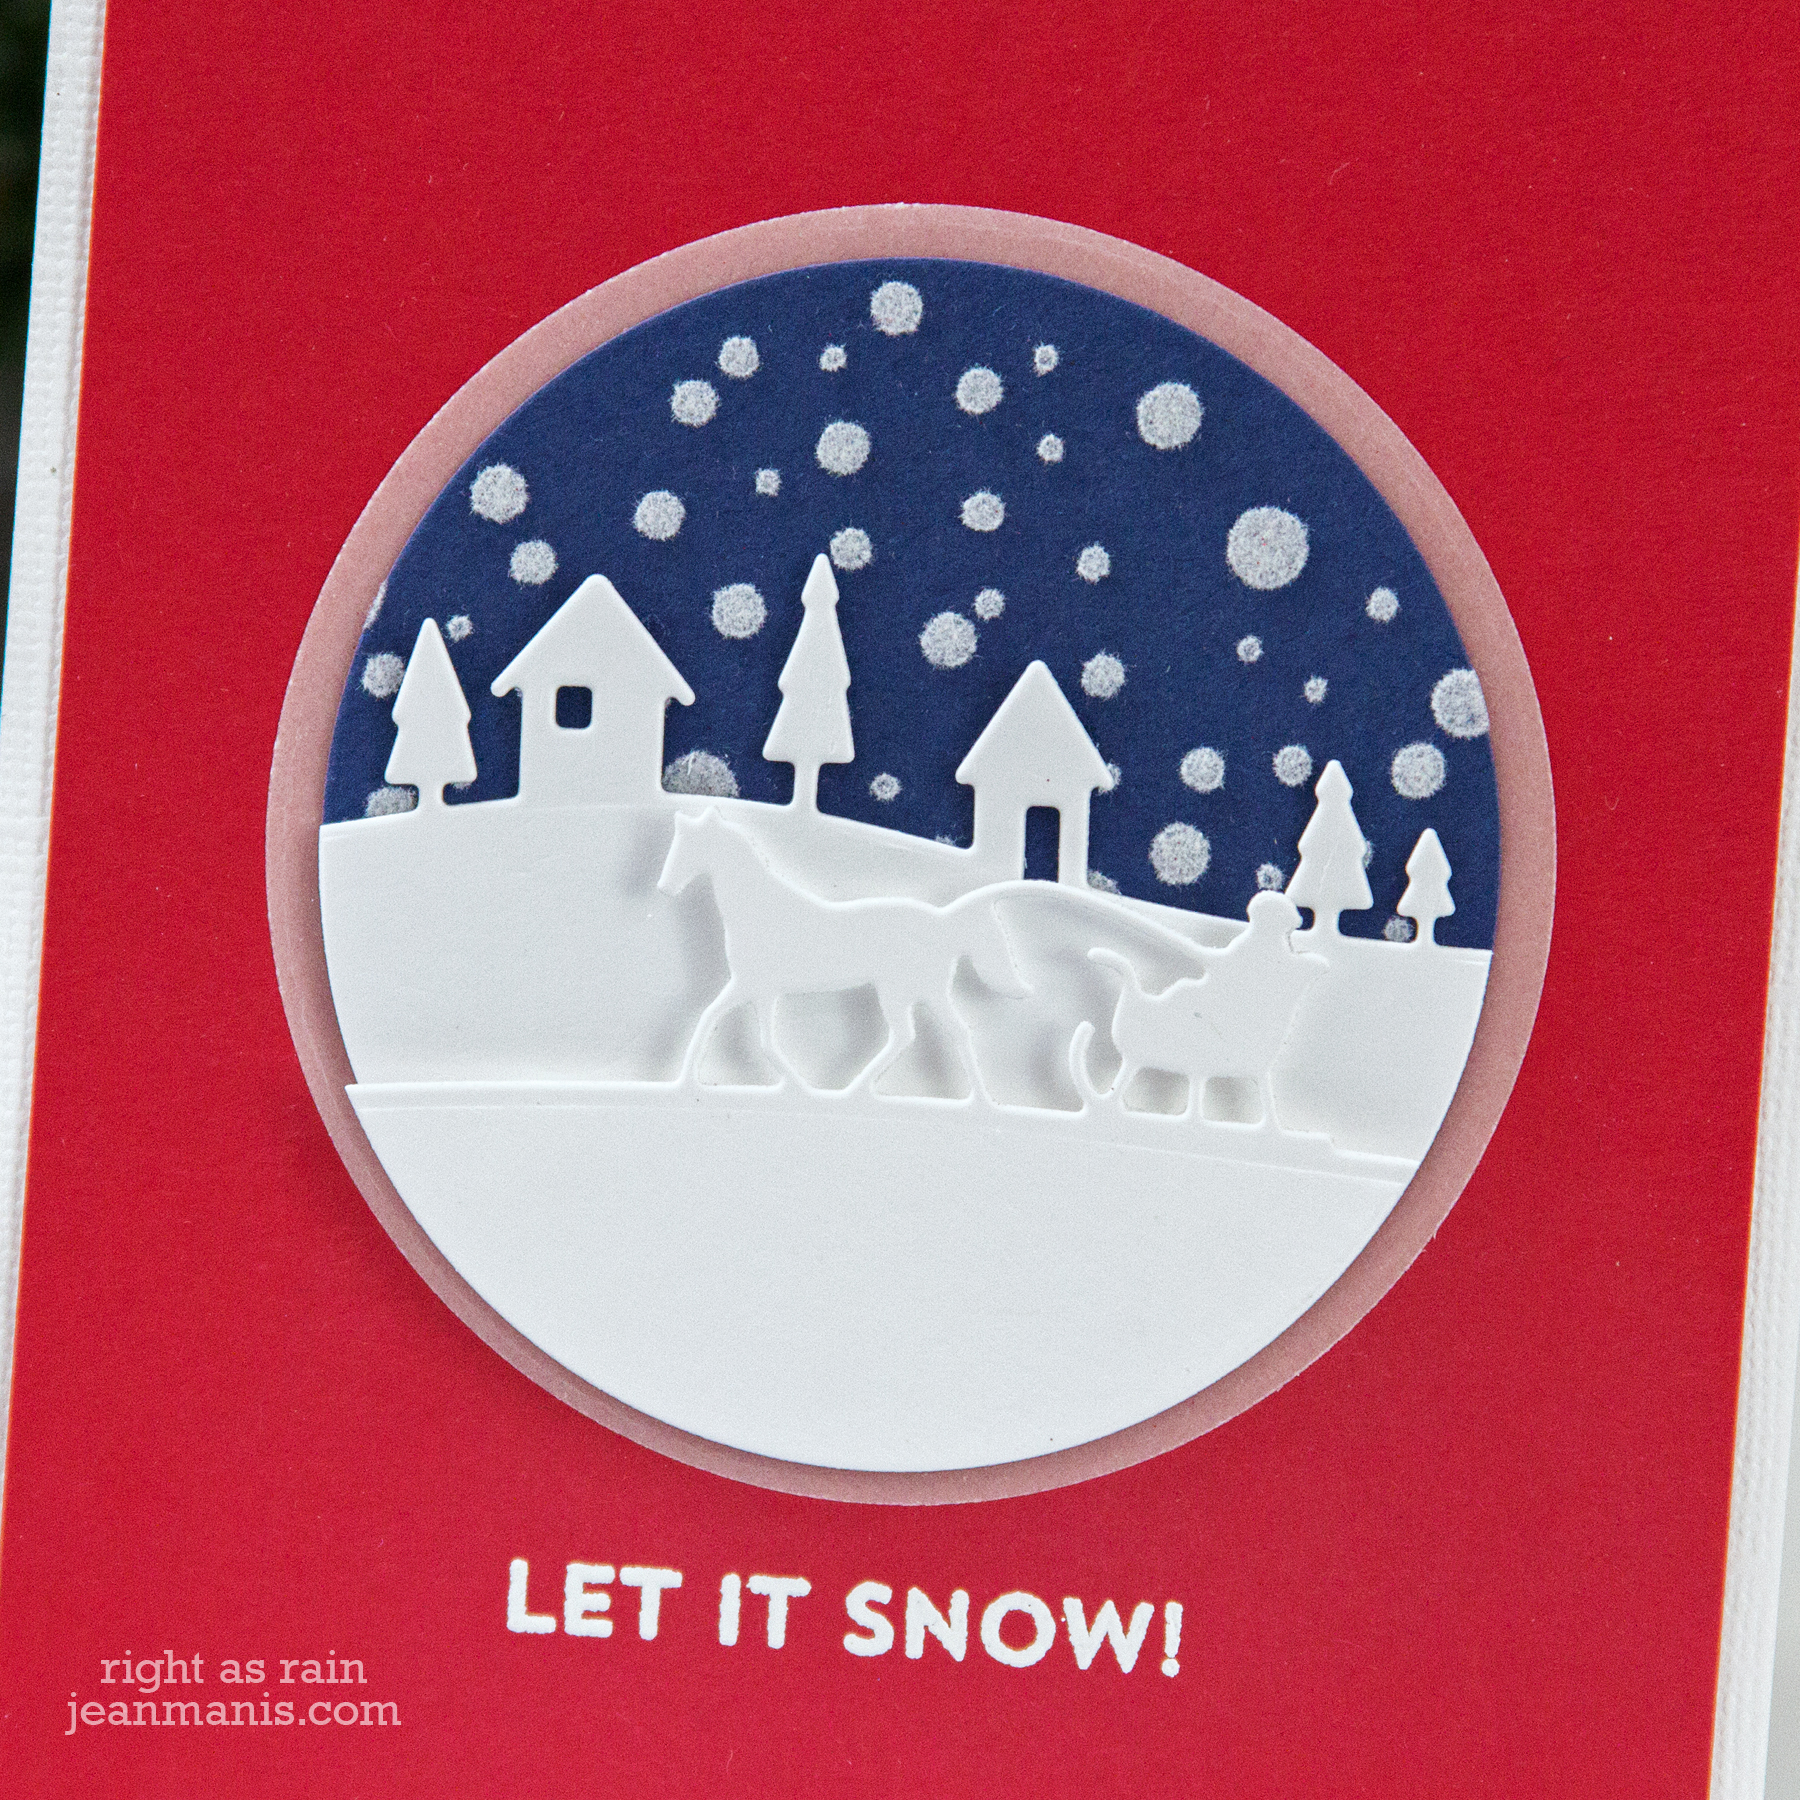
    • Cut a 3″ circle from Waterfall cardstock and add white embossing paste through the Snowy Sky stencil. Set aside to dry.
    • Stamp Hero Arts Winter Wishes sentiment in black on white cardstock. Cut with the 3″ circle die and again with a die in the MFT Snow Drifts set. (I bought this set of hills in November 2012; the set was one of my first ever die purchases.) Add sentiment hill to the stenciled circle and add assembly to the card.
    • Cut mittens with dies in the My Favorite Things Warm & Fuzzy set from red cardstock and dry-emboss with the Taylored Expressions Cable Knit embossing folder. Cut to-go coffee cup with dies in the Mini Café All Day set. Assemble and accessorize with a snowflake cut with a Mini Snowflakes die from white glitter foam. Add cup and mittens to card.

Coffee-themed Winter Wishes

Retired Supplies: My Favorite Things Warm & Fuzzy; My Favorite Things Snow Drifts; Lil’ Inker 4 1/4″ stitched square; Hero Arts Candy Stripe Bold Prints; Taylored Expressions Cable Knit embossing folder; Colorbox red pigment ink; Hero Arts Winter Wishes; SU Subtle Dynamic Textured Impressions embossing folder


Nautical-themed Die-cut Card

Hello (or should I say ahoy?)! I am always enthusiastic about crafting anything nautical-themed. I’ve been interested in all things nautical my entire life, even though I didn’t spend my childhood anywhere near the water.

Today’s card features the Memory Box Marina Sailboats. I chose a favorite color scheme of red, white, and blue for the boats.

Nautical-themed Die-cut Card

  • I cut the sailboats from red (SU Real Red), white, and navy (SU Night of Navy) cardstock. I trimmed pieces in order to change the color of the hulls.
  • To create the background, I applied white embossing paste to SU Daffodil Delight cardstock through the MFT Radiating Rays stencil. I used Dreamweaver white embossing paste, which I can no longer find online. I’m looking for a replacement and welcome any suggestions!
  • I created the sentiment by cutting the letters twice, once in white and once in red (SU Real Red), with the Cole’s ABCs dies. I offset the letters when I adhered them.
  • I used the Lawn Fawn Ocean Wave Borders to cut the ocean from Memory Box cardstock. The wave die set includes three wave patterns (three different sizes of the waves); I used all three.

Nautical-themed Die-cut Card

SUPPLIES

Die-Cut Easter Bunnies

Hello! Today I am sharing an Easter card created with a Freshly Made Sketches Challenge sketch from last year. I was particularly fond of the sketch. You can see my original card using the sketch here.

Die-Cut Easter Bunnies

  • I die-cut the Poppystamps bunnies from yellow, pink, and blue cardstock.
  • I die-cut the now-retired MFT fence from white cardstock. I trimmed the fence to be the width of the three bunnies.
  • I cut the patterned paper pieces and adhered them to a card base on which I had printed Happy Easter on my computer printer.
  • I added yellow Taylored Expressions Enamel Dots in the upper-right corner.

Die-Cut Easter Bunnies

Supplies: SU Strawberry Slush cardstock (retired), Poppystamps Fuzzy Bunnies (retired), Poppystamps Bunny Buddies (retired)

The Stockings Were Hung

Hello! Today I am sharing a CAS Christmas card (the last of 2019) featuring the Elizabeth Craft Designs Hang the Christmas Stockings die set.
The Stockings Were Hung
Twas the night before Christmas, when all through the house
Not a creature was stirring, not even a mouse;
The stockings were hung by the chimney with care,
In hopes that St. Nicholas soon would be there.
  • I cut the stockings from silver, gold, and copper foil. The additional pieces (cuffs, toe, heel, overlay) were cut from white flock.
  • I assembled the stockings and added them to a patterned paper rectangle, on which I heat-embossed the Snow Globe Sentiments sentiment (most used Christmas sentiment set last year and this year!).
  • I added Kaiser Craft jewels to the stockings to simulate hangers/pegs. The card base was cut from gold brushed cardstock.

The Stockings Were Hung

Merry Christmas!

Supplies:

Dashing through the Snow

Hello! I have “Jingle Bells” running through my head, and I’m sharing a CAS Christmas card, depicting a one-horse open sleigh dashing through the woods, created with several older Memory Box dies.

Dashing through the Snow

  • I cut Night of Navy cardstock with a circle die and applied transfer gel through the Carta Bella snow stencil on to the circle. I set the circle aside to dry. I mentioned in this post that I wanted to try the flock with the snow stencil.
  • I cut a slightly larger circle from vellum.
  • I cut two white circles and then cut the circles with the Memory Box Horse Sleigh Landscape die and the Country Landscape border dies.
  • I heat-embossed the Snow Globe Sentiments sentiment on a dark red cardstock (Gina K) panel. I adhered the panel to a white linen-finish cardstock base.
  • I ran the stenciled panel through my Minc with white flock. I then assembled the circles, using foam adhesive for the sleigh portion.
  • I adhered the assembly to the card base.

Dashing through the Snow

For more inspiration using these same two Memory Box die sets, here’s a card from several years ago.

Supplies: