Summer of Creative Chemistry Week 4

This week the challenge at Summer of Creative Chemistry with Tim Holtz over at Online Card Classes is to create a tag, card, or other project using ARCHIVAL INK.

SummerOfCreativeChemistry-Participant

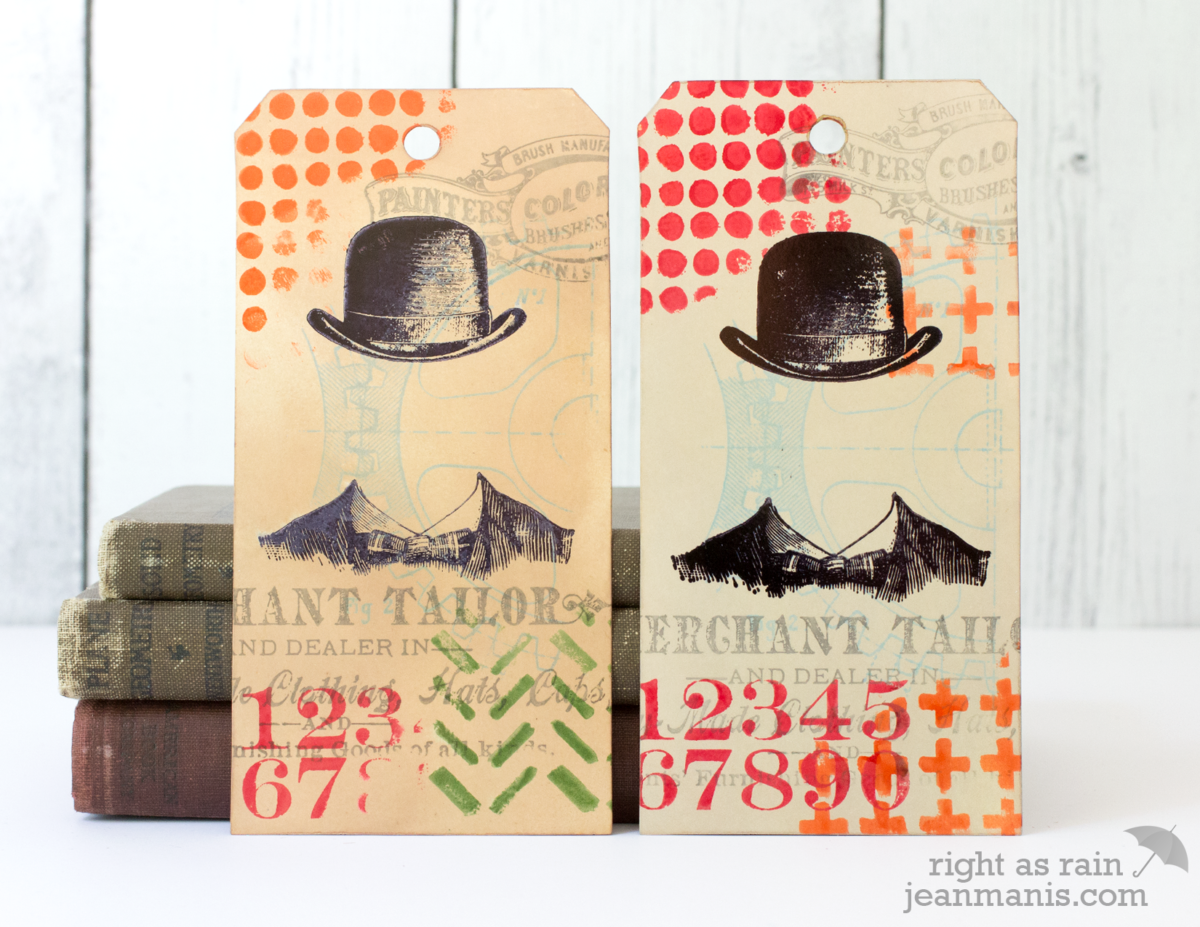
For the challenge, I created tags using the Dapper and Mixed Media 2 stamp sets with the Archival Resist technique. I stamped glossy cardstock with Archival inks and then applied Distress Inks to the background. Because of the difference in the properties of the two inks, the images stamped with Archival Ink resist the Distress Inks.

 Summer of Creative Chemistry with Tim Holtz

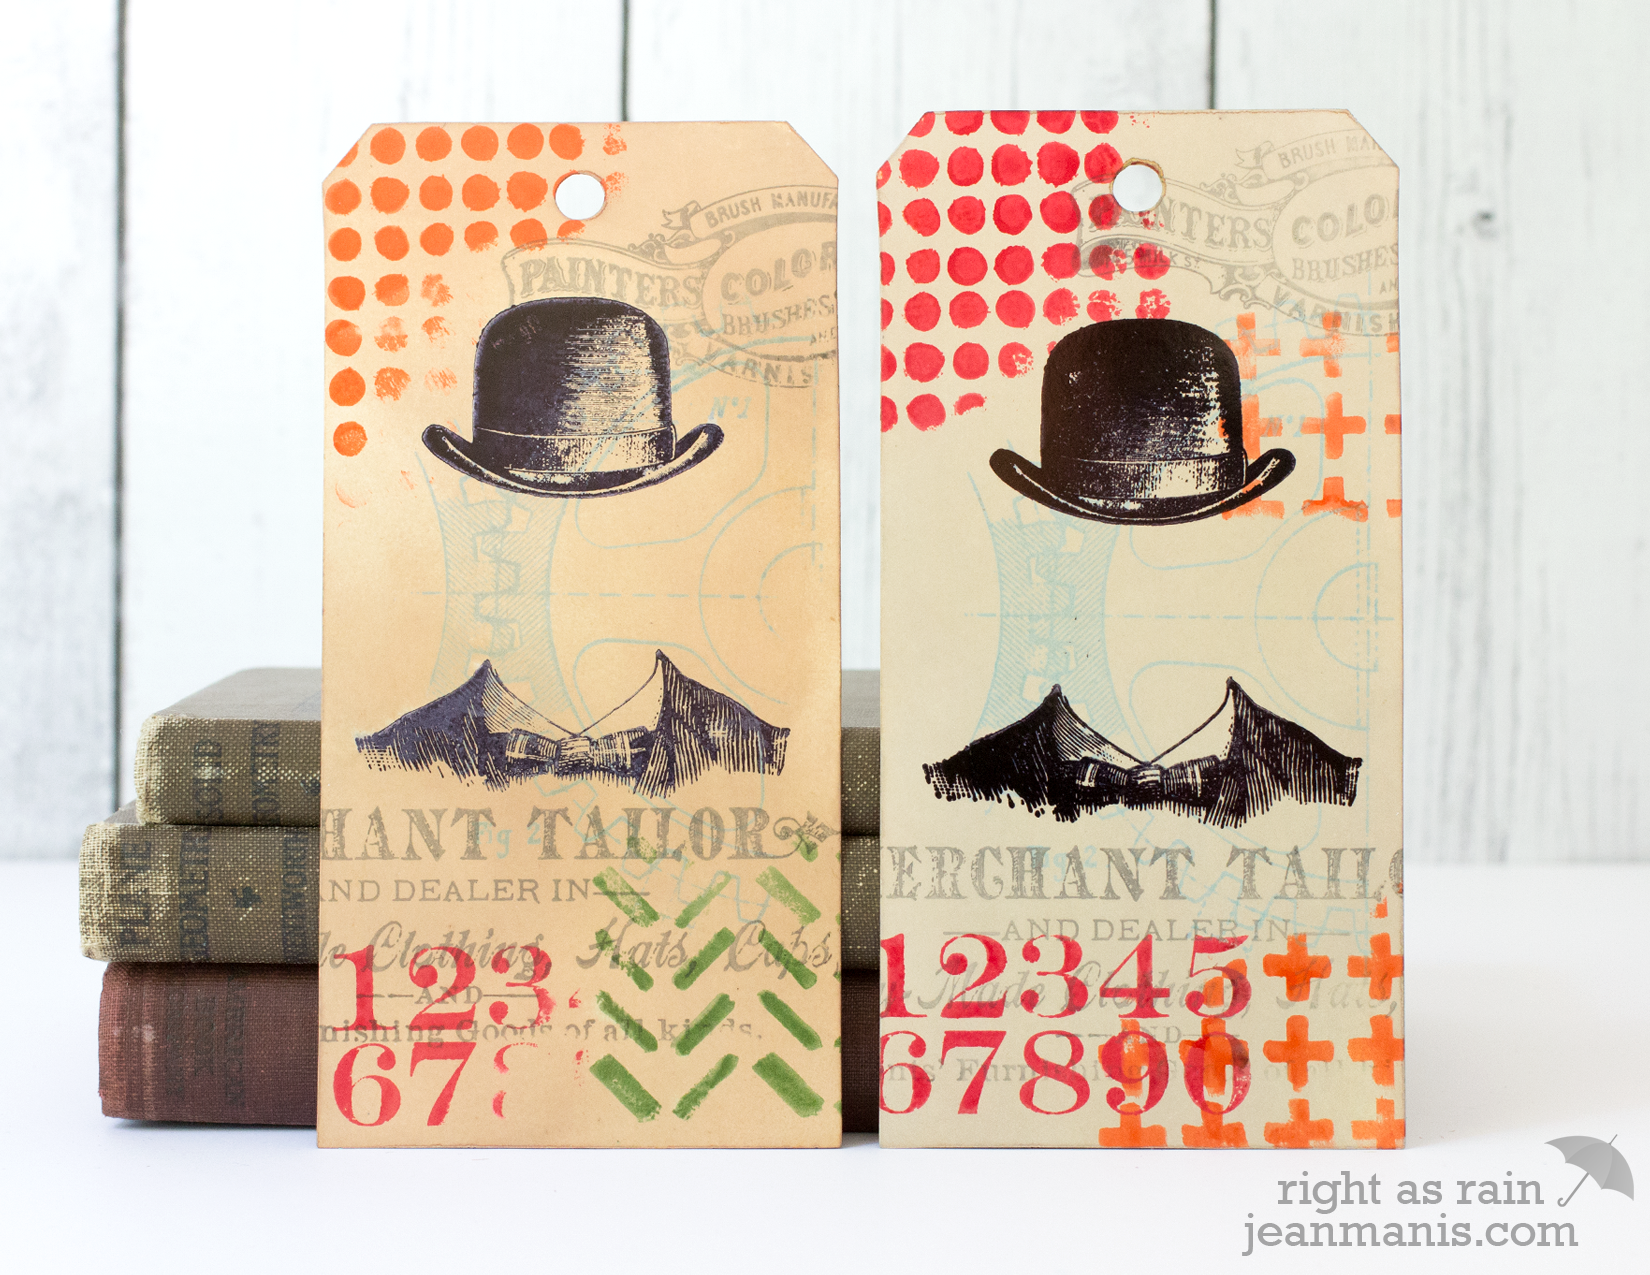
For the tag on the left, I stamped all of the images (including the hat and shoulders) before applying the Distress Inks. For the tag on the right, I stamped the hat/shoulders image after I colored the tag background, so it’s more prominent. I made at least five of these tags trying different images and colors.

I also revisited the Distress Powder Resist Technique from Day Seven of Creative Chemistry 101. I liked the tag and the technique but wasn’t entirely happy with the design.

Summer of Creative Chemistry with Tim Holtz

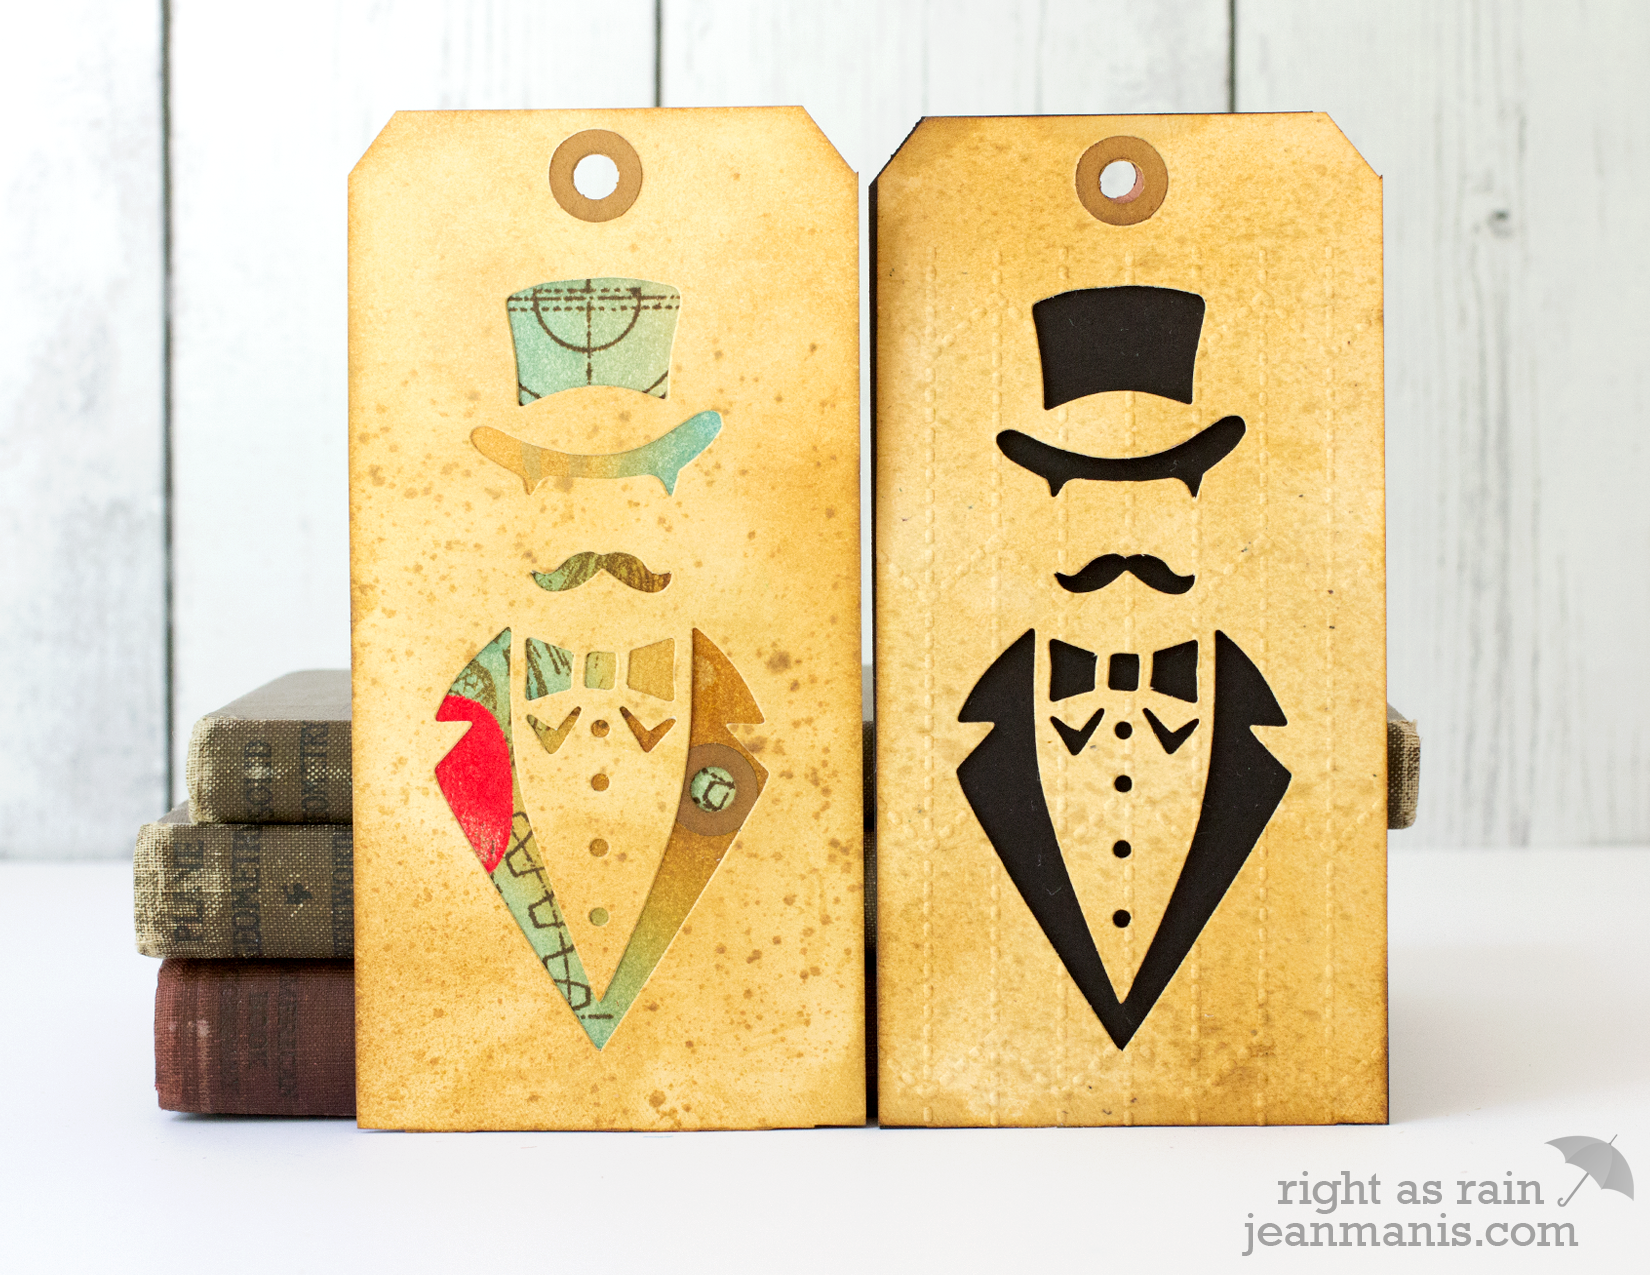
However, once I started creating tags similar to Tim’s 12 Tags of 2016 – June, using the Sizzix Dapper die, I decided to cut up the tag I had made and used it to back the negative cut that the Sizzix Dapper Die creates (left).

I also cut another tag with the Dapper die, dry-embossed it with the Tailored Embossing Folder and backed it with a black tag (right).

Finally, I revisited last week’s challenge to create with Perfect Pearls and Distress Inks and Stains.

Tim Holtz Creative Chemistry Week 4

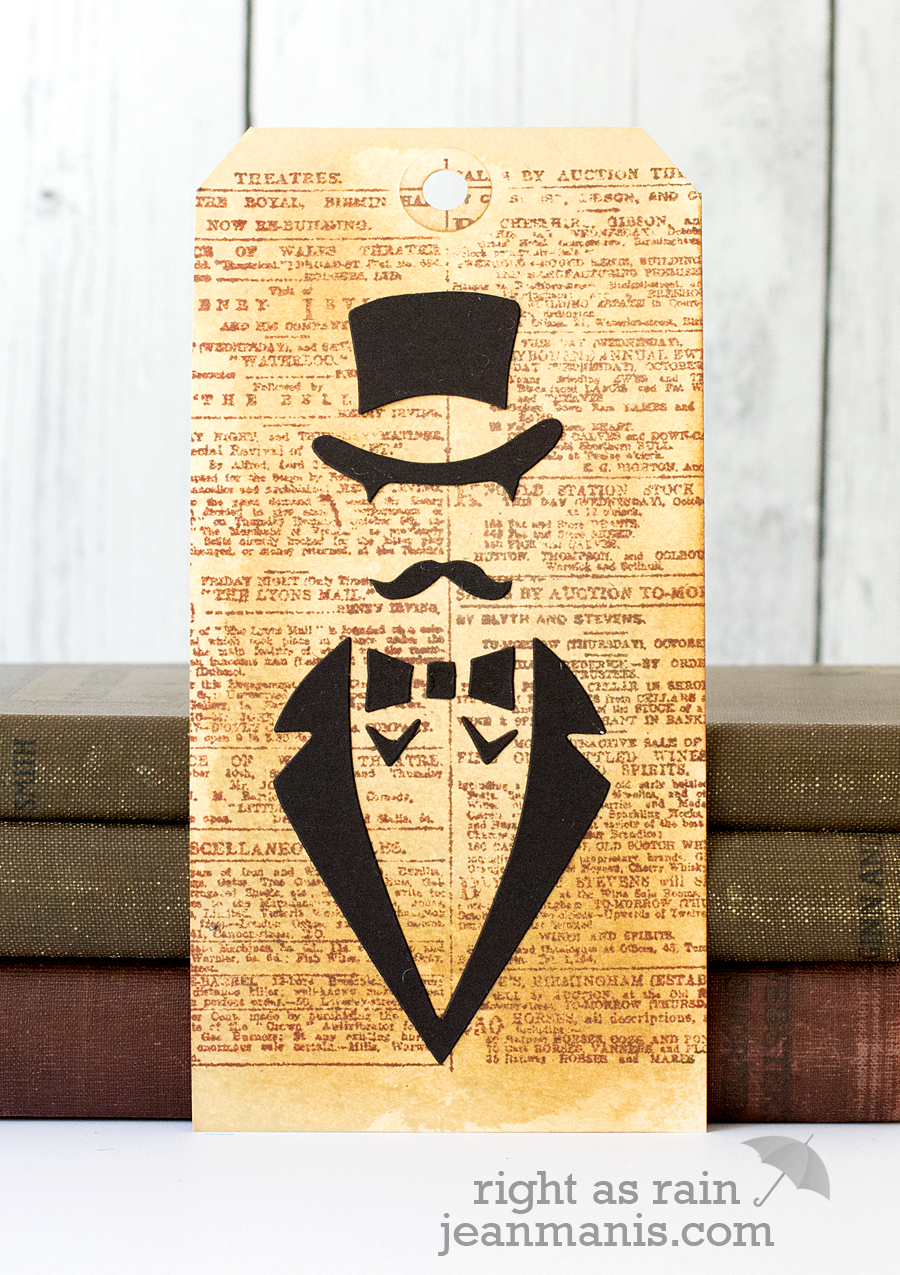
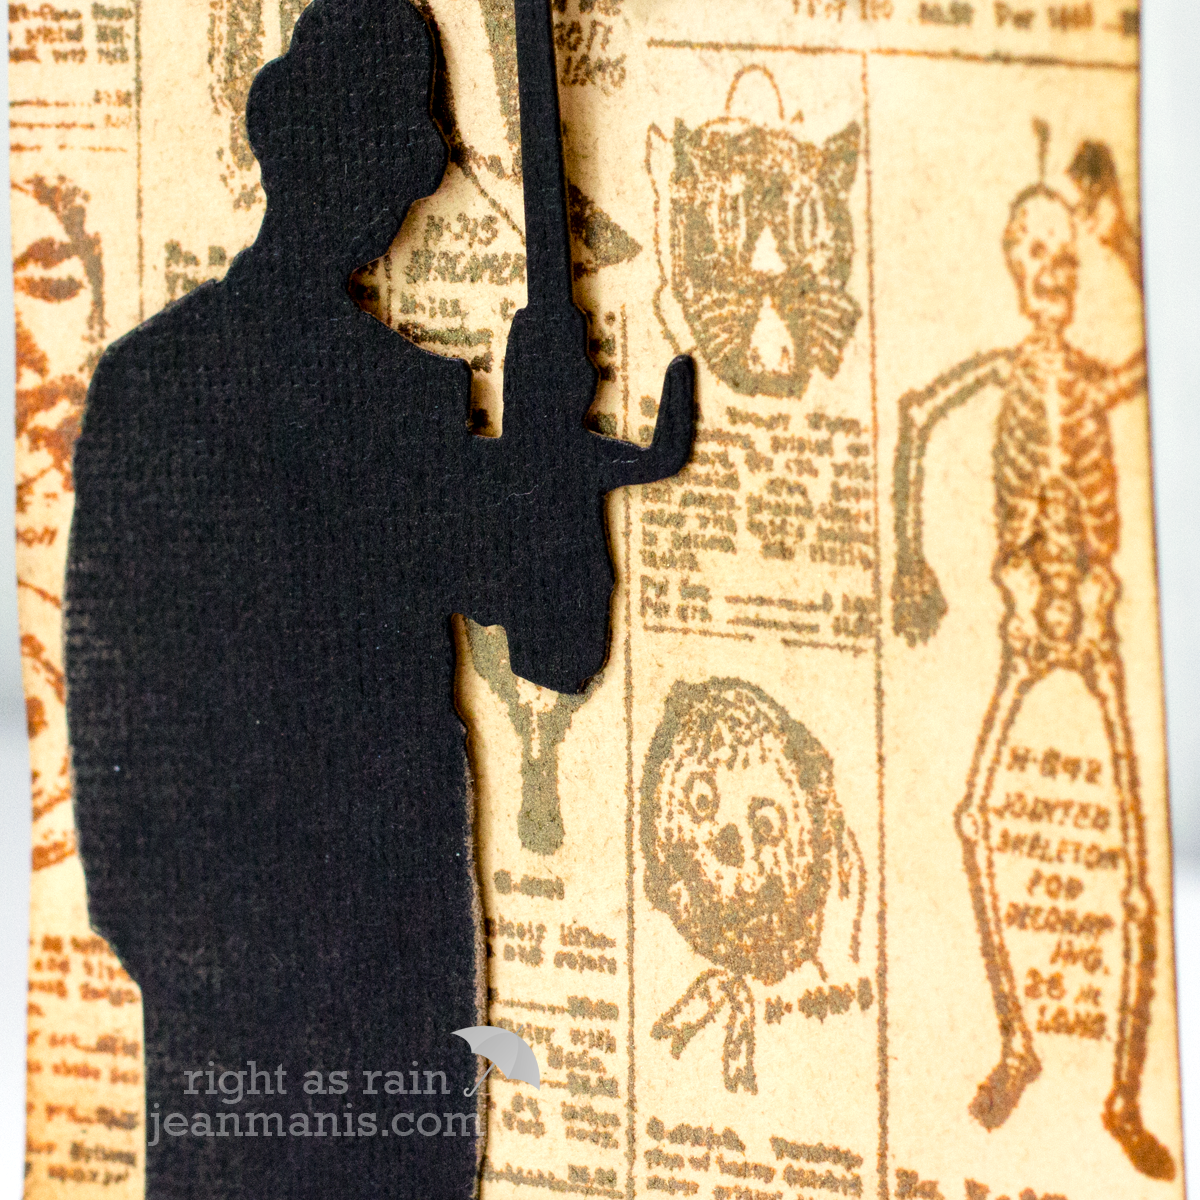
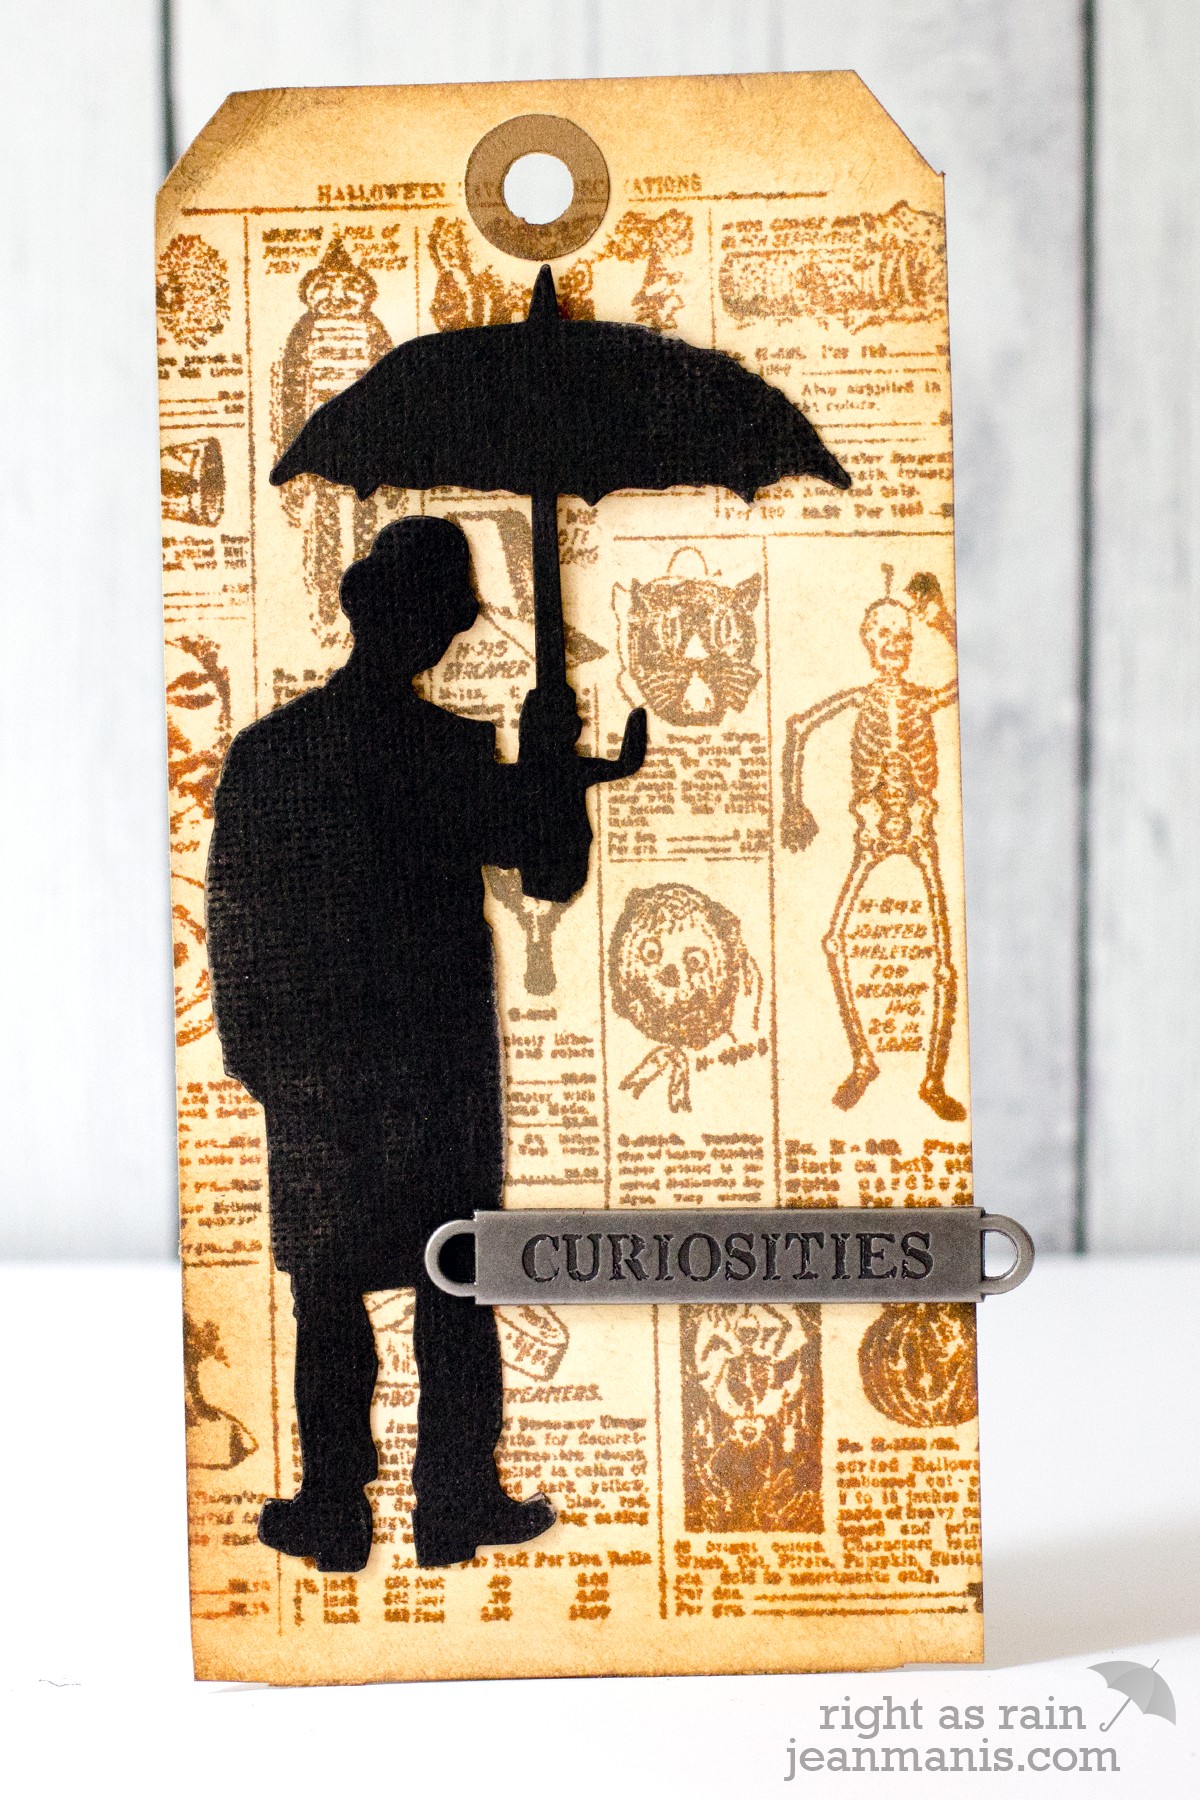
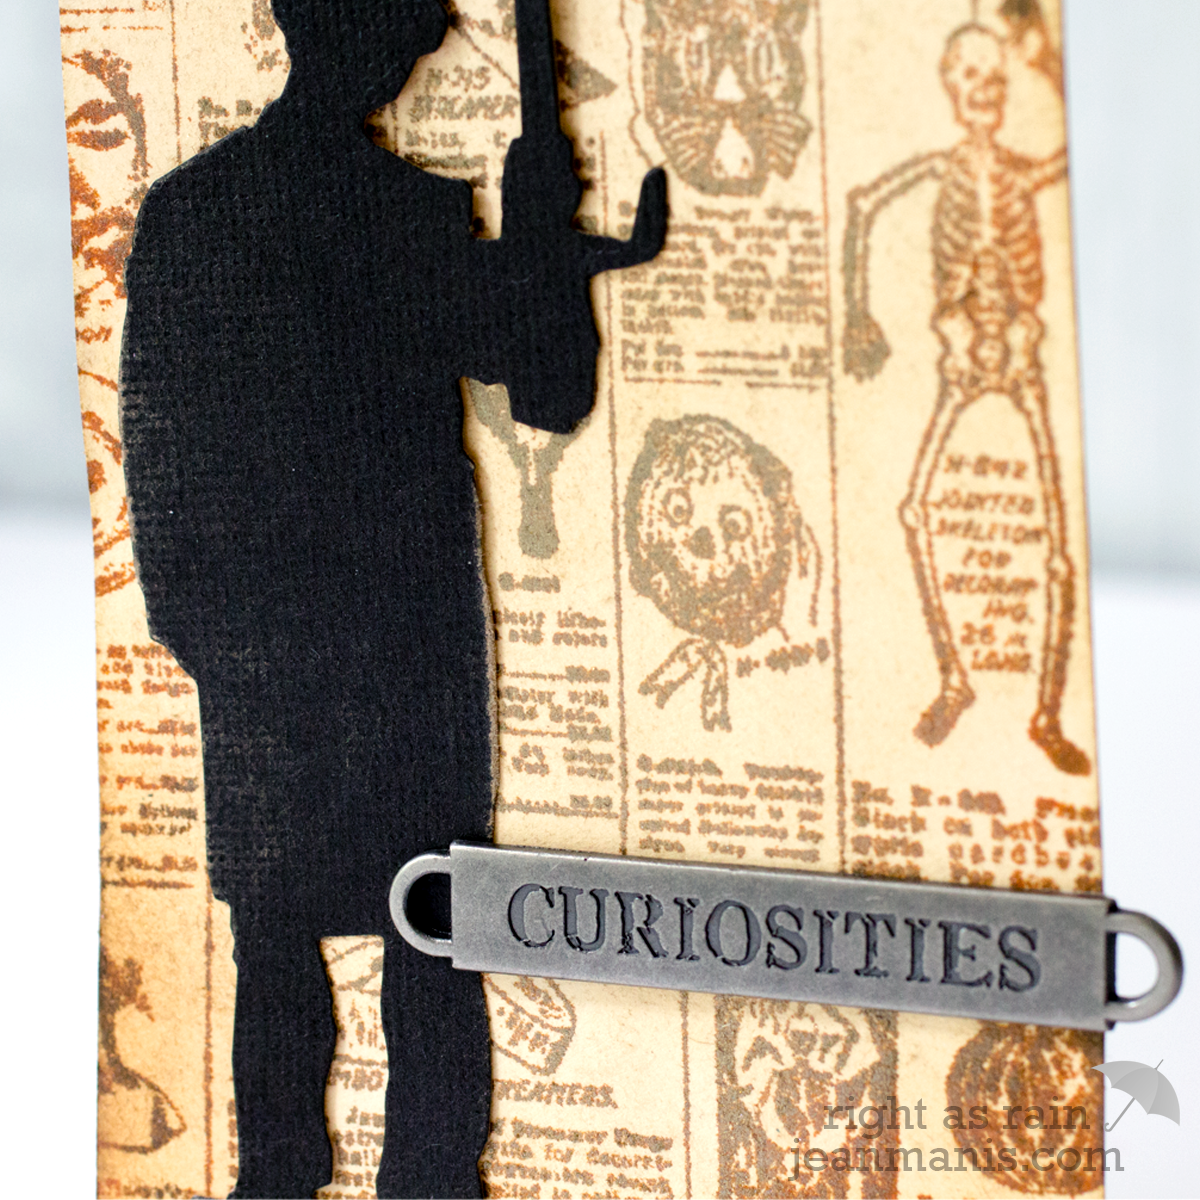
I used Heirloom Gold Perfect Pearls on a tag stamped with the Distress Ink Newsprint background and glued on the positive pieces from the Sizzix Dapper Die.

Mixed media is fun as long as you allow yourself to experiment!

Supplies: Sizzix Dapper Die

Summer of Creative Chemistry Week 3

I’ve finally had a chance to play along with the challenges at Summer of Creative Chemistry with Tim Holtz over at Online Card Classes.

SummerOfCreativeChemistry-Participant

This week, participants were challenged to create with Perfect Pearls and Distress Inks and Stains.

Here’s my tag using Heirloom Gold Perfect Pearls over a stamped Distress Ink background.

SUMMER OF CREATIVE CHEMISTRY Week 3

I stamped the background (Tim Holtz’s Seasonal Catalog 1) with a variety of Distress Inks onto a manila tag to which I’d earlier applied (and dried) Antique Linen Distress Stain.

SUMMER OF CREATIVE CHEMISTRY Week3

Once stamped, I brushed on the Perfect Pearls Heirloom Gold. After applying the Perfect Pearls, I added Distress Inks to the edges. The Perfect Pearls are brushed away to some extent on the edges.

SUMMER OF CREATIVE CHEMISTRY Week 3

I die cut the Umbrella Man from Kraft-Core cardstock and added a Tim Holtz Word Band, in lieu of any sentiment. I don’t have any Tim Holtz Halloween dies, but I figured that the Umbrella Man was “curious” about the Halloween items in the background.

It was a lot of fun (albeit outside of my comfort zone) to delve into a more layered project!

Background Check Day Six – Party Animals

Today, I’m sharing another Day Six Online Card Classes Background Check lesson card using techniques shown by Debby Hughes. Of all of the cards I made for this class, this one was the most ambitious!

BackgroundCheckDaySix

To begin, I dry embossed the Ranger watercolor paper with the woodgrain embossing folder and the circle diffuser. (Debby showed how to make a custom diffuser, which I will certainly do at some point in the future.) I watercolored the section of the panel that was not embossed with Peerless watercolors. While the panel dried, I Copic-colored some of the adorable images from the Lawn Fawn Party Animals set. I also stamped one of the Chit Chat sentiments.

The dry-embossed panel was adhered to cardstock with foam adhesive. Because of the embossing and watercoloring, the panel is quite warped, so I used a lot of adhesive. I finished the card off with some Doodle Bug twine.

I have really enjoyed the Online Card Classes Background Check course!

Supplies:

Background Check Day Six

The Day Six Online Card Classes Background Check lesson focused on card designs using backgrounds shown on Days Four and Five. I created a card using the Gap Background technique shown by Kristina Werner along with other “texture techniques.”

OCCBCDay6

Using an embossing folder by Sizzix for Stampin’ Up, I dry embossed two ends of a card panel leaving a gap in between. Within the gap, I added the Avery Elle die cut sentiment (cut from foil and adhered to white cardstock) using dimensional adhesive. I wasn’t planning on making a holiday card, (and Kristina used completely different supplies for her sentiment), but the Season’s Greetings worked well for this technique.

Supplies:

Online Card Classes Background Check – Day Three

Today’s Online Card Classes Background Check lesson focused on card designs using backgrounds created in the first two days of lessons. I followed one of the designs shown by Jennifer McGuire. To create the background, I followed the same techniques as on my Day One card.

OCCBCDay3

Supplies: