OCC Tim Holtz Chemistry 102: Day Five

Today’s Online Card Classes Tim Holtz Creative Chemistry 102 class was all about embossing effects. I had my share of “fails,” but in the spirit of working with what you’ve got and moving forward, here are my tags for today.

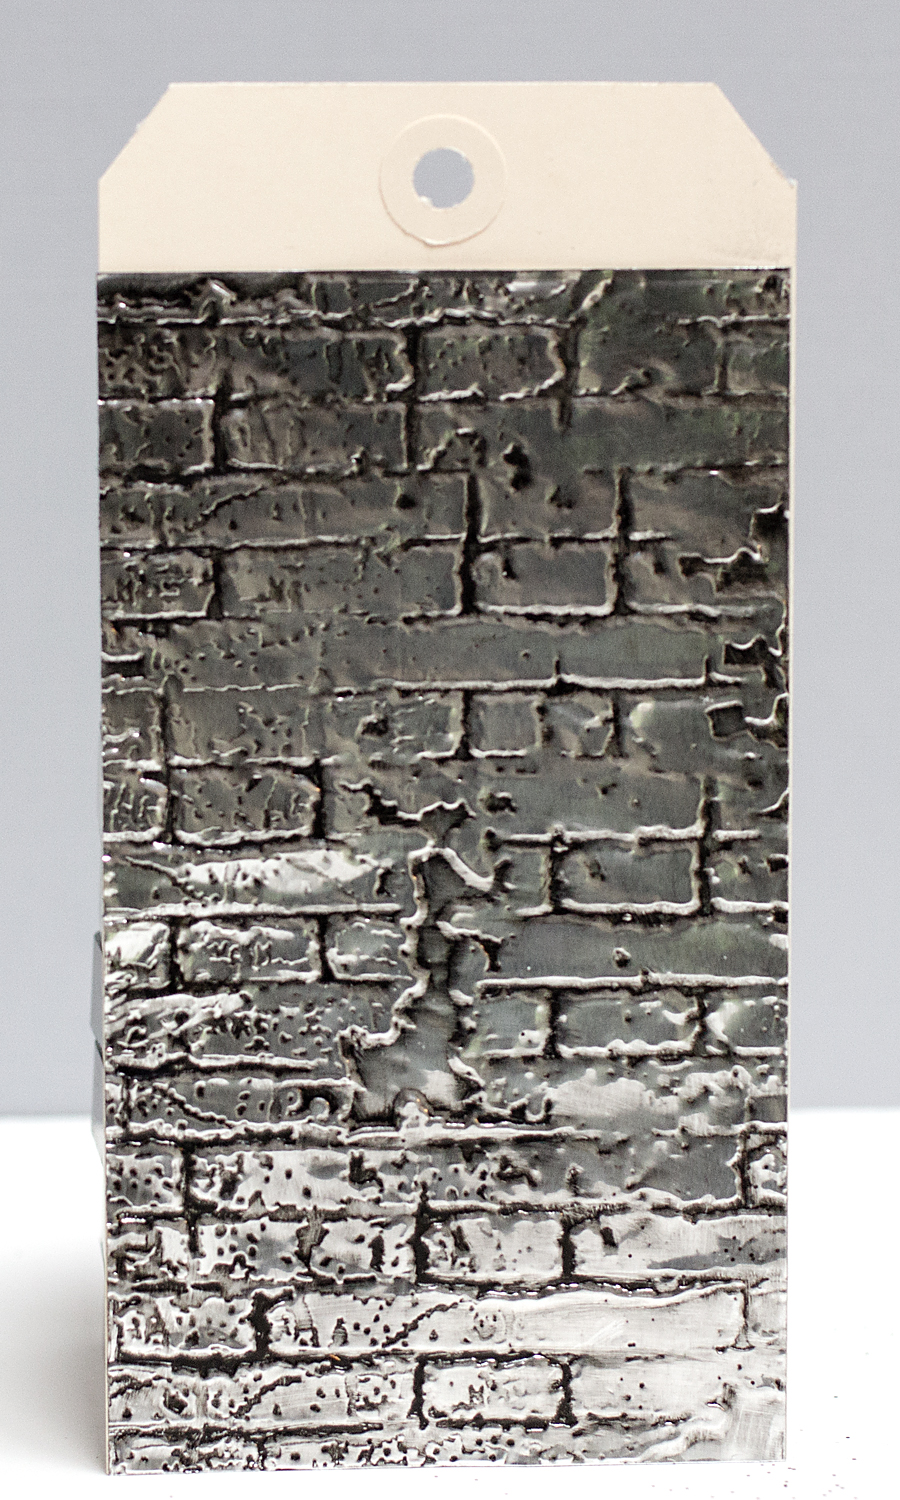
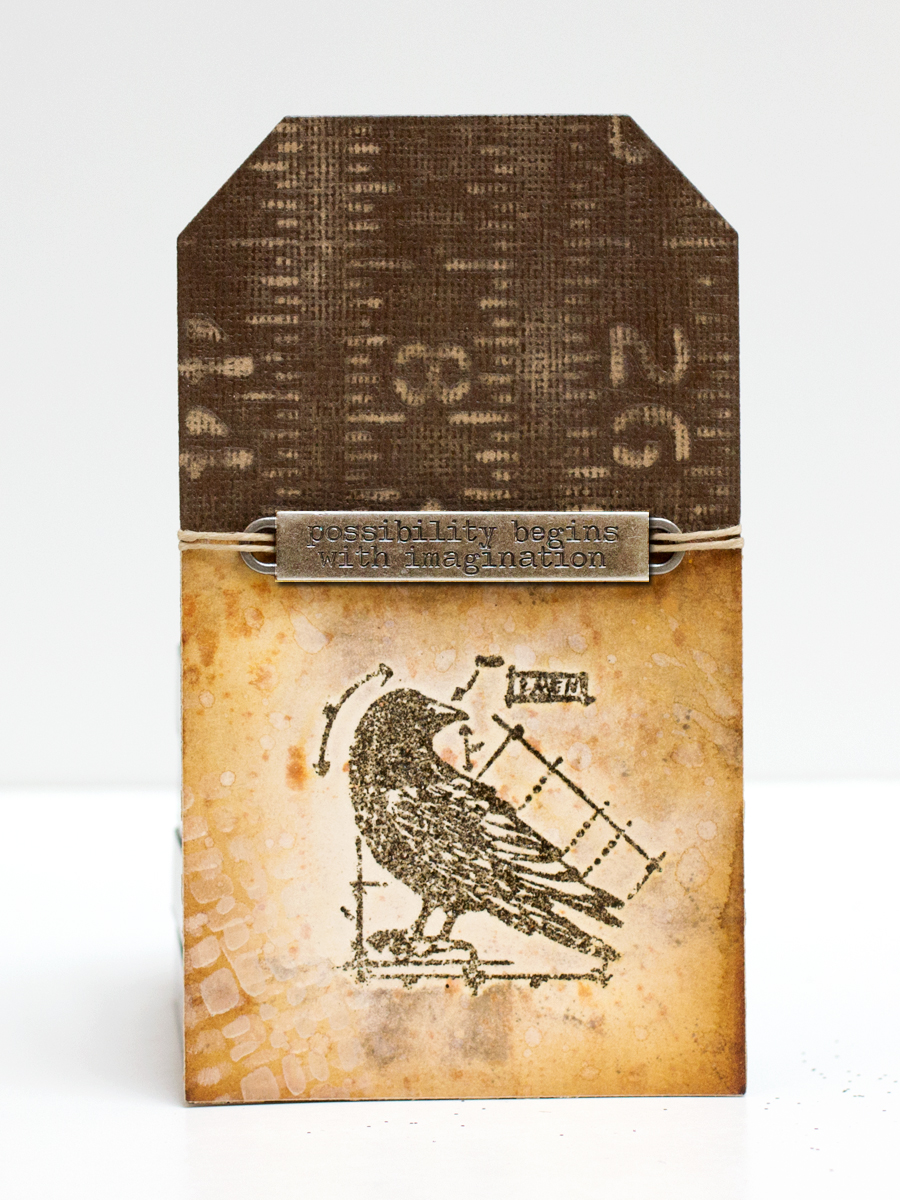
The image in this first tag was heat-embossed with Distress embossing powder. I unsuccessfully tried to apply Distress embossing powder to die-cut craftboard (I just couldn’t get enough to stick) but embossed this mini blueprint stamp to show the Distress powder’s grunge-y look. To finish off the tag, I added cardstock, which had been dry-embossed with one of the Tim Holtz stencils and then sanded, and one of the Tim Holtz metal word bands (these are brilliant and I will be buying the ones for Christmas, too.

OCC Tim Holtz Chemistry 102: Day Five

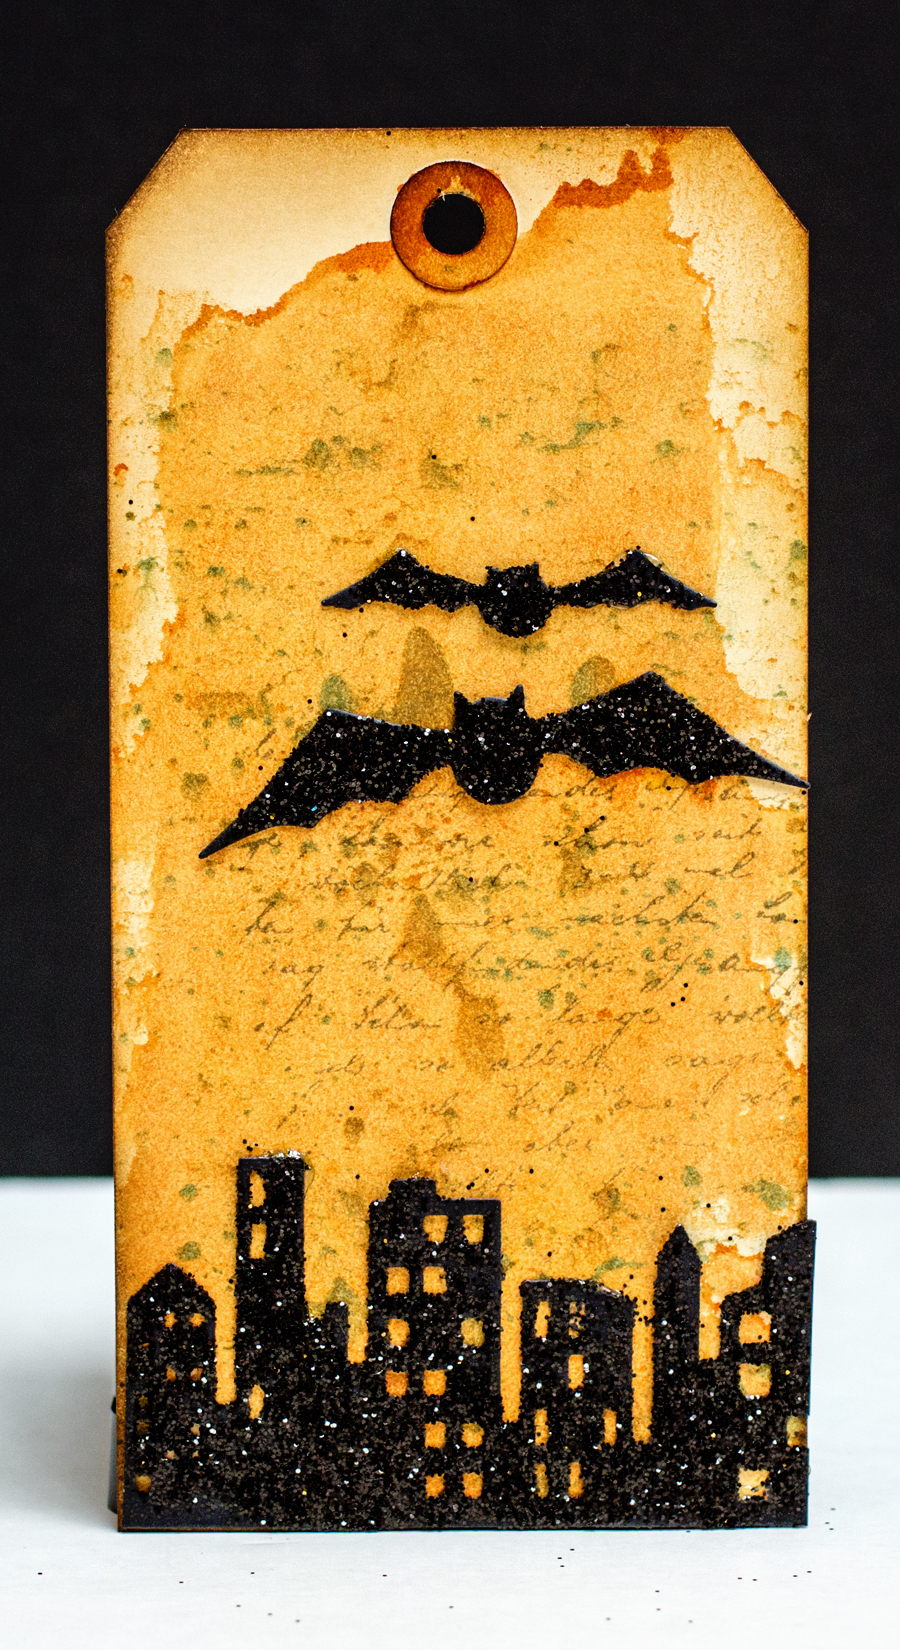
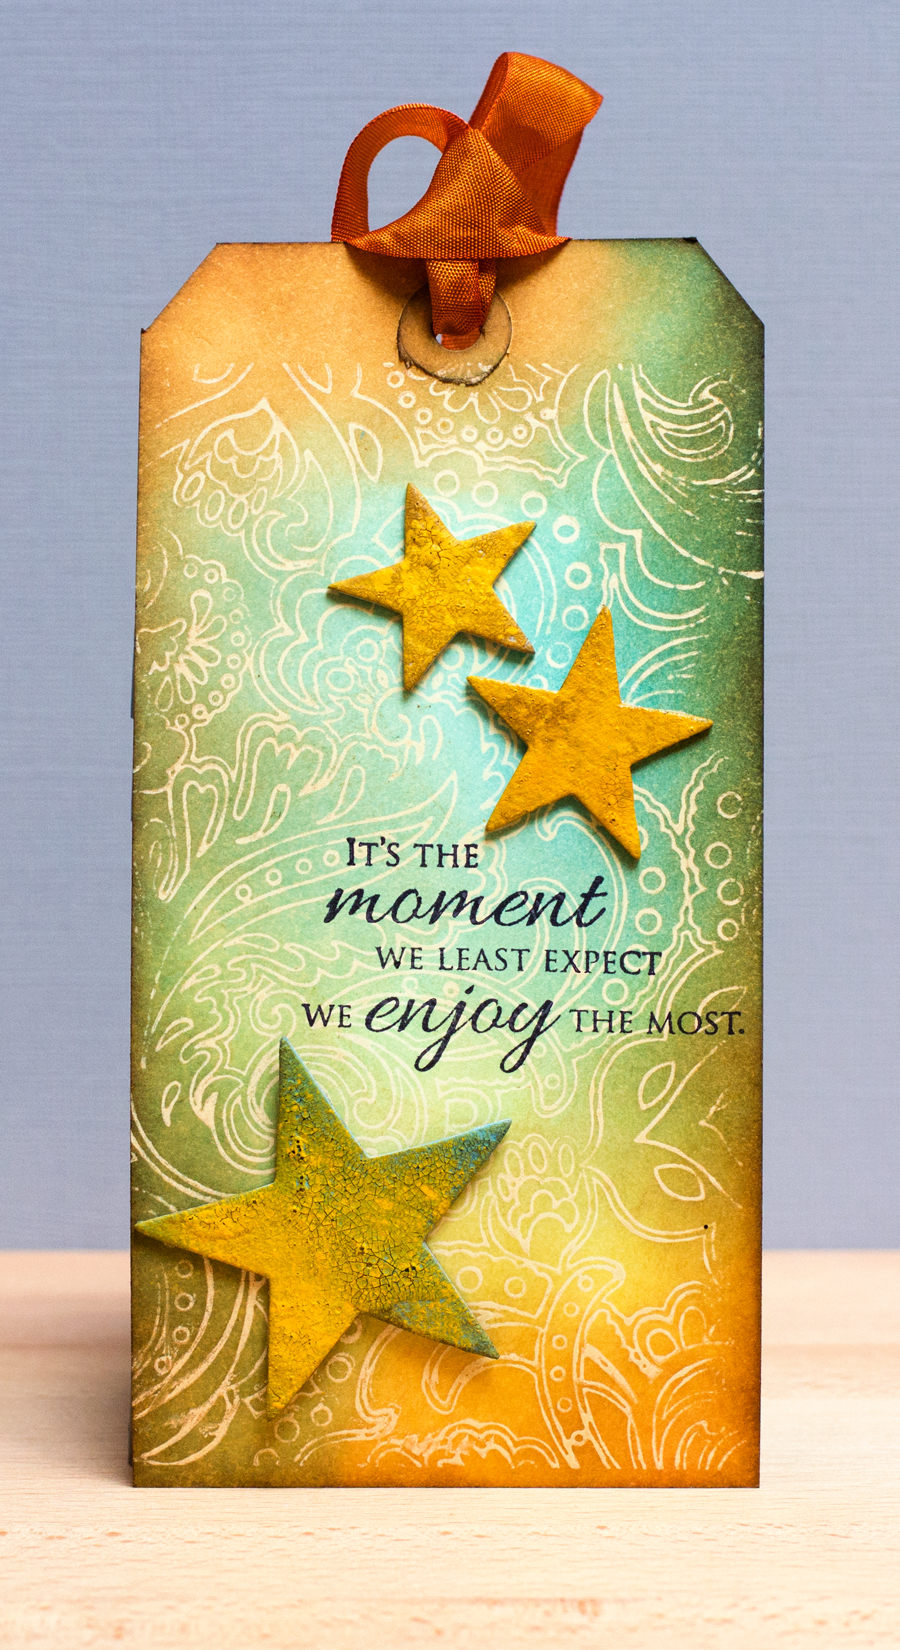
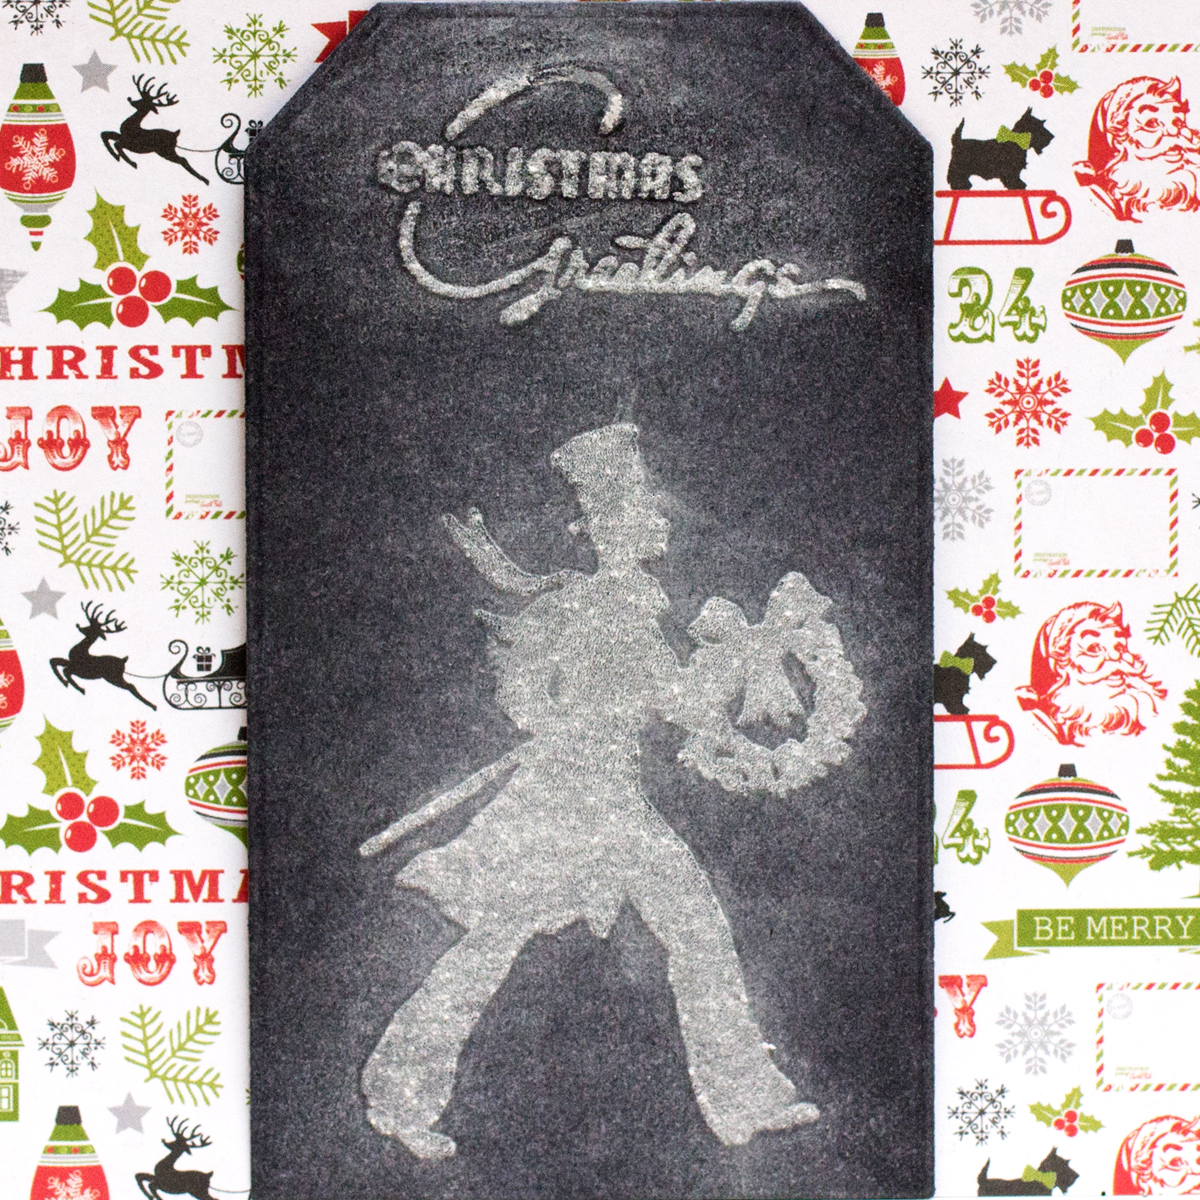
The second tag shows a chalkboard effect using heat-embossed Antiquities Frosted Crystal powder to which I applied chalk. This effect worked best on solid stamped images (again, I tried it on many stamped images that didn’t work). I just popped this tag up against some Echo Park paper to take the photo.

OCC Tim Holtz Chemistry 102: Day Five

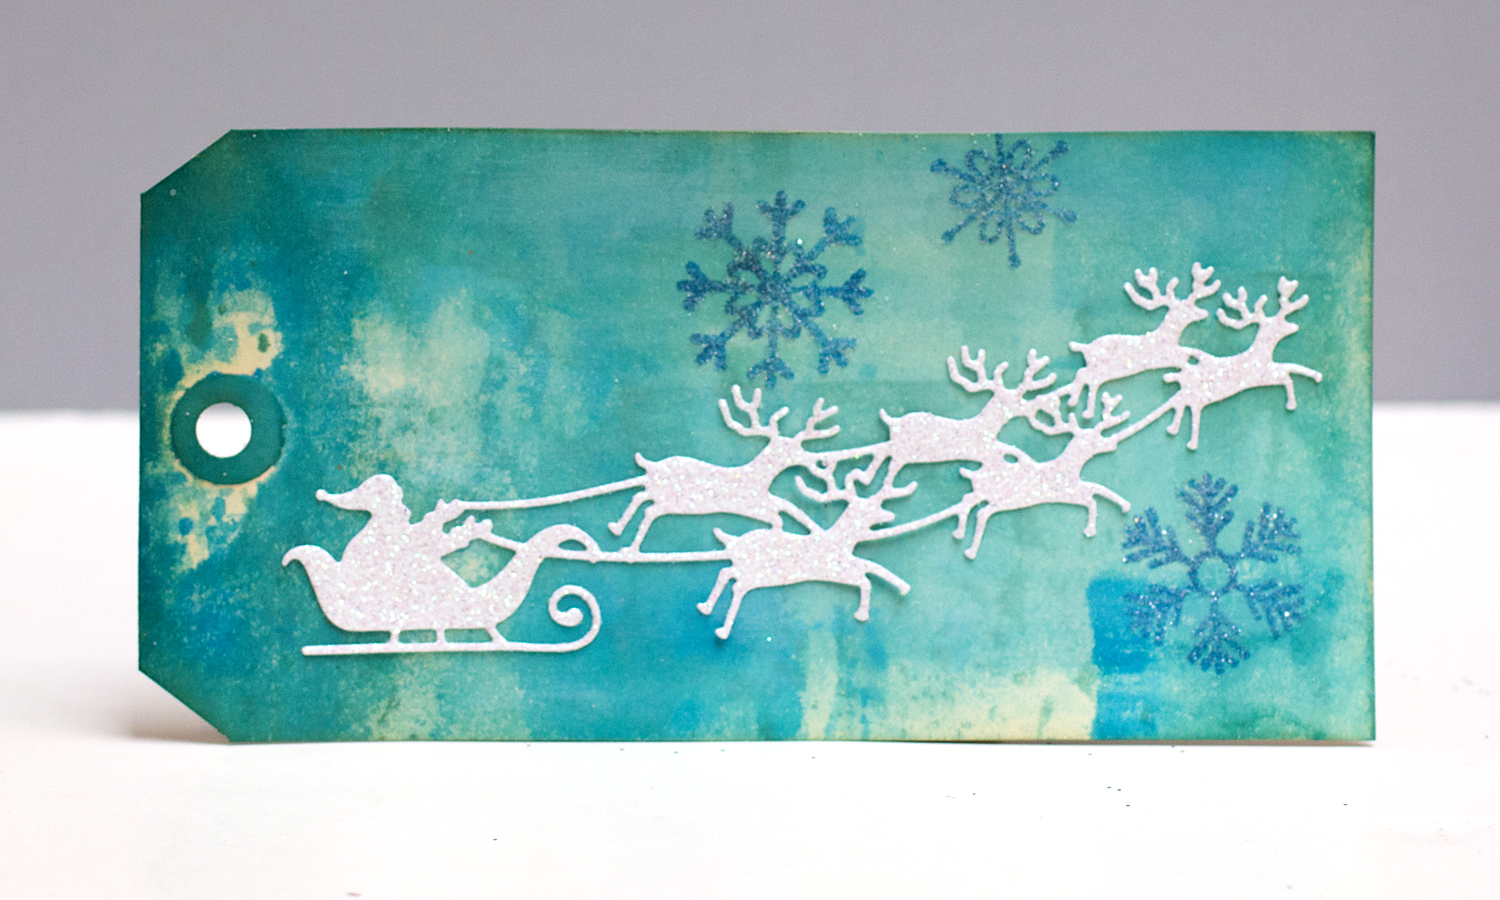
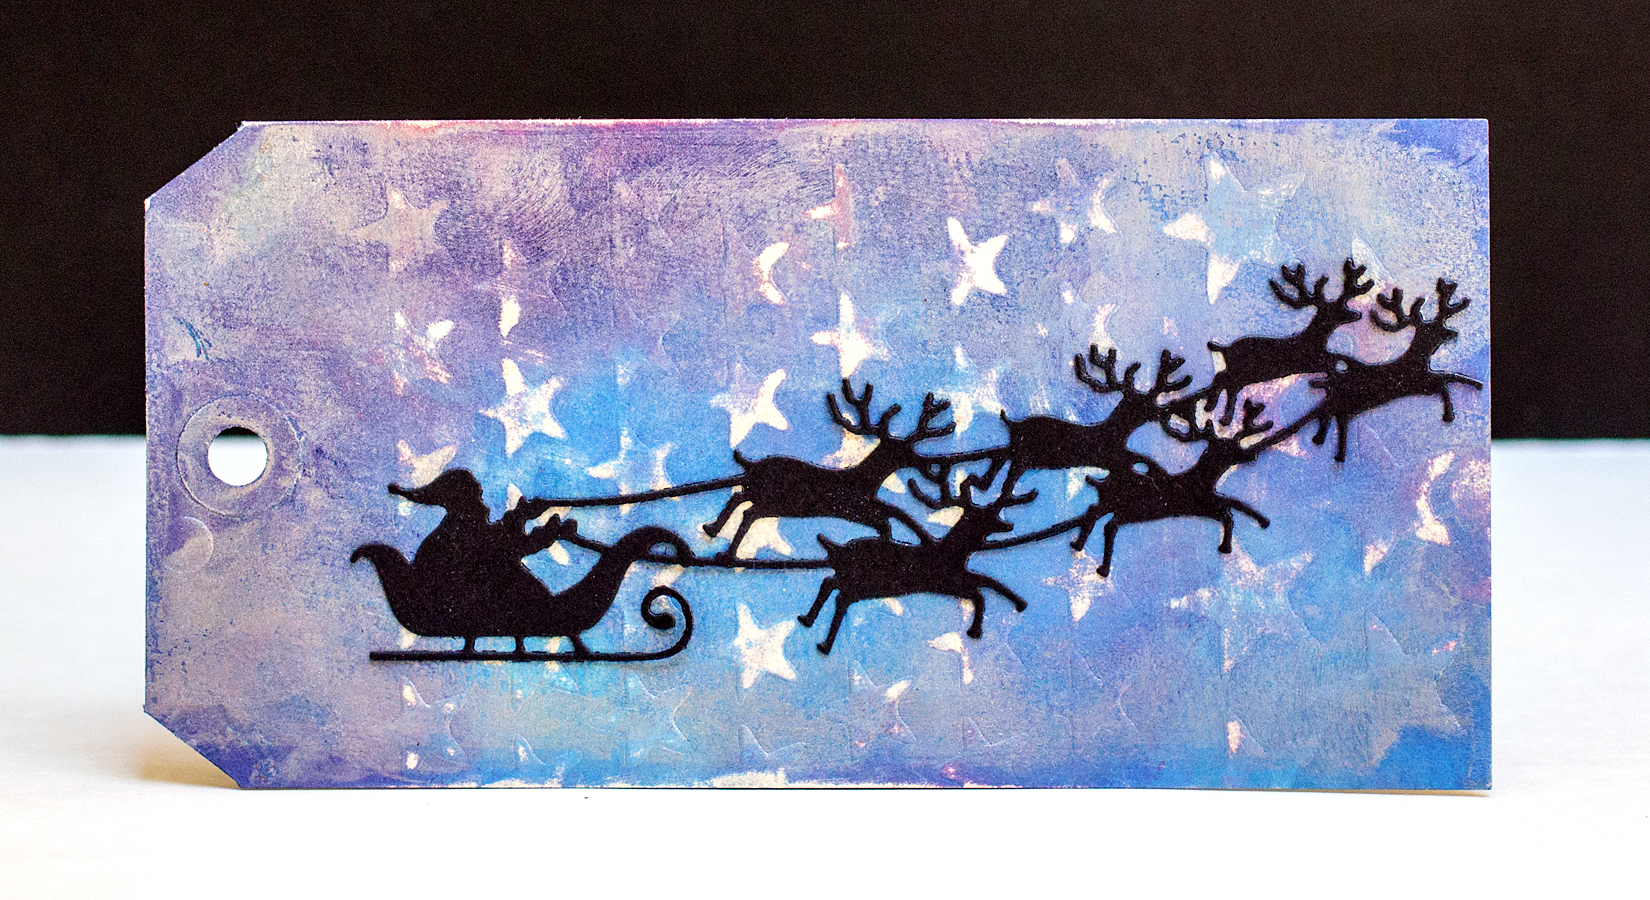
This last tag from today’s lesson shows the application of Distress Glitter using Sticky Embossing Powder. I stamped the snowflakes with Distress Inks before applying the sticky powder. You can’t really see how well the snowflakes look in this photo. I die cut the Santa and sleigh with glitter paper. Of the three techniques I tried, I think this one was my favorite. It’s an easy way to add a little bling to your project.

OCC Tim Holtz Chemistry 102: Day Five


OCC Tim Holtz Chemistry 102: A Few More Tags

Today’s Online Card Classes Tim Holtz Creative Chemistry 102 class was all about alcohol inks. I don’t have any of the supplies he used, so I decided to work on more tags from things we covered during Days 1-3.

On the first day, he applied Black Soot Distress paint to foil that had been dry-embossed. I loved the look but only got the paint into my hands yesterday.

OCC Tim Holtz Chemistry 102: A Few More Tags

For my first tag, I embossed the foil sheet with a Sizzix embossing folder I bought through Stampin’ Up. I added Memory Box ghosts, cut from Craft-a-Board, as suggested by Ellen Hutson. The grunge board is too thick for the thin dies, but the Craft-a-Board cut just fine! I added Rock Candy Dry Glitter with Glossy Accents as the adhesive to the ghosts without coloring them in any way (the glitter isn’t easily visible in the photo). The Memory Box sentiment was heat embossed on a die cut label. I then stamped it with the new Hero Arts chalkboard background stamp to make it more grungey.

For my second tag with this technique, I used a Tim Holtz embossing folder. As you can see, this technique gives a masculine, industrial look. I’m still pondering what to add to the tag.

OCC Tim Holtz Chemistry 102: A Few More Tags

Headed back to the craft table to play some more with the stencils!

OCC Tim Holtz Chemistry 102: Day Three

We explored more distress techniques in today’s Online Card Classes Tim Holtz Creative Chemistry 102 class including the application of Distress Stains with a brayer and the application of Distress glitter.

I definitely did not get the brayer technique with one roll! But I allowed myself to play, eventually finding a color combination I like (I don’t own many distress stain colors, and I’m trying to work with what I’ve got!).

OCC Tim Holtz Chemistry 102: Day Three

For this first tag, I used Rusty Hinge as a base and added in some Broken China. I applied black Distress Glitter with Glue N’ Seal to some Memory Box die cut shapes which had been cut out of black cardstock.

OCC Tim Holtz Chemistry 102: Day Three

For the second tag, my brayer roll application was more random. Next, I applied Vintage Photo distress ink through a stencil for more visual texture. After coloring the Savvy bird die cut with Distress inks, I applied Rock Candy Dry Glitter using Glue N’ Seal. The circle behind the bird was cut from one of my reject tags that I dry embossed with a wood grain texture.

OCC Tim Holtz Chemistry 102: Day Three

My final tag was created by adding several different distress ink colors before I stamped with Archival ink. I used Glossy Accents to apply the glitter to these bats. While the Glue N’ Seal was a easier to use to apply the glitter, I actually think I prefer the hold that the Glossy Accents provided. Also, I only have a few dies that work with grungeboard. I’m definitely pushing the limit with the amount of glue and glitter I’m adding to these die cuts cut from cardstock!

OCC Tim Holtz Chemistry 102: Day Two

Another fabulous day in the Online Card Classes Tim Holtz Creative Chemistry 102 class. Today was all about stencils, a lesson I’d be eagerly anticipating.

I tried a number of the techniques shown including painting through the stencil, using the stencils to print, and embossing with the stencil. There are still techniques shown today I’ve yet to try.

OCC Tim Holtz Chemistry 102: Day Two

OCC Tim Holtz Chemistry 102: Day Two

OCC Tim Holtz Chemistry 102: Day Two

I was definitely focused on Halloween for my first three tags!

For my final tag, I used a “reject” from yesterday’s lesson – one in which I was painting with metallic paint and lifting it. I ran it through my Big Shot with a stencil and then lightly sanded the stars off. I topped it with an Impression Obsession die cut.

OCC Tim Holtz Chemistry 102: Day Two

OCC Tim Holtz Chemistry 102: Day One

Today is the first day of the Online Card Classes Tim Holtz Creative Chemistry 102 class. I couldn’t believe how absorbed I became in the material as I worked. Looking at the kitchen table now, I can see that I was also making a mess!

OCC Tim Holtz Chemistry 102: Day One

For my tag,  I combined two techniques discussed today. I stamped the paisley background with distress paint and used distress inks to “reveal” the image. I painted the grungeboard stars with Rock Candy Distress Crackle Paint and then with distress paints. I think I needed more crackle paint for more crackles! The sentiment was stamped last with Archival Ink.

Time to clean up!