Reverse Confetti Crazy for Christmas: Memory Keeping

Welcome to the final day of Reverse Confetti Crazy for Christmas – an event to provide ideas and inspiration for the holidays! Today we’re featuring Christmas Memory Keeping projects! I’ve included a list of everyone sharing ideas today at the end of the post.

I created a Painter’s Tray Memory Box capturing some of our family’s Christmas memories.

Reverse Confetti Memory Keeping Tray

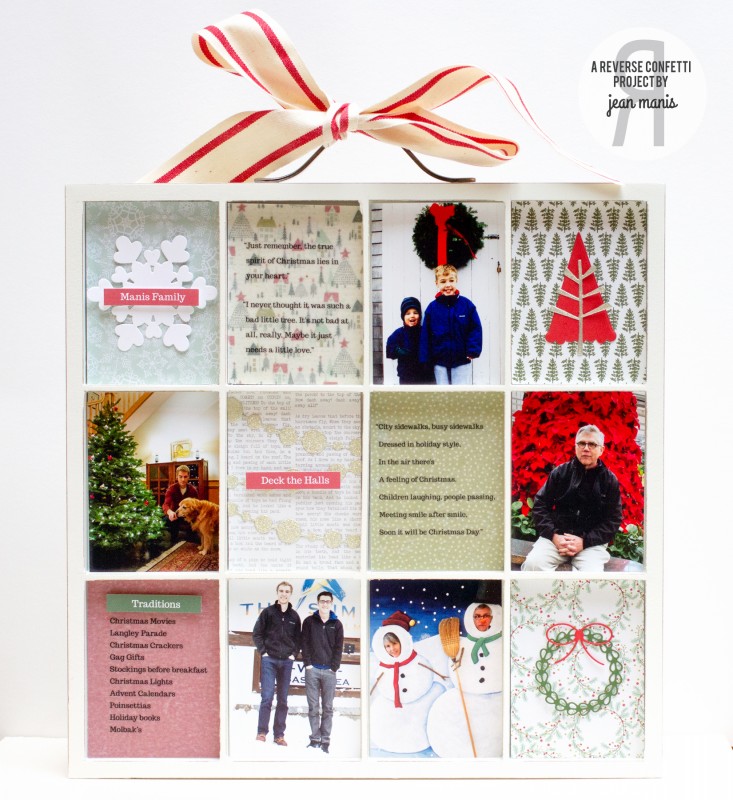
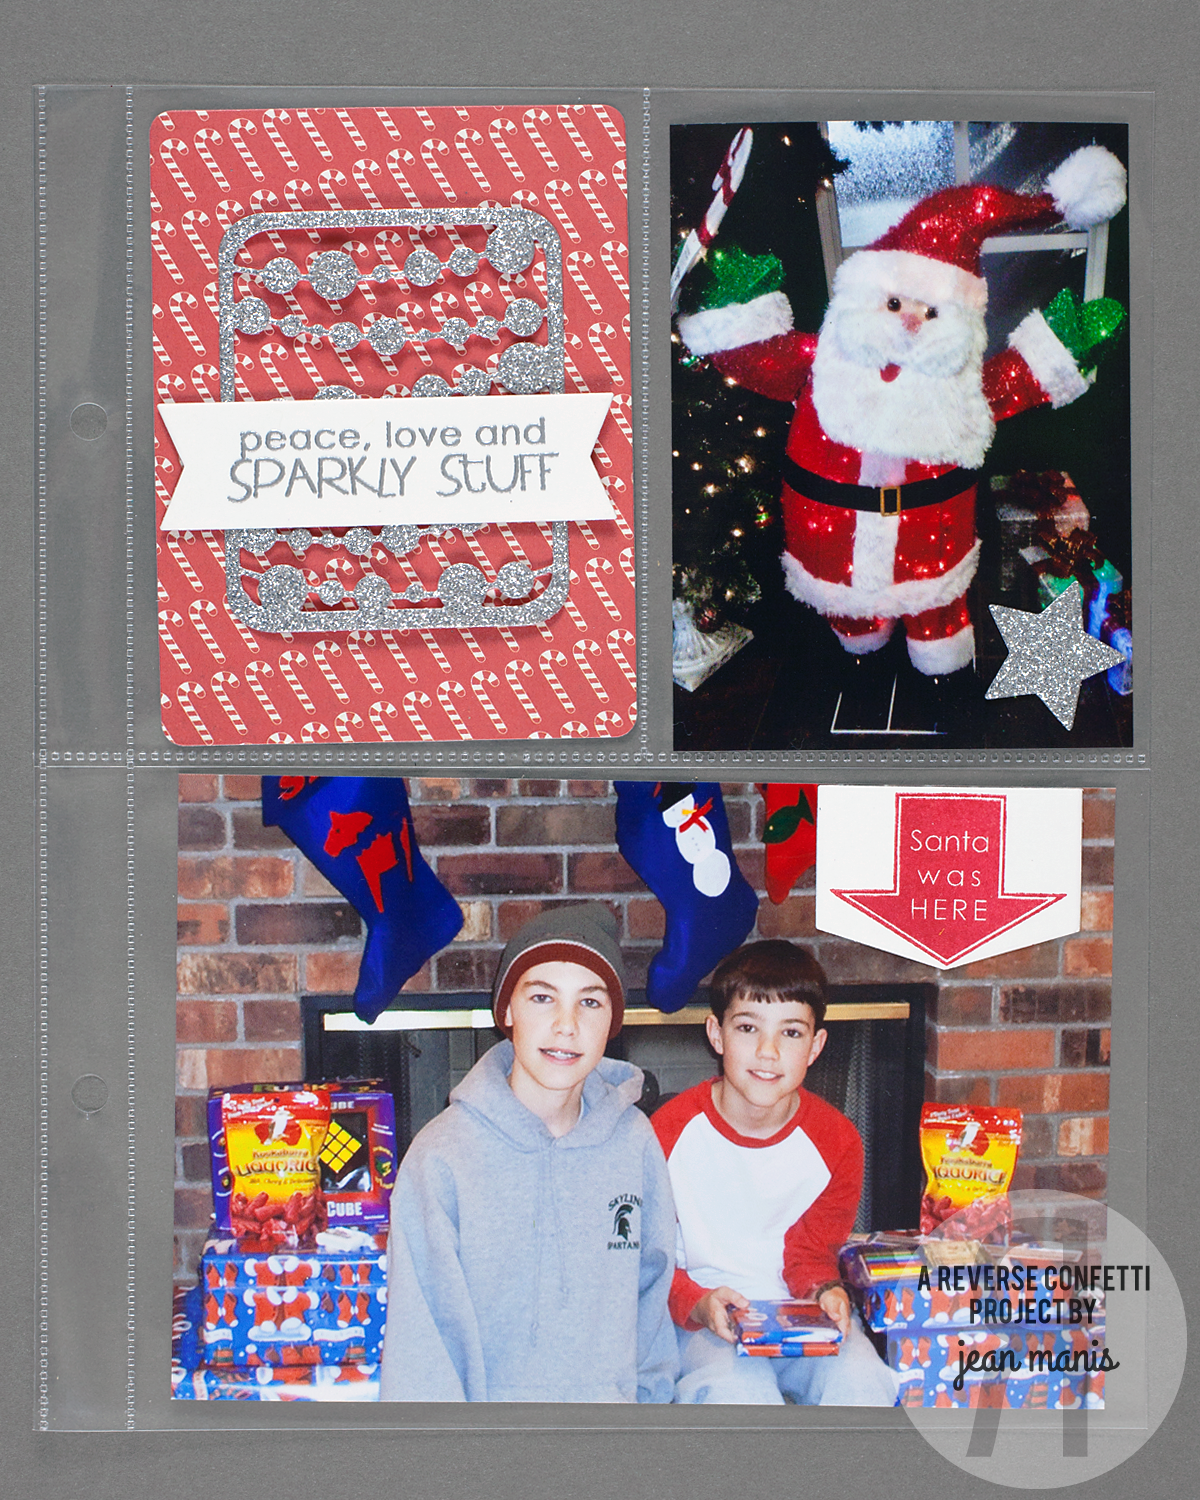
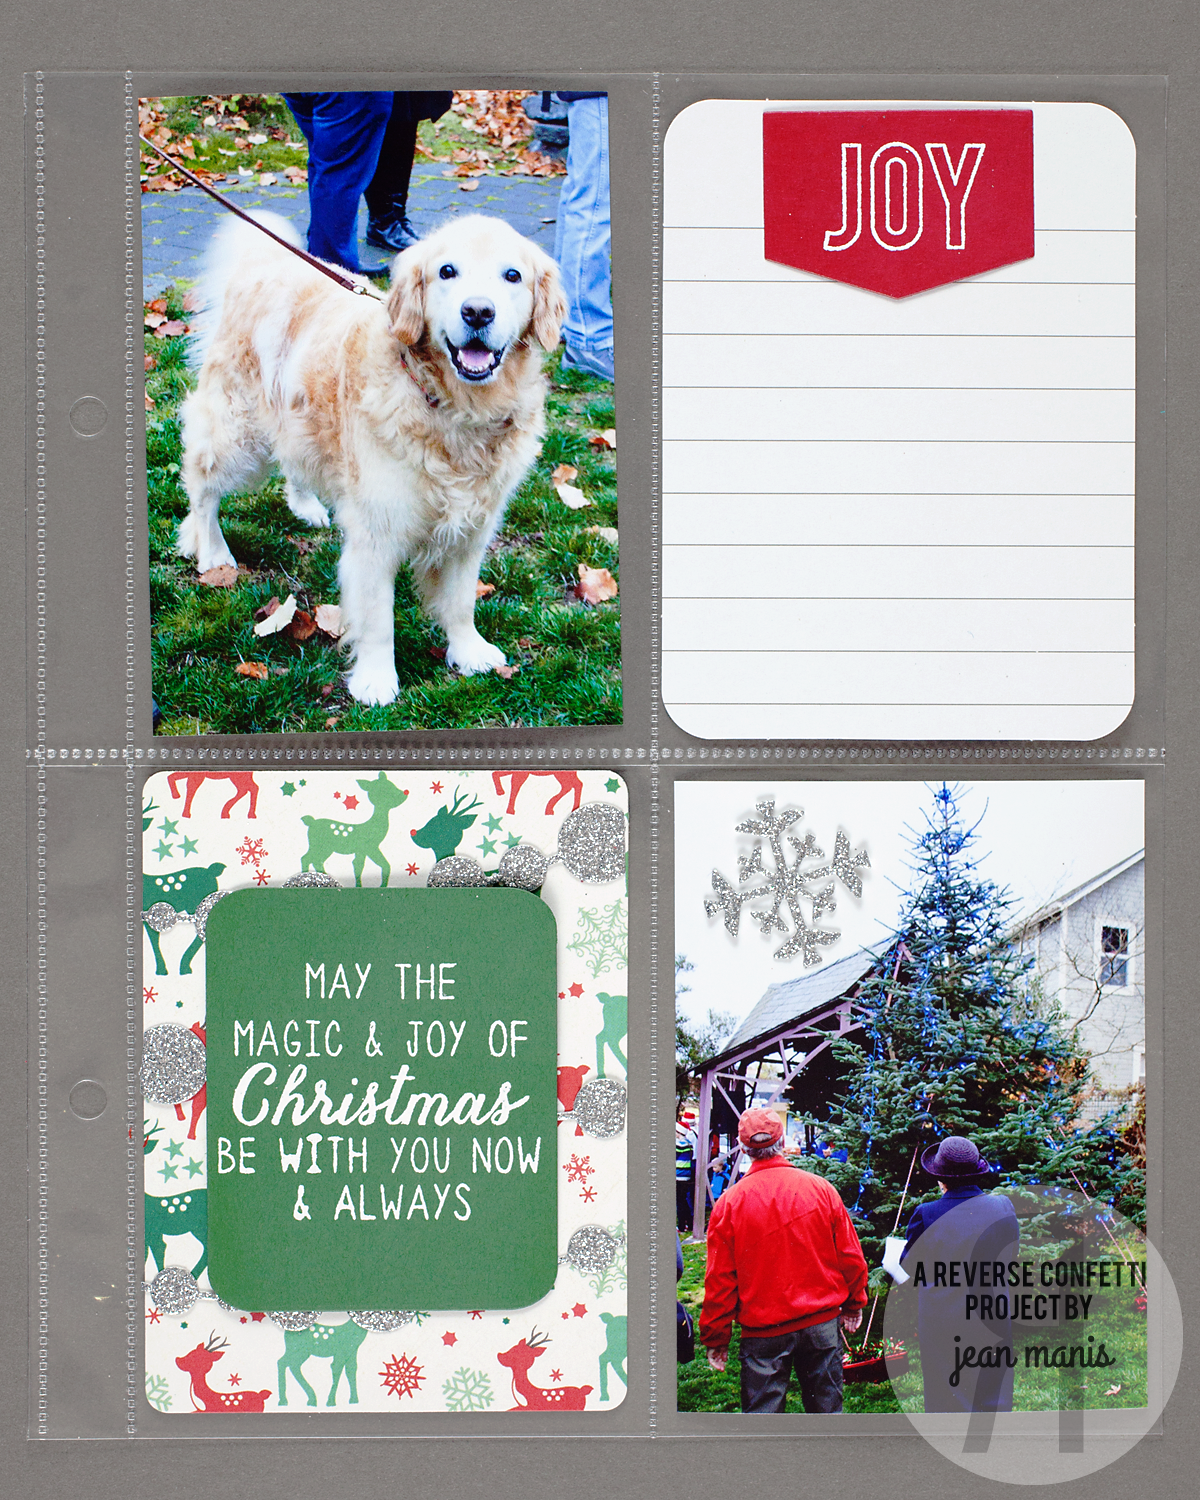
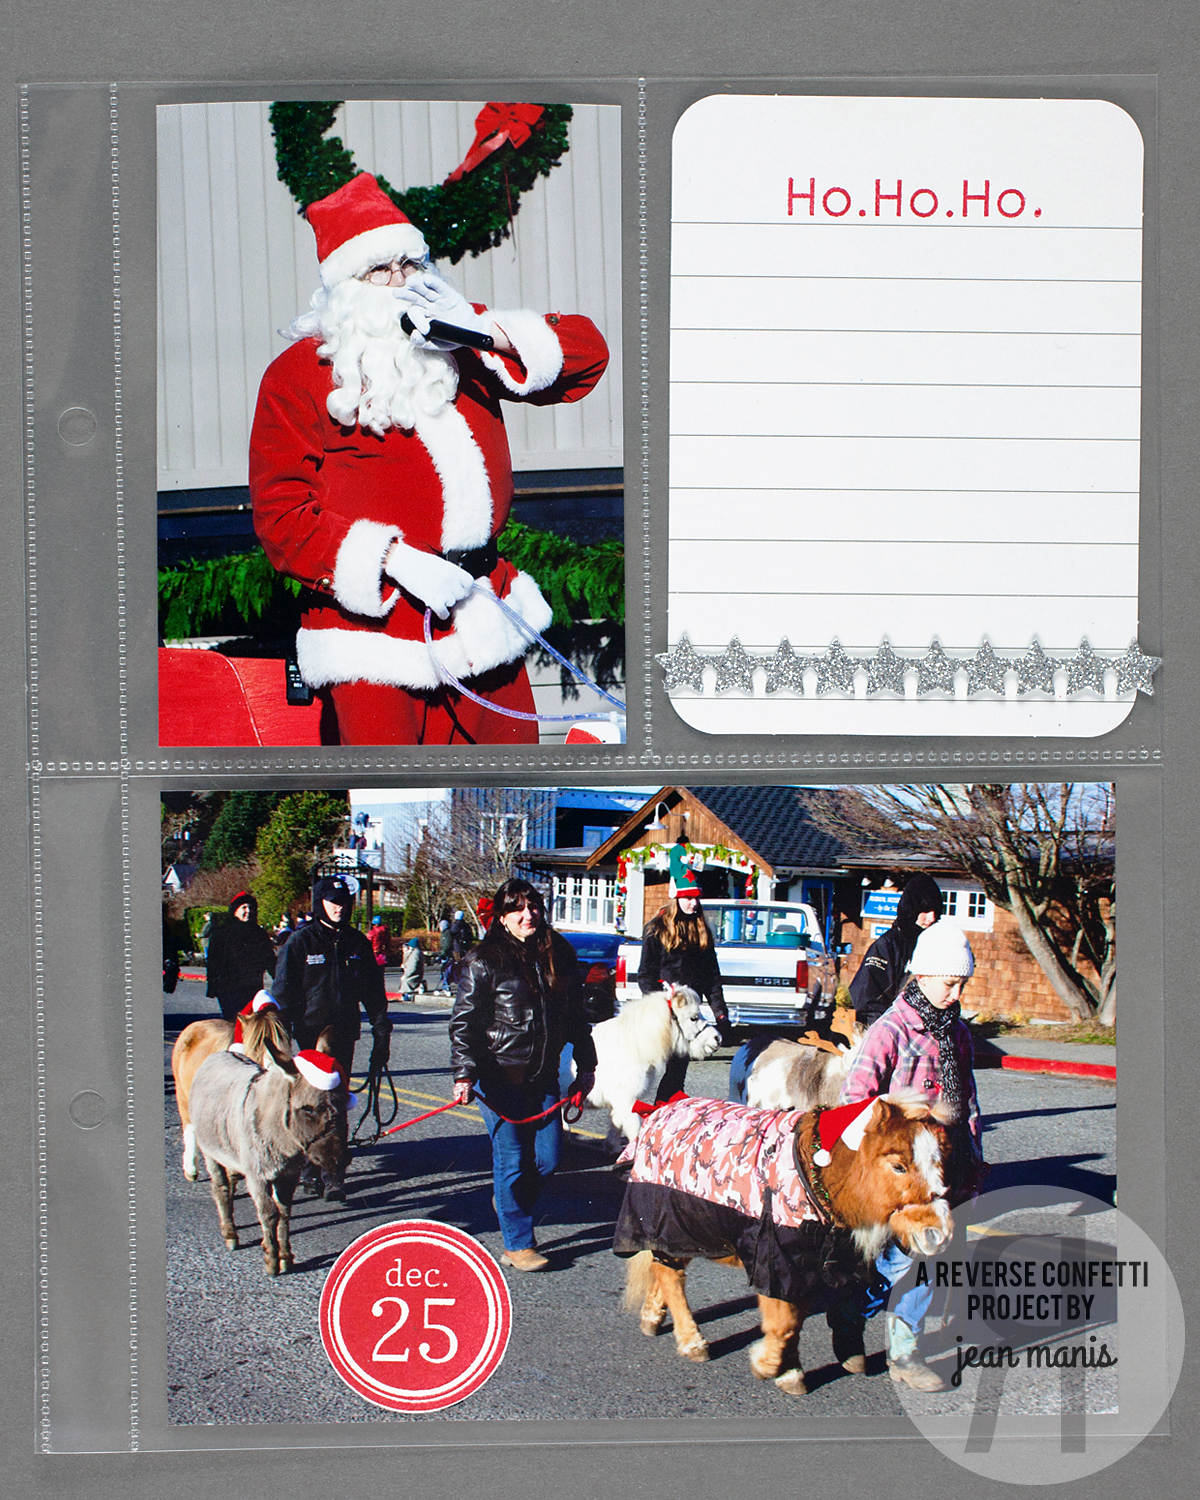
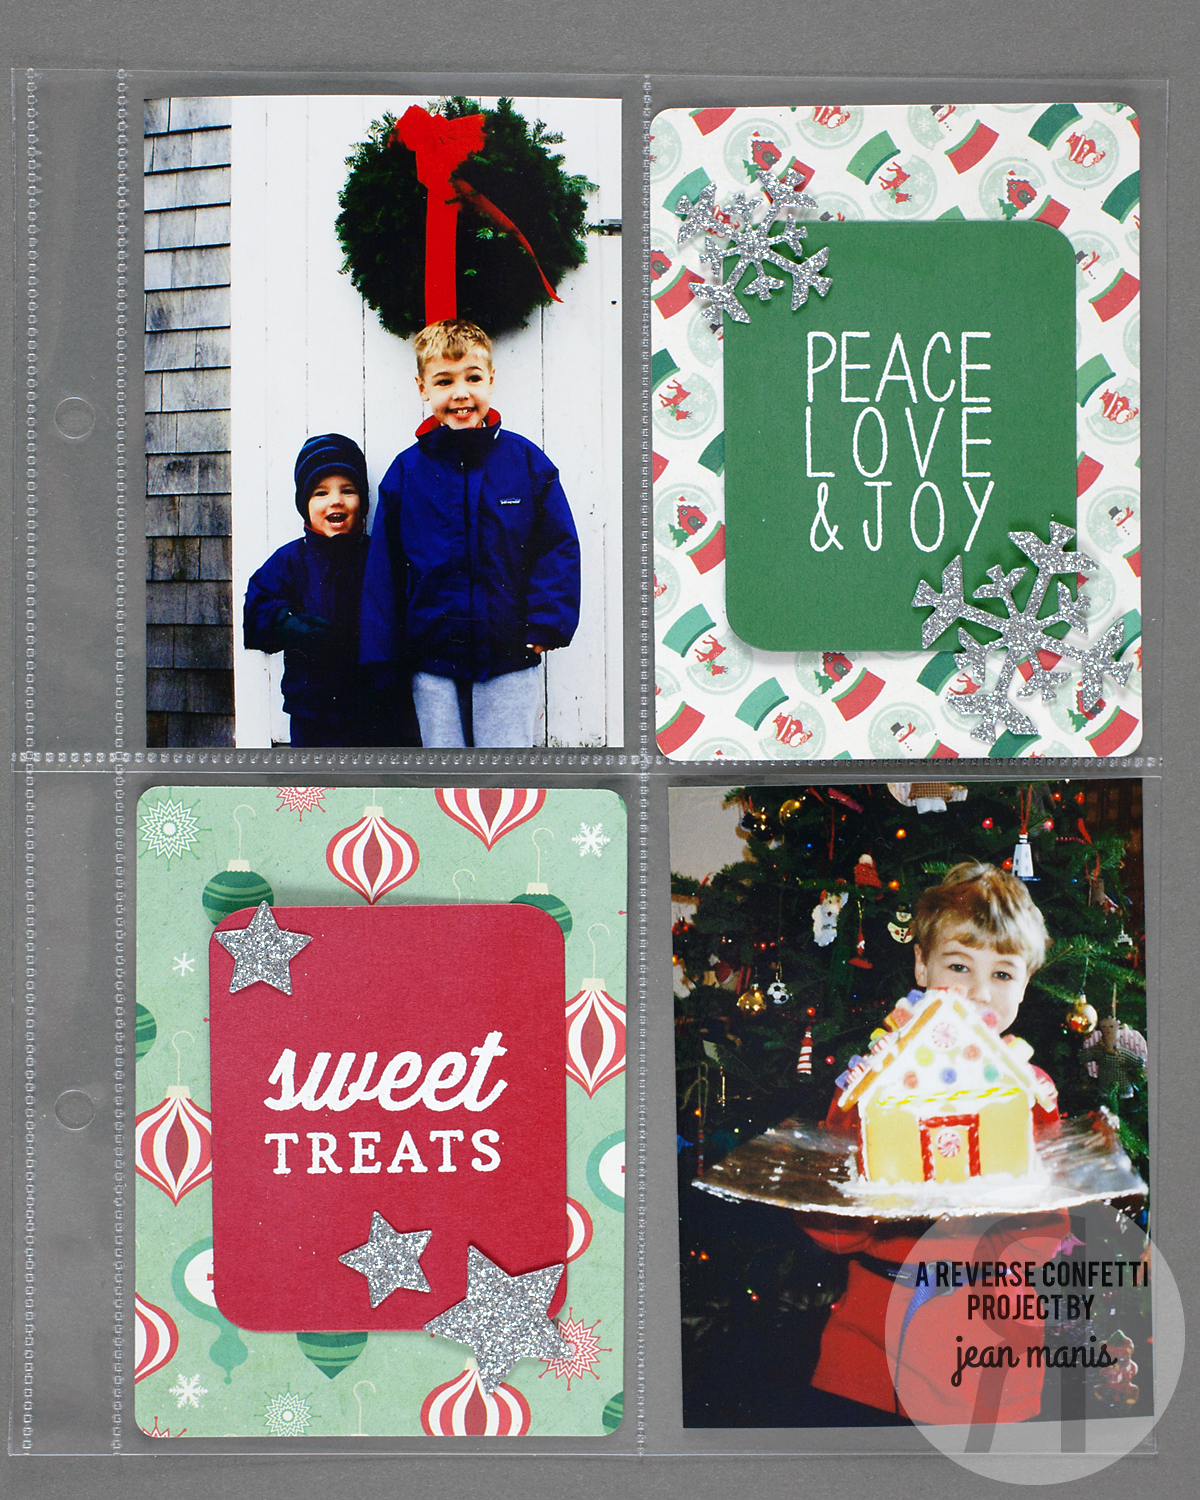
I embellished four panels with Reverse Confetti die cuts. On five of the panels, I included holiday photos taken over the years. I printed journaling, (created on the computer), on vellum, which I backed with double-sided adhesive and attached to patterned paper for three of the panels.

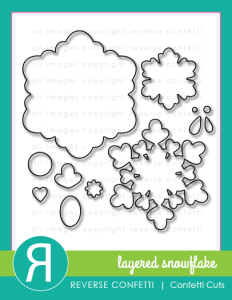
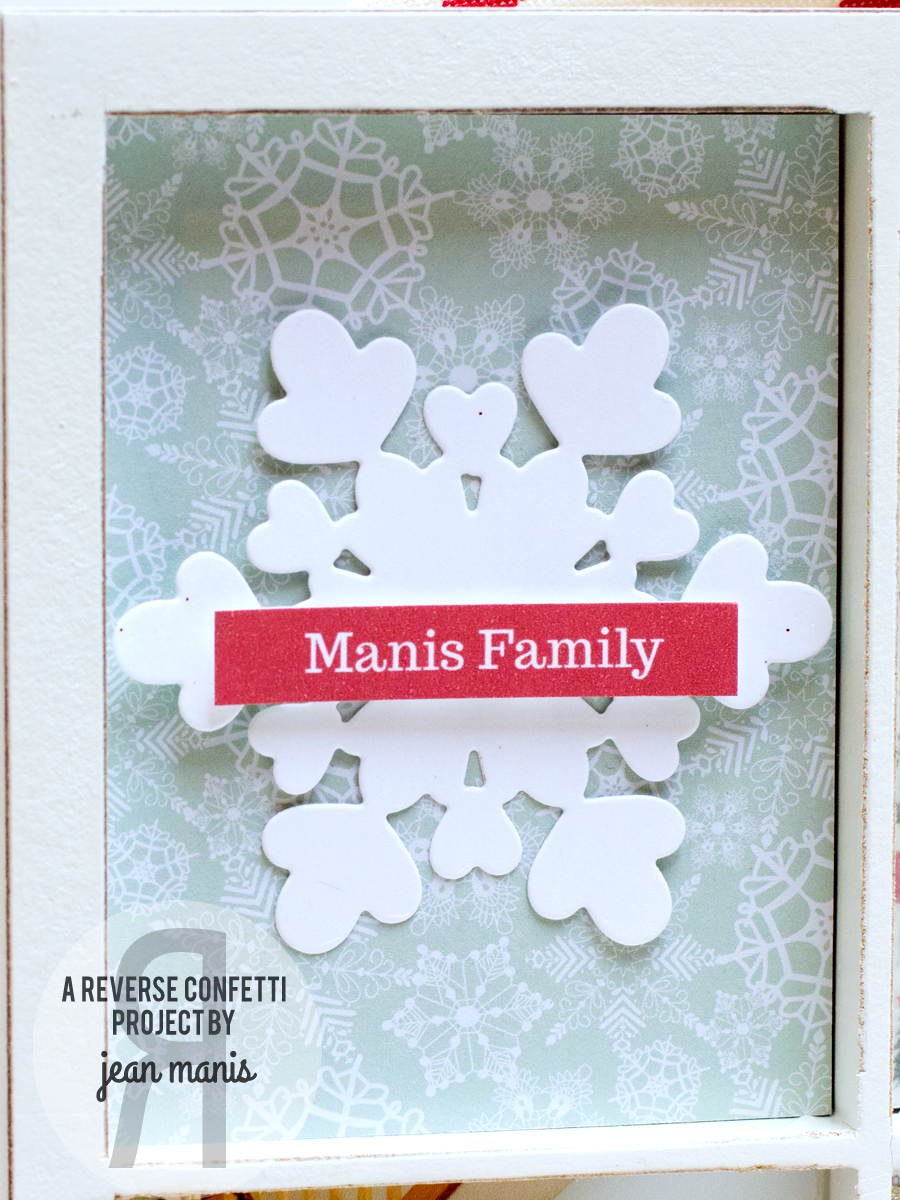
For the first panel, I created a title on my computer which I attached to a large snowflake cut with the Layered Snowflake Confetti Cuts.

MemoryKeepingSnowflake

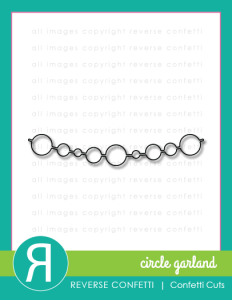
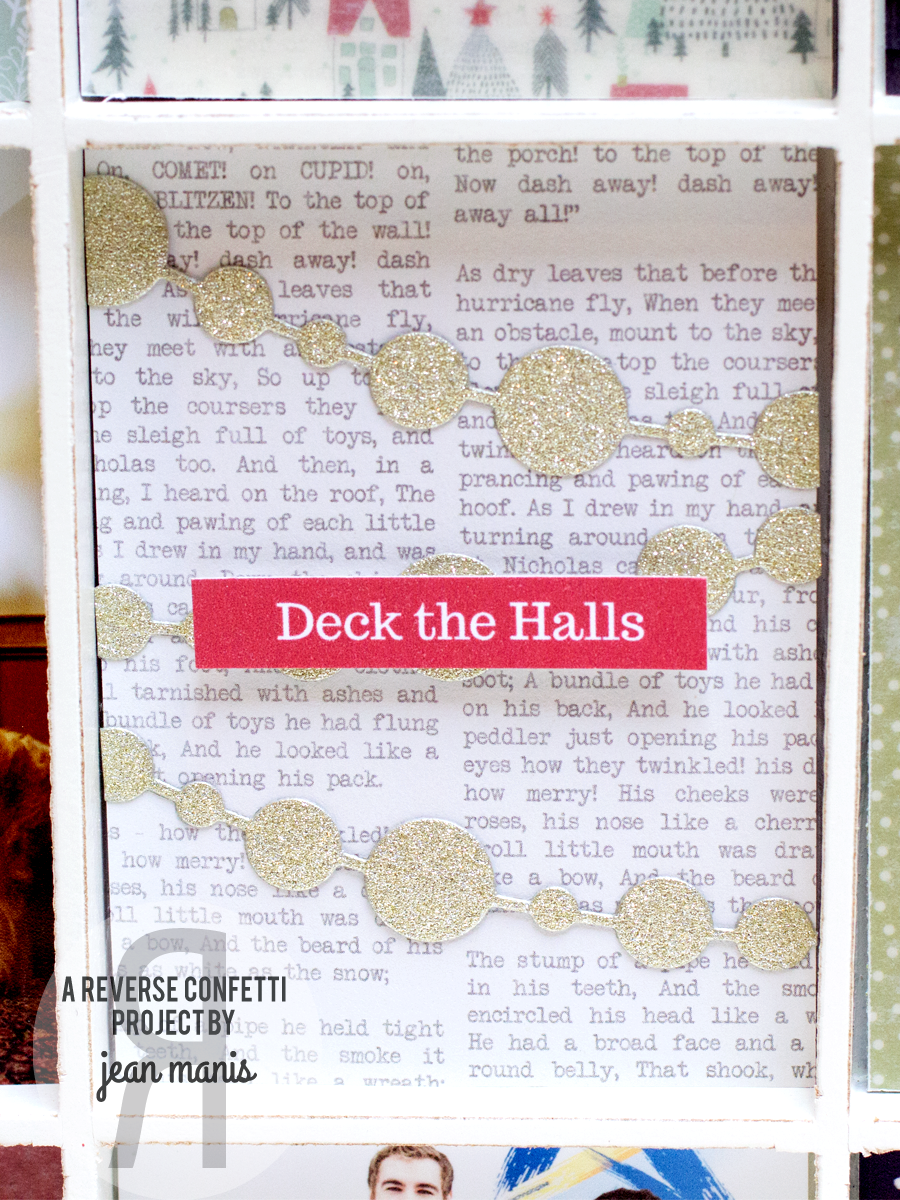
The “Deck the Halls” panel includes garlands cut from gold glitter paper with the Circle Garland Confetti Cuts.

MemoryKeepingGarland

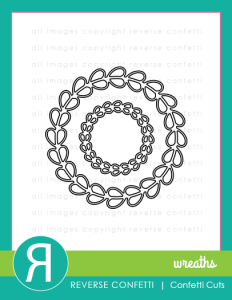
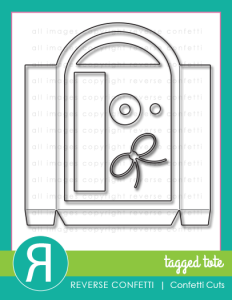
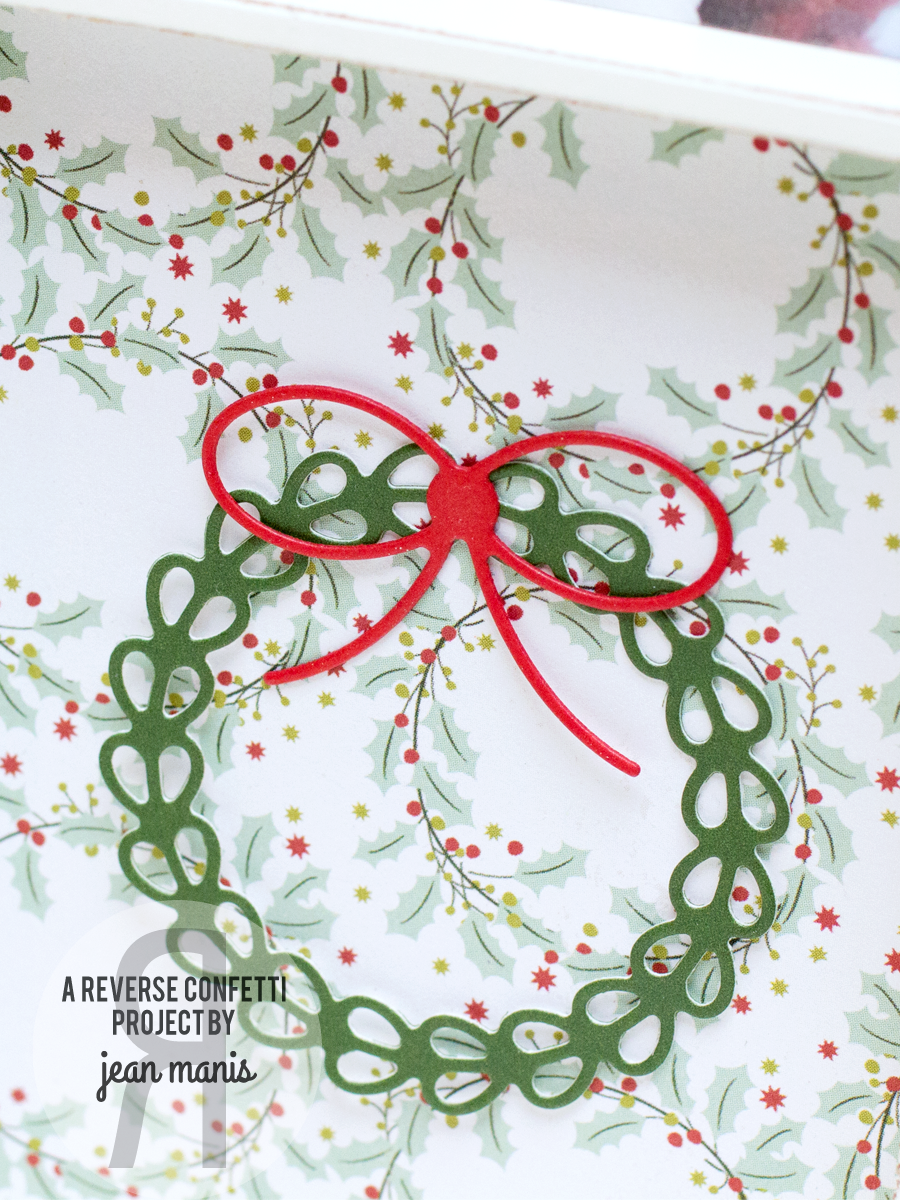
I cut the wreath with the smaller dies in the Wreaths Confetti Cuts set and added a bow from the Tagged Tote Confetti Cuts set.

MemoryKeepingWreath

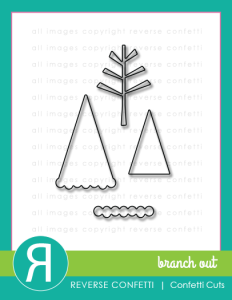
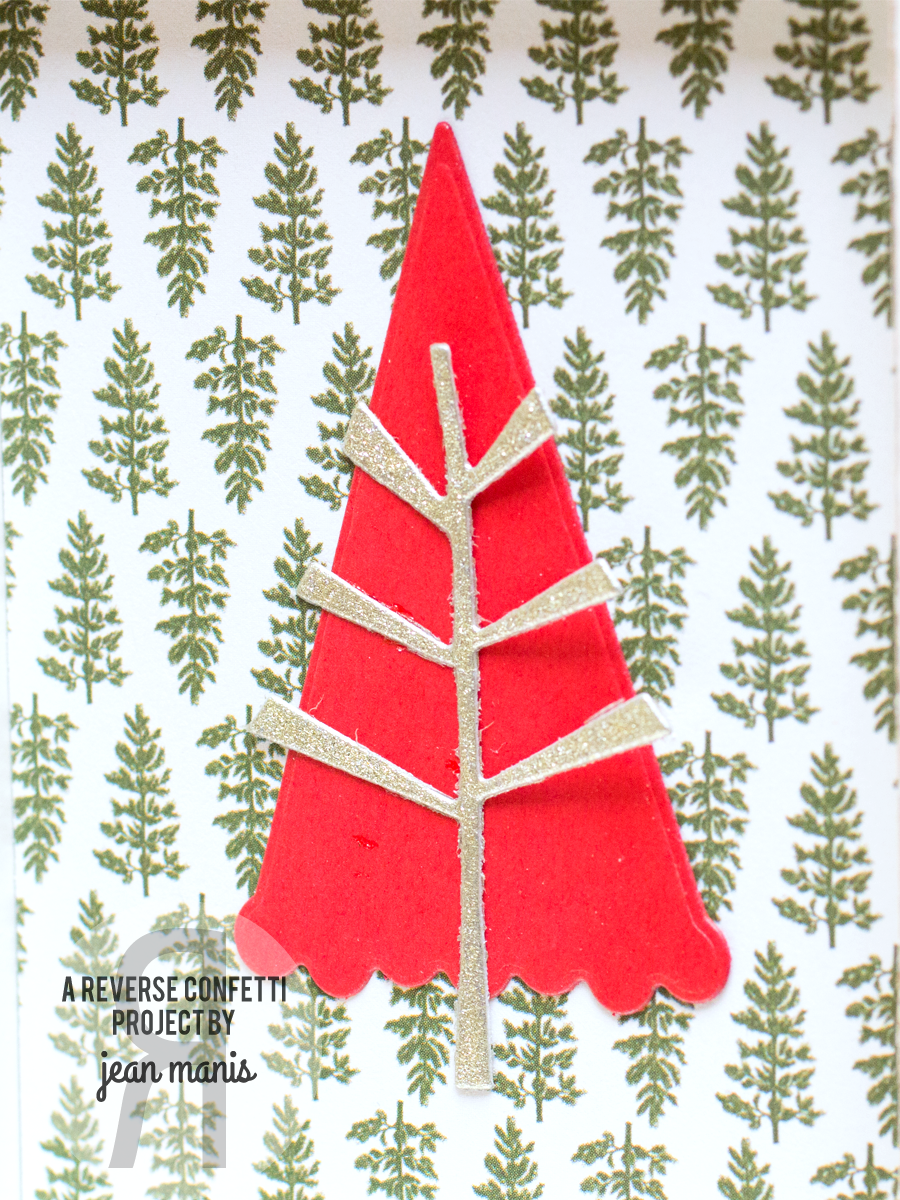
I cut the larger tree from the Branch Out Confetti Cuts set and added branches cut from gold glitter paper.
MemoryKeepingCloseupTree

There’s lots of inspiration being shared today by the design team, check it out!

Reverse Confetti Blog
Susan Liles
Heather Pulvirenti
Jean Manis
Amy Tsuruta
Amy Sheffer
Lisa Henke
Leigh Penner
Sarah Gough
Stacey Schafer

CircleGarlandProductGraphic

Reverse Confetti August Creative Blog Hop

Welcome! This month’s creative hop focusing on Summer Fun started on the Reverse Confetti blog. You should have made it here from Lisa’s blog. It would be worth your while to start at the beginning of the hop, so you don’t miss a thing. We have tons of inspiration for you!

I’m sharing two summer vacation-themed scrapbook layouts for which I created embellishments using Reverse Confetti stamps and dies. My first layout (letter-sized) chronicles a family vacation on Martha’s Vineyard.

I stamped the journaling with one of the word/phrases from Here’s the Story. I heat-embossed another Here’s the Story phrase on black cardstock and cut it with the banner die in the Tag Me Confetti Cuts set. Its anchored with a die cut from the Documented Confetti Cuts set.

To the right-hand corner, I added a banner cut with the Double Banner Garland Confetti Cuts. The sentiment from Posted Note Sentiments was heat-embossed on red cardstock and cut with the circle die in the Donut You Know Confetti Cuts set. To finish, I added stars cut with the You Are A Star Confetti Cuts set and a red border cut with the Double Edge Scallop Border Confetti Cuts.

The focus of my second layout (letter-sized) is a family vacation on Maui. The Pineapples Aplenty stamp set, with its coordinating Confetti Cuts set, worked perfectly for a visual accent with the journaling.

I stamped the journaling with one of the word/phrases from Here’s the Story. I heat-embossed another Here’s the Story phrase on black cardstock and cut it with the banner die in the Tag Me Confetti Cuts set. Its anchored with a die cut from the Documented Confetti Cuts set.

The sentiment from Posted Note Sentiments was heat-embossed and cut with the circle die in the Donut You Know Confetti Cuts set. To finish I added stars cut with the You Are A Star Confetti Cuts set.

I hope you’ve enjoyed hopping with us today. Comment at each stop along the way for a chance to win a $15 gift certificate. Comments close Monday at noon Central Time; the winner will be announced on Tuesday. Now it’s time to hop on over to Kathy’s blog. If you get lost along the way, you can find the hop order and list of all the participating designers over on the Reverse Confetti blog.

Reverse Confetti – Holiday Scrapbook Layout

Today, I’m sharing a layout for which I created my own embellishments with Reverse Confetti stamps and Confetti Cuts.

Over the Thanksgiving holiday, our family took a quick excursion to Victoria, BC. We’d traveled there twelve years ago at Thanksgiving time and had been wanting to return for quite a while. My husband and son were good sports and let me snap some photos for an 8 1/2″ x 11″ layout.

HolidayLayout

I used a sketch from Pagemaps for my layout. The free monthly inspiration and sketches at Pagemaps are fantastic!

dec14_8x11a_sm

I cut the white snowflakes with the Let It Snow Confetti Cuts and added them to patterned paper circles. I cut the evergreen and limbs with the Branch Out Confetti Cuts, also adding those to a patterned paper circle. I cut the Circle Garland three times, out of red patterned paper for some color. I cut the sentiment flag with the Tag Me banner and heat embossed it with one of the Seasonal Sentiments.

By using a coordinated set of patterned paper (Pebbles “Home for Christmas” collection) with the Reverse Confetti products, this layout came together quite quickly!

Holiday Pocket Scrapbooking with Reverse Confetti

Today, I’m sharing Pocket Scrapbooking (Project Life) pages created with Reverse Confetti stamps and Confetti Cuts. I used Reverse Confetti stamps and die cuts to create 3″ x 4″ cards and to embellish some of the photos.

For memory keeping, my goal is to complete the project. For me, that means limiting embellishments and picking a color scheme that’s easy to mix and match. I’m using Simple Stories SN@P! photo protector inserts, along with patterned papers from Echo Park’s Christmas Cheer and glitter cardstock. I don’t create daily pages for the month of December, but instead I document key events during the holiday season.

Let’s take a look at the pages.

For the top card, I combined a heat-embossed sentiment from Tinsel ‘N Trim, cut with the Tag Me banner, with a Mini Circle Garland cut from glitter cardstock. I added a glitter star cut with Oh My Stars to the Santa photo and a sentiment from Tinsel ‘N Trim, cut with one of the dies in Class Act, to the lower photo.

PLPage2

For the top card, I combined a heat-embossed sentiment from Tinsel ‘N Trim, cut with one of the dies in Class Act, to a journaling card. The lower-left card includes a heat-embossed sentiment from Seasonal Sentiments, cut with another die in the Class Act set, with Circle Garlands cut from glitter paper. I added a glitter snowflake to the lower-right photo, cut with one of the Let It Snow dies.

PLPage3

The journaling card includes a sentiment from Tinsel ‘N Trim and a glitter star garland, cut with Oh My Stars. For the large photo, I stamped the date circle from Tinsel ‘N Trim and cut it with a circle die.

PLPage4

The upper-right card includes a heat-embossed sentiment from Seasonal Sentiments, cut with a die in the Class Act set, with glitter snowflakes cut with one of the Let It Snow dies. The lower-left card combines a heat-embossed sentiment from Sweet Thing, cut with a die in the Class Act set, with glitter stars cut with Oh My Stars.

Penny Black Pocket Treasures

Today, I’m sharing pocket page scrapbooking layouts created with the Penny Black Pocket Treasures collection. These layouts capture memories from early August of our golden retriever, Ginger, who passed away last Friday. She was diagnosed with nasal cancer at Christmas, and every day of the past eight months has been a gift. I can’t begin to express how happy I am that we have these photos celebrating some of our final days with her. These pages will go in an album with the pages I created last month, which were featured in this Scrapbook and Cards Today post. (Scroll to the end of the Scrapbook and Cards Today post for the 6″ x 8″ pocket pages of Ginger.)

AugustScrapbooking1I used the 51-007 Tagged die to create a large journaling spot. I cut the number frame from 51-056 Picture This and paired it with a journaling card. Another journaling card is stamped with a sentiment and ledger lines from 30-247 Life’s Journals and cut with one of the dies in 51-053 A Pocket Full set.

AugustScrapbooking2

I die cut the “love” from 51-052 Texting. I cut the library pocket from 51-053 A Pocket Full. Right now, the pocket holds a ferry ticket, but in time I plan to add a page of handwritten journaling with special memories of Ginger. I stamped the conversation bubble with a stamp from the 30-244 Let’s Chat set and die cut it with a matching die from the 51-053 A Pocket Full set.