Building a Snow Man – Taylored Expressions Oct 2016 Sneak Peeks

Today it’s all about snow! Yes, it’s only October, but it’s not too soon to start holiday-themed cards! Welcome to Day 1 of the Taylored Expressions October Sneak Peeks. This release is packed with supplies guaranteed to put you in the holiday mood. I’m sharing two cards and a giveaway opportunity (you’ll have to scroll to the end to learn more about that!). Mark your calendar – October products will be released Thursday, October 6 @ 7 AM PST!

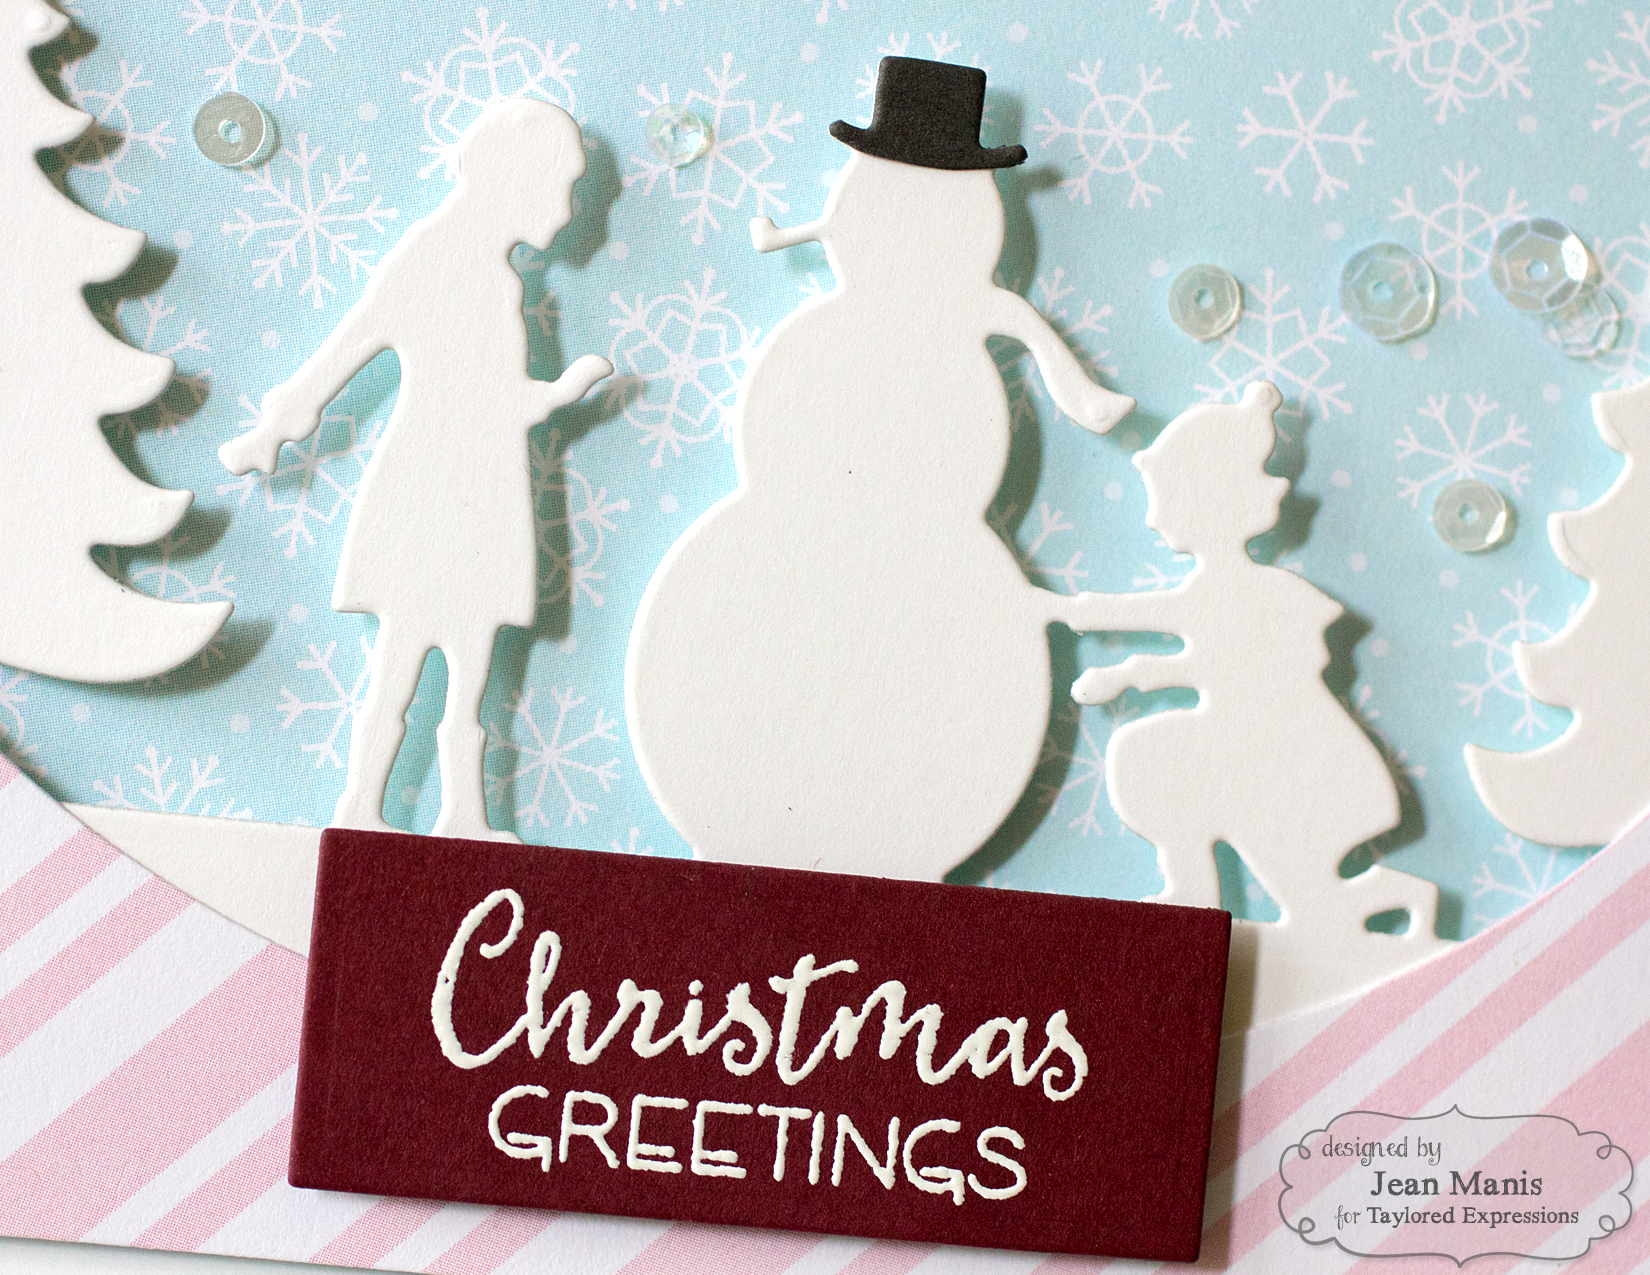
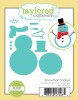
I first want to show you a winter-themed scene created with the Do You Wanna Build a Snowman? die.

Taylored Expressions October 2016 Release

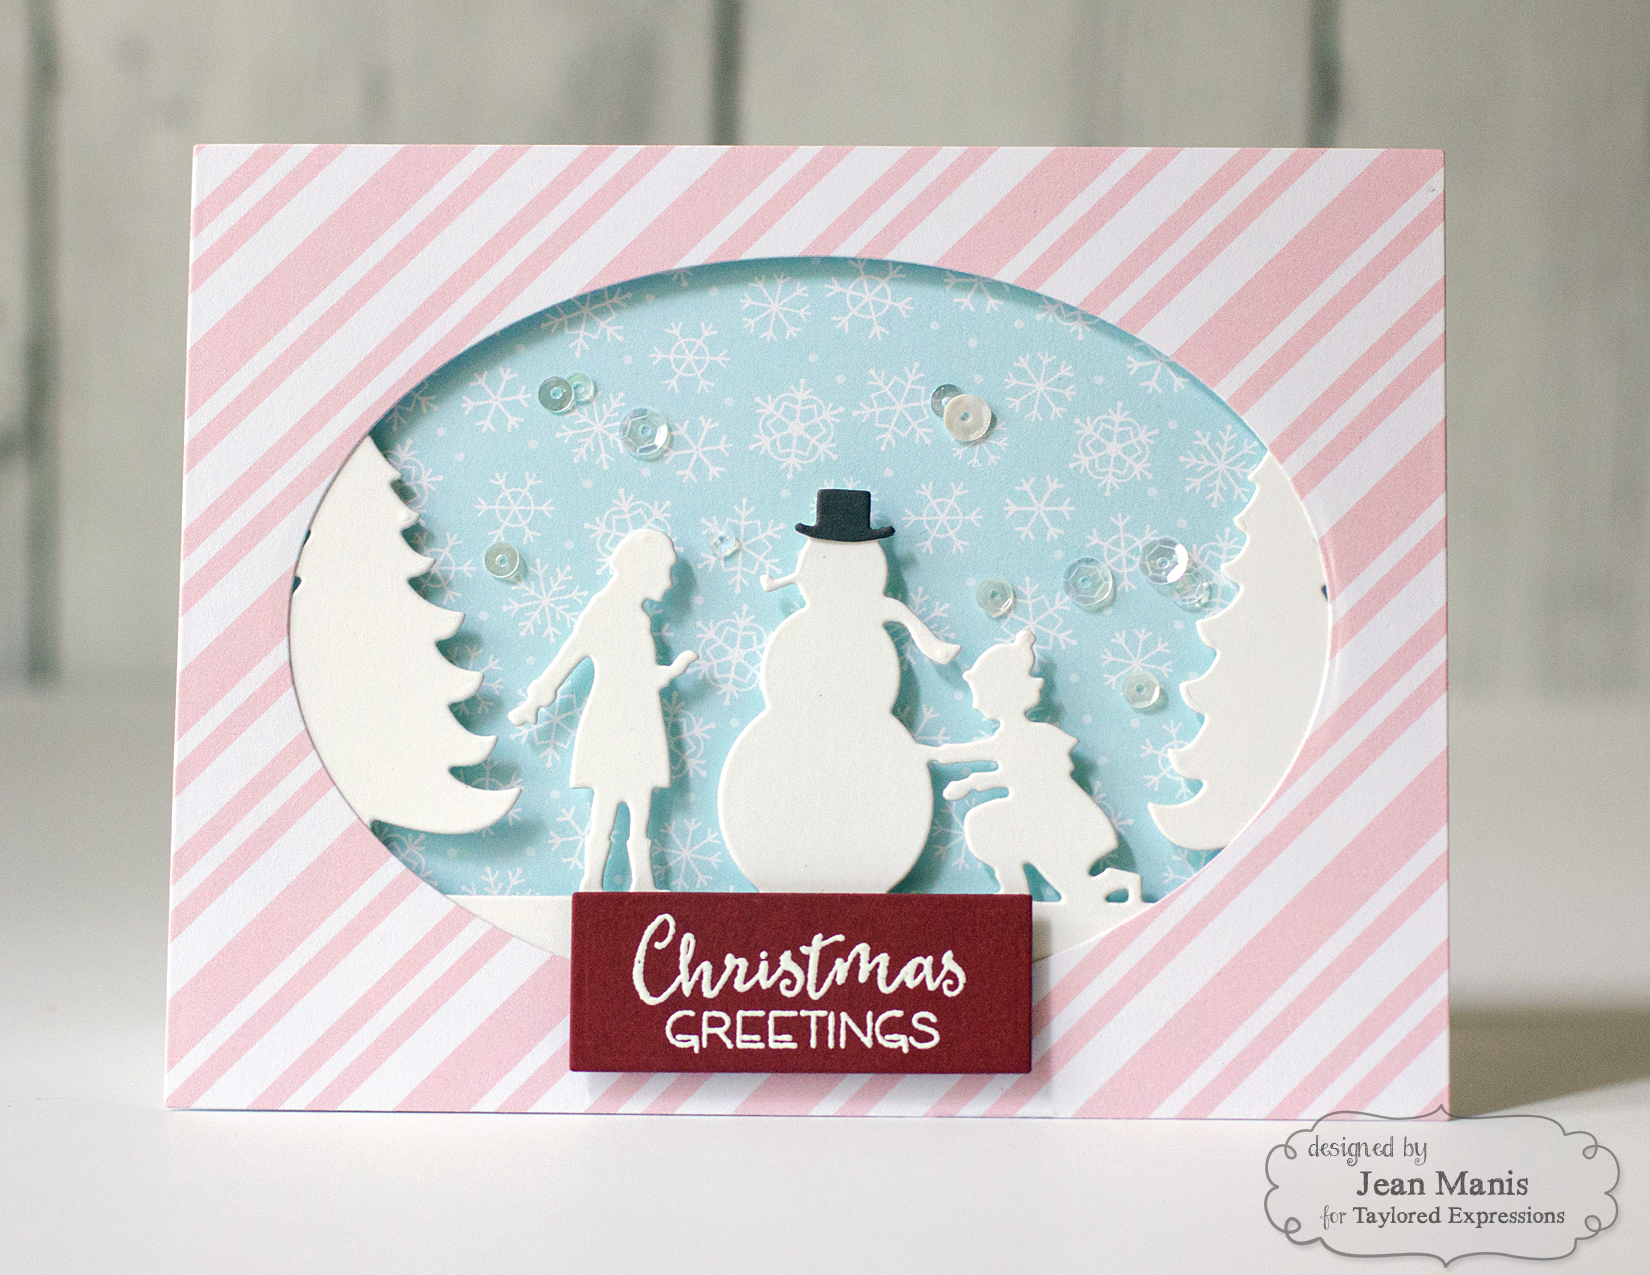
I placed the Do You Wanna Build a Snowmansilhouette into an oval frame, cut with a die in the Stitched Oval Stacklets set from paper in the TE 6×6 Paper Pack – Playful Patterns – Holiday. The patterned paper background is from the same paper pack. For visual interest, I adhered TE Sequins – Snow Flurries to the background and added a top hat for the snowman, (cut with the Do You Wanna Build a Snowmansilhouette and trimmed). The heat-embossed sentiment is from the Ornamental set. This isn’t my usual color palette, but there is something about these colors that feels nostalgic to me, which I feel suits the silhouette scene.

Taylored Expressions October 2016 Release

Supplies (items in bold will be released October 6):

My second project showcases the Snowman Shaker die set. This guy is such a ham!

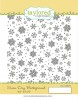
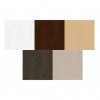
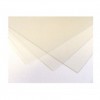
I created the background with the Snow Day Background stamped with TE Premium White Pigment Ink. I cut the snowman from both cardstock (it is a metallic white included in the TE Premium Cardstock – Metallic Neutrals set) and foam, sandwiching a piece of Clear Plastic Sheets between the cardstock and foam into which I put the TE Sequins – Snow Flurries. To finish off the card, I added a heat-embossed sentiment from Ornamental.


Supplies (items in bold will be released October 6):

About that giveaway I mentioned earlier – I’m giving away 100 Taylored Expressions Crafty Points which can be applied to your next purchase from the TE Web Store! To enter, simply leave a comment below telling me: Which do you prefer for your holiday tree decorating – White lights or multi-colored lights? Deadline is 9PM PDT on Wed, October 5, 2016.
BTW, if you aren’t already a Crafty Points Member, it’s free and easy to join. Just visit THIS PAGE to start earning and saving today!

But wait…there’s more! Taylored Expressions is celebrating Release Week with some fabulous giveaways! Visit the TE Blog to answer Taylor’s Question of the Day for a chance to win a prize from the latest release! And it just so happens that Taylor is asking the same question that I did!

TEReleaseWeekQuestion

Thanks for visiting! Head on over to the TE Blog to see more projects and product information, as well as a complete list of participating designers!

Happy Birthday! TE Share Joy Challenge #40

I’m playing along with Taylored Expressions Share Joy Challenge #40.

TE Share Joy Challenge #40

I used the sketch (rotated 90 degrees) to create a CAS Birthday shaker card.

TE Share Joy Challenge #40

I took my color cues from the patterned paper background (TE 6×6 Paper Pack – Rainbow Brights). I framed the Happy Birthday Banner (which is actually sitting on top of an Acrylic Sheet) with a frame cut with the Stitched Frame Stacklets 1 set. I embellished the scene with the Little Bits – Balloons to which I added strings from the Party Time set.

TE Share Joy Challenge #40

Be sure to head over to the Share Joy Challenge Blog to see more inspiration and to link up your entry!

Supplies:

Shake It Up – Taylored Expressions Birthday Card

Today, I’m sharing a masculine birthday shaker card featuring Taylored Expressions products.

Taylored Expressions Birthday Shaker Card

I made this card with my youngest son (not so young anymore!) in mind, as he has an upcoming birthday. His favorite colors vary, but he likes orange and gray together (and silver), so that’s what I used.

I cut the balloon shapes with the die from the Party Time set out of the orange card base. I also cut the balloon shapes from foam. I adhered an Acrylic Sheet to the back of the orange panel and then attached the foam cut-outs to the acrylic (carefully arranging them behind the panel). I filled the shapes with a combination of sequins from several sets, looking for ones that were white, clear or silver. I also wanted to make sure that I had a variety of sizes. I then backed the foam pieces with cardstock to hold in the sequins.

I adhered the numbers cut from Poppy Seed with the Chunky #’s die set to the acrylic front. To fill out the scene, I added stars and balloon strings cut from Shimmer White cardstock to the panel. I finished the card with a heat-embossed sentiment from the In & Out Birthday set, cut with a Stitched Banner Stacklets die, and a frame cut from silver cardstock (in the Premium Cardstock – Metallic Neutrals pack) with a Frame in Frame Cutting Plate die.

Taylored Expressions Birthday Shaker Card

It’s an understated use of sequins to add a little fun to the card!

Supplies:

TE Sneak Peeks: Let’s Go Wild! + Shake It Up

Welcome to Day 3 of the Taylored Expressions March Sneak Peeks! Today, I’m sharing a child’s birthday card and a “Welcome Baby” shaker card. The March products will be released tomorrow – Thursday, March 3 @ 7 AM PST!

For my first card, I heat-embossed a menagerie from the Hippo Birdy set on patterned paper and cut the animals with the Hippo Birdy Dies that are part of the March release.

Taylored Expressions March 2016 Release

I added a ground to the card with cardstock that I dry-embossed with the Houndstooth embossing folder. I die cut the heat-embossed sentiment with one of the Stitched Banner Stacklets dies.

Taylored Expressions March 2016 Release Supplies (items in bold will be released March 3):

For my second card, I created a “Welcome Baby” card with the Baby Bottle Shaker die.

Taylored Expressions March 2016 Release

The die makes it possible to cut a bottle frame (by cutting two dies at once), as well as the full bottle piece. I cut the frame from cardstock, as well as from foam. From the front of the bottle down to the card base, I have a cardstock frame, a full bottle piece of acrylic, a foam bottle frame and a full bottle cardstock back. I used Hello Happiness sequins (I selected sequins from the collection that fit my card colors). I added the rocking horse and teddy bear, cut with two of the new Little Bits sets (using just the outline of the Little Bits without their details).

Taylored Expressions March 2016 Release

Supplies (items in bold will be released March 3):


Taylored Expressions is celebrating Release Week with some fabulous giveaways! Visit the TE Blog to answer Taylor’s Question of the Day for a chance to win a prize from the latest release!

TEReleaseWeekQuestion

Penny Black Simplicity Triple Love Die – 2 Versions

Today, I’m sharing a two Valentine’s Day cards featuring the Penny Black die 51-187 Triple Love.

The first is CAS (and quick-to-create) card:

Penny Black Simplicity Valentine

I cut the overlay from silver paper with the 51-187 Triple Love die and adhered it to a panel, which I had colored with Distress Ink spray and drops of gold spray mist. I added the panel to a dry-embossed card base. Lots of options here – change the background behind the panel, use a different dry-embossed card base, …

The second card is an inlaid shaker card:

Penny Black Triple Love Shaker Card

I created the background with three strips of pink cardstock from which I cut the Triple Love in the center. I cut the Triple Love piece again from white cardstock and inlaid it into the card panel. I backed the overlay with acetate. I used foam tape (backed with white cardstock) to create a chamber for the sequins. The panel was then adhered to a square card base with foam adhesive.

Happy Valentine’s Day!