Spellbinders | April 2023 Quick & Easy Card Kit

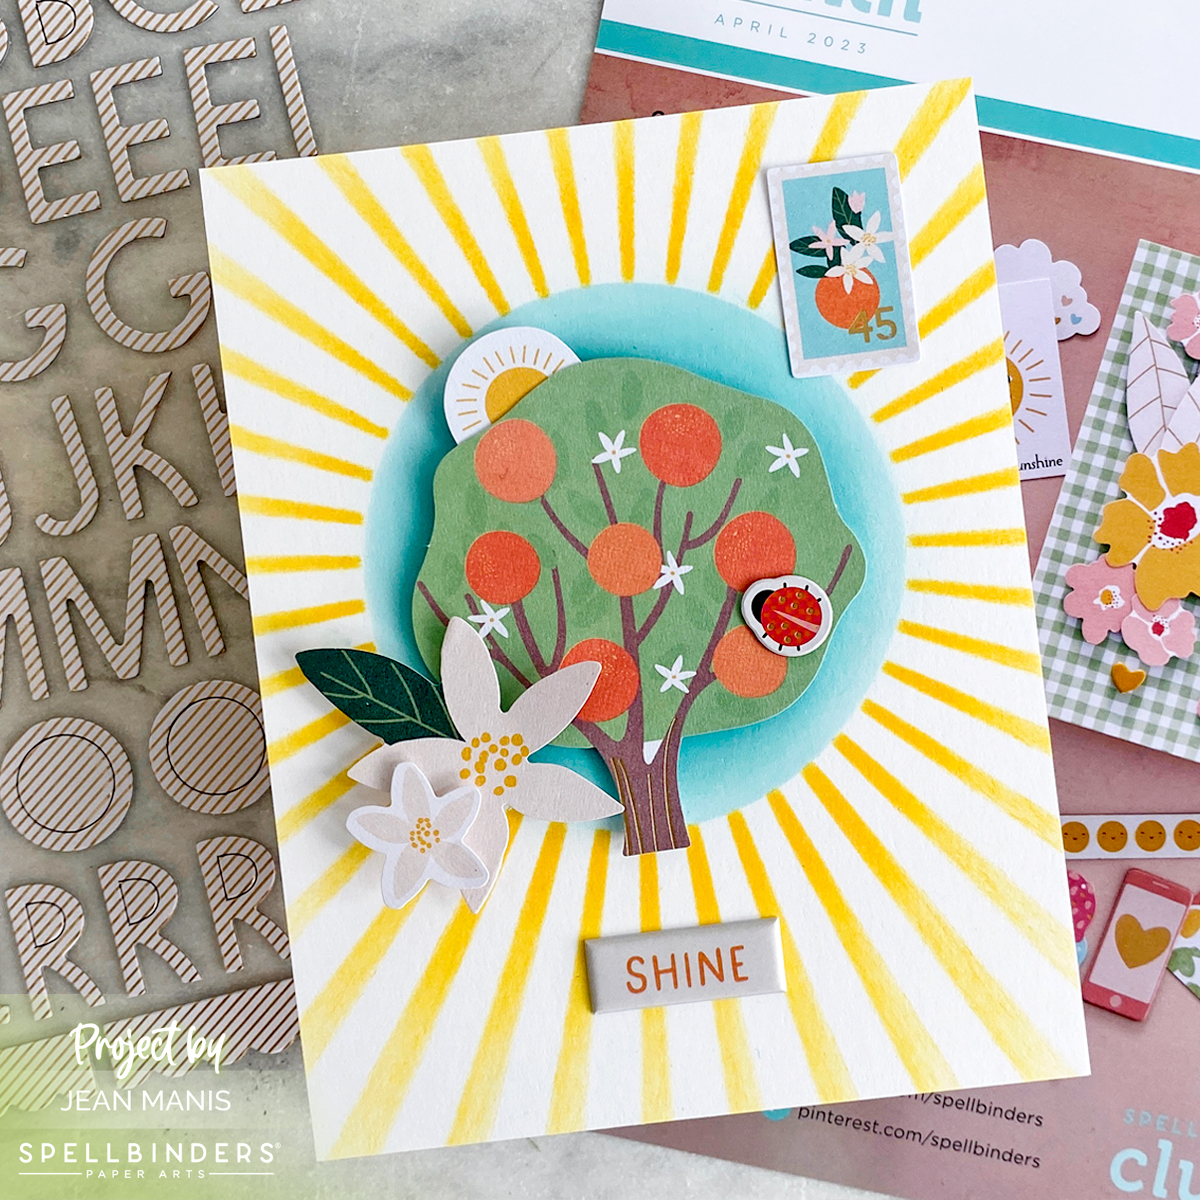
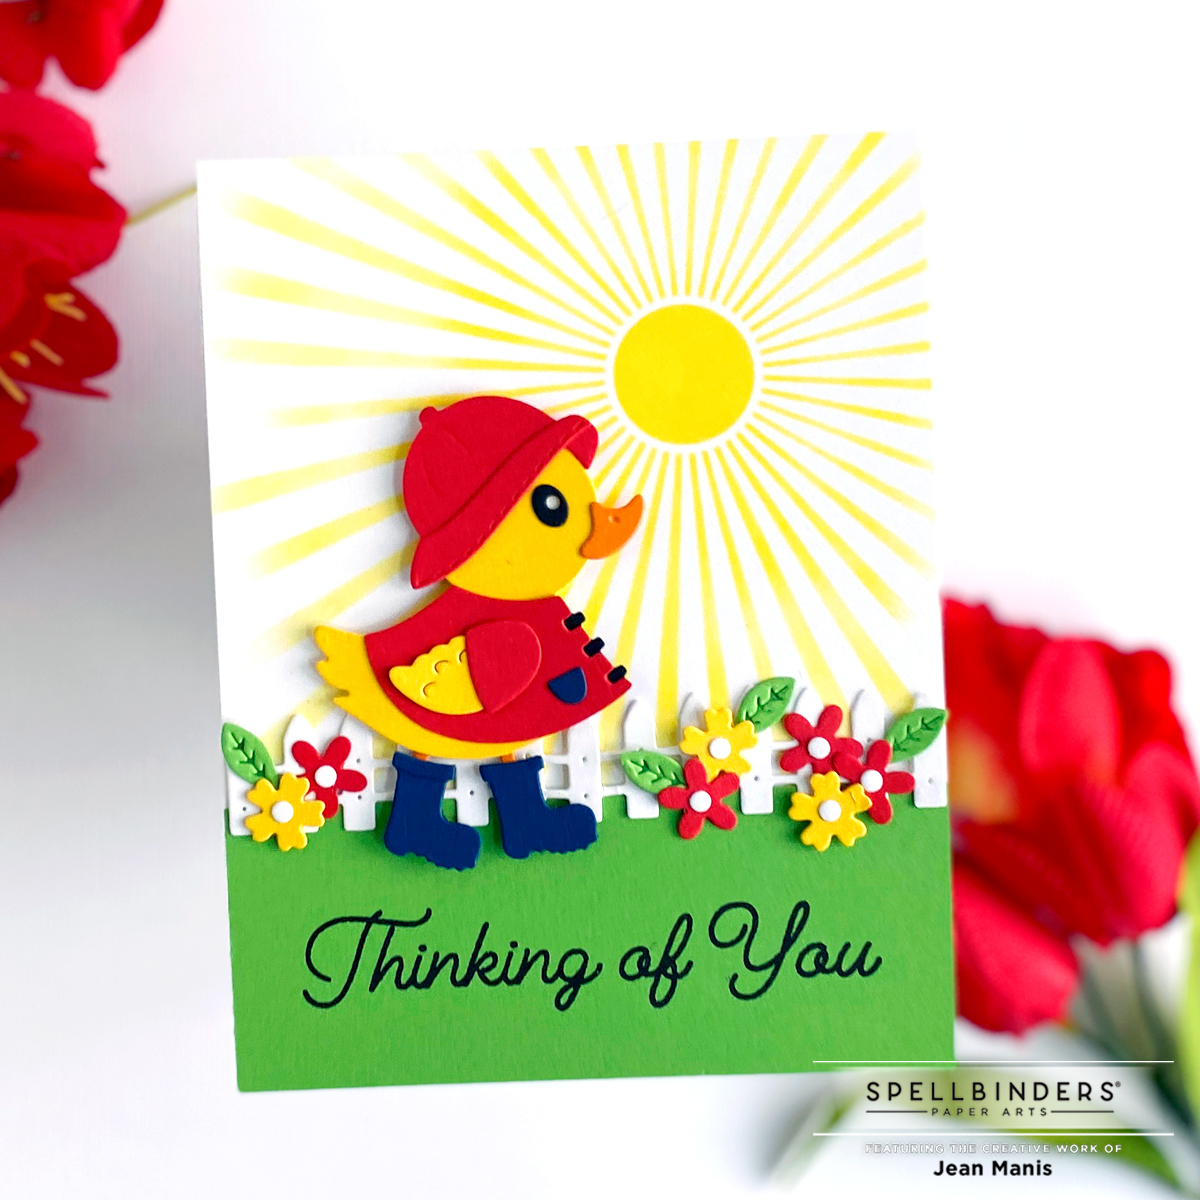
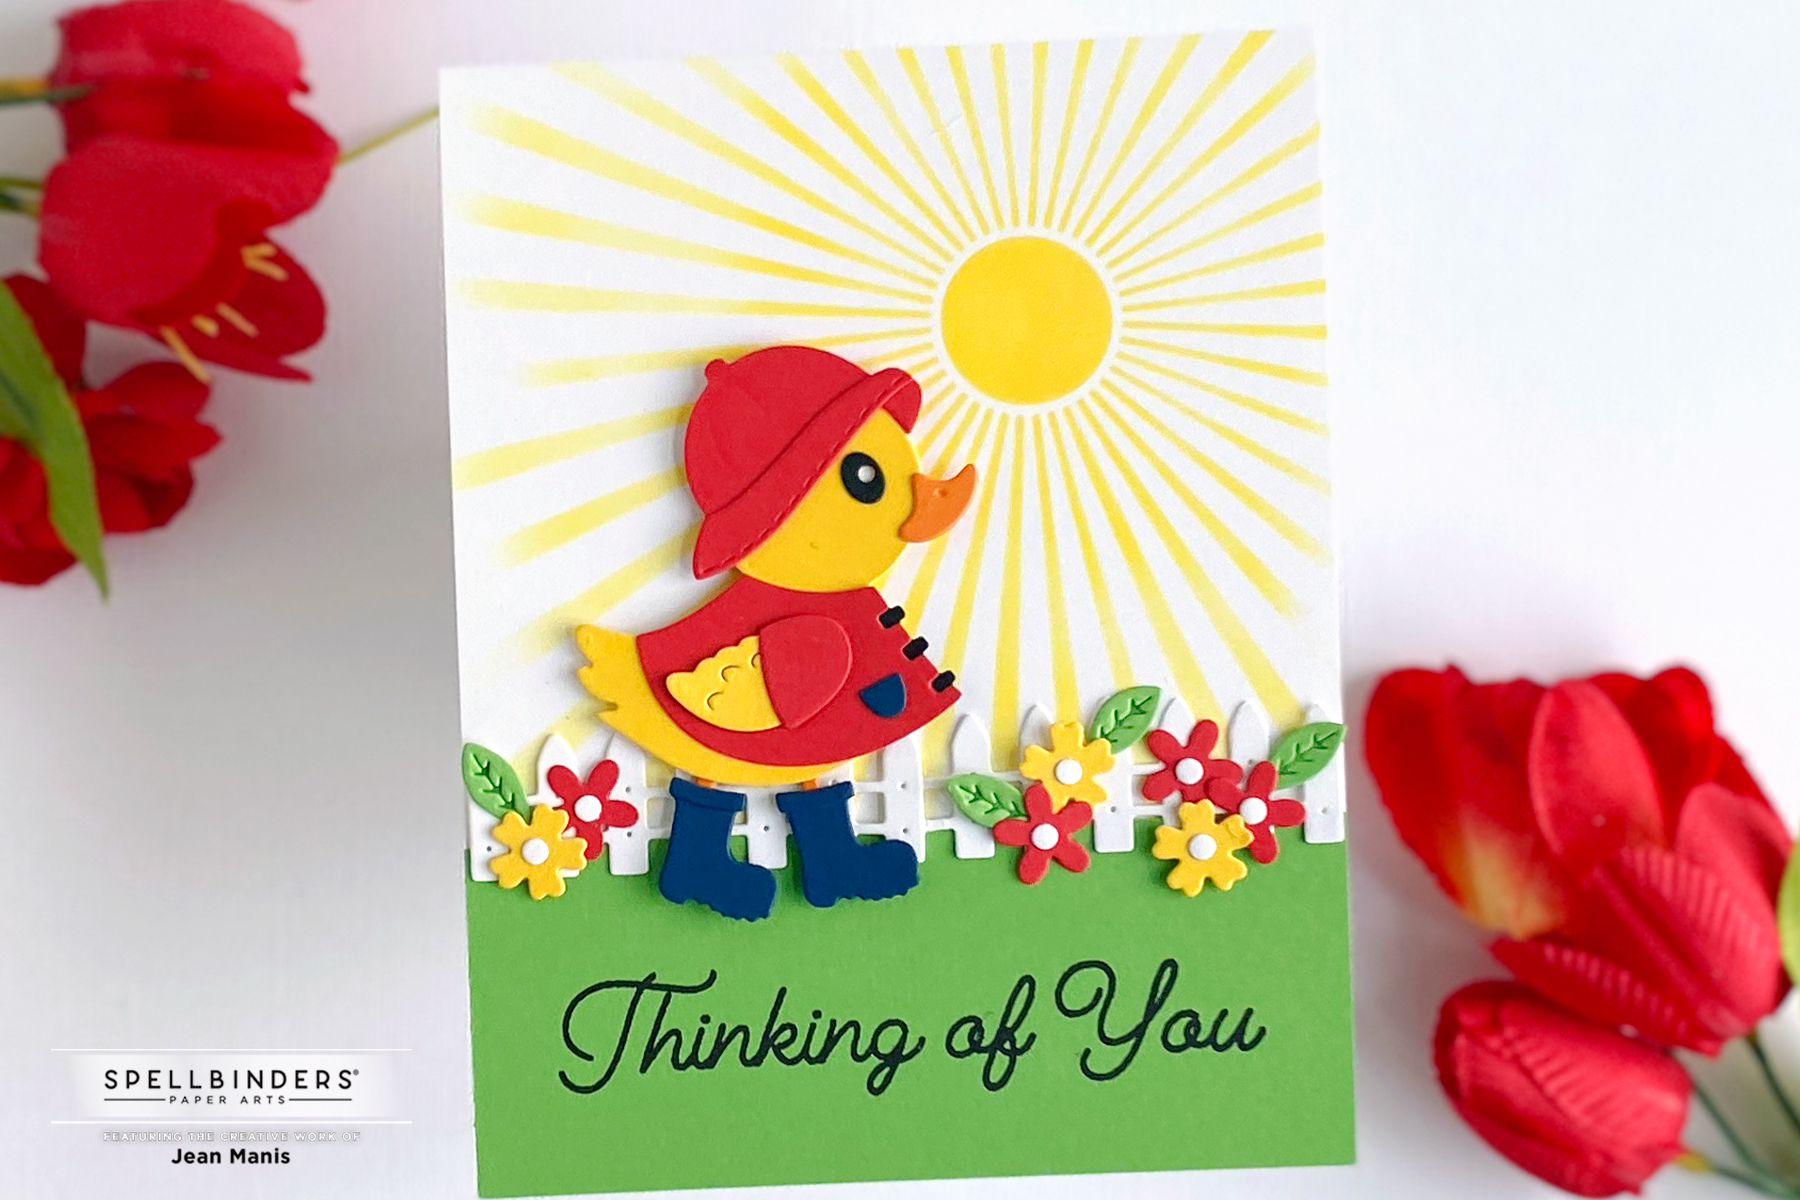
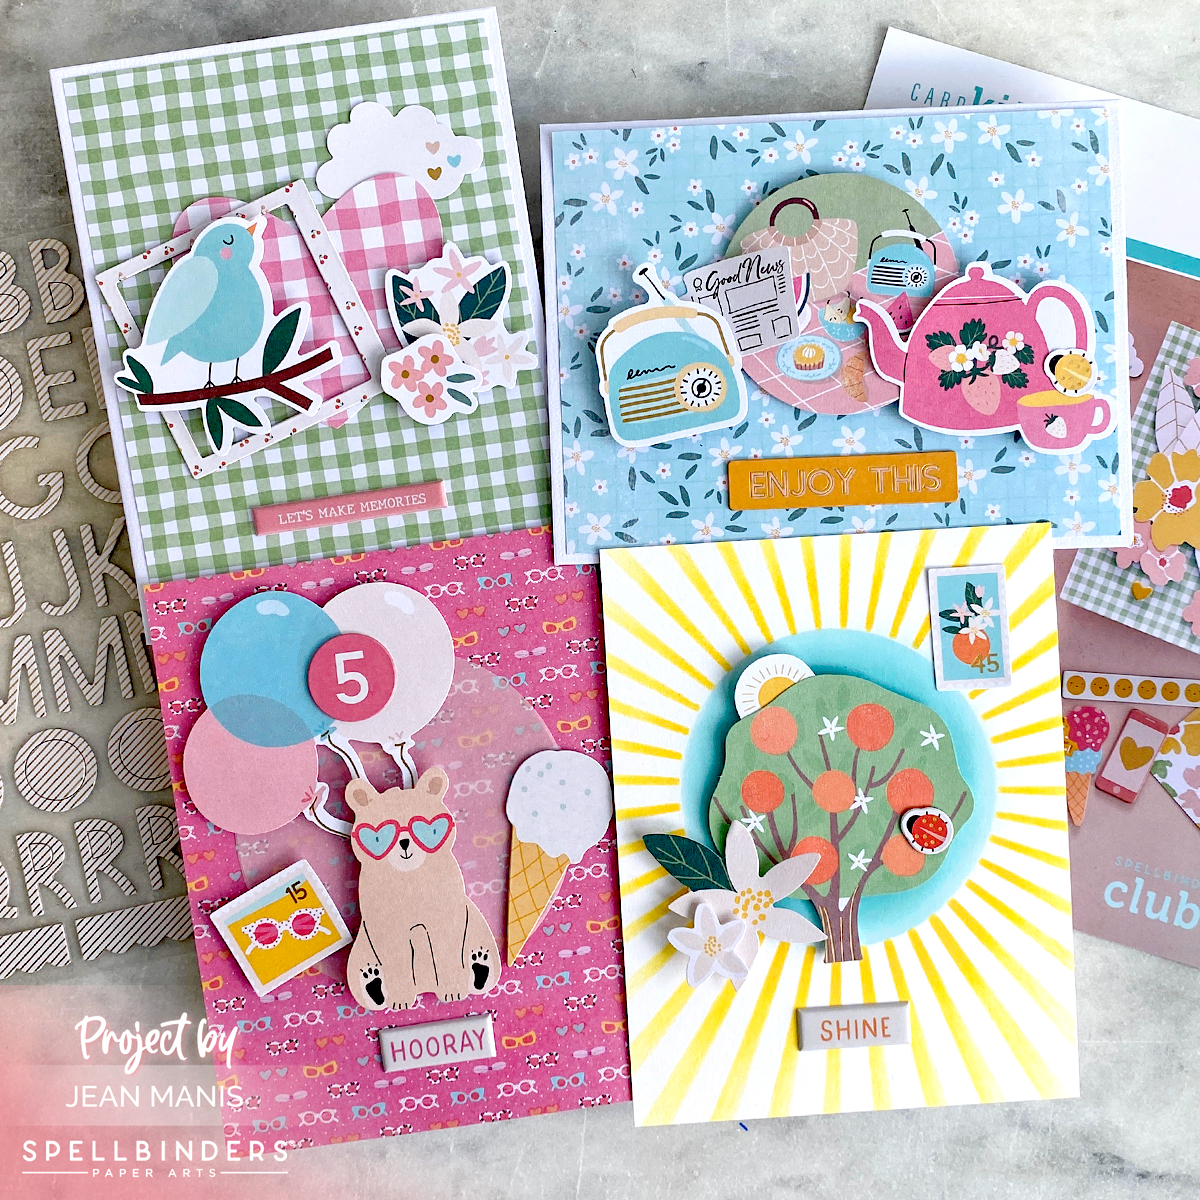
Hello! I am sharing four cards created with the Spellbinders April 2023 Quick & Easy Card Kit of the Month.
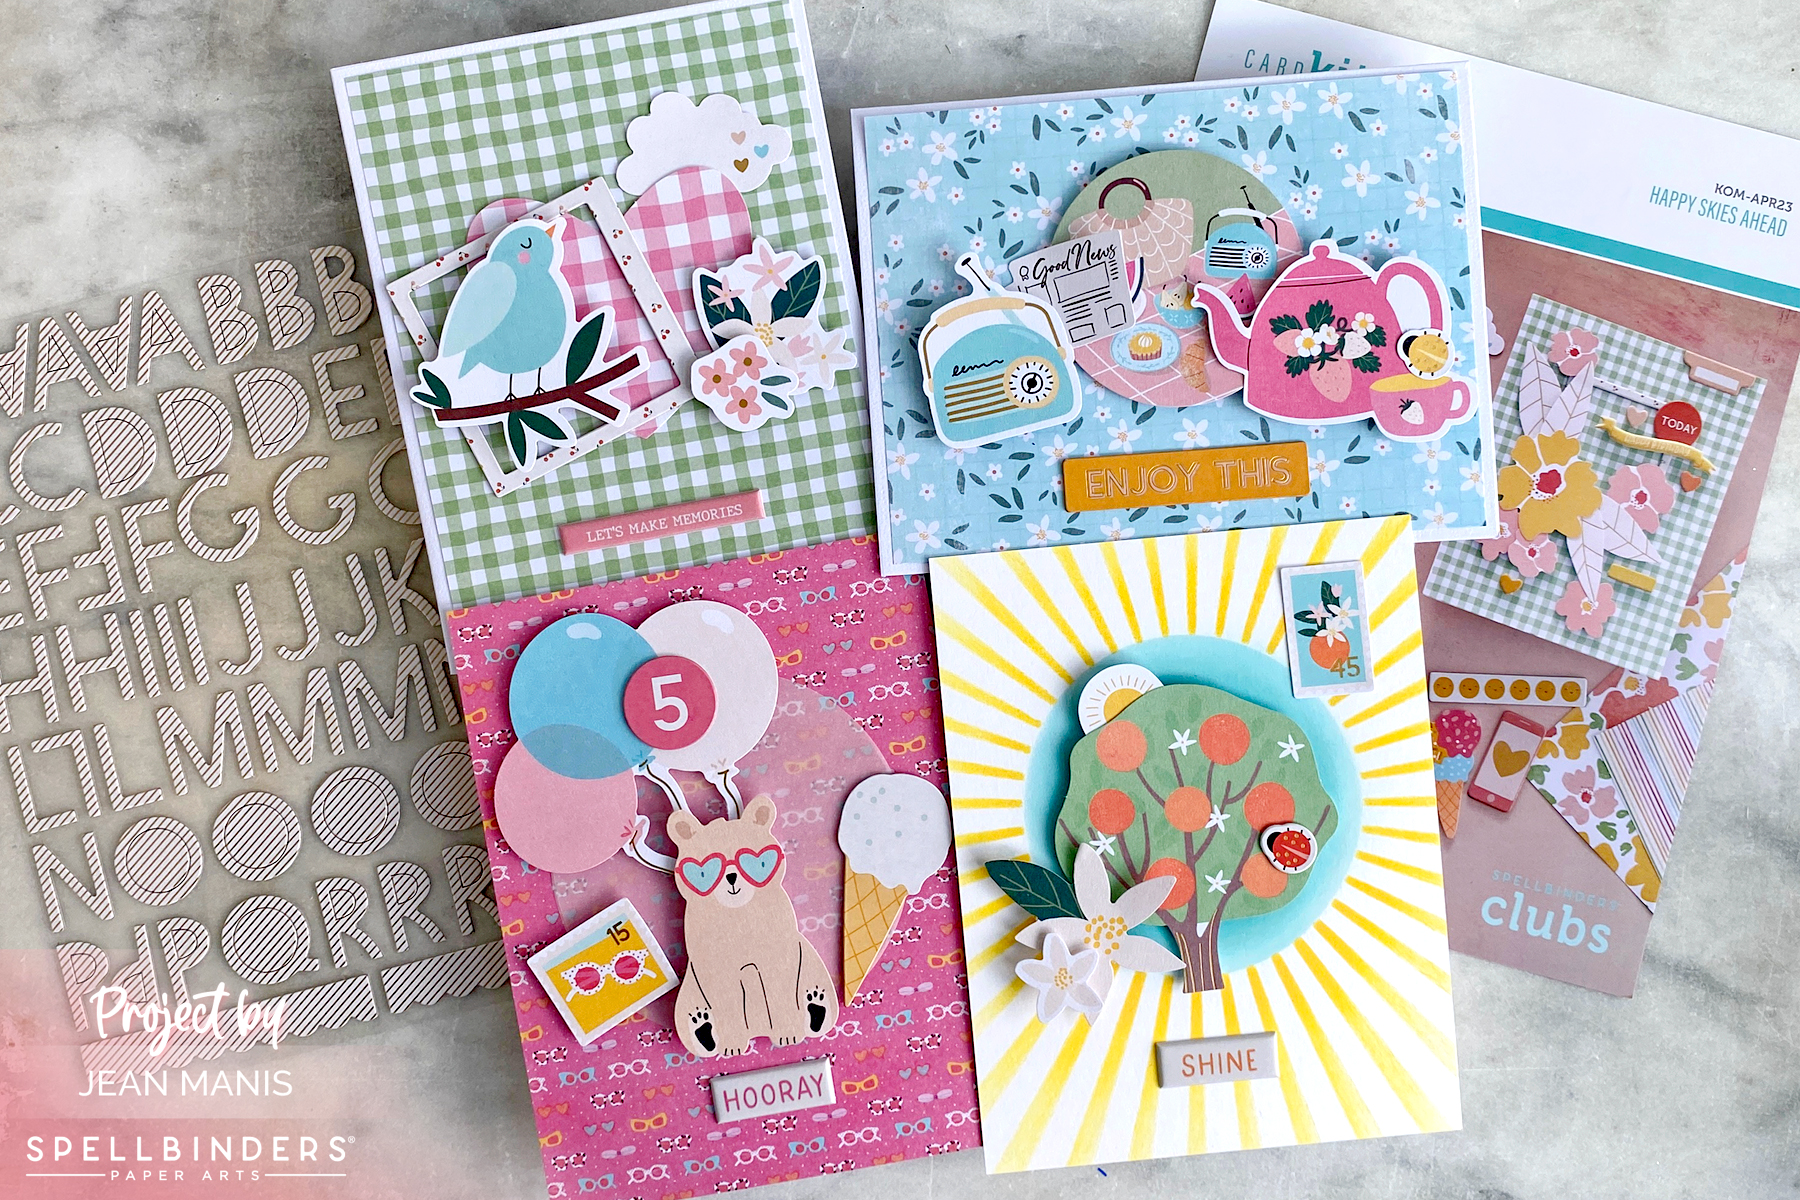
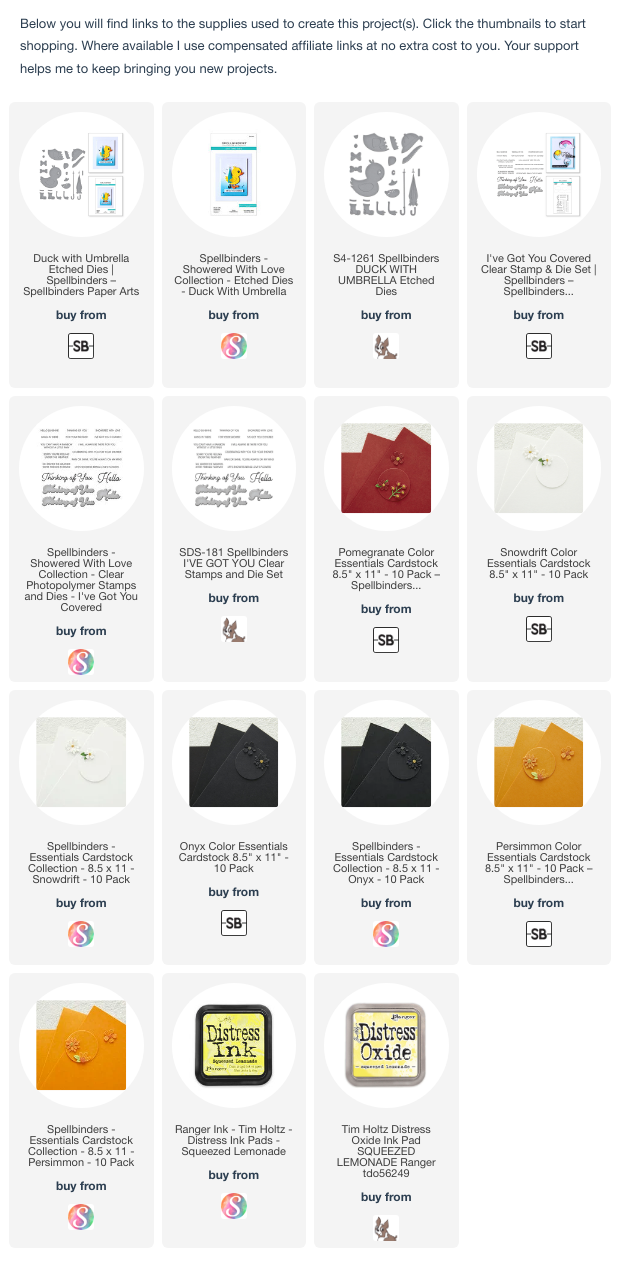
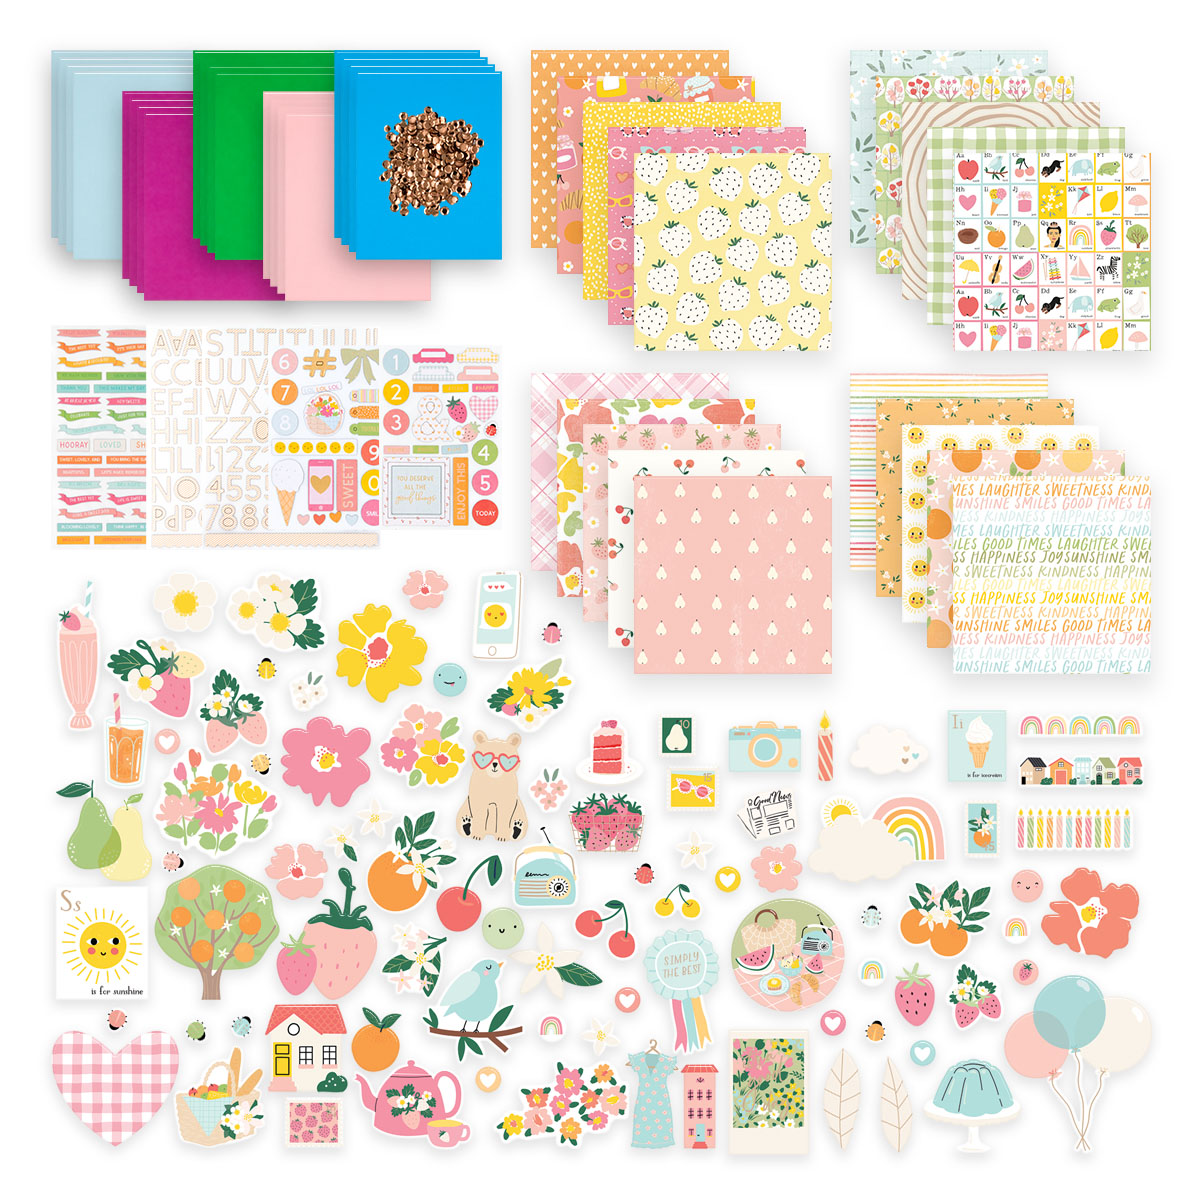
Spellbinders | April 2023 Quick & Easy Card Kit

The Happy Skies Ahead” kit includes 6×6 patterned paper, die cut shapes, sticker sentiments, embellishments, card bases, sequins, and more!

Spellbinders | April 2023 Quick & Easy Card Kit

Tips for how to create cards with the kit:

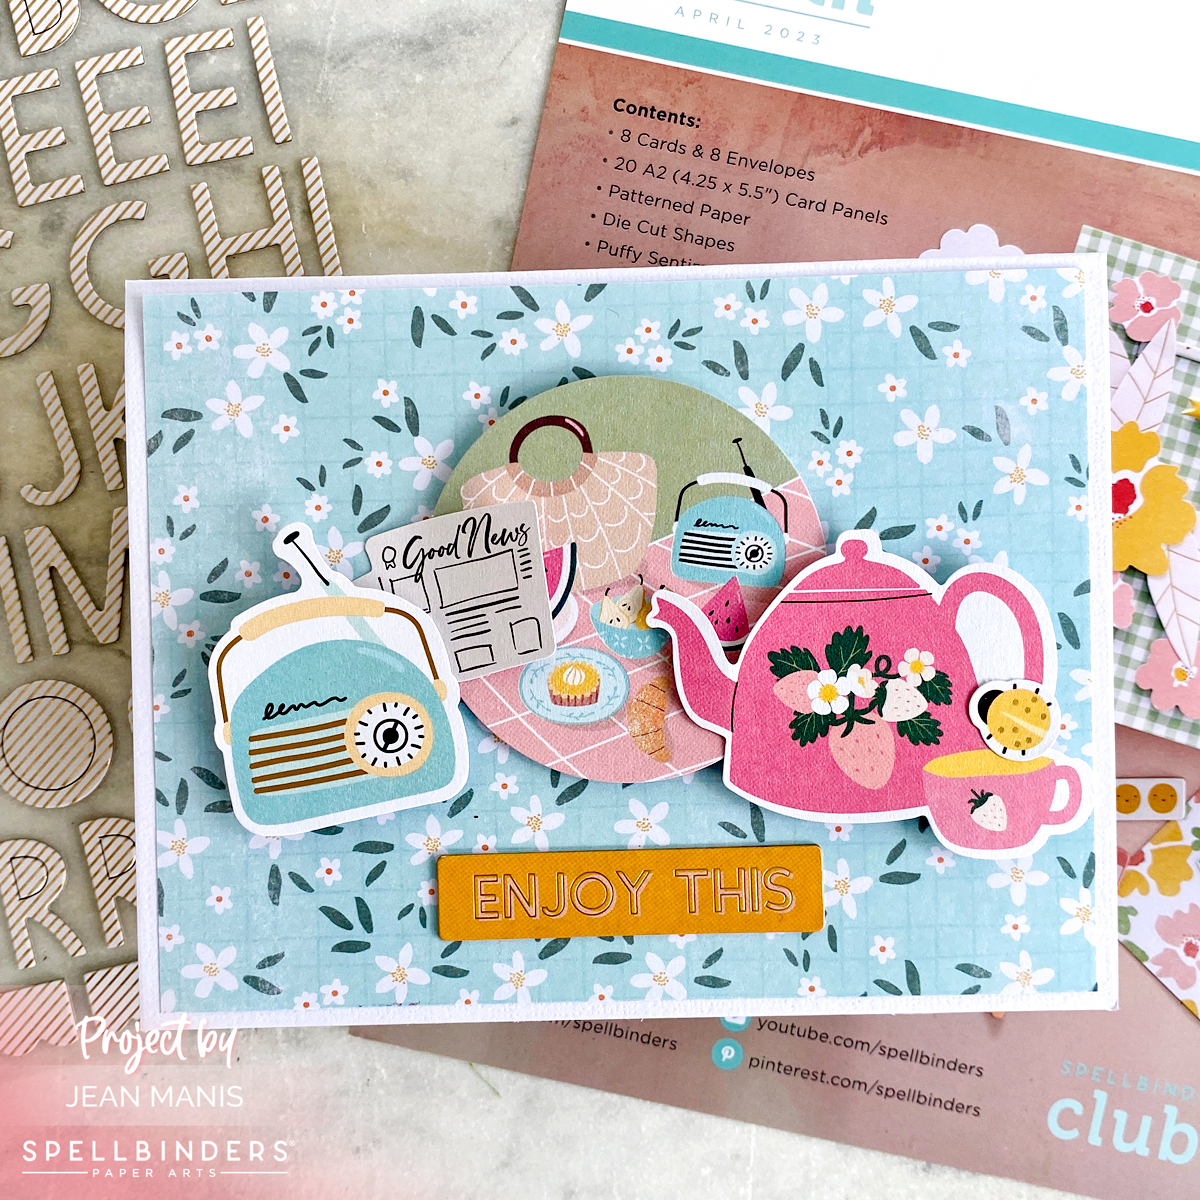
Cut patterned paper with largest Essential Rectangles die and add to a card base, included in the kit.

Spellbinders | April 2023 Quick & Easy Card Kit

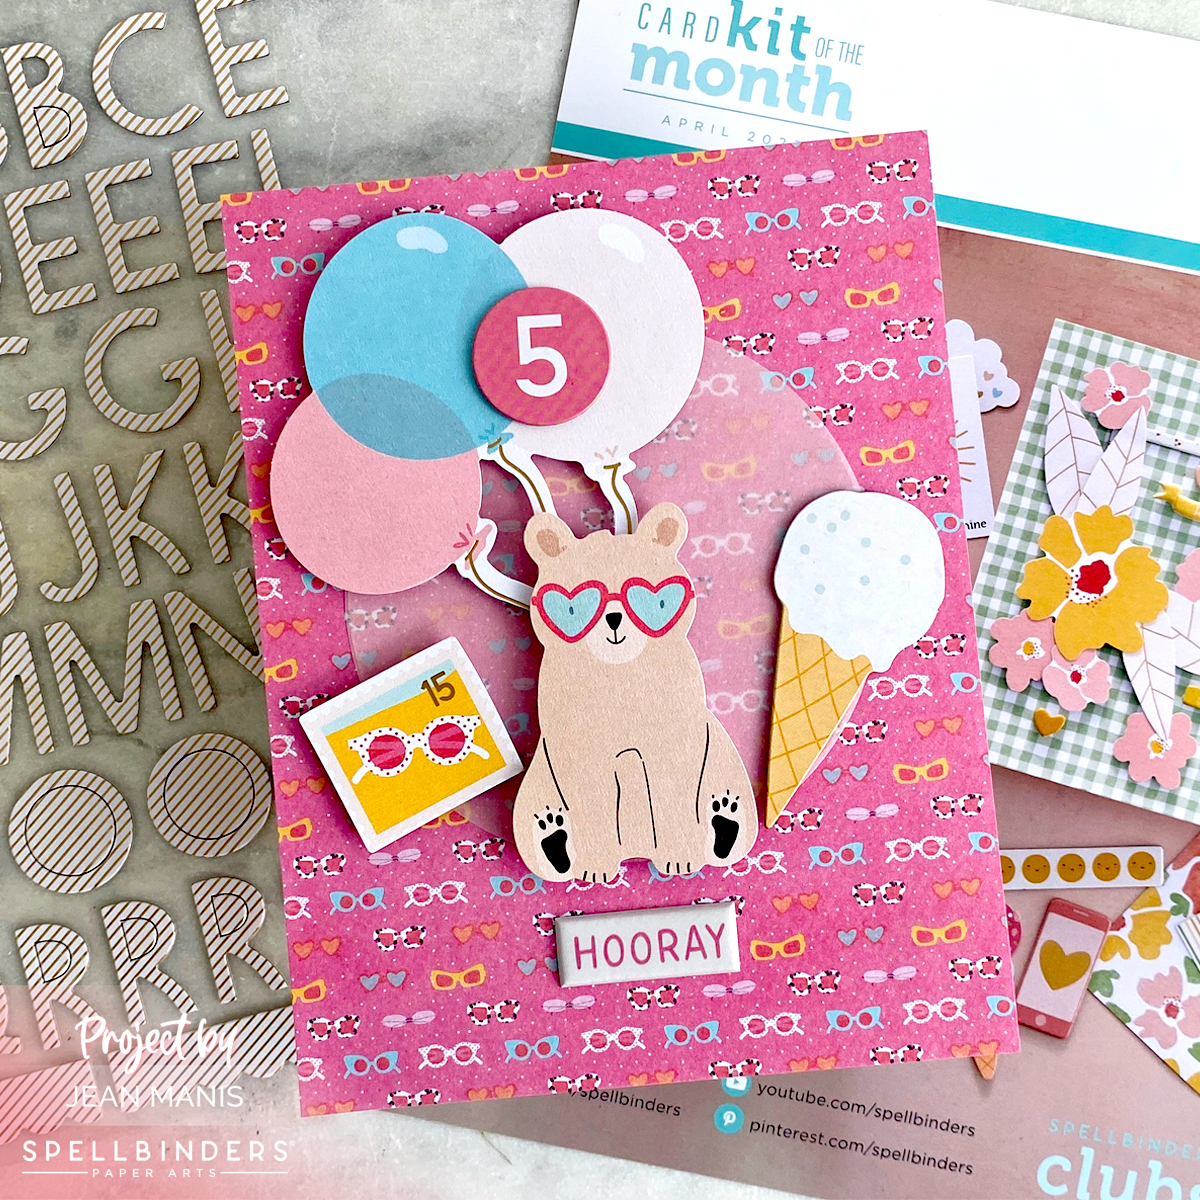
Add elements to card using foam adhesive to create depth.

Mix chipboard and die cut shapes for variety.

Spellbinders | April 2023 Quick & Easy Card Kit

Quiet patterned paper with vellum, as well as ground the focal image, by adding a circle cut from vellum with a die in the Everlasting Circles set.

Spellbinders | April 2023 Quick & Easy Card Kit

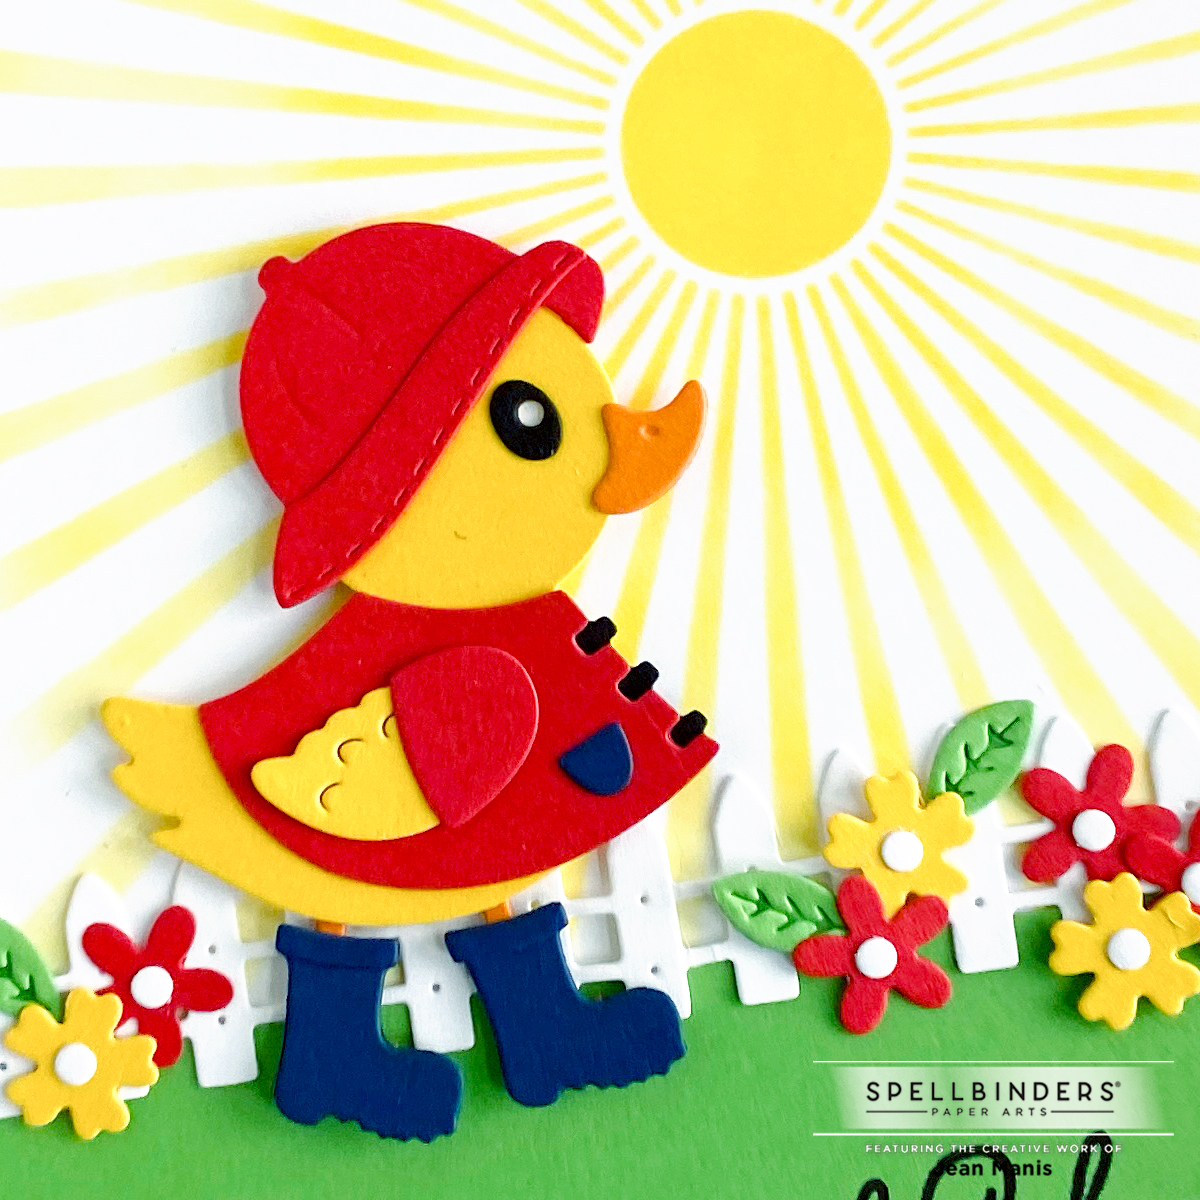
Use existing supplies such as the Sun Burst stencil to create a background.

Spellbinders | April 2023 Quick & Easy Card Kit


Spellbinders | Thinking of You

Hello! Today I am sharing another card showcasing the adorable Spellbinders Duck with Umbrella die set (this time without an umbrella). See my previous card using the set here.

Spellbinders | Thinking of You

  • Create background by inking Squeezed Lemonade ink through the Sun Burst stencil on Snowdrift cardstock.
  • Stamp I’ve Got You Covered sentiment in black ink on green cardstock.
  • Trim stenciled sun and sentiment panels for A2-size background. Add to card base.
  • Cut fence from Snowdrift cardstock with die in the Build a Spring Birdhouse set. Add to background.
  • Cut duck and clothing from cardstock; assemble. Add to scene with foam adhesive.
  • Embellish scene with flowers cut with dies in the Build a Spring Birdhouse set.

Spellbinders | Thinking of You


Spellbinders | Advent Calendar Day 24 + Clearance Sale

Hello! Today, I am sharing a Christmas card created with the Spellbinders Crafty Advent Calendar Day 24 surprise – a pickup truck with presents. Today is the final window on the calendar. Check out the Spellbinders blog for more inspiration. Scroll down for information about the Christmas Clearance Sale that runs until 12/26/2022 Midnight MST.

Spellbinders | Advent Calendar Day 24

Merry Christmas!

Spellbinders | Advent Calendar Day 24

Spellbinders | Christmas Clearance Sale


Lawn Fawn | Welcome Winter

Hello and happy winter (for those in the Northern Hemisphere)! We have snow on the ground and cold temps here in the Pacific Northwest. I am sharing a winter-themed card featuring a combination of Lawn Fawn products – dies, stencil, and stamp set.

Lawn Fawn | Welcome Winter

  • Apply stencil paste through the Snowy Sky stencil on light-blue cardstock, sprinkle on Rock Candy Glitter, and set aside to dry. Once dry, add to card base.
  • Cut Snow Flurries Backdrop from white cardstock. I previously shared a card using the Snow Flurries Backdrop here.
  • Cut Foxy Family from Black Licorice, white, pink, and red-brown cardstock; assemble. I shared another card with the Foxy Family here.
  • Cut trees from Noble Fir and white cardstock. Darken one small tree with Rustic Wilderness ink. Add white backs to green fronts.
  • Stamp Snowball Fight sentiment on Noble Fir cardstock and cut with die in the Everyday Sentiment Banner set.
  • Cut hillside from white flocked cardstock with die in the Simple Stitched Hillside Borders set; trim as necessary.
  • Attach hillside to stenciled background, adhere Snow Flurries Backdrop.
  • Add foxes and tuck two of the trees behind the foxes. Attach smaller tree with foam adhesive.
  • Attach sentiment.

Lawn Fawn | Welcome Winter


Lawn Fawn | Christmas Build-A-Barn

Hello! Today I am sharing a Christmas card featuring the Lawn Fawn Build-A-Barn decorated for the holidays! This scene is partially inspired by the barn in one of my favorite holiday movies – “White Christmas.” I shared a Halloween scene with the Build-A-Barn in this post.

Lawn Fawn | Christmas Build-A-Barn

  • Apply white stencil paste through the Snowy Sky stencil on an A2-size Blue Jay cardstock and set aside to dry.
  • Cut Build-A-Barn pieces from cardstock including Barn Red; assemble.
  • Cut Mini Wreath from Noble Fir twice and glue together. Cut bow from red foil cardstock; assemble and add to wreath. Glue wreath on to barn.
  • Cut trees from Noble Fir and white cardstock with dies in the Forest Backdrop set; assemble.
  • Stamp Simply Winter Sentiments sentiment and cut with one of the Everyday Sentiment Banners dies.
  • Add stenciled background to card base and add a white flocked cardstock strip to the bottom as the snow. Attach barn with foam adhesive and adhere the trees to the sides. Attach sentiment banner and embellish with snowflakes cut with dies in the Mini Snowflakes set.

Lawn Fawn | Christmas Build-A-Barn