Spellbinders Fun Stampers Journey Holiday Tag

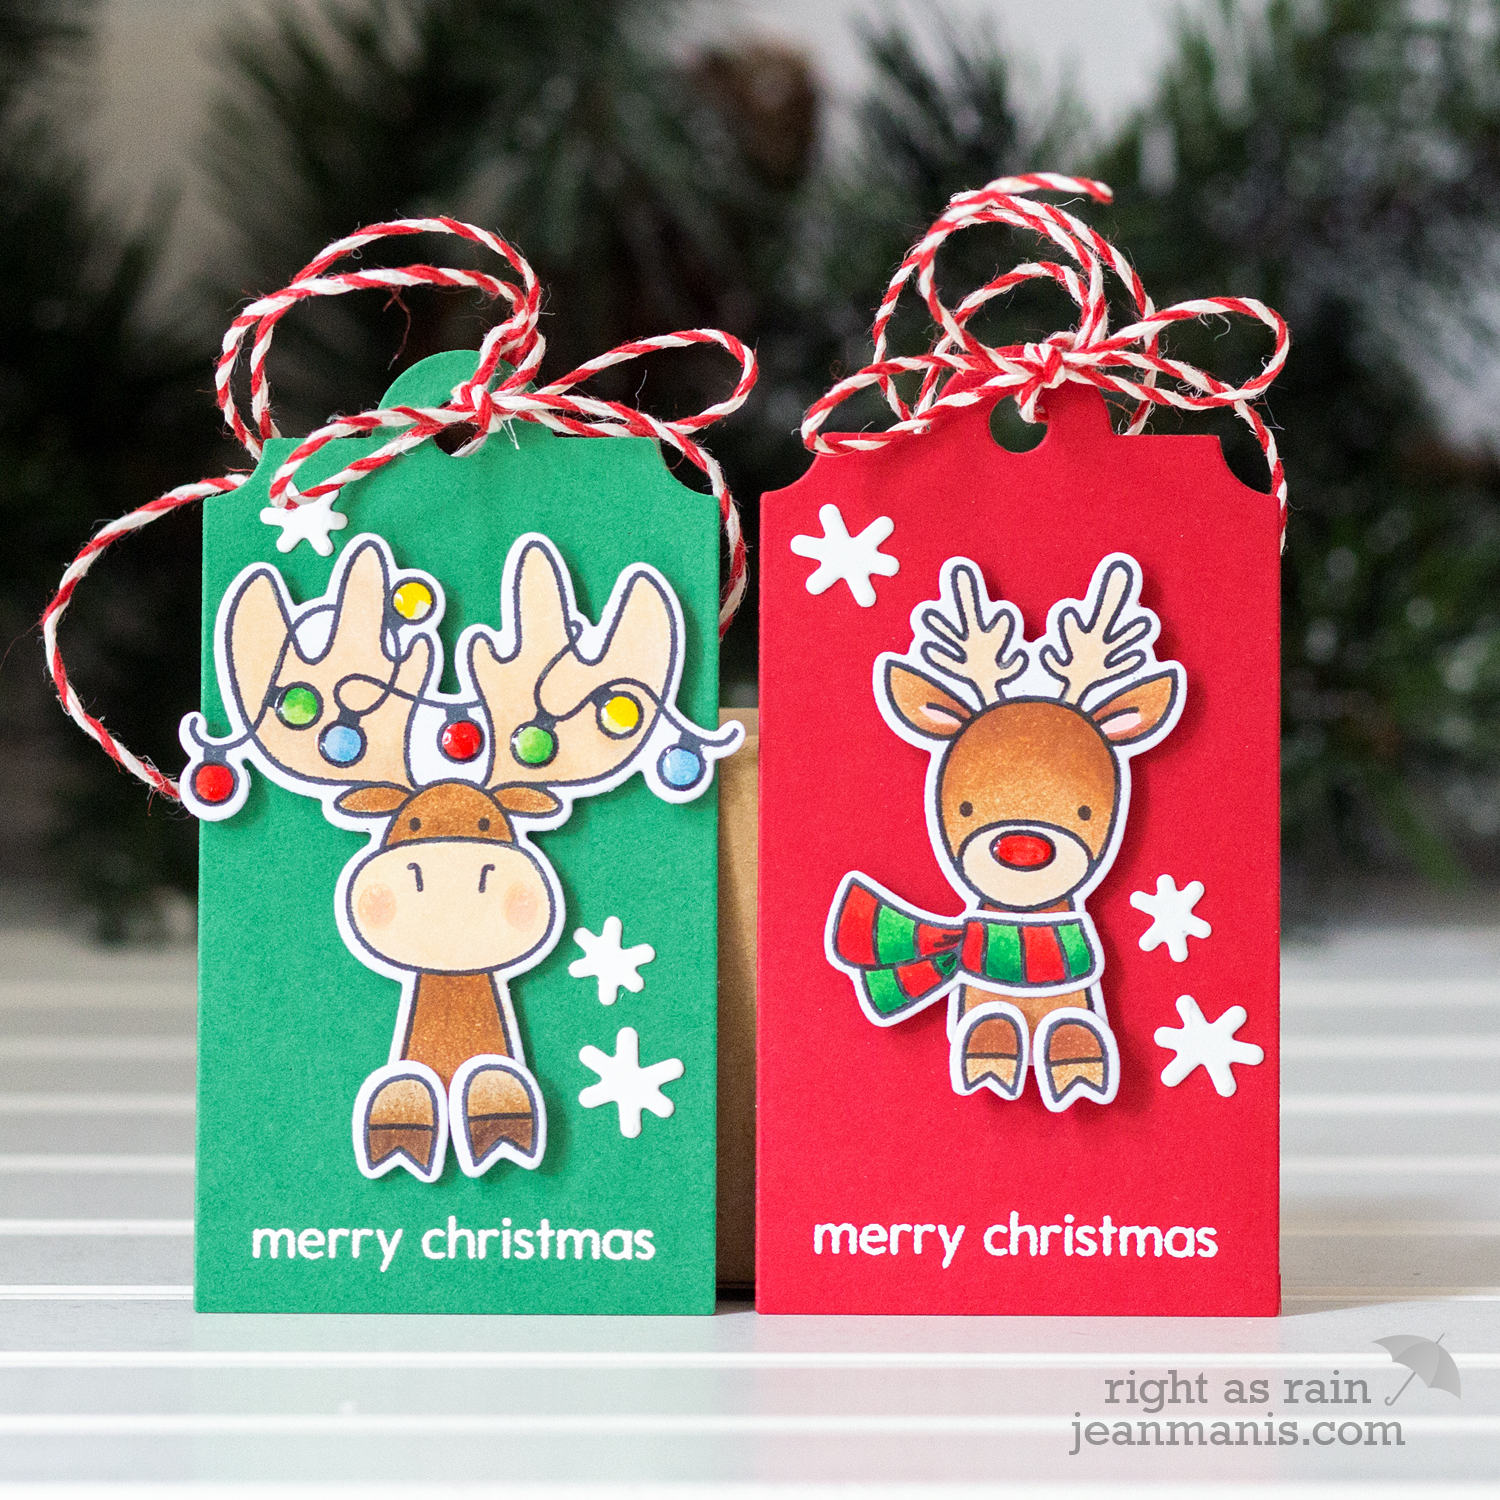
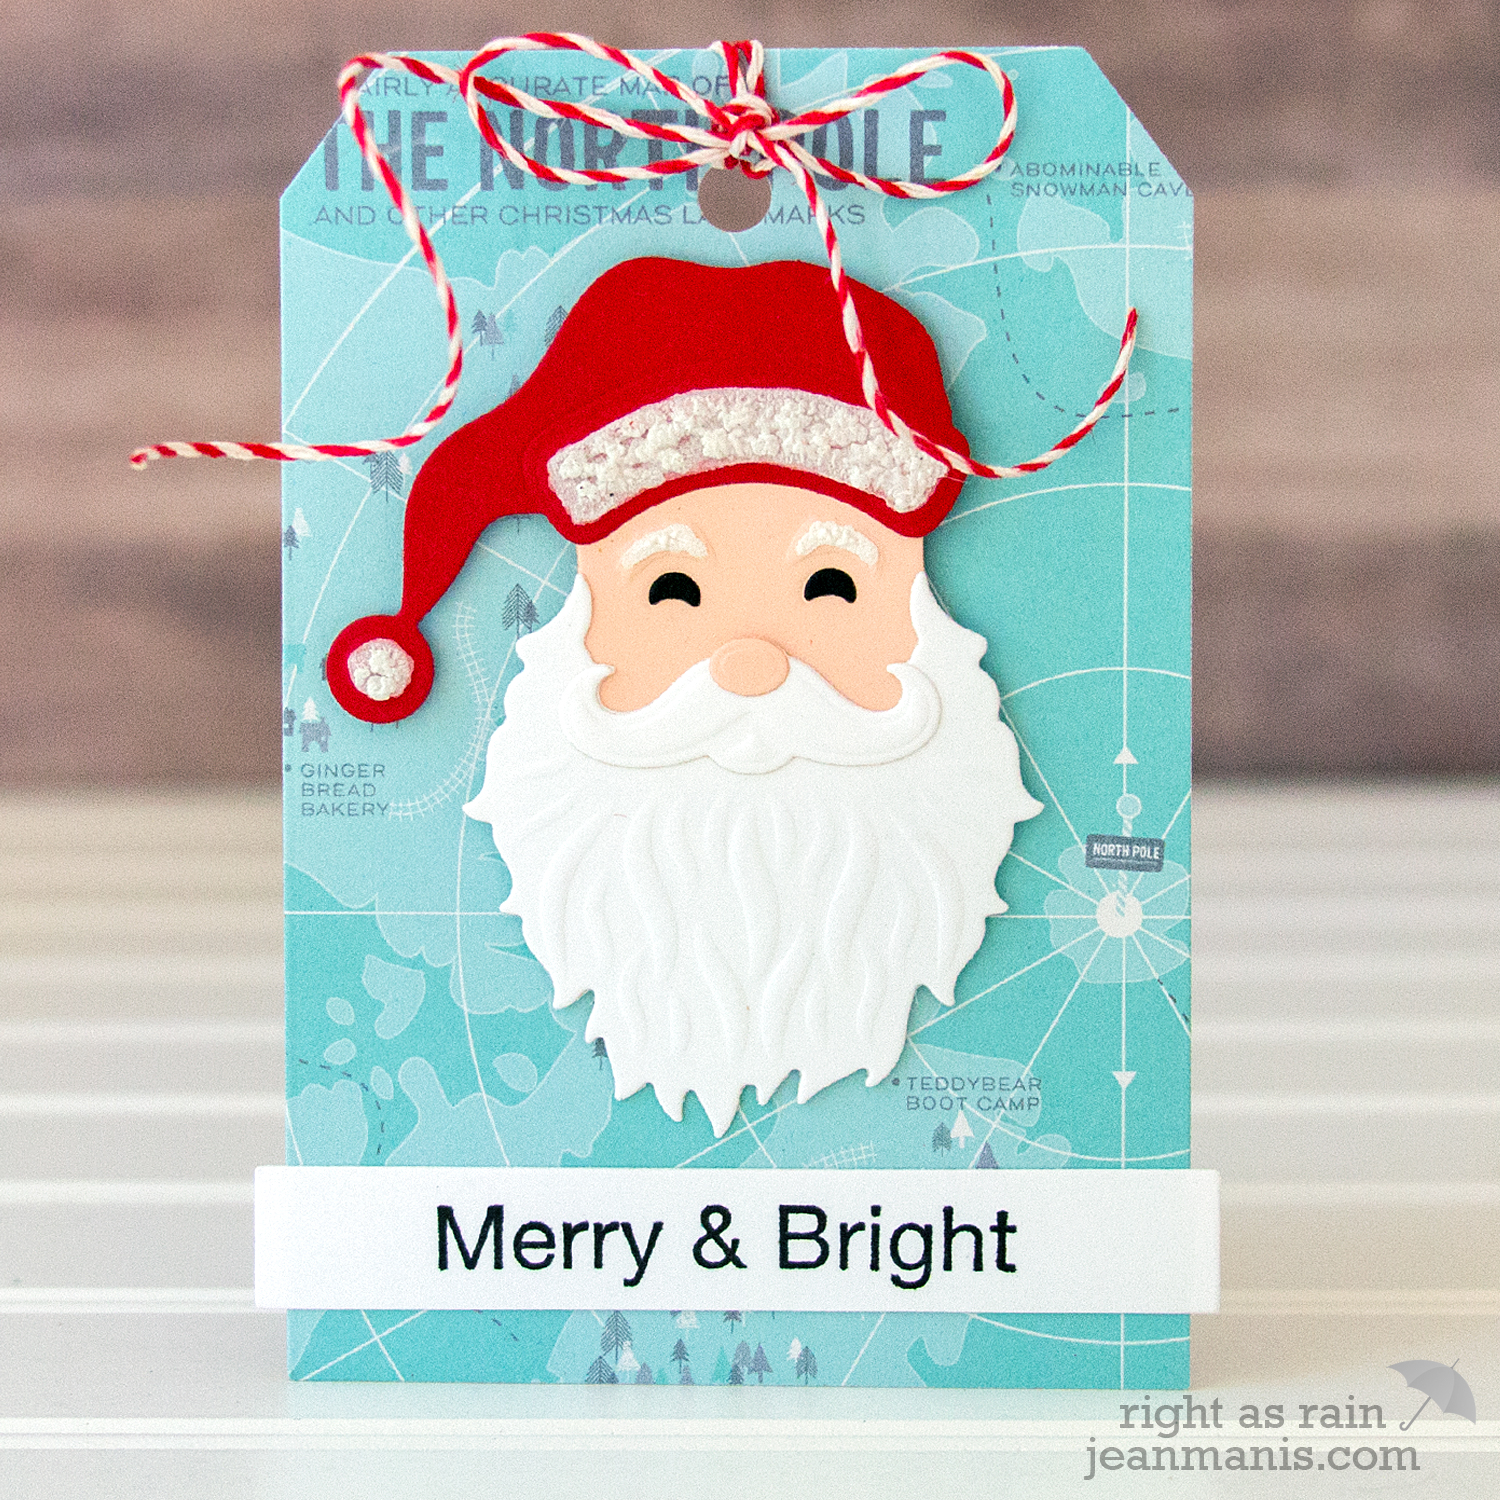
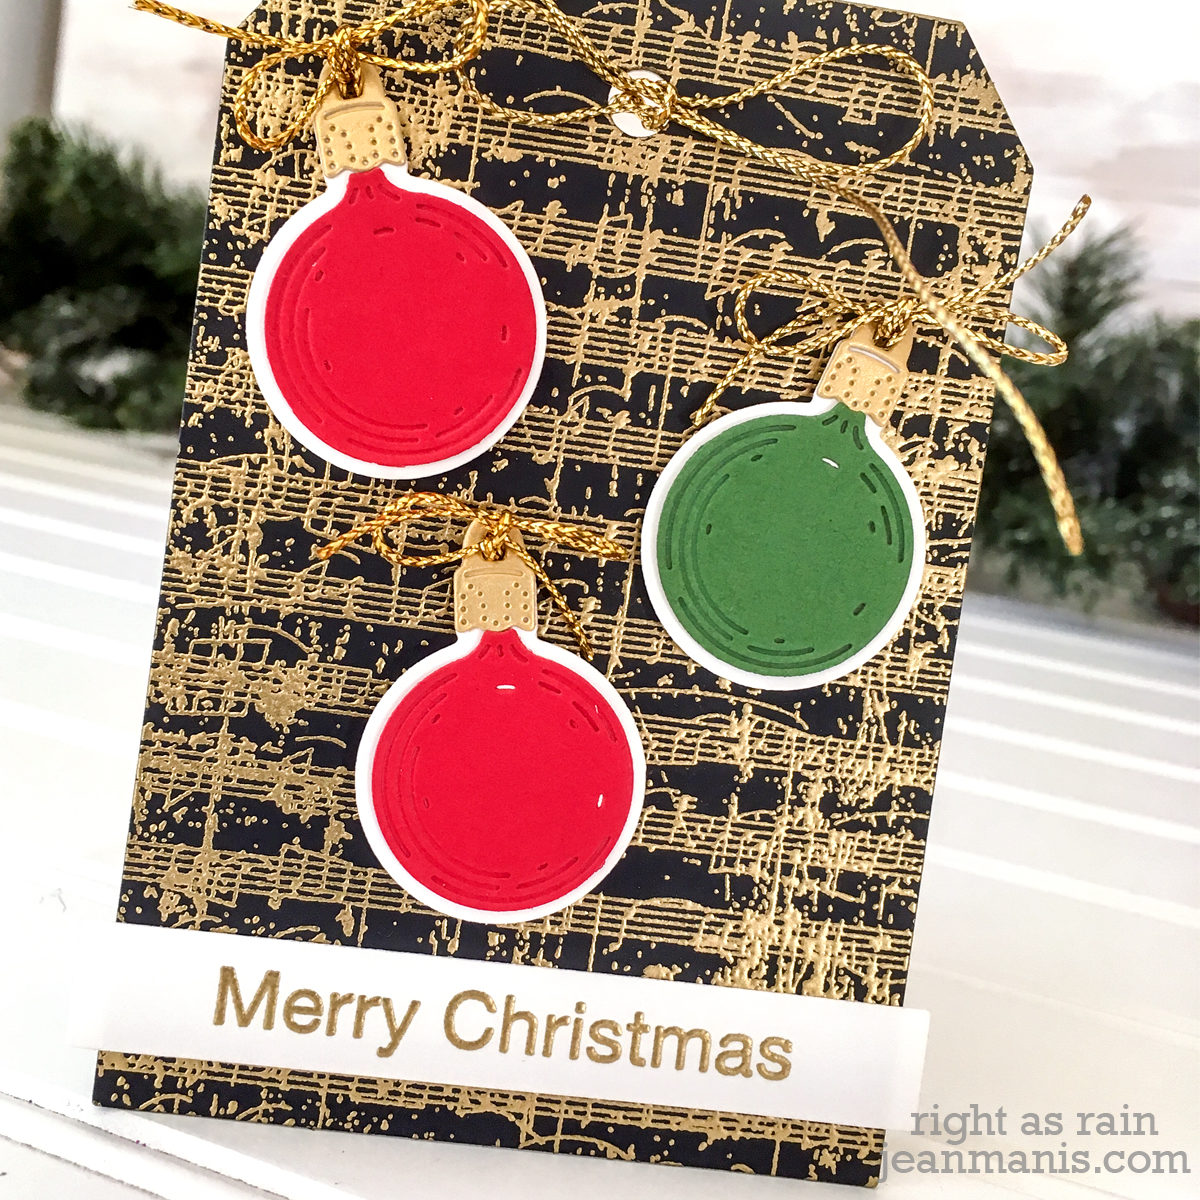
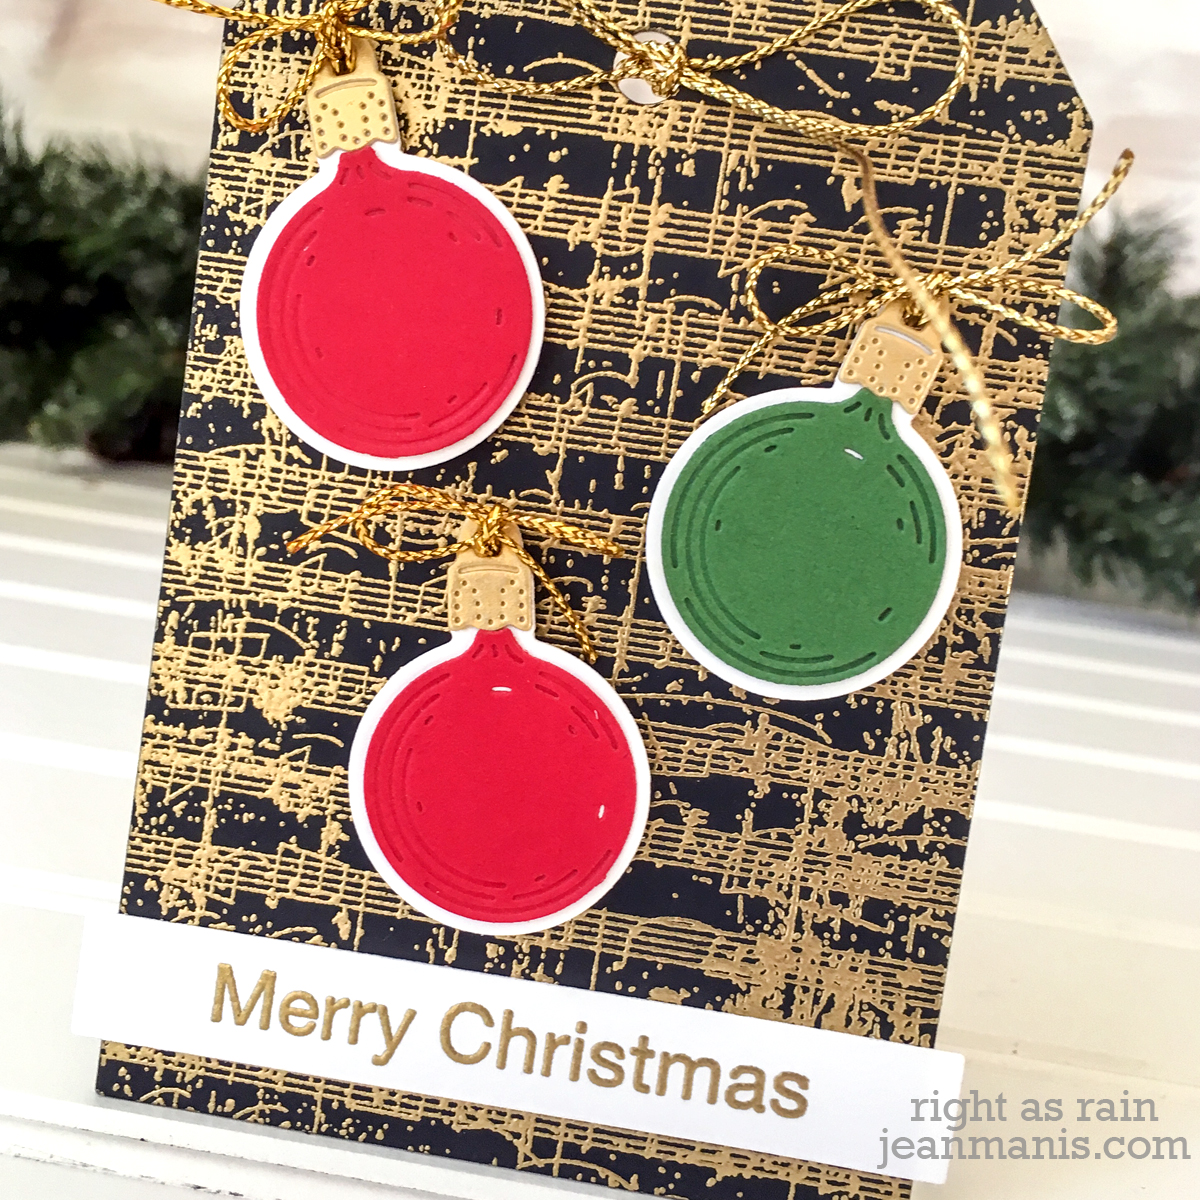
Hello! Today I am sharing a holiday tag combining products from Spellbinders and Fun Stampers Journey. Let’s take a look.

Spellbinders Fun Stampers Journey Holiday Tag

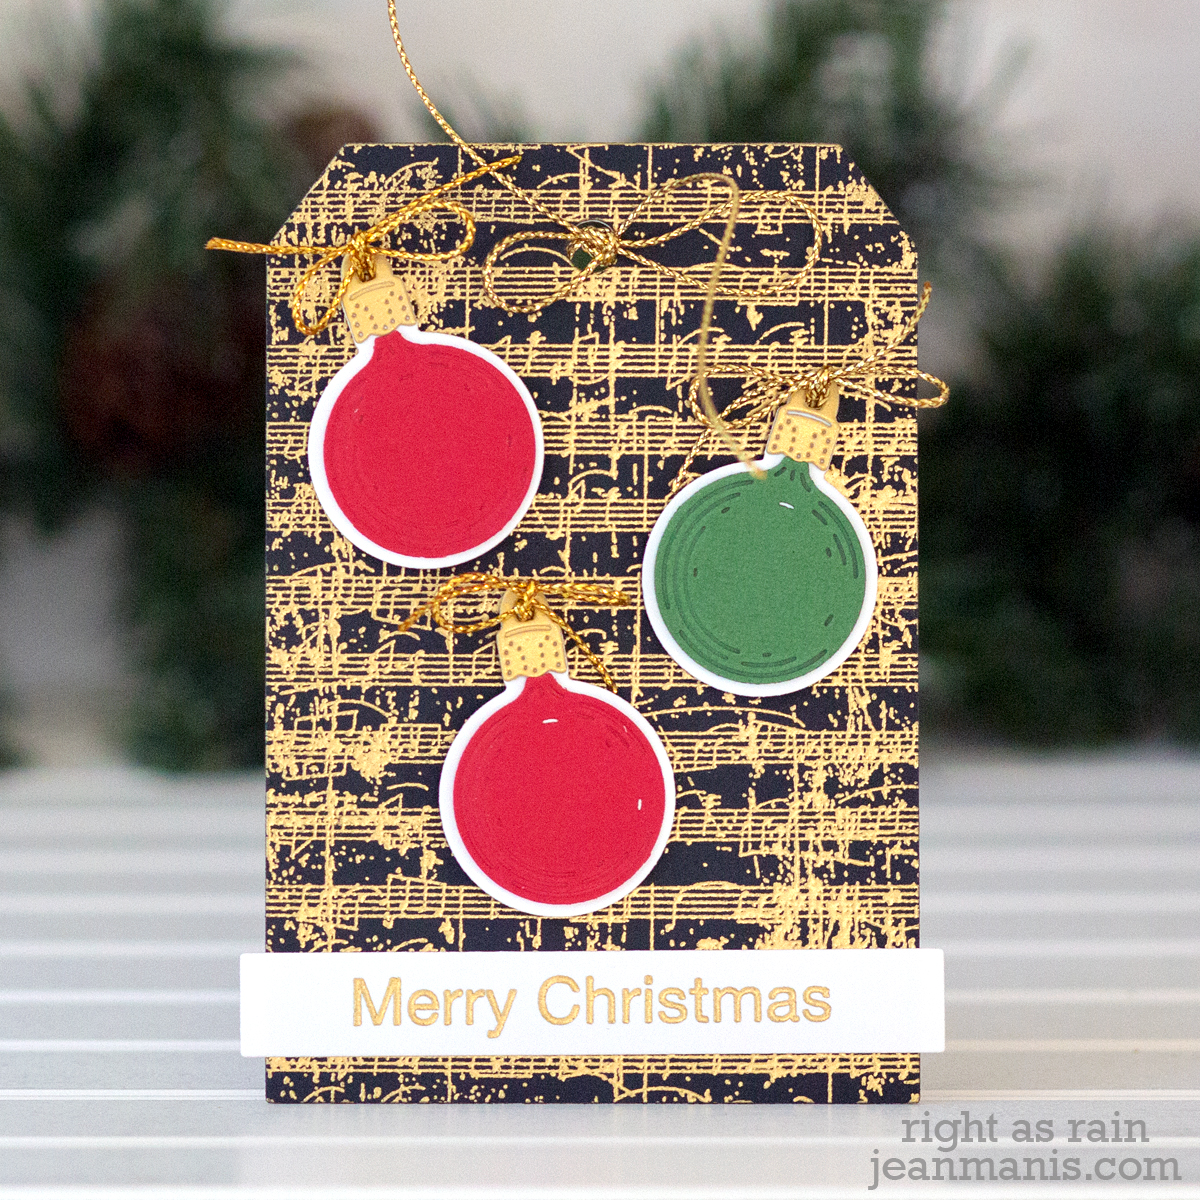
  • I heat-embossed the FSJ Vintage Notes Stamp on Black Licorice cardstock with gold embossing powder.
  • I cut the background with the Shortie Tags die.
  • I heat-embossed the Charming Tag Sentiment with gold embossing powder on Whip Cream cardstock and cut it with a rectangle in the Matting Basics B set. I adhered the sentiment to the bottom of the tag.
  • I cut the ornaments in the Charming Boughs set from Whip Cream cardstock, the ornament tops from Brush Gold cardstock, and two ornament fronts from Cranberry Bliss and one from Noble Fir.
  • I assembled the ornaments with liquid adhesive.
  • I added gold twine to the ornaments and to the top of the tag. I adhered the ornaments to the tag with foam adhesive.
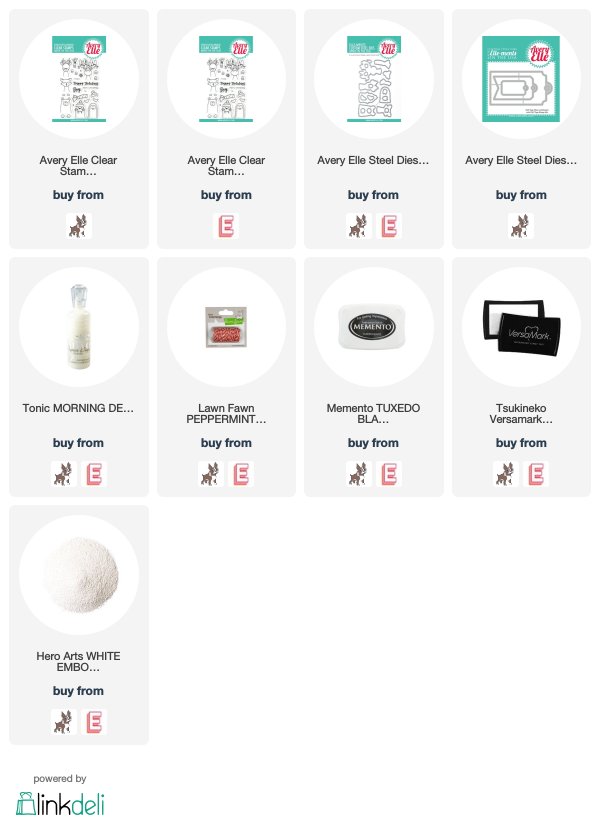
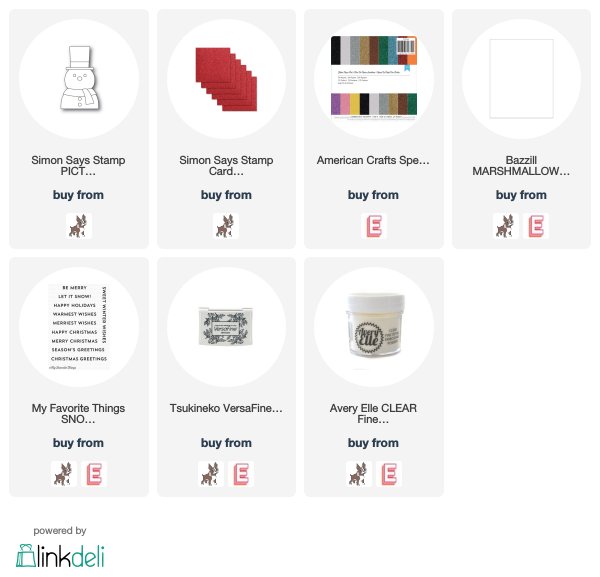
Spellbinders Fun Stampers Journey Holiday TagSupplies:

The 25 Days of Christmas Tags 2018 – Day 17 Avery Elle

Hello! Today I am sharing two Christmas tags as part of the 25 Days of Christmas Tags event from Day 17 featuring Avery Elle. I was inspired by Tracey’s tag using the Avery Elle Polar Peek-A-Boo set.

The 25 Days of Christmas Tags 2018 – Day 17 Avery Elle

I stamped and Copic-colored the moose and deer from Polar Peek-A-Boo and cut the pieces with their coordinating dies. I added Nuvo Morning Dew (dries clear) to the lights on the moose and the nose of the deer.

The 25 Days of Christmas Tags 2018 – Day 17 Avery Elle The 25 Days of Christmas Tags 2018 – Day 17 Avery Elle

When the pieces were dry, I added the moose and the deer to tags cut from Stampin’ Up cardstock with the largest die in the Gift Tags set, on which I had heat-embossed the sentiment. I added snowflakes, cut with the now-discontinued Avery Elle Snow Caps die set, and twine.

Supplies:

The 25 Days of Christmas Tags 2018 – Day 1

Hello! Today I am sharing a Christmas tag as part of the 25 Days of Christmas Tags event. I was inspired by Lin Brandyberry’s Snowman tag on Day 1. I have wanted to use the Simon Says Stamp Picture Book Snowman die for awhile, and this event provided just the opportunity.

Simon Says Stamp Picture Book Snowman

I cut the snowman from Marshmallow cardstock, the scarf and hat band from Crimson Glitter cardstock, and the hat from black glitter paper in the AC pack. The eyes, nose, and buttons were cut from black foil cardstock.

Simon Says Stamp Picture Book Snowman

I used a now-retired My Favorite Things tag set for the actual tag, which I cut from patterned paper in my stash. I heat-embossed the sentiment from the My Favorite Things Snow Globe Sentiments set on another piece of patterned paper, which I cut with the same tag die and attached underneath the other piece (which I trimmed a bit). I used Doodlebug Design twine to finish off the tag.

Supplies:

Spellbinders Die D-Lites – Santa + Snowman

Hello and Ho, Ho, Ho! Today, I am sharing tags featuring Spellbinders Holiday Die D-Lites. I have used the Santa die set on one and the Snowman set on the other! Spellbinders has generously provided me with a Santa die set and Snowman die set to giveaway to one reader (US addresses only please). I have details on the giveaway at the end of the post.

Spellbinders Die D-Lites - Santa

On the Santa, the hat, the beard, the face, and the mustache were cut and embossed. I cut his hat from red cardstock and used a snow marker to add the white fur. Similarly, I cut his face from peach cardstock and used the snow marker to add his eyebrows.

Spellbinders Die D-Lites - Santa

There are lots of options on how to craft these sets. For example, I have seen examples where the hat and the face are cut from white cardstock and colored with Copic markers (in which case the fur pieces are left uncolored as are his eyebrows).

Spellbinders Die D-Lites - Snowman

For the Snowman, I cut and embossed the hat, the face, the holly leaves and berries, and the scarf. I cut the hat and eyes from a black foil.

Spellbinders Die D-Lites - Snowman

Using the die in the Happy Grams set, I cut patterned paper to create the tag bases. On both tags, I used a sentiment from the Charming Tag Sentiments set, which I cut with a die in the A-2 Matting Basics B set.

Now to the giveaway! I like all sorts of Christmas decorating styles and color combinations – whimsical, rustic/farmhouse, traditional, … and have decorated over the years in a number of different styles. To enter the giveaway (US addresses only please), simply comment on this post telling me your favorite Christmas decorating style by Thursday, October 25, 9 PM PDT. I’ll contact the winner on Friday, October 26.

Supplies:

The 25 Days of Christmas Tags 2017 – Day 12 Lawn Fawn

Hello. Today, I am sharing a tag created for The 25 Days of Christmas Tags 2017 – Day 12 for which Lawn Fawn was the guest. All of the inspiration tags were terrific! My tag was most influenced by those shown by Elena Roussakis and Lindsey M-p.

The 25 Days of Christmas Tags 2017 - Day 12 Lawn Fawn

I stamped the Toboggan Together deer images on Arches Hot Press Watercolor Paper with VersaFine and colored them with Kuretake Gansai Tambi Dark Brown (47)Kuretake Gansai Tambi Brown (46) and Kuretake Gansai Tambi Light Brown (44).

Once dry, I cut the images with their corresponding dies. I colored Canson Watercolor Paper with Broken China Distress Oxide ink and Distress Oxide Lucky Clover ink. Once the paper was dry, I cut the tag background from the blue with the largest die in the Stitched Circle Tags set. I cut the Forest Border from the green. I cut the snow banks using the Stitched Hillside Backdrop Landscape die, which I also cut with the largest die in the Stitched Circle Tags set. I heat-embossed the Merry Messages sentiment with Geranium Red embossing powder.

The 25 Days of Christmas Tags 2017 - Day 12 Lawn Fawn

I used Peppermint twine to finish off the tag. For such a simple tag, there were a lot of steps! The best part – this tag is already adorning a wrapped gift!

Supplies: