Tangle-Free Holiday – Spellbinders Die-cut Card

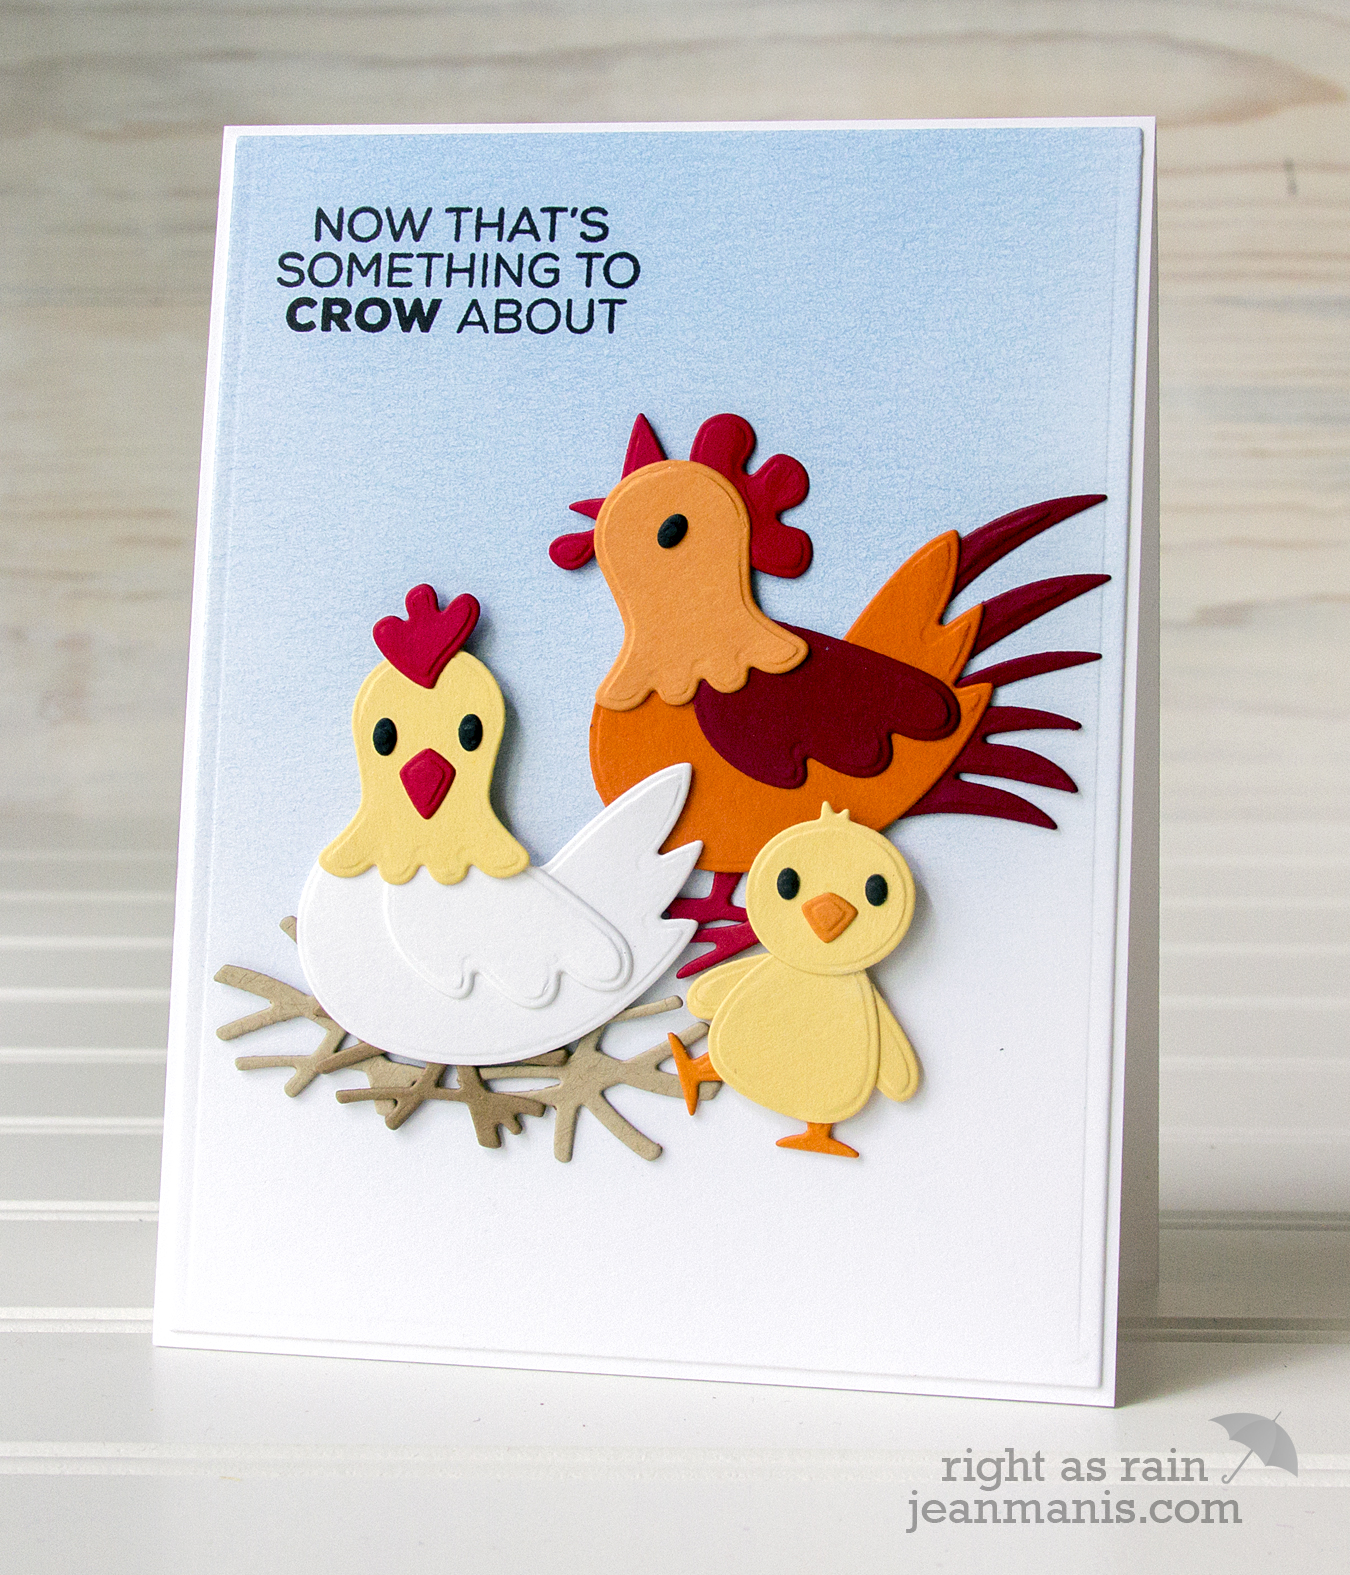
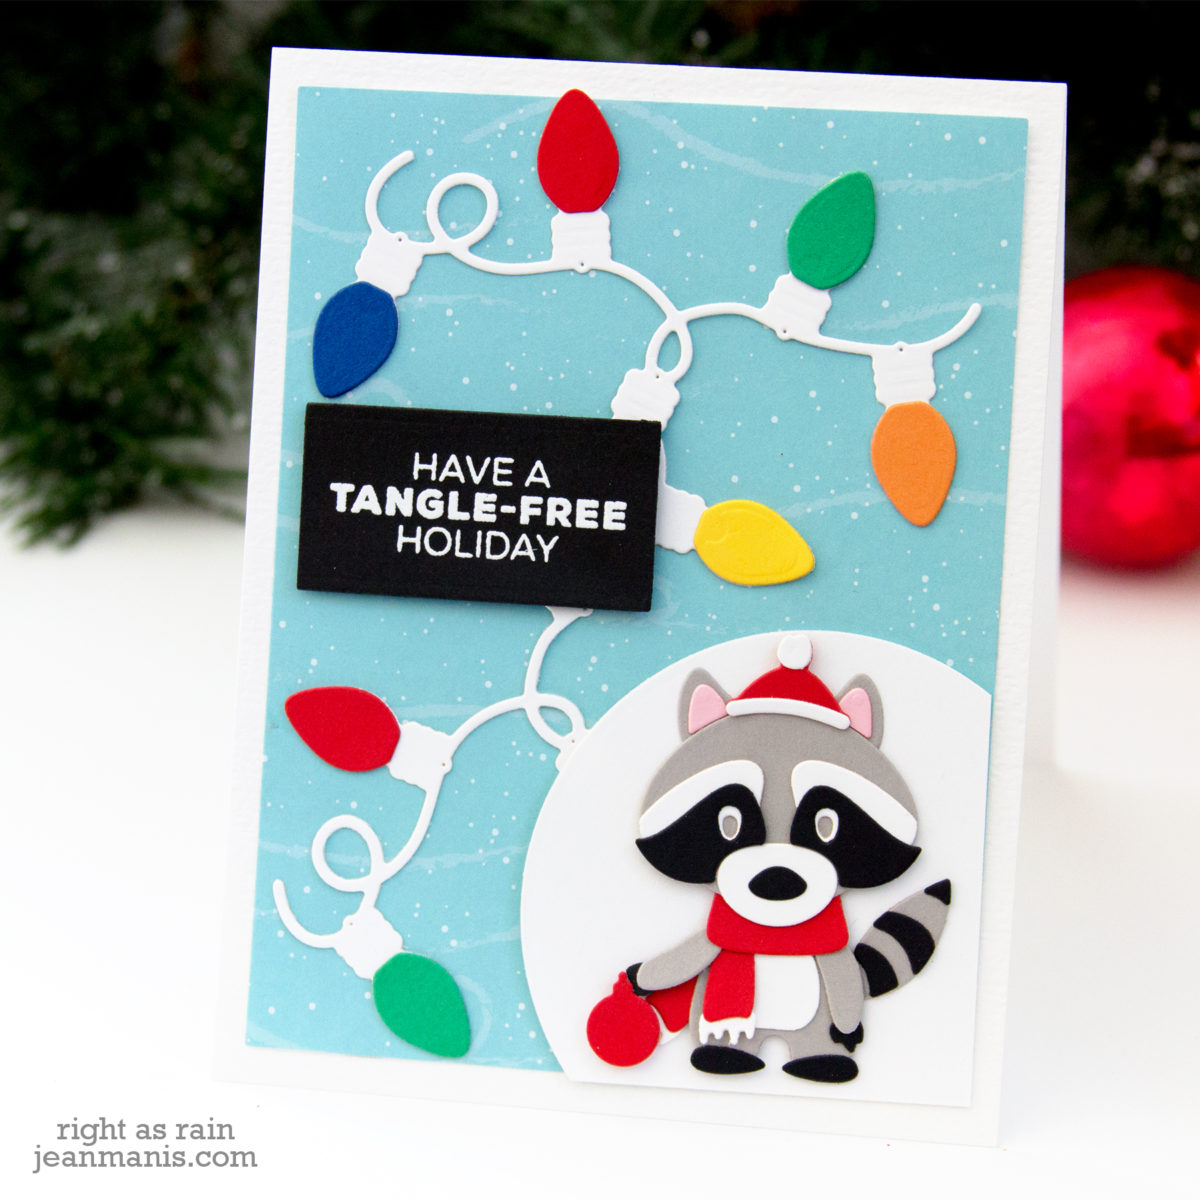
Hello! Today I have a whimsical holiday card on which I’ve combined several Spellbinders Die D-Lites sets – Holiday Twinkle Lights and Christmas Bandit.

Tangle-Free Holiday - Spellbinders Die-cut Card

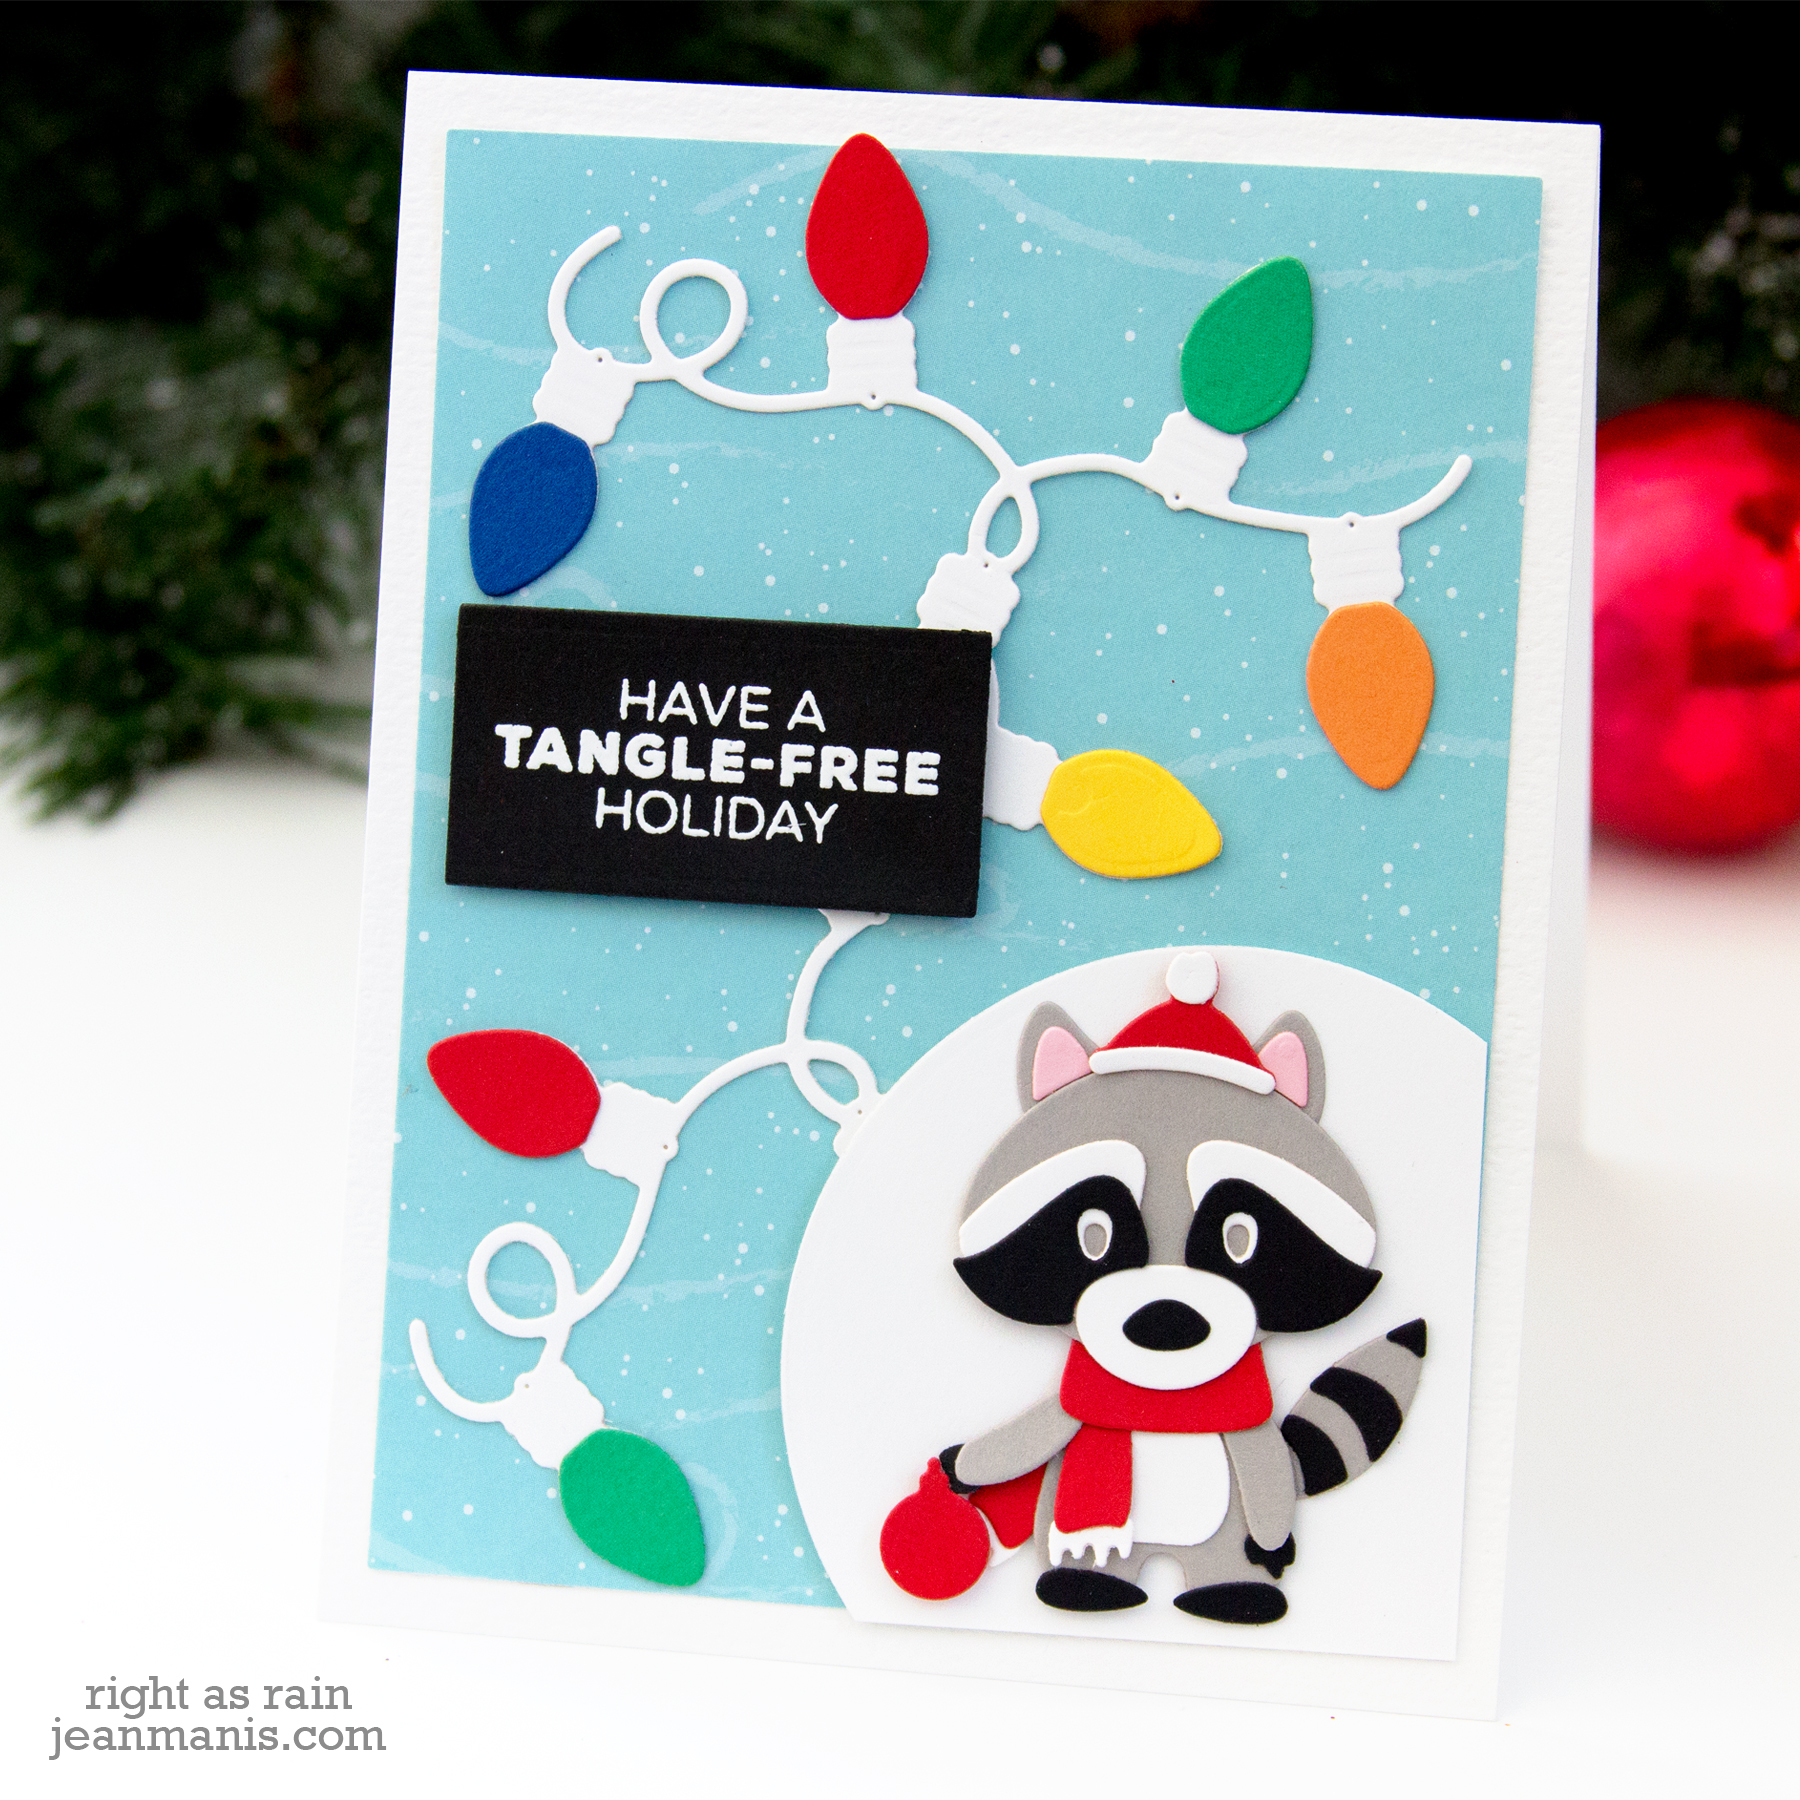
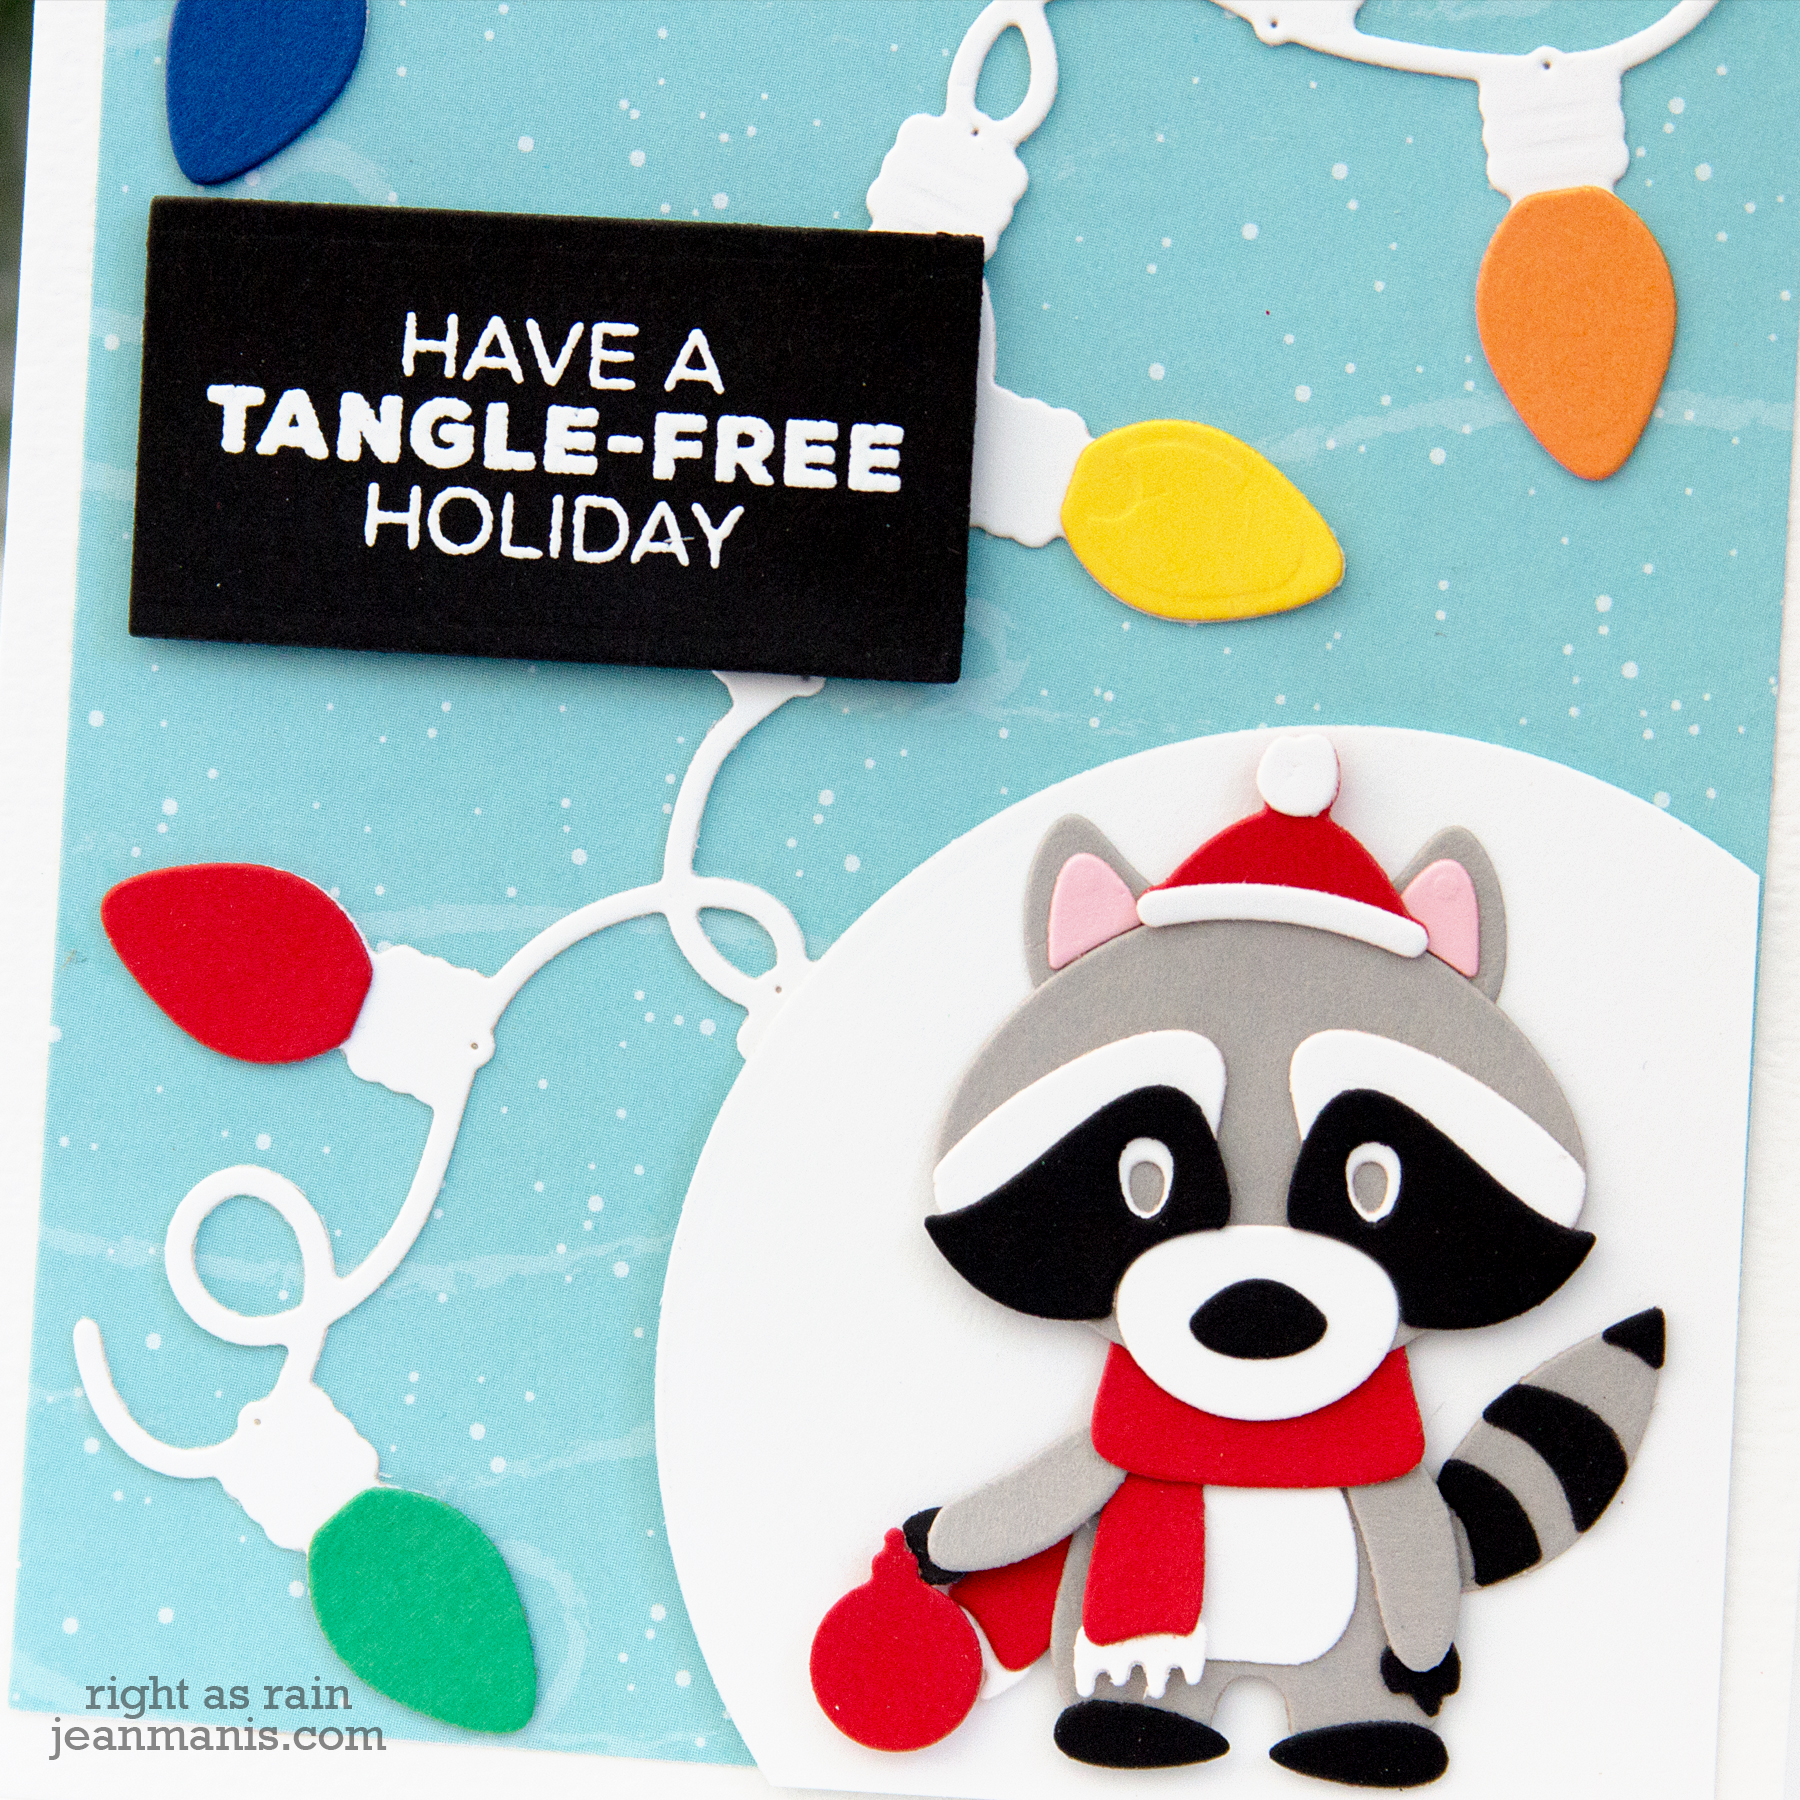
  • I die-cut the Christmas Bandit and the Holiday Twinkle Lights (cut twice) and assembled the pieces.
  • I cut a rectangle from patterned paper. I cut a circle and then trimmed it on the side and bottom to fit the design. Without the circle, the raccoon got lost on the patterned paper and strings of lights.
  • I heat-embossed the String of Lights sentiment.
  • I put everything together on the patterned paper background and added the assembly to a card base.
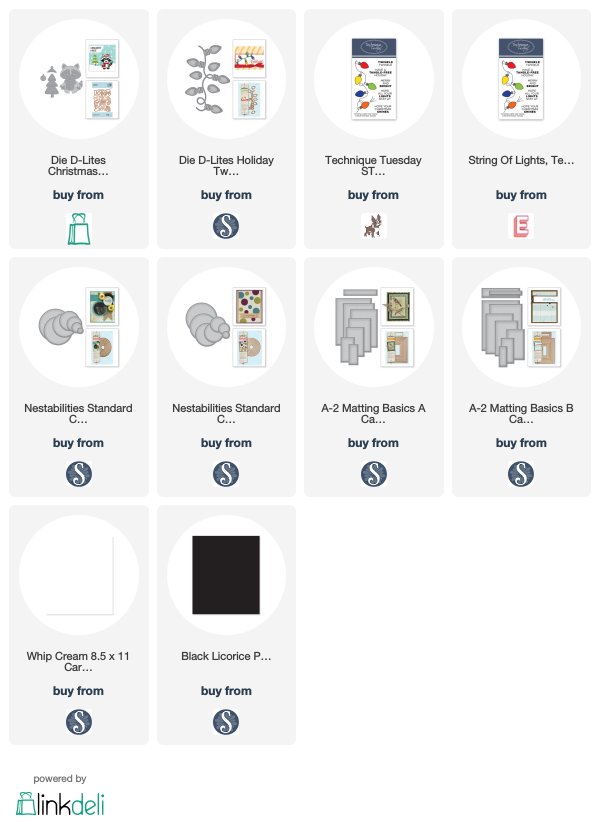
Tangle-Free Holiday - Spellbinders Die-cut Card

Supplies:

Elizabeth Craft – Die-Cut Monkey in a Jeep

Hello! Today I am sharing another card featuring the Elizabeth Craft Designs Monkey die set. (My first post with this die set can be seen here.) This time I’ve put the monkey behind the wheel of a jeep. My eldest son loved anything related to vehicles as a kid (he still does!). Let’s take a look!

Elizabeth Craft - Die-Cut Monkey in a Jeep

  • I die-cut the jeep from cardstock which I colored with Distress inks, along with brushed silver for the grill piece. I assembled the pieces with glue.
  • I die-cut the Elizabeth Crafts monkey from cardstock which I colored with Distress Oxide Vintage Photo and Memento Desert Sand (lighter parts). I used a circle punch to cut the mouth.
  • I assembled the monkey pieces with glue, knowing that I wanted the monkey to have his hands on the wheel of the jeep. It was a bit of a trick positioning everything so that the monkey’s eyes were visible, but at the same time the body of the monkey appears seated.
  • I die-cut the hat from the Safari Accessories set and added it to the monkey’s head.
  • I stamped the Technique Tuesday Monkey Business sentiment on to patterned paper (Stampin’ Up from last year) for the card base.
  • I added the monkey and jeep to the card base with foam adhesive.

Elizabeth Craft - Die-Cut Monkey in a Jeep

The card measures a little bit more than 5 1/2″ square.

Supplies:

Monkey Business – Die-cut “Just Because” Card

Hello! Today I am sharing a “just because” card combining monkey-themed supplies.

Monkey Business - Die-cut "Just Because" Card

  • I die-cut the Elizabeth Crafts monkey from Bazzill Chocolate Malt (face) and SU Chocolate Chip (body) and assembled him with glue. I tried a number of combinations for the face and body. If I were to die-cut the monkey again, I would consider cutting him from inked cardstock.
  • I used a circle punch to cut the mouth. I used a hexagon punch to cut the nose.
  • I stamped the Monkey Business sentiment and cut the white cardstock with a circle die.
  • I cut another circle in the same yellow as the banana for a mat.
  • I dry-embossed the card background with the Tropical Leaves stencil. Initially I tried an inked background (with the stencil) in green, but the orange worked much better with the colors used for the monkey.
  • I added the monkey and banana with foam adhesive.

Monkey Business - Die-cut "Just Because" Card

Supplies:

Die-cut Chickens

Hello! Today, I am sharing a card combining die-cuts from the Marianne Design Eline’s Chicken Family set with a sentiment in the Technique Tuesday Chicken Family stamp set. This card also combines the design element of color with the die-cut technique (two of my favorite things when it comes to card making).

Die-cut Chickens | Jean Manis

For the card background, I applied Tumbled Glass ink to Neenah cardstock and stamped the sentiment in Ranger black ink. To create the chickens, I grabbed a bunch of Stampin’ Up cardstock colors and cut them with the Eline’s Chicken Family die set until I liked the combinations (I tried several different yellows, oranges, and reds before deciding).

Die-cut Chickens | Jean Manis


Llama Fiesta

Hello! Today, I am sharing a CAS card combining the Technique Tuesday Lorenzo the Llama sentiment with a die-cut llama created with the Spellbinders Hip Llama set.

Llama Fiesta

I deliberately chose bright colors with the black and white to give that fiesta flavor to the card. To begin, I die-cut, embossed, and assembled the llama. Next, using a stamp positioner, I stamped the tassel string from the Lorenzo the Llama stamp set with white pigment ink on a Stampin’ Up Melon Mamba cardstock panel. I attached the pink panel to a white cardstock base. I heat-embossed the sentiment on a black cardstock strip and adhered it to the base, adding the llama with foam adhesive.

Llama Fiesta

Have a great weekend!