Welcome! This month’s creative hop focusing on Summer Fun started on the Reverse Confetti blog. You should have made it here from Lisa’s blog. It would be worth your while to start at the beginning of the hop, so you don’t miss a thing. We have tons of inspiration for you!
I’m sharing two summer vacation-themed scrapbook layouts for which I created embellishments using Reverse Confetti stamps and dies. My first layout (letter-sized) chronicles a family vacation on Martha’s Vineyard.
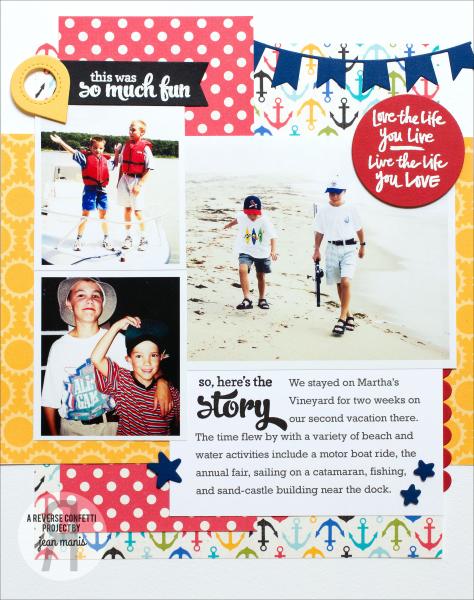
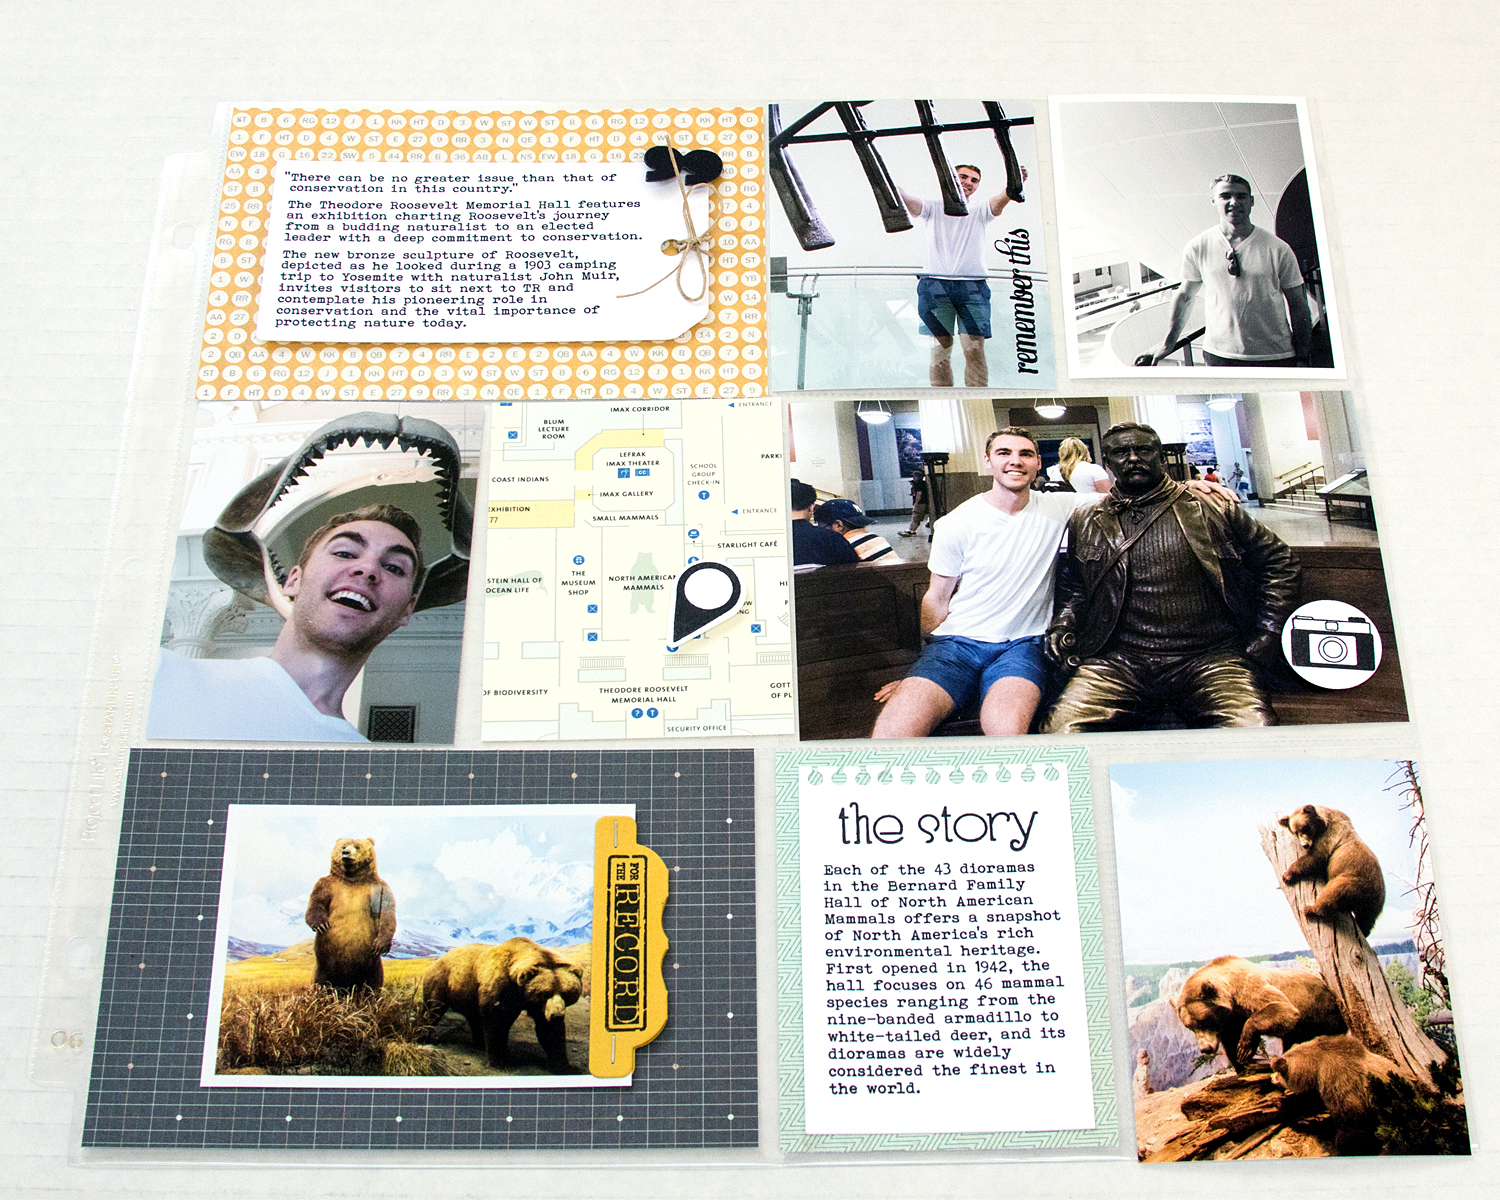
I stamped the journaling with one of the word/phrases from Here’s the Story. I heat-embossed another Here’s the Story phrase on black cardstock and cut it with the banner die in the Tag Me Confetti Cuts set. Its anchored with a die cut from the Documented Confetti Cuts set.
To the right-hand corner, I added a banner cut with the Double Banner Garland Confetti Cuts. The sentiment from Posted Note Sentiments was heat-embossed on red cardstock and cut with the circle die in the Donut You Know Confetti Cuts set. To finish, I added stars cut with the You Are A Star Confetti Cuts set and a red border cut with the Double Edge Scallop Border Confetti Cuts.
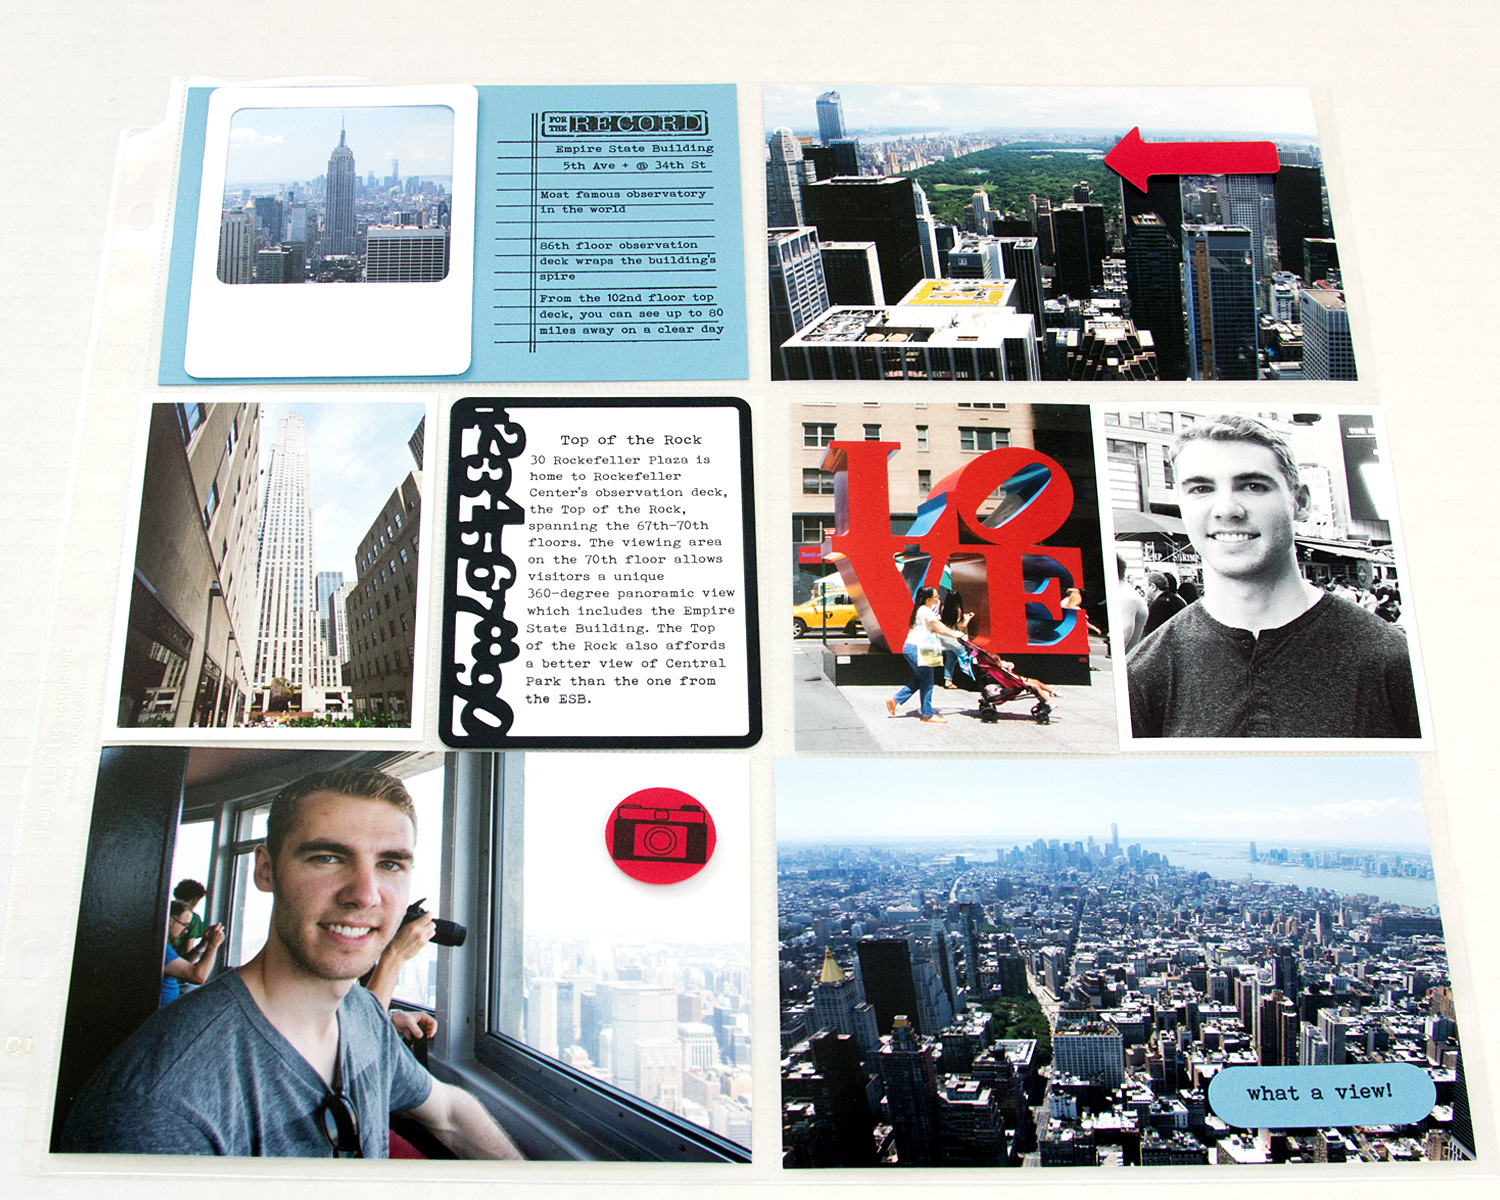
The focus of my second layout (letter-sized) is a family vacation on Maui. The Pineapples Aplenty stamp set, with its coordinating Confetti Cuts set, worked perfectly for a visual accent with the journaling.
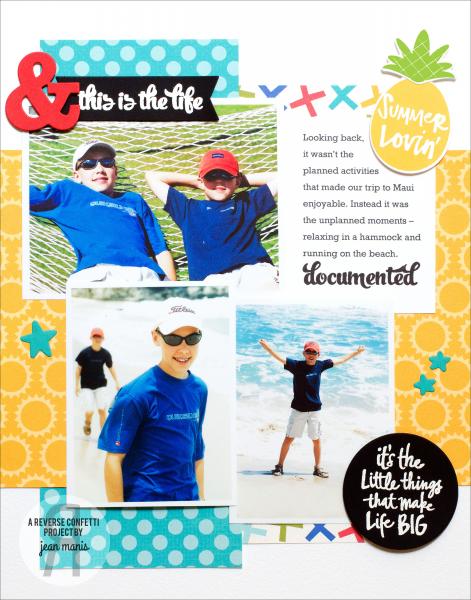
I stamped the journaling with one of the word/phrases from Here’s the Story. I heat-embossed another Here’s the Story phrase on black cardstock and cut it with the banner die in the Tag Me Confetti Cuts set. Its anchored with a die cut from the Documented Confetti Cuts set.
The sentiment from Posted Note Sentiments was heat-embossed and cut with the circle die in the Donut You Know Confetti Cuts set. To finish I added stars cut with the You Are A Star Confetti Cuts set.
I hope you’ve enjoyed hopping with us today. Comment at each stop along the way for a chance to win a $15 gift certificate. Comments close Monday at noon Central Time; the winner will be announced on Tuesday. Now it’s time to hop on over to Kathy’s blog. If you get lost along the way, you can find the hop order and list of all the participating designers over on the Reverse Confetti blog.