Did Someone Say “Cupcakes”? with Multi-Step Stamping Tutorial

Welcome to the Taylored Expressions September 2016 Release! All of the products that we have been sharing this week are now available in the TE store!

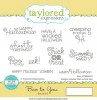
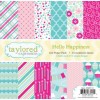
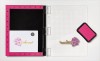
Before you head off to shop, I have one more project to show you! My card showcases the Simply Stamped – Cupcakes stamp set with coordinating dies.

Taylored Expressions September 2016 Release

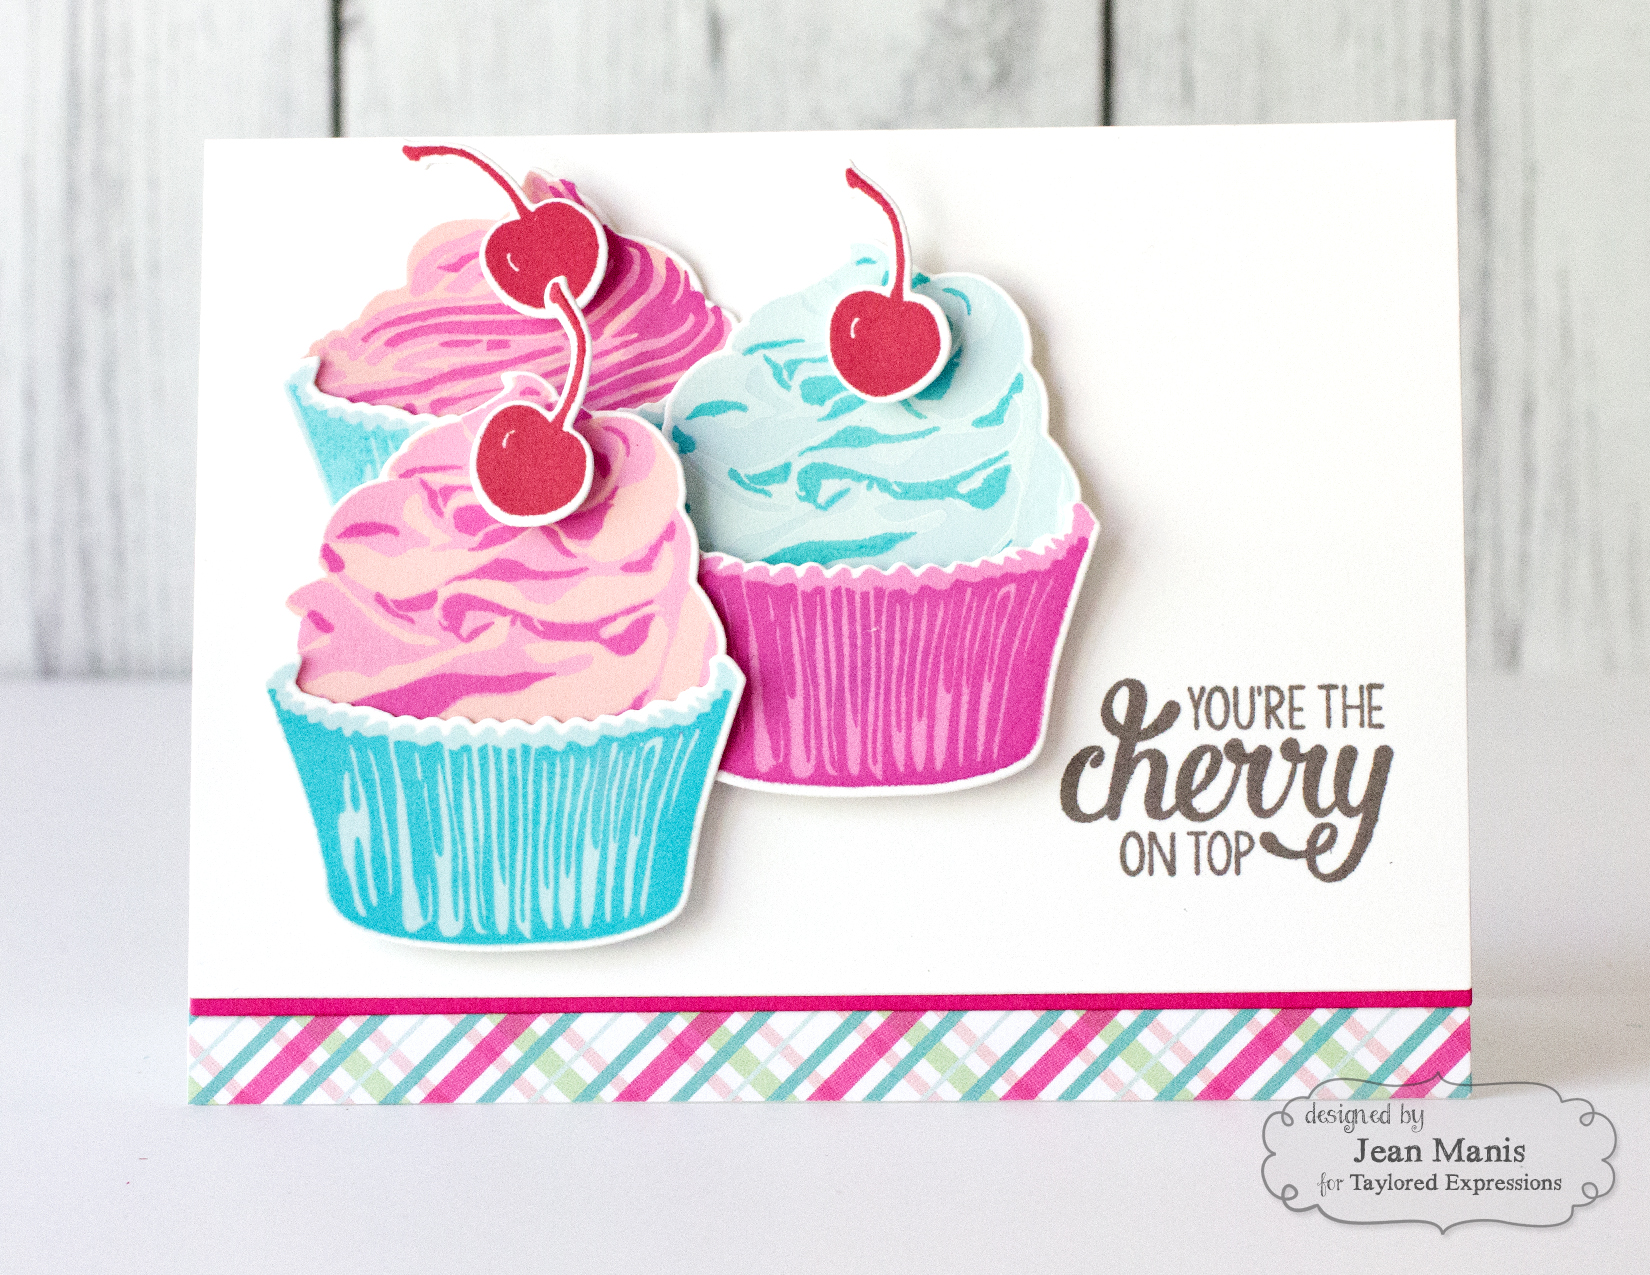
The stamp set includes two different cupcake top options, the cupcake base, lots of fun sentiments and toppings! I used the TE Premium Dye Inks to stamp the cupcakes and bases.

Taylored Expressions September 2016 Release

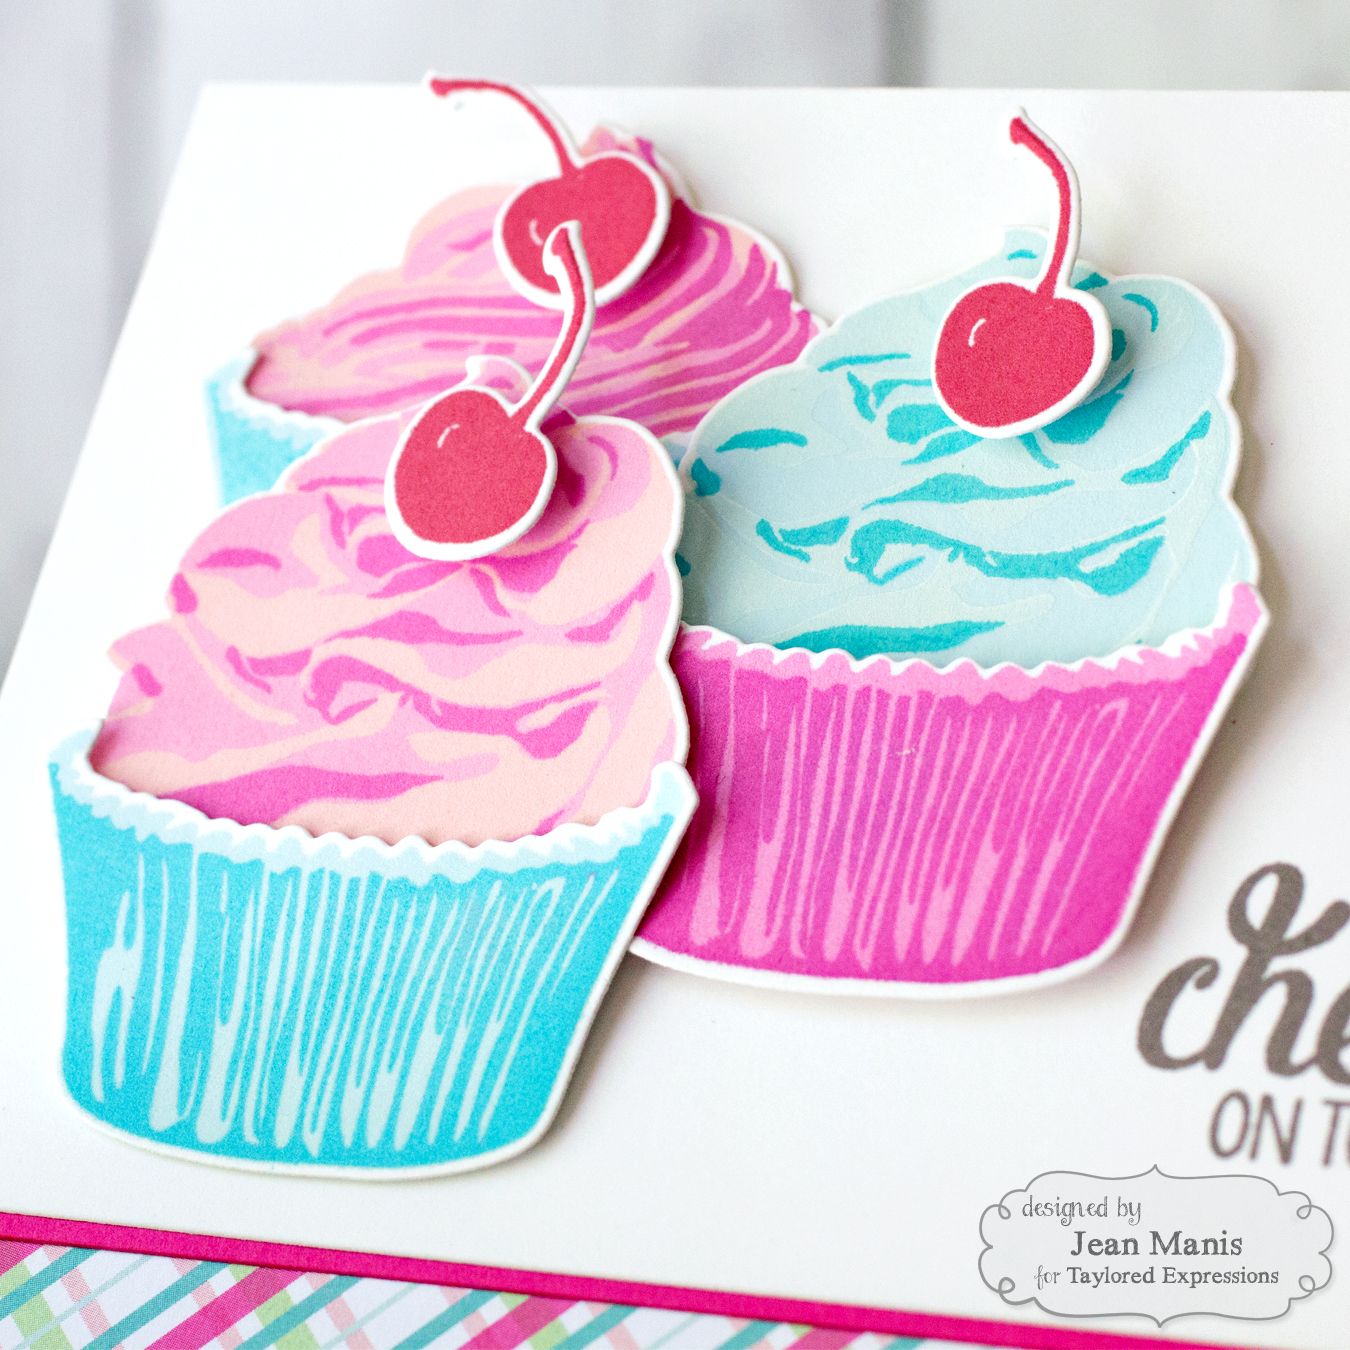
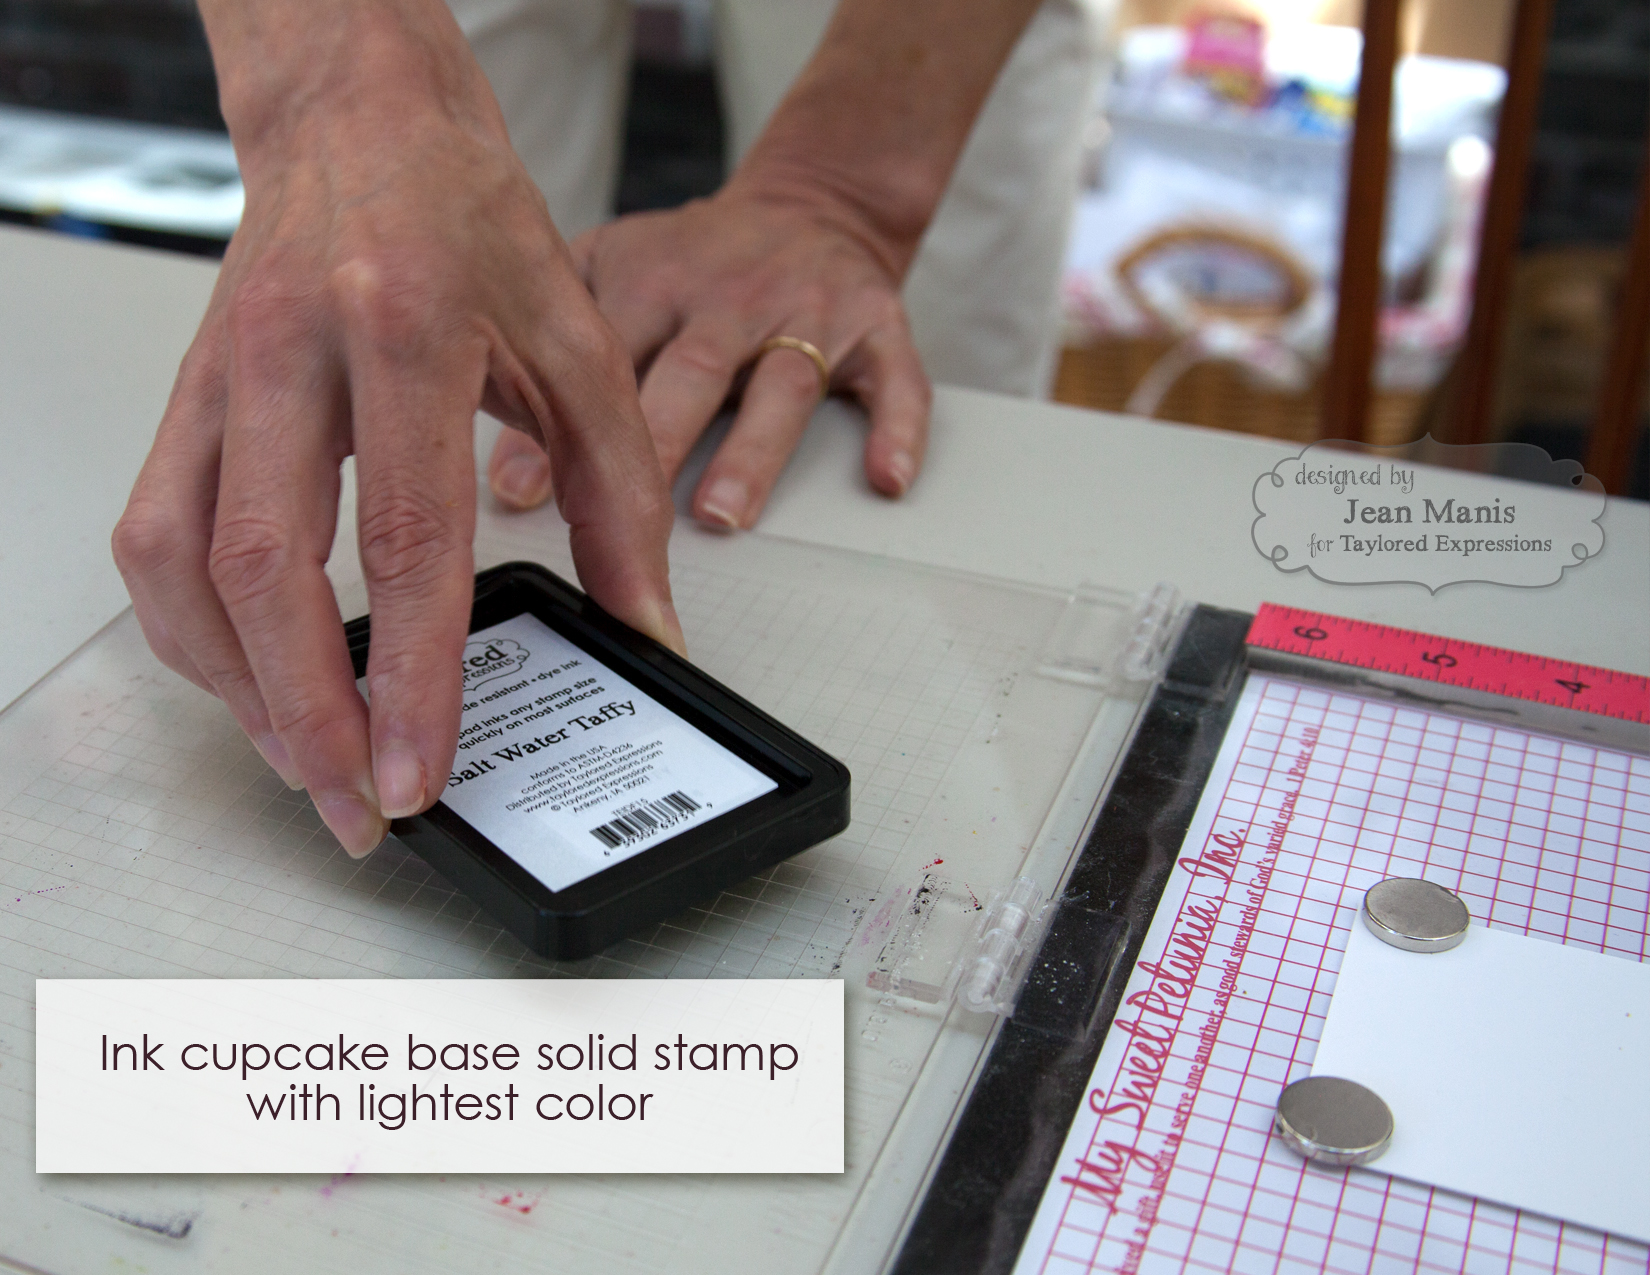
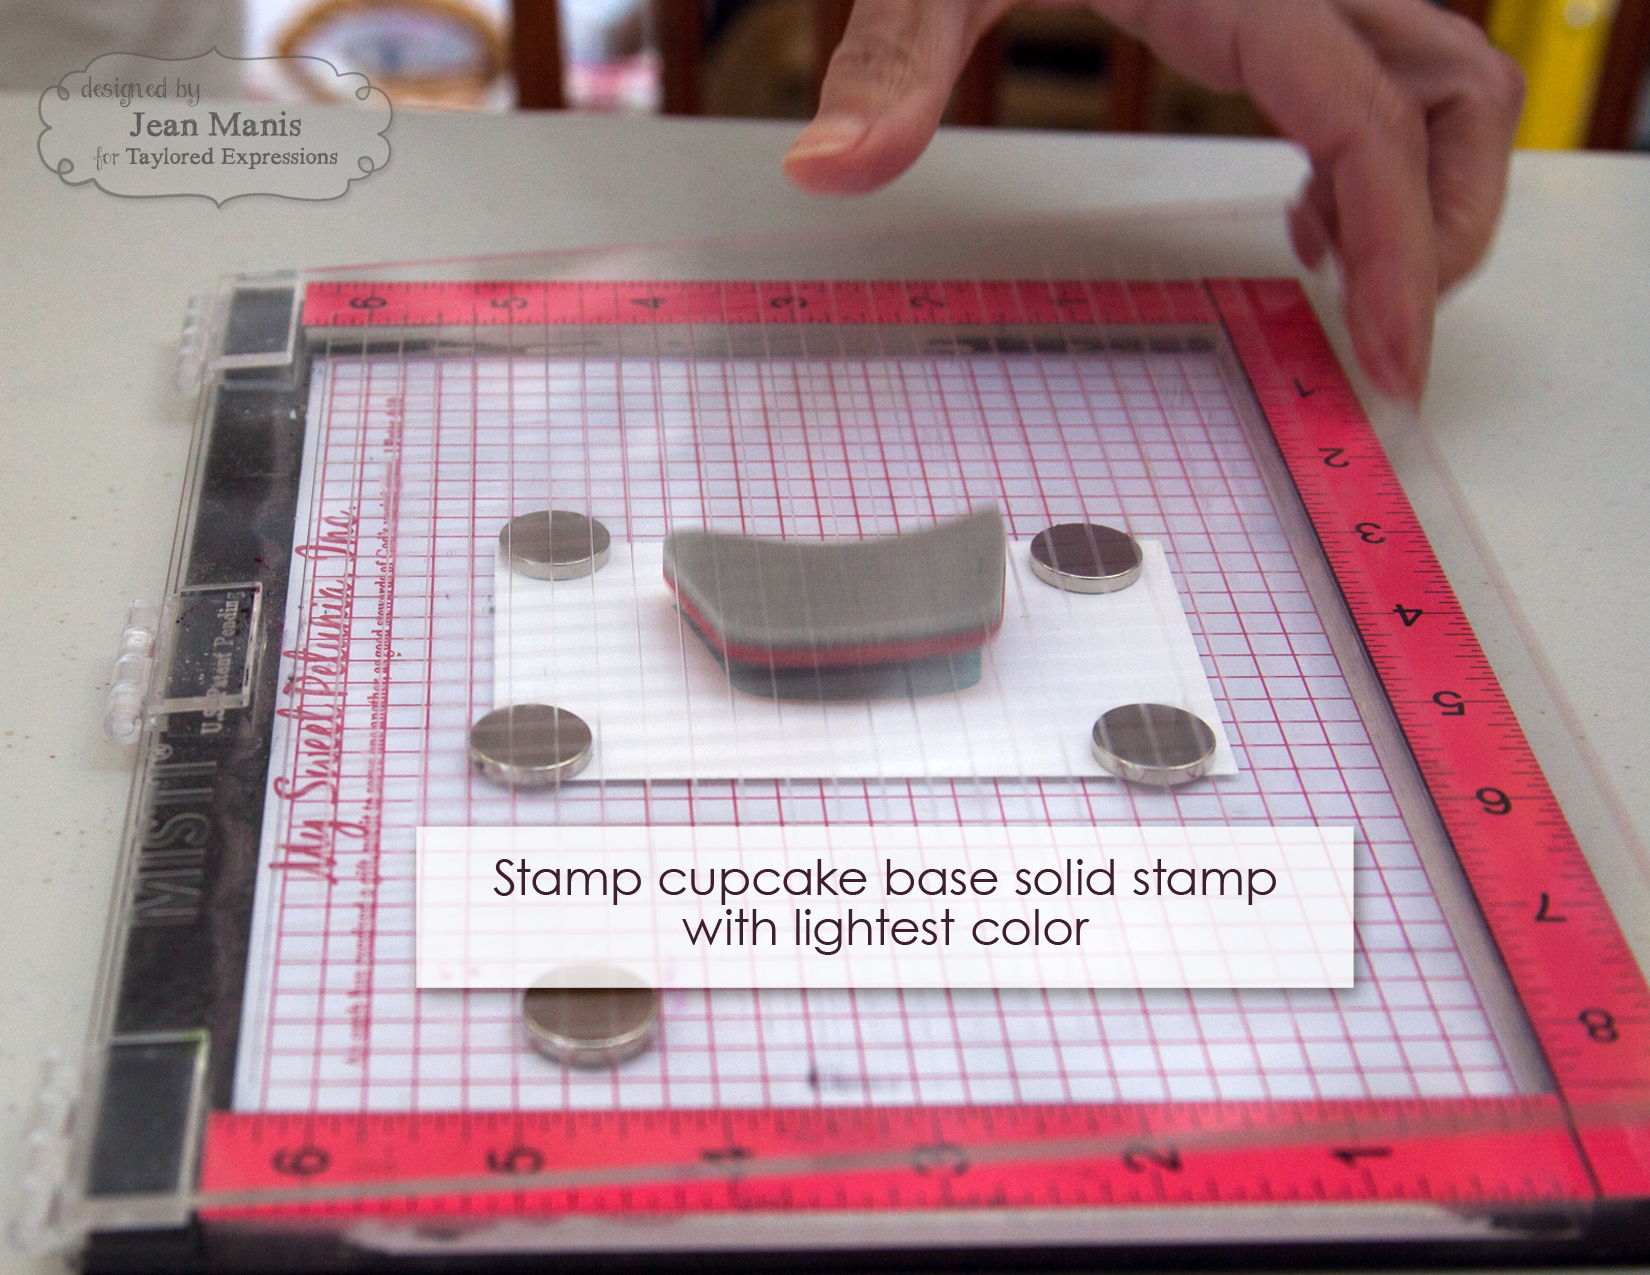
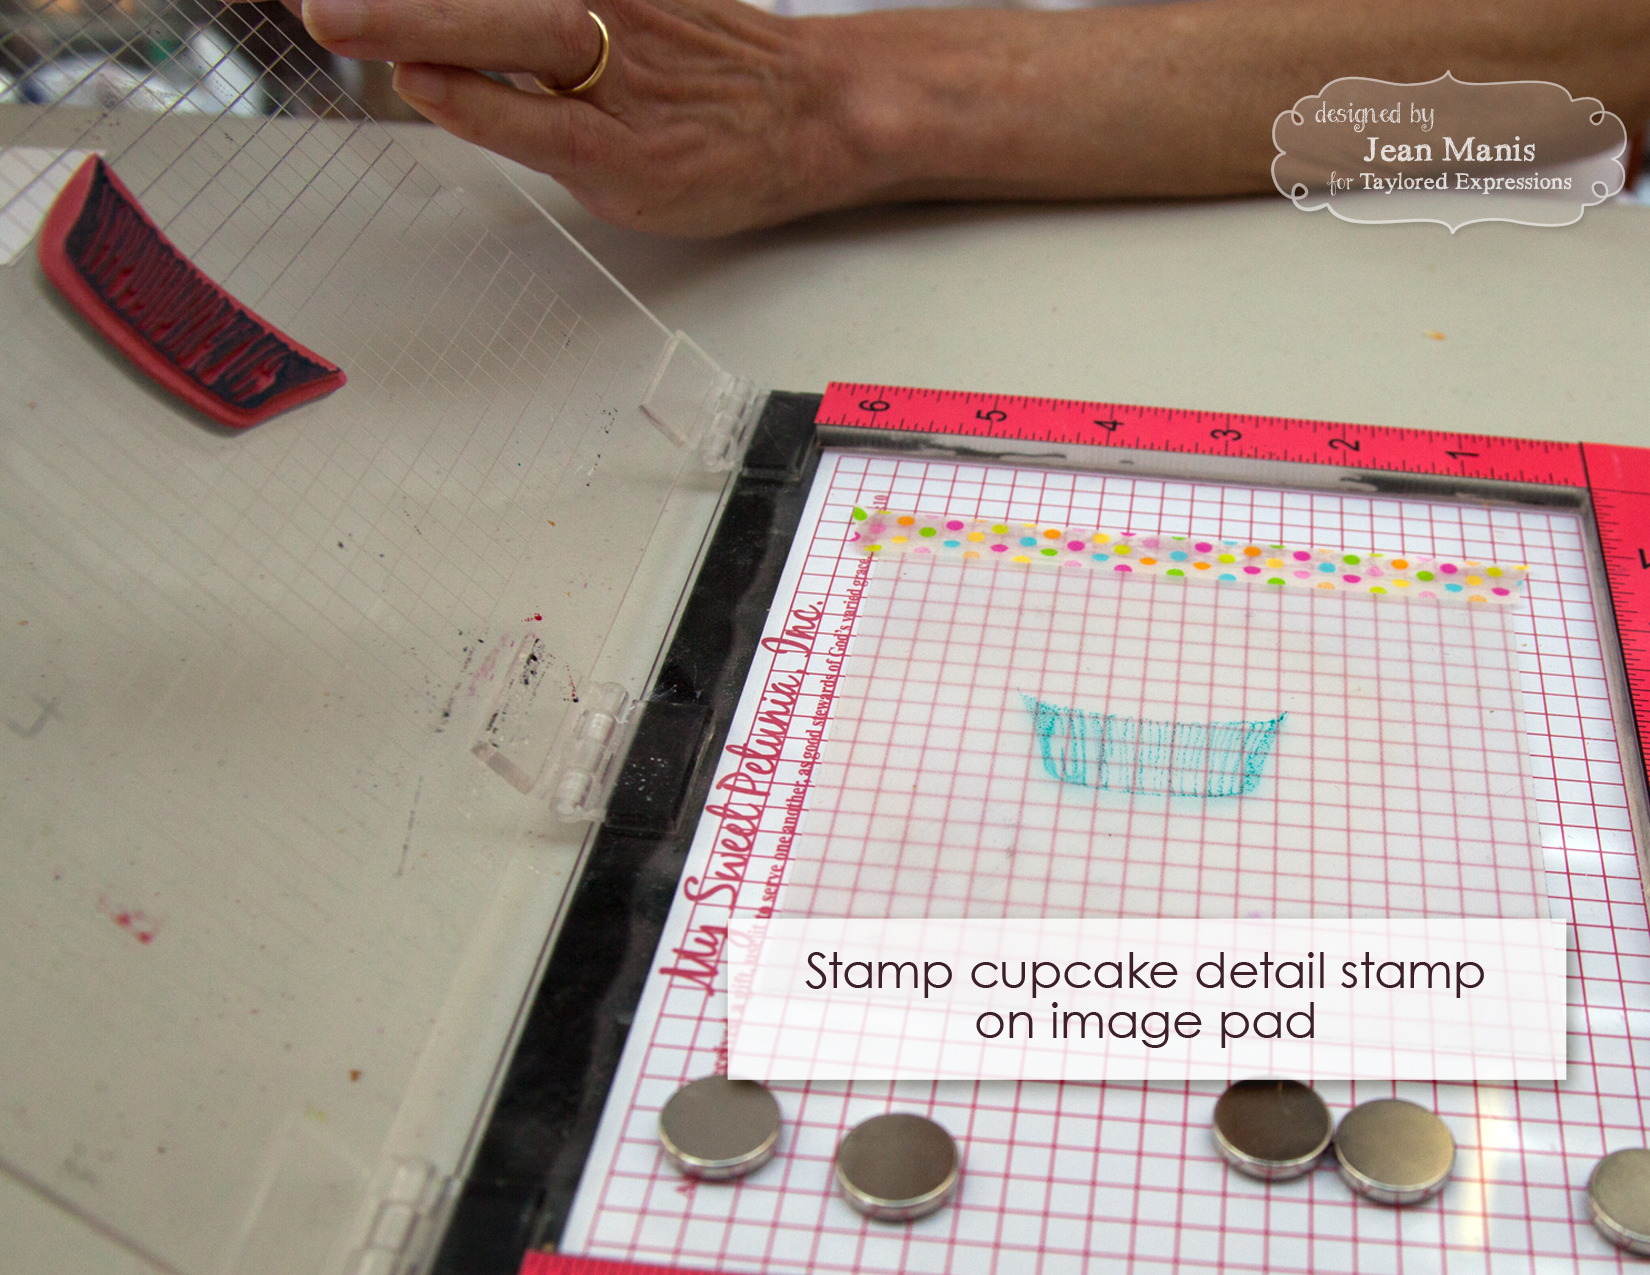
I used Salt Water Taffy ink for the cupcake base solid stamp and Cookie Monster ink for the detail.  On the pink cupcakes, I stamped the solid image with Pink Champagne, stamped the next detail stamp with Strawberry Milkshake and used Lollipop for the other detail stamp. For the blue cupcake, I stamped the solid image with Salt Water Taffy ink, then Sugar Cube white pigment ink and lastly Cookie Monster.

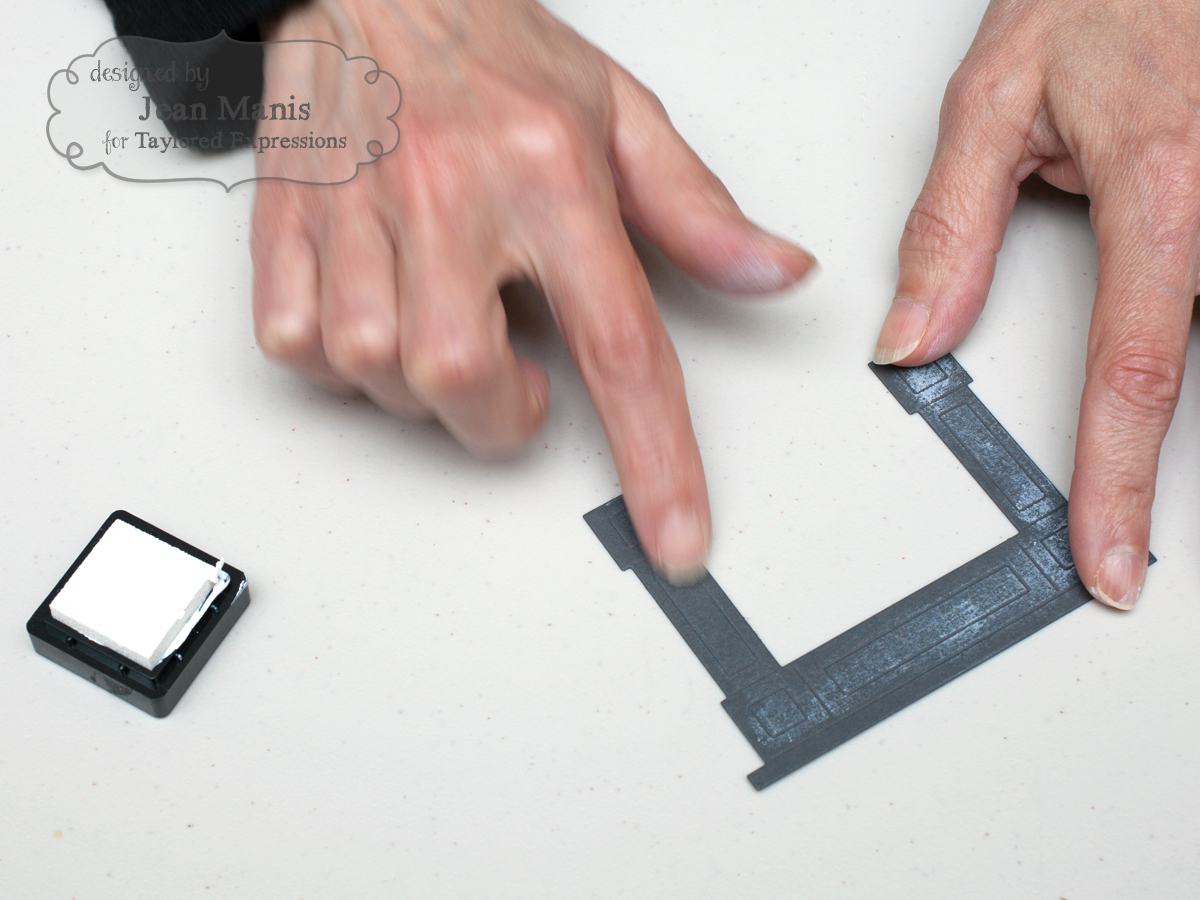
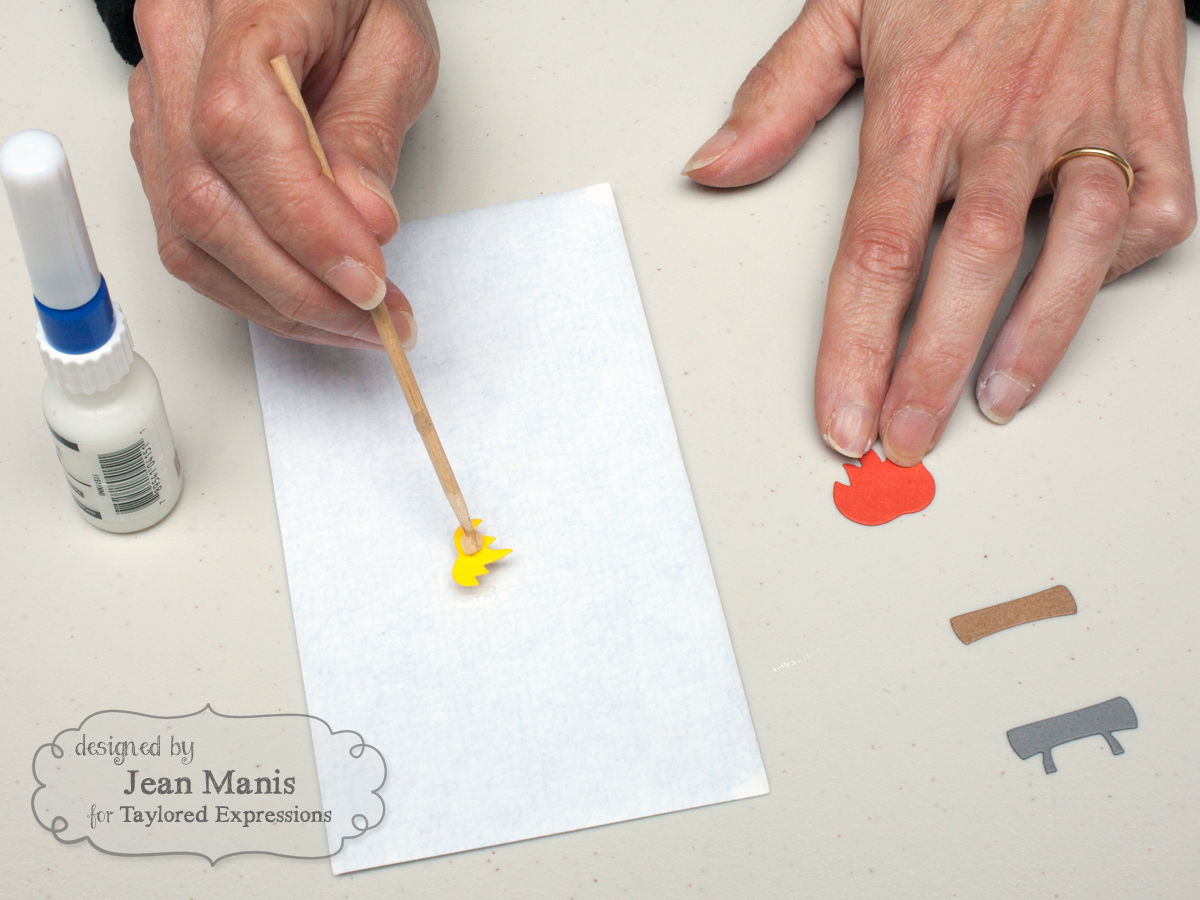
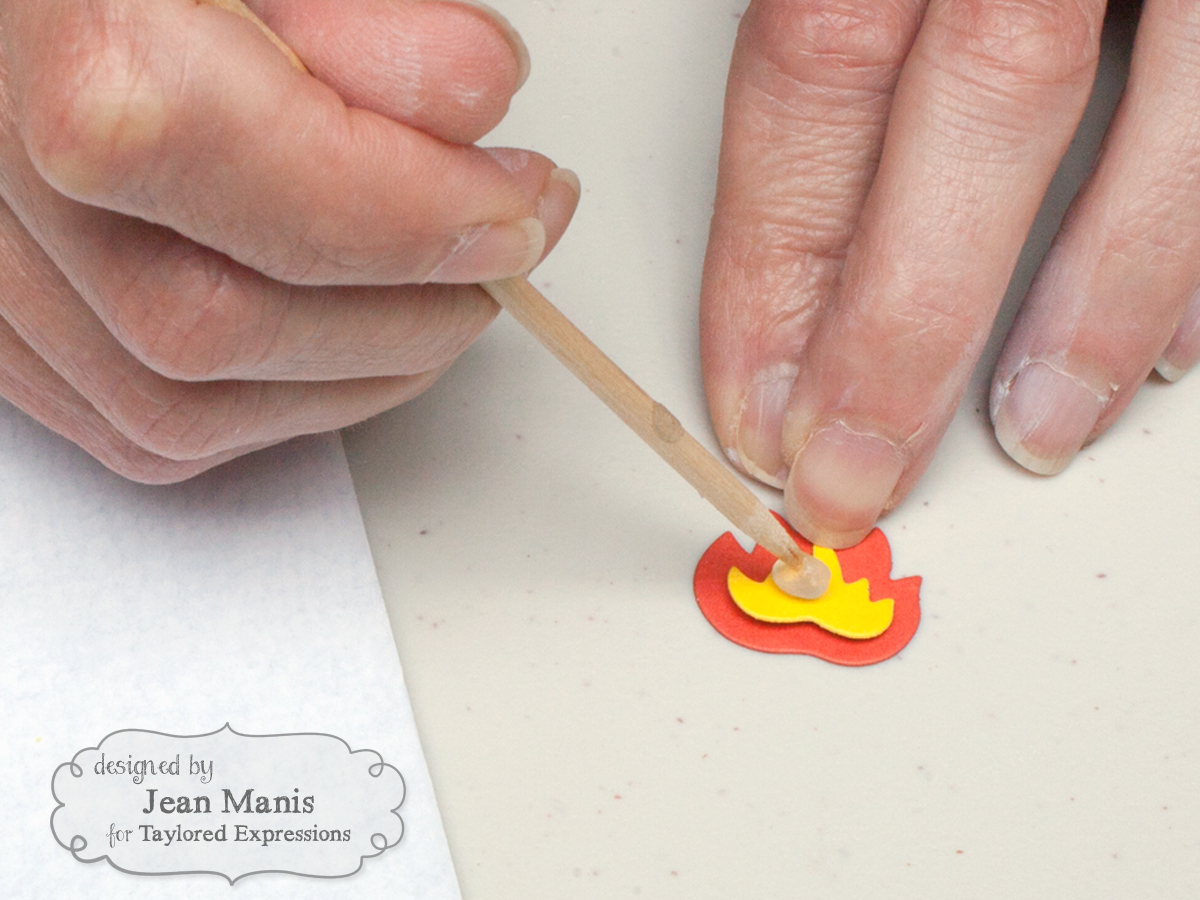
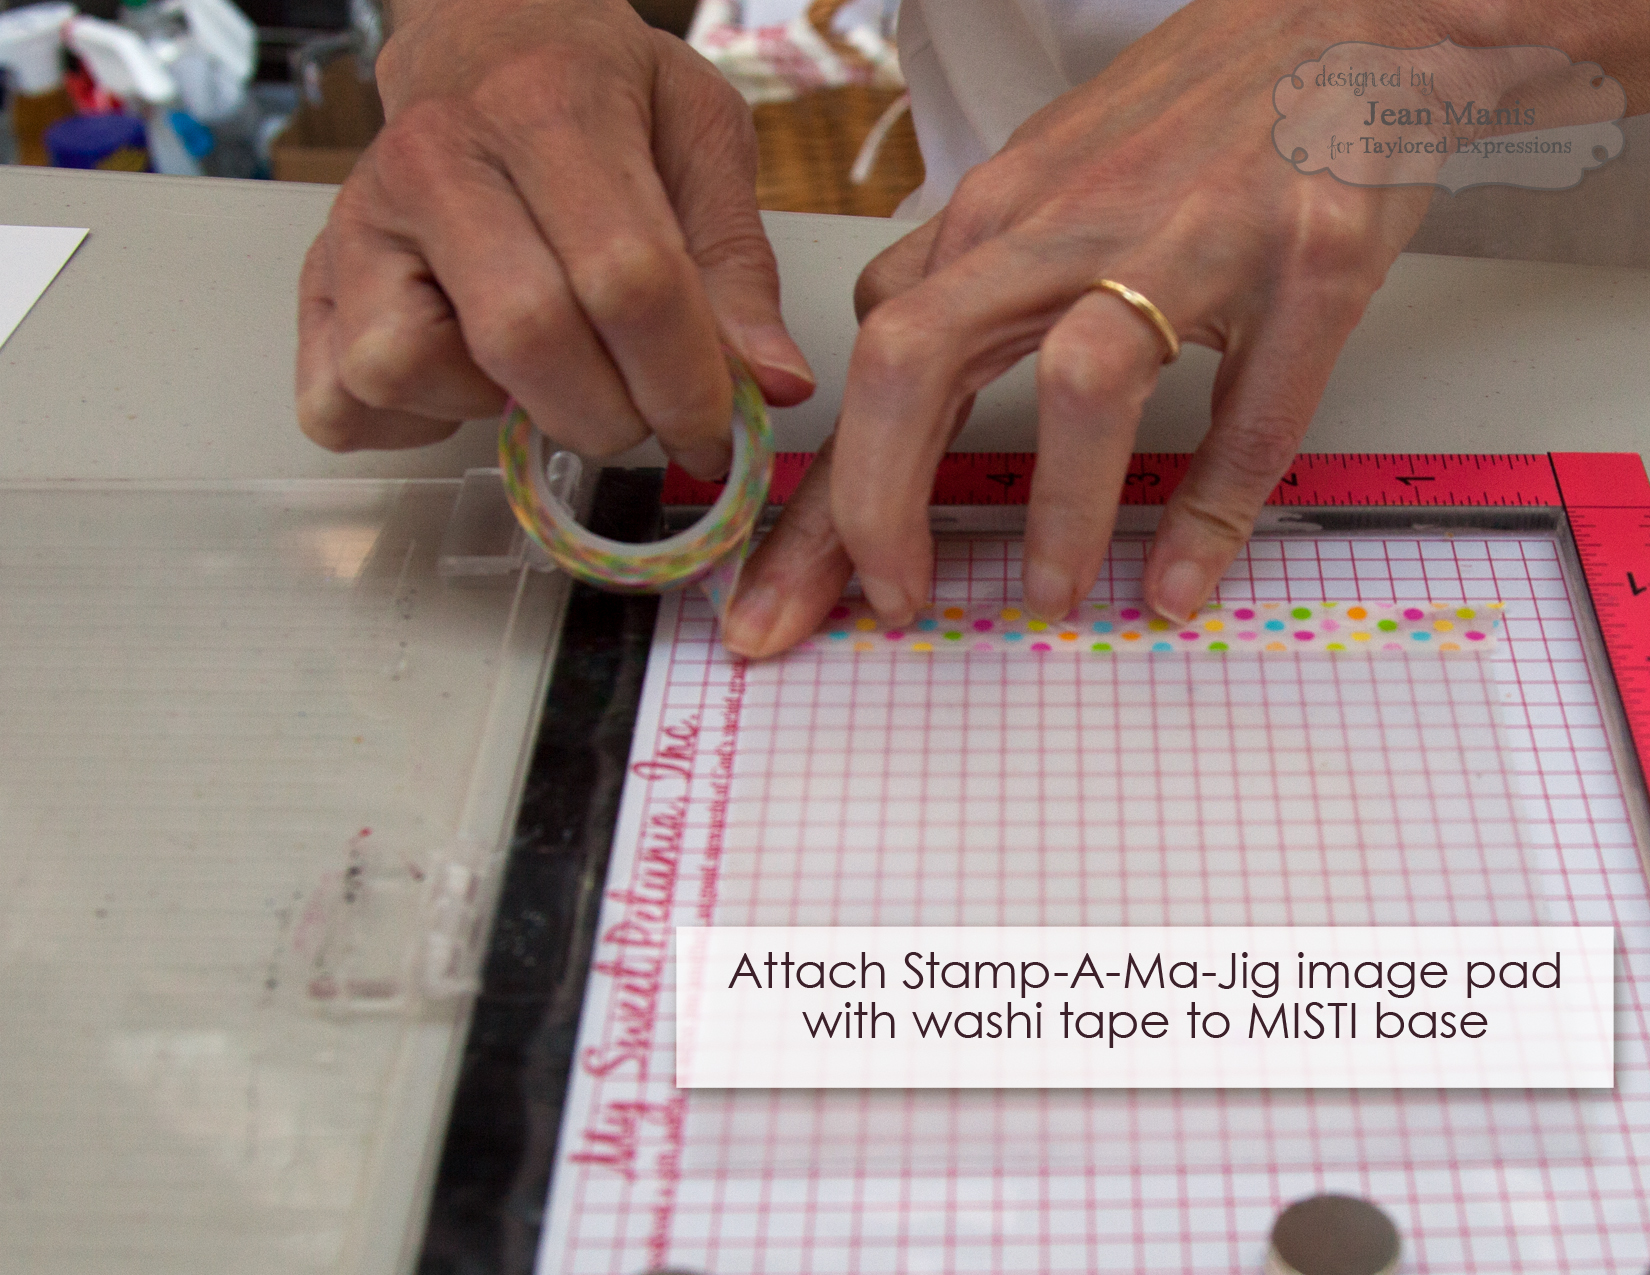
Let’s take a look at the multi-stamp stamping process. In the tutorial, I’m showing how I stamp the cupcake base (which is a two-stamp process) using the MISTI and the Stamp-A-Ma-Jig image pad.

TE Simply Stamped - Cupcakes Simply Stamped - Cupcakes Simply Stamped - Cupcakes Simply Stamped - Cupcakes Simply Stamped - Cupcakes

Simply Stamped - Cupcakes

Simply Stamped - Cupcakes

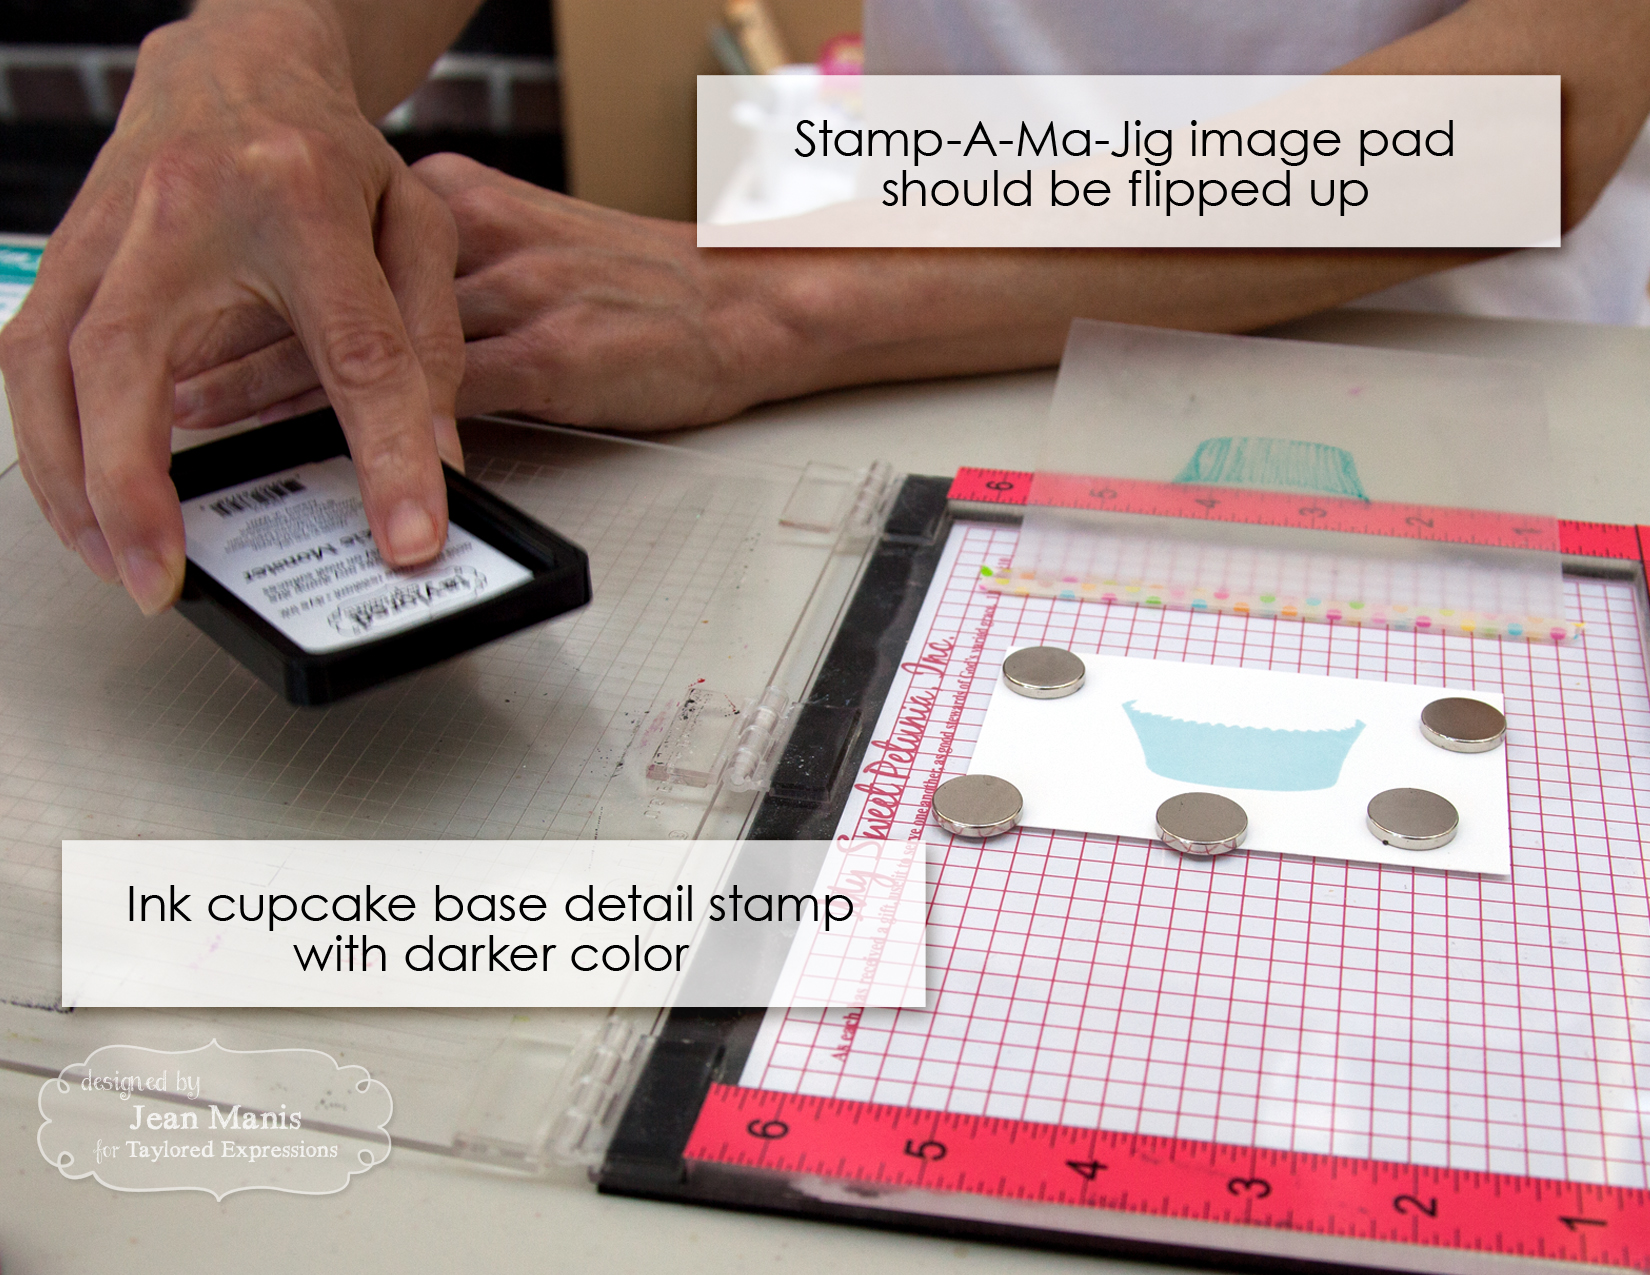
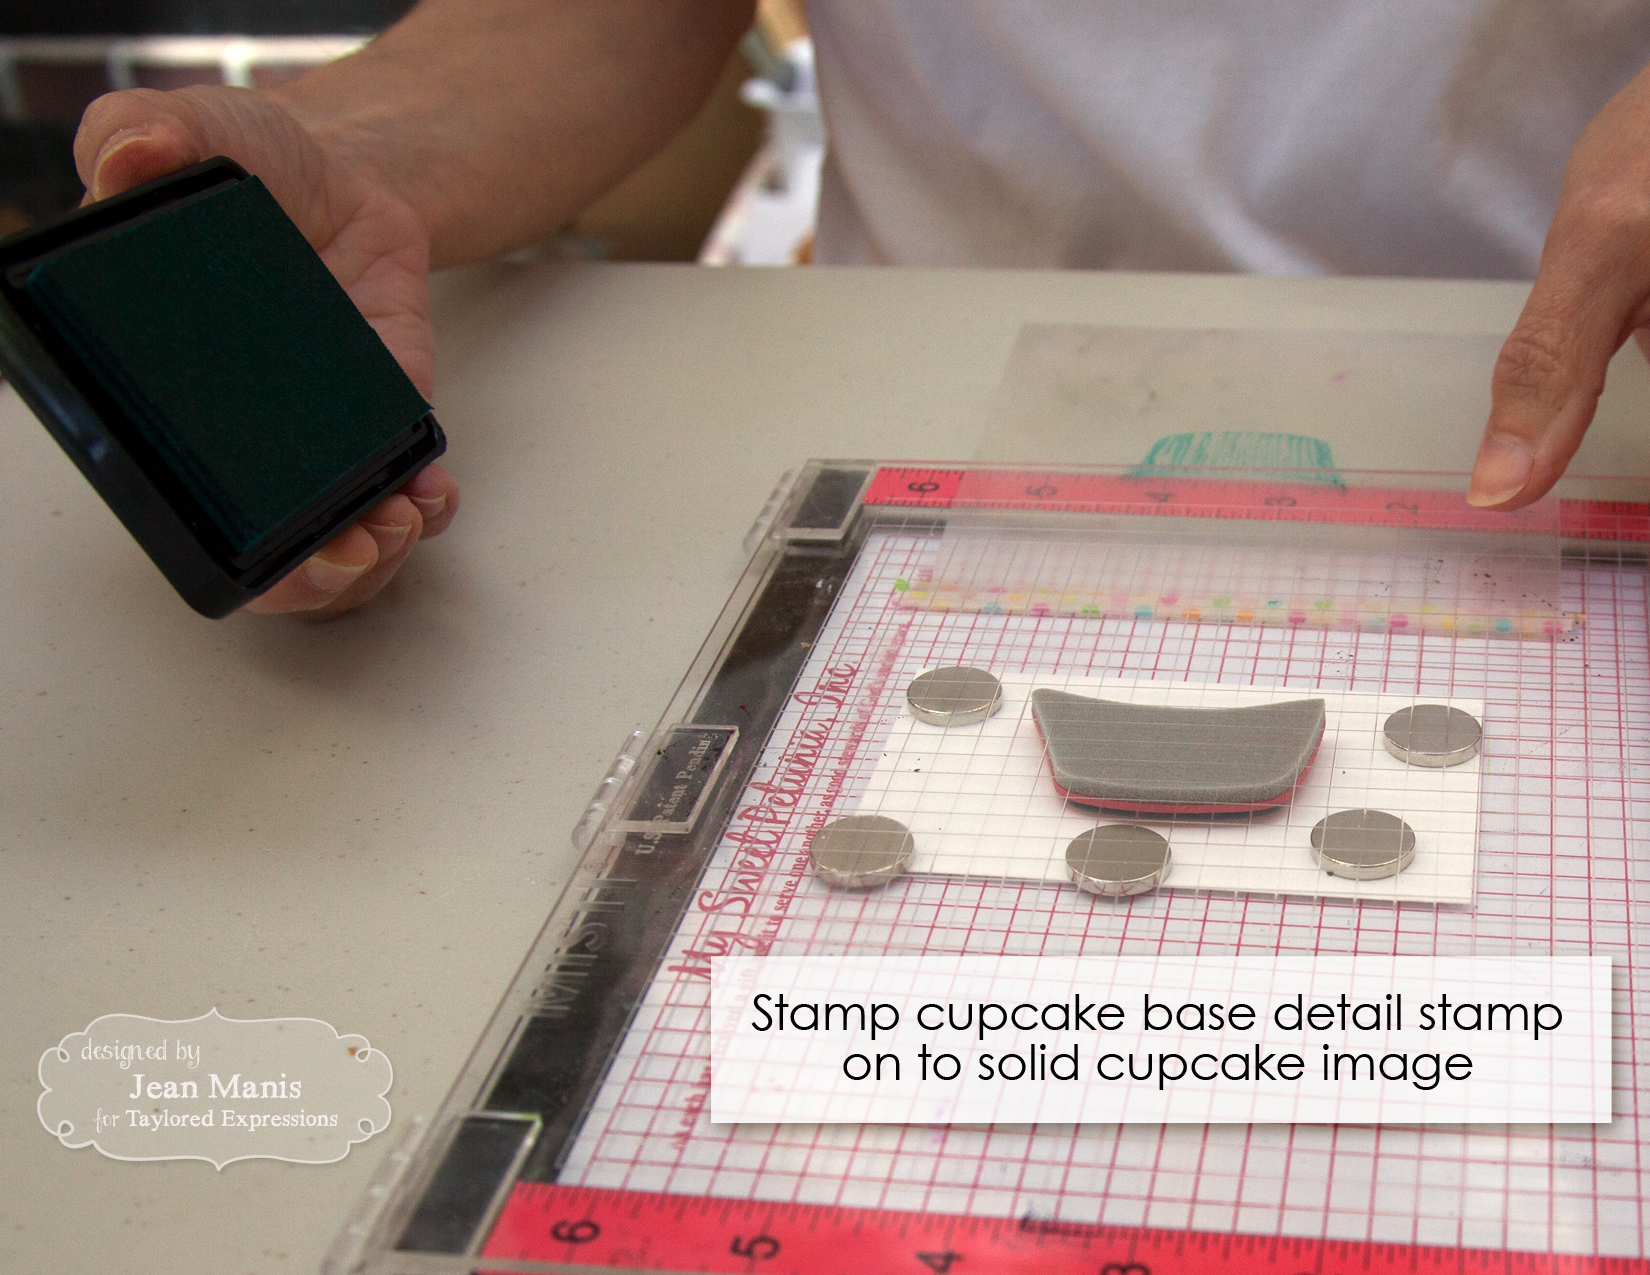
For the cupcake tops, which are a three-step process, I did the same as above, repeating the last four steps with the most detailed stamp.

Supplies:

Thanks so much for stopping by! If you’d like to see more projects and new product information, head over to the TE Blog for a complete blog roll of our participating designers!

Witch’s Fireside Scene + Tutorial

Welcome to the Taylored Expressions August 2016 Release! All of the products that we have been sharing this week are now available in the TE store!

Before you head off to shop, I have one more project to show you! My card showcases the By the Fireside die set. I’m a big fan of Halloween, and I’ve always liked witches, starting with the TV show “Bewitched.” This fireplace belongs in a witch’s home. She’s got her boot off (and on the mantel) and she’s got the fire blazing.

TE August 2016 Release

Today, I’m sharing tips and tricks that I use when piecing together a die-cut scene, especially one with smaller die-cuts. For many years I had glue/tape phobia! But with the right tools and adhesives I’ve overcome my fears.

To begin, I cut the fireplace mantel from Poppy Seed cardstock. The die creates an indentation to simulate the mantel’s details.

TE By the Fireside Tutorial

To highlight those details, I lightly applied the Sugar Cube ink to the mantel and worked my way around.

TE By the Fireside Tutorial TE By the Fireside Tutorial

While that dried, I cut the brick part of the fireplace from Jelly Donut cardstock and dry-embossed it with the Brick embossing folder.

TE By the Fireside Tutorial

I cut a piece of TE Oreo cardstock, slightly larger than the brick part, to simulate the interior of the fireplace. I used double-sided tape to adhere the pieces together.

TE By the Fireside Tutorial

I taped those pieces to the back of the fireplace mantel.

TE By the Fireside Tutorial TE By the Fireside Tutorial

To adhere the smaller die-cut pieces, such as the fire flames, I put a dab of Ranger Multi-Matte Medium onto a piece of paper and dipped the die cut piece, which I held with the Embellie Gellie. This is my “go to” method for adhering the Little Bits die cuts. I assembled the Broom, the Cauldron and the Potion Bottles in this manner.

TE By the Fireside Tutorial TE By the Fireside Tutorial

To create the buttons on the Witch’s Boot, I backed the die cut with a small piece of TE Lemon Meringue cardstock and attached it with a sliver of tape.

TE By the Fireside Tutorial TE By the Fireside Tutorial

Finally, whenever I want to pop up a small die-cut in a scene, such as the spiders, I cut small pieces of foam adhesive. I have a pair of scissors which I only use to cut adhesives!

TE By the Fireside Tutorial

TE By the Fireside

Thanks so much for stopping by! If you’d like to see more projects and new product information, head over to the TE Blog for a complete blog roll of our participating designers!

Supplies: