Spellbinders January 2022 Large Die Kit Club

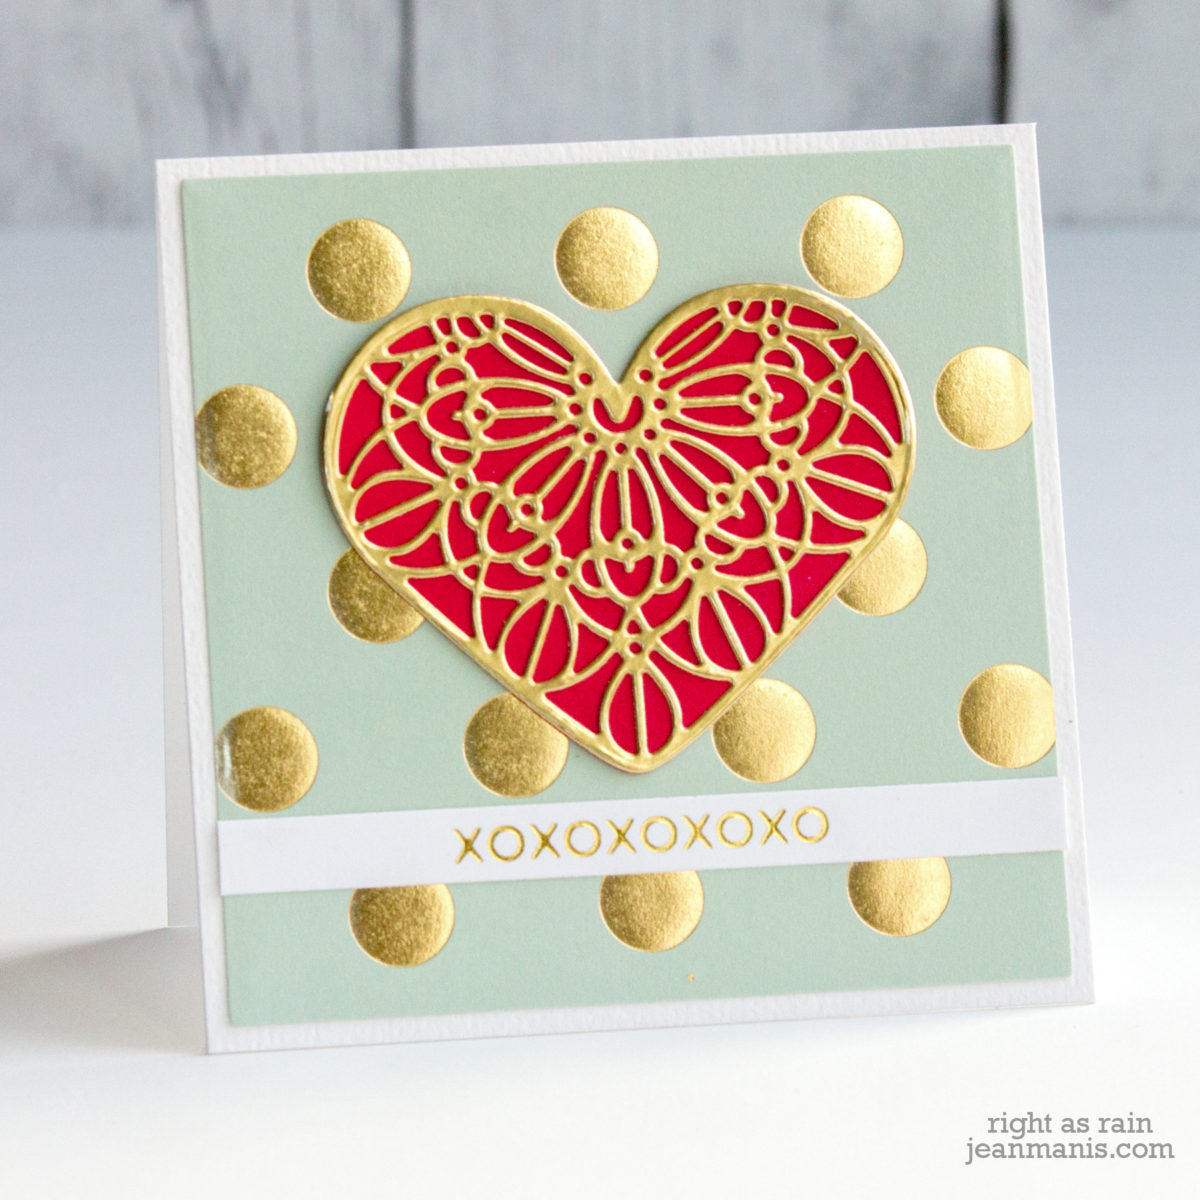
Hello crafty friends and happy 2022! I’m delighted to share a Valentine’s Day project created with the Spellbinders January 2022 Large Die of the Month “A Pocket Full of Love.” Read more about the set here.

Spellbinders January 2022 Large Die Kit Club

Spellbinders January 2022 Large Die Kit Club

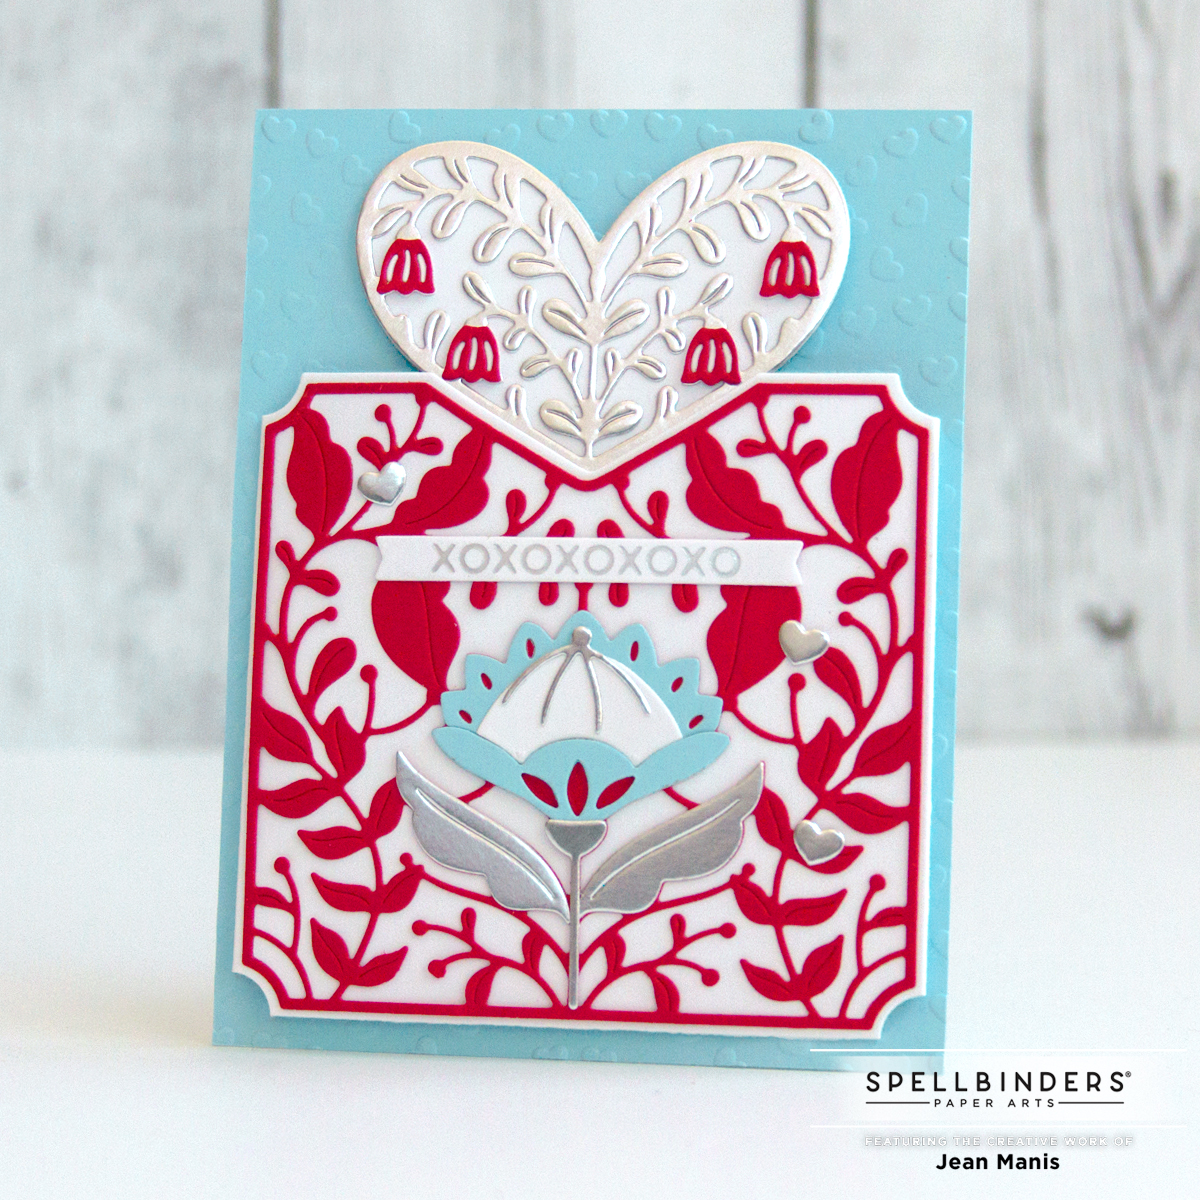
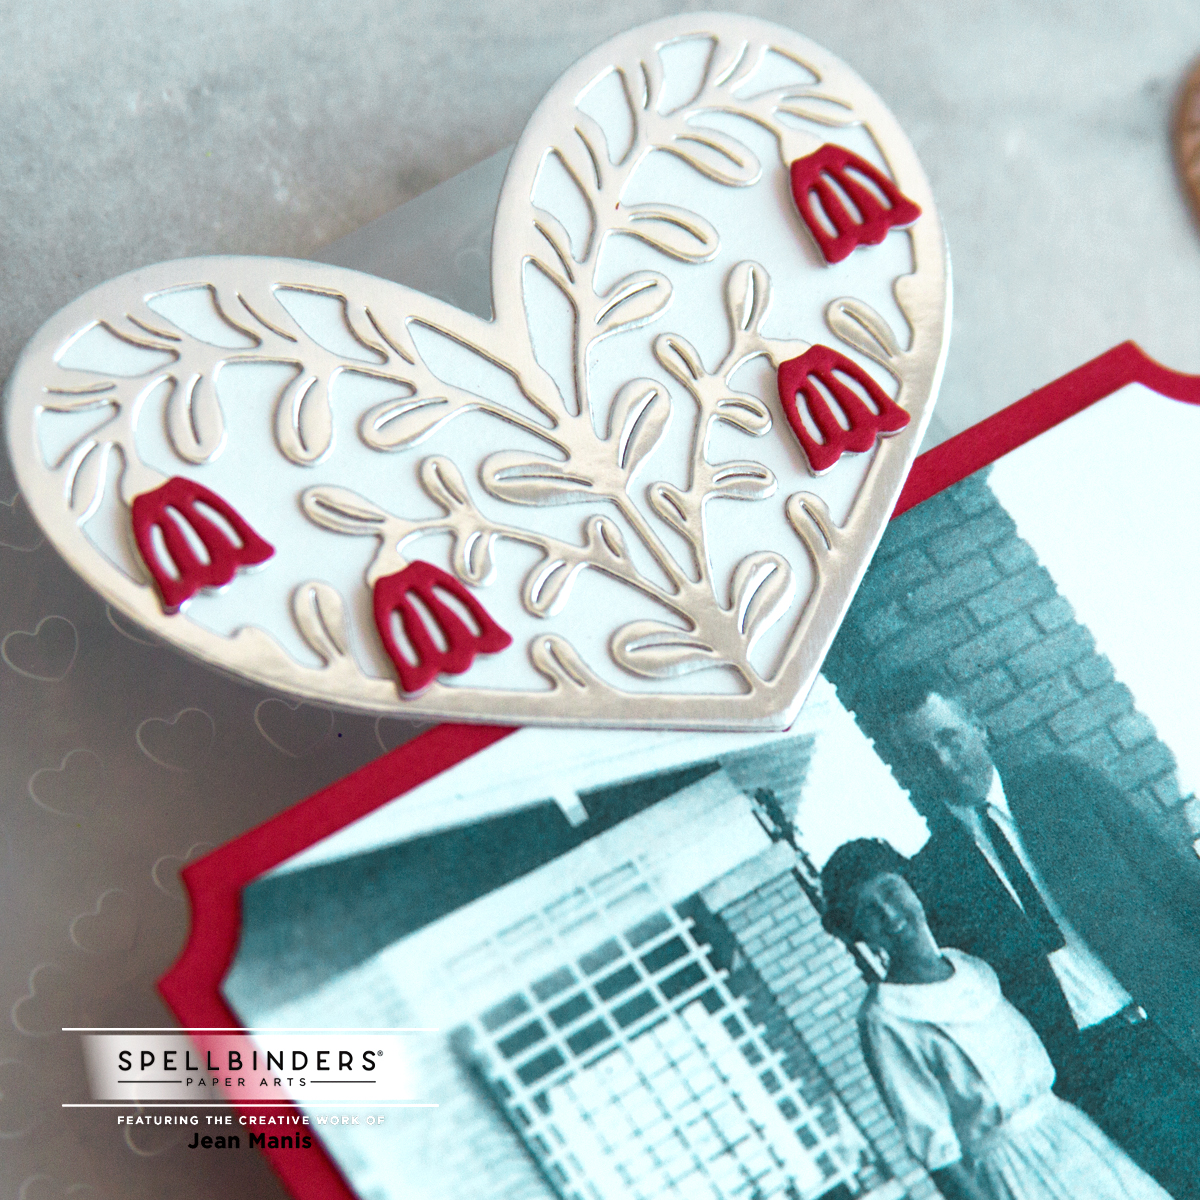
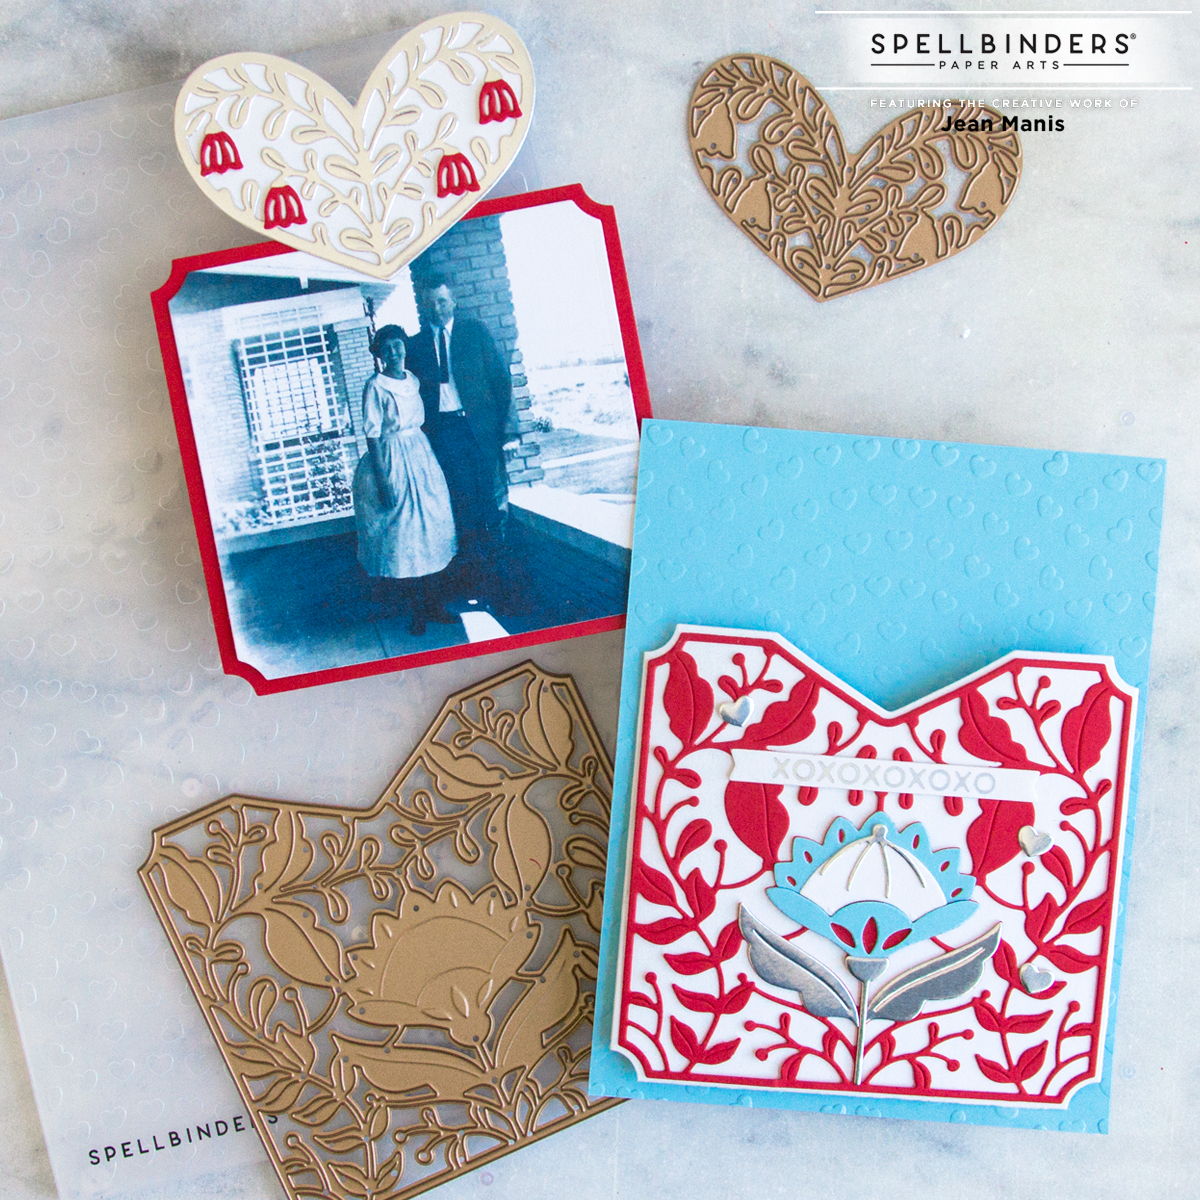
This unique die set creates a pocket in which to place a note, a photo, a gift card, and more. The enclosure is revealed by pulling up the heart. I enclosed a photo of my grandparents taken during their honeymoon in 1921.

Spellbinders January 2022 Large Die Kit Club

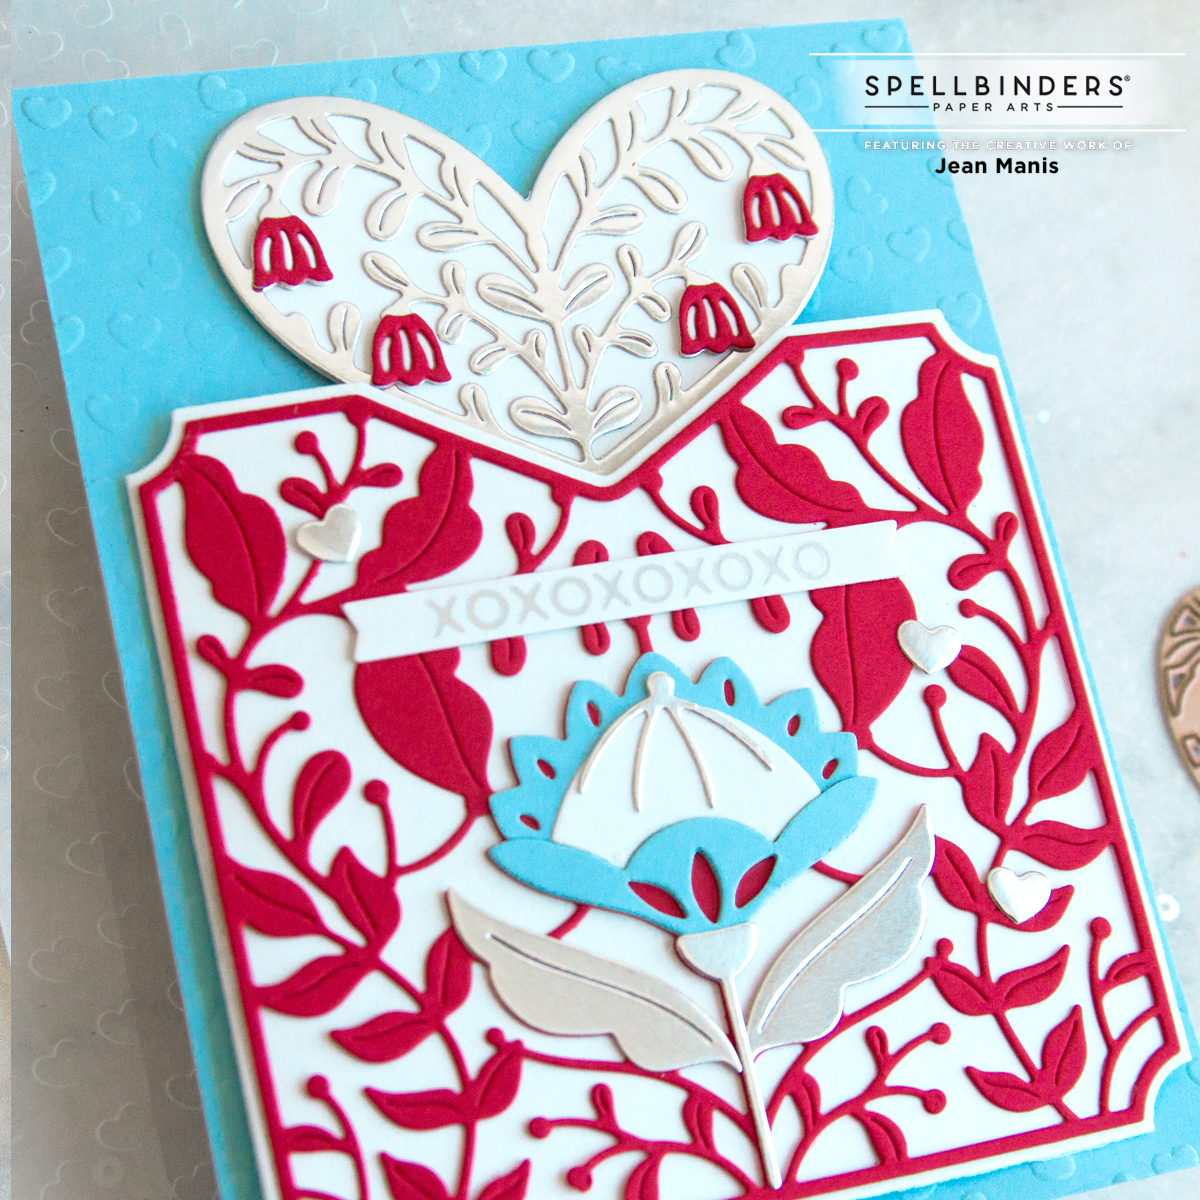
  • Die-cut the pocket from Snowdrift cardstock, score on three sides. Die-cut the details from silver, red, Snowdrift, and light-blue cardstock. Assemble.
  • Dry-emboss A2-size card base with the January 2022 Embossing Folder “Spreading Love” from light-blue cardstock. This is a brand-new kit club.
  • Tape pocket to dry-embossed background.
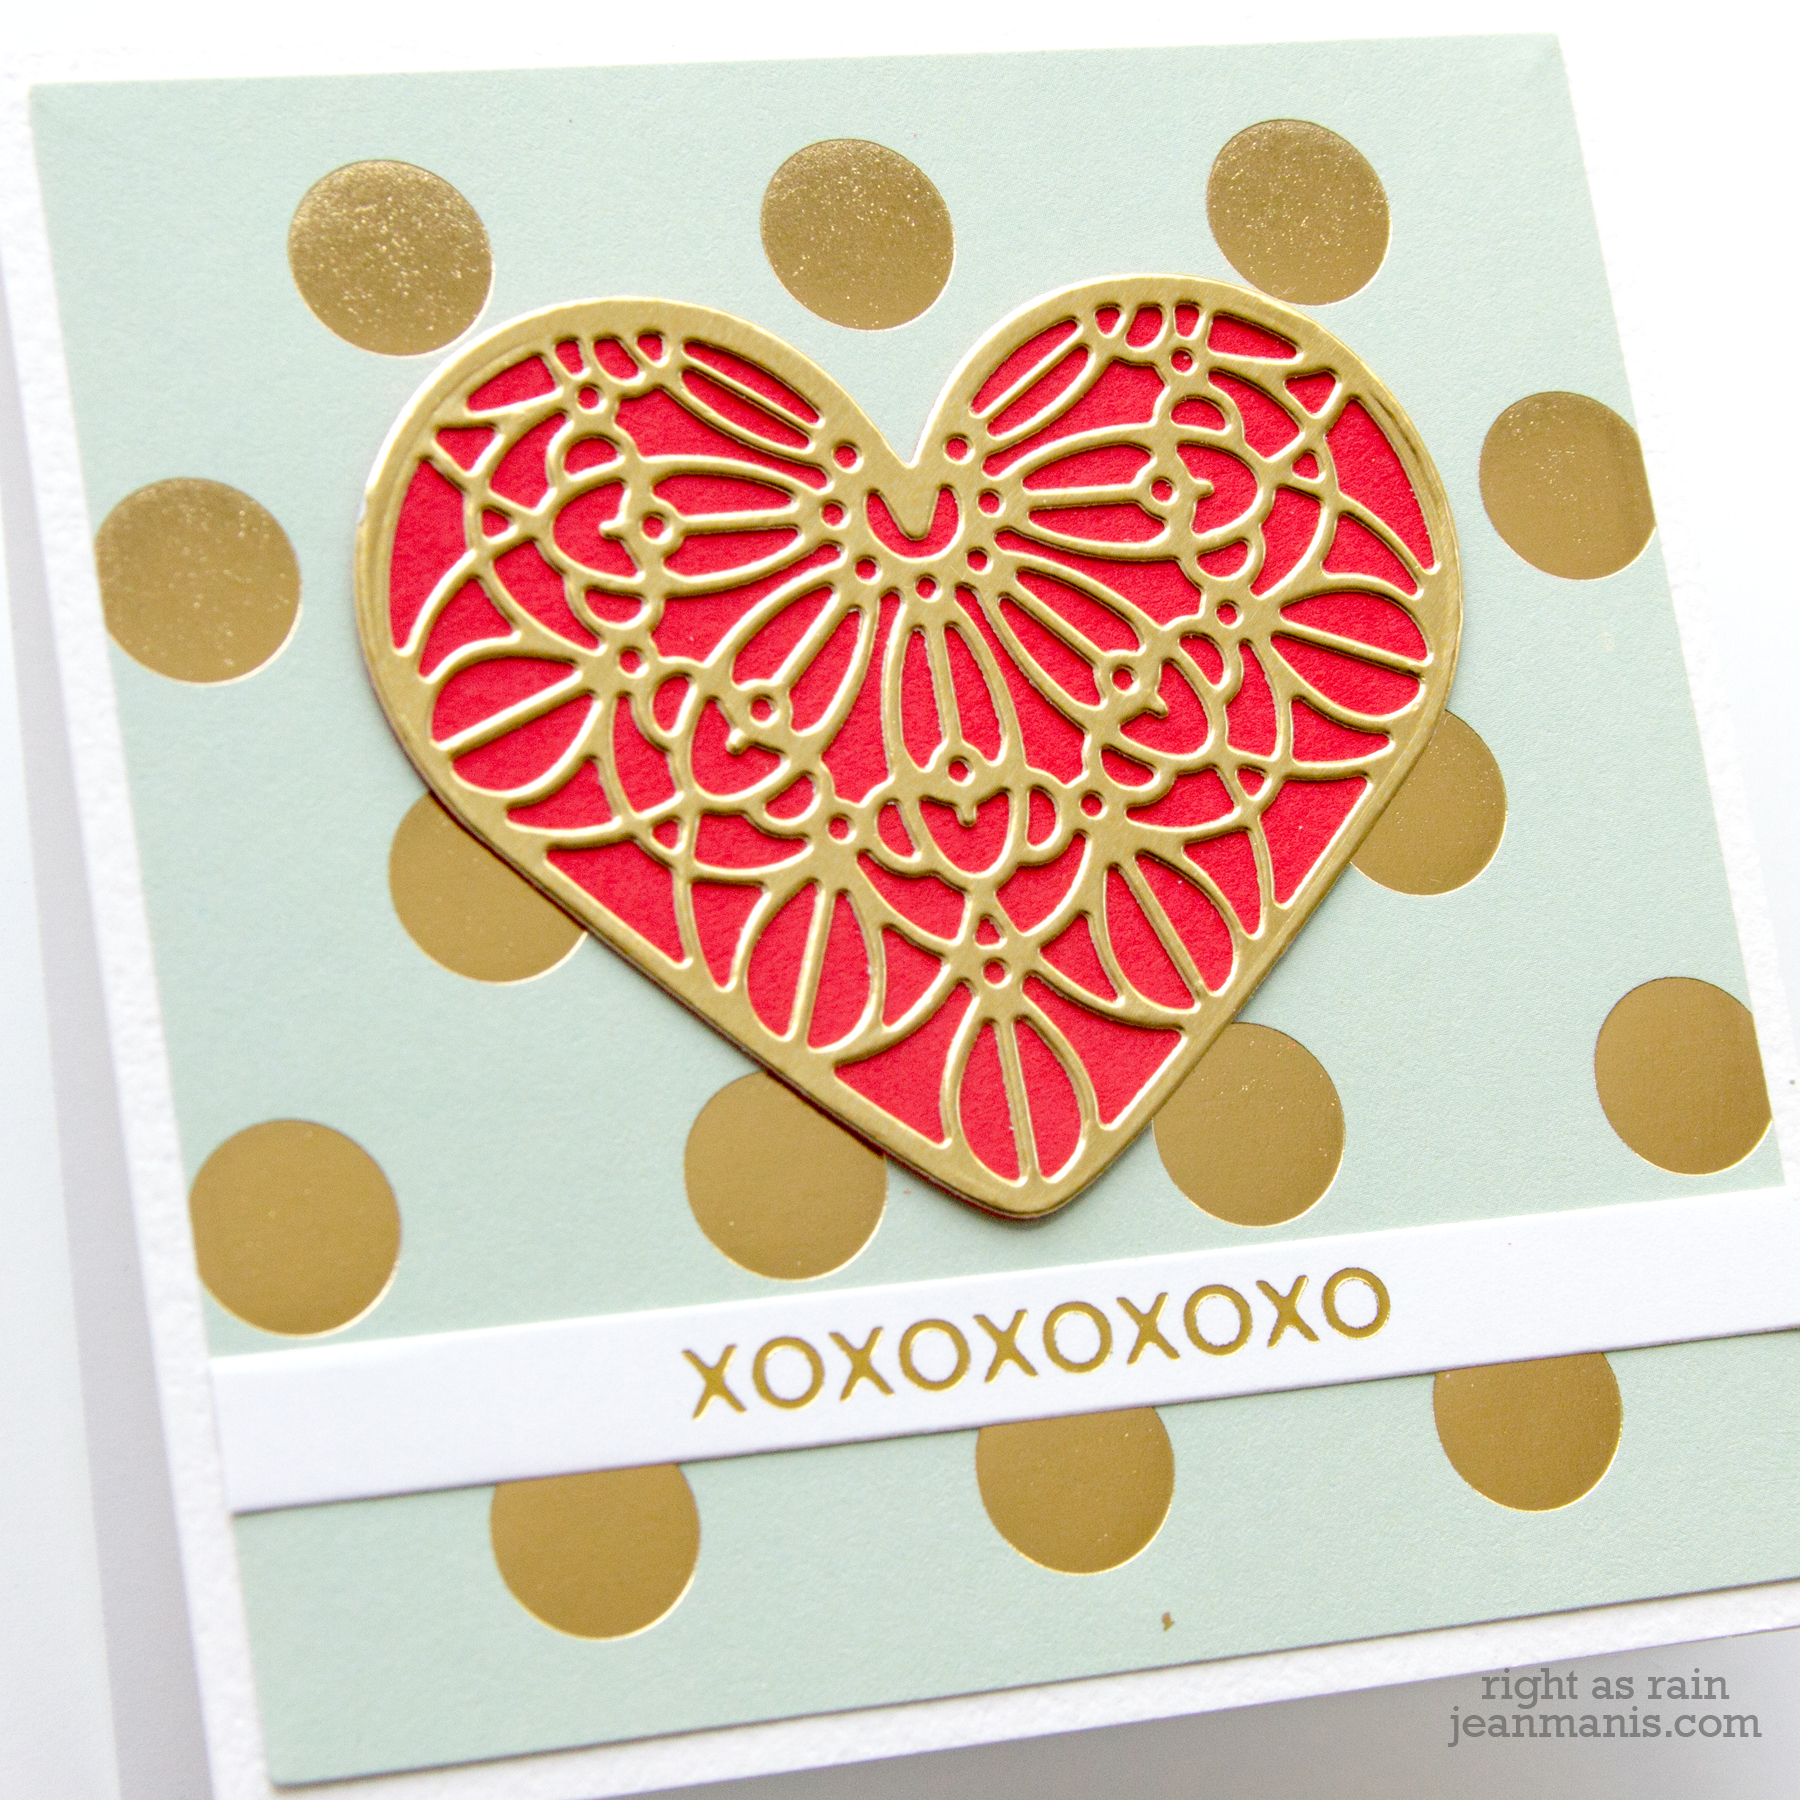
  • Die-cut heart and details, as well as the enclosure panel. Adhere heart to the enclosure panel.
  • Glimmer-foil More Sentiments sentiment in Matte Silver on Snowdrift cardstock and cut with banner die in the Mini Sincere Sentiments set; add to pocket. Embellish with hearts cut from silver foil using a die in the Heart to Heart Tag set.

Spellbinders January 2022 Large Die Kit Club

Spellbinders January 2022 Large Die Kit Club


Spellbinders Be Bold Color Block Love You

Hello from the cold and snowy Pacific Northwest. Today I am sharing a CAS Valentine’s Day card created with the recently-released Be Bold Color Block Love You die set at Spellbinders. The Be Bold Color Block collection features die sets with which you can quickly and easily create bold and graphic greetings. I previously shared cards created with a Christmas die from the collection in this post.

Spellbinders Be Bold Color Block Love You

With the Be Bold Color Block Love You die set, I cut the “LOVE” letters from colored paper in red and three shades of pink. I adhered the letters to Snowdrift cardstock for stability. I die-cut the “you” from white glitter cardstock which I also adhered to Snowdrift cardstock.

I taped the “LOVE” letters on the back and attached the assembly to blue paper (from the Echo Park Celebrate Winter collection).

Spellbinders Be Bold Color Block Love You


Spellbinders December 2021 Clear Stamp + Die of the Month Club

Hello crafty friends! Today, I’m sharing a Valentine’s Day card created with the Spellbinders December 2021 Clear Stamp & Die of the Month Club – “Color Outside the Lines.” The letters also spell “Hello.” Read more about this club here.

Spellbinders December 2021 Clear Stamp + Die of the Month Club

Spellbinders December 2021 Clear Stamp + Die of the Month Club

  • I die-cut the Large Die of the Month diamond-shaped strips from Snowdrift and Brushed Gold cardstock.
  • I dry-embossed the red cardstock base with the Sun Rays folder.
  • I stamped the Clear Stamp & Die of the Month Club sentiment letters in black ink, cut them with their coordinating dies, and colored the flowers with Copic markers.
  • I adhered the assembled strips to the dry-embossed base. I started with the center strip and worked up and down from there for a total of seven strips.
  • I die-cut a vellum circle to which I adhered the letters. I adhered the circle assembly to the card with glue behind the letters.

Spellbinders December 2021 Clear Stamp + Die of the Month Club


Spellbinders CAS Valentine

Hello! Today I am sharing a CAS Valentine created with a Spellbinders die set and glimmer-foiled sentiment. This took just minutes to create.

Spellbinders CAS Valentine

  • I die-cut the Forever Love Hearts top layer from gold foil and the bottom from red cardstock and glued the pieces together.
  • I glimmer-foiled the More Sentiments “XOXO” in gold on white cardstock and cut it with a die in the Holiday Sentiments set.
  • I added the elements to a card base of foiled patterned paper.Spellbinders CAS Valentine

Supplies:

Cottage Cutz Gardening Mouse

Hello! Today I am sharing a garden (gardening)-themed Valentine.

Cottage Cutz Gardening Mouse

  • I die-cut the pieces of the Cottage Cutz Gardening Mouse from textured cardstock, cardstock colored with Distress Inks, and silver foil. I used the Fishing Gear set to cut the mouse’s eyes.
  • I glued the mouse, tools, and dirt.
  • I stamped the garden-themed sentiment on white cardstock and colored the background with Distress Ink.
  • I cut the sentiment panel with a now-retired dotted rectangle.
  • I added the panel to a patterned paper background and the assembled mouse to the sentiment panel.

Cottage Cutz Gardening Mouse

Supplies: