Penny Black Halloween Gate

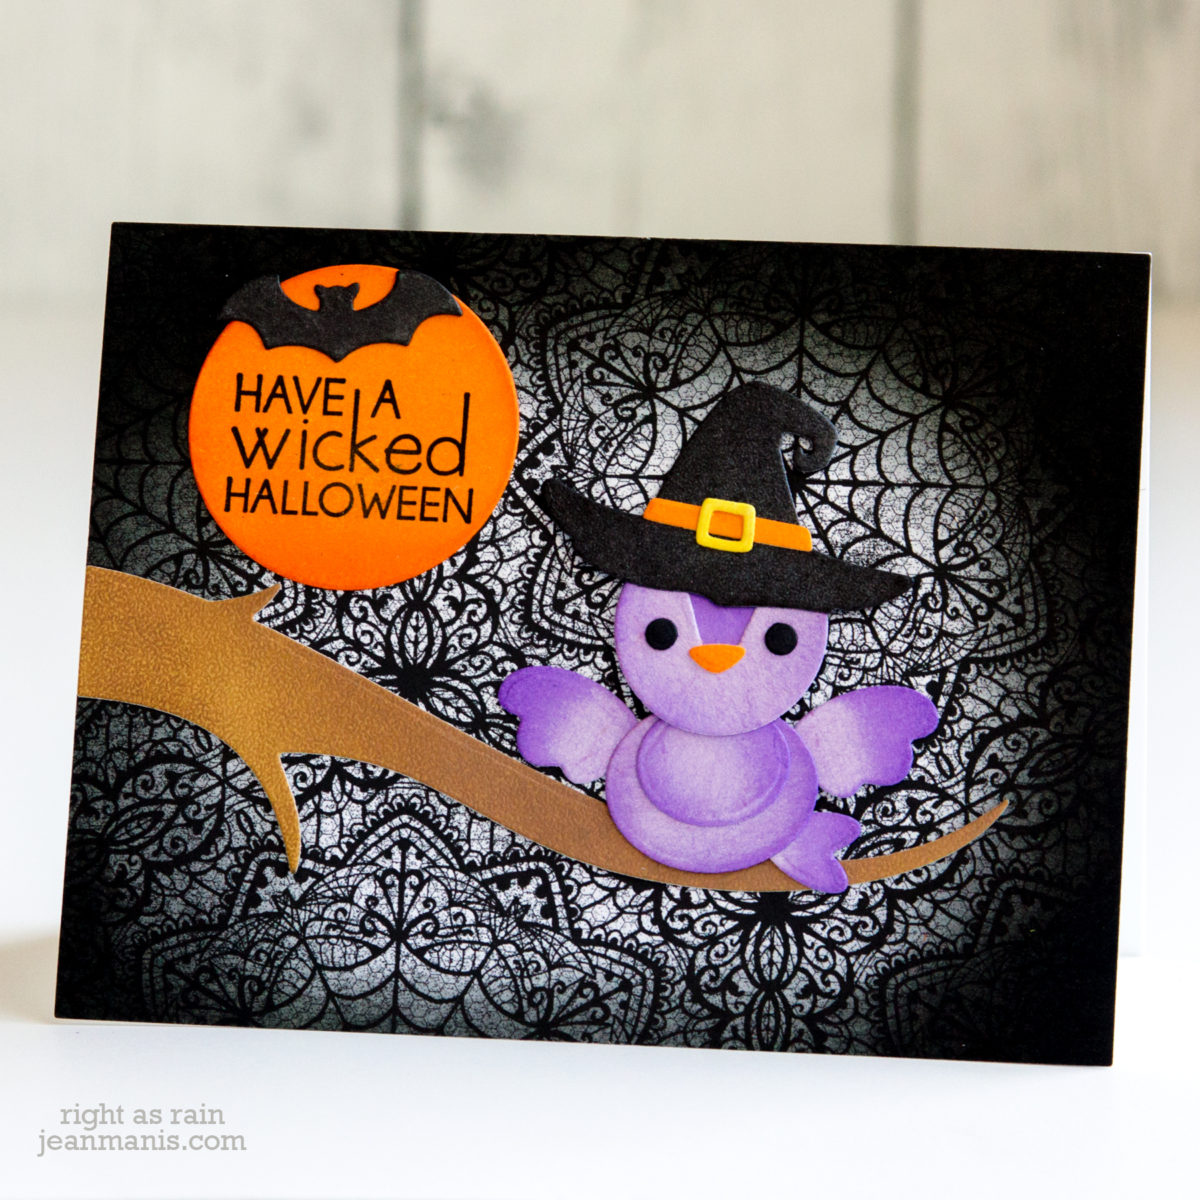
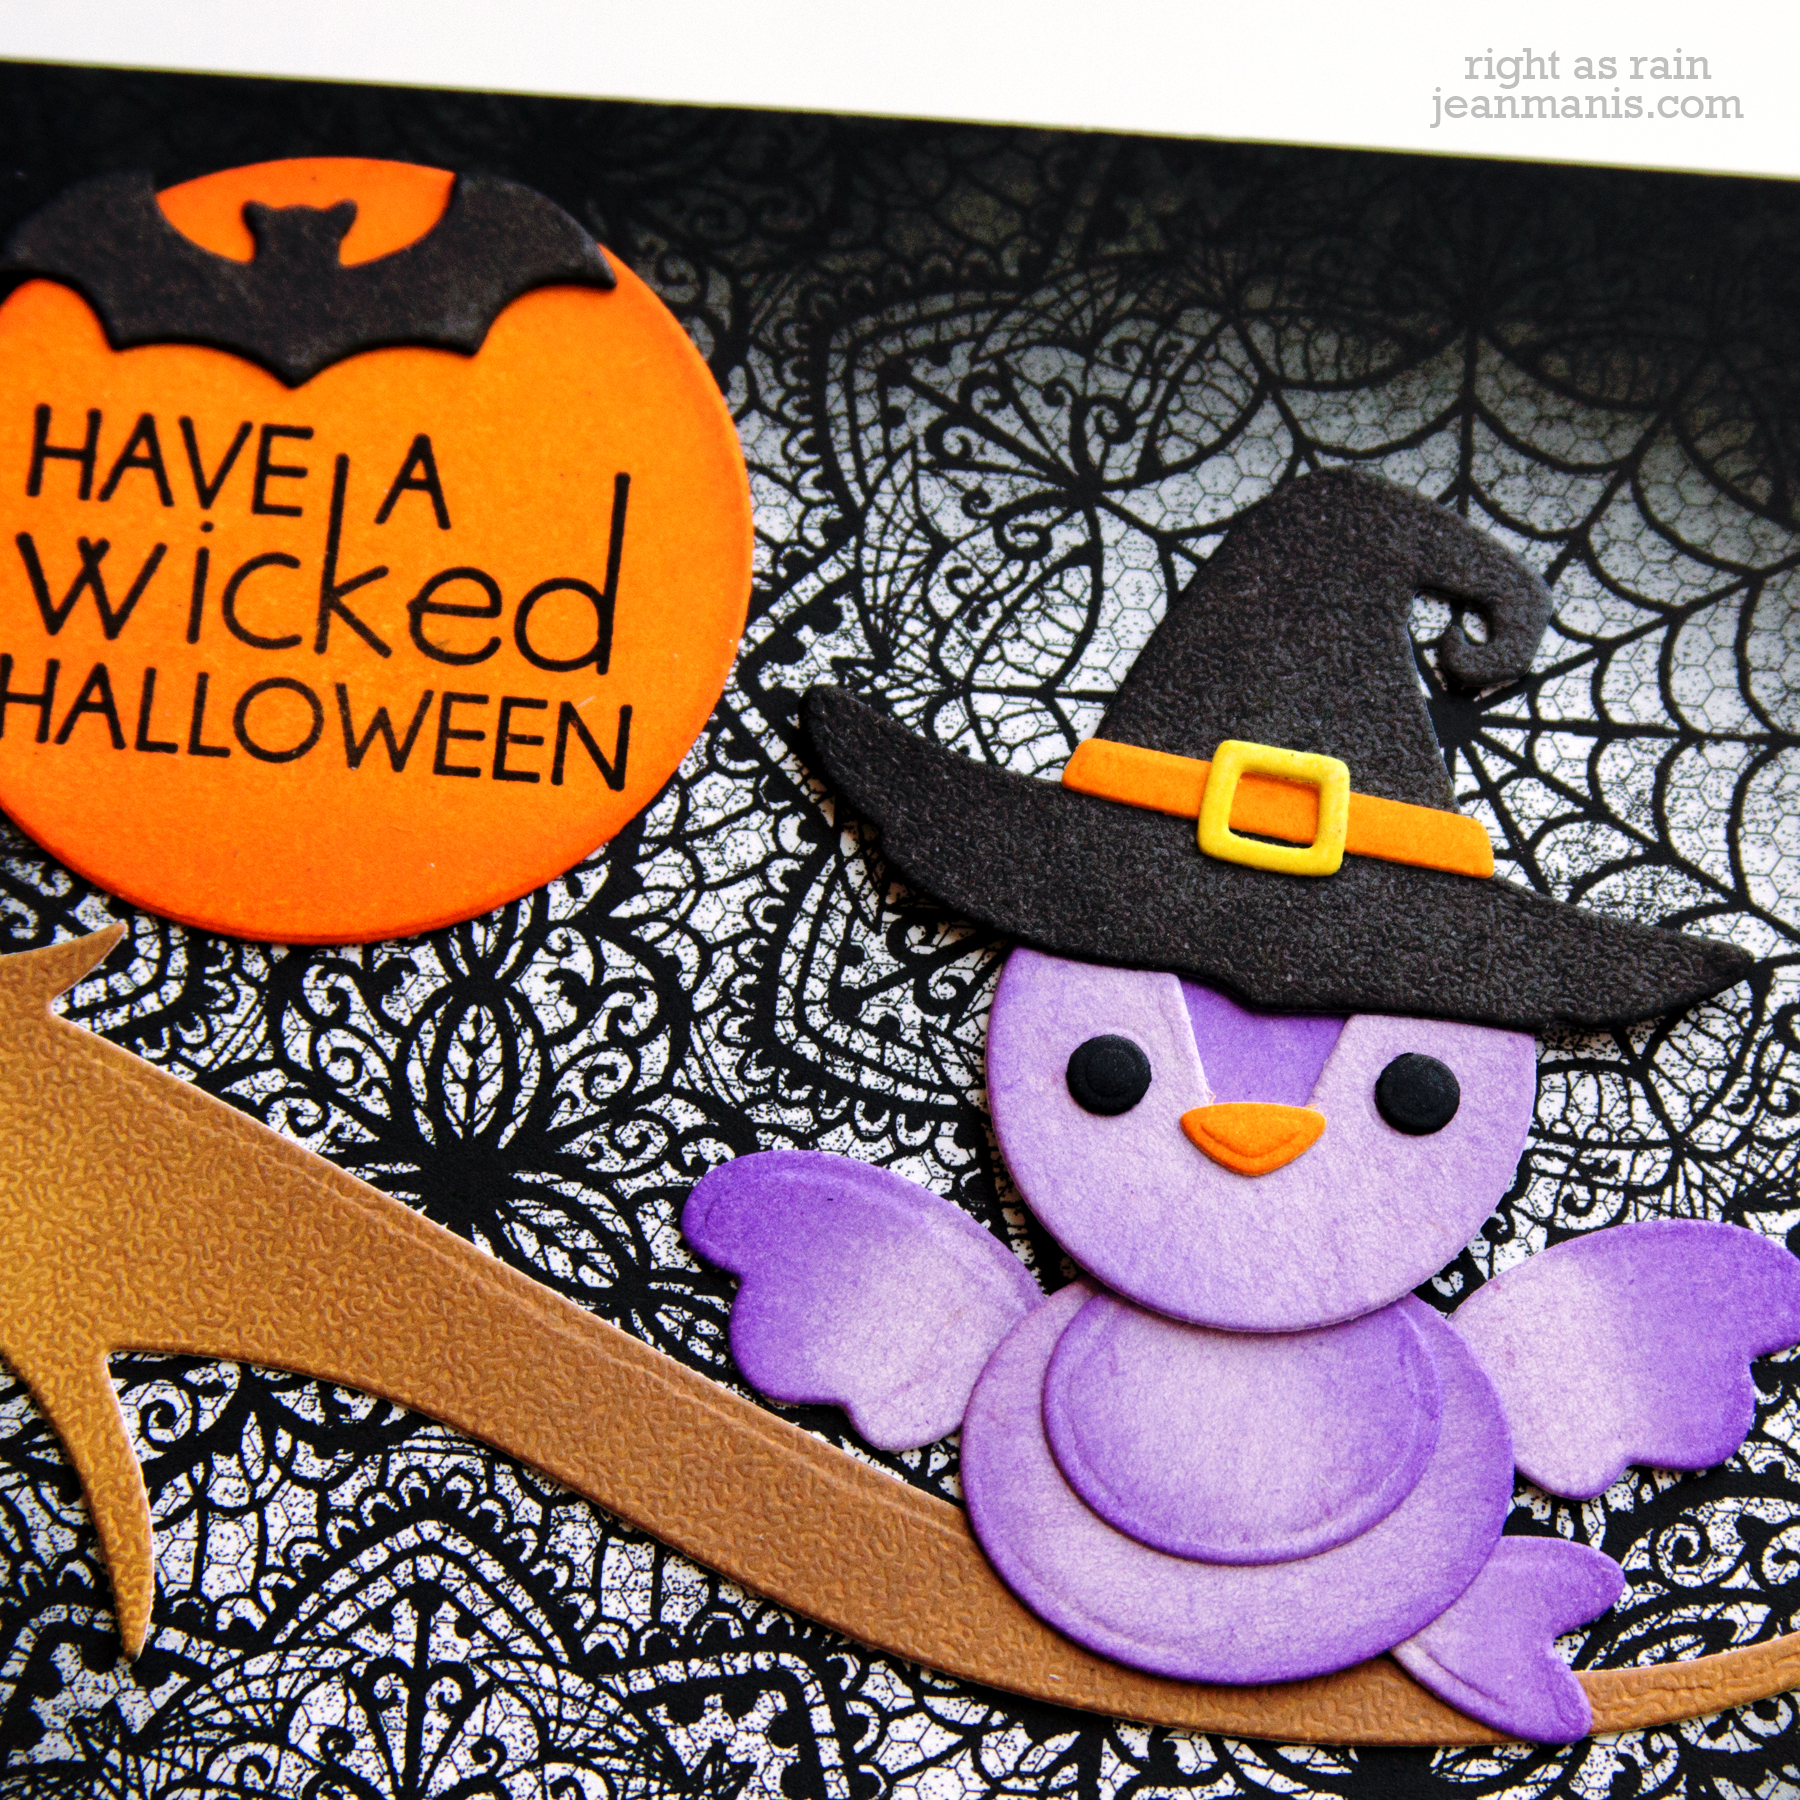
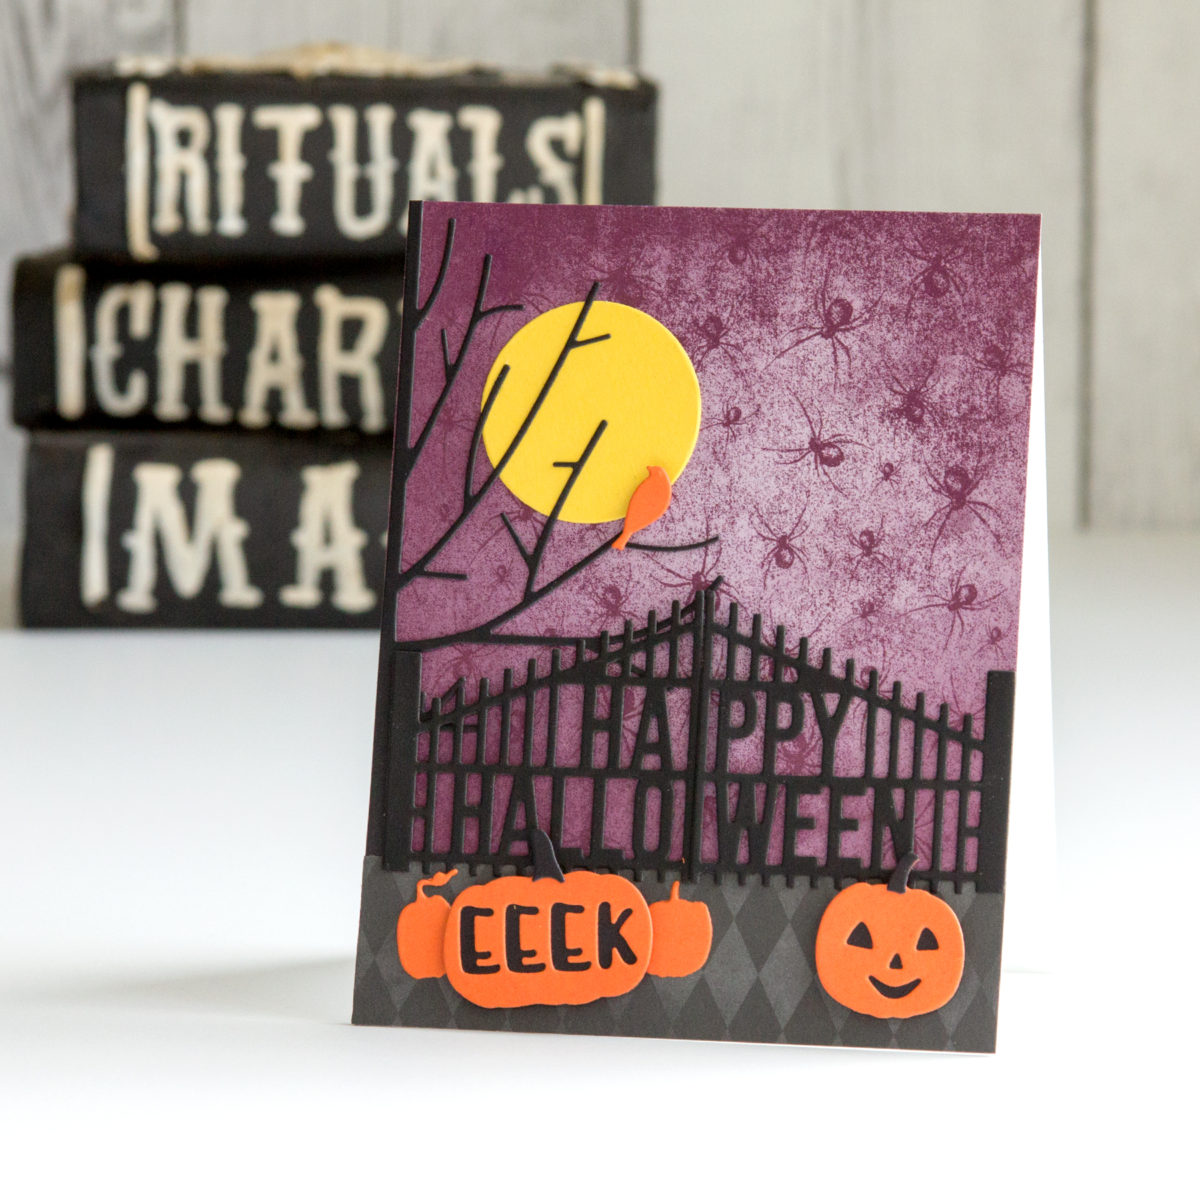
Hello! Today I am sharing a Halloween card created with Penny Black die sets, including several from the new Autumn Extraordinaire release.

Penny Black Halloween Gate

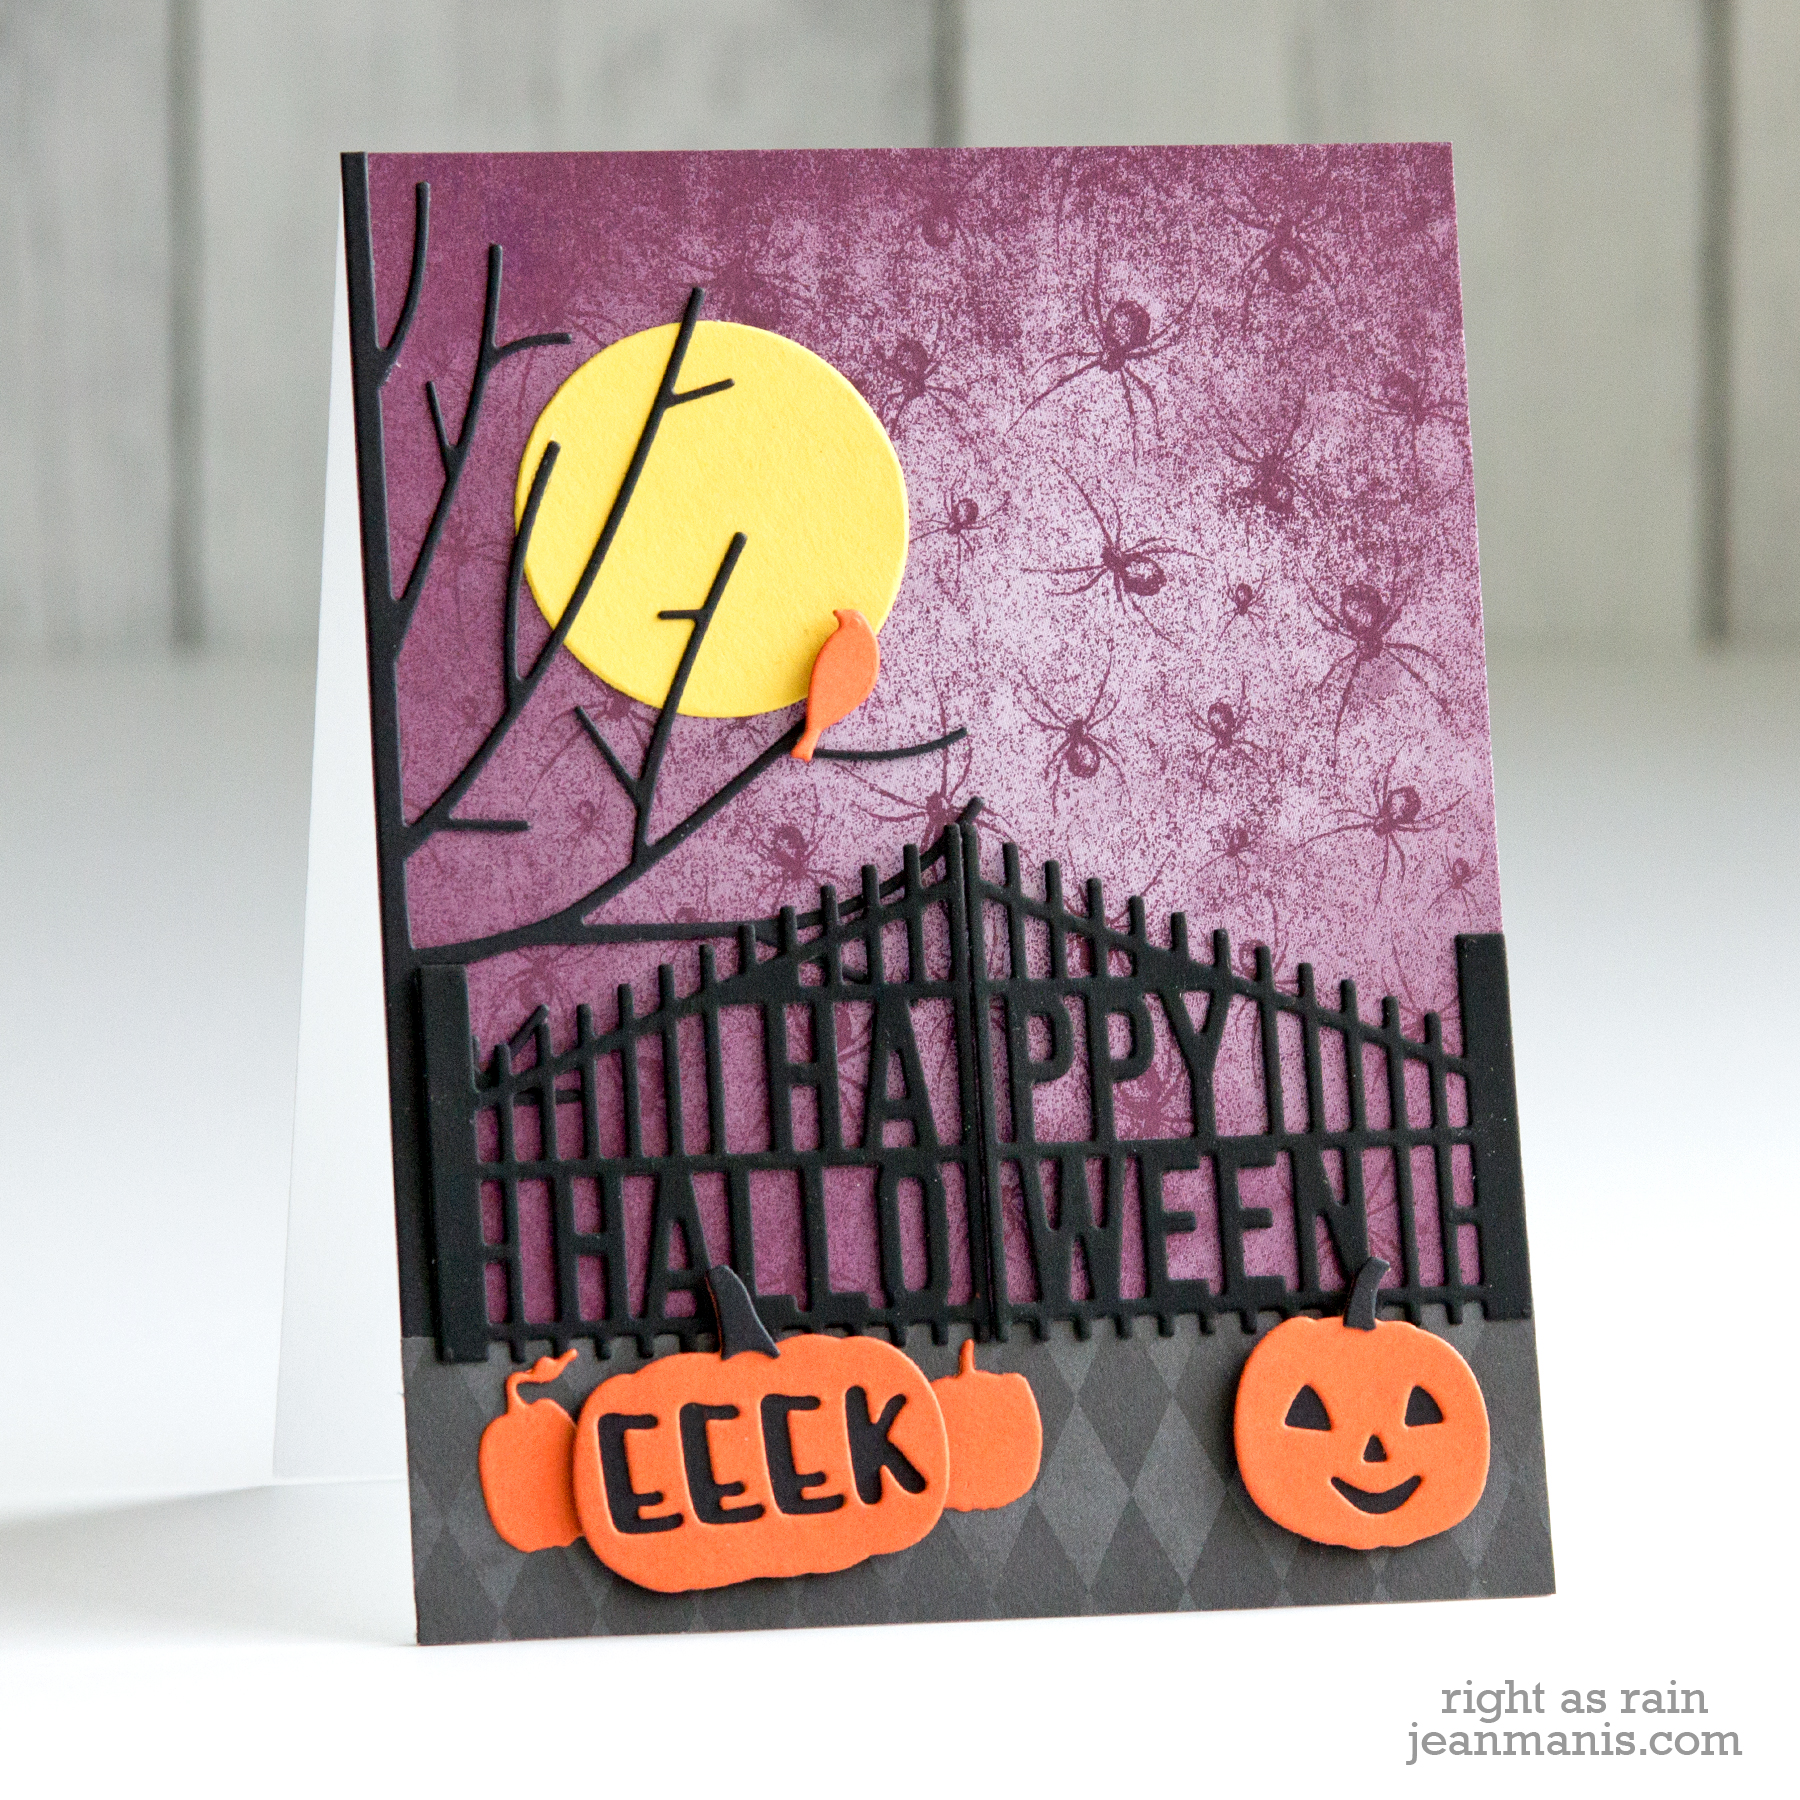
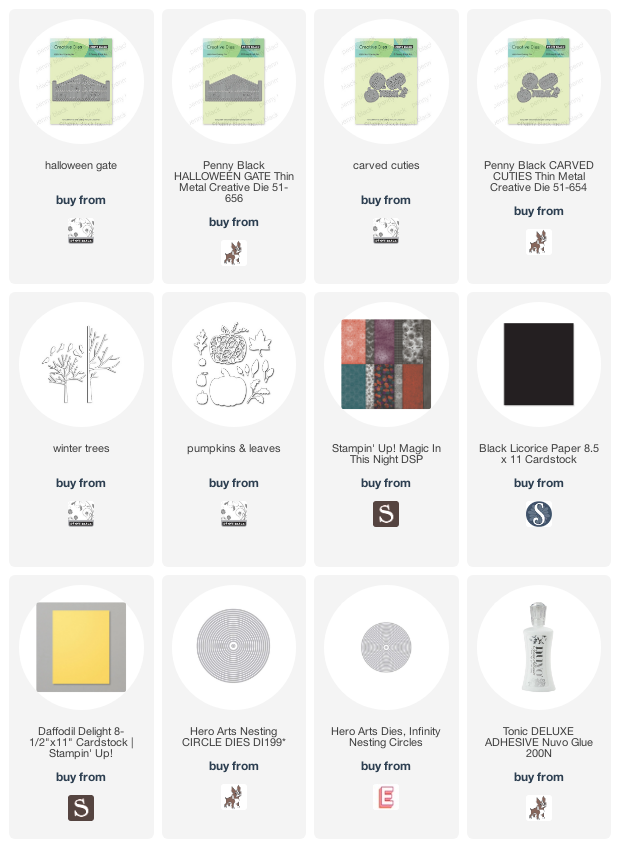
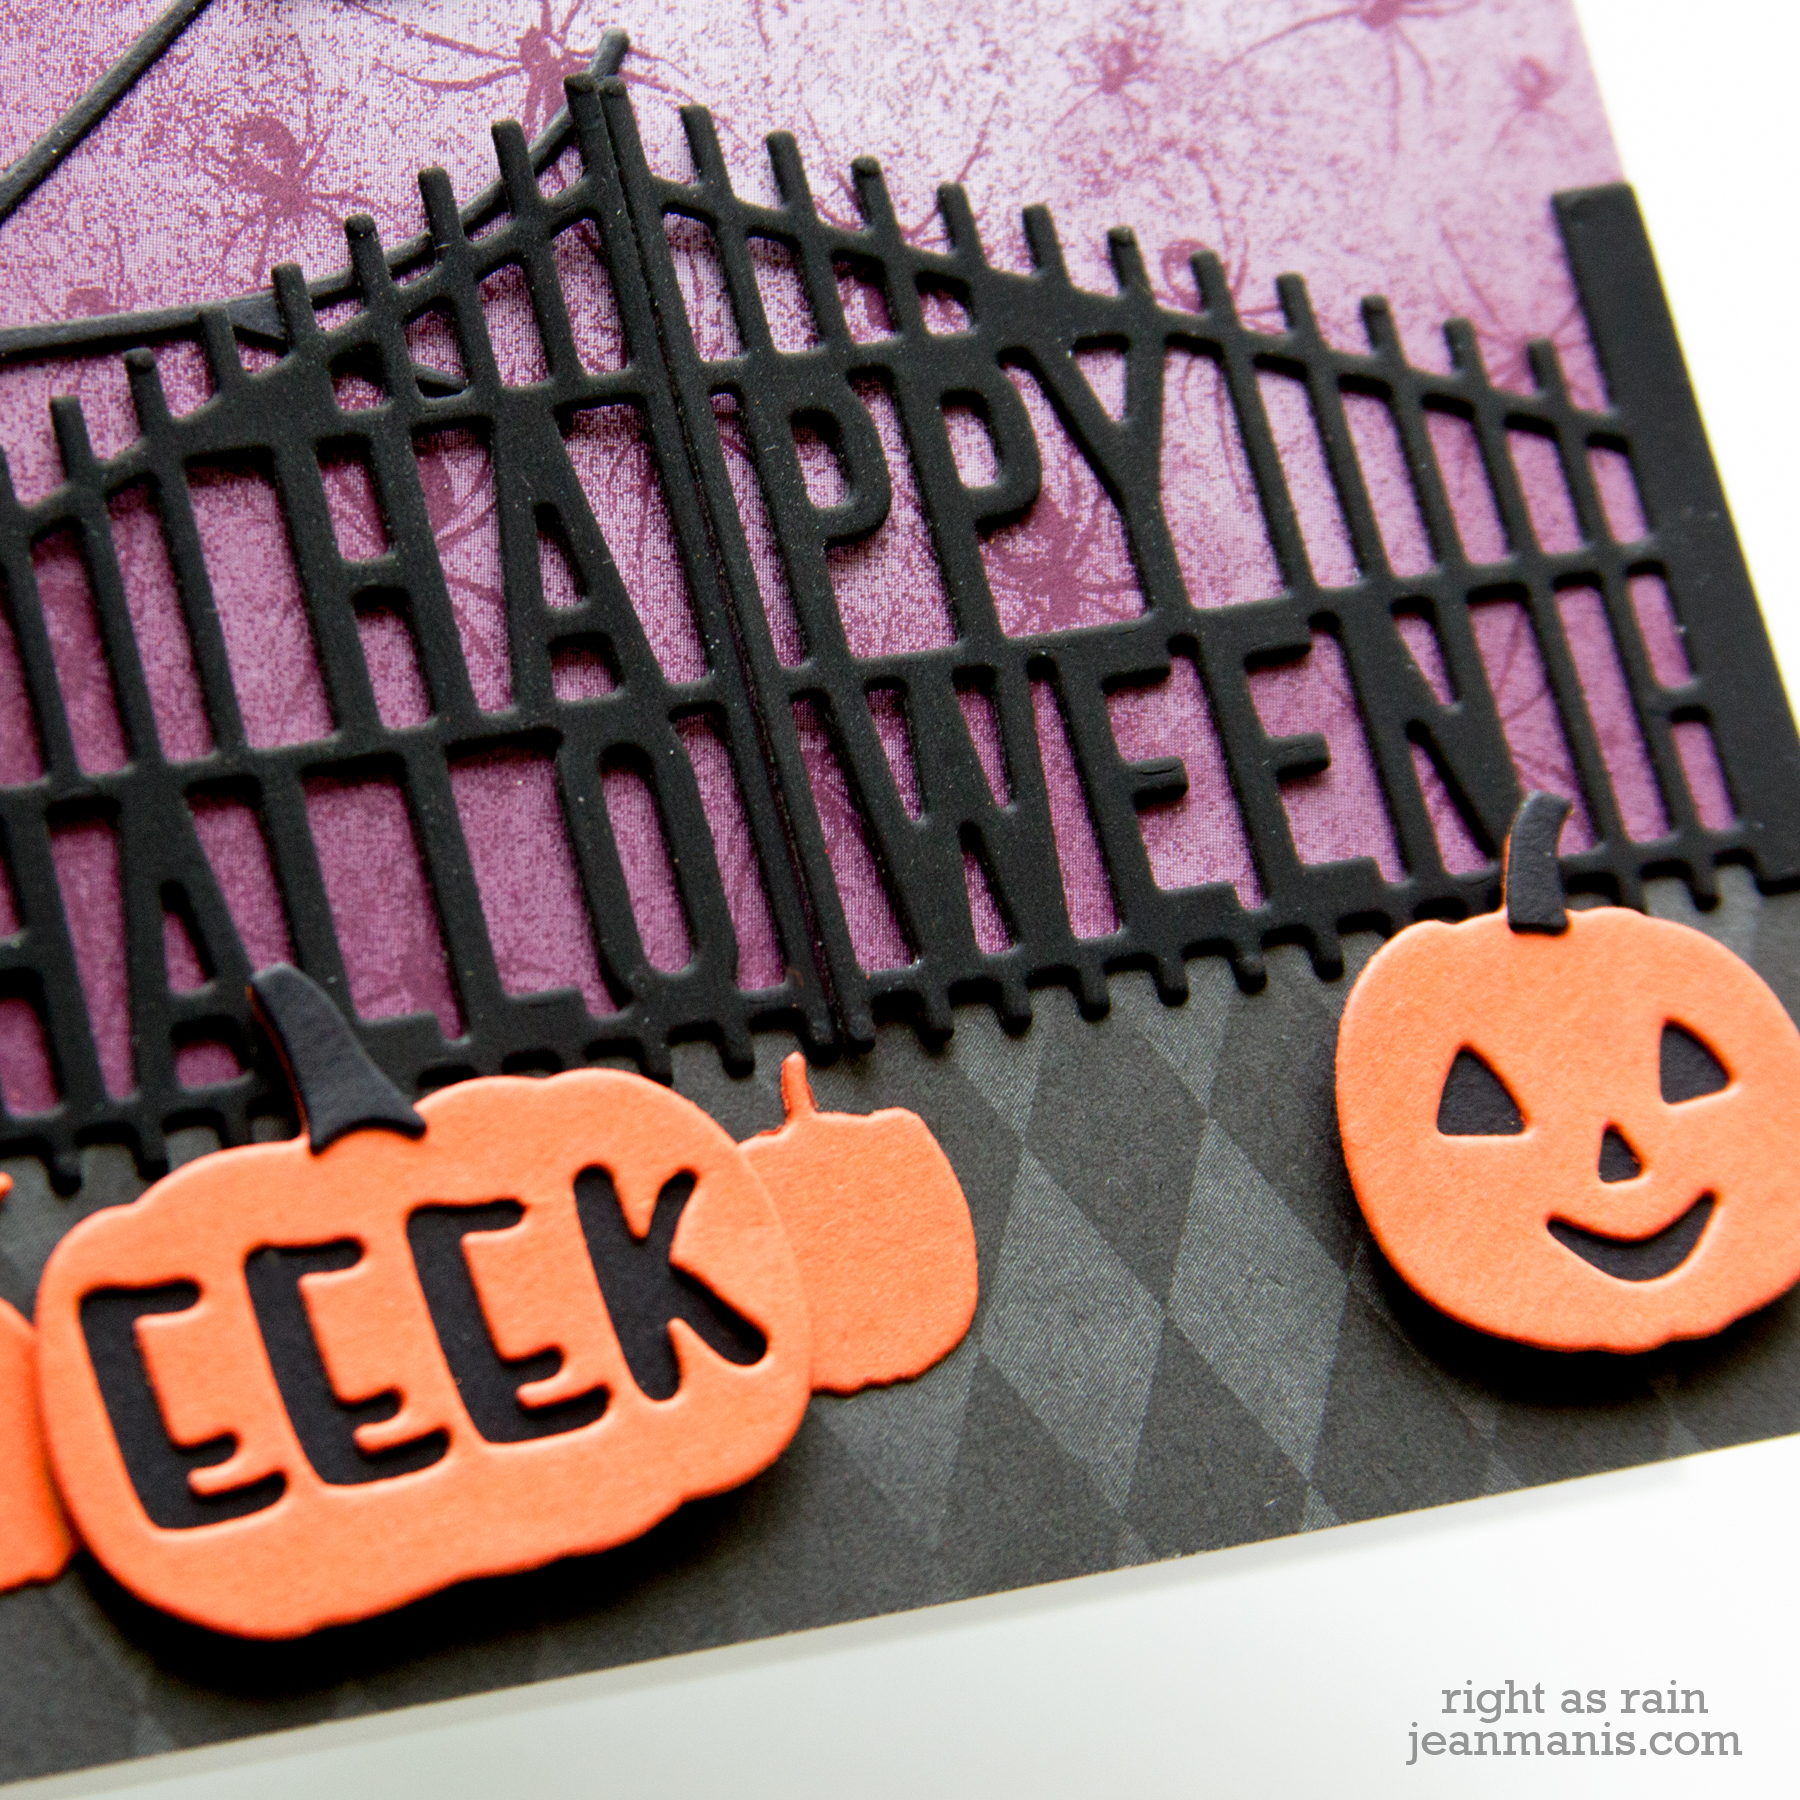
  • I die-cut the 51-656 Halloween Gate from black cardstock (it’s a coated cardstock I got from Stampin’ Up several years ago).
  • I die-cut the 54-463 Winter Trees tree from black cardstock. I die-cut the bird (in the same set) from orange cardstock.
  • I die-cut the 51-654 Carved Cuties from orange and black cardstock (stems) and backed the openings with black cardstock.
  • I die-cut the smaller pumpkins with the  51-360 Pumpkins & Leaves set.
  • I die-cut the yellow moon with a circle die.
  • I created the card background with patterned paper and adhered the die-cut elements.
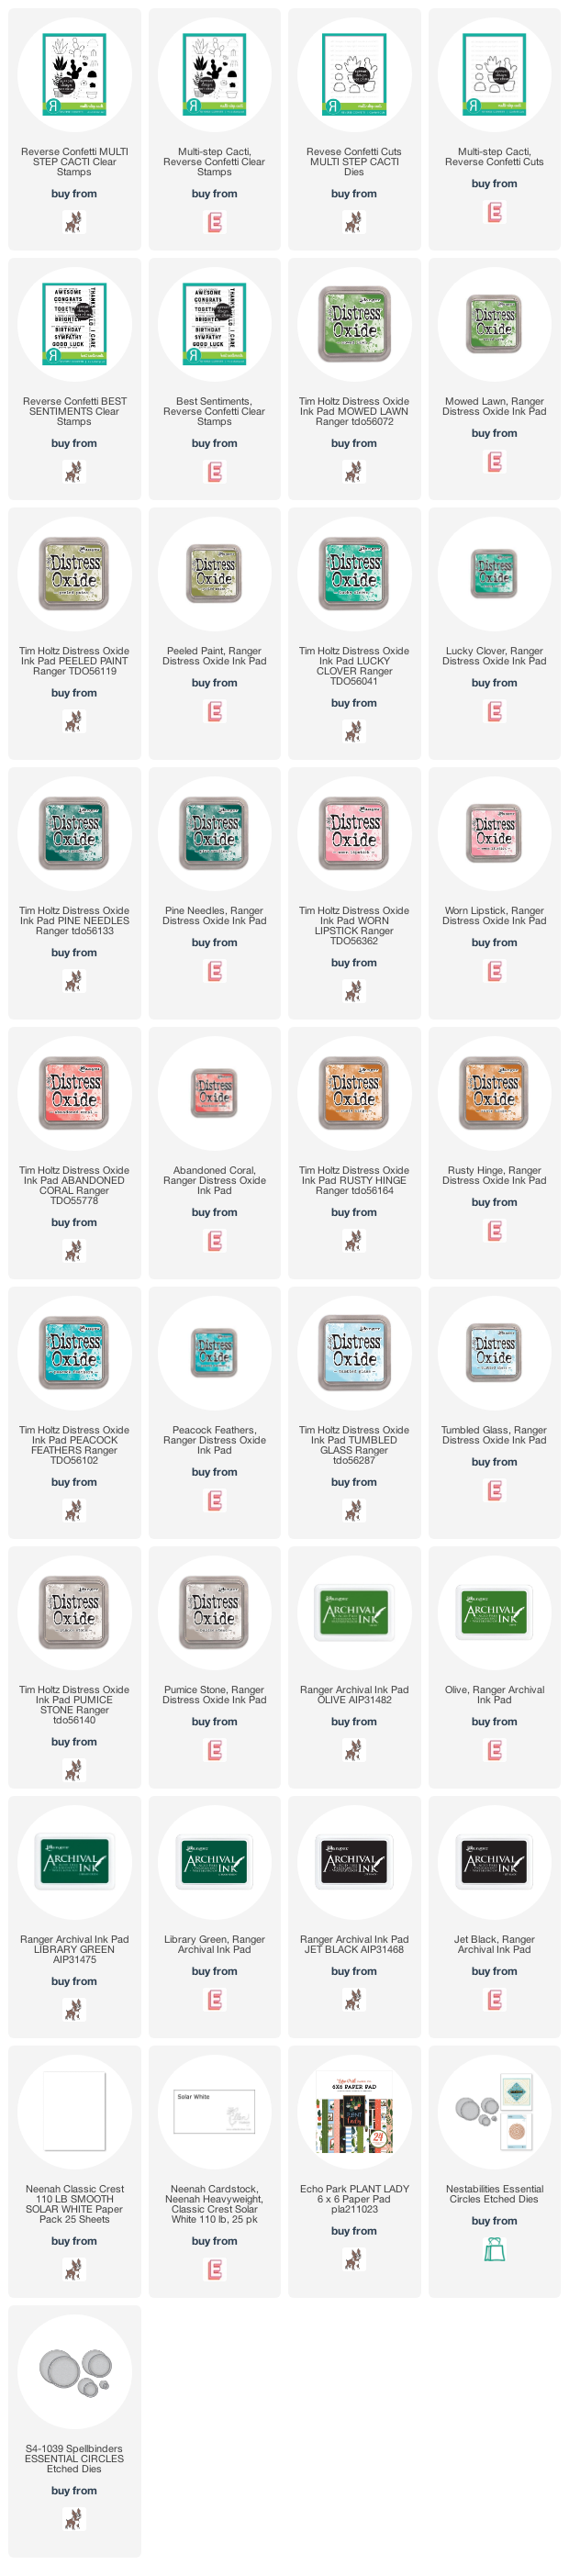
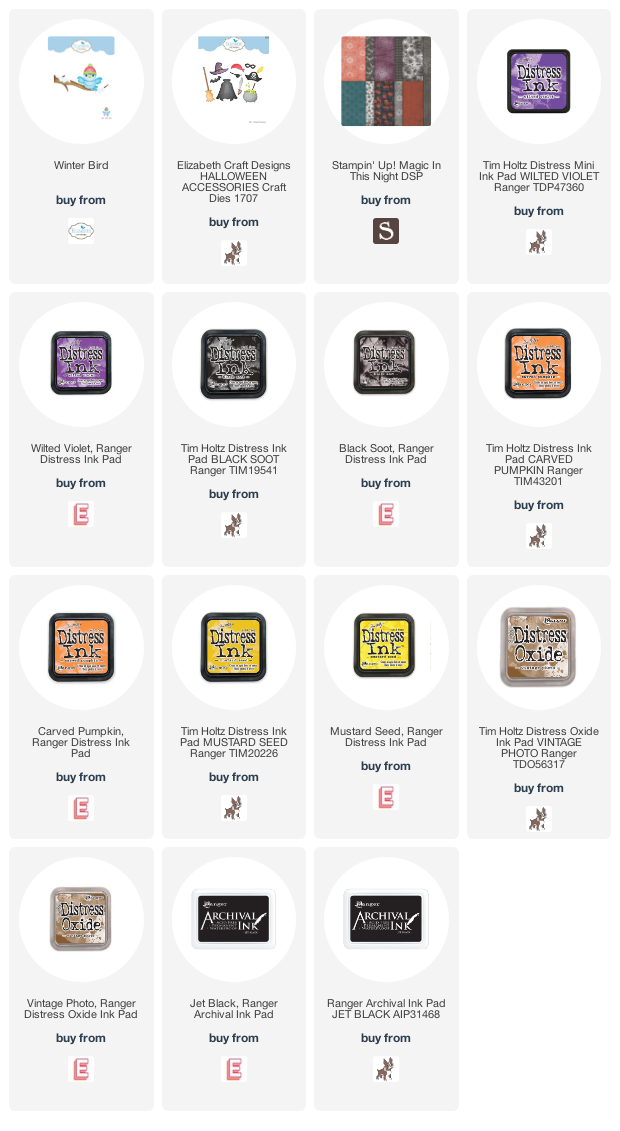
Penny Black Halloween Gate


Penny Black Autumn Extraordinaire

Supplies:

Spellbinders – Christmas Cascade Collection

Spellbinders - Christmas Cascade Collection

Hello! I am sharing a preview of two cards I created with the recently-released Spellbinders Christmas Cascade Collection. I would love for you to head over to the Spellbinders blog for all of the details! In the post, I share details of each panel and my design decisions.

Spellbinders - Christmas Cascade Collection

Spellbinders Holiday Sale

Supplies:

Reverse Confetti – Multi-Step Cacti

Hello! Today I am sharing a “Hello” card created with Reverse Confetti supplies. The Multi-step Cacti images are created with three stamps each: the solid image, the detail, and the outline.

Reverse Confetti - Multi-Step Cacti


  • For the cactus on the left, I stamped with Mowed Lawn, then Pine Needles, and finally Jet Black. I cut the image with the coordinating die.
  • For the middle cactus, I stamped with Peeled Paint, then Archival Olive, and finally Jet Black. I cut the image with the coordinating die.
  • For the cactus on the right, I stamped the solid image with Lucky Clover, the detail with Library Green, and the outline with Jet Black. I cut the image with the coordinating die.
  • The flower is stamped with two stamps: the solid image and outline.
  • For the pots, I cut stencils with the coordinating dies and colored cardstock through the stencils. I then stamped the images in Archival Black and cut the images with their coordinating dies.
  • For the background, I colored white cardstock with gray and blue inks (to create a horizon line). I stamped the Best Sentiments sentiment and cut the cardstock with a circle die.

Reverse Confetti - Multi-Step Cacti

Details:

Elizabeth Craft – Halloween Bird

Hello! Today I am sharing a Halloween card created with Elizabeth Craft Design die sets.

Elizabeth Craft - Halloween Bird

  • I die-cut the Winter Bird from cardstock colored with Distress Inks and assembled it.
  • I die-cut the branch from the same set.
  • I die-cut the witch’s hat and bat with dies in the Halloween Accessories set.
  • I stamped the Taylored Expressions sentiment on to an ink-colored circle.
  • I added the assembled pieces to patterned paper on which I colored the corners.

Elizabeth Craft - Halloween Bird

Supplies:

Spellbinders Sparkling Christmas

Spellbinders Sparkling Christmas

I recently wrote a guest post for the Spellbinders blog in which I shared holiday cards that combine two of my favorite techniques–die-cutting and foiling–using products in the Sparkling Christmas Collection. For all three cards, I used a color scheme of red, green, and gold. With this collection, you’ll create elegant and distinctive holiday cards.

Spellbinders Sparkling Christmas

I created two cards with the Joyful Christmas Tree die set.

Spellbinders Sparkling Christmas

Spellbinders Sparkling Christmas

On the final card I created a plaid background with the Kaleidoscope Plaid die set.

Spellbinders Sparkling Christmas

I’d love for you to visit to read about the details and leave a comment!

Supplies: