Rubbernecker Dies – Gnomes on Vacation

Hello and Aloha! Today I am sharing a vacation-themed card created with Rubbernecker die sets. I purchased winter supplies from Rubbernecker at the end of last year, and I’ve recently added more dies to my collection.

Rubbernecker Dies - Gnomes on Vacation

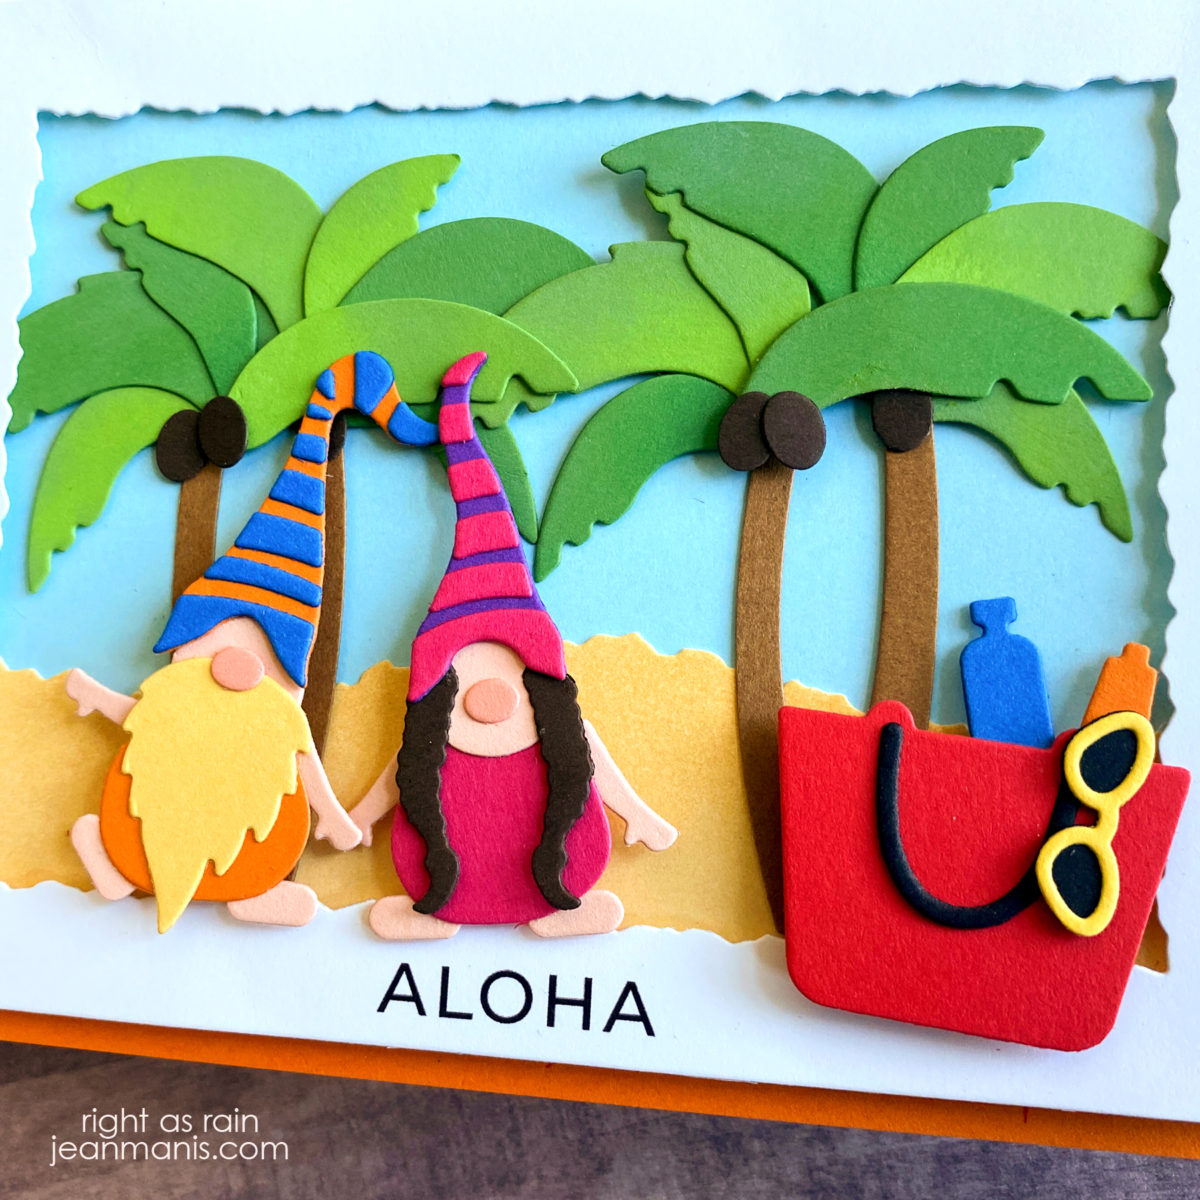
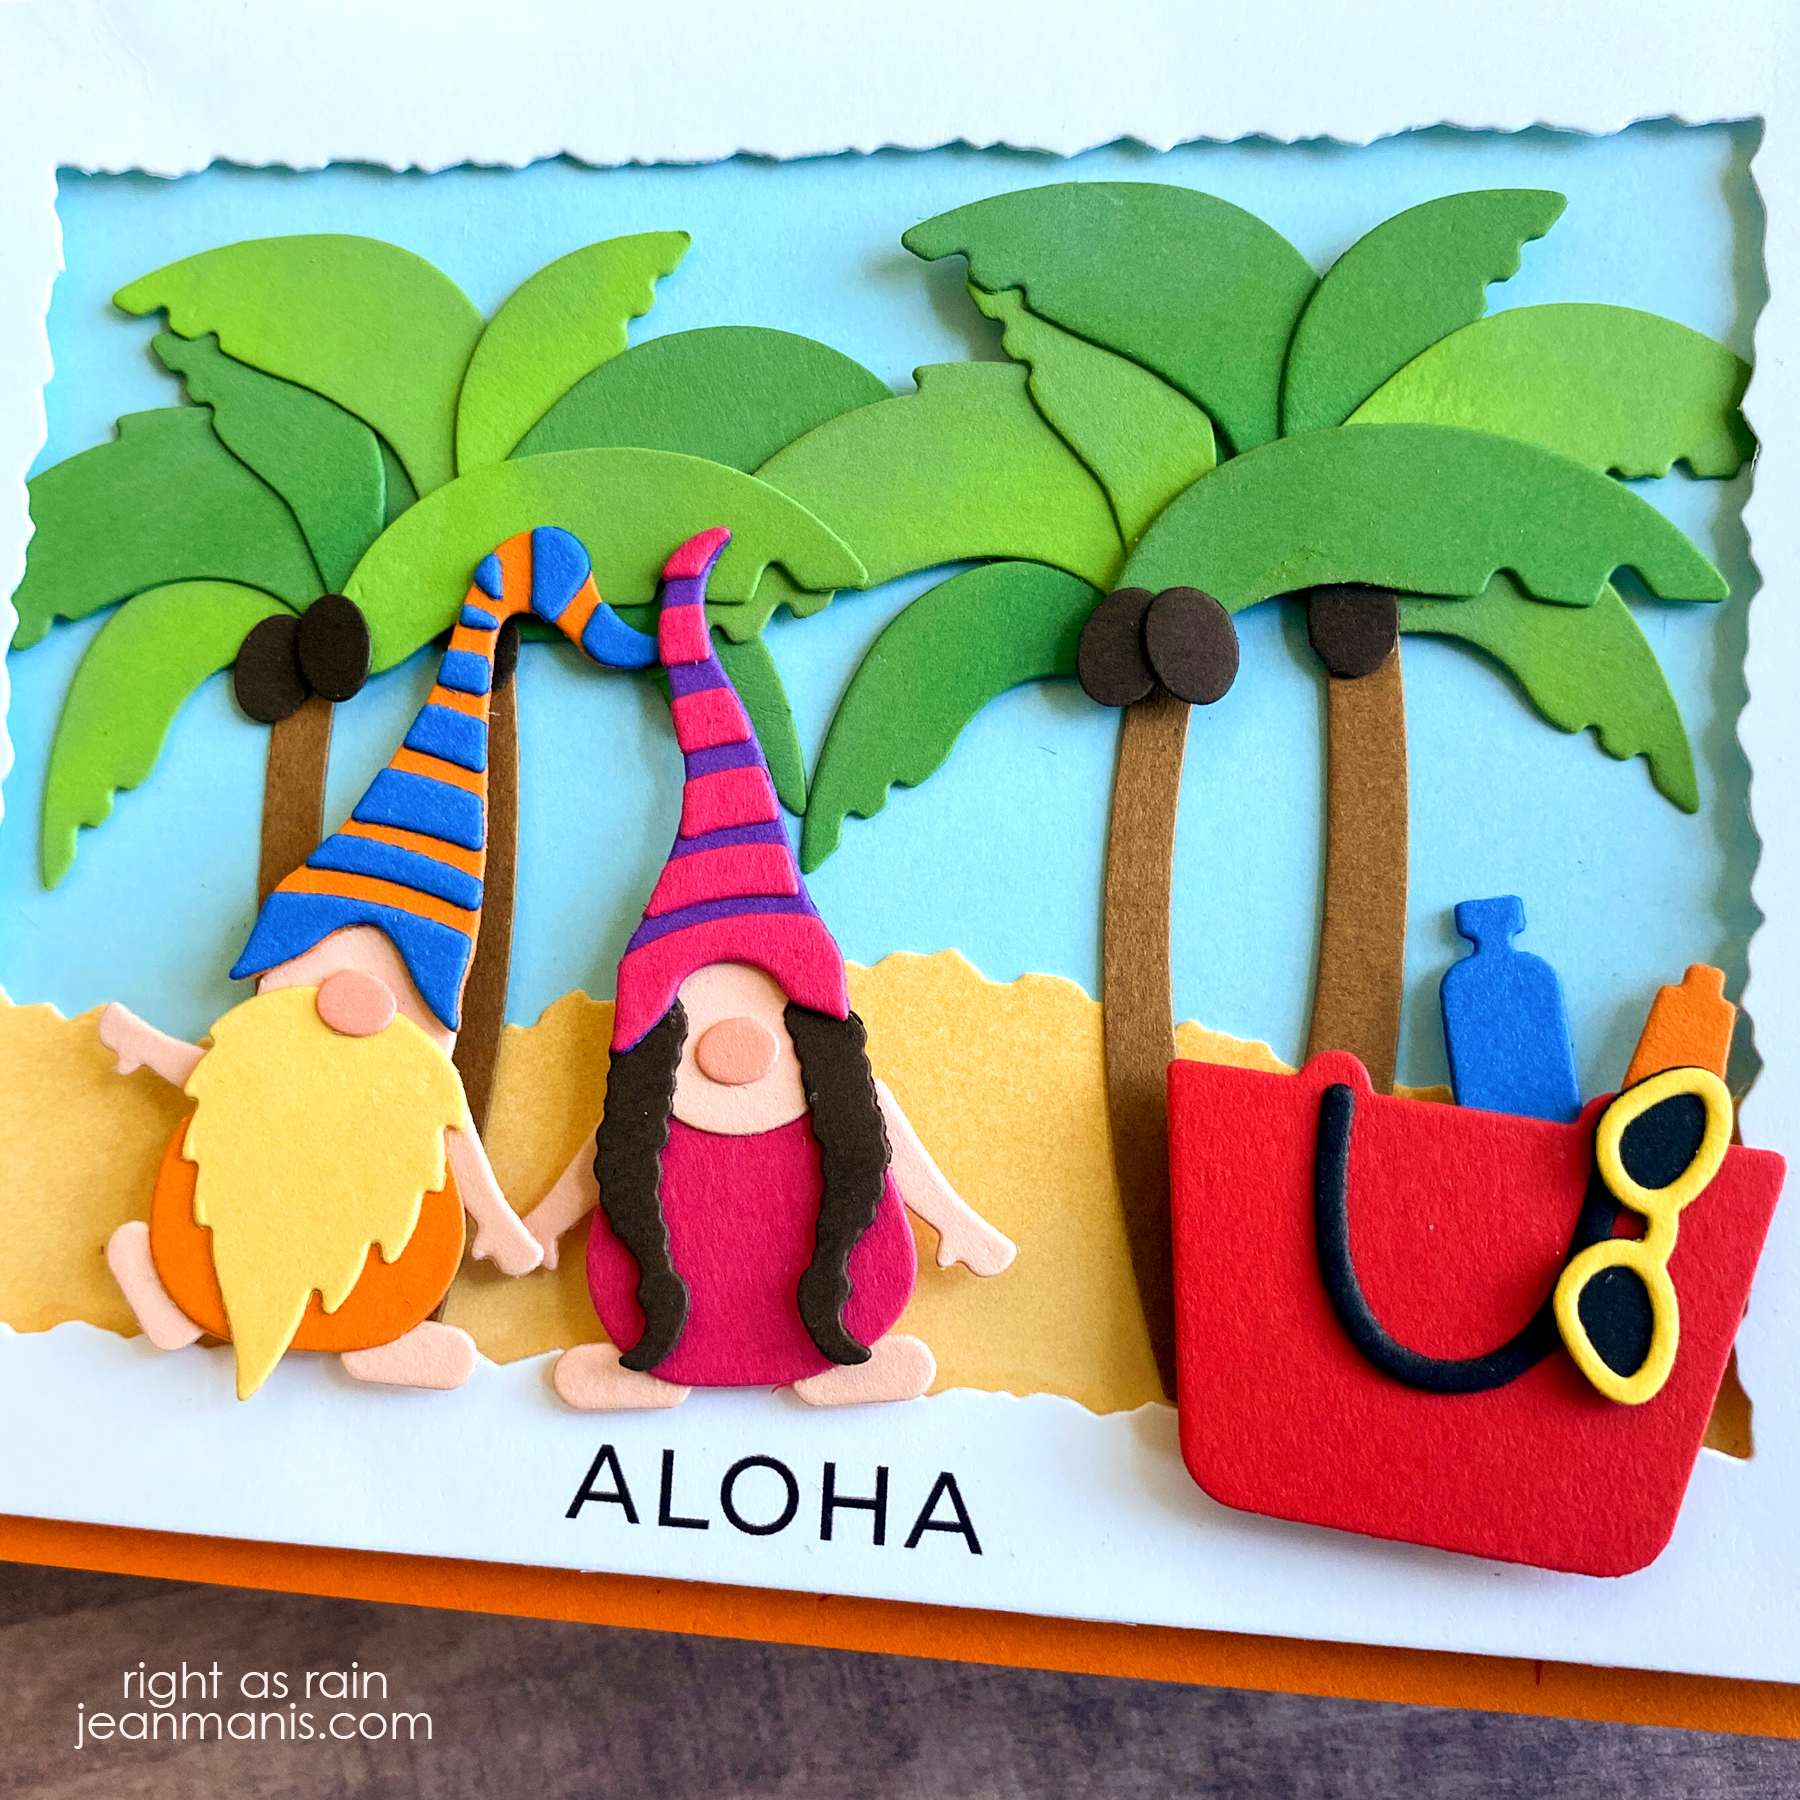
  • I die cut the Gnome Couple from colored cardstock and assembled the pieces.
  • I die-cut the Palm Trees from colored cardstock. Before assembling the trees, I added Mowed Lawn Distress Oxide ink to help blend the two colors.
  • I die-cut the Beach Bag with accessories from colored cardstock and assembled the pieces.
  • I printed the sentiment on to white cardstock on my computer and cut it with the frame.
  • I blended Tumbled Glass Distress Oxide onto a rectangle. I blended Desert Sand ink on to cardstock and cut it with a die in the Deckle Hills set.
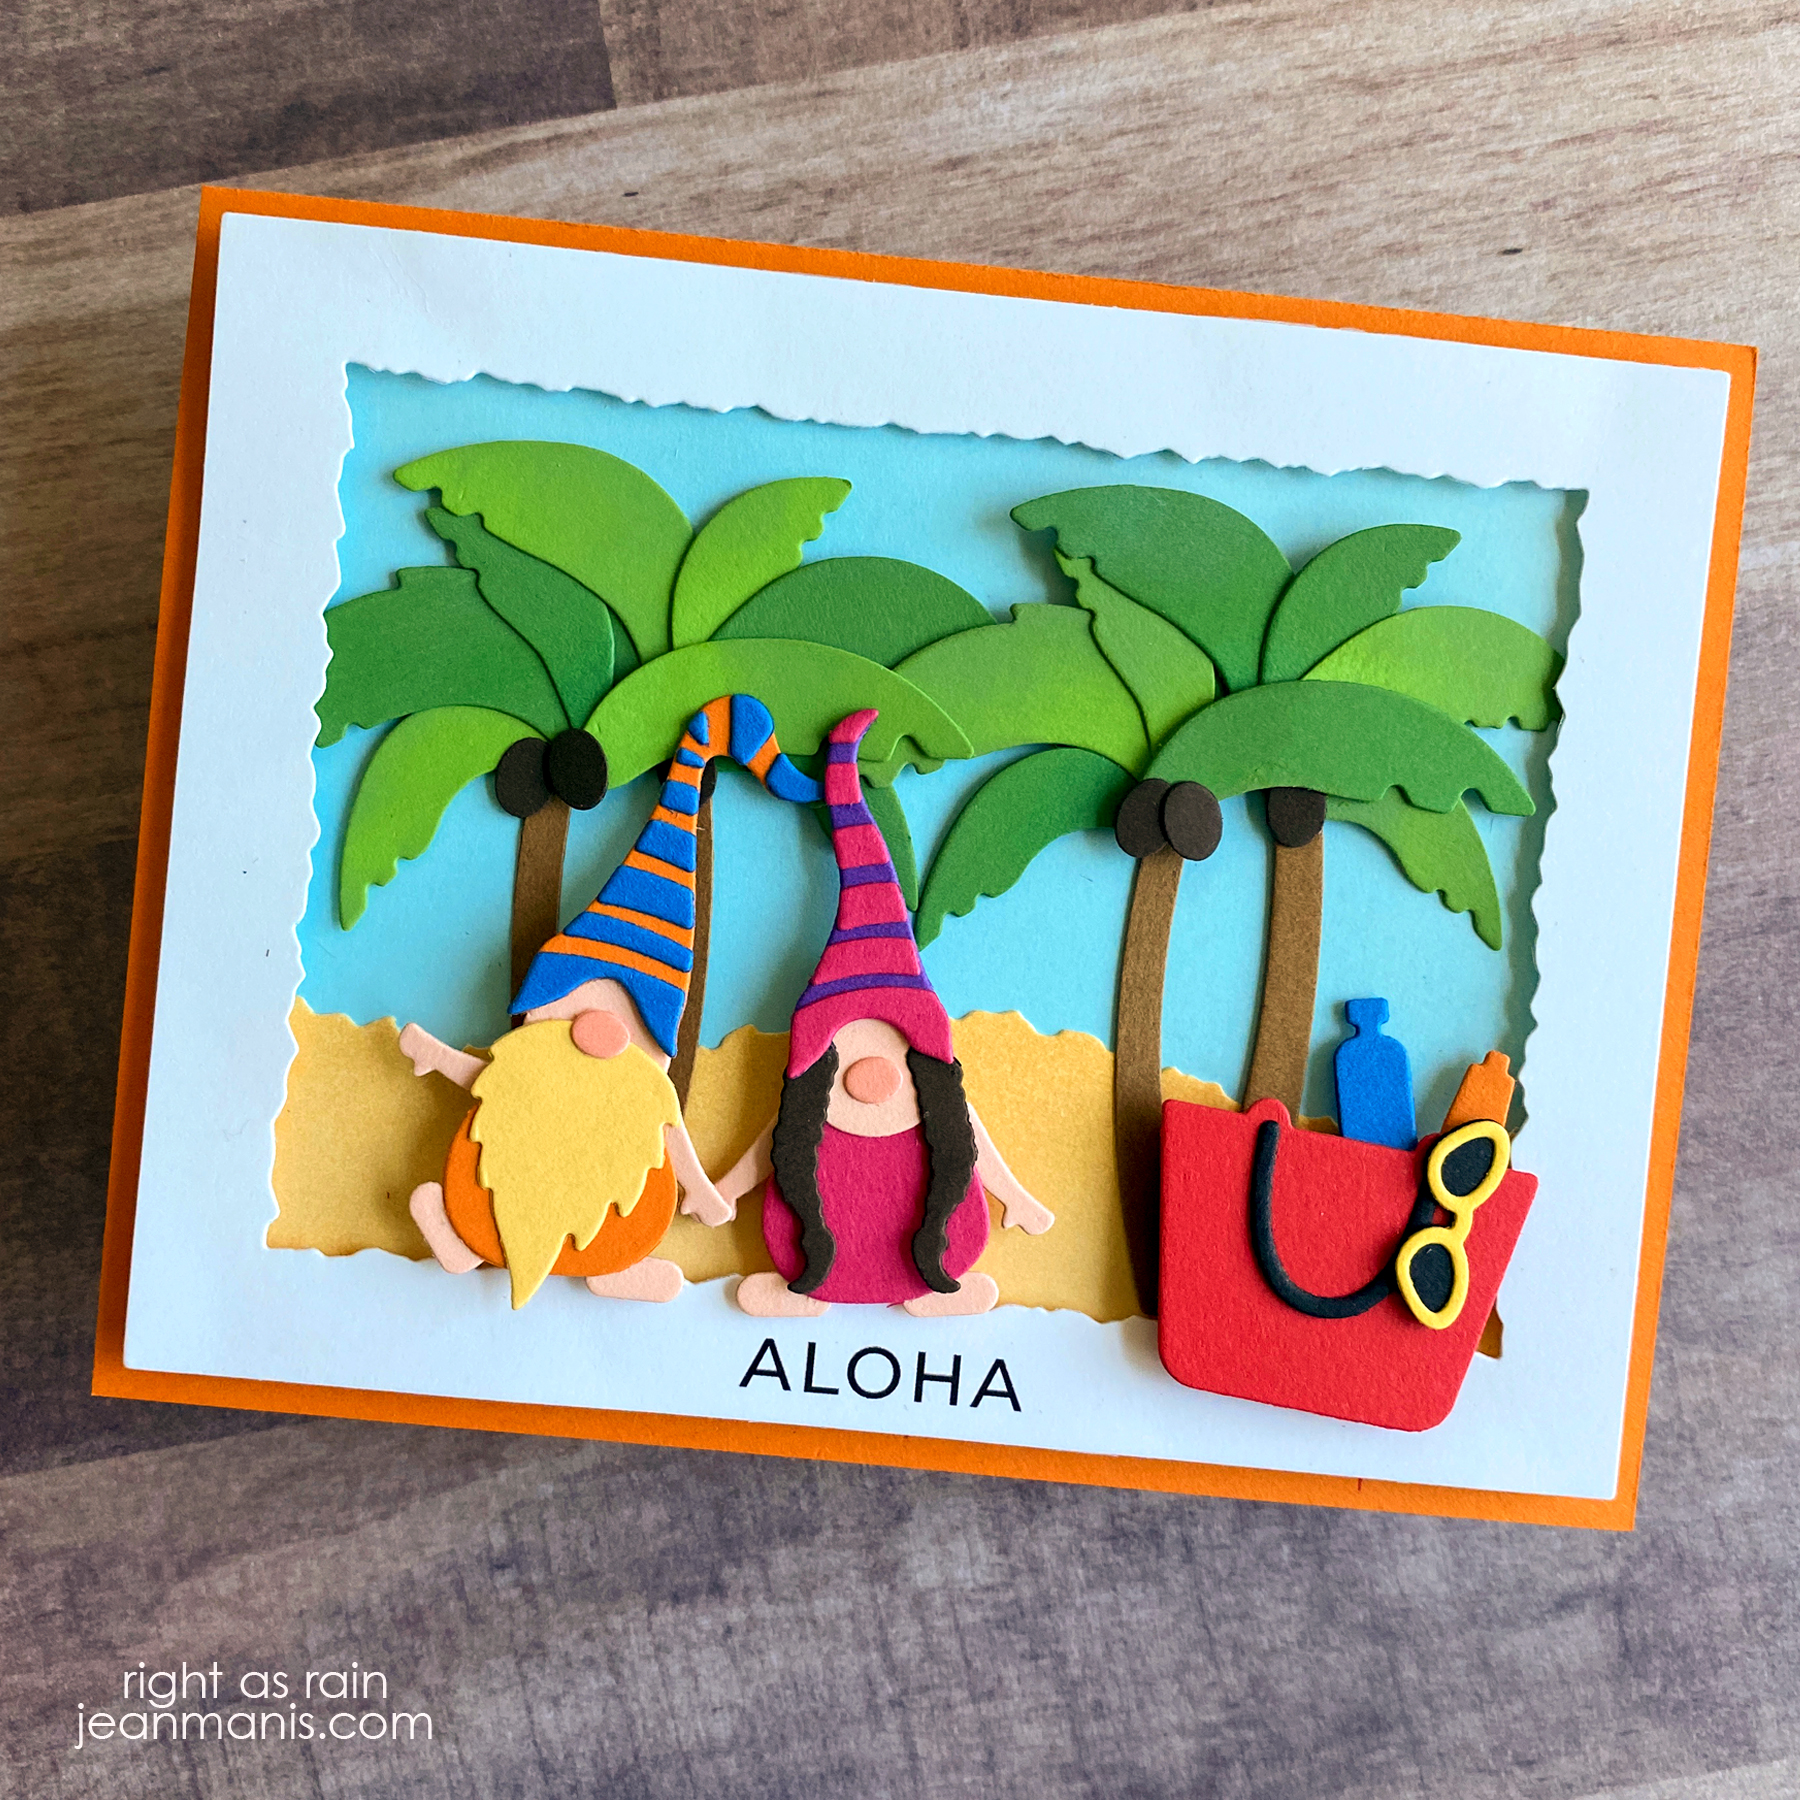
  • I adhered the Deckle Frame to the sky and sand with foam adhesive. I added the palm trees to the scene, followed by the gnome couple and the beach bag, which are popped up with foam and fall outside of the scene.
  • I added the framed assembly to an orange cardstock base.
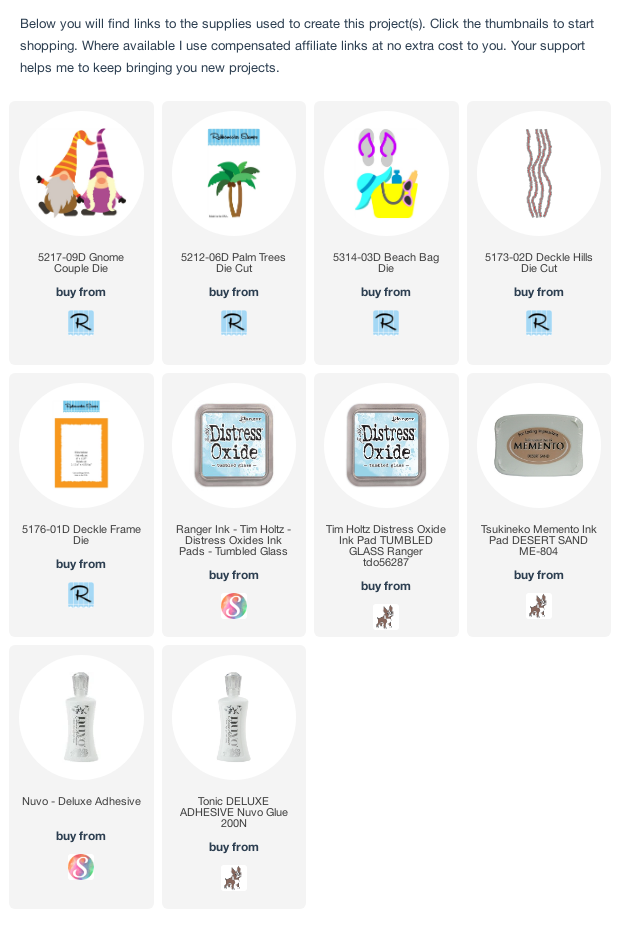
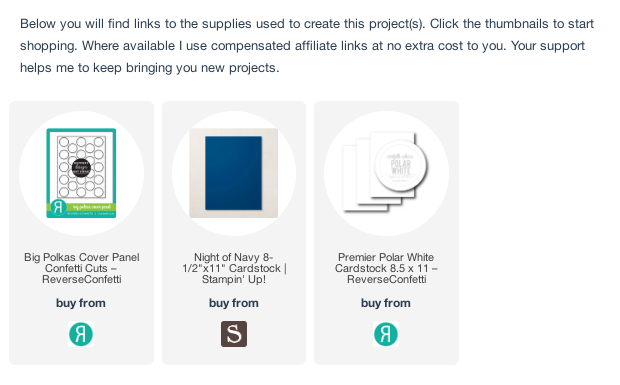
Rubbernecker Dies - Gnomes on Vacation

Supplies:

Monkey on the Farm – Elizabeth Craft Designs Die-cuts

Hello! Today I am sharing a farm-themed card crafted with Elizabeth Craft Designs die sets. I recently shared another ECD farm-themed card here. The Elizabeth Craft Designs farm release includes a farmer die set that I don’t own. There are some cute examples of various farm animals from the release driving the tractor, which are on my list to try. I figured I would start with the monkey, (part of a safari-themed release from several years ago) who I have used on cards here, here, and here.

Monkey on the Farm - Elizabeth Craft Designs Die-cuts

  • I die-cut the tractor and assembled the pieces. I made the tractor orange as that’s the color of my husband’s tractor.
  • I die-cut the grass from patterned paper and die-cut the fence from white cardstock.
  • I die-cut the corn stalks with dies in the Farm Accessories set.
  • I used a Taylored Expressions alpha die set to cut the “Howdy” sentiment. I like the balance the black letters provide with the black tires.

Monkey on the Farm - Elizabeth Craft Designs Die-cuts

Monkey on the Farm - Elizabeth Craft Designs Die-cuts

Supplies:

Patriotic Fourth of July Card

Hello! Today, I am sharing a patriotic card for the Fourth of July.

Patriotic Fourth of July Card

  • I started with the Reverse Confetti Big Polkas Cover Panel, which I cut from Polar White cardstock. (You can see a Christmas-themed card featuring this cover plate here.)
  • I cut circles in red, two shades of blue, and Polar White with a circle die, sized slightly larger than the holes in the cover plate; I taped the circles to the frame on the back.
  • I used the Taylored Expressions Star Stacklets to cut stars out of navy and red cardstock. I attached the stars to the panel.
  • I used a now-retired set (TE Caps Lock – USA) to cut the letters from Polar White cardstock. (I cut the letters twice for additional depth.)
  • I created the smaller sentiment on my computer and cut it with a banner die.

Patriotic Fourth of July Card

Supplies:

Nautical-themed Die-cut Card

Hello (or should I say ahoy?)! I am always enthusiastic about crafting anything nautical-themed. I’ve been interested in all things nautical my entire life, even though I didn’t spend my childhood anywhere near the water.

Today’s card features the Memory Box Marina Sailboats. I chose a favorite color scheme of red, white, and blue for the boats.

Nautical-themed Die-cut Card

  • I cut the sailboats from red (SU Real Red), white, and navy (SU Night of Navy) cardstock. I trimmed pieces in order to change the color of the hulls.
  • To create the background, I applied white embossing paste to SU Daffodil Delight cardstock through the MFT Radiating Rays stencil. I used Dreamweaver white embossing paste, which I can no longer find online. I’m looking for a replacement and welcome any suggestions!
  • I created the sentiment by cutting the letters twice, once in white and once in red (SU Real Red), with the Cole’s ABCs dies. I offset the letters when I adhered them.
  • I used the Lawn Fawn Ocean Wave Borders to cut the ocean from Memory Box cardstock. The wave die set includes three wave patterns (three different sizes of the waves); I used all three.

Nautical-themed Die-cut Card

SUPPLIES

Spellbinders Heartfelt Thanks Vignette

Hello! Today I am sharing a CAS card, which was both quick and easy to assemble, created with the Spellbinders Heartfelt Thanks die set, part of the Beautiful Sentiment Vignettes Collection by Becca Feeken.

Spellbinders Heartfelt Thanks Vignette

  • I die-cut ivory cardstock and Simple Stories patterned paper with the Heartfelt Thanks die set and assembled the pieces.
  • I added the assembly to a card base measuring 5 inches wide x 6 1/4 inches tall to which I had adhered a Simple Stories patterned paper panel measuring 4 3/4 inches wide x 6 inches tall.
  • To embellish, I added a butterfly and flowers from Prima in the upper-left and lower-right corners. (It’s just a coincidence that the embellishments matched the patterned paper. I bought the embellishments specifically for this project and had the patterned paper in my stash.)

Spellbinders Heartfelt Thanks Vignette