Today, I’m sharing a card created with the Inlaid Diecutting Technique using Taylored Expressions products. I crafted an inlaid mountain scene.
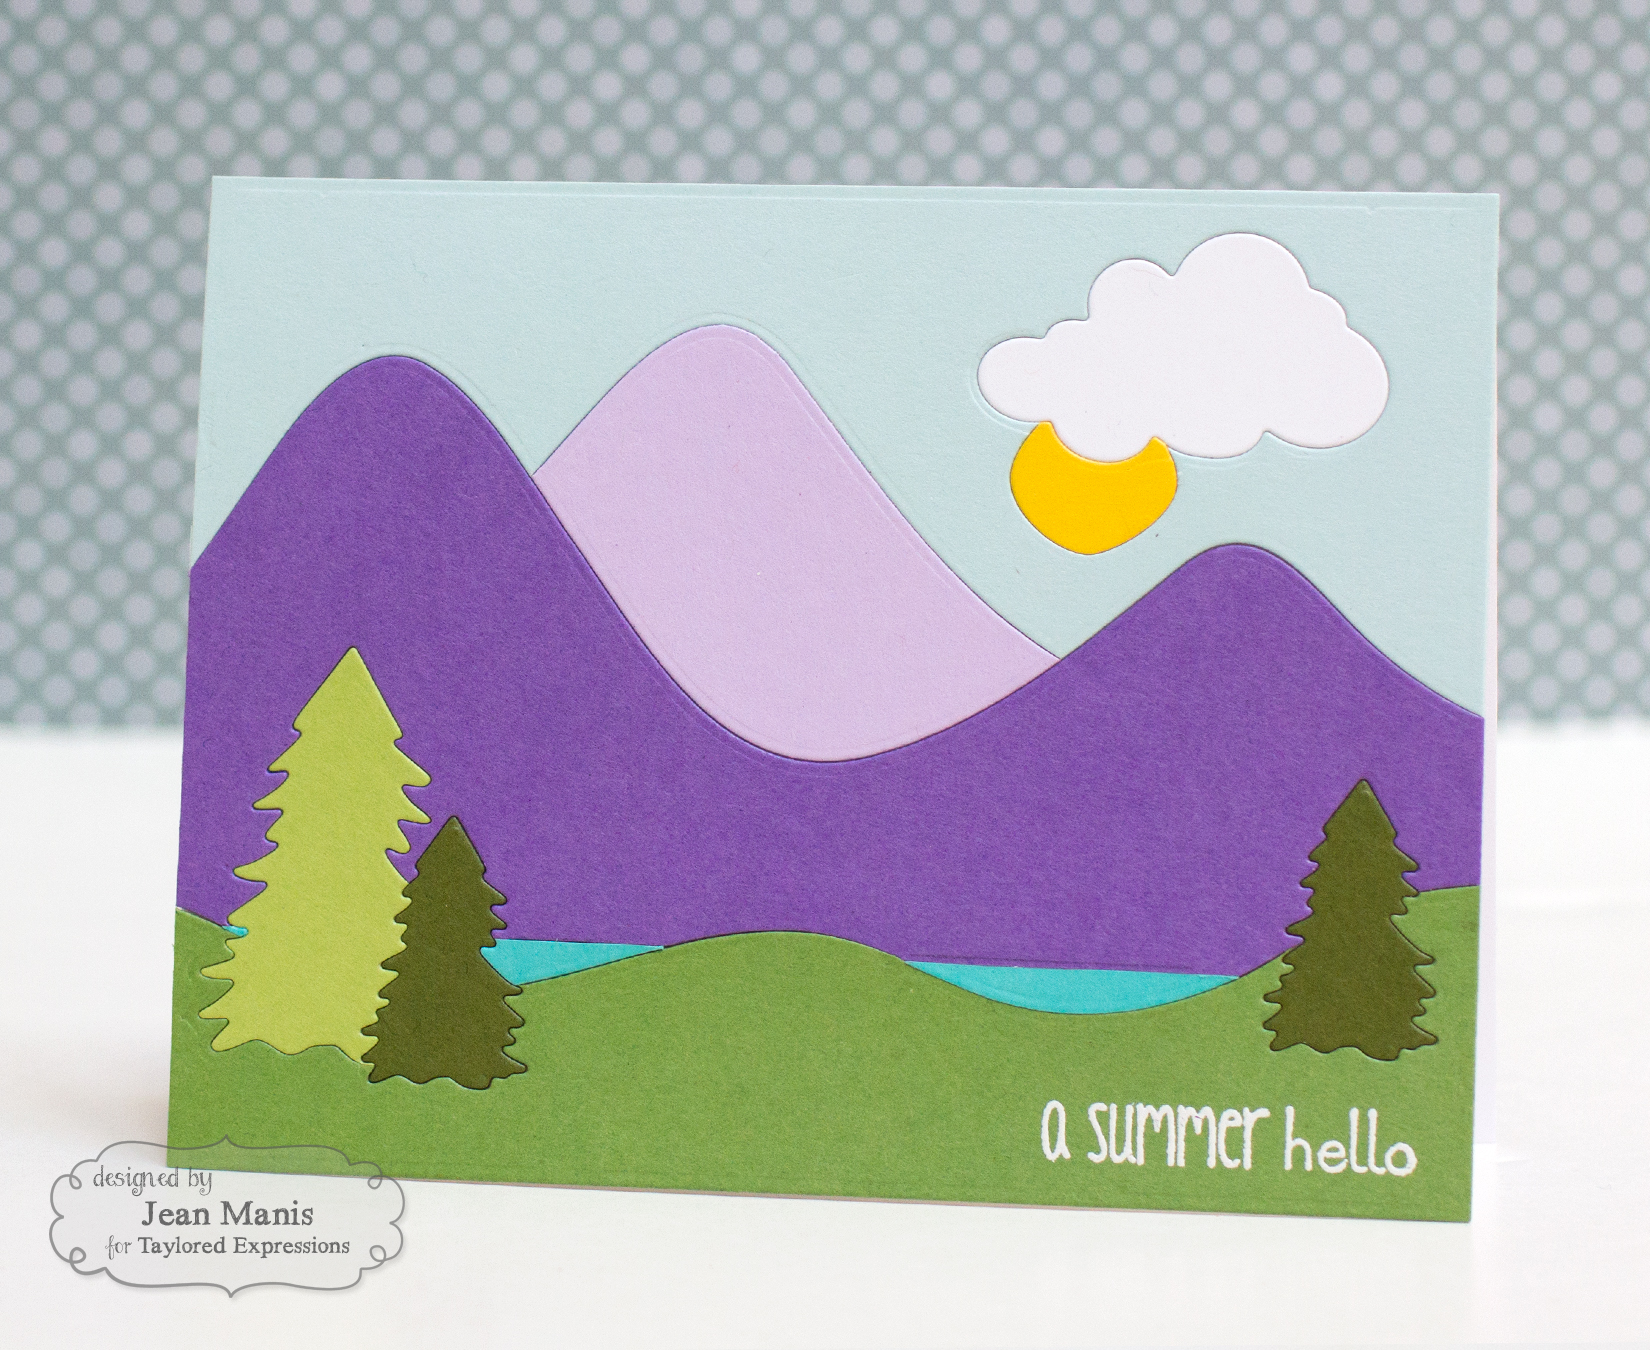
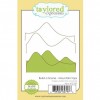
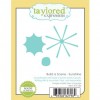
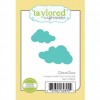
The background items in the scene (those that are farthest away) are the first to be cut. To begin, I cut Salt Water Taffy cardstock with one of the dies in the Build a Scene – Mountain Tops set. I used the circle die in Build a Scene – Sunshine to cut out a sun from the sky panel. I used the same die to cut the sun out of Lemon Meringue cardstock. I placed the yellow sun into the sky panel, adhering it with Scotch tape on the back to secure it. I then cut the panel with the larger cloud die in the Cloud Duo set. I cut a cloud from Sugar Cube cardstock and put it into the sky panel. Next, I used the same Build a Scene – Mountain Tops mountain die to cut Lavender Glaze cardstock and adhered it to the sky panel.
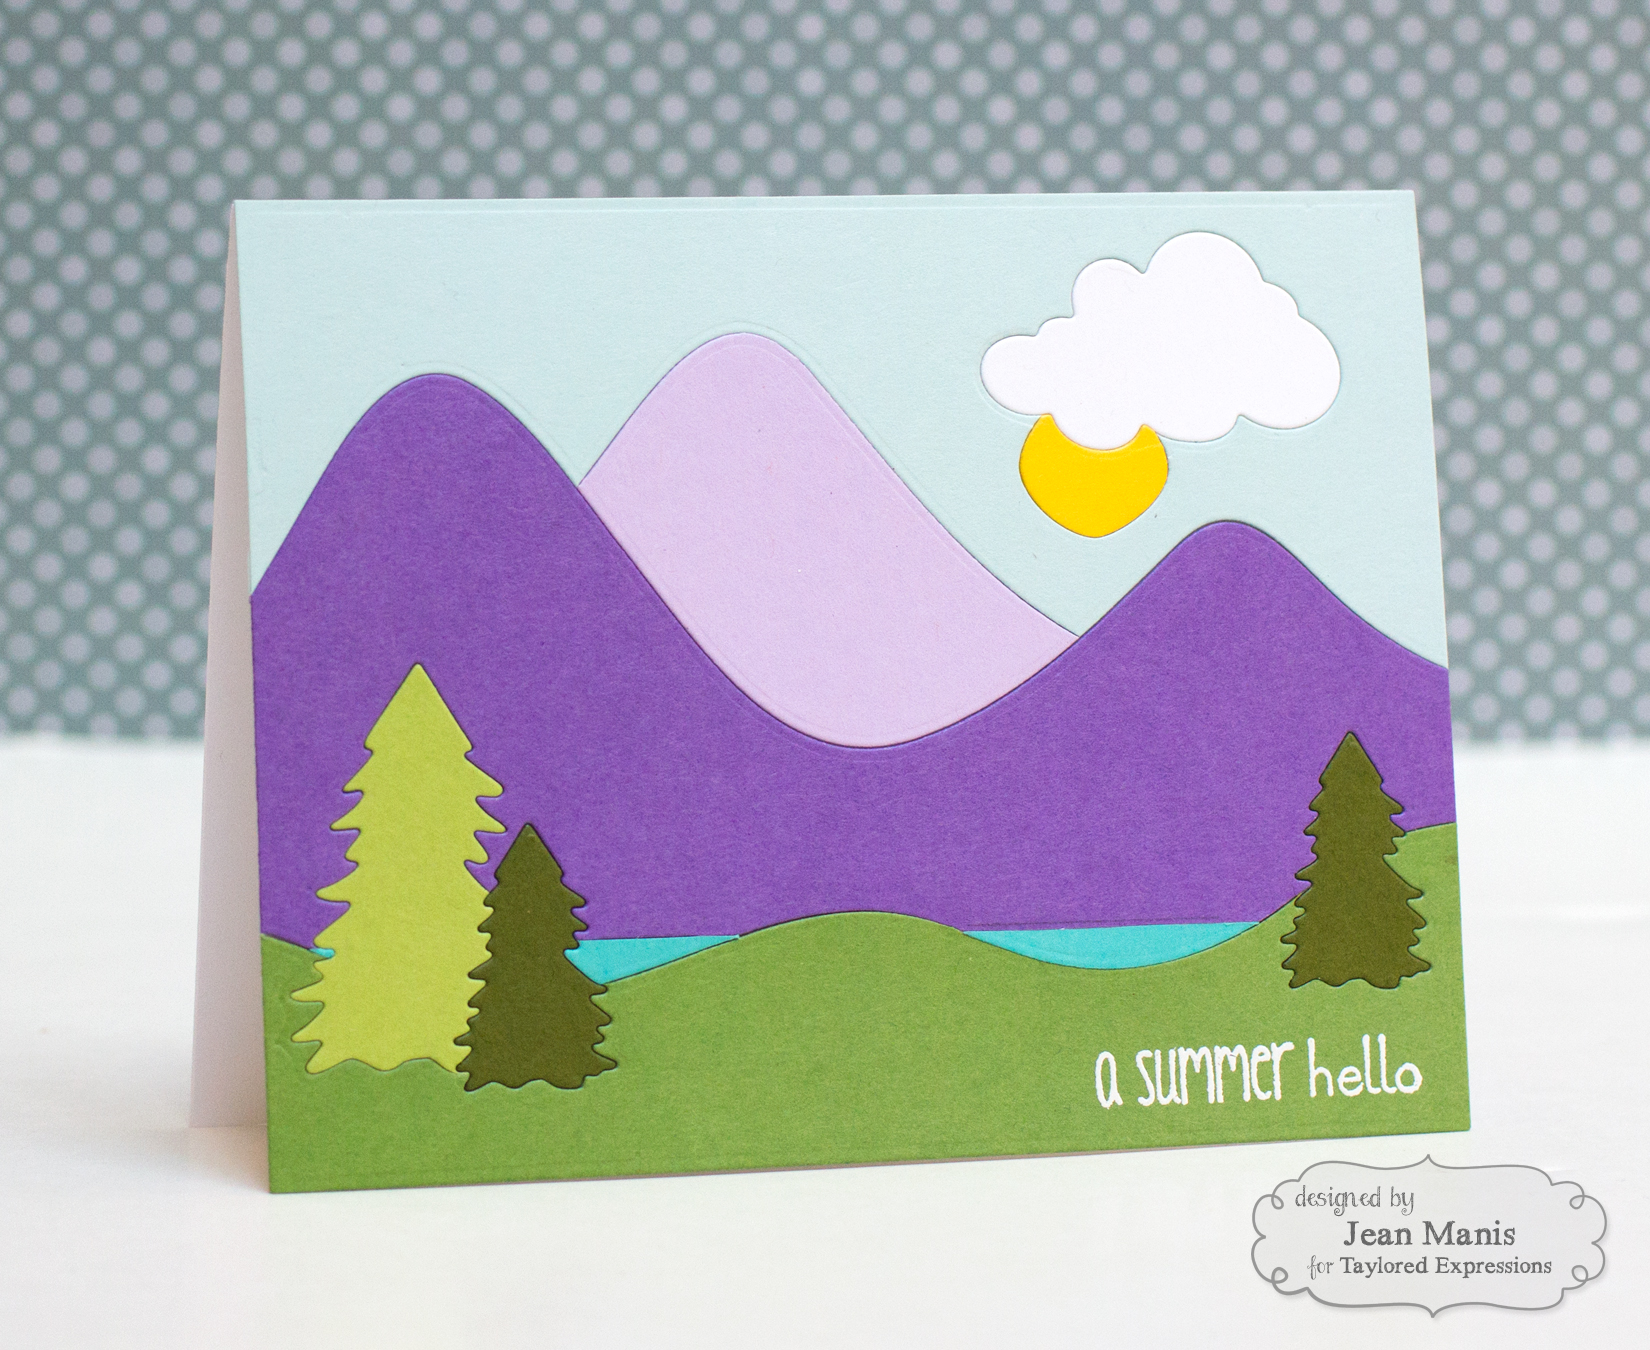
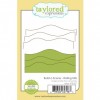
Working my way down, I used the other die in the Build a Scene – Mountain Tops set to cut the sky/mountain panel. I also cut mountains from Jelly Donut cardstock with the same die, and taped them into the scene. The trickiest part of the scene is next. I used one of the dies in the Build a Scene – Rolling Hills set to cut the Jelly Donut cardstock mountains at their base. I also cut a strip of Cookie Monster cardstock with the same die. I cut off the bottom of the Jelly Donut cardstock mountains and the Cookie Monster cardstock to create a lake. The line of the lake becomes the horizon line, and needs to be parallel to the card base. (An easier approach would be to eliminate the lake altogether, which I considered while I was making the card! You could also use one of the dies in the Build a Scene – Rolling Waves set.)
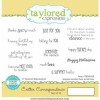
I heat-embossed a sentiment from Critter Correspondence on Peapod cardstcock and cut it with the Build a Scene – Rolling Hills die, and then taped the mountains, lake and hill together from the back.
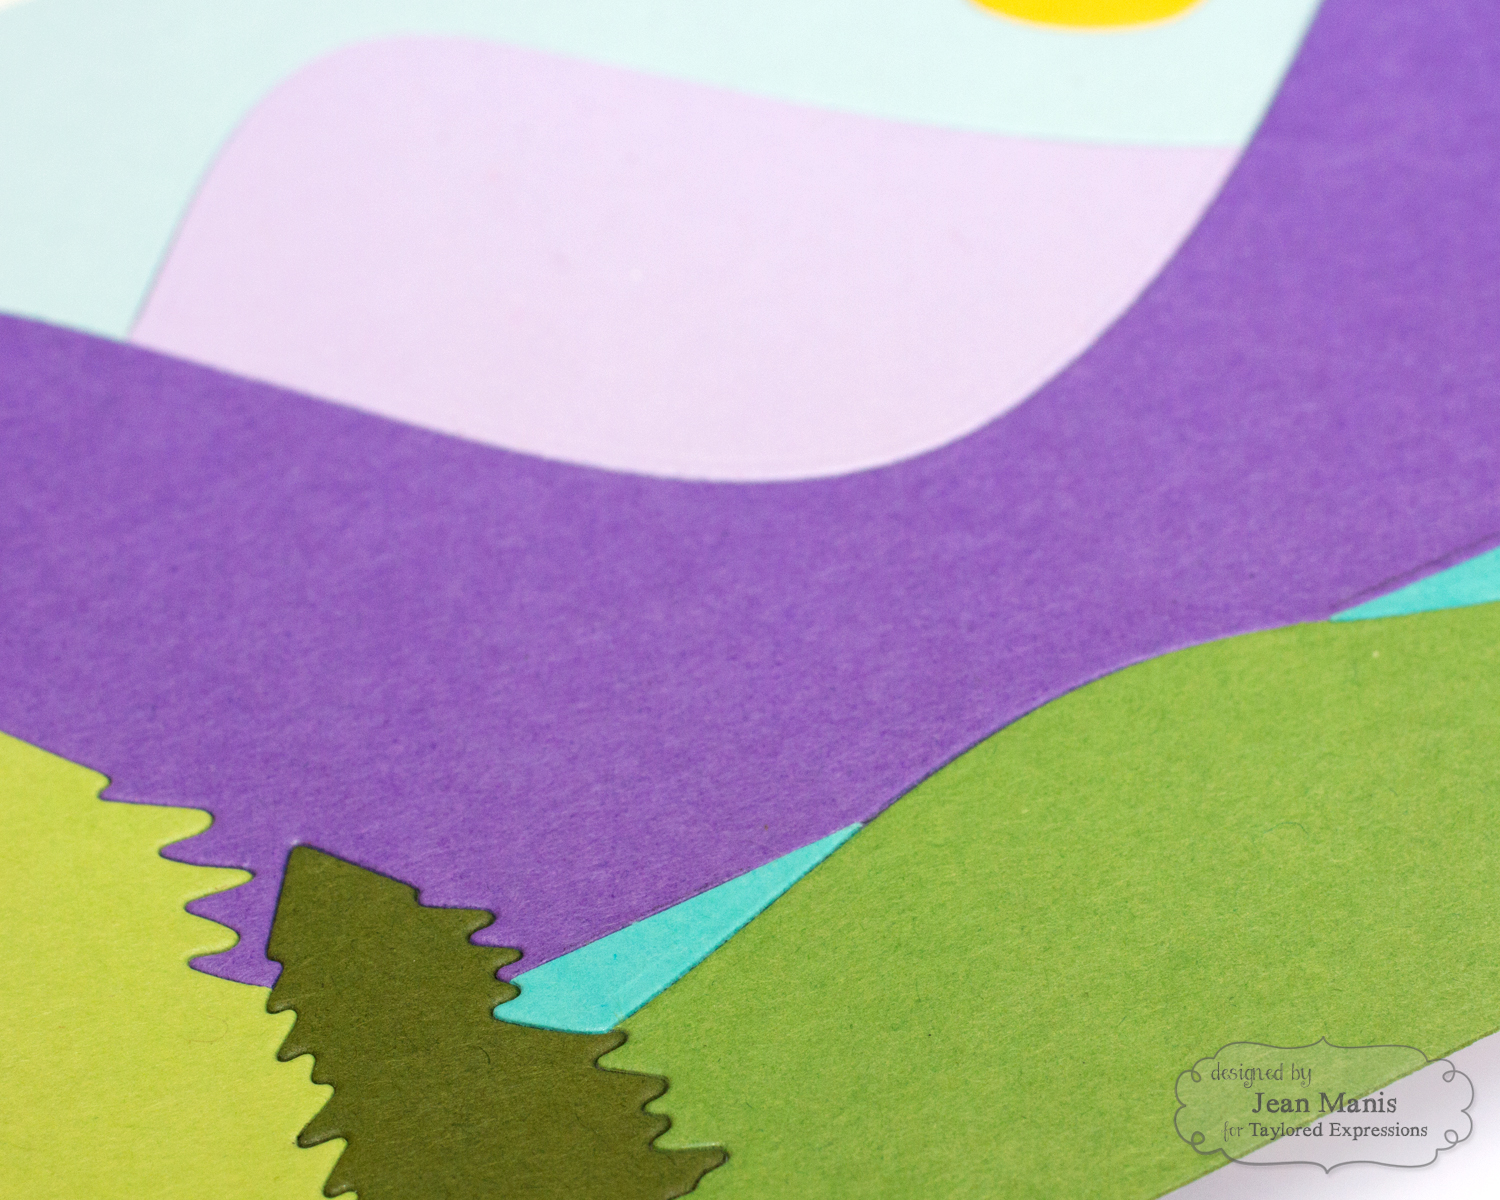
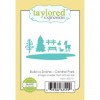
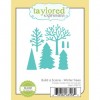
I used trees from the Build a Scene – Central Park and Build a Scene – Winter Trees sets to cut evergreens in the foreground.
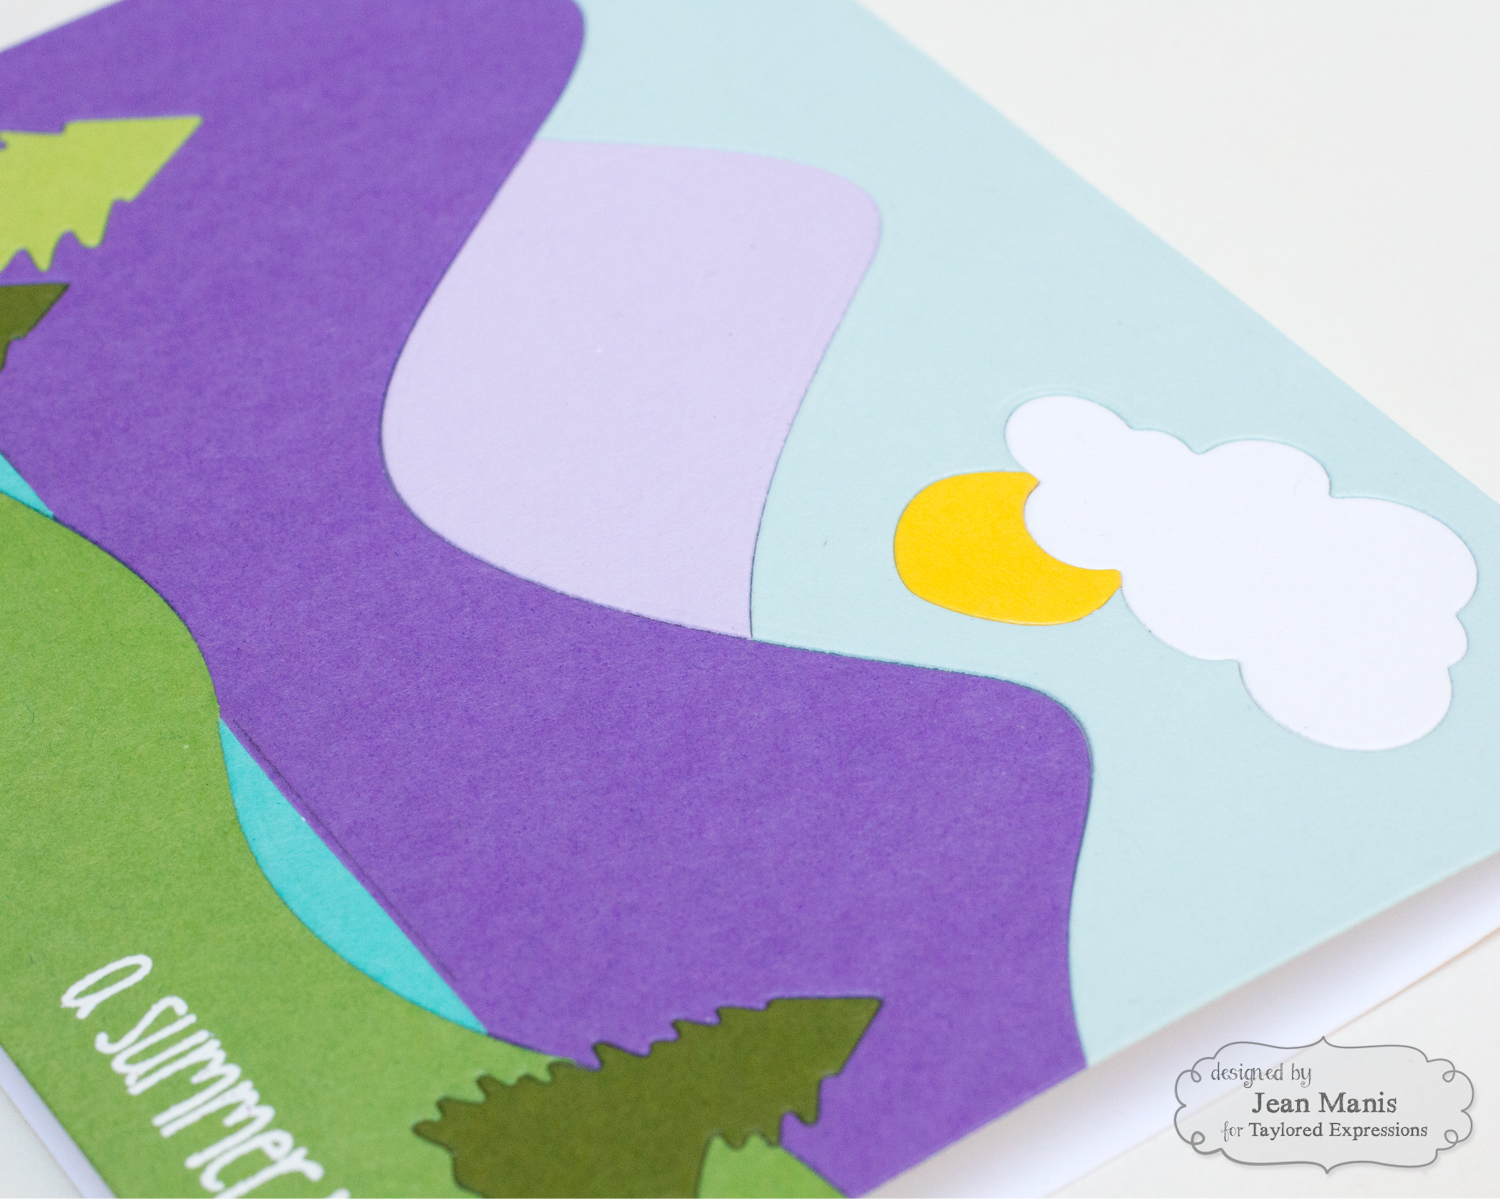
Once all of the pieces were in place and attached together on the back, I trimmed the panel and adhered it to a cardstock base.
The Inlaid Diecutting Technique can create stunning results! It’s important to think about what pieces will be in the back and which will be in the front when planning your creation.
Supplies:


Jean this is fantastic! I love your purple mountains and you did an amazing job tackling the die inlays!
Majestic.