Hello! Lately, I’ve been easing my way back into the craft room. For the past several years, much of my creative time was shaped by design commitments, and now that those have come to an end, I have the opportunity to slow down and play.
As I’ve been watching Jill Foster’s Penny Black videos, one idea has especially stayed with me: limit your choices so you can enjoy the creative process instead of feeling overwhelmed by all the possibilities. That simple shift in mindset has been exactly what I needed. Rather than trying to use every technique or create the “perfect” card, I’m choosing a handful of products and seeing where they lead.
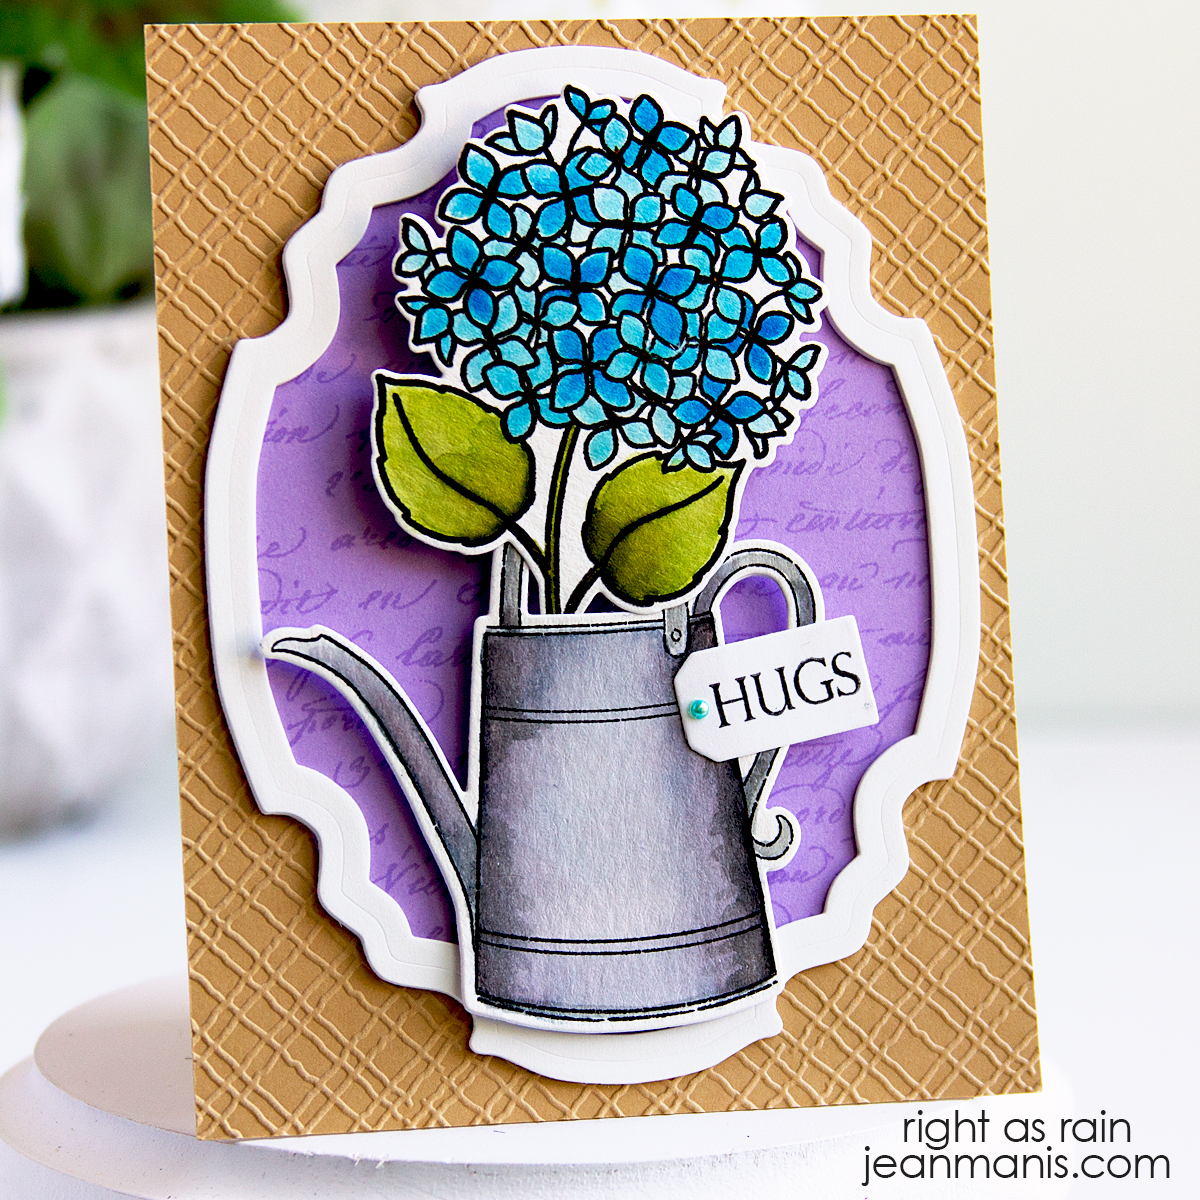
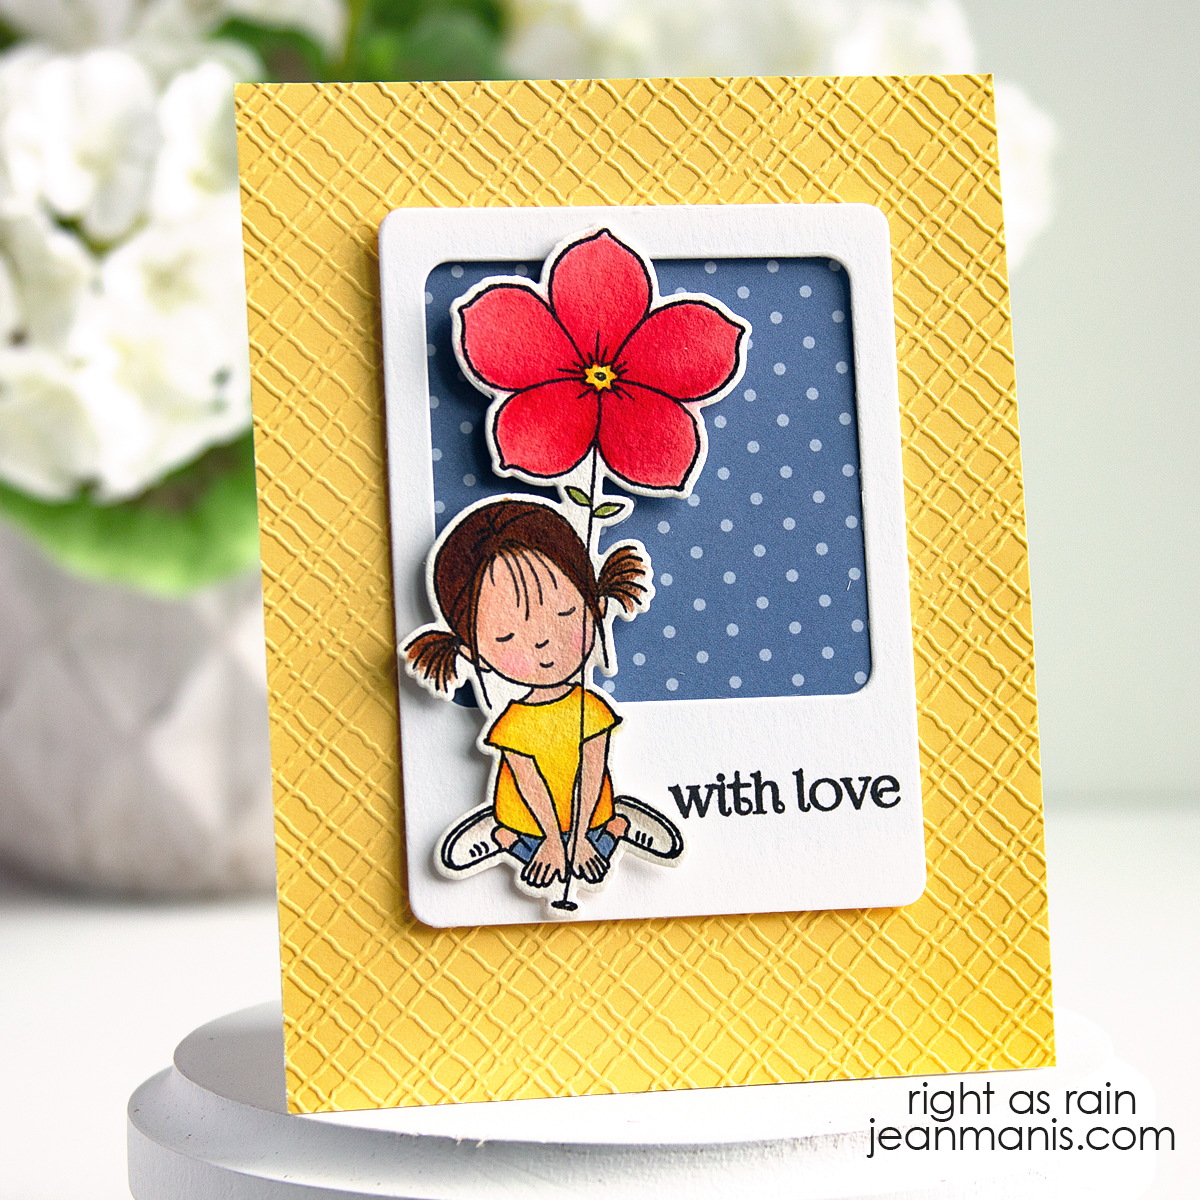
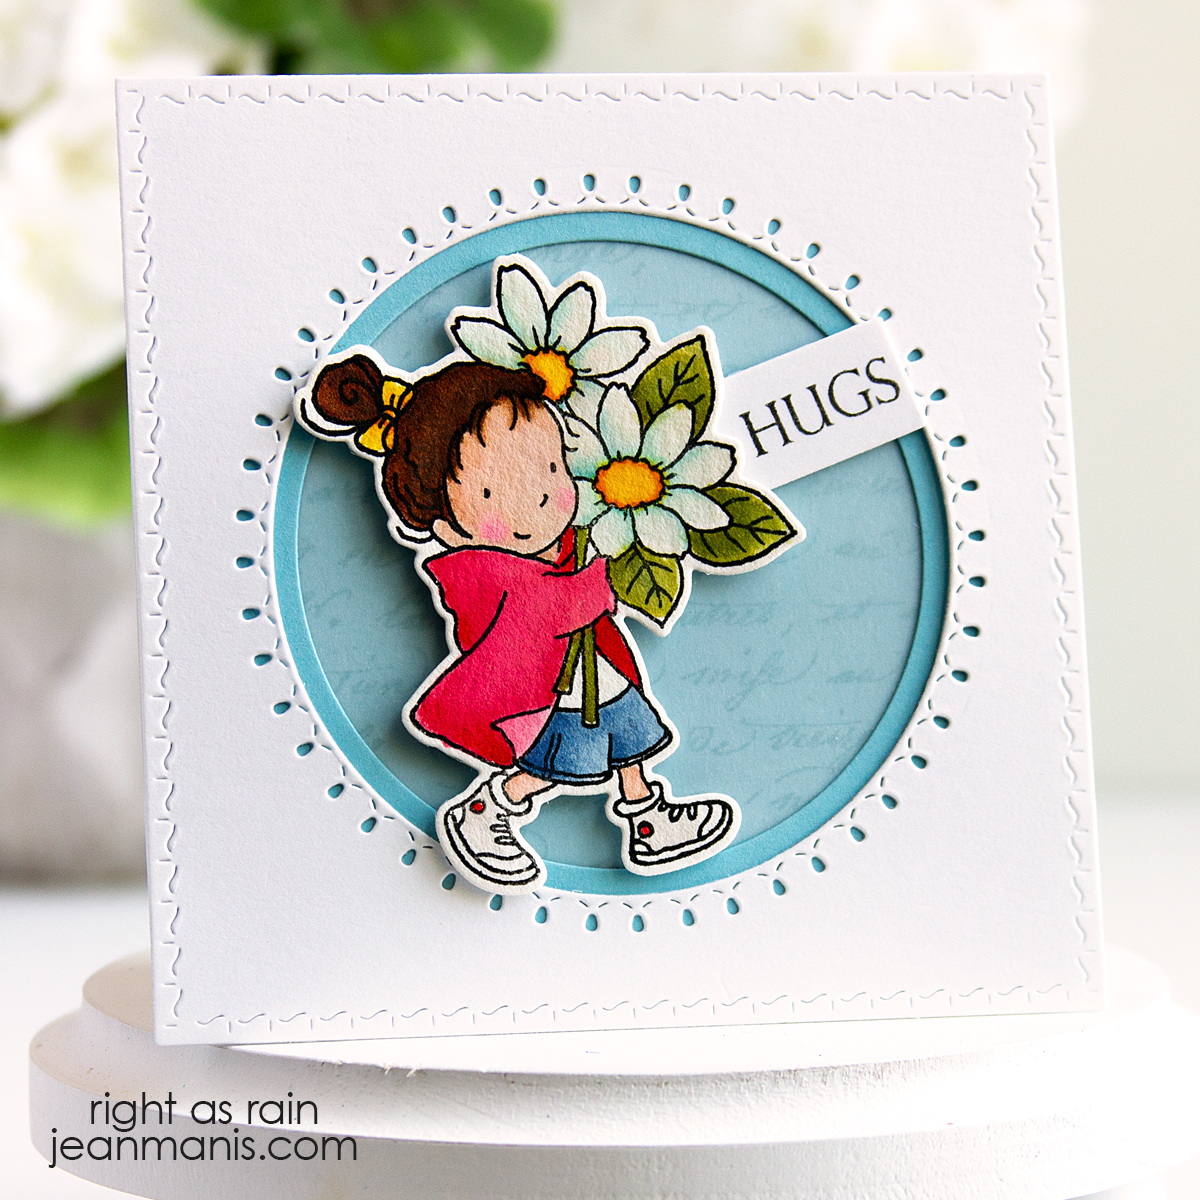
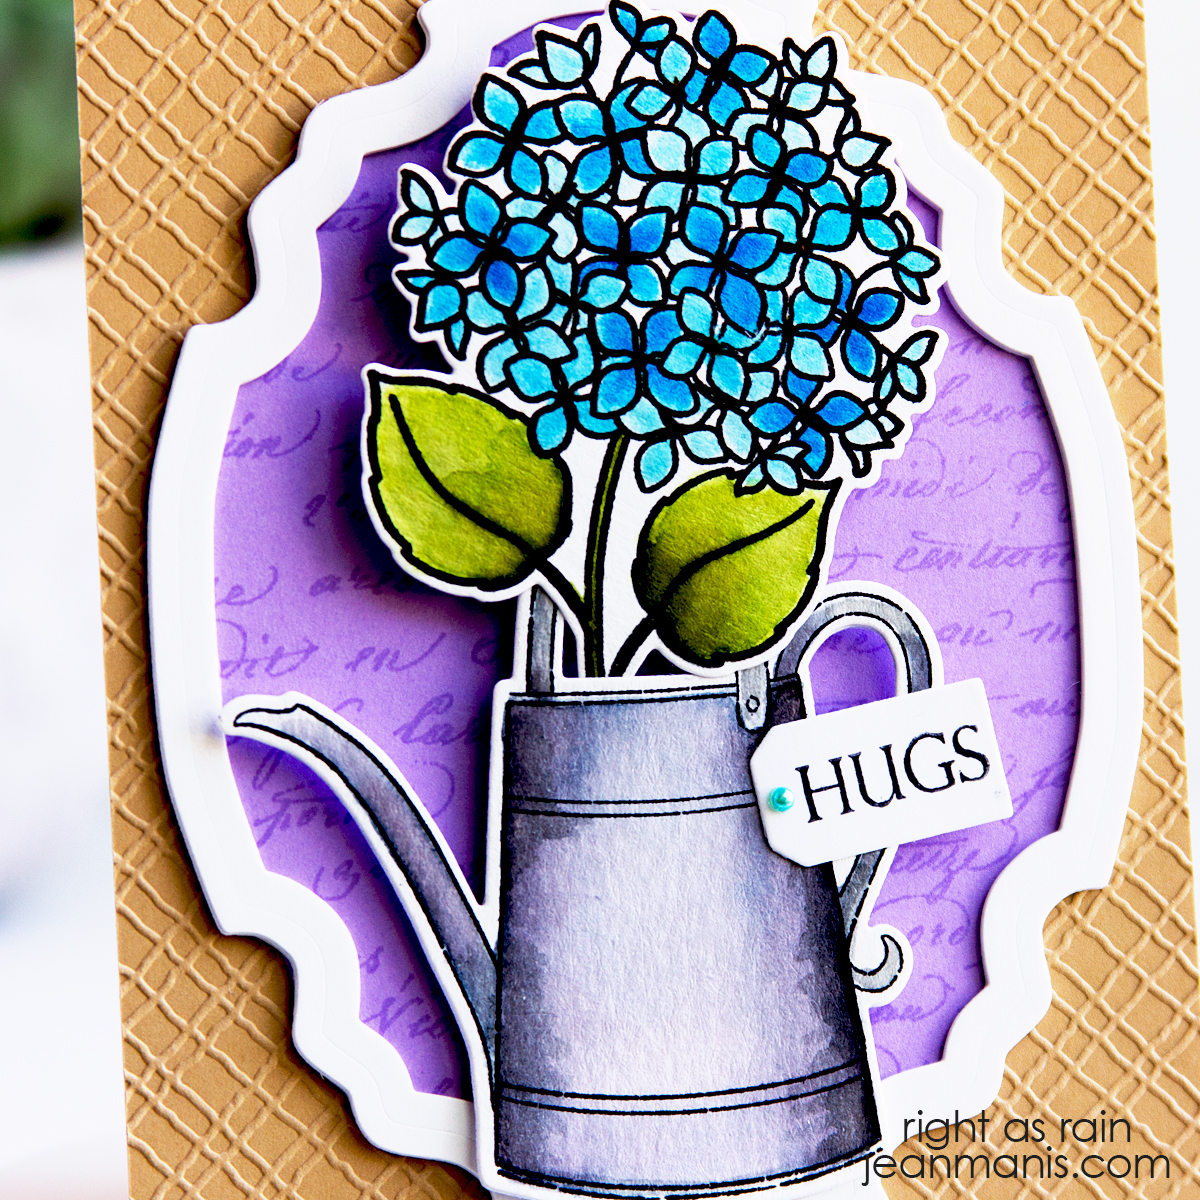
This card combines a Penny Black cling stamp, an embossing folder, stamped images with coordinating dies, and a frame die. The watering can and hydrangea images also gave me another opportunity to practice watercoloring. I wouldn’t say I’ve completely found my creative rhythm again, but I can feel it returning.
-
- Dry-emboss a tan A2-size card panel with the Penny Black Texture folder. Add to a card base.
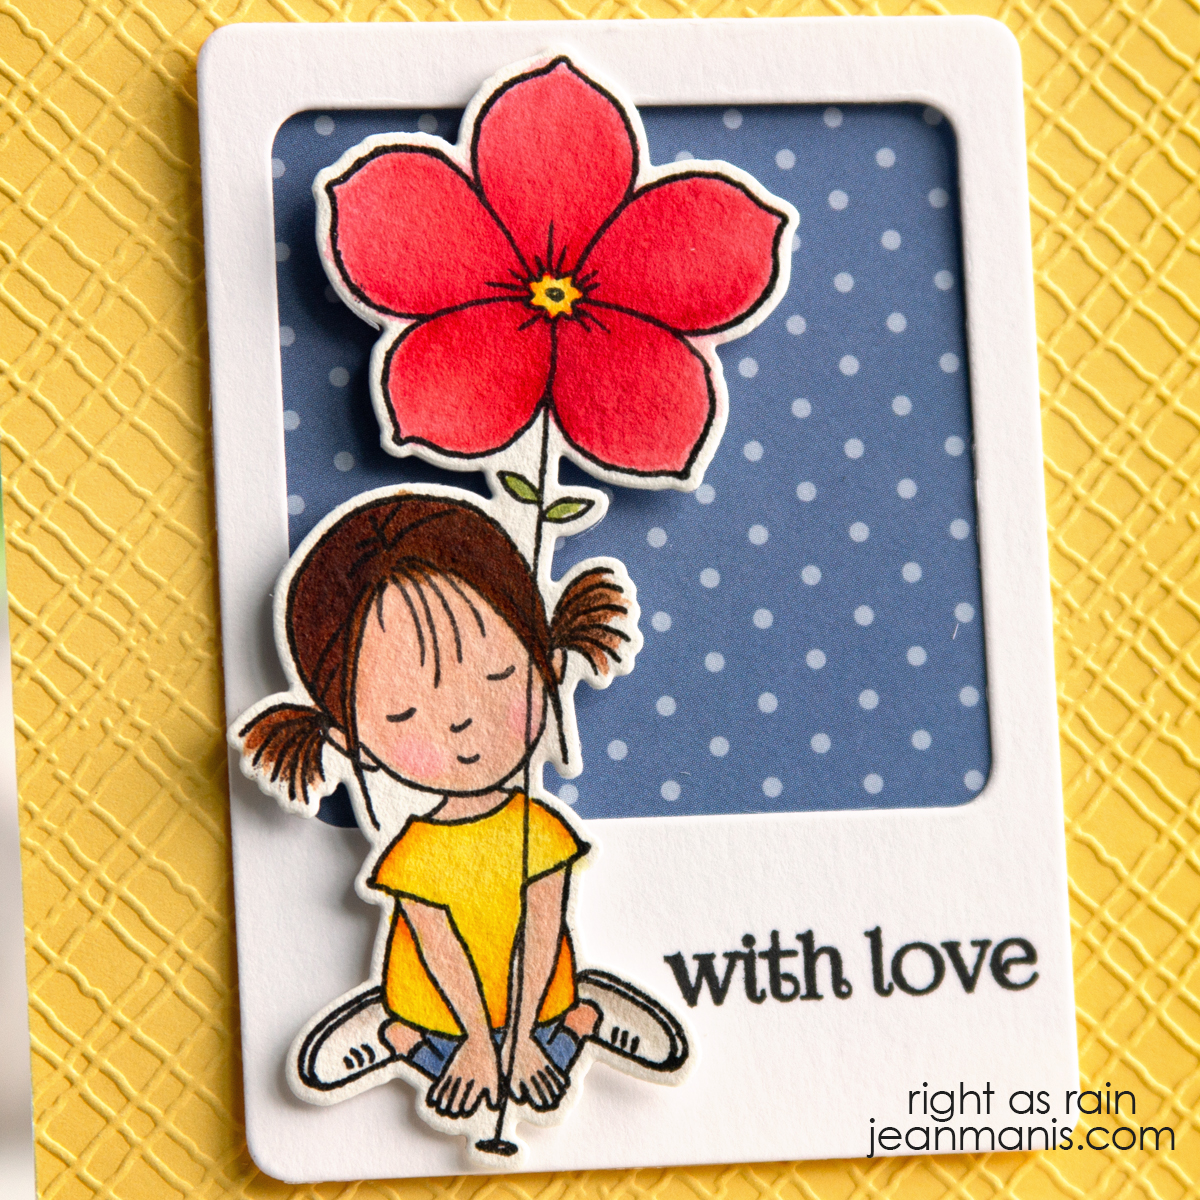
- Stamp Hydrangeas image onto watercolor paper and color it with your favorite medium. Stamp the watering can image onto watercolor paper and color it with your favorite medium. Once dry, cut the items with the coordinating dies Hydrangeas cut out and watering can cut out.
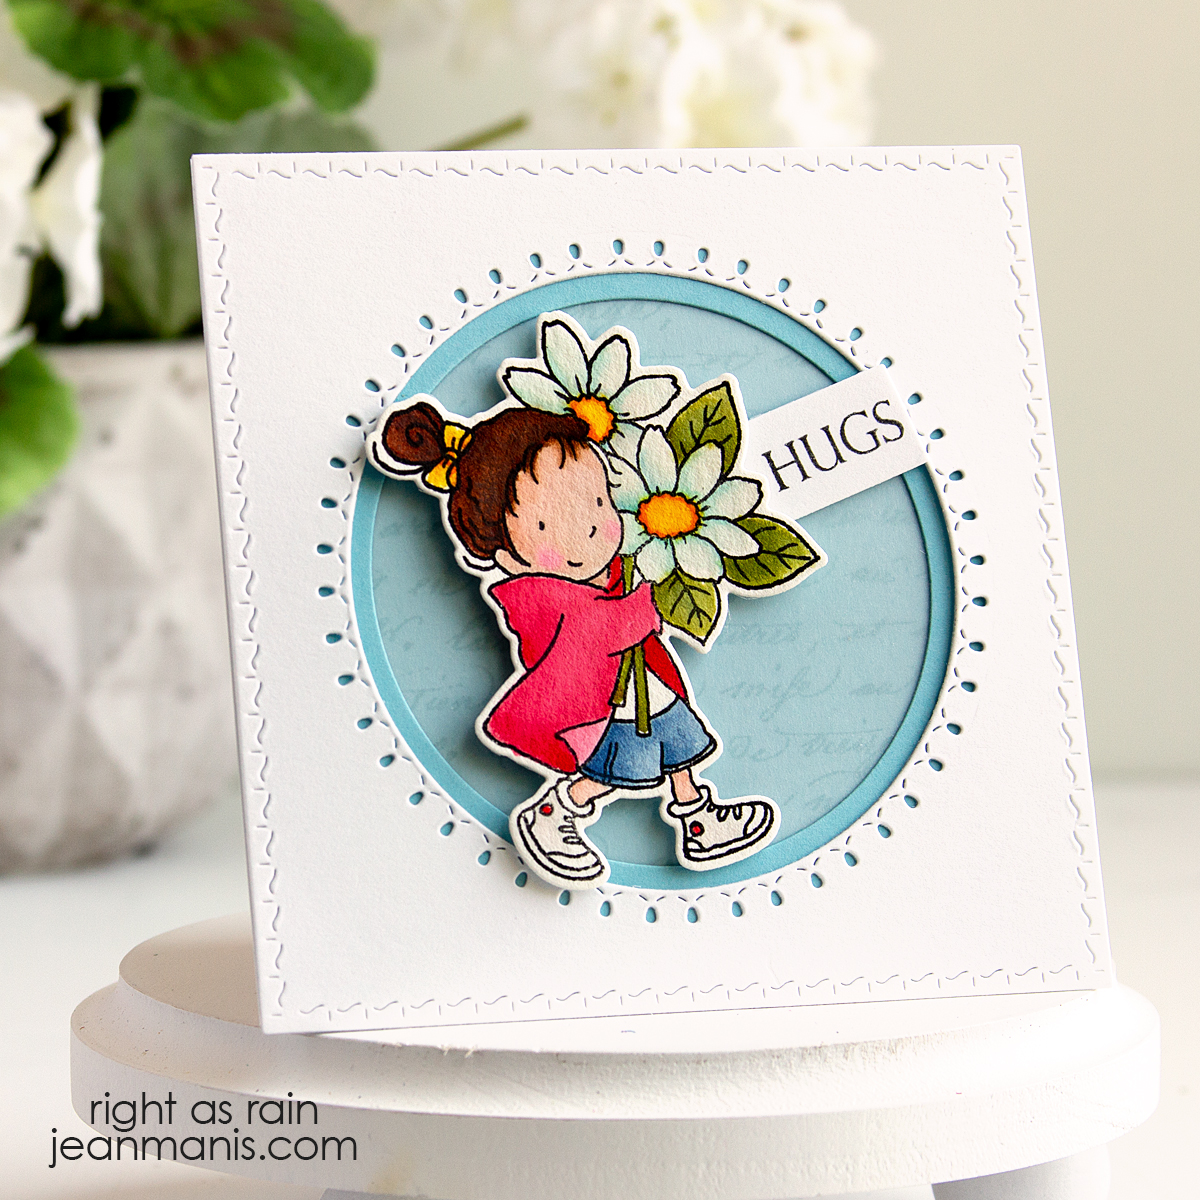
- Stamp the Happy Snippets sentiment and cut with a tag die (I used one from My Favorite Things). Add a small jewel/gem to the tag.
- Use the largest Classy Frames die to cut a frame.
- Stamp Script (similar cling stamp) onto purple paper with purple ink for a tone-on-tone background. Trim to fit inside the frame.
- Attach the purple panel to the back of the frame and add the assembly to the card base. Add the watering can and floral to the card with foam adhesive. Add the tag to the can.
Affiliate links are used when available at no extra cost to you.