Sunny Studio Stamps | Truckload of Pumpkins

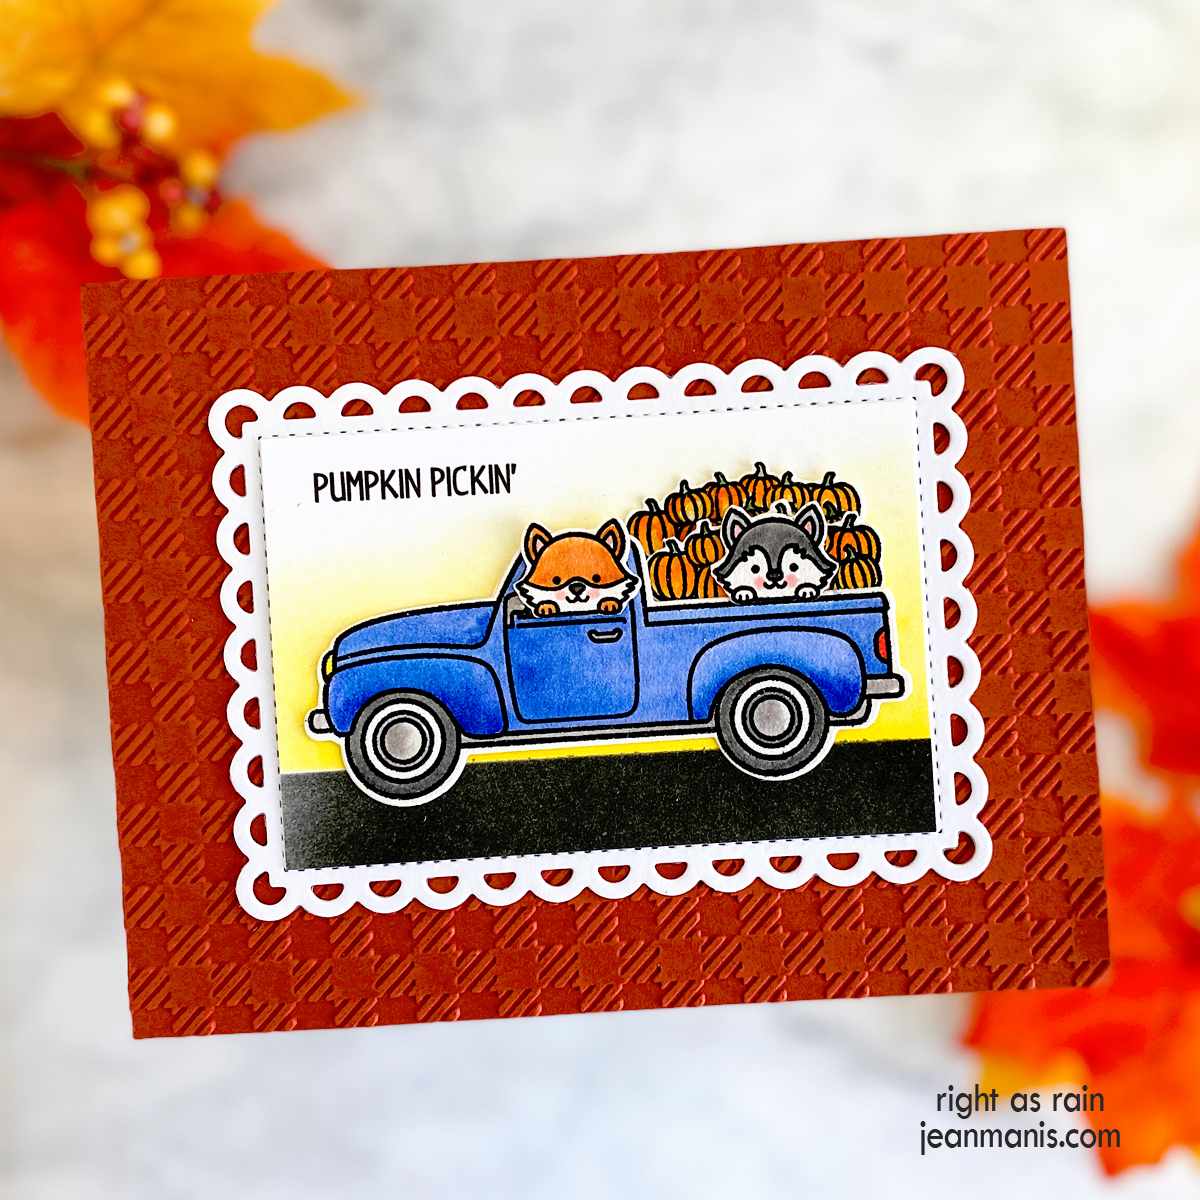
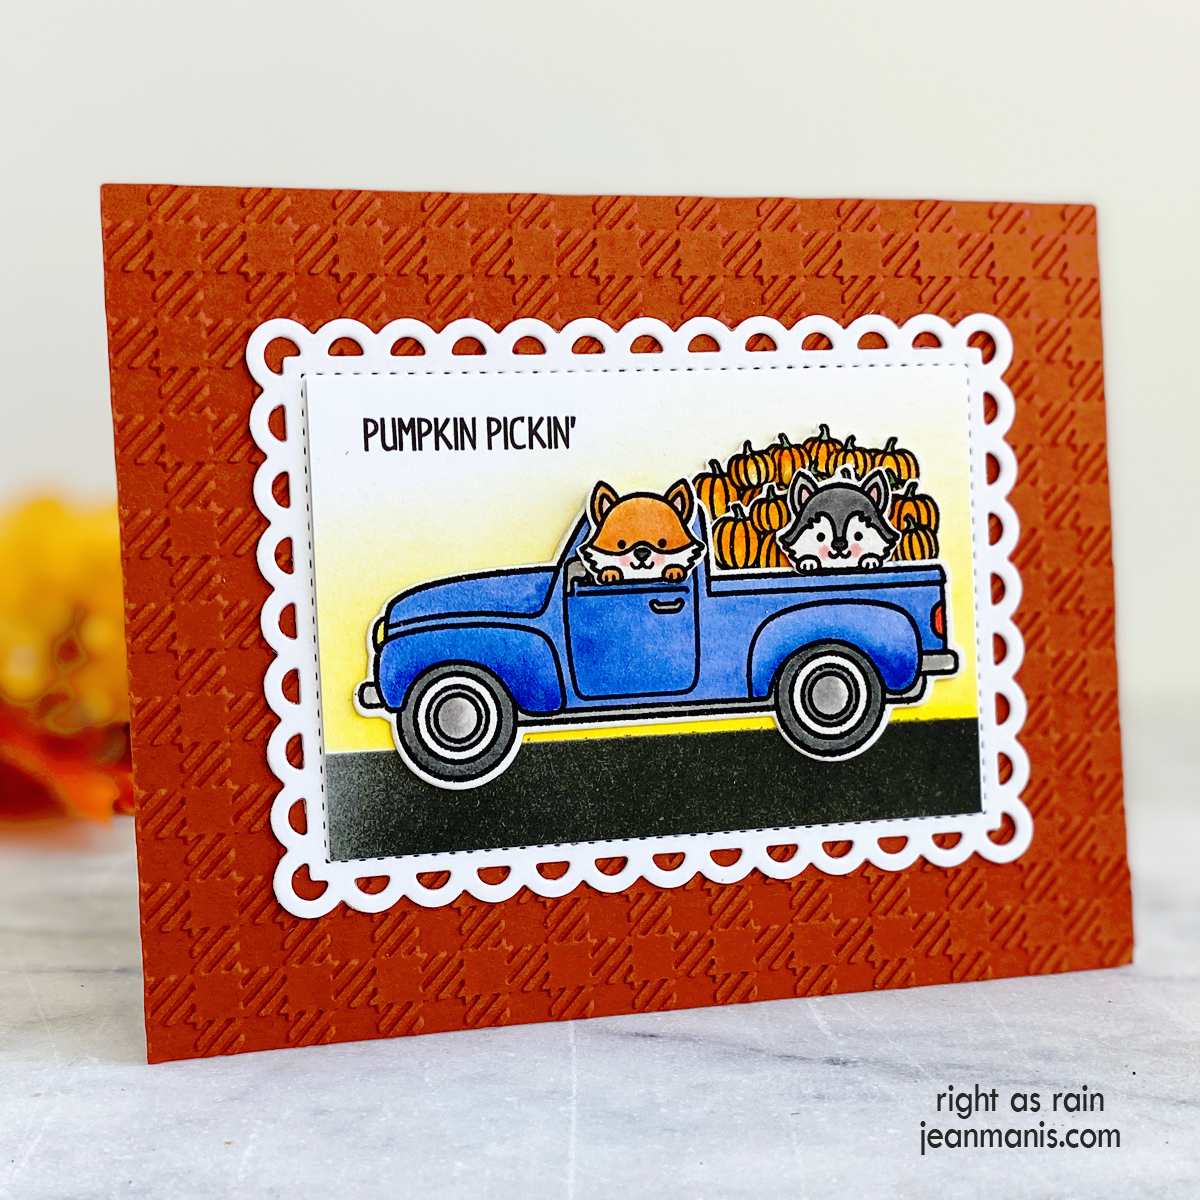
Hello! Today I am sharing a fall-themed card featuring the delightful Sunny Studio Stamps Truckloads of Love stamp set, with coordinating dies. Envisioning a visit to the pumpkin patch, I created a pumpkin-picking scene with the set’s pickup truck, pumpkins, and two of the cute critters.
Sunny Studio Stamps | Truckload of Pumpkins

  • To begin, dry-emboss an A2-size panel of rust cardstock (I used SU Cajun Craze) with the Buffalo Plaid embossing folder. Add to card base. You can read more about dry-embossed card backgrounds HERE.
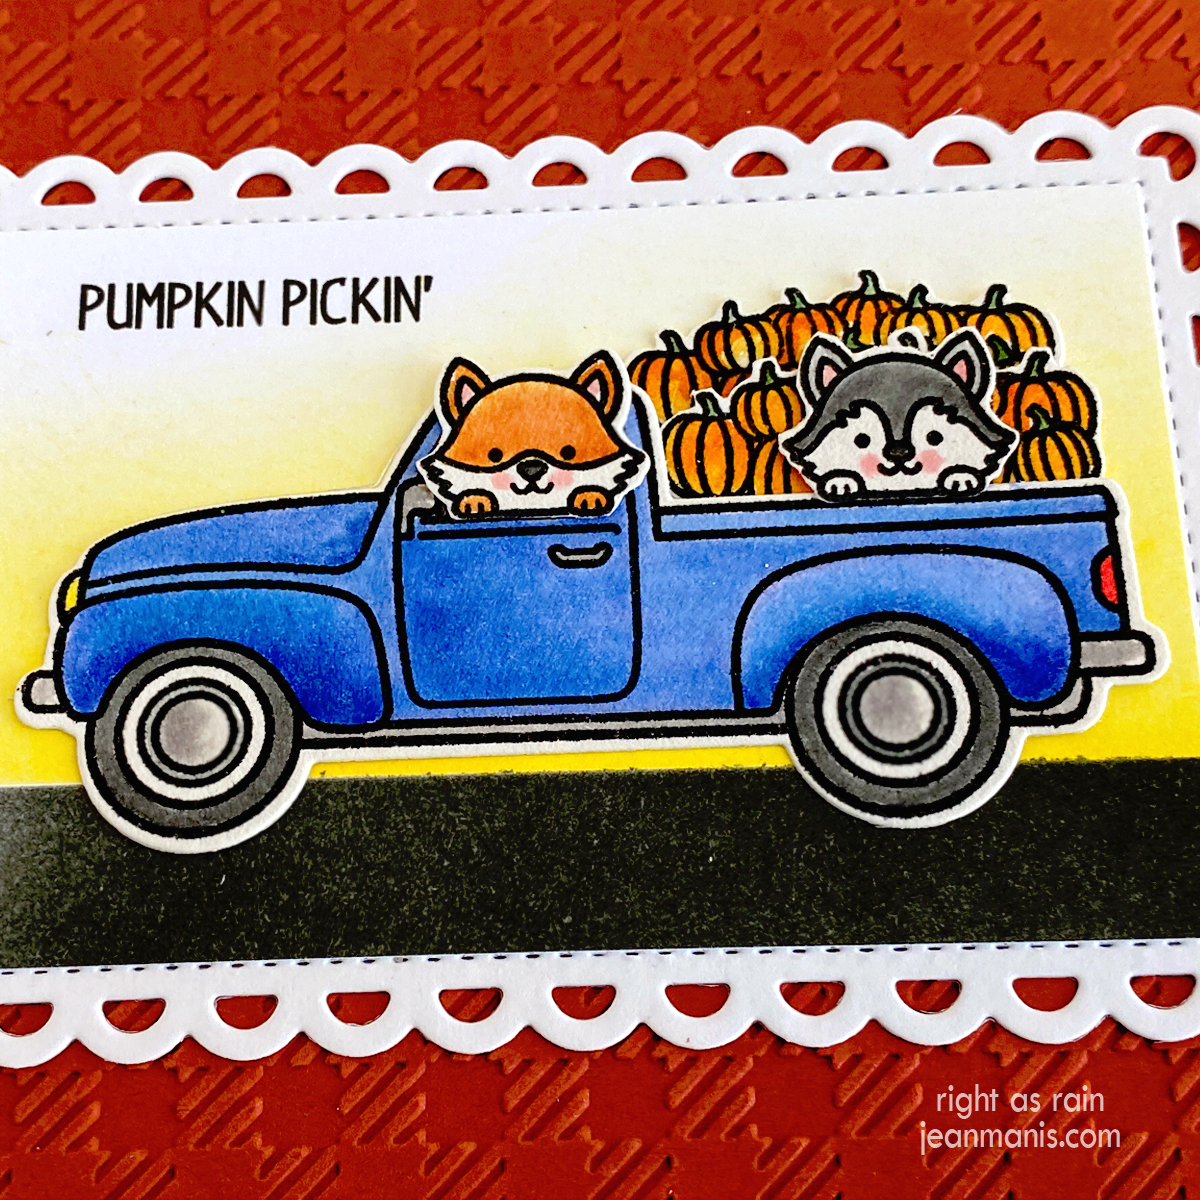
  • Stamp Truckloads of Love pickup, pumpkins (twice), and two of the critters with Versafine on Arches Cold Press watercolor paper and heat set. Color the images with watercoloring mediums of choice (I used mini Distress Inks). Once dry, cut the images with the dies in the coordinating set. (Check out my “Resources for Watercoloring Stamped Images” HERE.)
  • Cut scallop mat from white cardstock with the Mini Mat and Tag 3 set.
  • Stamp sentiment on white cardstock and add Distress Oxide Inks to sky and road (using vellum to mask while applying the inks). I created the sentiment on my computer as I wanted to specifically reference a pumpkin field.
  • Trim inked sentiment panel to fit inside the Mini Mat and Tag 3 scallop mat. Add inked panel to mat.
  • Adhere truck, pumpkins, and critters. Add assembly to card base.
Sunny Studio Stamps | Truckload of Pumpkins


Scarecrow Sweater: Papercrafted Fall Fashion

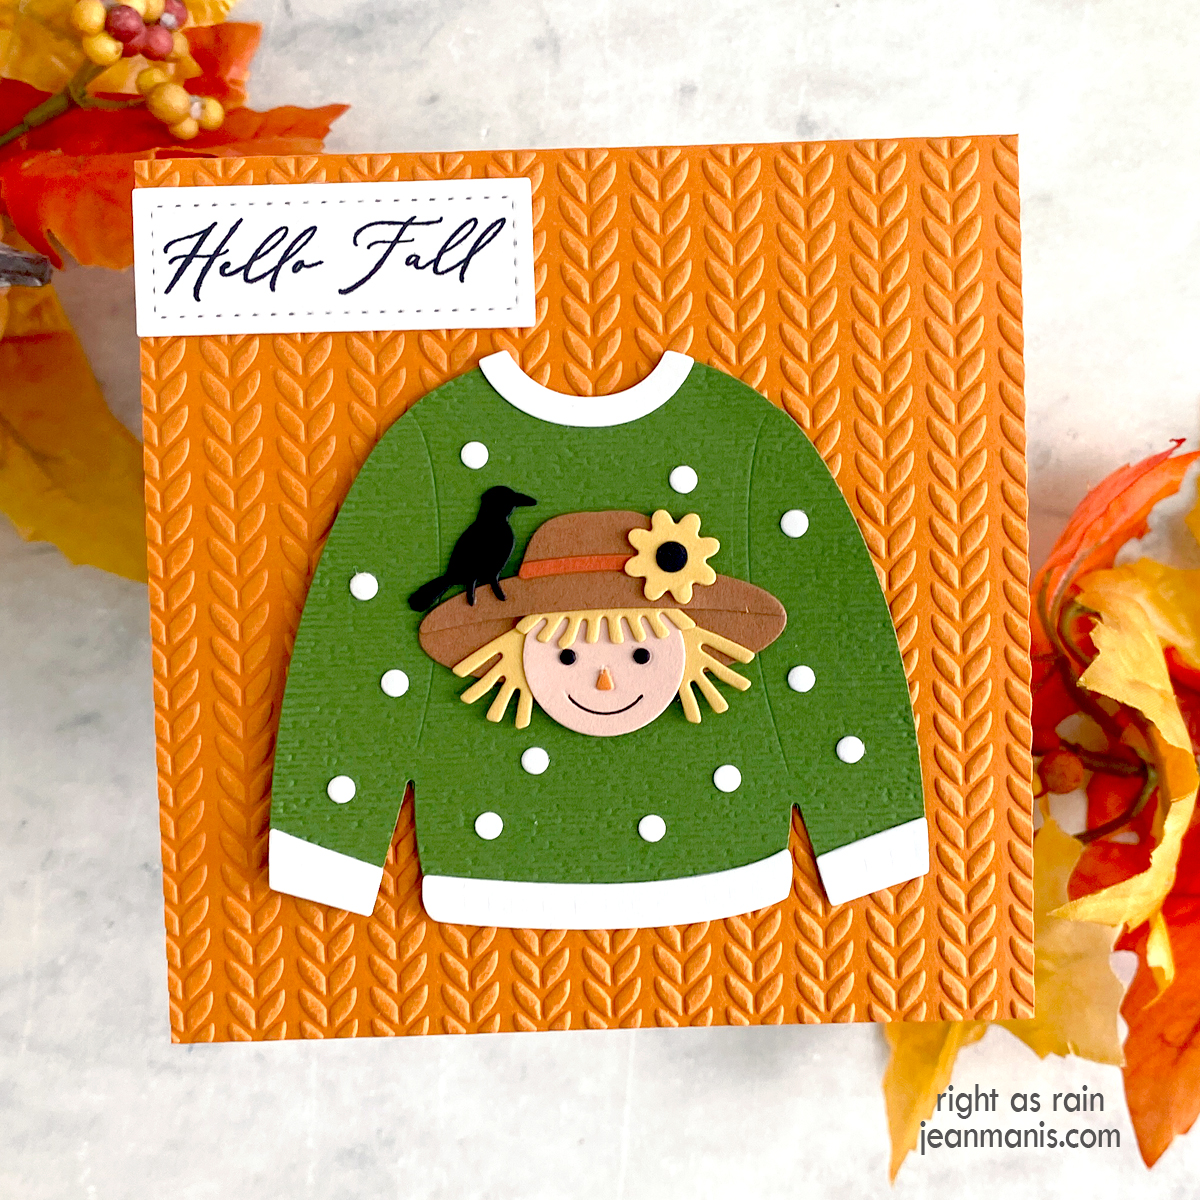
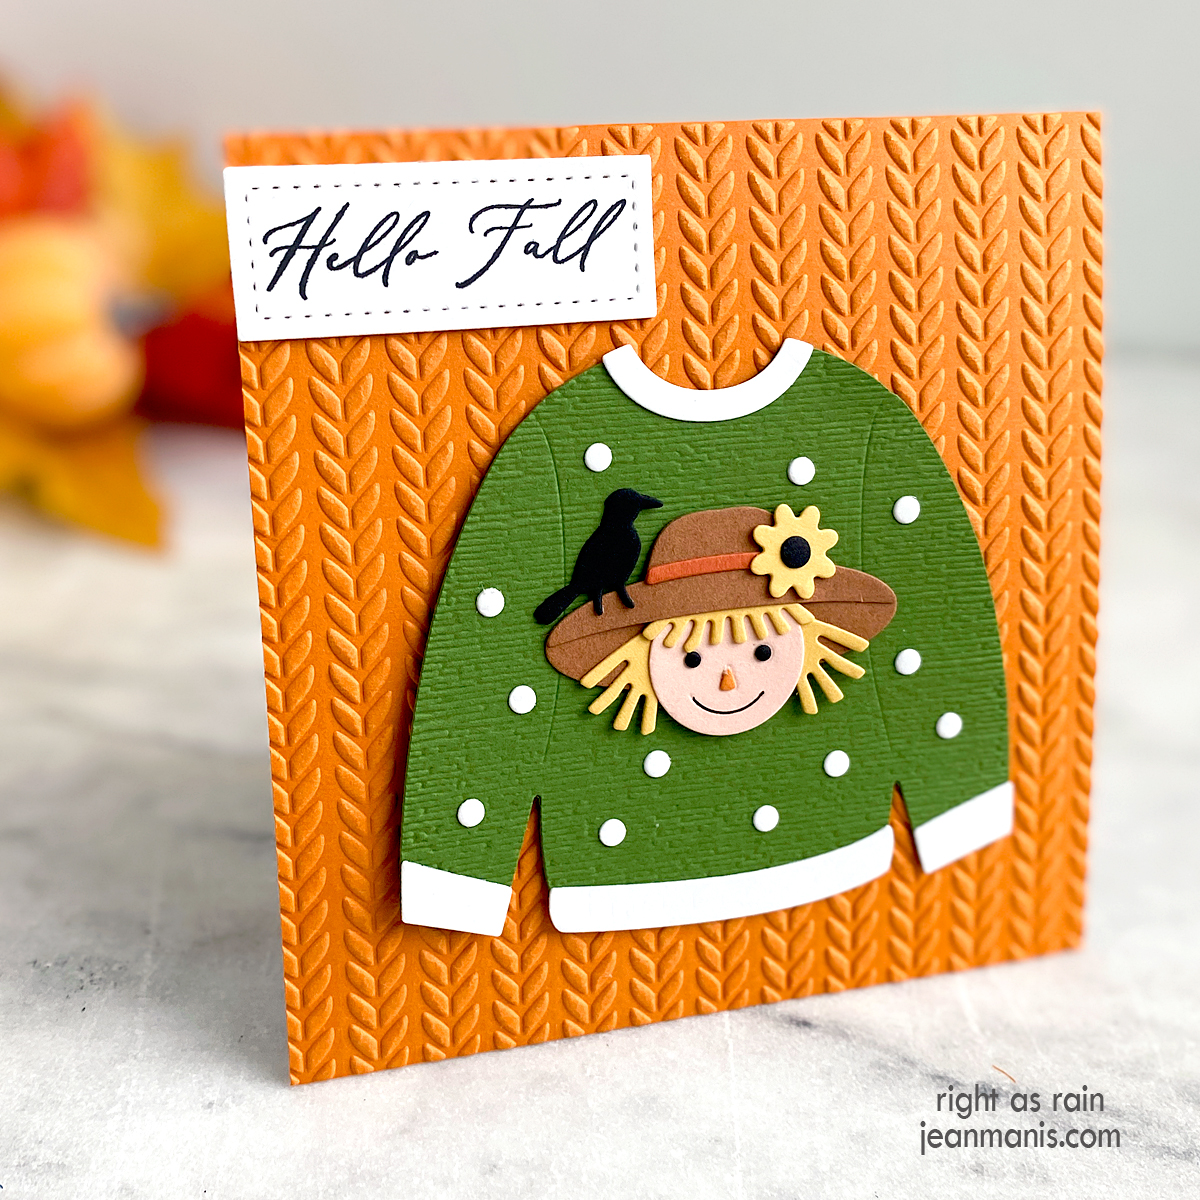
Hello! Today, I am showcasing Elizabeth Craft Designs products – the Sweater Season and Scarecrow die sets and Autumn Words stamp set – on a fall-themed card. I don’t own a fall novelty sweater, however, I can always craft one from paper!

Scarecrow Sweater: Papercrafted Fall Fashion

  • To begin, dry-emboss a Persimmon cardstock panel, measuring 4 1/2″ square with cable folder (I used Cable Knit from Taylored Expressions). Attach to card base.
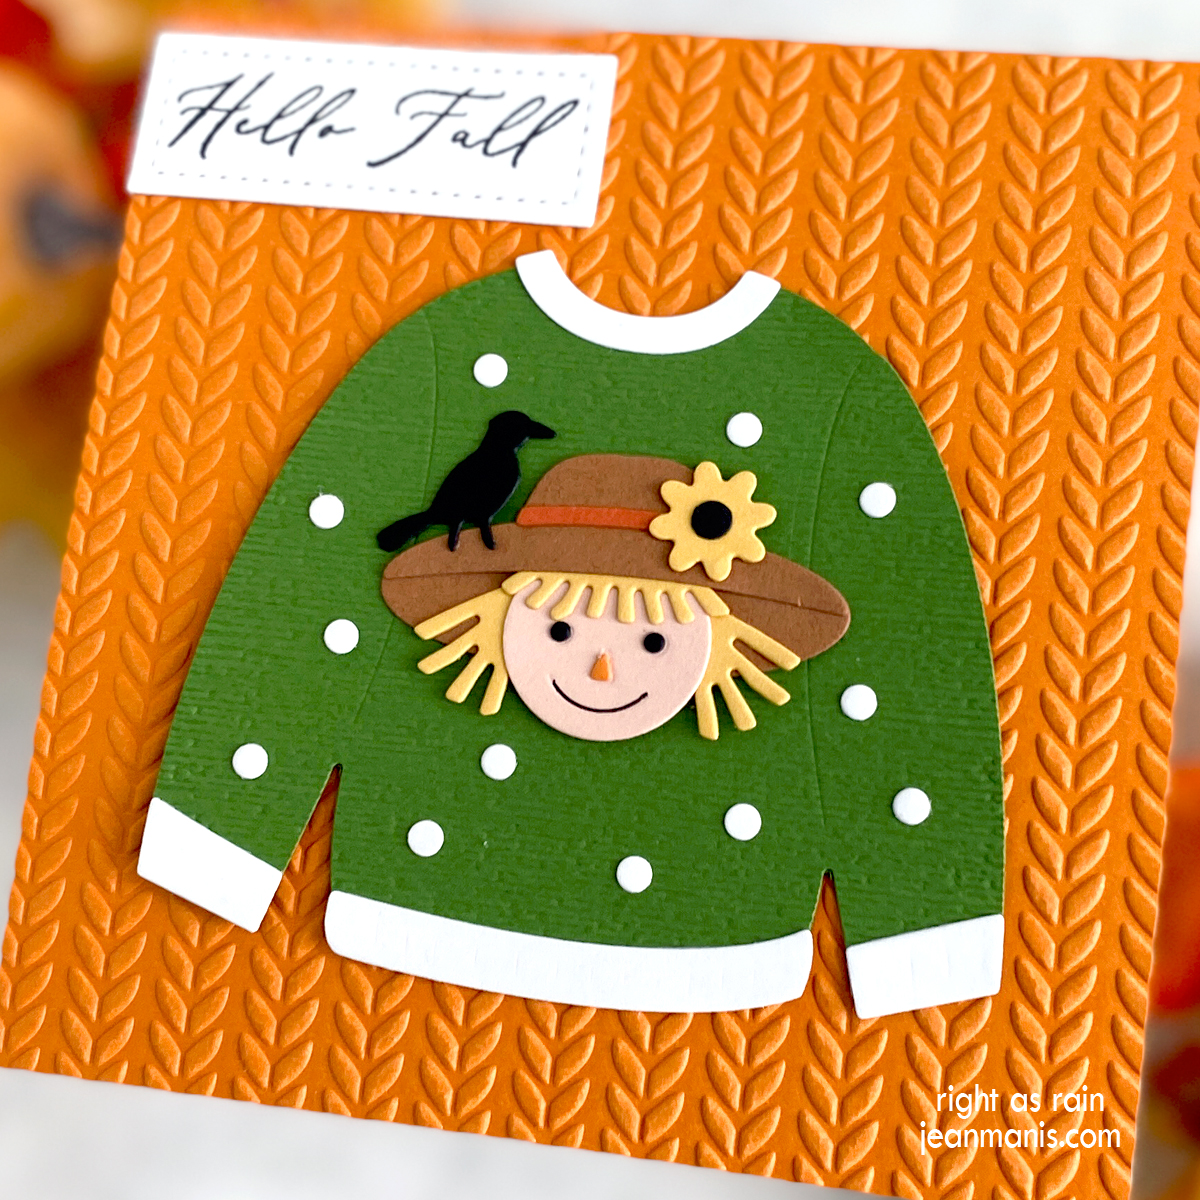
  • Cut sweater with dies in the Sweater Season set. Dry-emboss sweater body with SU Subtle folder (now retired). Alternatively, cut the sweater from textured cardstock. Add neckline, bottom hem, and cuffs, cut from white cardstock, to the sweater. Cut circles with a small circle die and add to sweater body for adornment.
  • Die-cut pieces for the Scarecrow head and hat from colored cardstock. Assemble. To create the mouth on the scarecrow, I cut a piece of cardstock with a 1/2-inch circle die. I used the negative portion to draw the mouth using a Faber Castell Pitt artist pen size XS pen. (I am writing this specifically so I will remember for next time.) Add assembled scarecrow face, with crow, to sweater front.
  • Stamp Autumn Words sentiment in black on to white cardstock and cut with the smallest die in the Small Stitched Rectangle Stackables set.
  • Add sentiment and assembled sweater to card front.

Previously, I used the Scarecrow die set on a fall-themed card HERE and the Sweater Season die set on a Christmas-themed card HERE.

Scarecrow Sweater: Papercrafted Fall Fashion


Newton’s Nook Designs | Fall Harvest Take Two

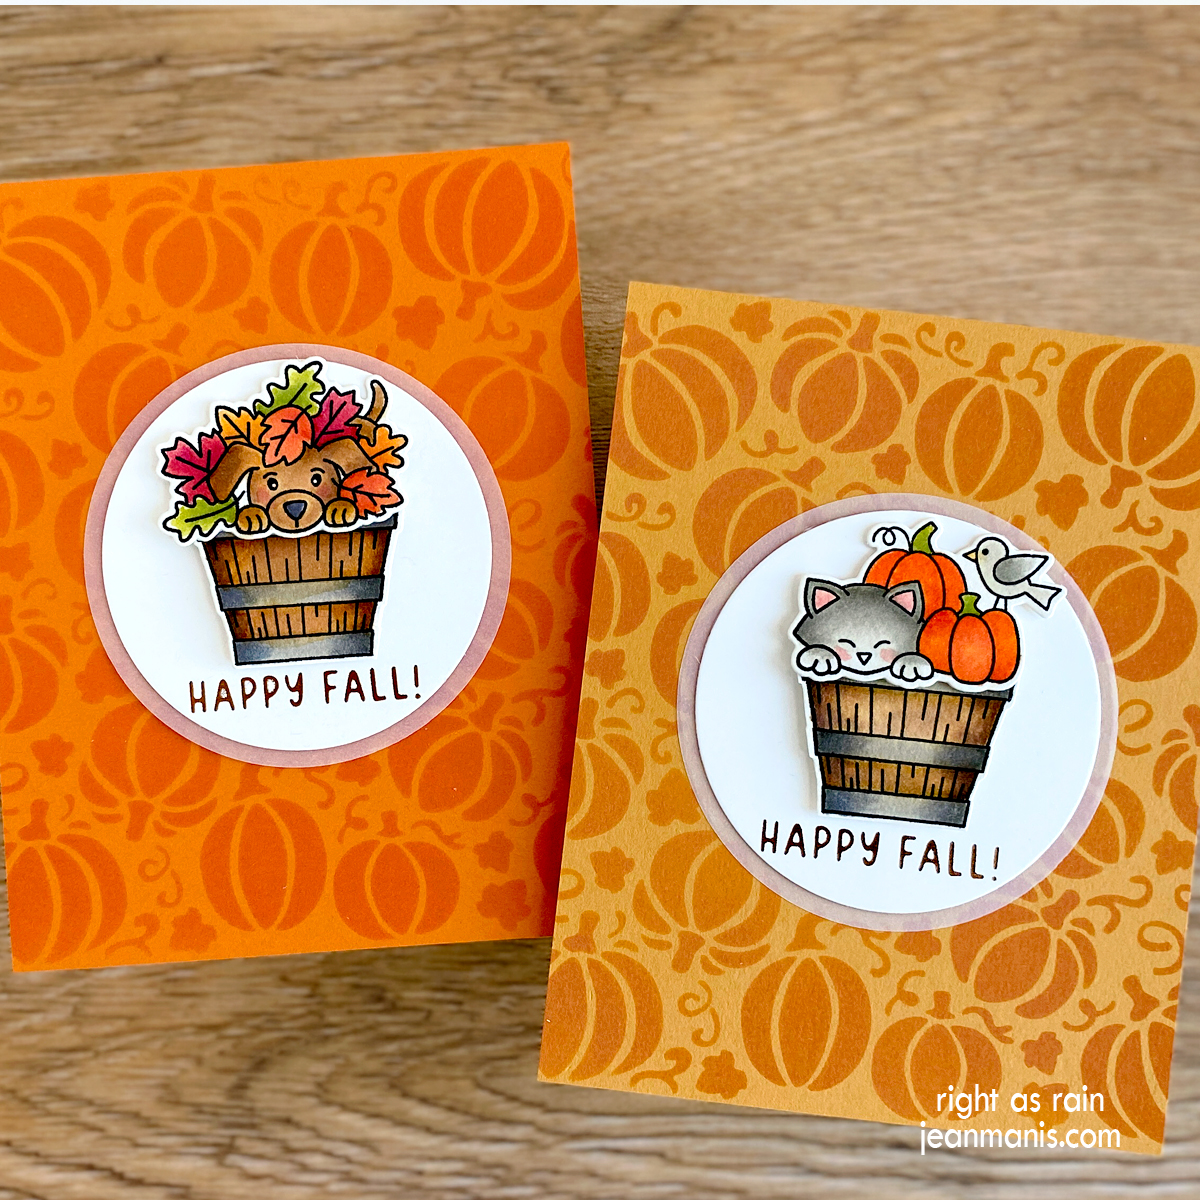
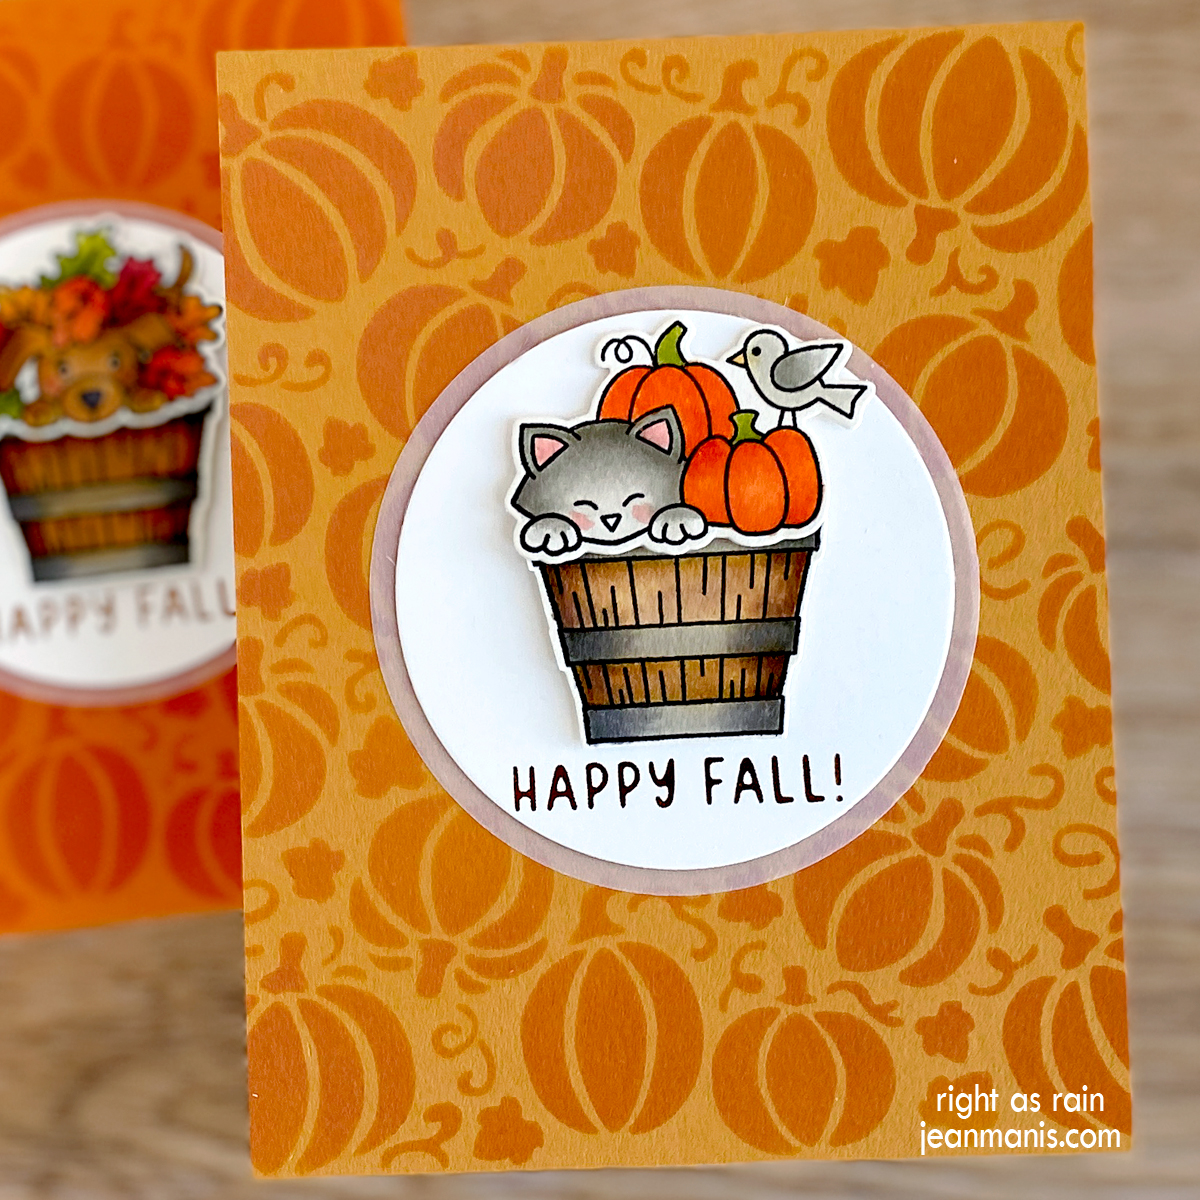
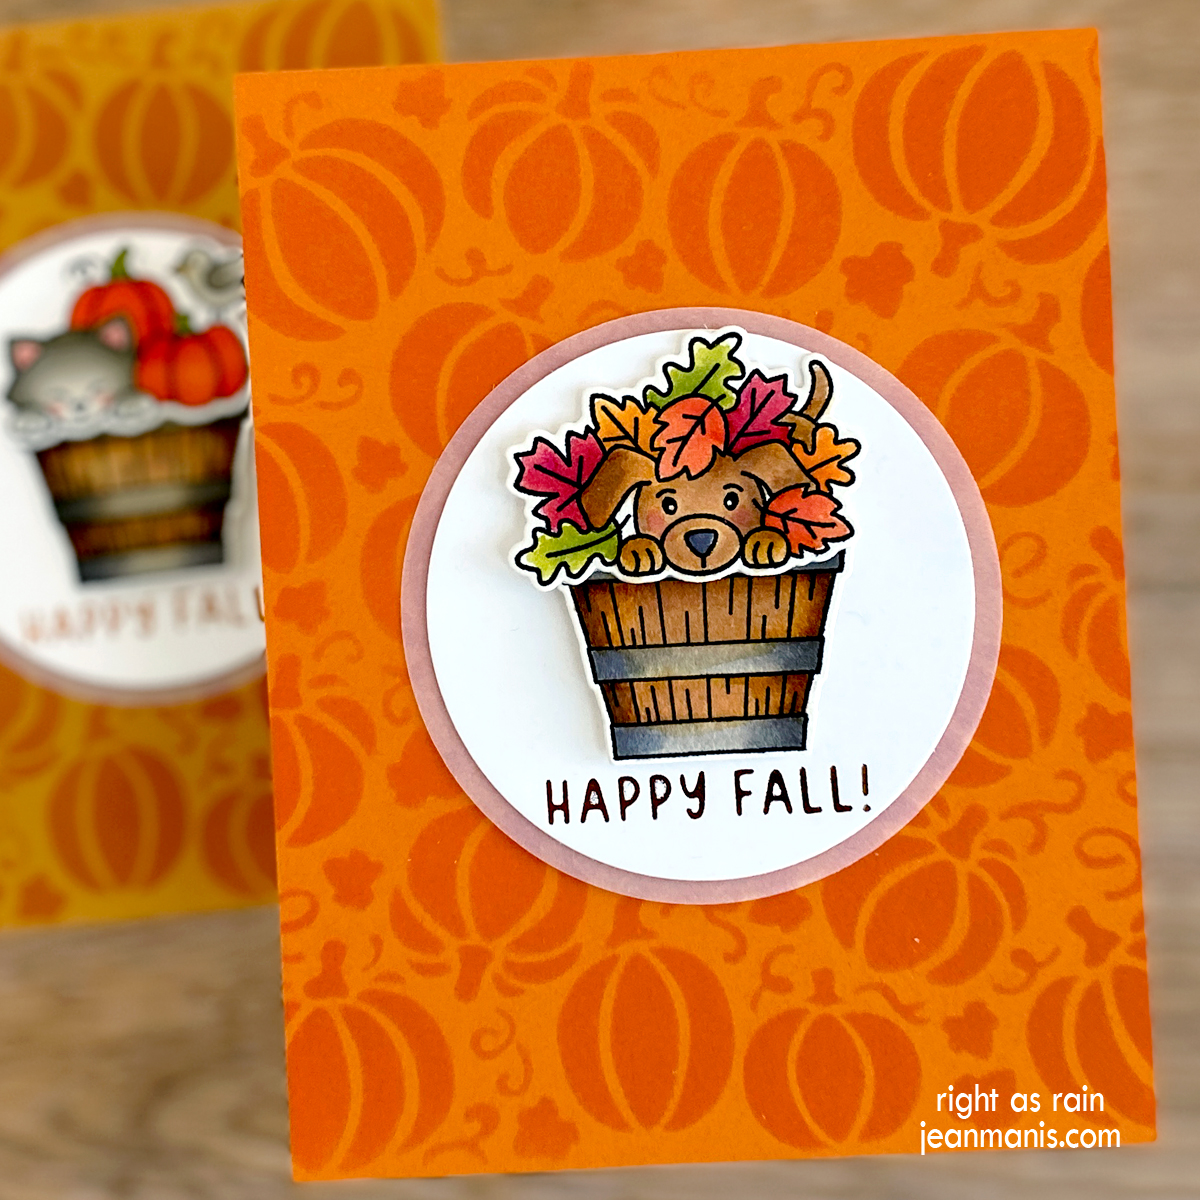
Hello! Today I am sharing two more cards created with the Newton’s Nook Designs Fall Harvest stamp set. I previously shared cards with this stamp and coordinating die set HERE. This time, I am using stenciled pumpkin backgrounds rather than patterned paper ones, applying ink through a stencil on to coordinating cardstock for a tone-on-tone background. You can read my post about creating stenciled backgrounds for cards HERE.

Newton’s Nook Designs | Fall Harvest Take Two

Newton’s Nook Designs | Fall Harvest Take Two

  • To create the focal images, stamp the Fall Harvest images with Versafine on Arches Cold Press watercolor paper and heat set. Color the images with watercoloring mediums of choice. Once dry, cut the images with the dies in the coordinating set. (Check out my “Resources for Watercoloring Stamped Images” HERE.)
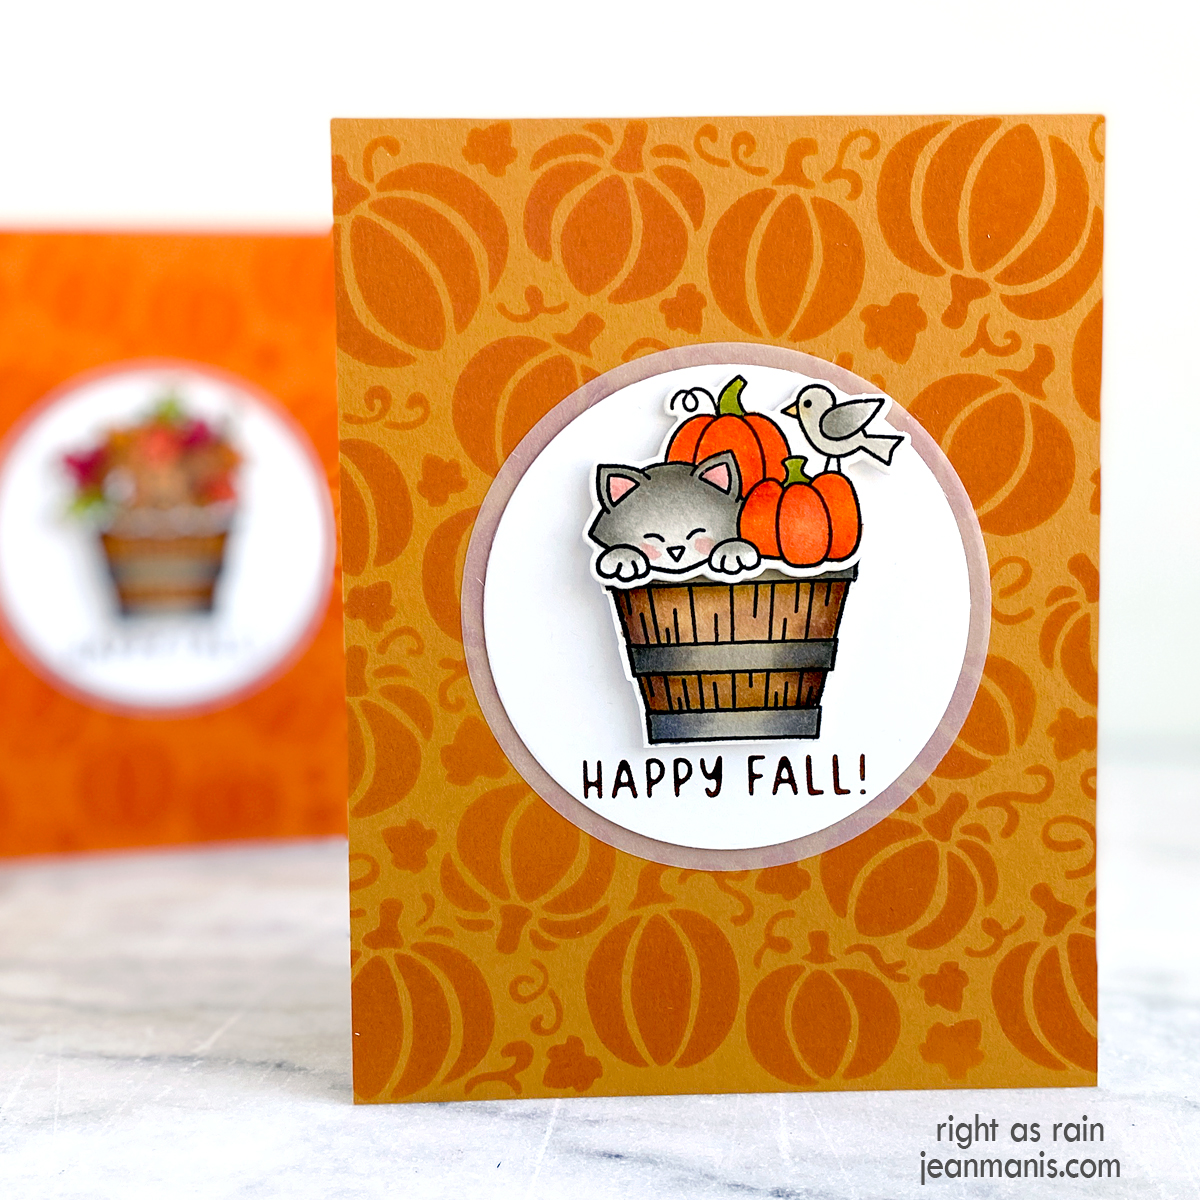
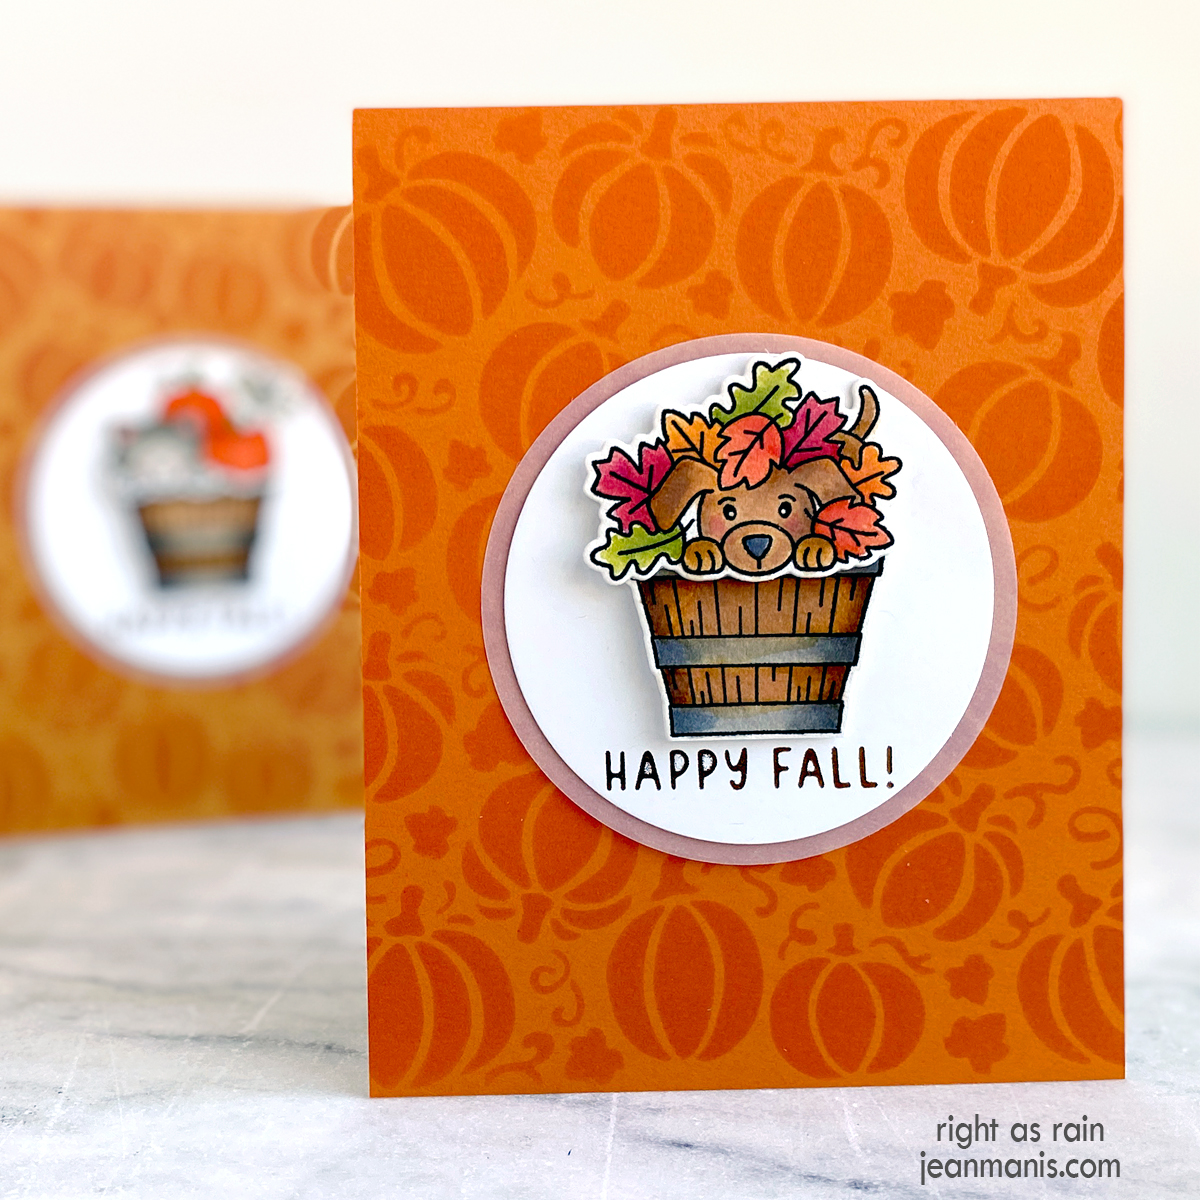
  • To create the card backgrounds, apply ink through the Pumpkin Patch stencil. For the background with the dog, I used Dried Marigold ink on SU Pumpkin cardstock, and on the other background with the cat, I used Wild Honey ink on SU More Mustard cardstock. Trim panels to A2-size and attach to card bases. (Next time, I will cut the cardstock to A2 size before applying ink through the stencil. The stencil pattern is 5 1/2″ square.)
  • Glimmer foil the sentiment in the Autumn Greetings set with Copper foil on white cardstock (I used Taylored Expressions Sugar Cube, as it is not stark white). Cut panel with a 2 3/4″ die in the Everlasting Circles set. Cut another circle from vellum with a 3″ die in the same set.
  • Assemble the focal images, add the images to the circle mats, and adhere to the card fronts.

Newton’s Nook Designs | Fall Harvest Take Two

Newton’s Nook Designs | Fall Harvest Take Two


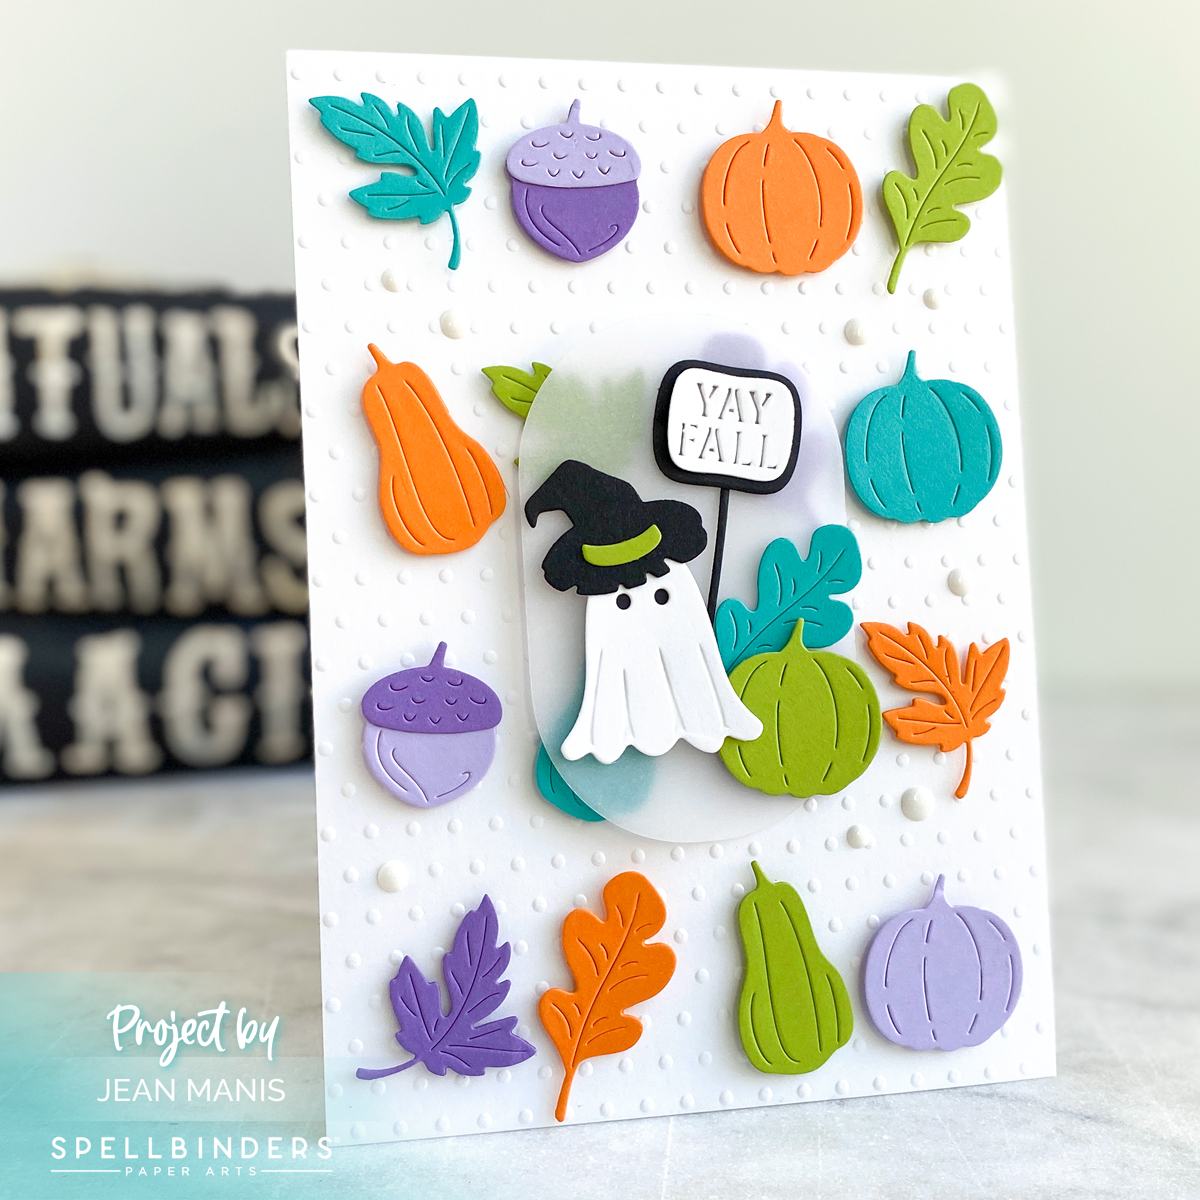
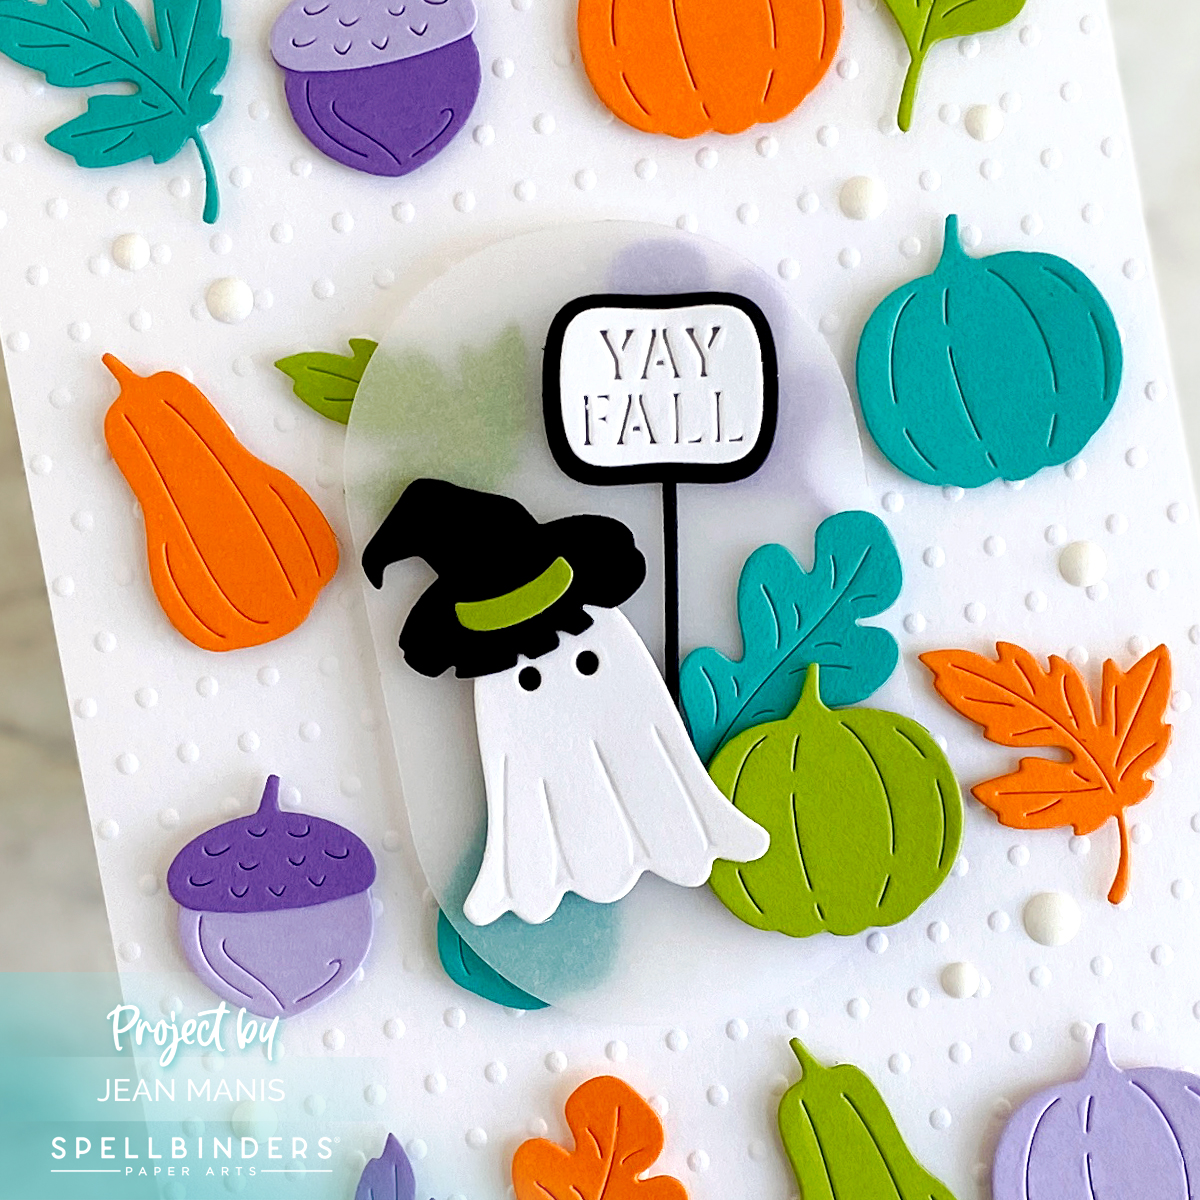
Spellbinders | Yay for Autumn

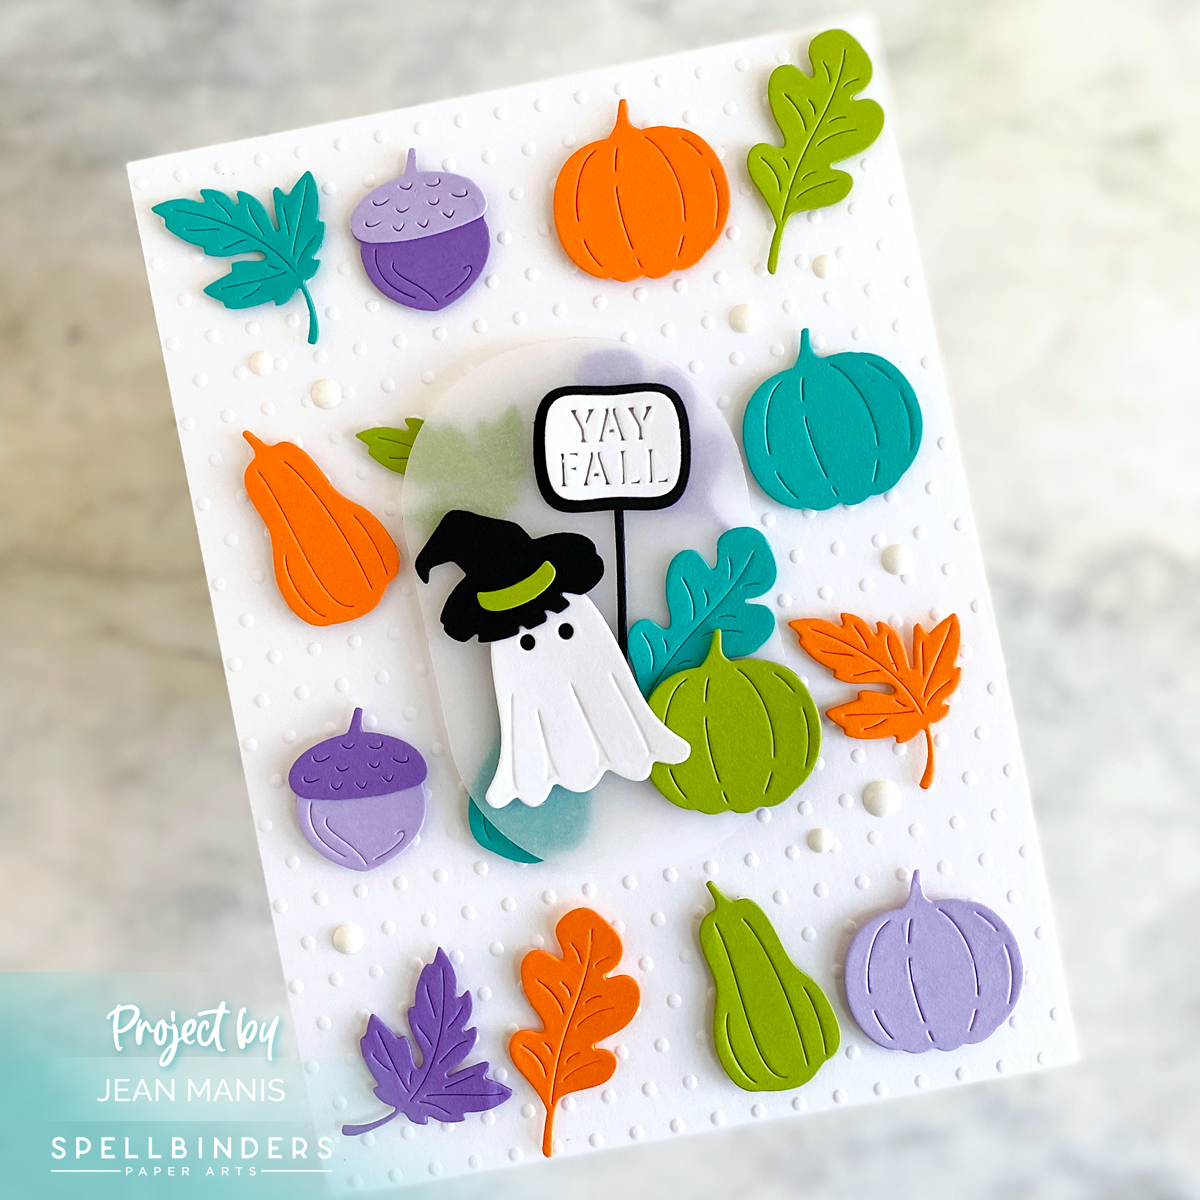
Hello! Today, I am sharing another fall-/Halloween-themed card featuring the Spellbinders September Large Die of the Month set – “Boo-licious Fall Cupcake.” I previously shared a card created with this die set HERE. For this take, I created a background of pumpkins, gourds, leaves, and acorns, cut with dies in the set, and a focal image of a ghost in a witch’s hat.

Spellbinders | Yay for Autumn

Spellbinders | Yay for Autumn

Take advantage of the Spellbinders Fall Warehouse Sale that runs now through September 21!

Spellbinders Fall Warehouse Sale 2023


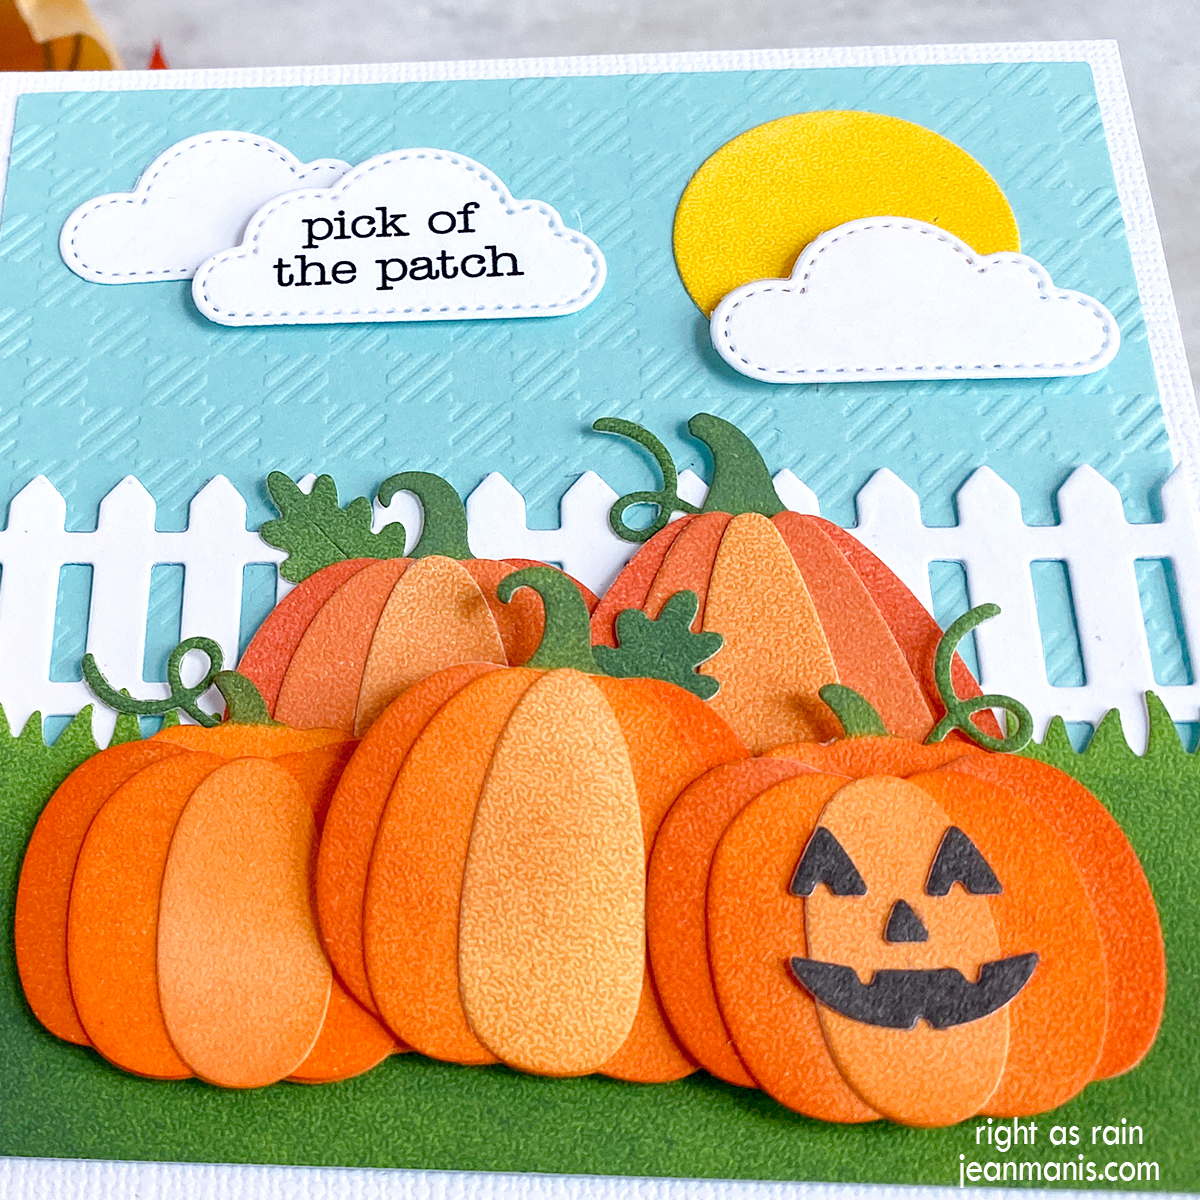
Sunny Studio Stamps | Pick of the Patch

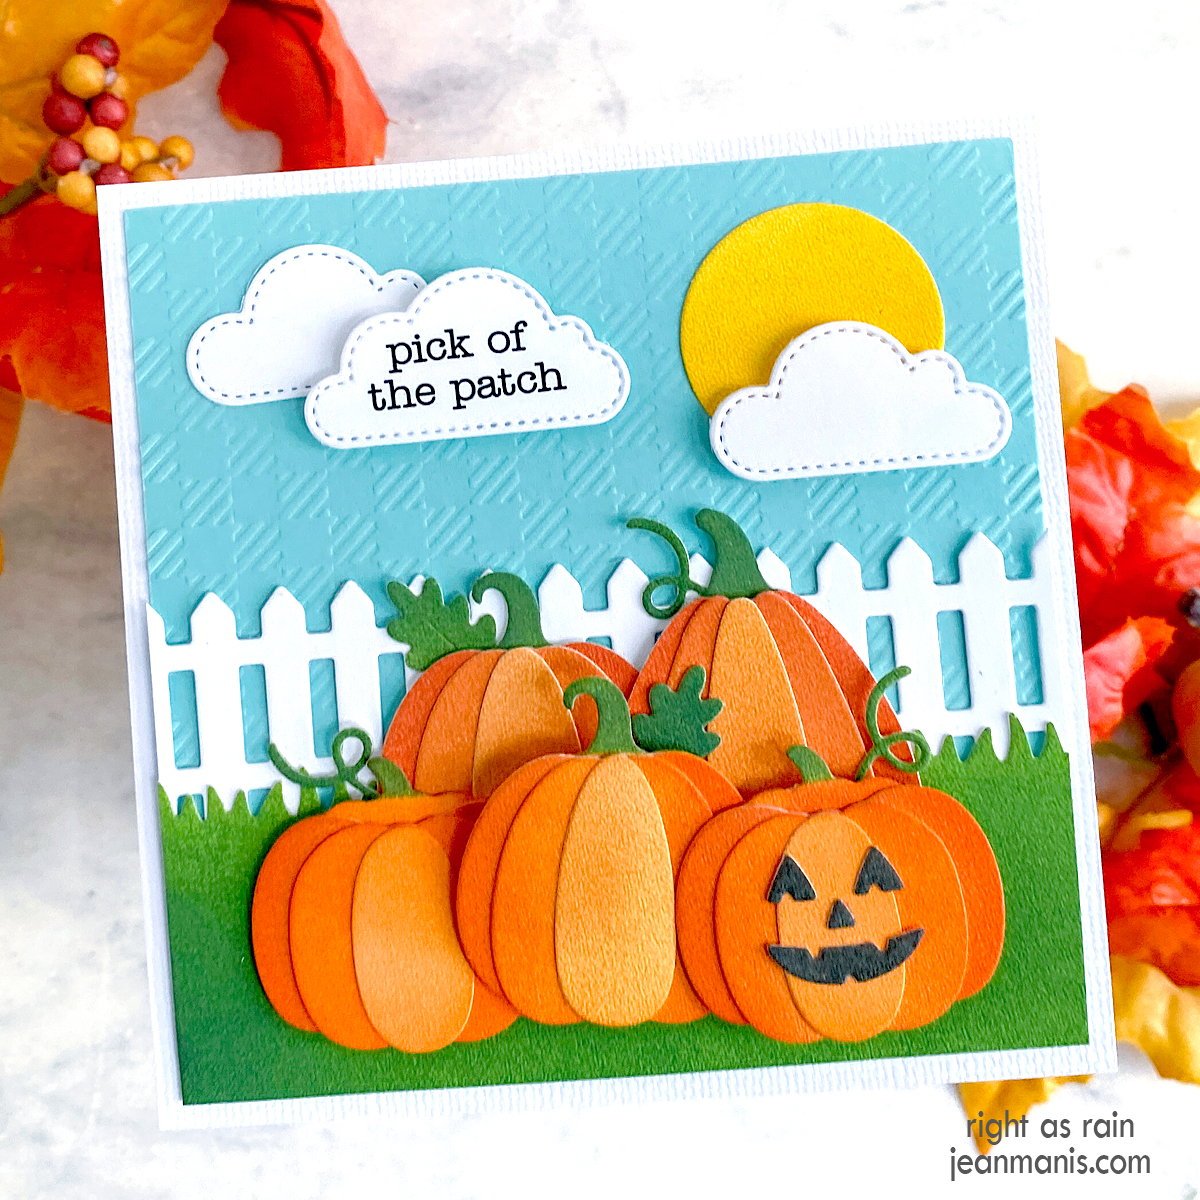
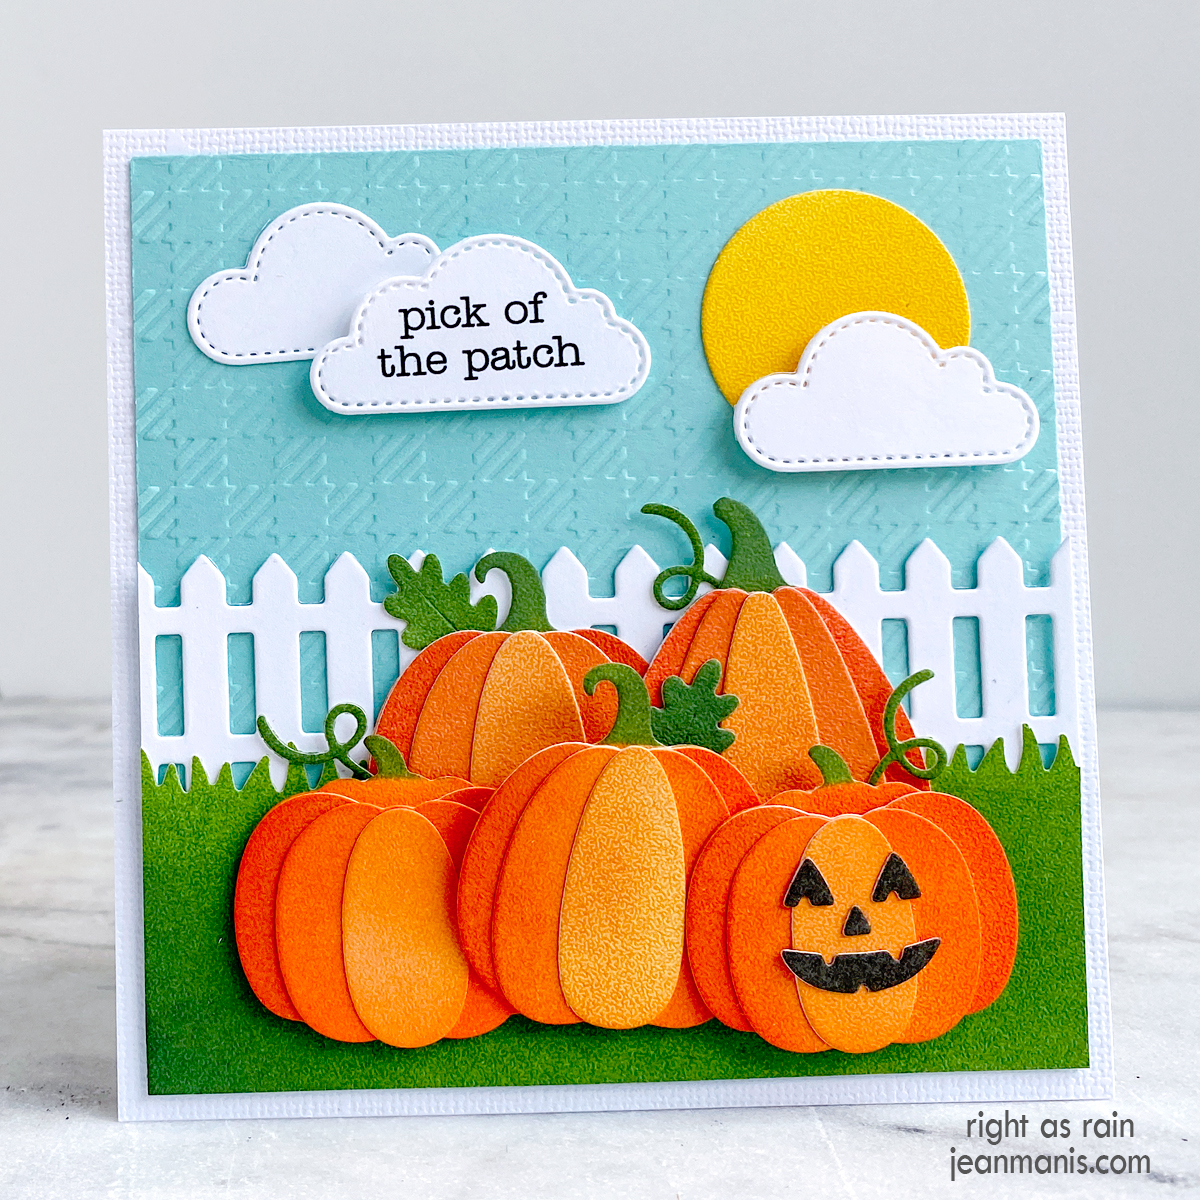
Hello! I have crafted a picturesque fall scene with die-cut pumpkins using supplies from Sunny Studio Stamps. For more information on scene building, you can check out this post, when I discuss how to start a scene building collection with Sunny Studio Stamps products.

Sunny Studio Stamps | Pick of the Patch

The background, measuring 4 1/4″ square, boasts subtle texture thanks to dry embossing with the Buffalo Plaid folder. The background was added to a 4 1/2″ square card base, covered with white canvas cardstock.

I colored Soft Finish cardstock with a variety of inks from which to cut the pumpkins, sun, and grass. The Pumpkin Patch set includes dies with which to cut layered pumpkins and jack o’lantern faces. The grass die is included in the Picket Fence Border set. The fence was cut from white cardstock, as were the clouds. I created the sentiment “Pick of the Patch” on my computer and cut it with the larger cloud die.

Sunny Studio Stamps | Pick of the Patch