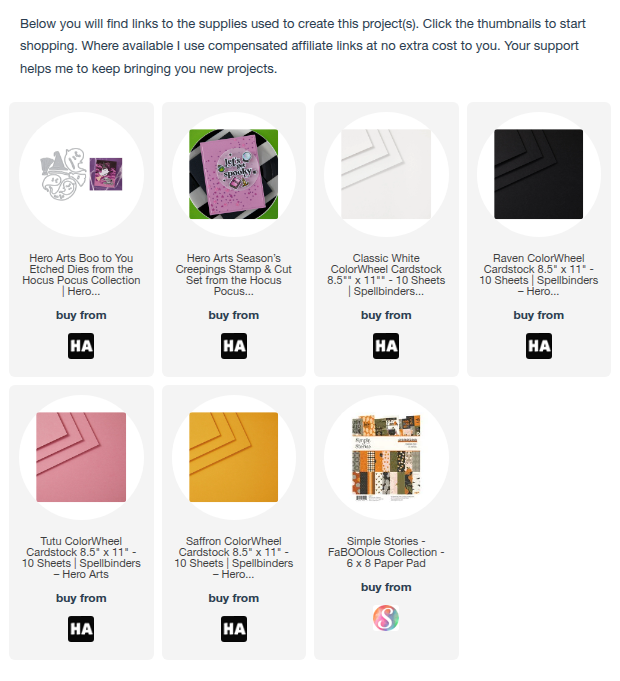
Halloween Trunk or Treat Scene

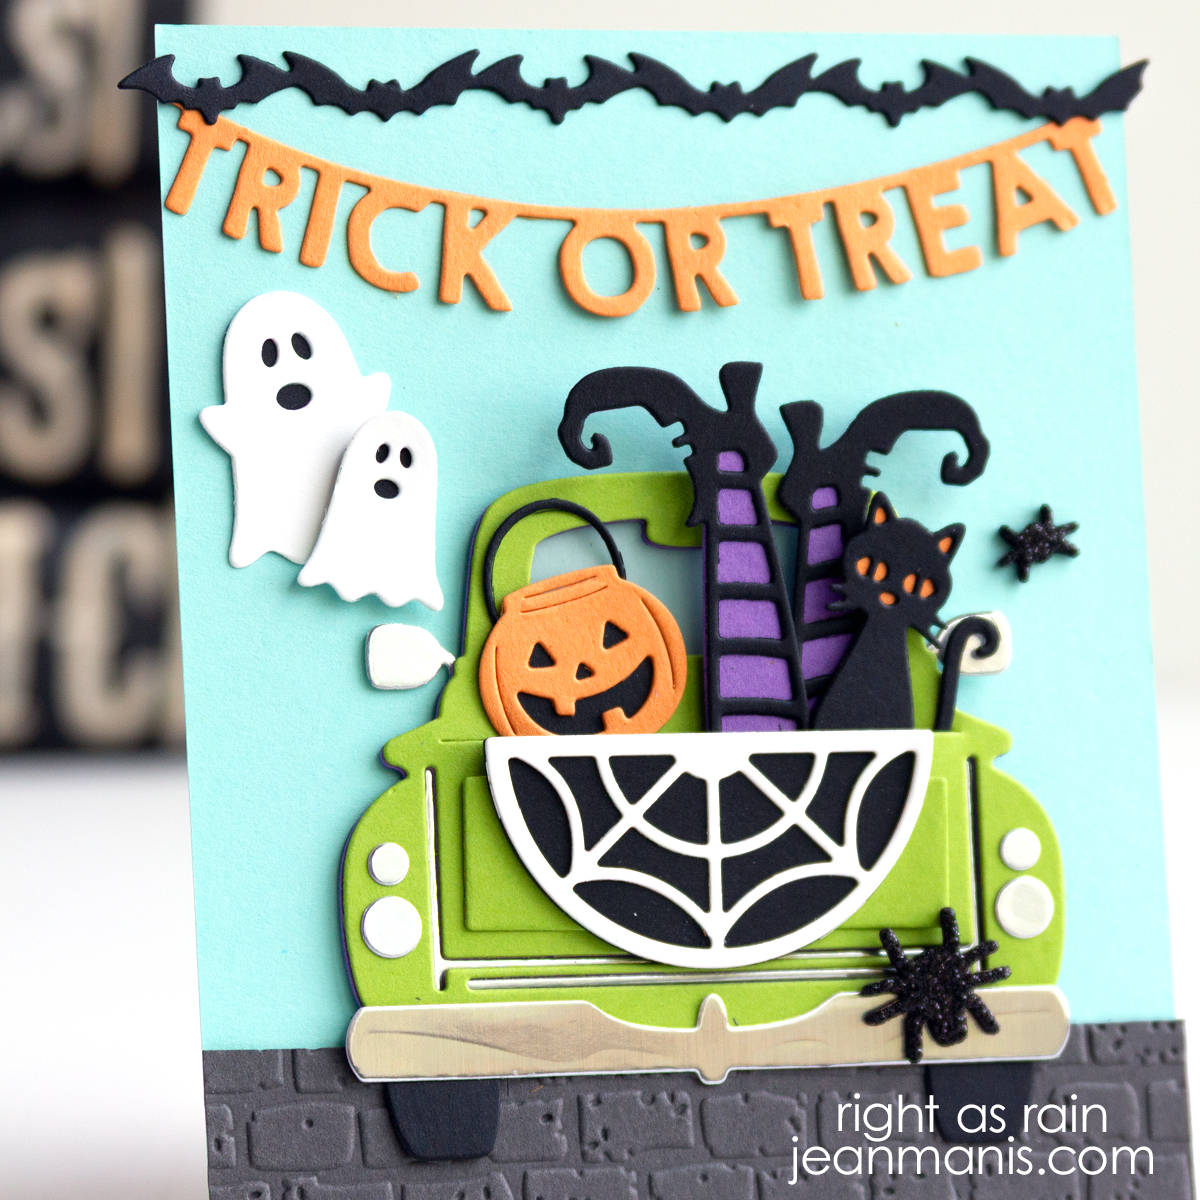
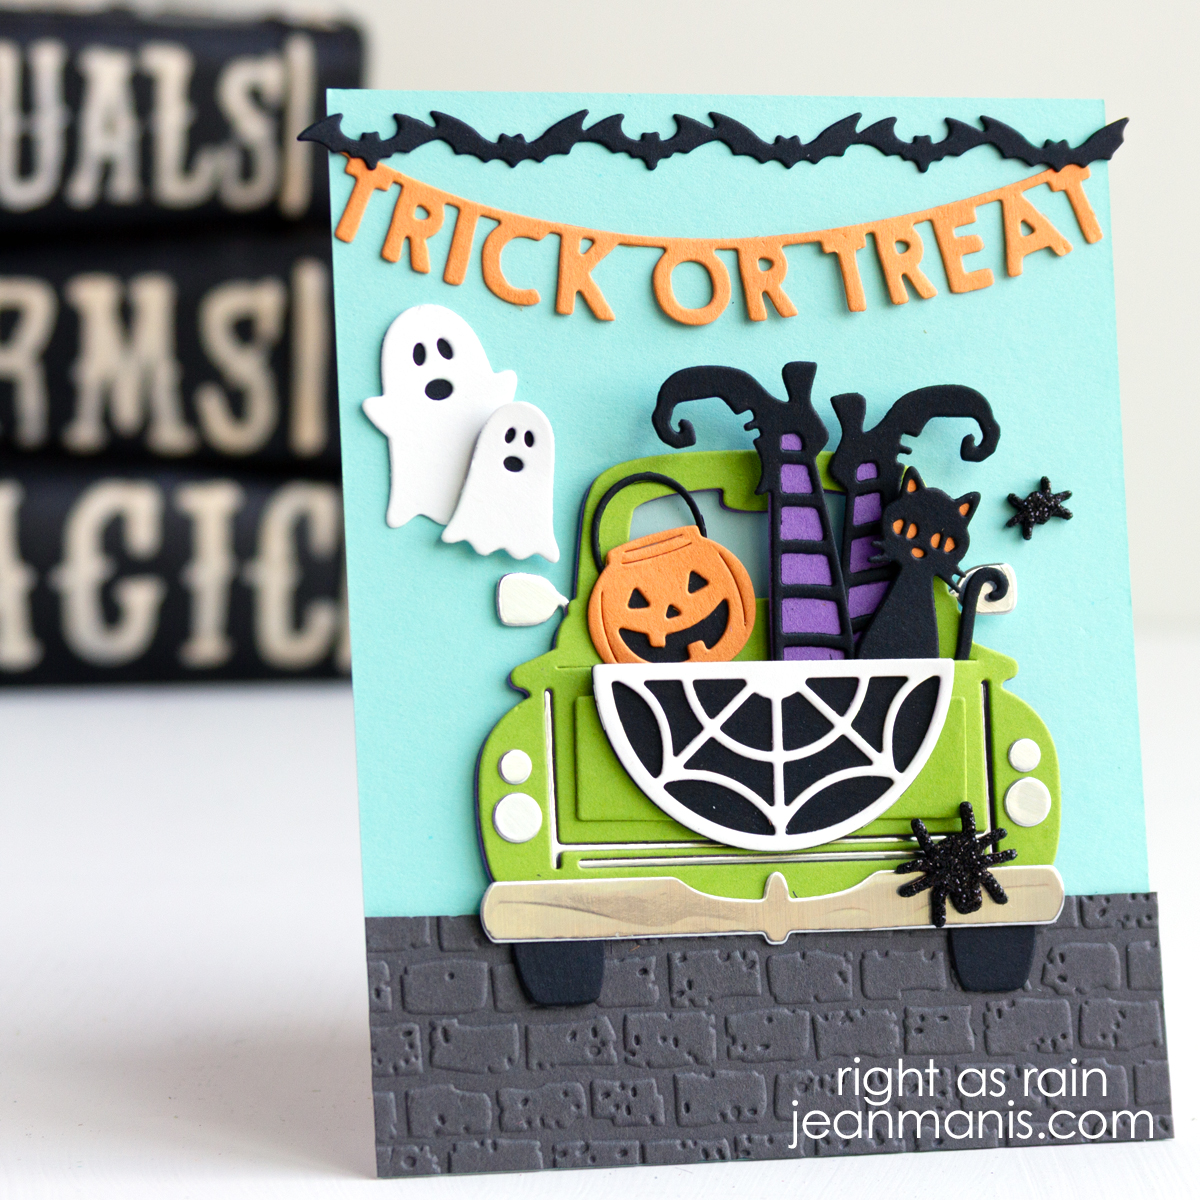
Hello! One thing I am currently enjoying is putting together my own “kit” from supplies I already own. For this Trunk or Treat card, I pulled dies from several different sets and mixed and matched the pieces to create the scene. If you don’t know, Trunk or Treat is a Halloween tradition where families gather in a parking lot, and children go from decorated car to decorated car to collect treats instead of going door to door. The decorated trunks can be surprisingly creative, and I had fun translating that idea into a card by combining dies from several different sets to build the scene.
Halloween Trunk or Treat Scene

I used the Spellbinders Truckin’ Through the Seasons die set to create the vehicle for my Trunk or Treat scene, where the Halloween decorations are displayed in the truck bed.

After making this card, I discovered another die set (Envelope of Wonder Halloween) that would be perfect for creating a Trunk or Treat scene, especially the candy pieces! I used that set on a card for the Spellbinders blog HERE.

Taylored Expressions dies: Skinny Mini Halloween Borders, Little Bits – Ghosts, Little Bits – Halloween Confetti, The Witch Is In

Spellbinders dies: Truckin’ Through the Seasons (October 2018 Large Die of the Month), Boo Crew, Open House Boo!, Open House Halloween, Spooky Boo

Taylored Expressions cardstock: Candy Corn, Poppy Seed, Jelly Donut, Black Licorice

Spellbinders cardstock: Waterfall, Rainforest, Brushed Metallic Silver, Black Glitter foam

Taylored Expressions Brick embossing folder
Halloween Cardmaking with Dies I Already Own

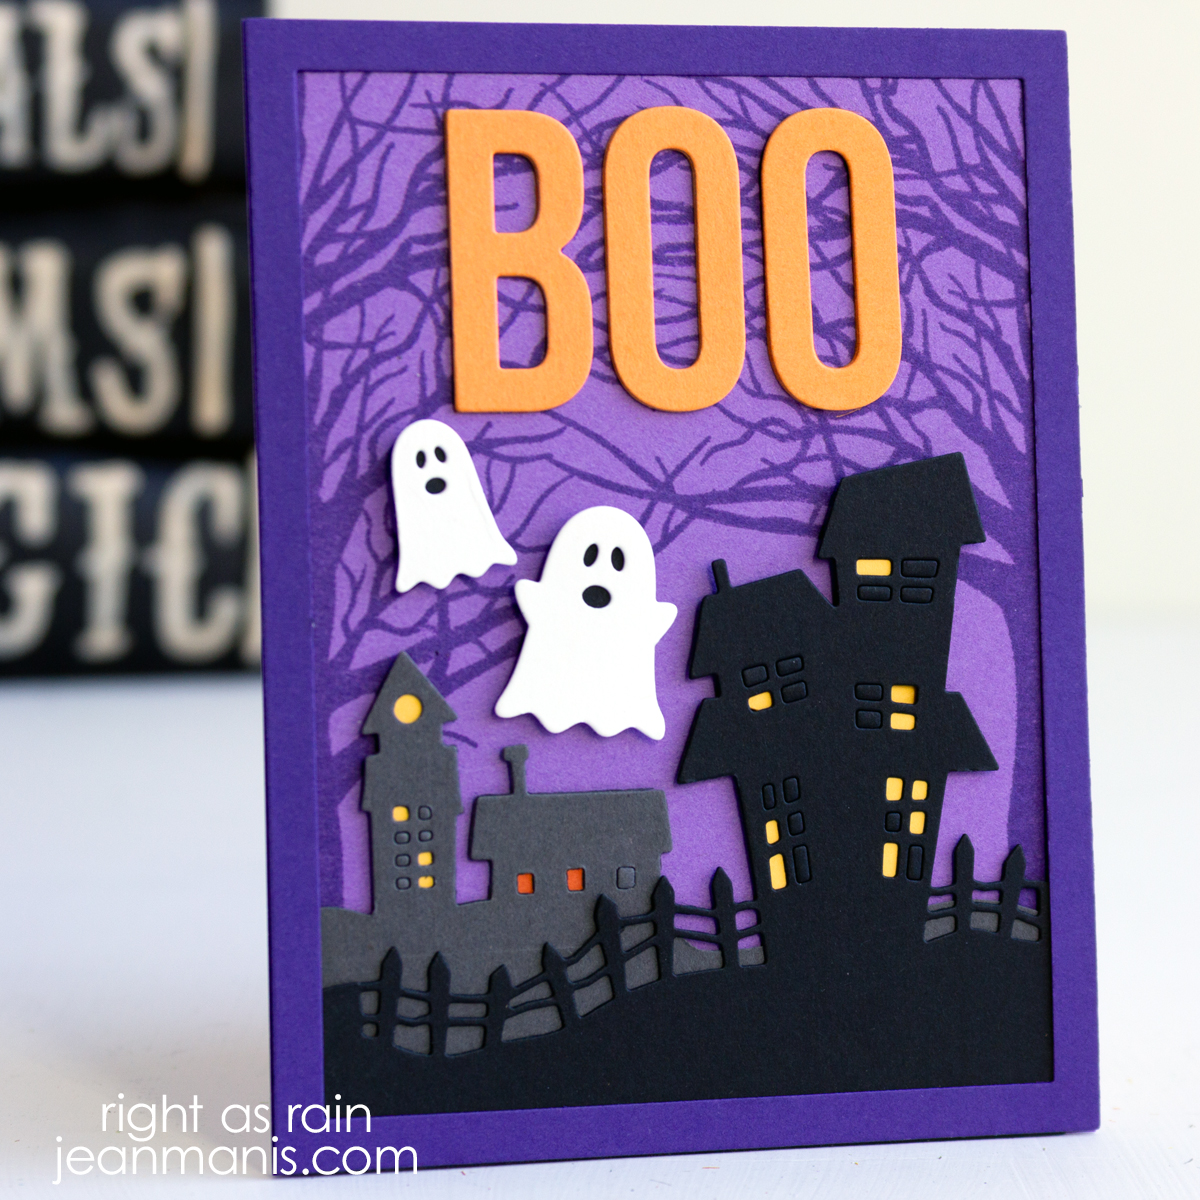
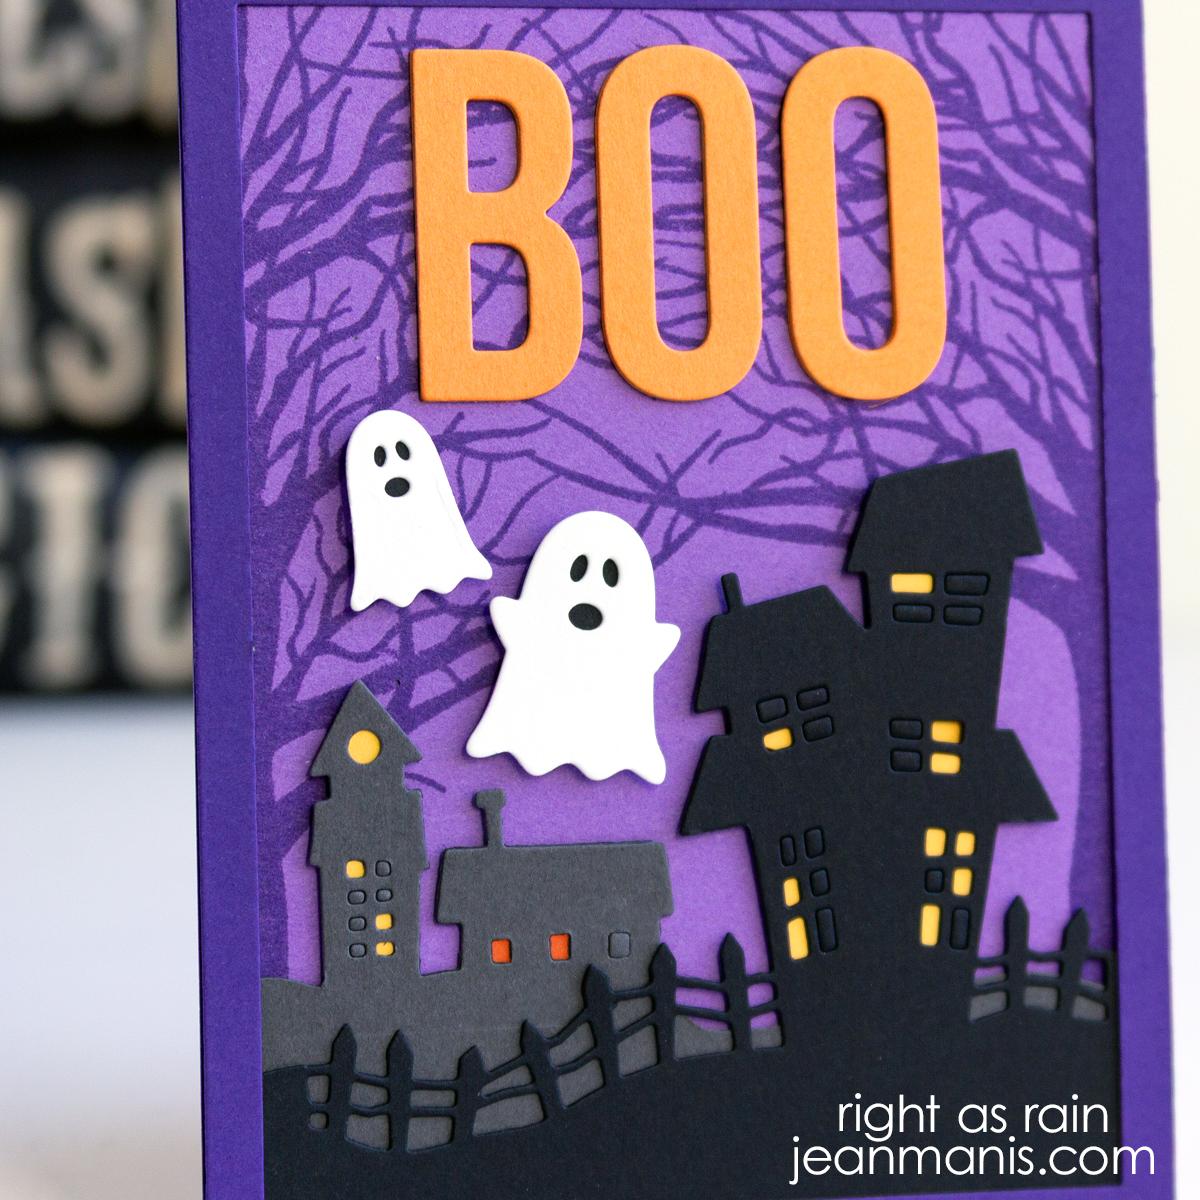
Hello! This Halloween card combines Taylored Expressions dies and a spooky tree background stamp. For the buildings, I used Halloween-themed dies, the Ghost Town Border and the Haunted Cutting Plate, creatively cutting them apart rather than using them as intended. The exercise stretched my design skills and encouraged me to revisit supplies in my collection. Often, themed products offer less play value than more versatile ones. For example, the Build-A-House die set I used HERE can be used for a variety of occasions and seasons.

Halloween Cardmaking with Dies I Already Own

I began my design process by creating a look book of my previous Halloween cards. Having a visual reference gives me a helpful starting point. I search my blog using keywords (for example, “Taylored Expressions Halloween”), then copy each card photo and its URL into a Word document. I include the URL so I can easily refer back to the original post and identify the products I used.

I enjoy the challenge of using what I own and finding new possibilities in supplies already in my collection.

Taylored Expressions Dies: Haunted Cutting Plate, Ghost Town Border, BOO, Little Bits – Ghost
Taylored Expressions Stamps: Bare Trees Background
Taylored Expressions Cardstock: Eggplant, Jelly Donut, Candy Corn, Black Licorice, Poppy Seed, Sweet Potato Pie, Pineapple
My Favorite Things Frame die

Hero Arts | Playful Ghost Birthday Card

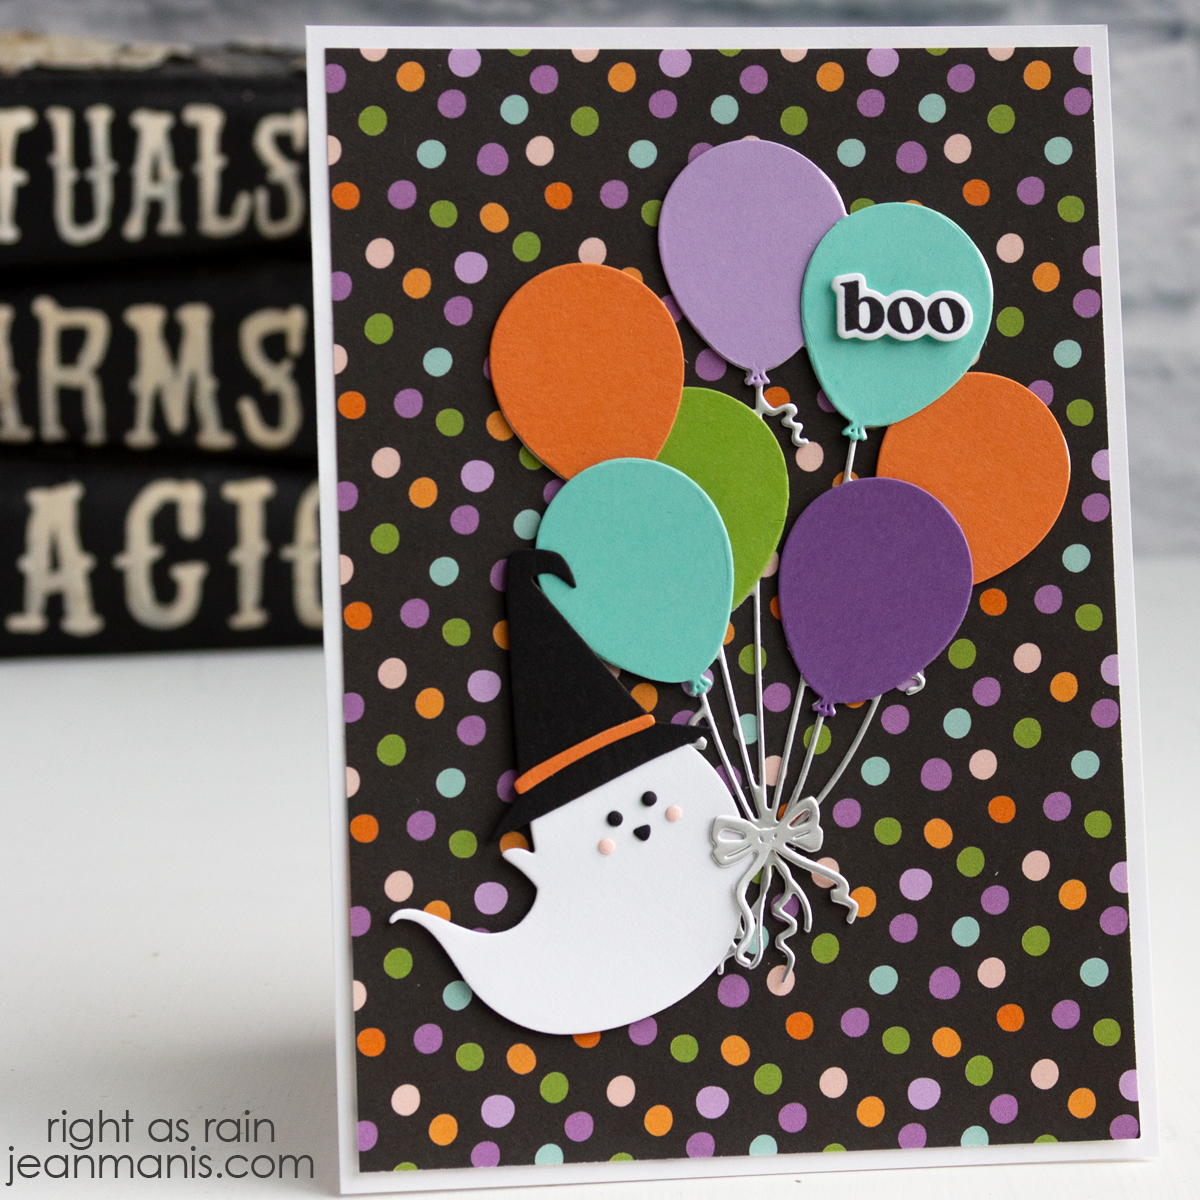
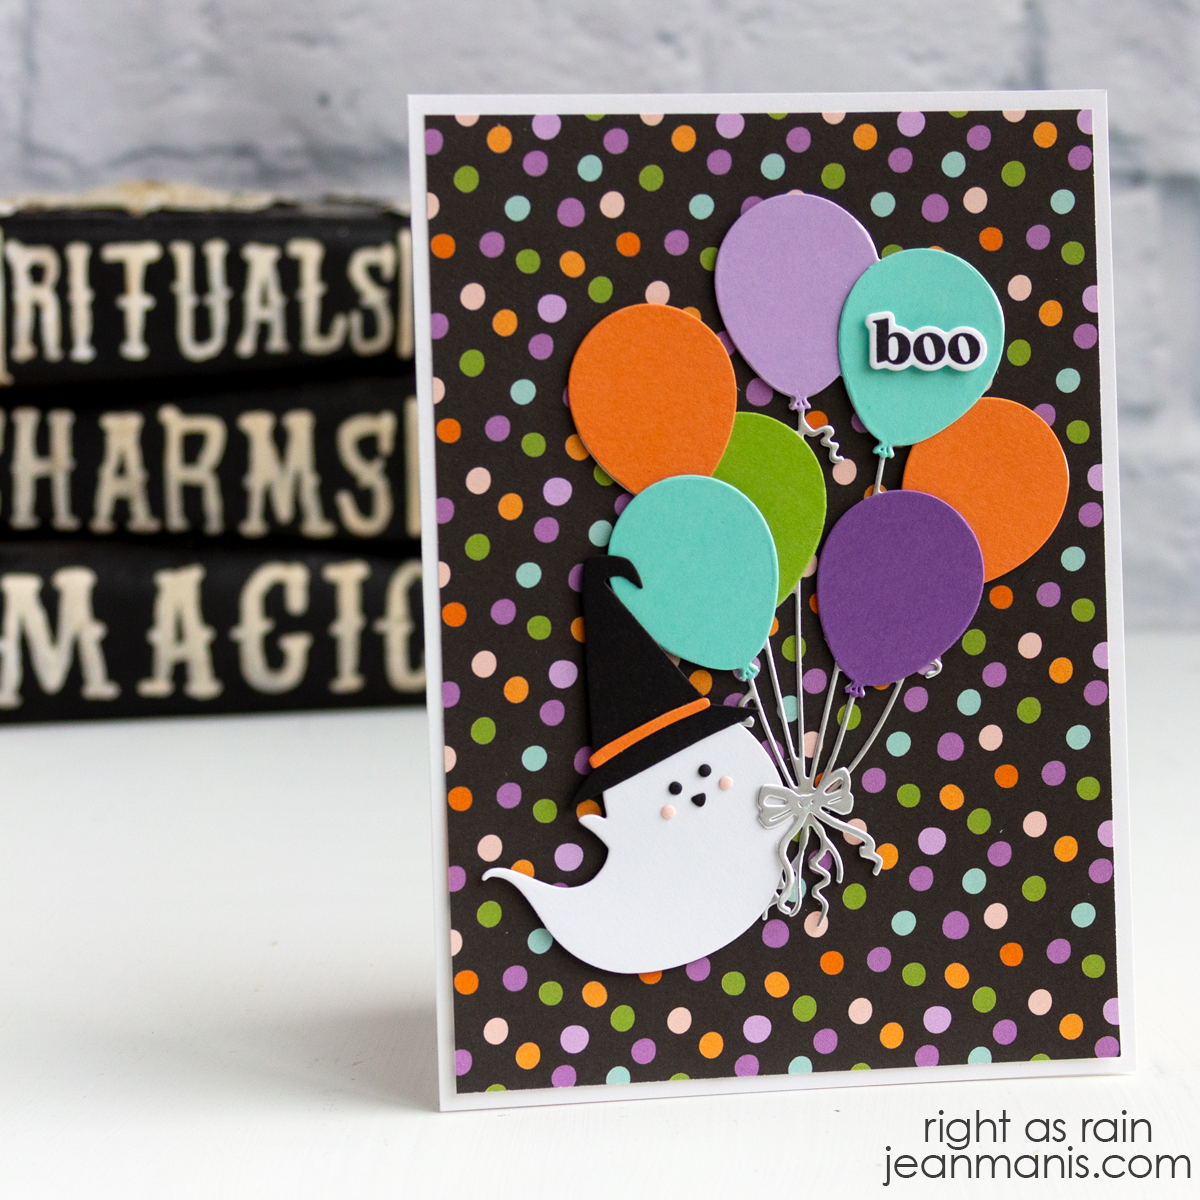
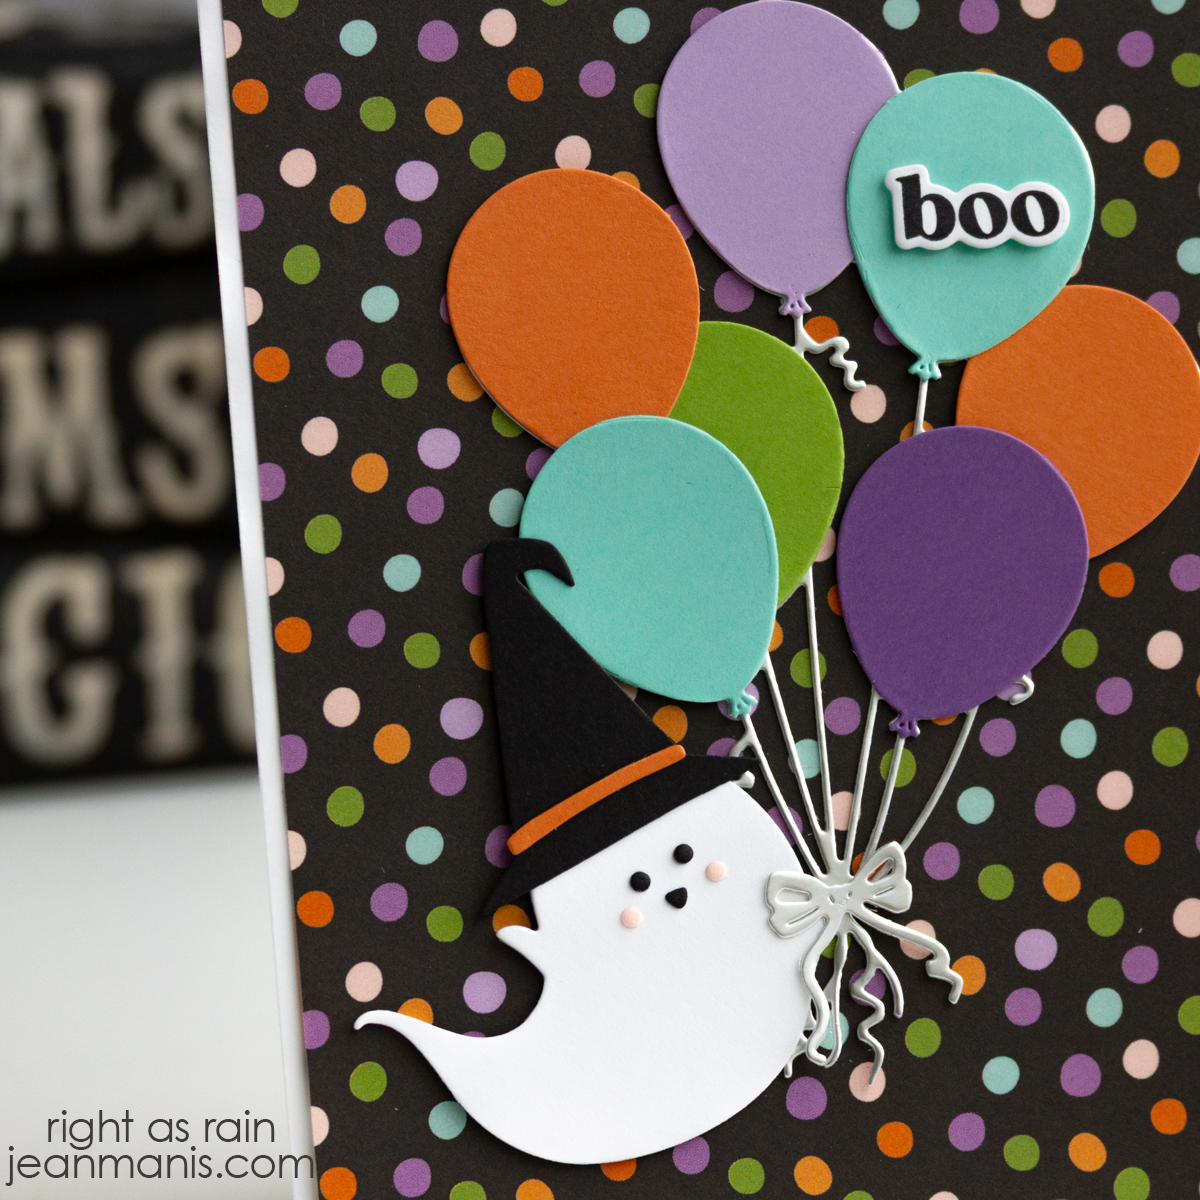
Hello! For an October birthday, I wanted to create something festive with a hint of Halloween fun. Using several Hero Arts products, I put together a playful card featuring a ghost holding a bundle of bright balloons. The background is full of color, and the simple “boo” sentiment ties it all together. What’s great about this design is its flexibility—you can easily change the balloon colors to suit any season or celebration, and in this case, the ghost adds a perfect nod to the time of year.

Hero Arts | Playful Ghost Birthday Card

    • Cover a 5″ x 7″ card base with a patterned paper panel.
    • Cut the balloons and strings with the Balloon Bunch die set and assemble. (I previously used the balloon die HERE.)
    • Cut the ghost with dies in the Boo to You set and assemble.
    • Stamp the Season’s Creepings sentiment and cut with the coordinating die.
    • Add balloons, ghost, and sentiment to prepared base with dot and foam adhesive.

Hero Arts | Playful Ghost Birthday Card


Spellbinders | Charming Halloween Card

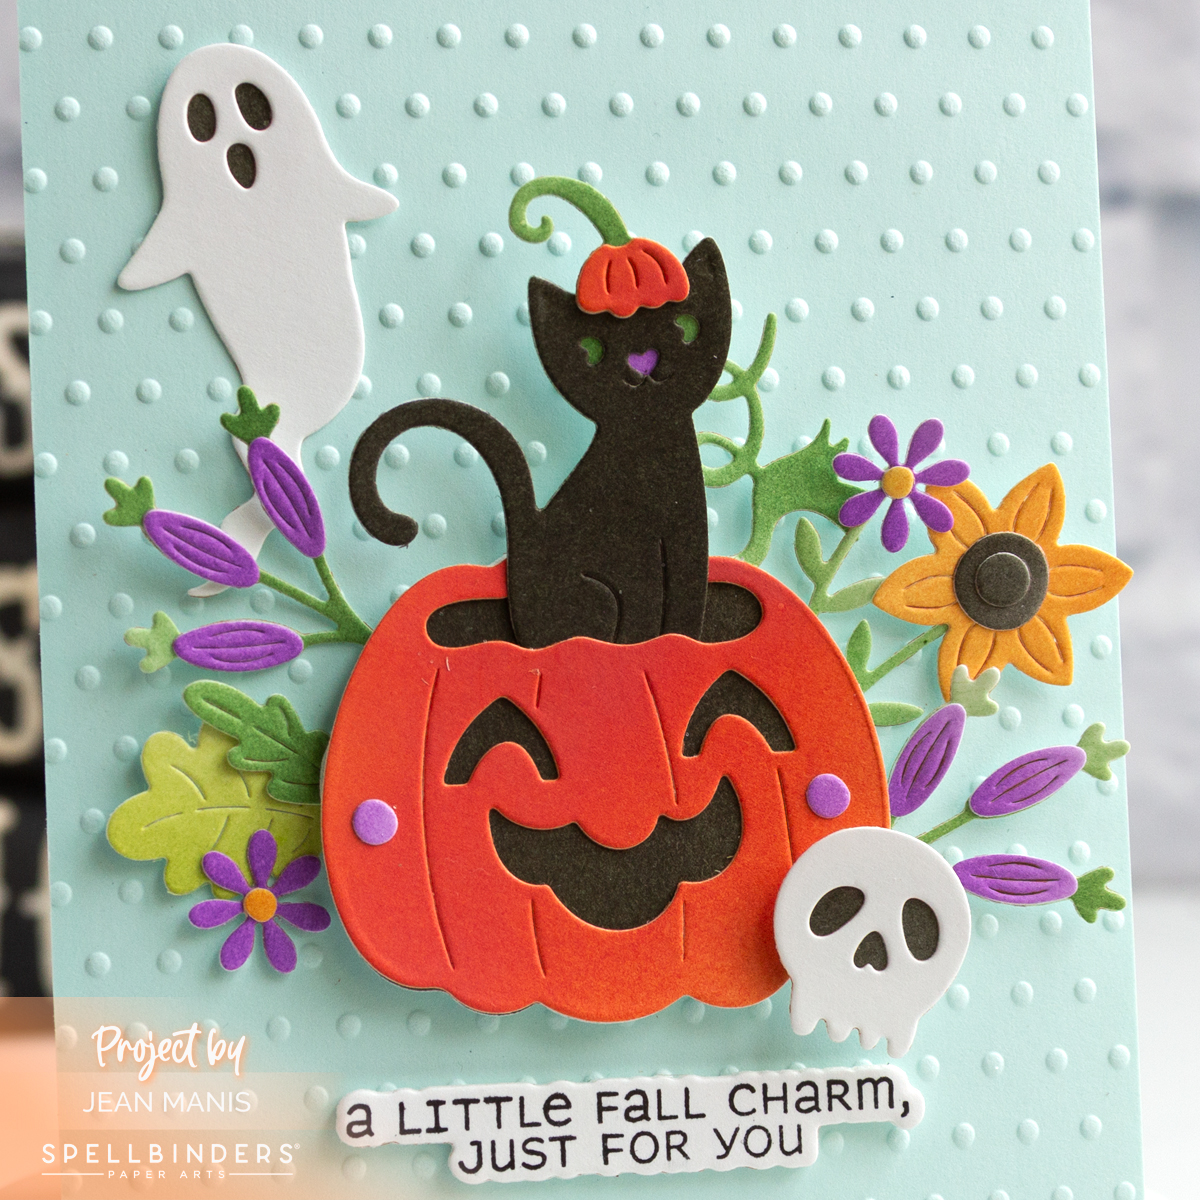
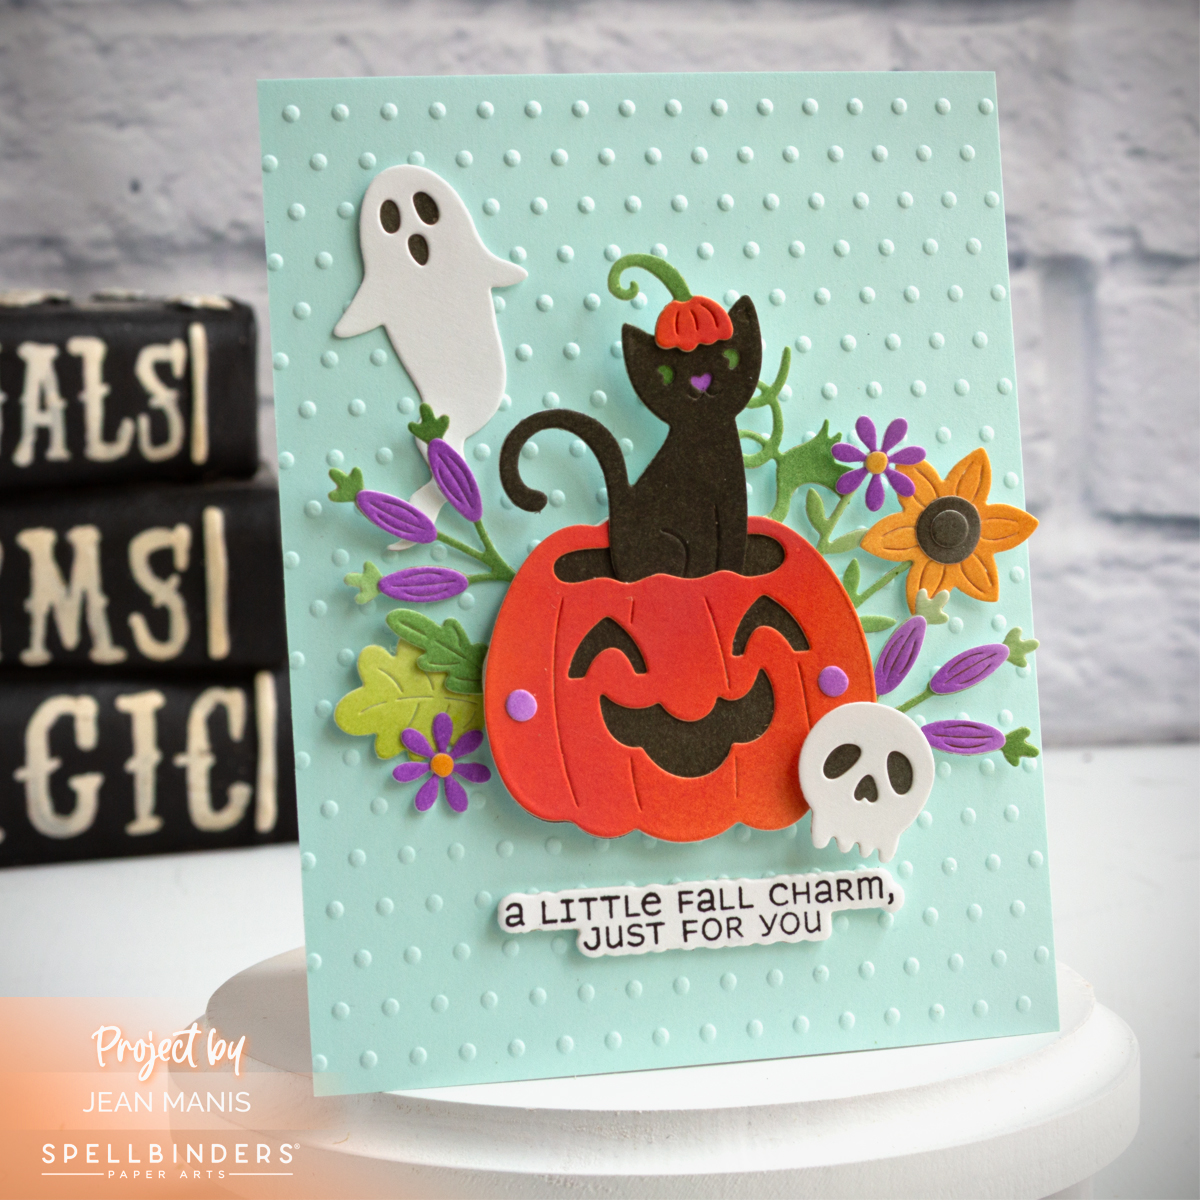
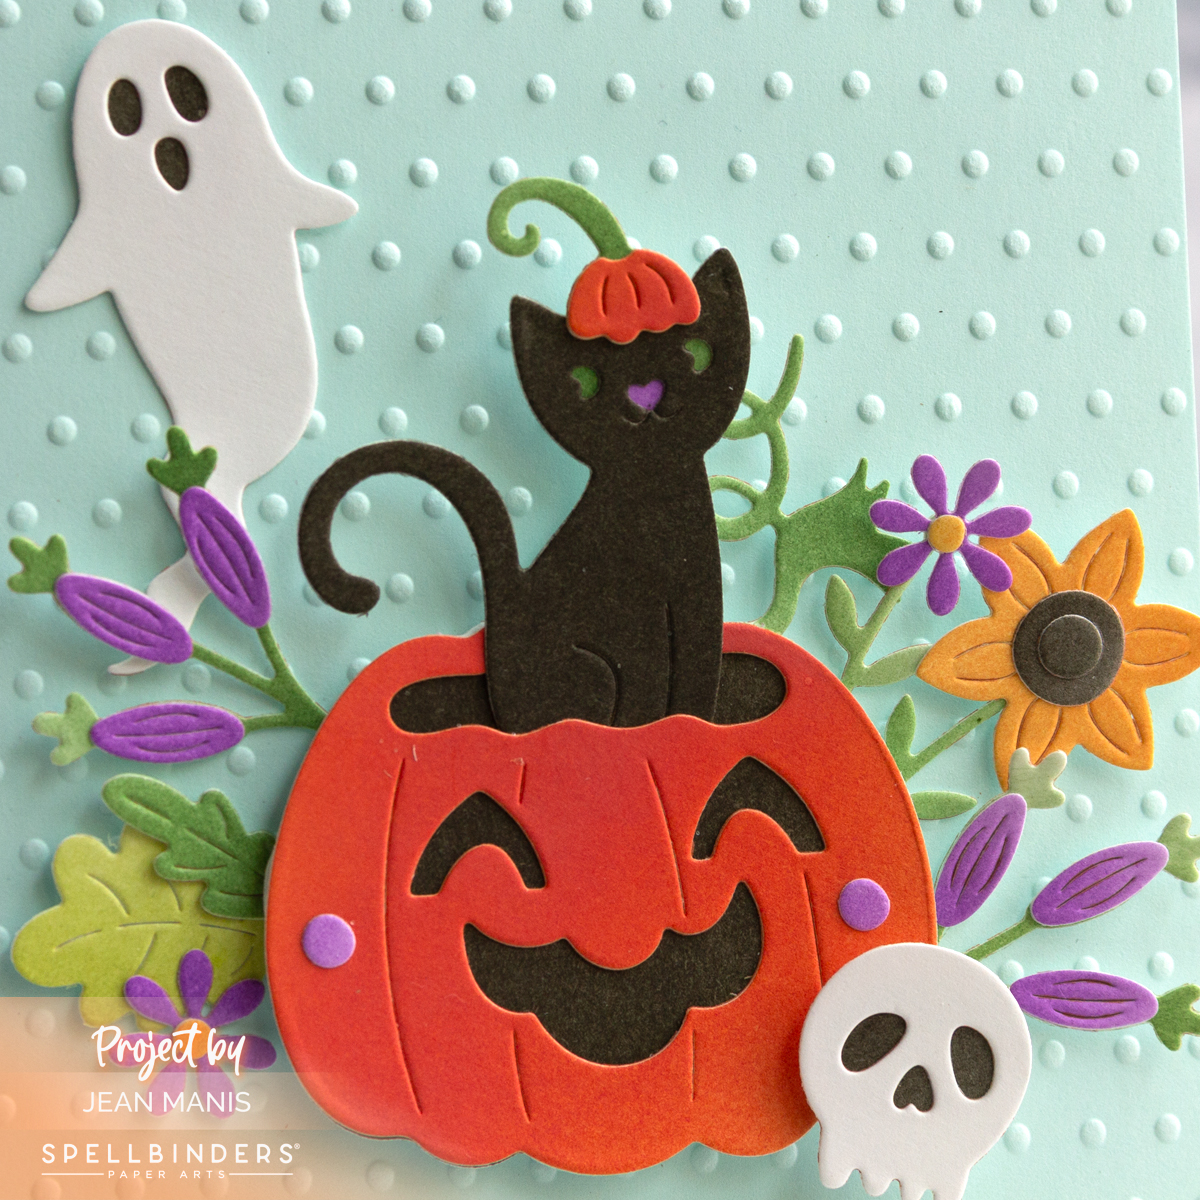
Hello! Today, I’m sharing a playful Halloween card created with the Small Die of the Month for September from Spellbinders. A black cat peeks out from a pumpkin while friendly ghosts float nearby, surrounded by colorful flowers. This combination of classic Halloween icons with soft floral details makes for a card that’s charming and spooky.

Spellbinders | Charming Halloween Card

    • Dry-emboss Waterfall cardstock with the Tiny Dots folder and add to an A2-size card base.
    • Cut Bristol paper with the Small Die set and color with Distress Oxide inks. Assemble.
    • Stamp and cut the sentiment with the September Stamp & Die of the Month.
    • Add assembled items to prepared card base with glue and foam adhesive.

Spellbinders | Charming Halloween Card


Hero Arts | Season’s Creepings

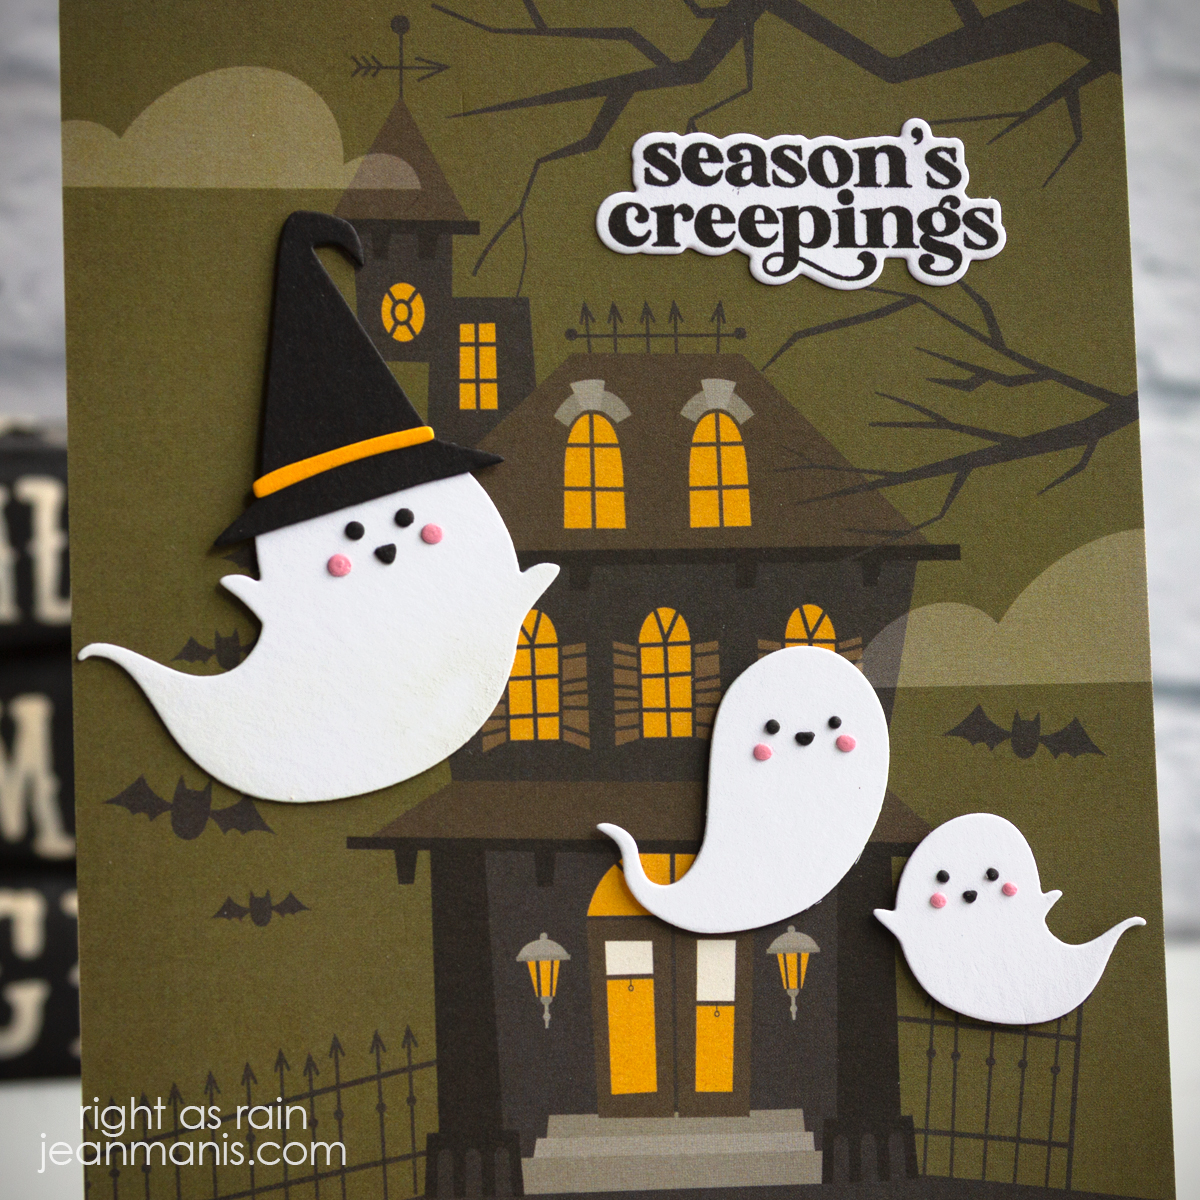
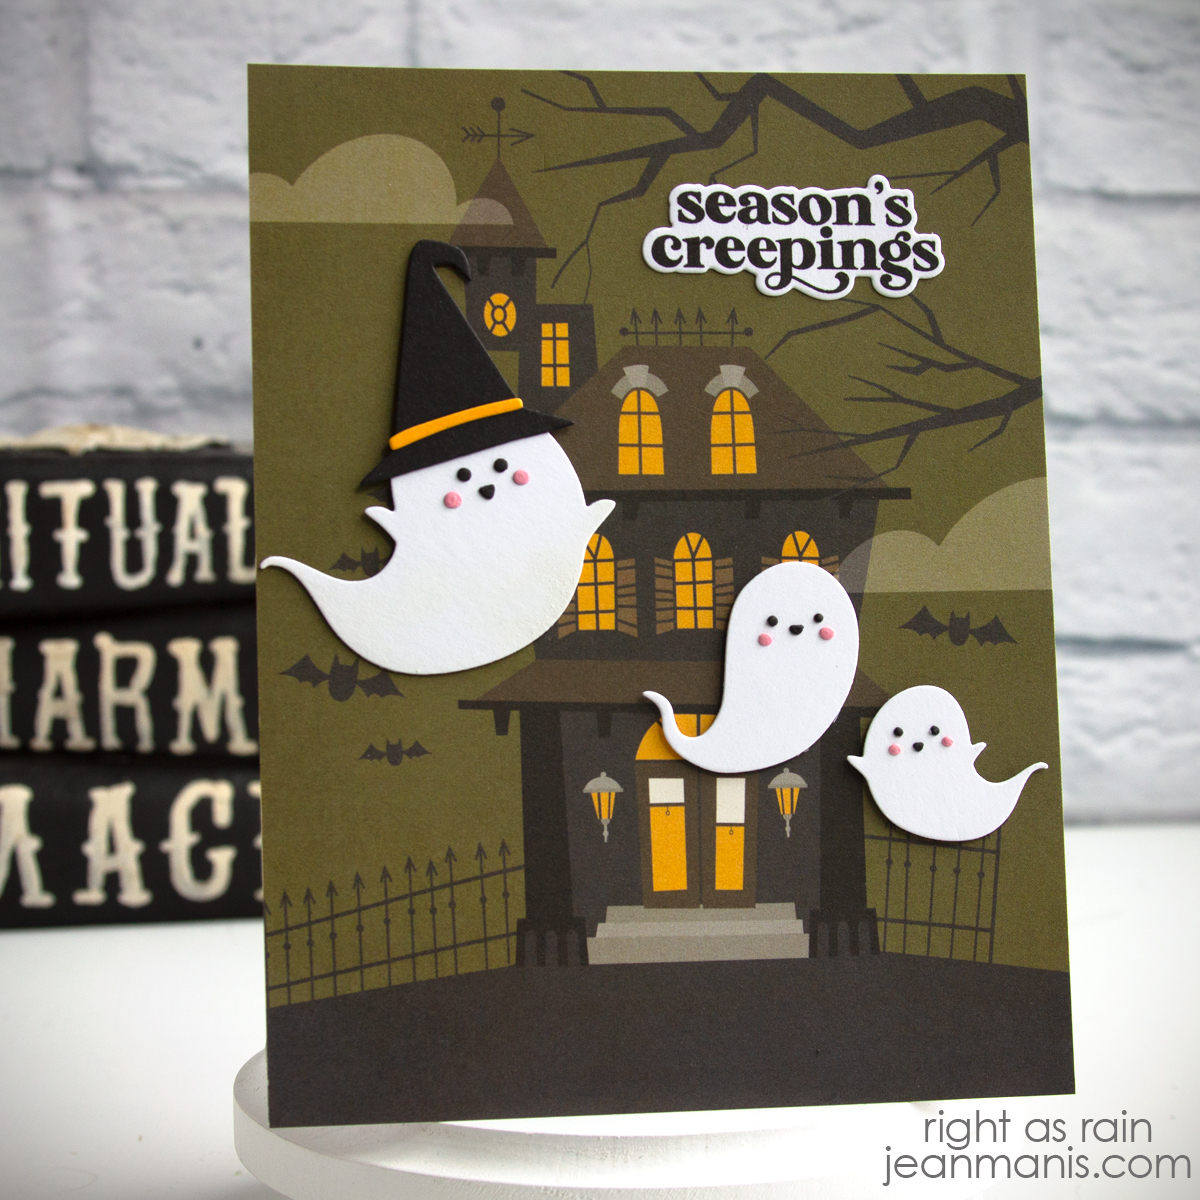
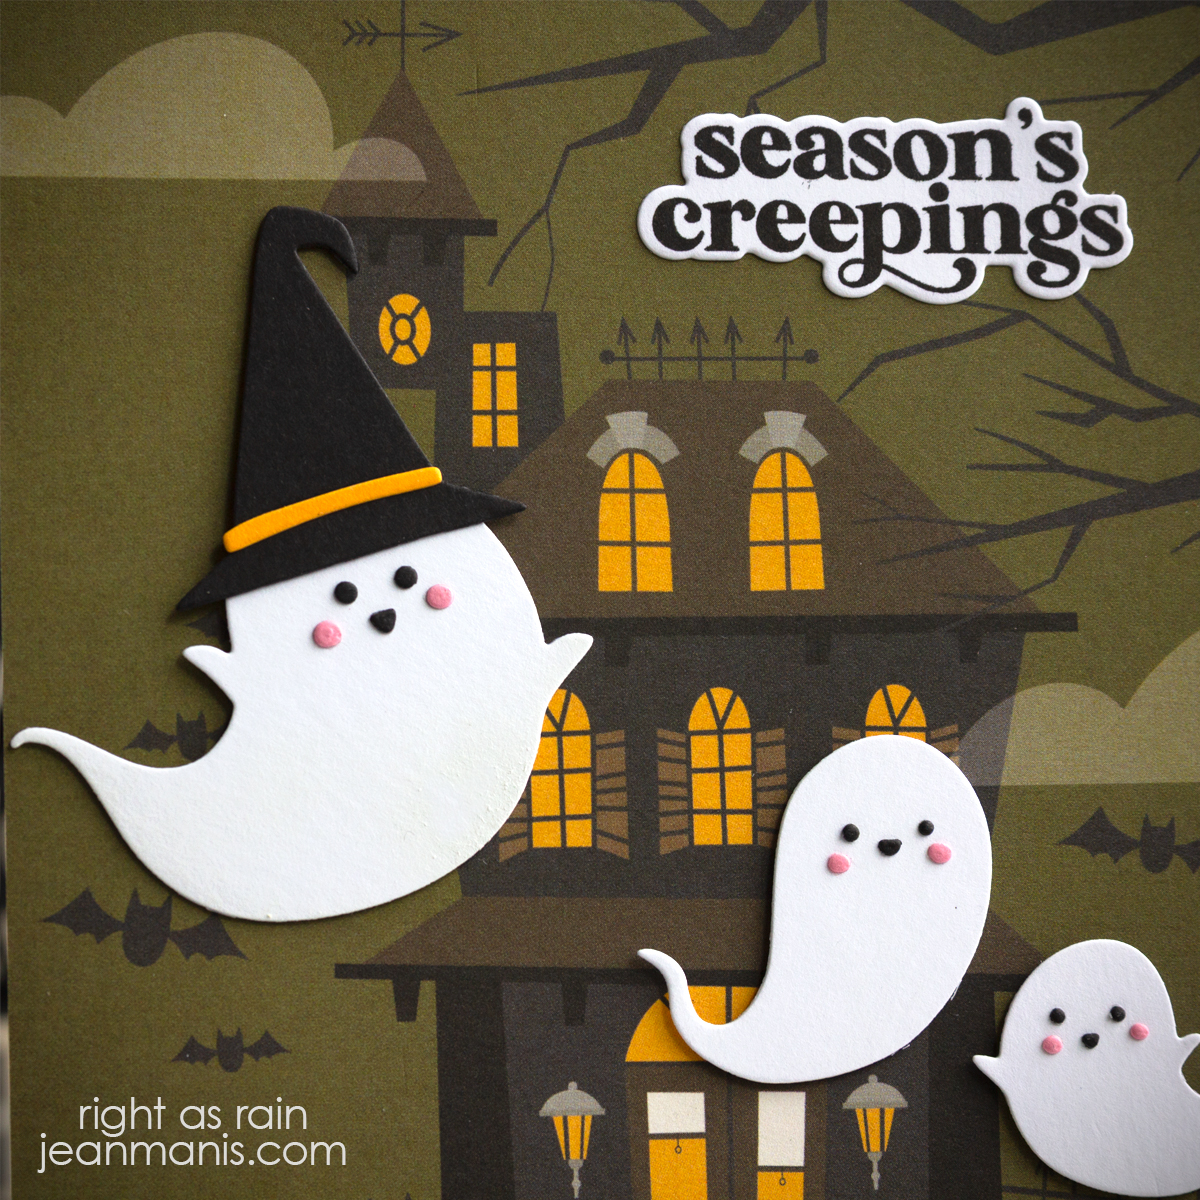
Hello! For my second card with the Boo to You die set from Hero Arts, I wanted to show how patterned paper can do the heavy lifting when creating a background. I chose a spooky yet playful haunted house design and placed the die-cut ghosts floating in the scene. The stamped sentiment “Season’s Creepings” ties everything together for a fun Halloween greeting. Using patterned paper like this sets the mood instantly, without needing to build an entire scene from scratch.

Hero Arts | Season’s Creepings

    • Create 5″ x 7″ card base and cover with patterned paper.
    • Cut ghosts and hat with dies in the Boo to You set. Assemble.
    • Stamp sentiment in black on white cardstock. Cut with the coordinating die in the set.
    • Add assembled ghosts to the base with foam squares and the sentiment with adhesive.

Hero Arts | Season’s Creepings

With the scene already built into the patterned paper, this card comes together quickly and easily. You can see my first card created with products in the Hocus Pocus Collection HERE.