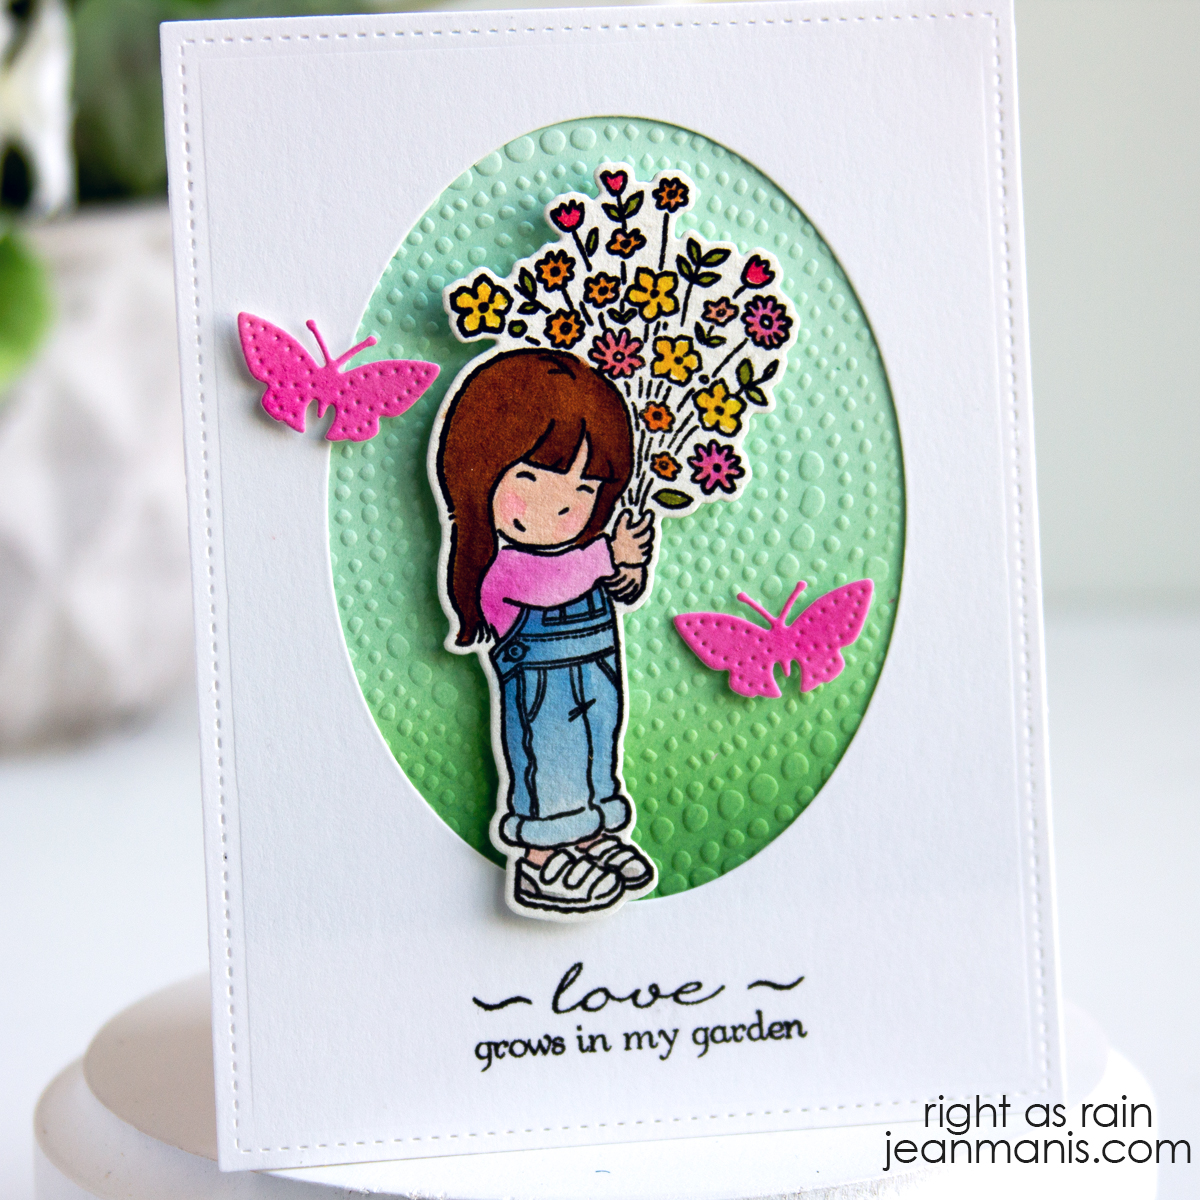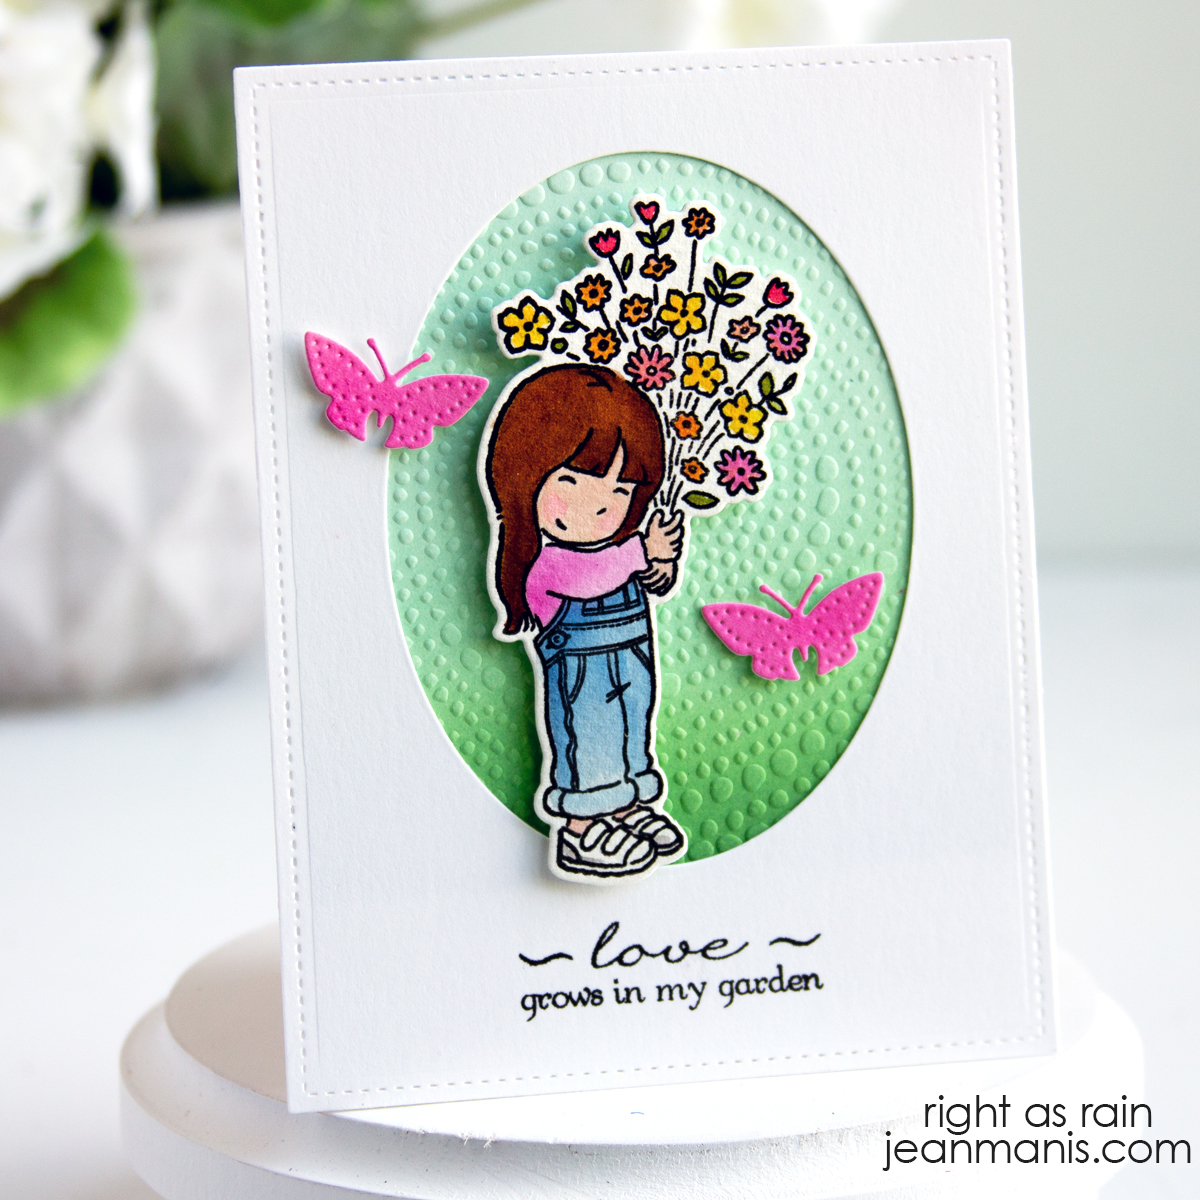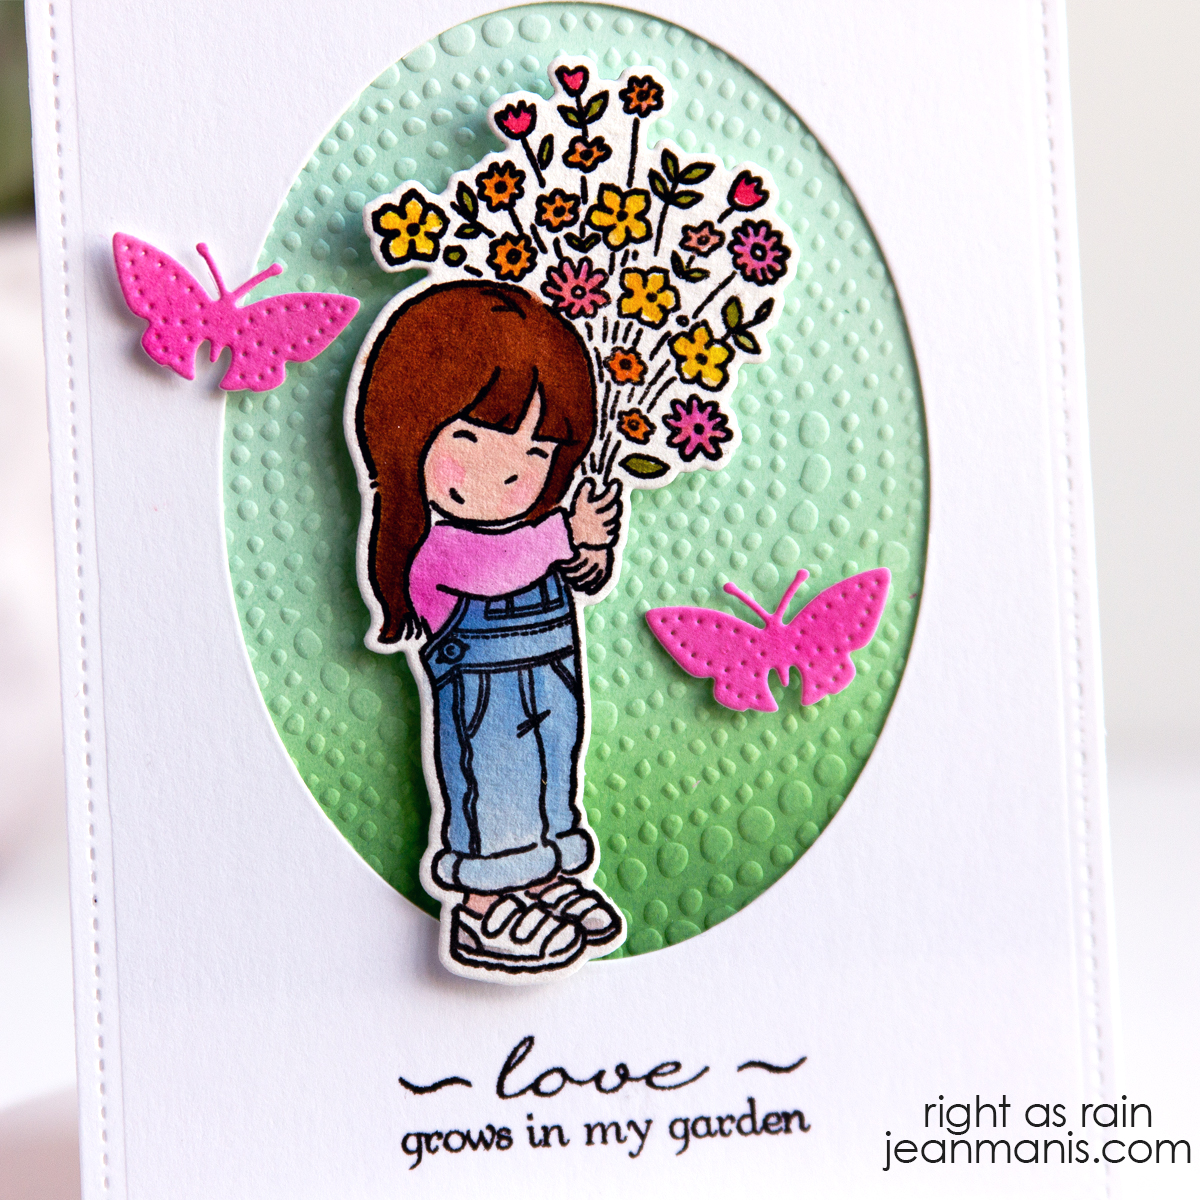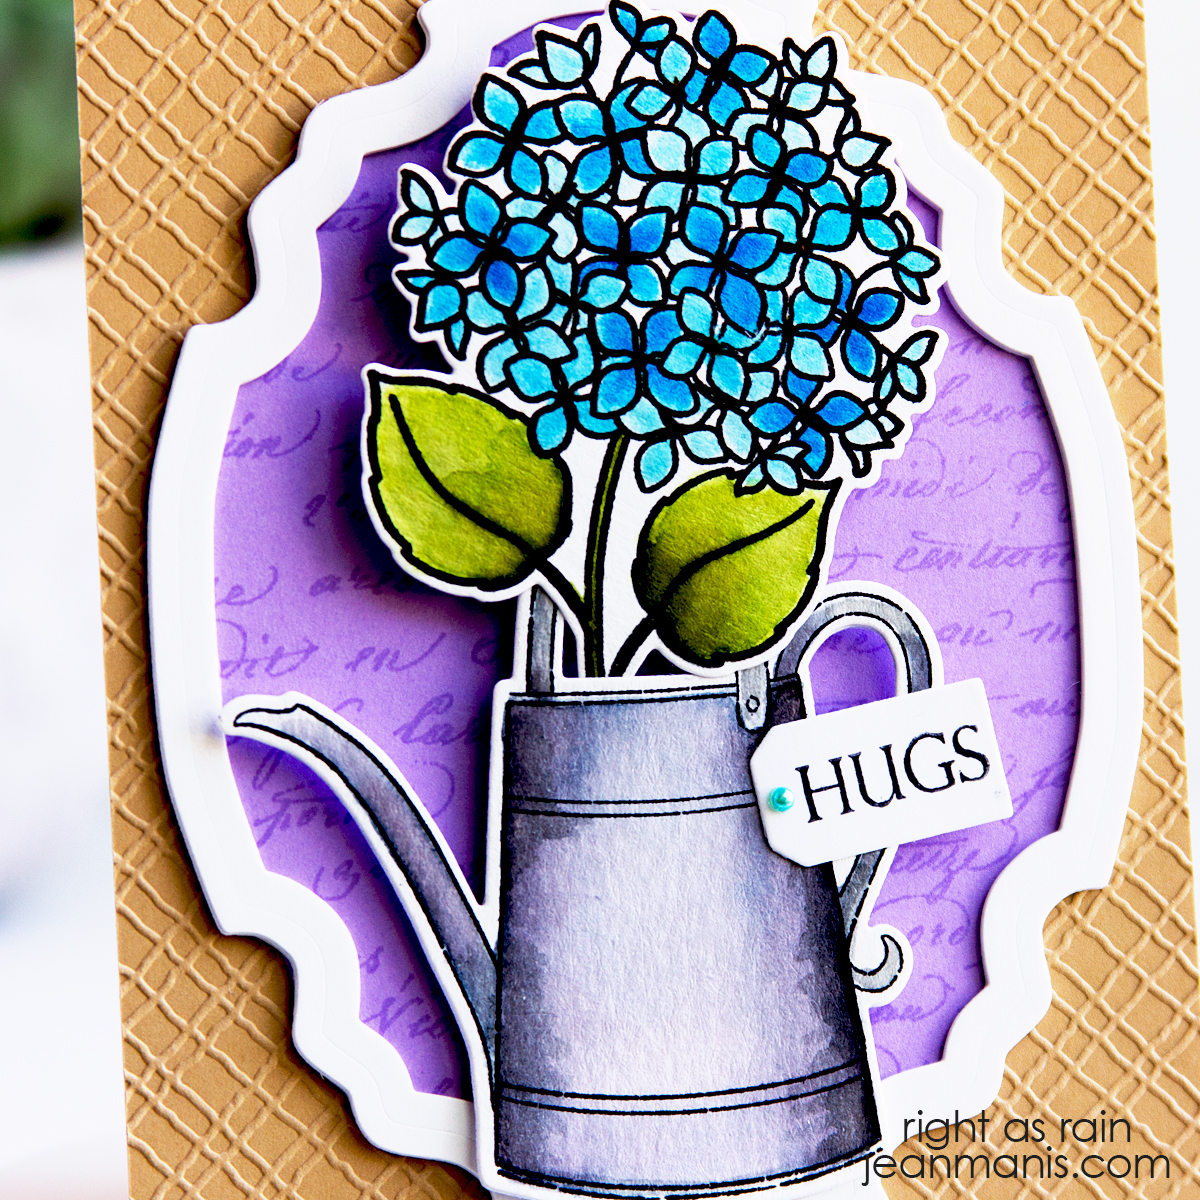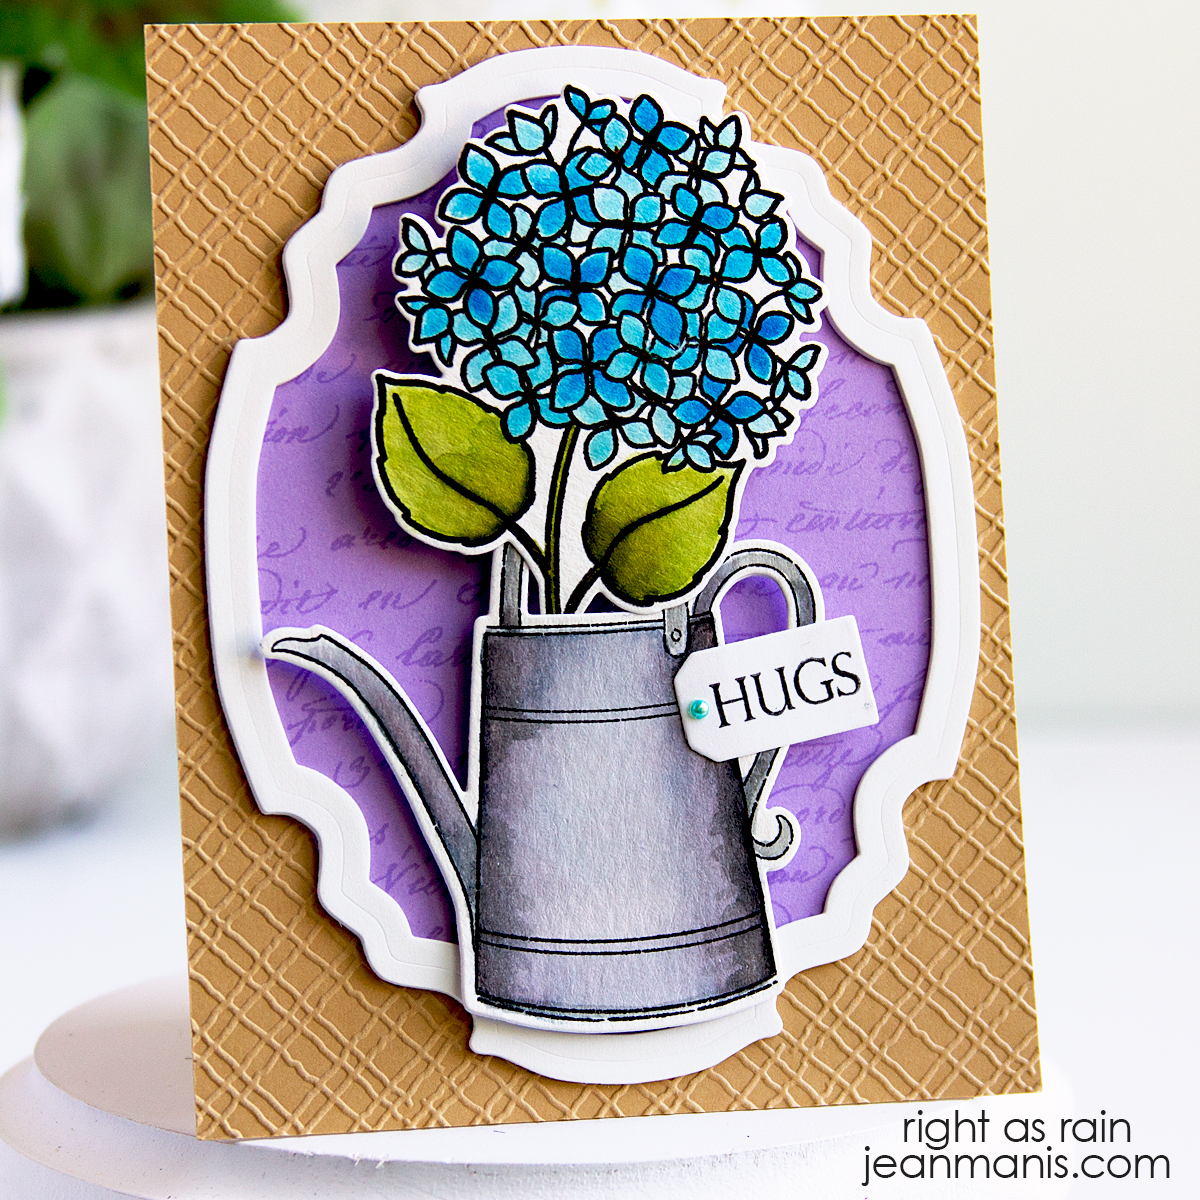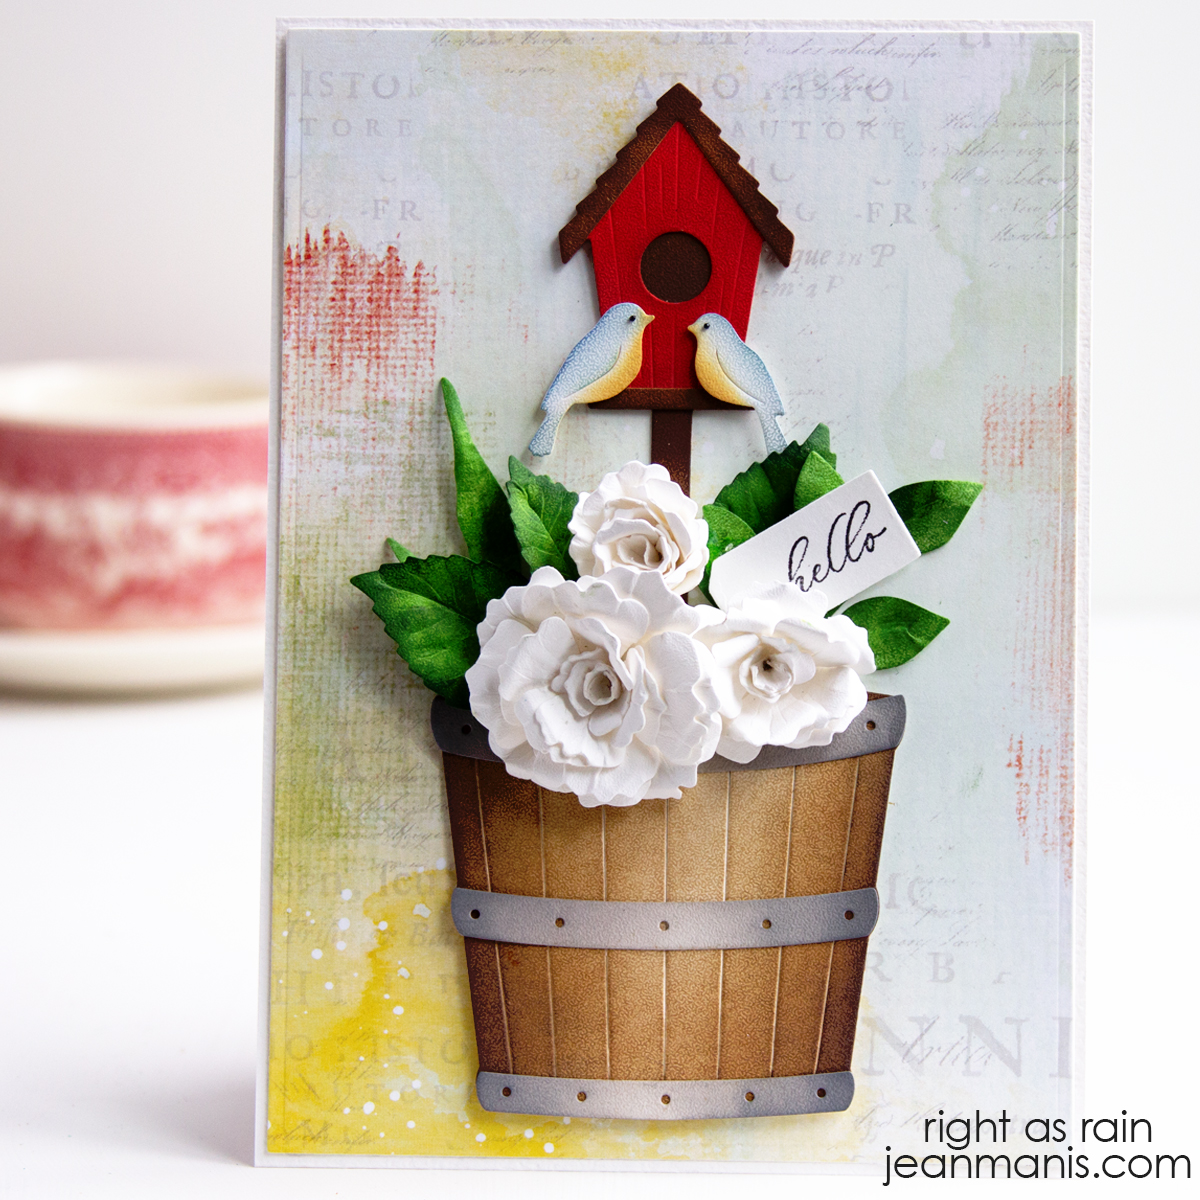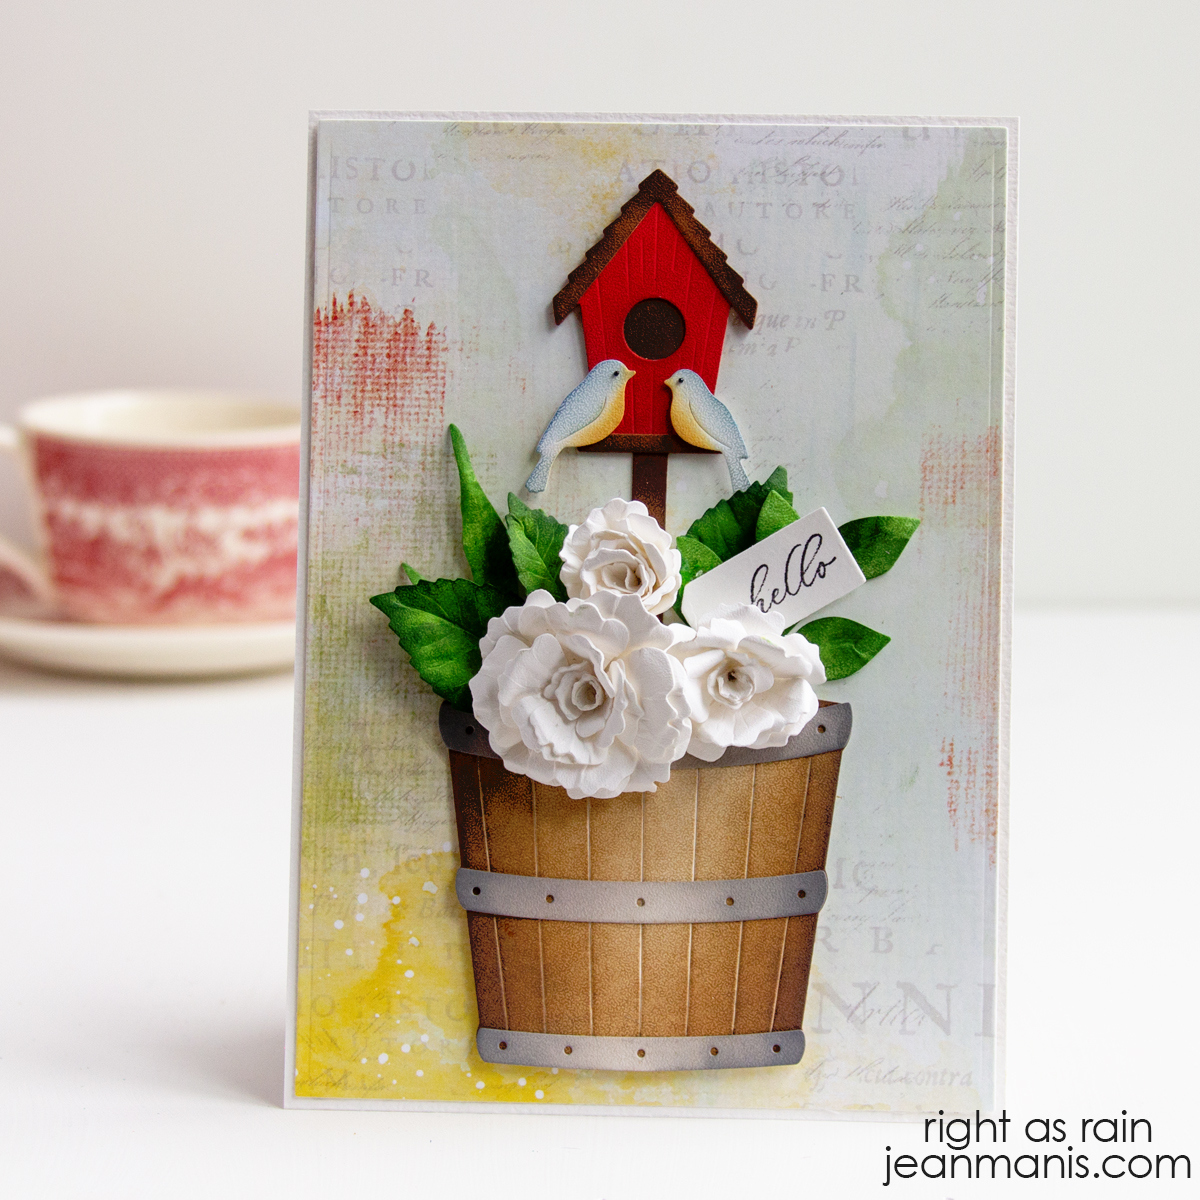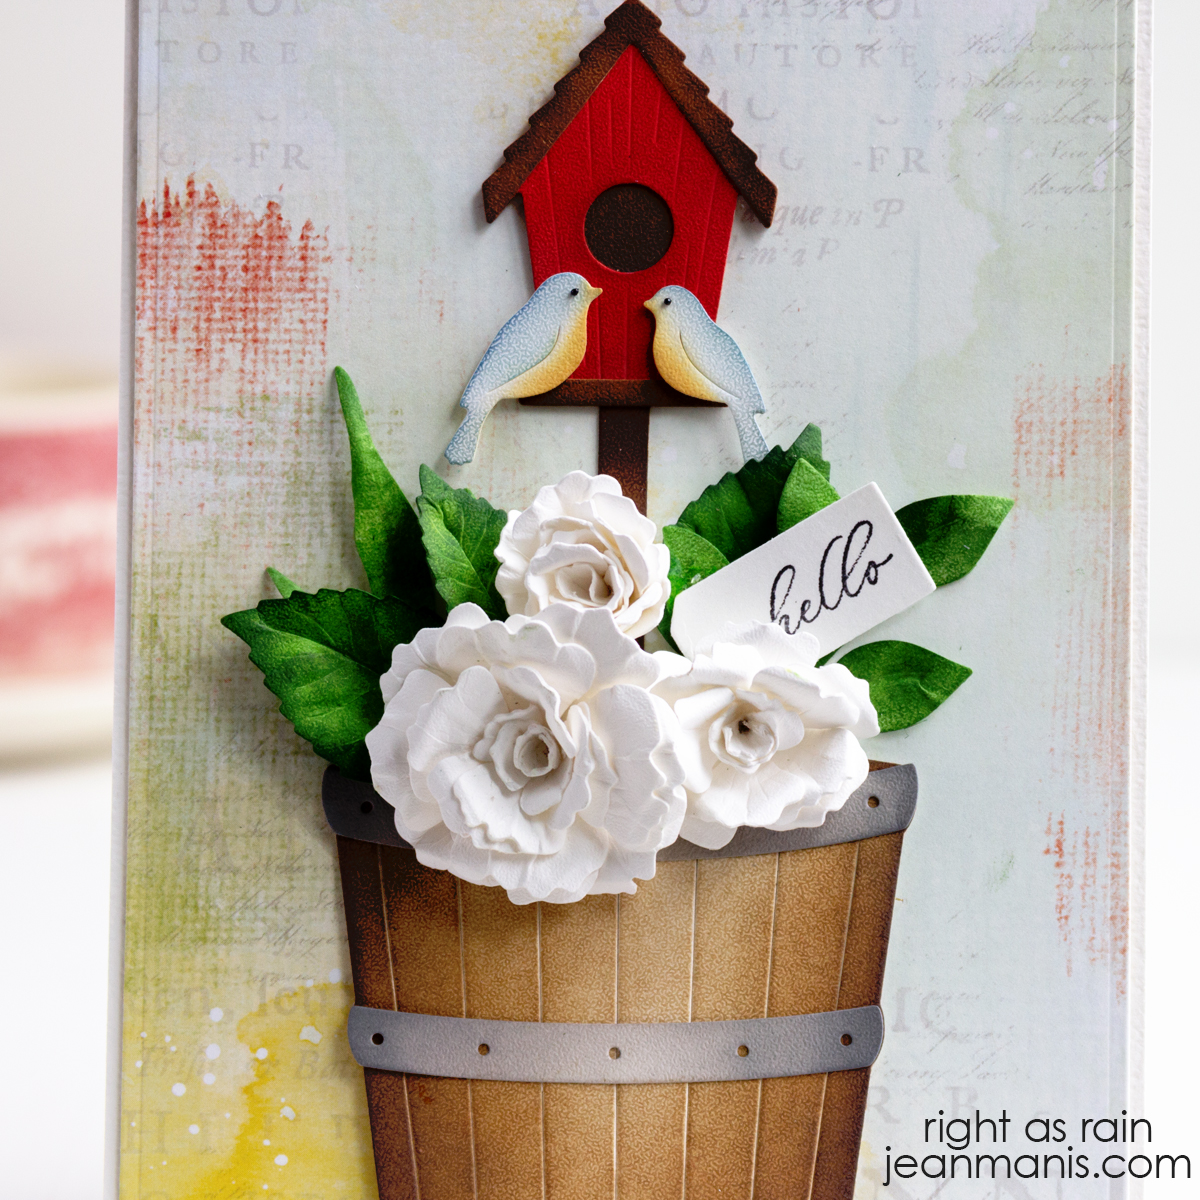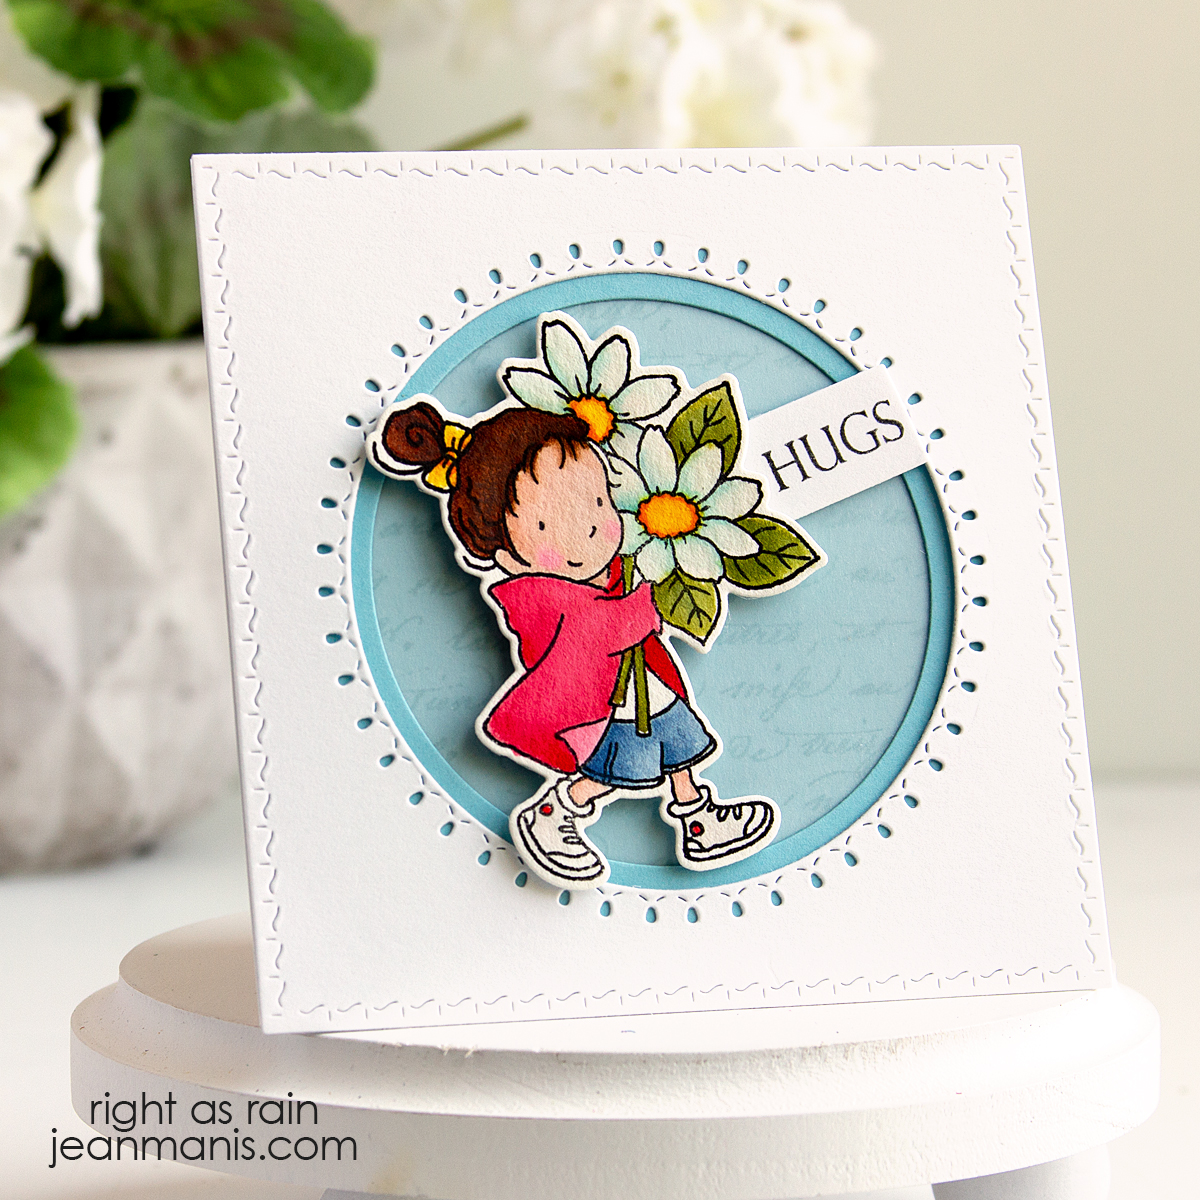
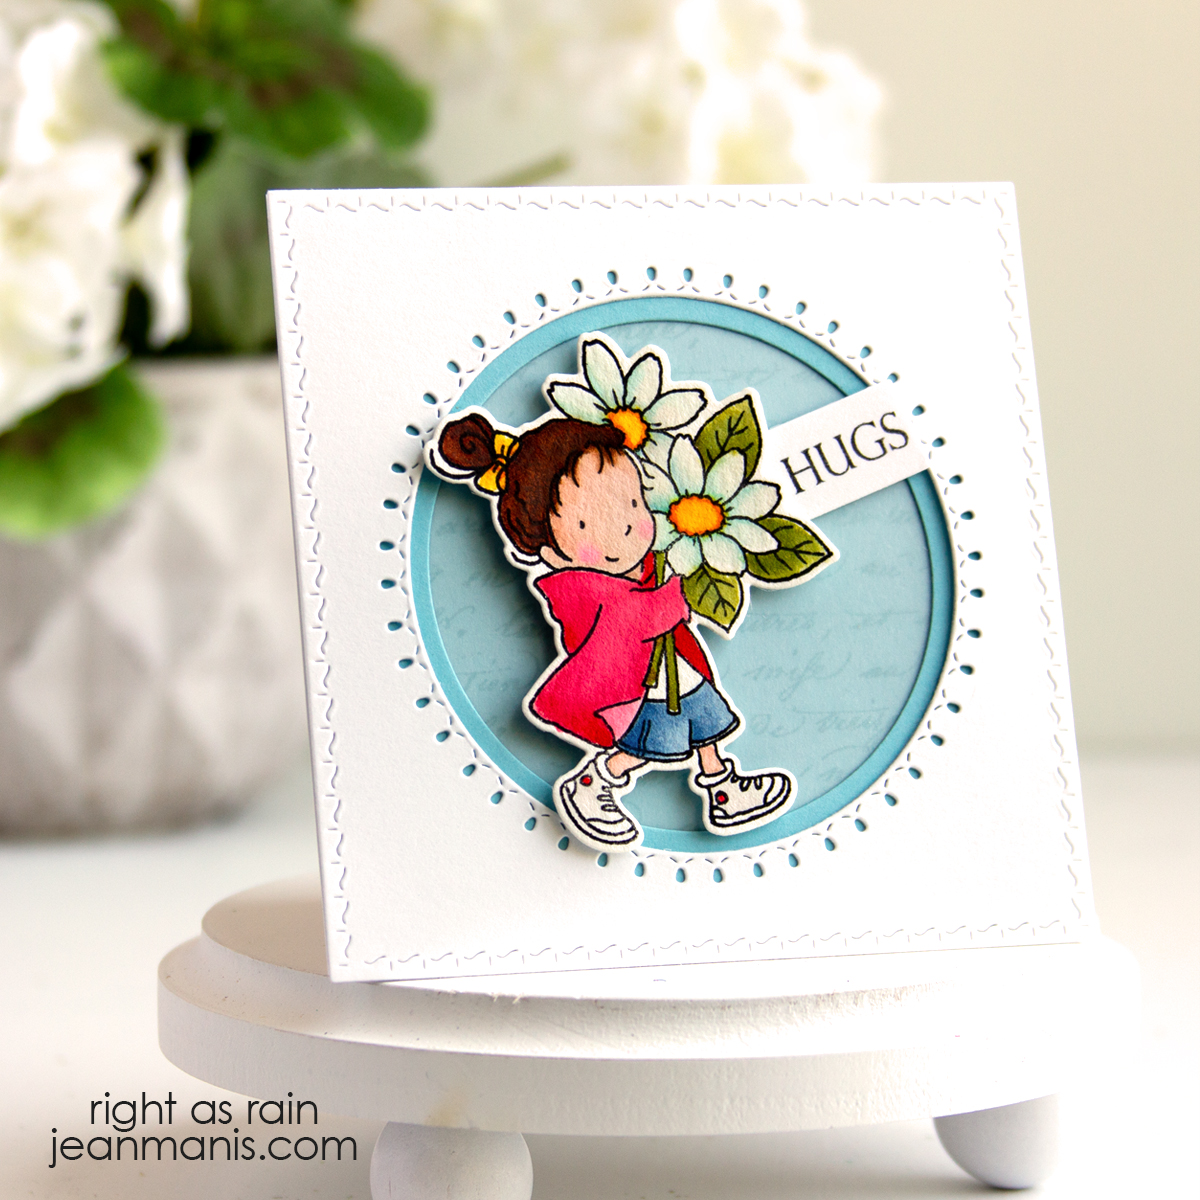
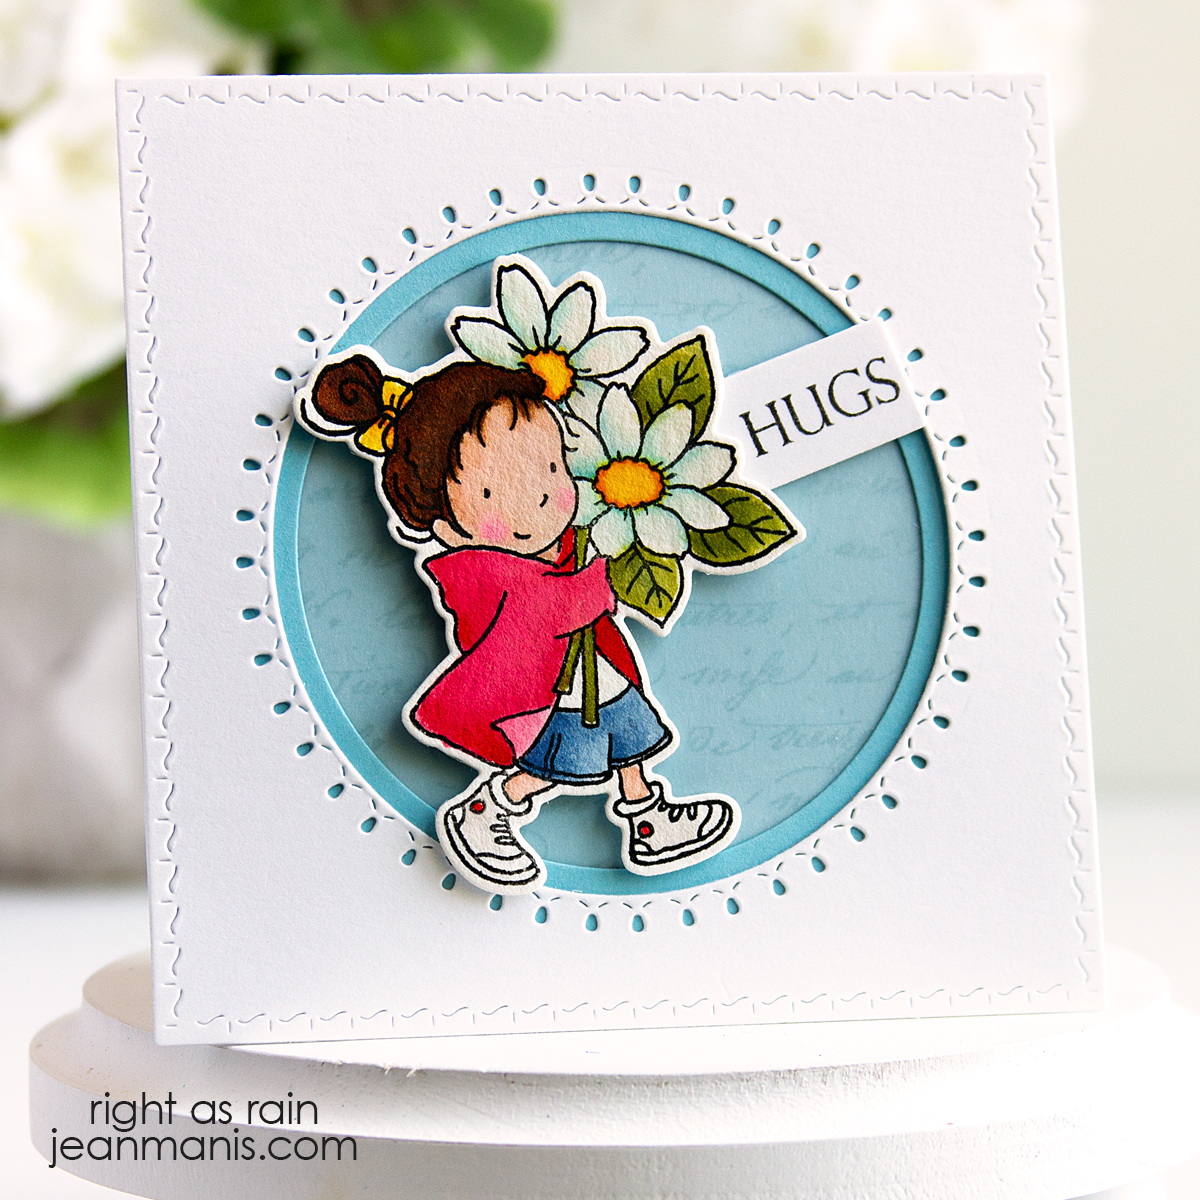
Hello! After enjoying my first card with Penny Black’s new Petals stamp set from the A Lovely Smile release, I wanted to play with another image from the collection. I experimented with a different frame design, this time creating a circle window to highlight the image. A sweet tag sentiment and a few thoughtful details completed the card while keeping the focus on the watercoloring.
You can see my first card with the Petals set HERE.
-
- To begin, stamp the Petals image onto watercolor paper and color it with the medium of your choice. Once dry, cut with the coordinating die.
- Stamp the Happy Snippets sentiment and cut with a tag die (I used one from My Favorite Things).
- Cut white cardstock (Bazzill Marshmallow) with the square die measuring 4-1/2″ square in the Penny Black 51-422 Stitched Square & Circles die set.
- Use a circle die in the 51-551 Stitched Circles set to cut a circle from the square.
- Stamp Script (similar cling stamp) onto blue cardstock (Spellbinders Malibu) with blue ink for a tone-on-tone background. Trim to fit behind the frame. Cut a sheet of vellum to put in front of the script background.
- Use a circle in the 51-422 Stitched Square & Circles die set to cut an inner mat from the same blue cardstock for the assembly.
- Assemble the frame and background pieces and attach to a card base.
- Add the focal image and sentiment with foam adhesive.
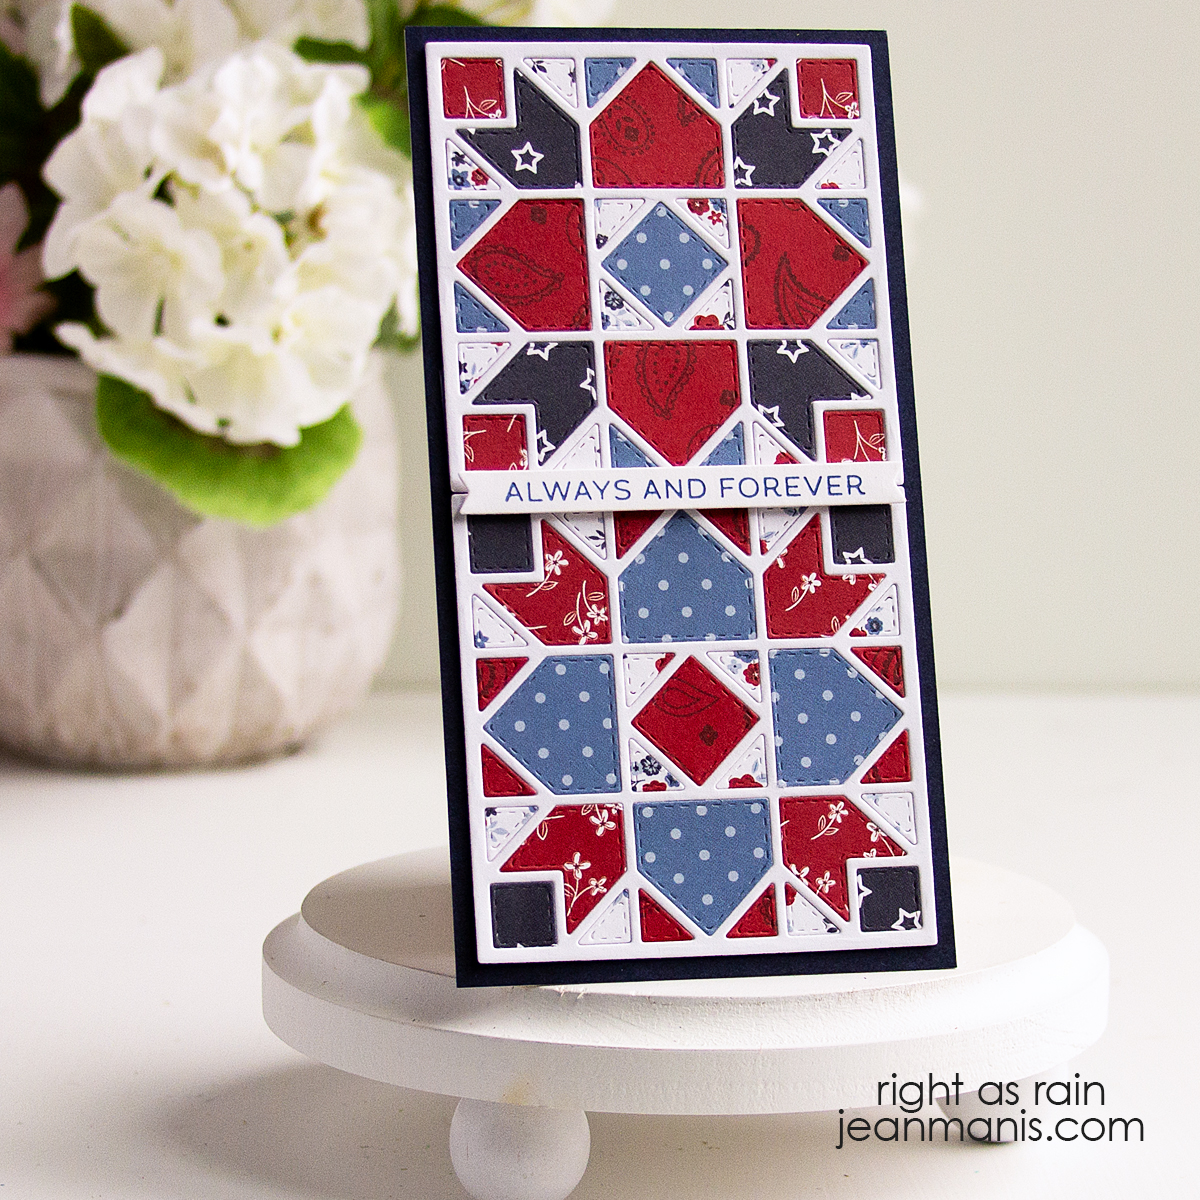
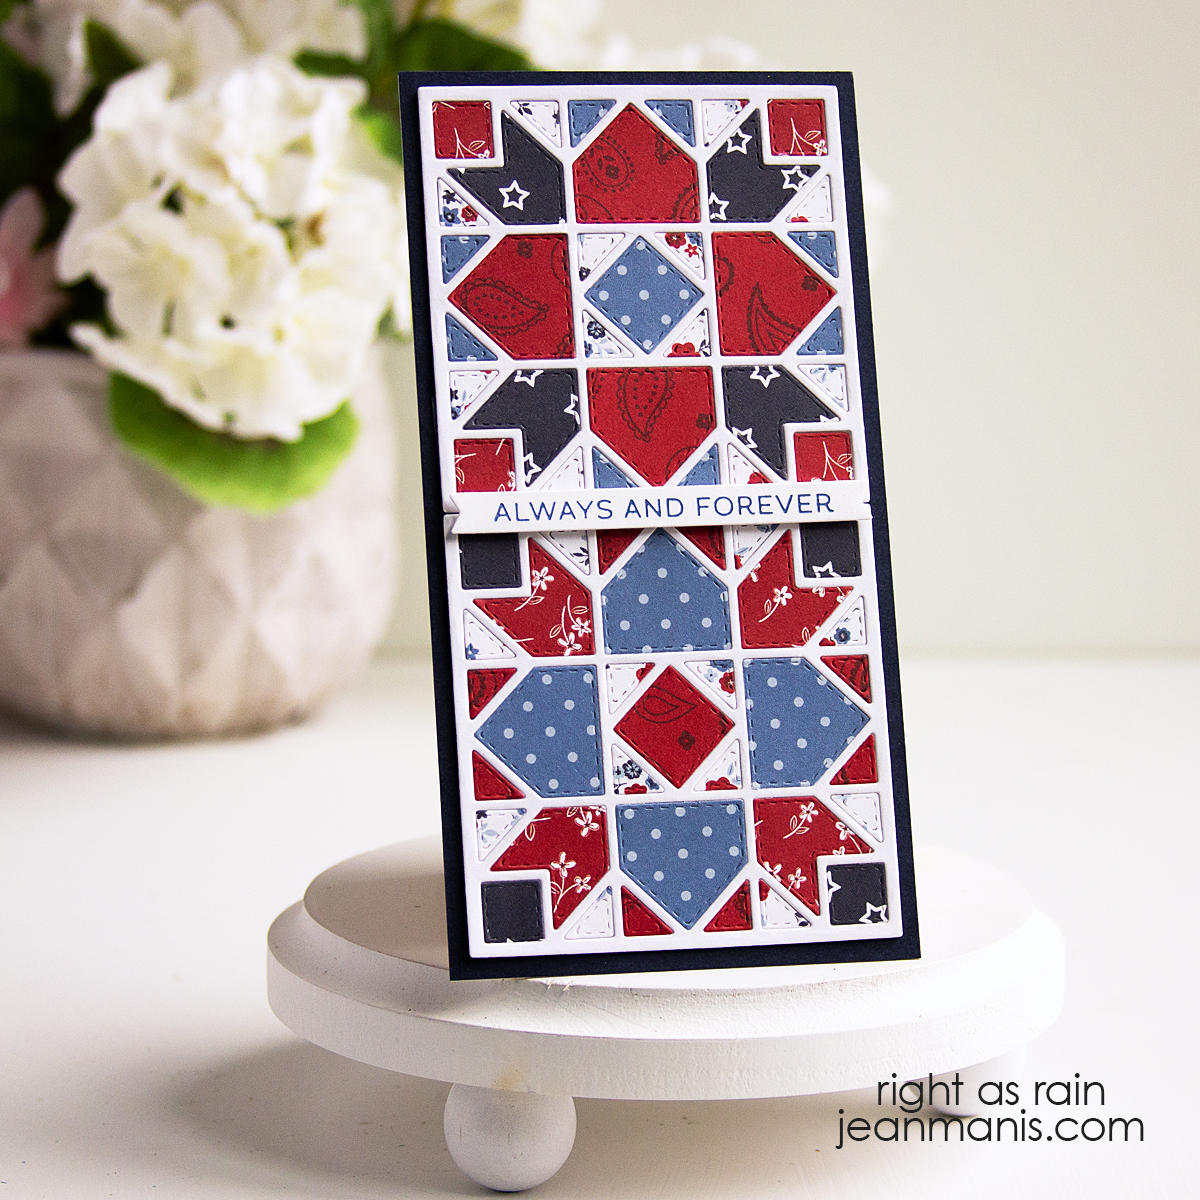
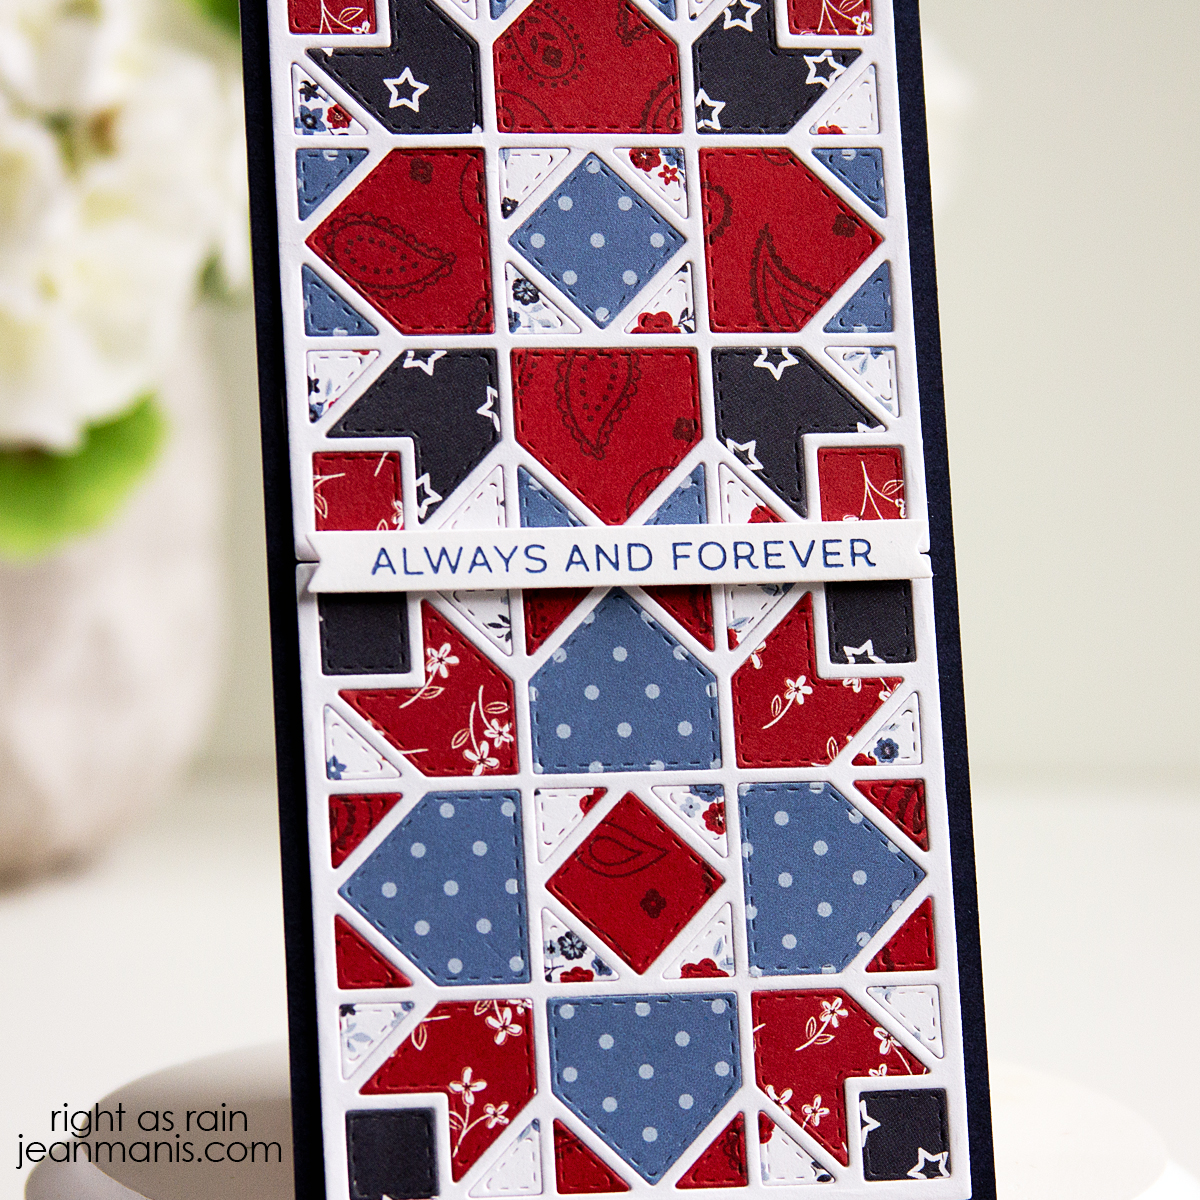
Early in my cardmaking journey, I would often devour an entire stamp set, inking up every image and finding a way to use each one. It’s fun to return to that feeling again with Penny Black’s Petals stamp set and let each image inspire a different card design.
Affiliate links are used when available at no extra cost to you.