Art Impressions | Gardener Gail

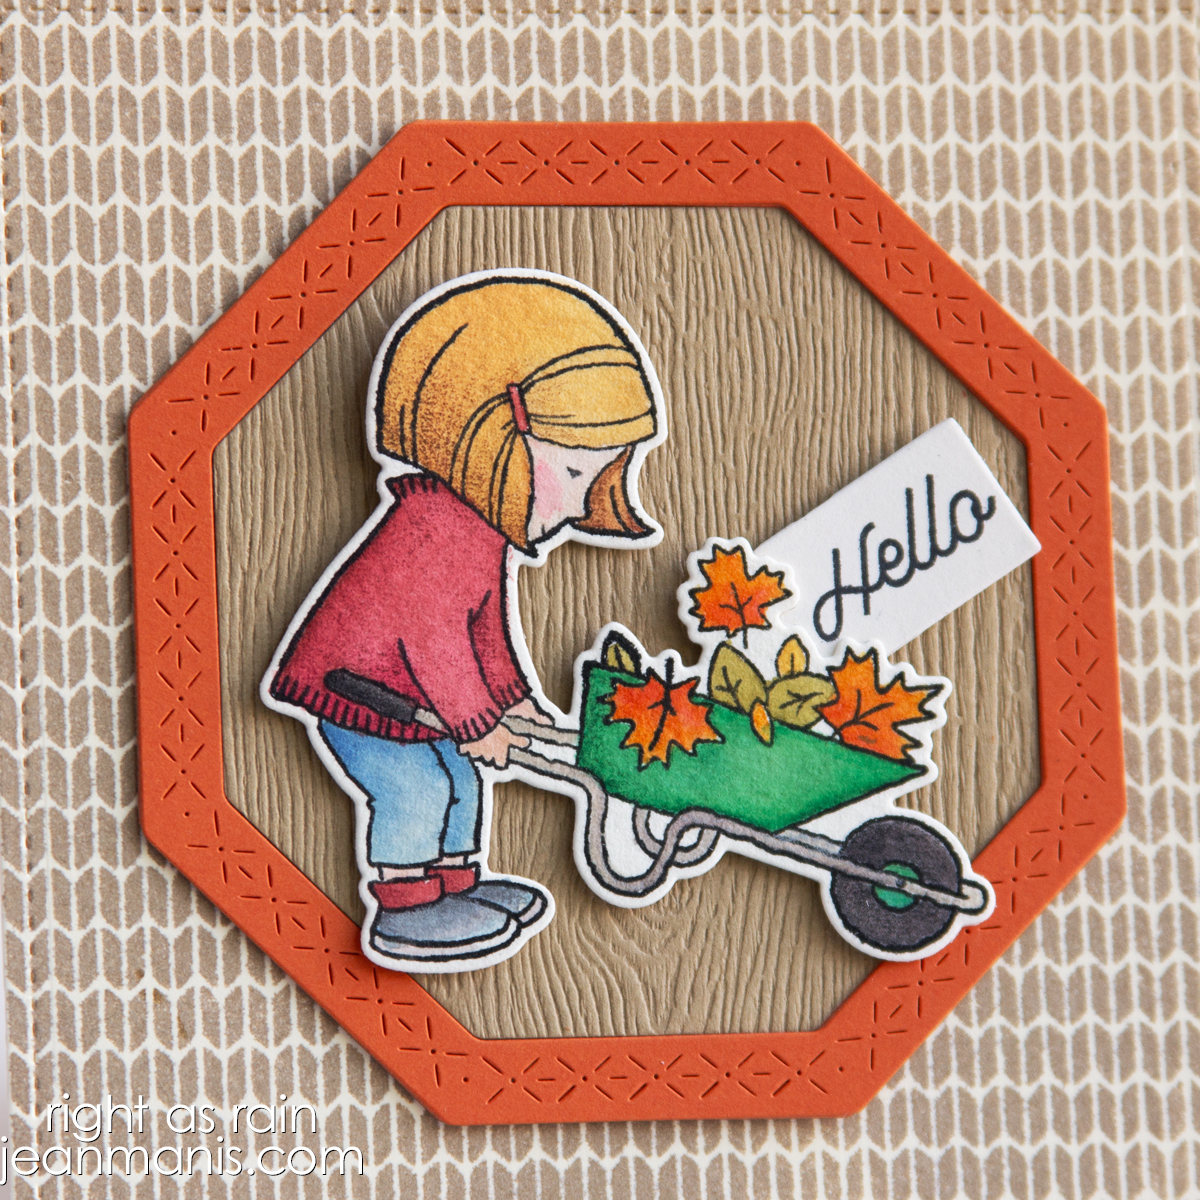
Hello! Still playing with watercolor, and this adorable Art Impressions gardener stamp set was fun to color. I paired the image with one of their coordinating backgrounds, making it easy to create a charming scene with very little effort. A punny sentiment stamped on cardstock and die-cut with a cloud shape (from Memory Box) adds a playful finishing touch. It’s the kind of cheerful, garden-themed card that’s especially fun to make, and one I think will resonate with fellow cardmakers who appreciate a little humor.

Art Impressions | Gardener Gail

    • Attach the background to an A2-size card base.
    • Stamp Gardener Gail onto watercolor paper and color with medium of choice. Once dry, cut with the coordinating die included in the set. (Note to self: cut vellum with the die and use as a guide when cutting the image as the tolerance around the image is tight).
    • Stamp the sentiment in the Gardener Gail set and cut with a cloud die. Cut additional clouds.
    • Add elements to the prepared card base with foam and dot adhesive.

Art Impressions | Gardener Gail


Watercolored Penny Black Petals Card

Hello! As I ease back into watercoloring, I treated myself to Penny Black’s new Petals clear stamp set from the A Lovely Smile release. The charming girl image was just the inspiration I needed, and it gave me the perfect excuse to revisit a framed card design, something I haven’t created in quite a while. I love using frames because they create a window that showcases the focal image. Without the frame, the sweet image might get lost, while the framed design naturally draws the eye and provides an elegant place for the sentiment. An ink-blended, dry-embossed background shows through the oval opening, while die-cut butterflies complete the scene. It felt good to combine some favorite techniques with one of Penny Black’s newest releases.

Watercolored Penny Black Petals Card

    • To begin, stamp the Petals image onto watercolor paper and color it with the medium of your choice. Once dry, cut with the coordinating die.
    • Stamp the now-retired Friendship Flowers sentiment [#30-223] in black ink onto white cardstock. Cut to A2-size with a stitched rectangle die. Cut an oval from the center (I used a now-retired one from Spellbinders).
    • Ink a panel with Tumbled Glass and Mowed Lawn Oxide inks. Dry-emboss with the Penny Black Encircle folder. Attach to the back of the frame. Add assembly to a card base.
    • Cut butterflies (now-retired Flight of Fancy set) from watercolor paper that has been colored with the same pink as the shirt on the Petals image.
    • Add the girl and butterflies to the card with foam adhesive.

Watercolored Penny Black Petals Card

Affiliate links are used when available at no extra cost to you.

Playing with Penny Black Products

Hello! Lately, I’ve been easing my way back into the craft room. For the past several years, much of my creative time was shaped by design commitments, and now that those have come to an end, I have the opportunity to slow down and play.

As I’ve been watching Jill Foster’s Penny Black videos, one idea has especially stayed with me: limit your choices so you can enjoy the creative process instead of feeling overwhelmed by all the possibilities. That simple shift in mindset has been exactly what I needed. Rather than trying to use every technique or create the “perfect” card, I’m choosing a handful of products and seeing where they lead.

Playing with Penny Black Products

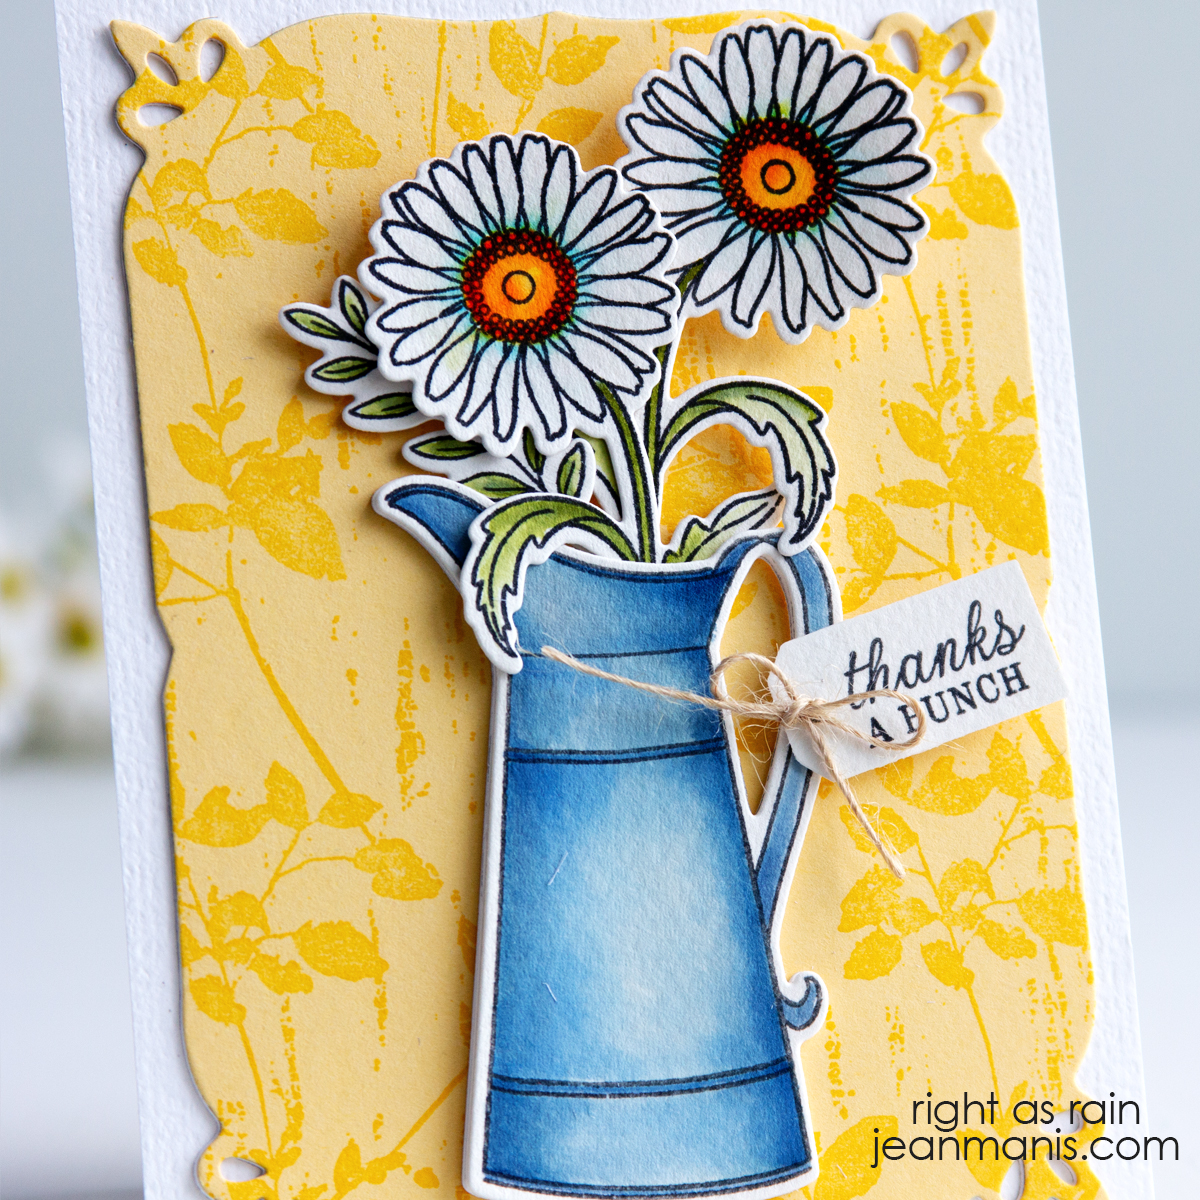
This card combines a Penny Black cling stamp, an embossing folder, stamped images with coordinating dies, and a frame die. The watering can and hydrangea images also gave me another opportunity to practice watercoloring. I wouldn’t say I’ve completely found my creative rhythm again, but I can feel it returning.

    • Dry-emboss a tan A2-size card panel with the Penny Black Texture folder. Add to a card base.
    • Stamp Hydrangeas image onto watercolor paper and color it with your favorite medium. Stamp the watering can image onto watercolor paper and color it with your favorite medium. Once dry, cut the items with the coordinating dies Hydrangeas cut out and watering can cut out.
    • Stamp the Happy Snippets sentiment and cut with a tag die (I used one from My Favorite Things). Add a small jewel/gem to the tag.
    • Use the largest Classy Frames die to cut a frame.
    • Stamp Script (similar cling stamp) onto purple paper with purple ink for a tone-on-tone background. Trim to fit inside the frame.
    • Attach the purple panel to the back of the frame and add the assembly to the card base. Add the watering can and floral to the card with foam adhesive. Add the tag to the can.
Affiliate links are used when available at no extra cost to you.

Art Impressions | Summer Front Porch

Hello! It’s been a while since I reached for Front Porch Series products from Art Impressions, and this card reminded me just how enjoyable watercoloring can be. One of the things I appreciate most about the Front Porch Series is how easily the sets mix and match, making it simple to create fresh scenes with stamps I already own. Returning to these sets has me looking at the collection with fresh eyes and inspired to create more.

Art Impressions | Summer Front Porch

    • Stamp the door and lamp included in the base set.
    • Accessorize the scene with items in the Patriotic and Farm House sets.
    • Emboss the background with the Penny Black Allover Stitches folder. Add a sentiment from the Art Impressions Birthday Sentiment set.

You can see a similar card created with the Front Porch Series sets HERE.

Art Impressions | Summer Front Porch

Affiliate links are used when available at no extra cost to you.

Red, White & Blue Card Inspiration

Hello! The Fourth of July inspires more than flags and fireworks! Over the years, I’ve created a variety of cards that celebrate the holiday in different ways. Whether you’re drawn to traditional Americana or prefer a more contemporary approach, these projects showcase a range of techniques and styles that can be adapted for Independence Day, summer celebrations, and beyond. I’ve gathered them here for inspiration and a look back at some favorite creations.

With its festive Fourth of July decorations and loyal canine companion, this watercolored porch scene celebrates the simple pleasures of home during the holiday.

Red, White & Blue Card Inspiration

These critter cards offer a playful take on Fourth of July greetings. Colored with watercolor, the images have a relaxed, summery feel.

Red, White & Blue Card Inspiration

Red, White & Blue Card Inspiration

A mix of botanical elements with classic Independence Day symbols gives this design a playful, unexpected twist while still honoring the traditional red, white, and blue theme.

Red, White & Blue Card Inspiration

This imaginary die-cut scene features Uncle Sam and the Statue of Liberty taking a drive to celebrate Independence Day.

Red, White & Blue Card Inspiration

A combination of birds, a birdhouse, and a patriotic color palette creates a cheerful Fourth of July card full of charm.

Red, White & Blue Card Inspiration

This clean and simple design keeps the focus on bold patriotic elements. Die-cut stars, “USA” letters, and a strong background come together in a crisp, graphic composition.

Red, White & Blue Card Inspiration

The final Fourth of July card features a nighttime celebration scene with a die-cut cityscape and a stamped sky filled with fireworks.

Red, White & Blue Card Inspiration

I never tire of working with the Fourth of July theme. Looking back through these projects has also reminded me of how many favorite supplies and designs I already have on hand. I’m looking forward to pulling out those familiar elements and using them in new ways.

Do you make Fourth of July cards each year, or is this a theme you dip into only now and then?