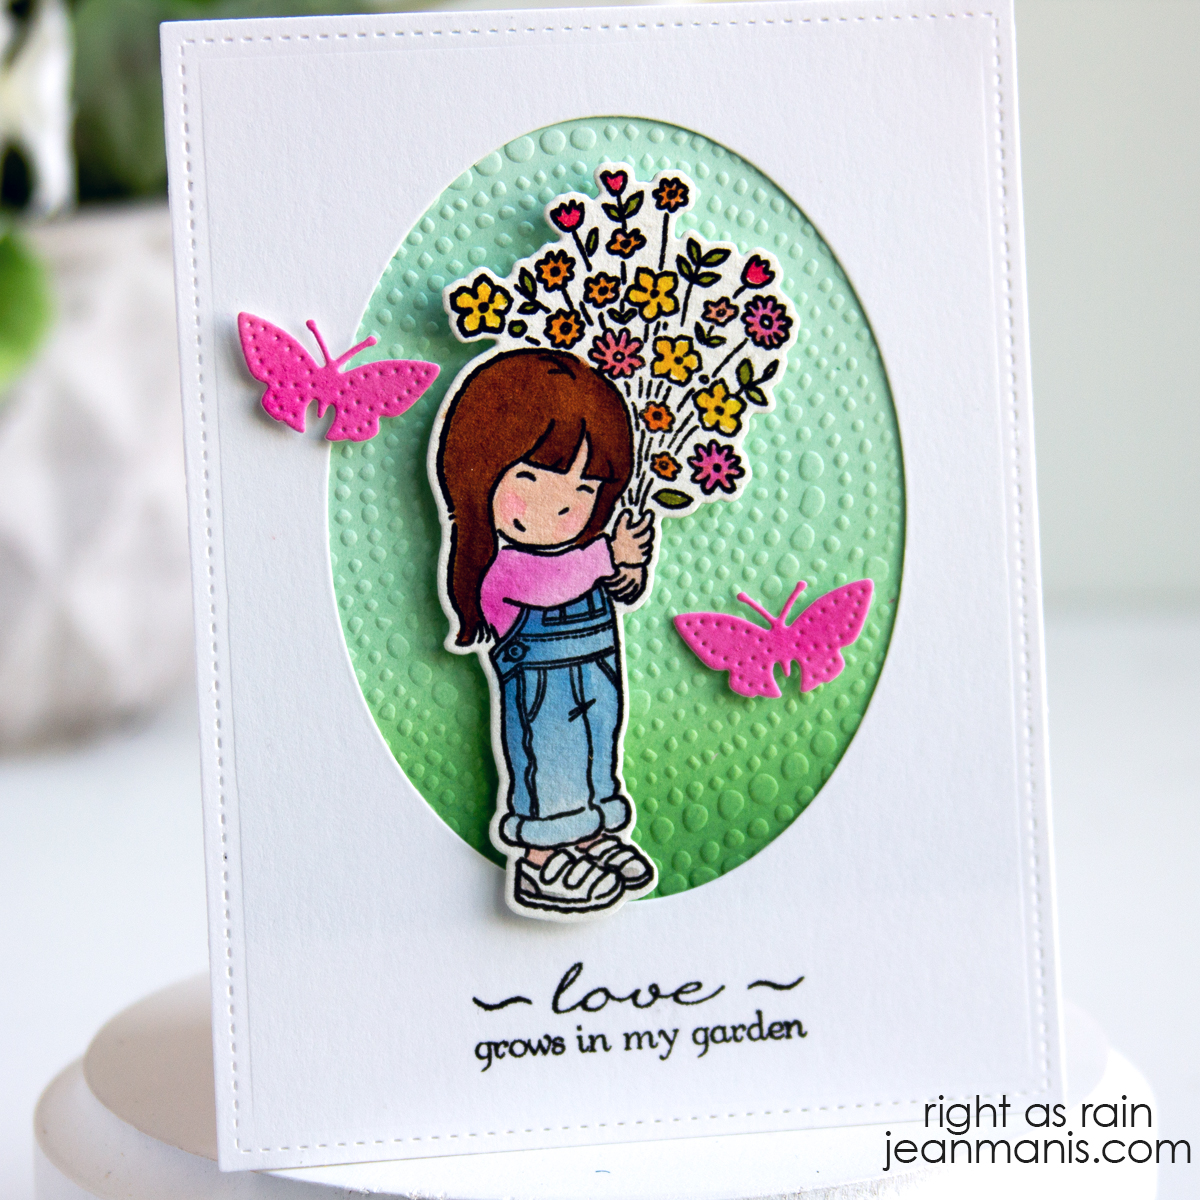
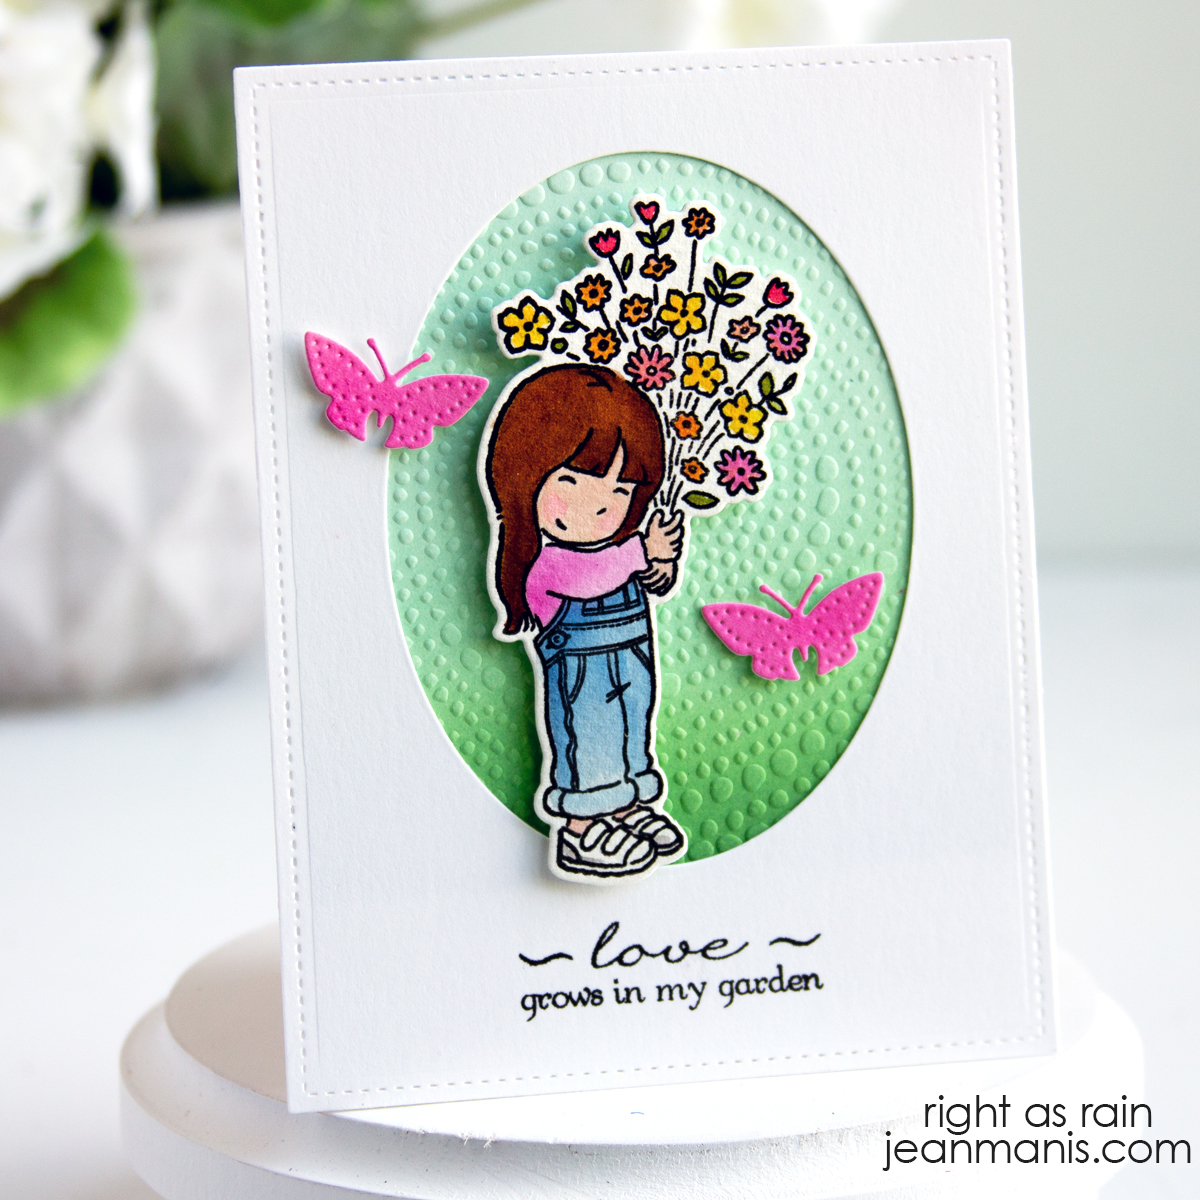
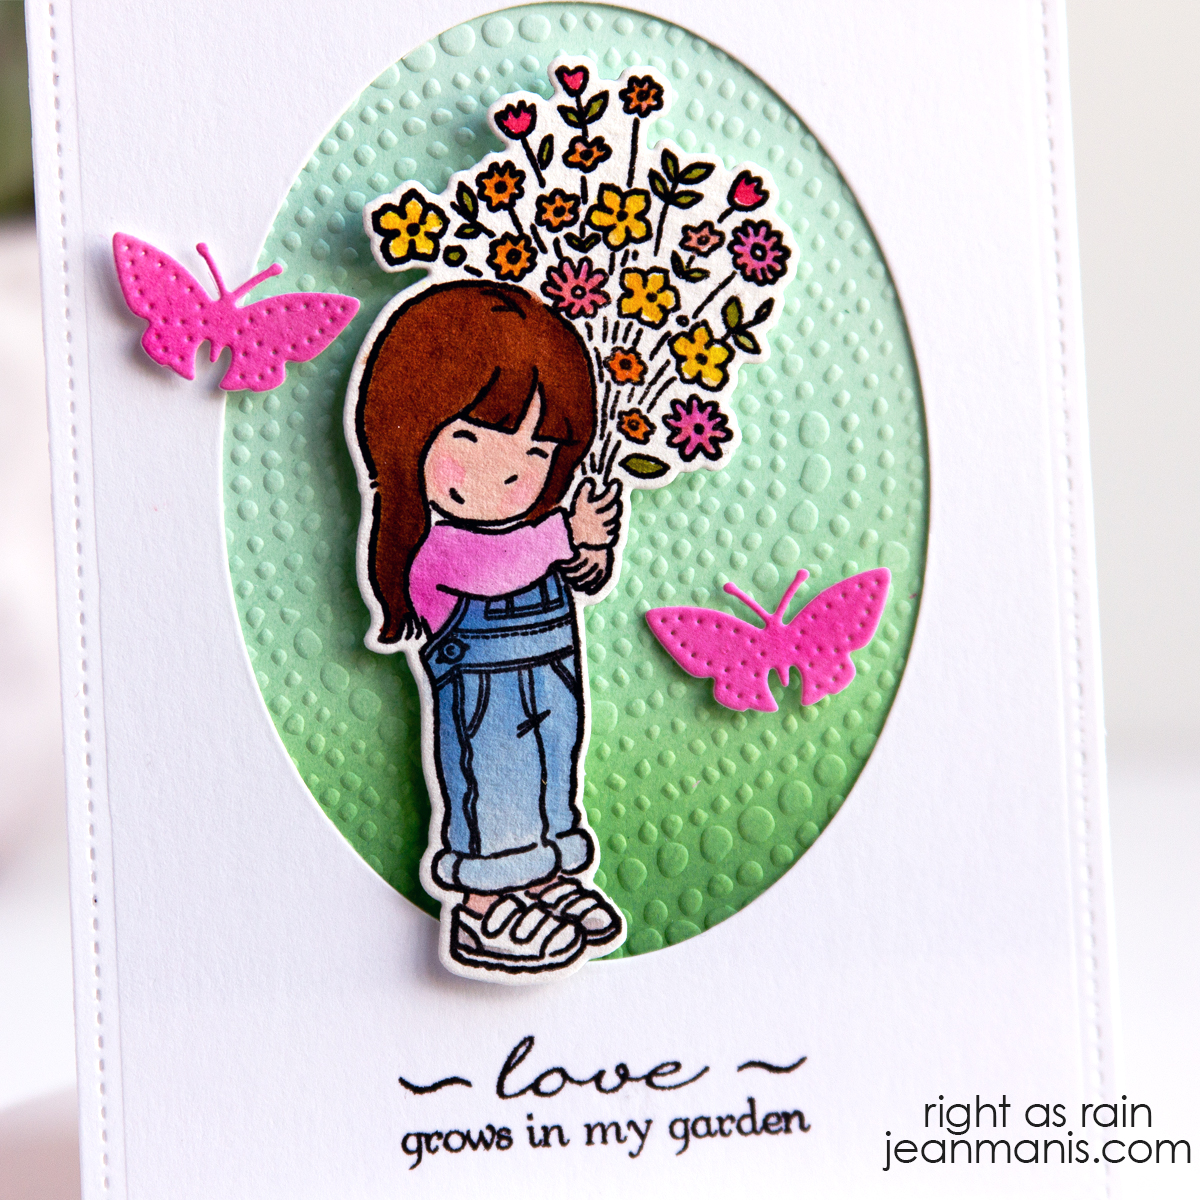
Hello! As I ease back into watercoloring, I treated myself to Penny Black’s new Petals clear stamp set from the A Lovely Smile release. The charming girl image was just the inspiration I needed, and it gave me the perfect excuse to revisit a framed card design, something I haven’t created in quite a while. I love using frames because they create a window that showcases the focal image. Without the frame, the sweet image might get lost, while the framed design naturally draws the eye and provides an elegant place for the sentiment. An ink-blended, dry-embossed background shows through the oval opening, while die-cut butterflies complete the scene. It felt good to combine some favorite techniques with one of Penny Black’s newest releases.
-
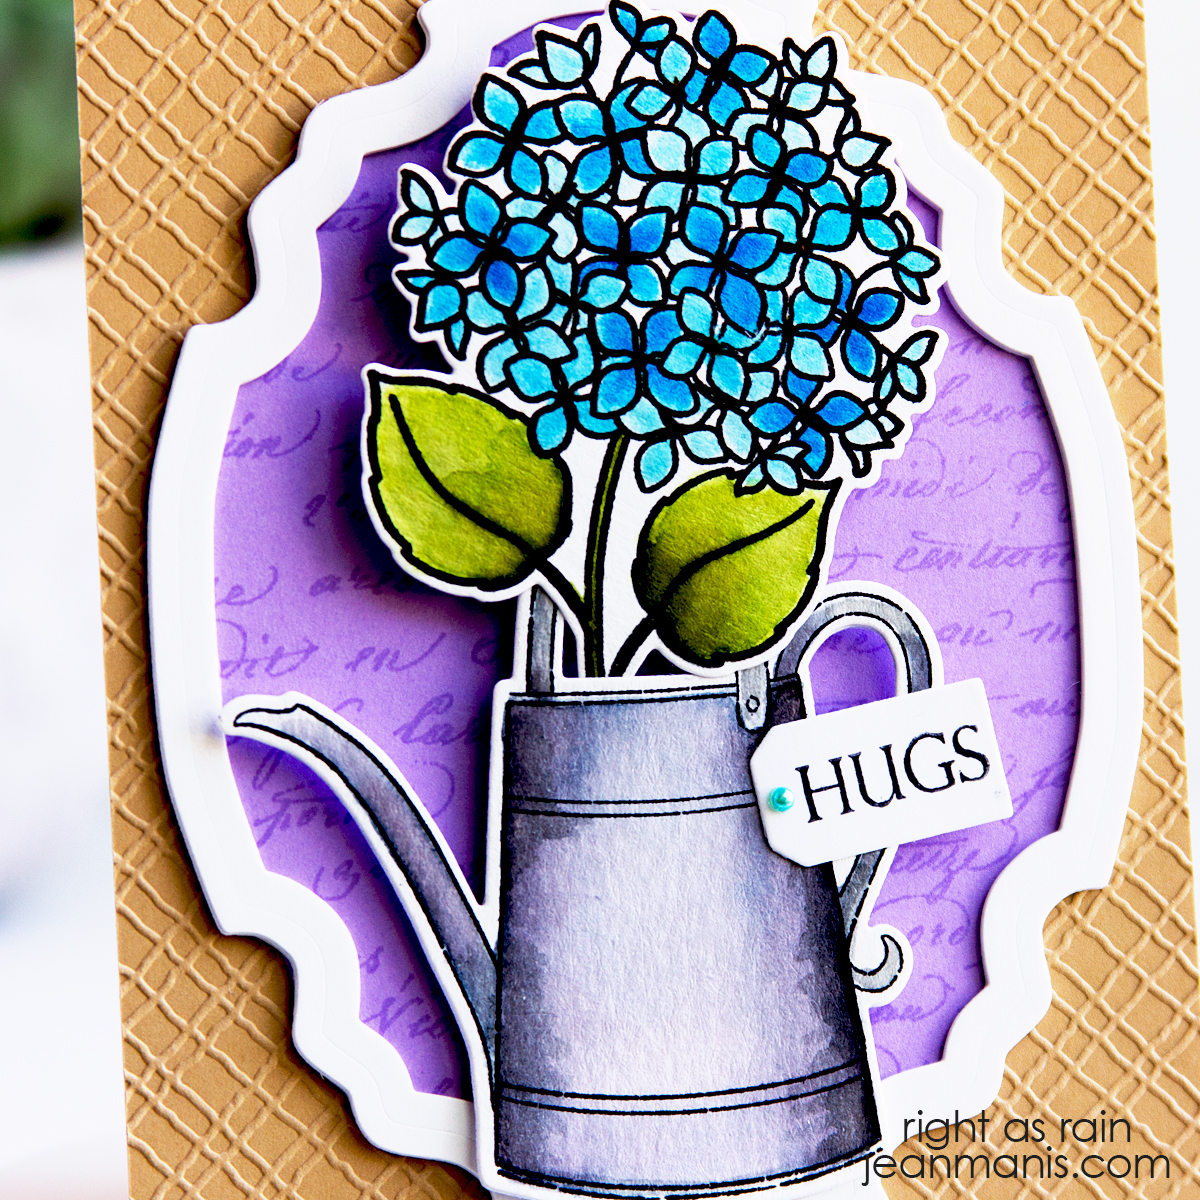
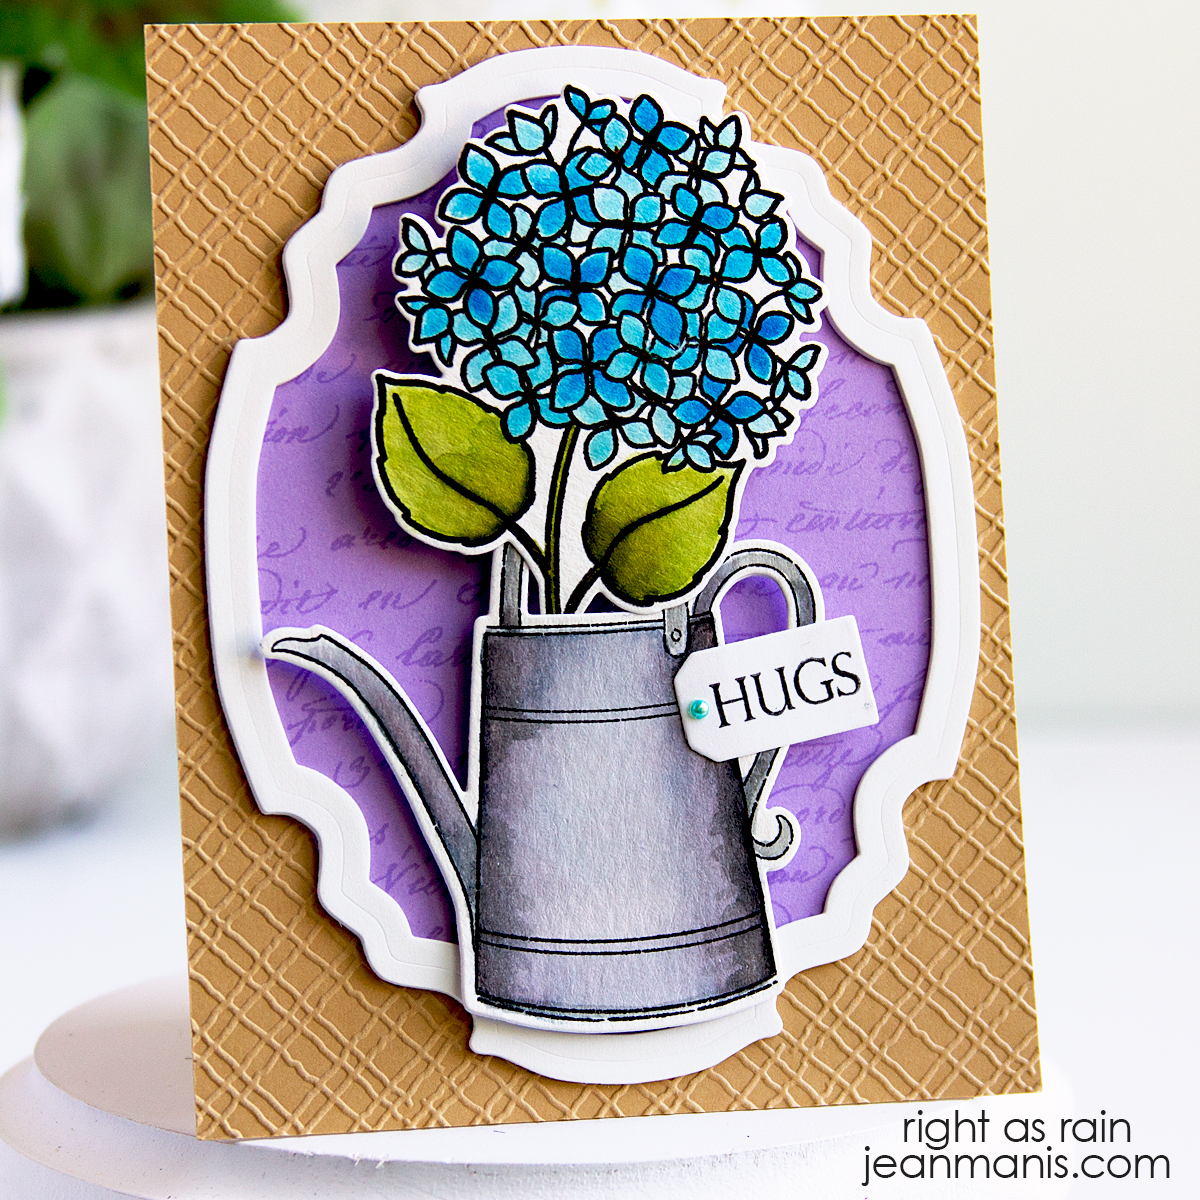
- To begin, stamp the Petals image onto watercolor paper and color it with the medium of your choice. Once dry, cut with the coordinating die.
- Stamp the now-retired Friendship Flowers sentiment [#30-223] in black ink onto white cardstock. Cut to A2-size with a stitched rectangle die. Cut an oval from the center (I used a now-retired one from Spellbinders).
- Ink a panel with Tumbled Glass and Mowed Lawn Oxide inks. Dry-emboss with the Penny Black Encircle folder. Attach to the back of the frame. Add assembly to a card base.
- Cut butterflies (now-retired Flight of Fancy set) from watercolor paper that has been colored with the same pink as the shirt on the Petals image.
- Add the girl and butterflies to the card with foam adhesive.
Affiliate links are used when available at no extra cost to you.