Spellbinders | Timeless Botanical Elegance

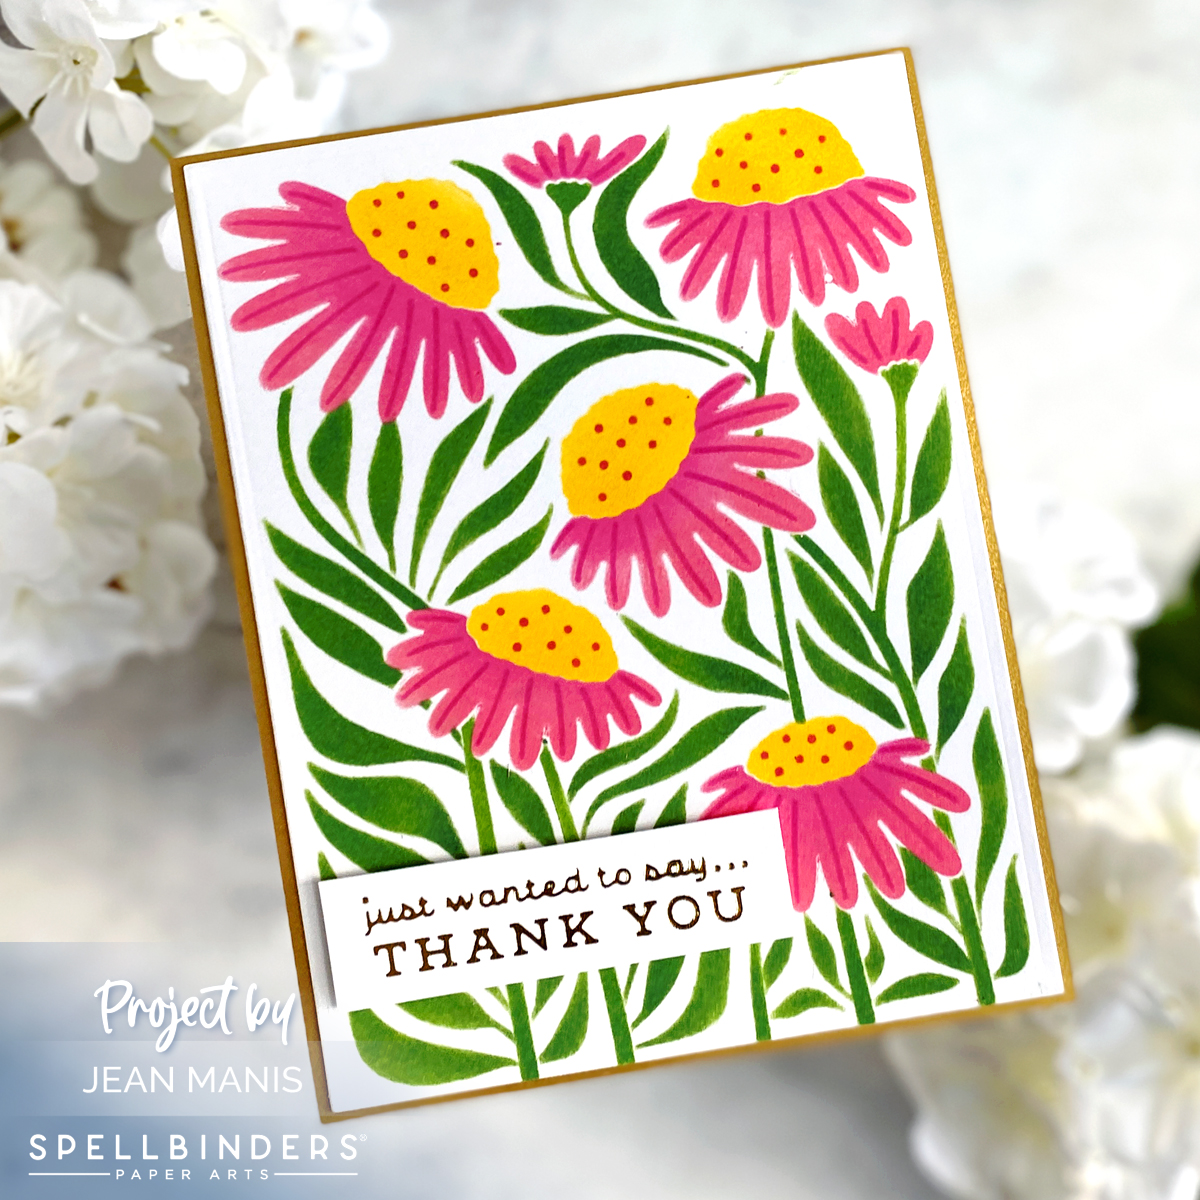
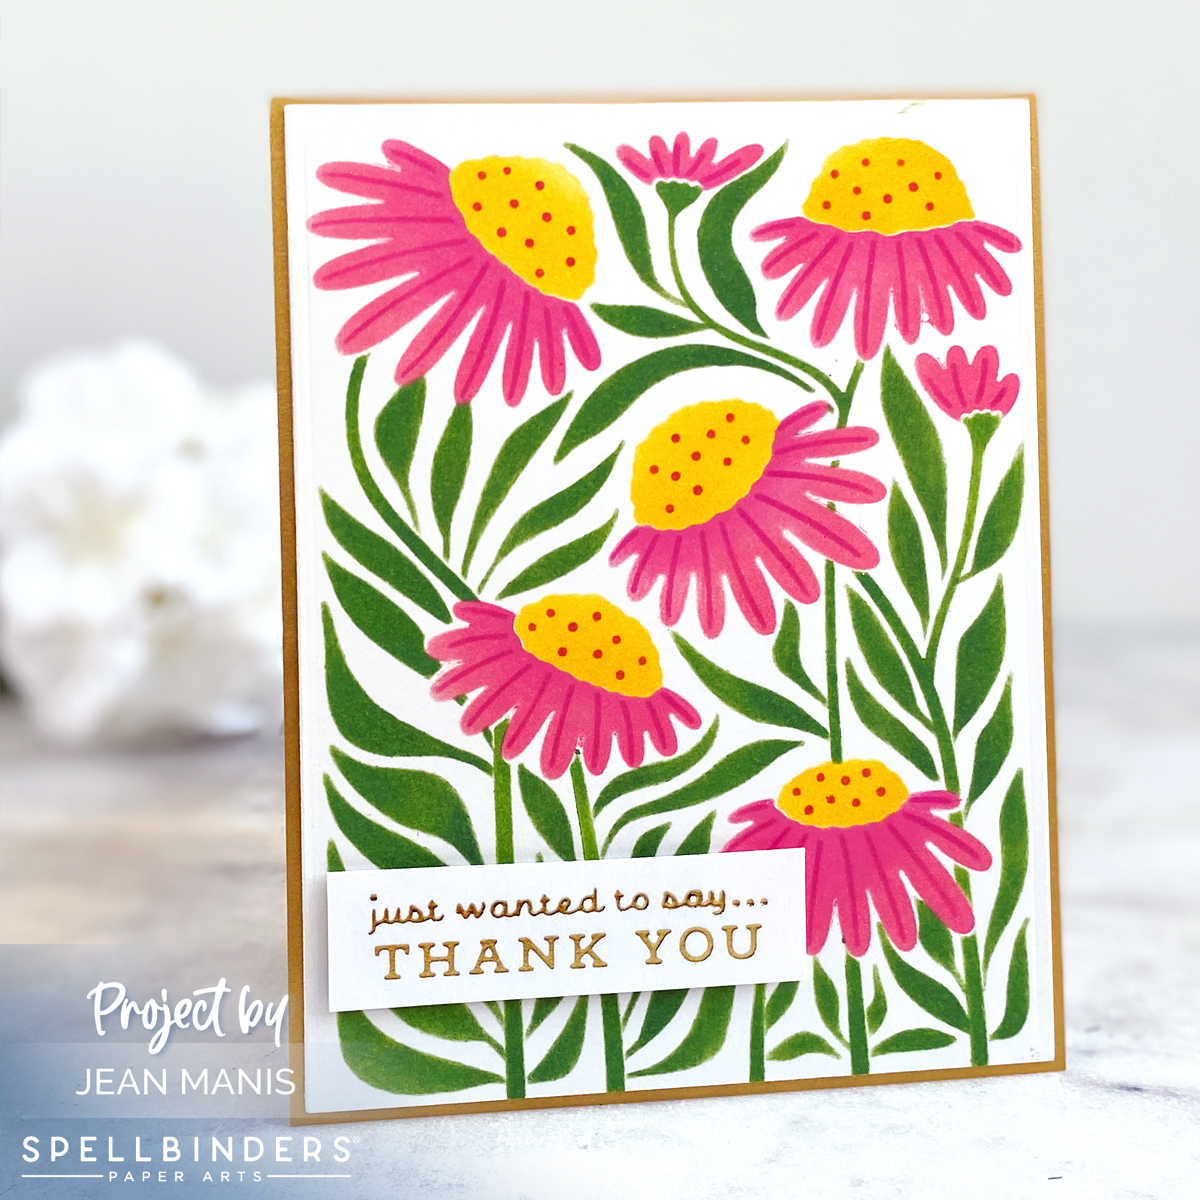
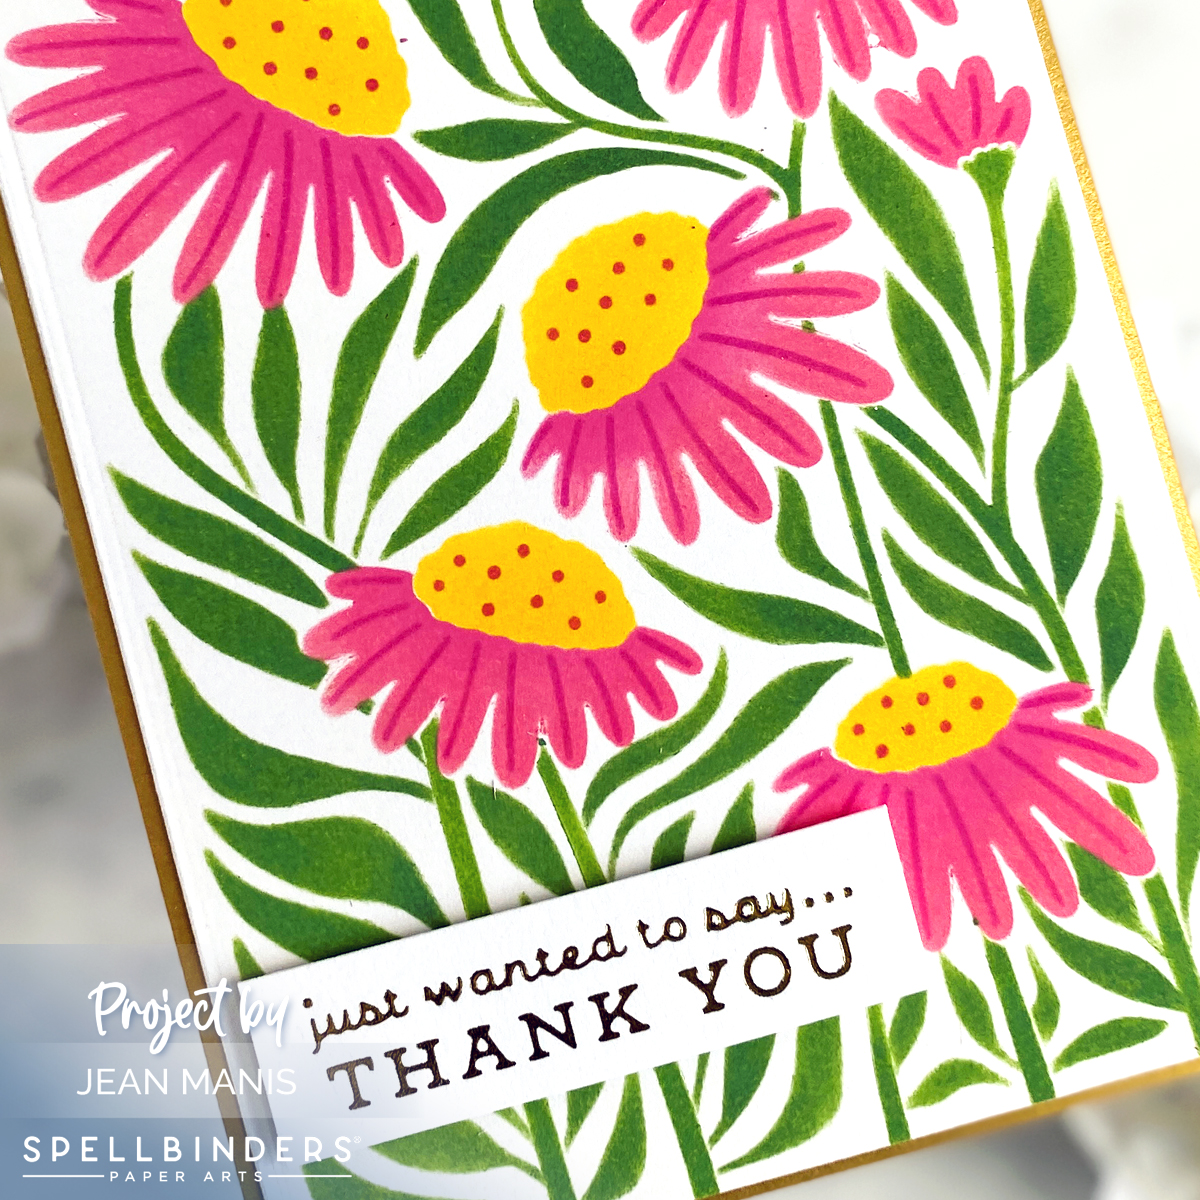
Hello! Today, I am sharing a card, where simplicity meet sophistication, that showcases the Spellbinders Coneflower stencil set. This five-piece stencil set makes it possible to easily create a stunning floral background.
Spellbinders | Timeless Botanical Elegance

  • Create an A2-size card base from Brushed Gold cardstock.
  • Using the five-piece Coneflower stencil set, apply Distress Oxide inks through each stencil on Snowdrift cardstock. I used Mowed Lawn and Rustic Wilderness for the green, Picked Raspberry for the petals, and Squeezed Lemonade for the flower centers.  I used Picked Raspberry (non-oxide ink) for the final layer that adds dots to the flower centers and lines to the petals.
  • Cut stenciled panel with a die in the A-2 Matting Basics A set. Add to Brushed Gold card base.
  • Glimmer-foil in Gold the “Thank You” sentiment in the Sentiments for Everyday set. Cut with a banner die and add to the card with foam adhesive.
Spellbinders | Timeless Botanical Elegance


Spellbinders | October 2023 Large Die of the Month

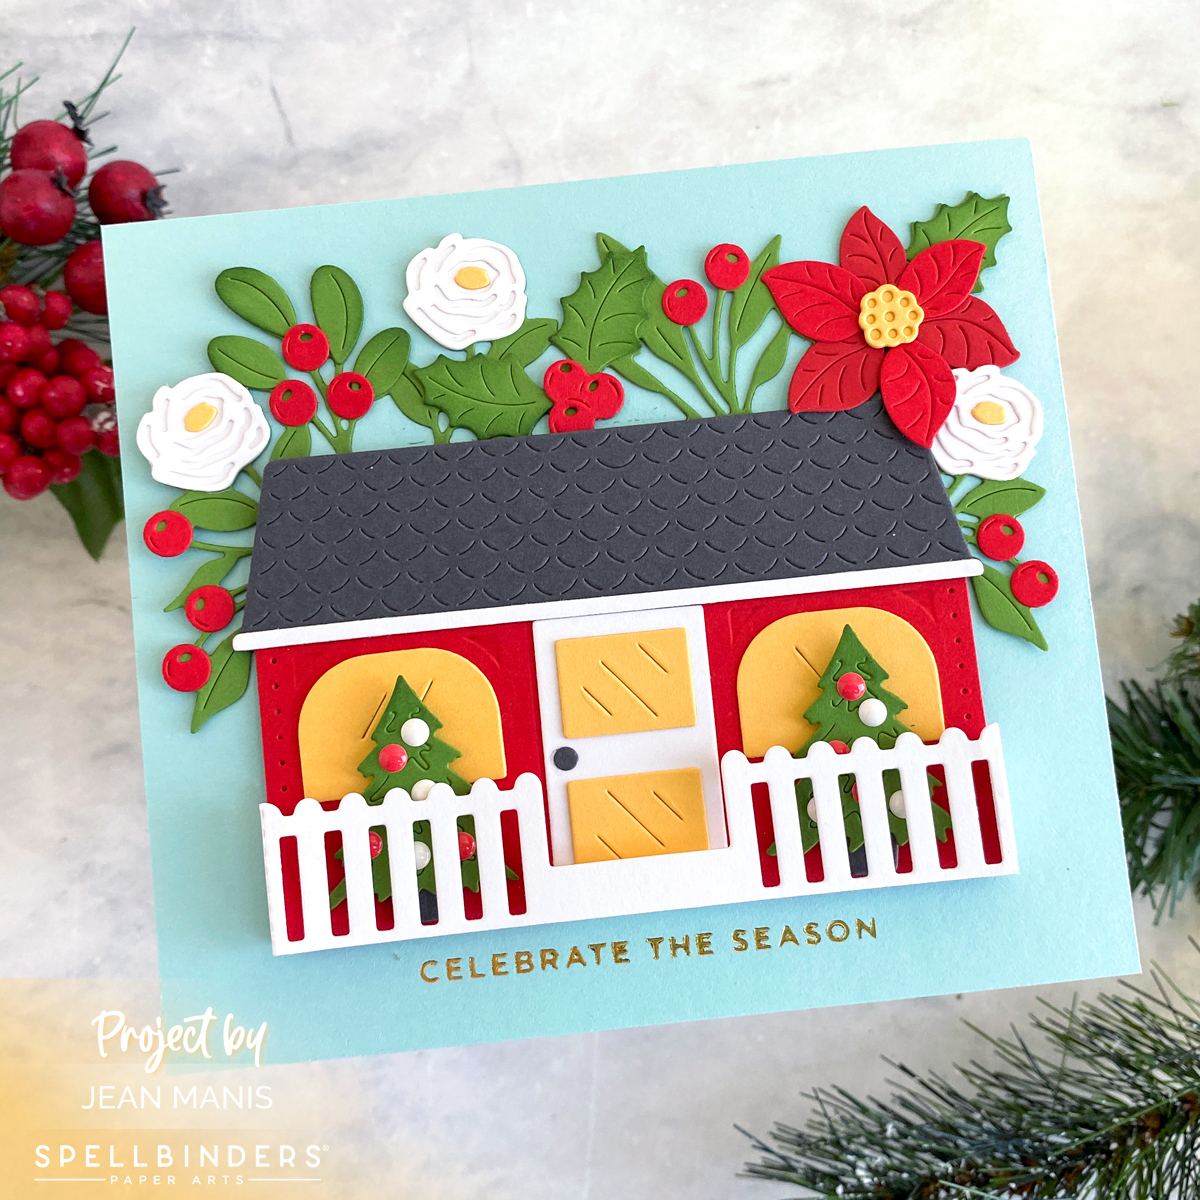
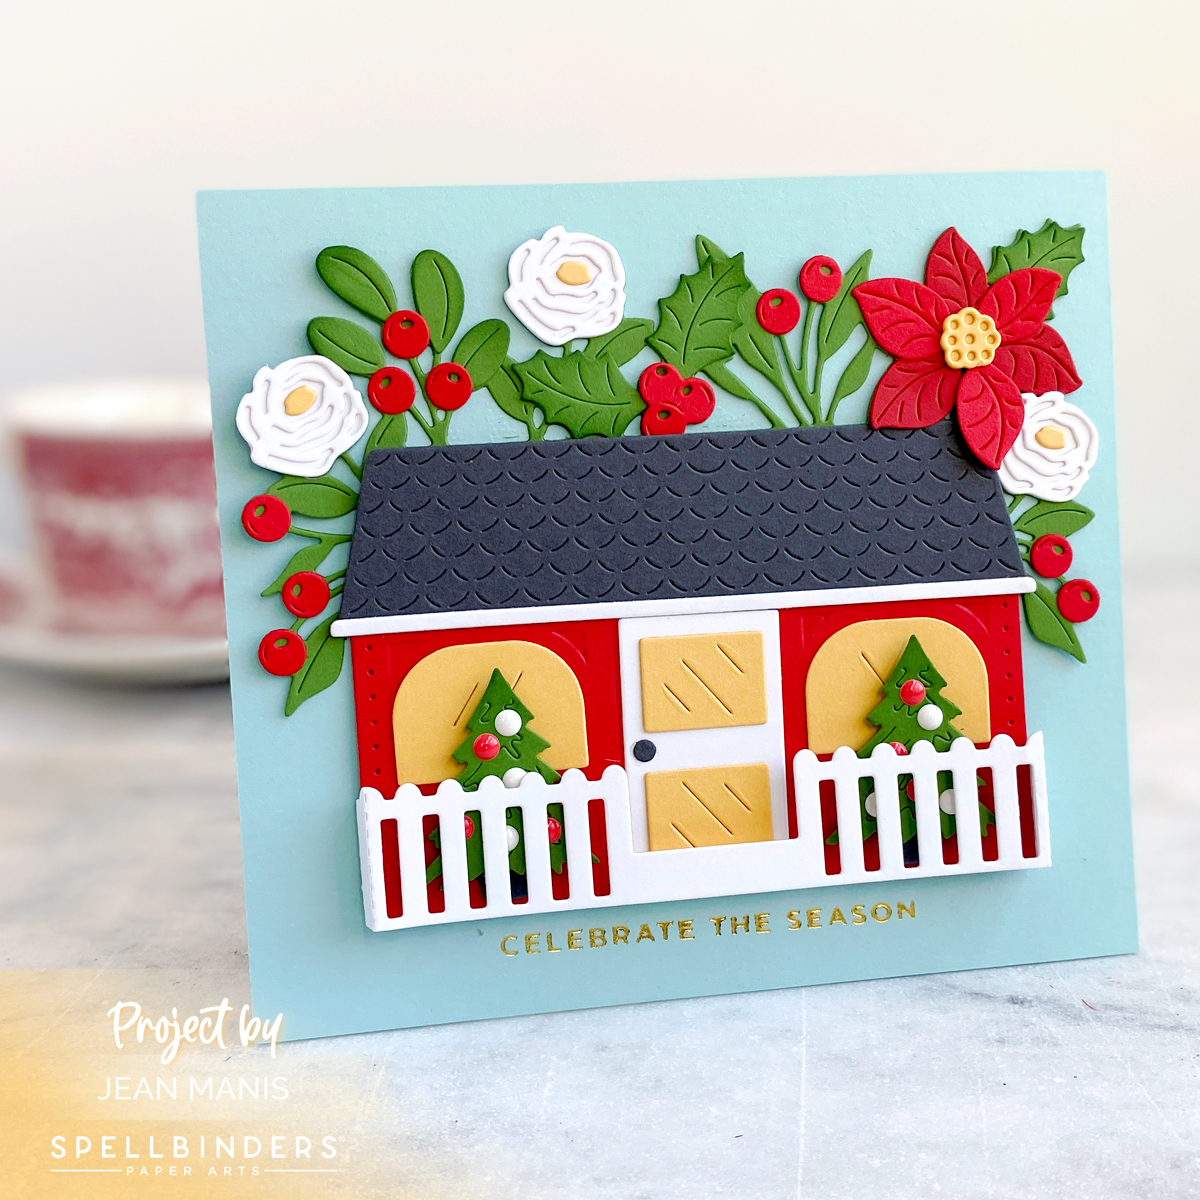
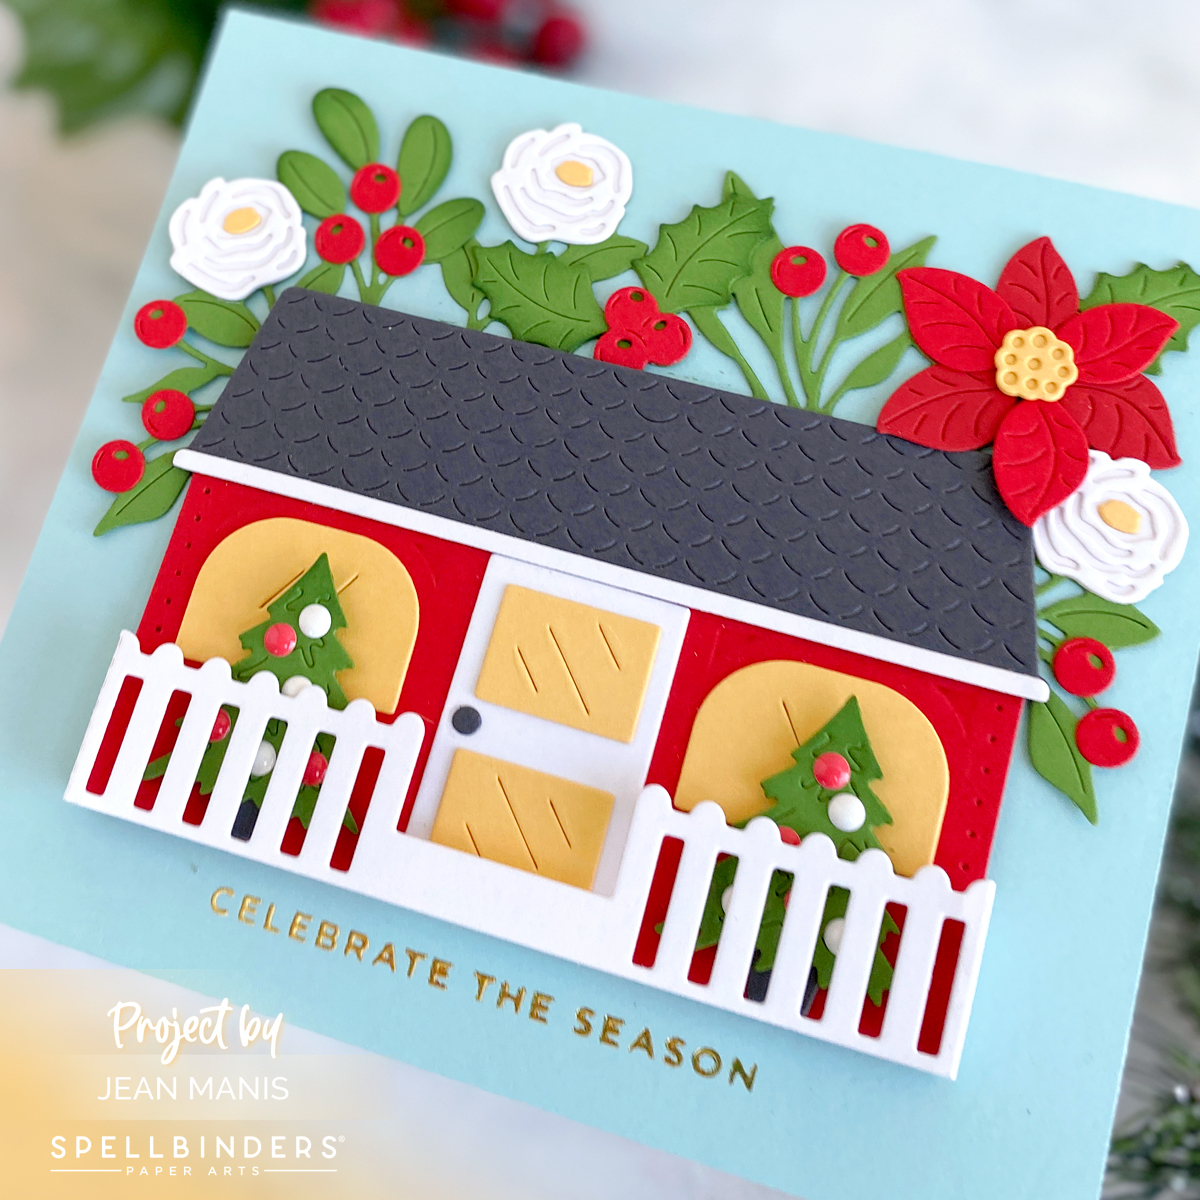
Hello and happy October! Today, I am sharing a Christmas card crafted with the Spellbinders October Large Die of the Month set – “Christmas Boutique” – slightly modified to make a charming house (rather than a storefront) adorned with Christmas florals. Read on to discover how to create the card. You can also head HERE for a tutorial on how to use the set.

Spellbinders | October 2023 Large Die of the Month

    • Glimmer foil blue cardstock in Gold with a sentiment in the Glitter Wishes set. The Large Die of the Month set includes a sentiment die to create the word “Noel.” I decided to use the glimmer-foiled sentiment at the base of the card front and consulted my post Prepping for Christmas Card Making for sentiment options. Trim panel to 5 1/2″ wide by 4 7/8″ tall and add to a card base.
    • With a die in the Large Die of the Month set cut the house (boutique) base from green cardstock. Cut again from red cardstock and trim off the foliage on top. Cut floral and house pieces from a variety of cardstock colors. Add Rustic Wilderness ink to green cardstock elements (holly leaves, other leaves, Christmas trees) to differentiate from the green base color. Add enamel dots in red and white to the Christmas trees. Assemble.
    • Add assembled house to card front.

Spellbinders | October 2023 Large Die of the Month


Newton’s Nook Designs | Fall Harvest Take Two

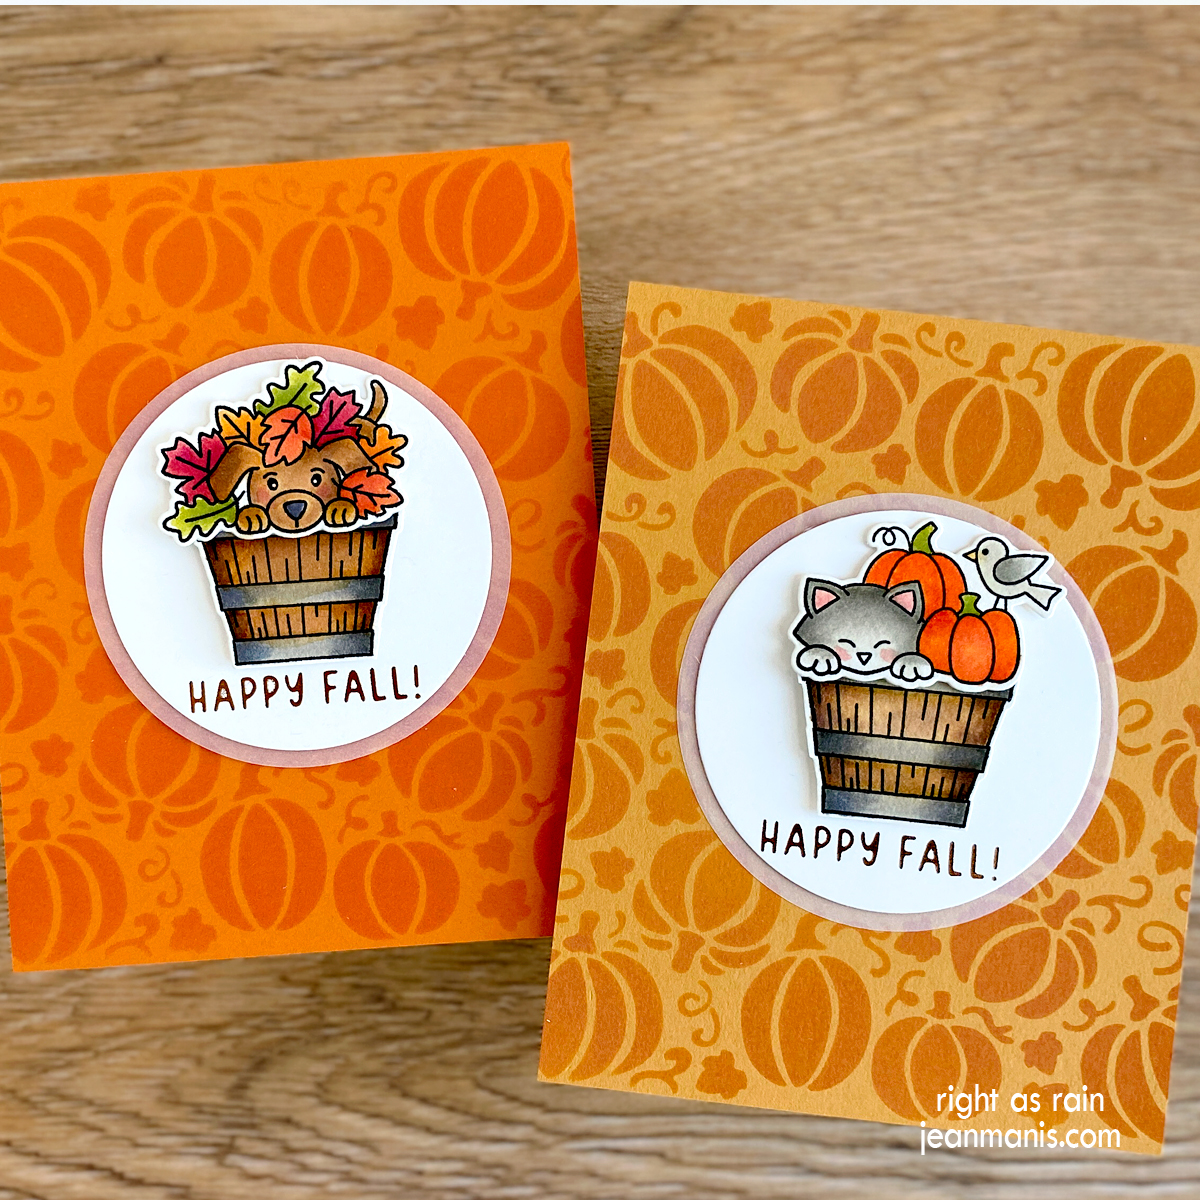
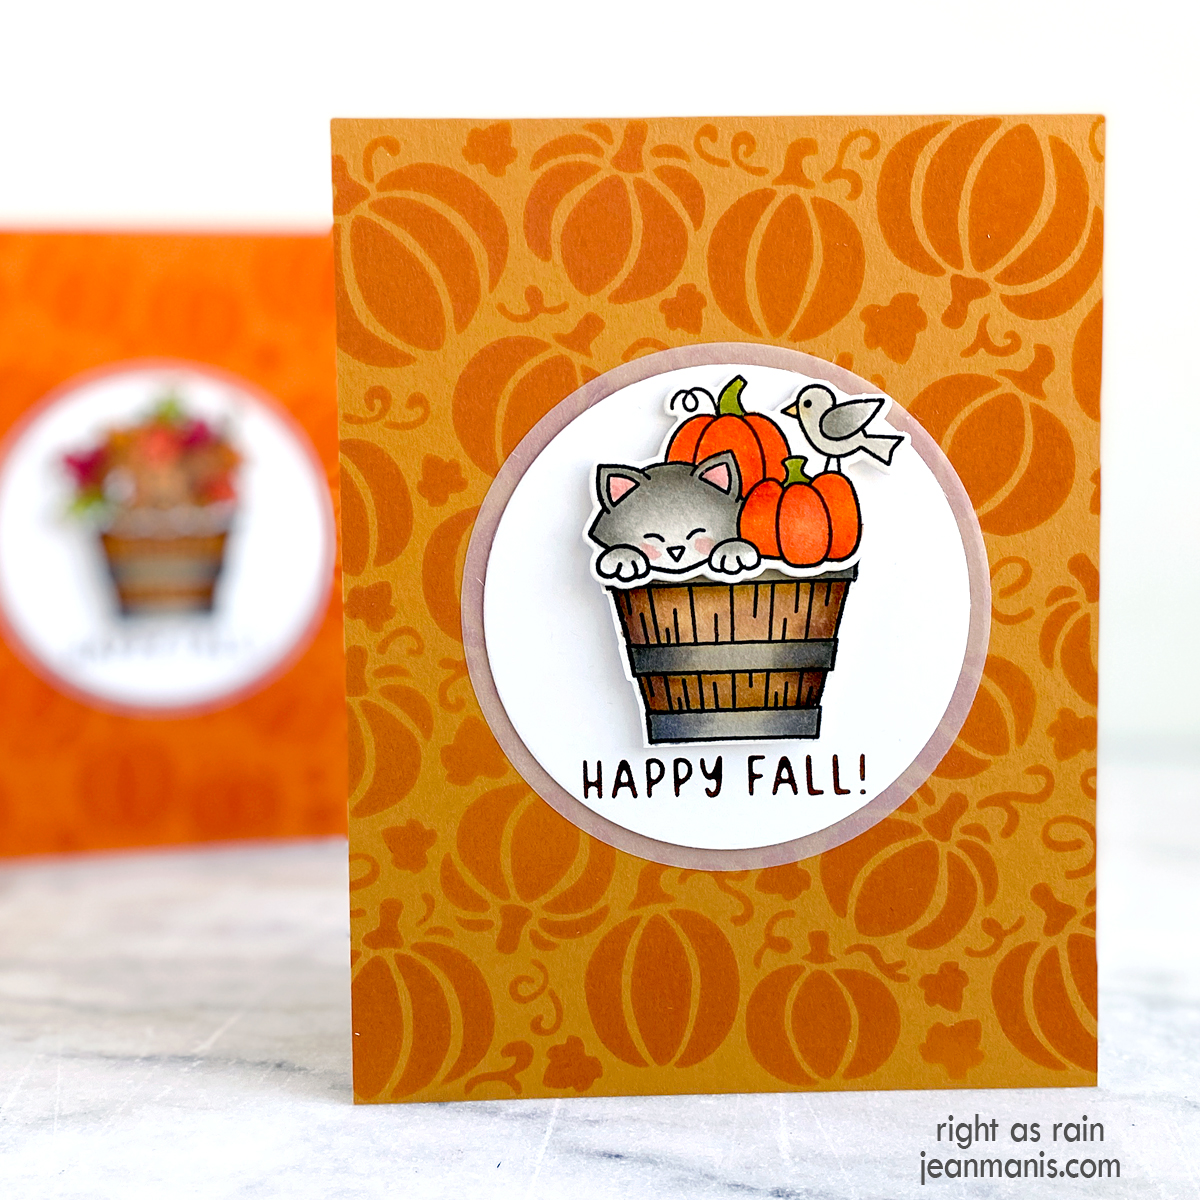
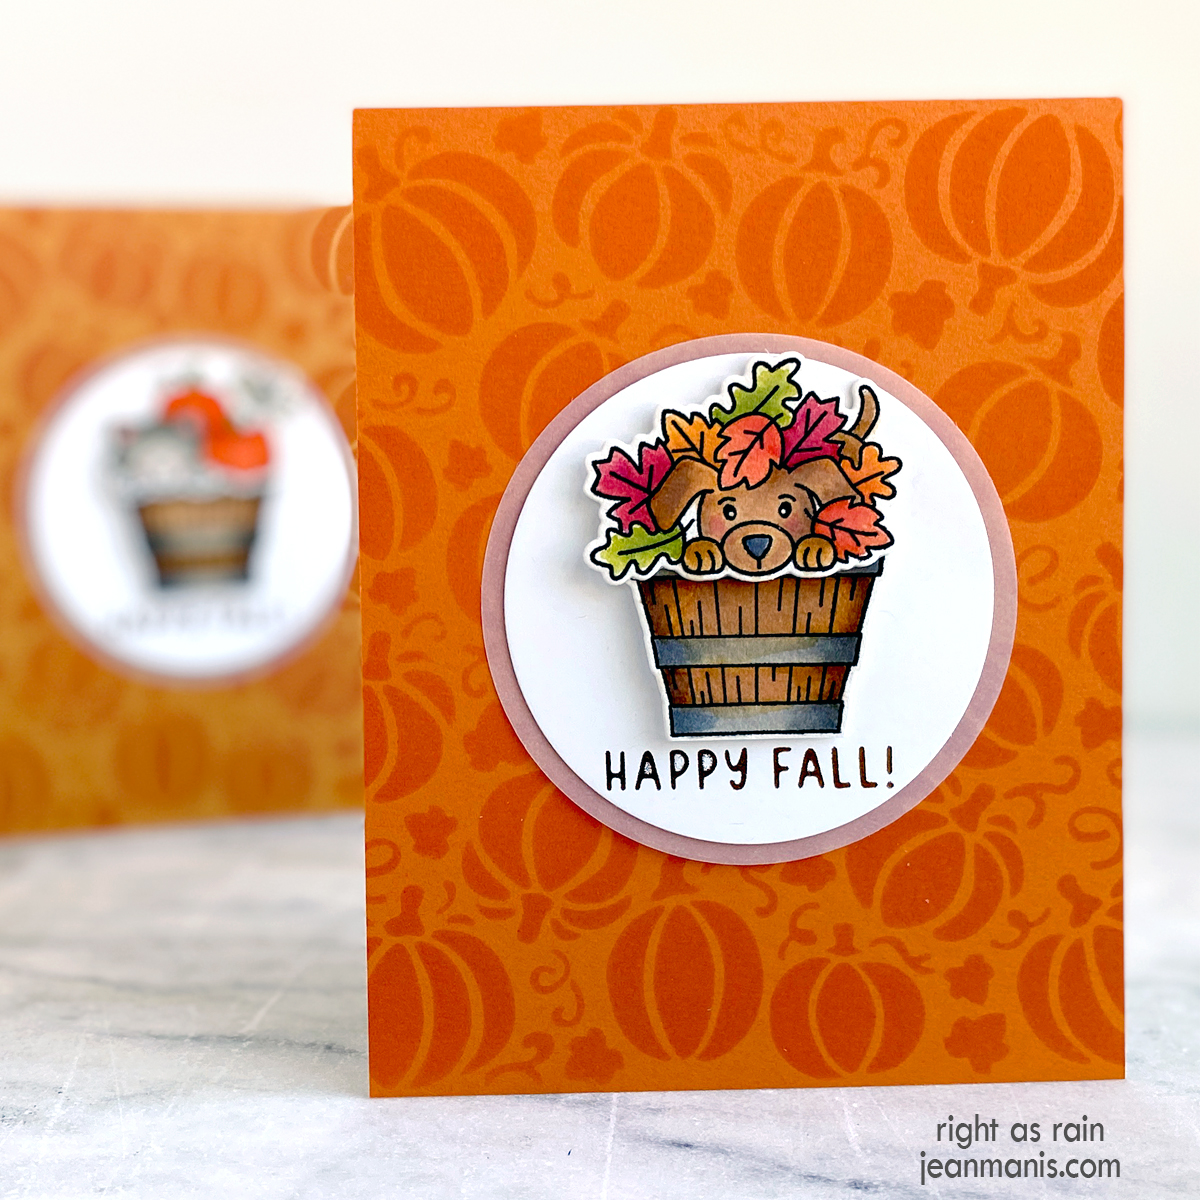
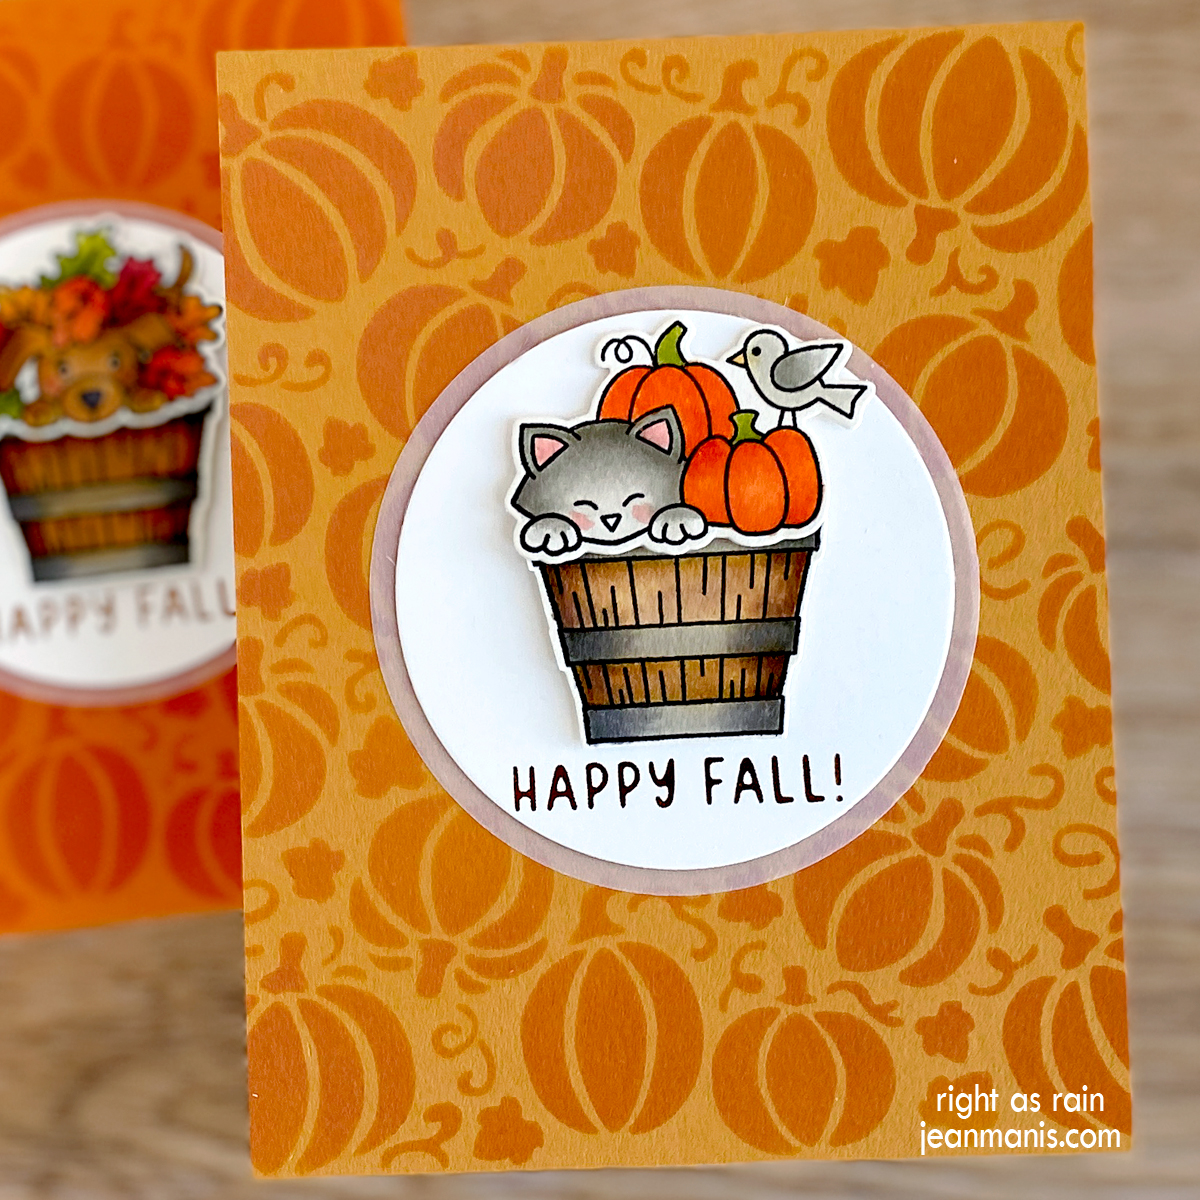
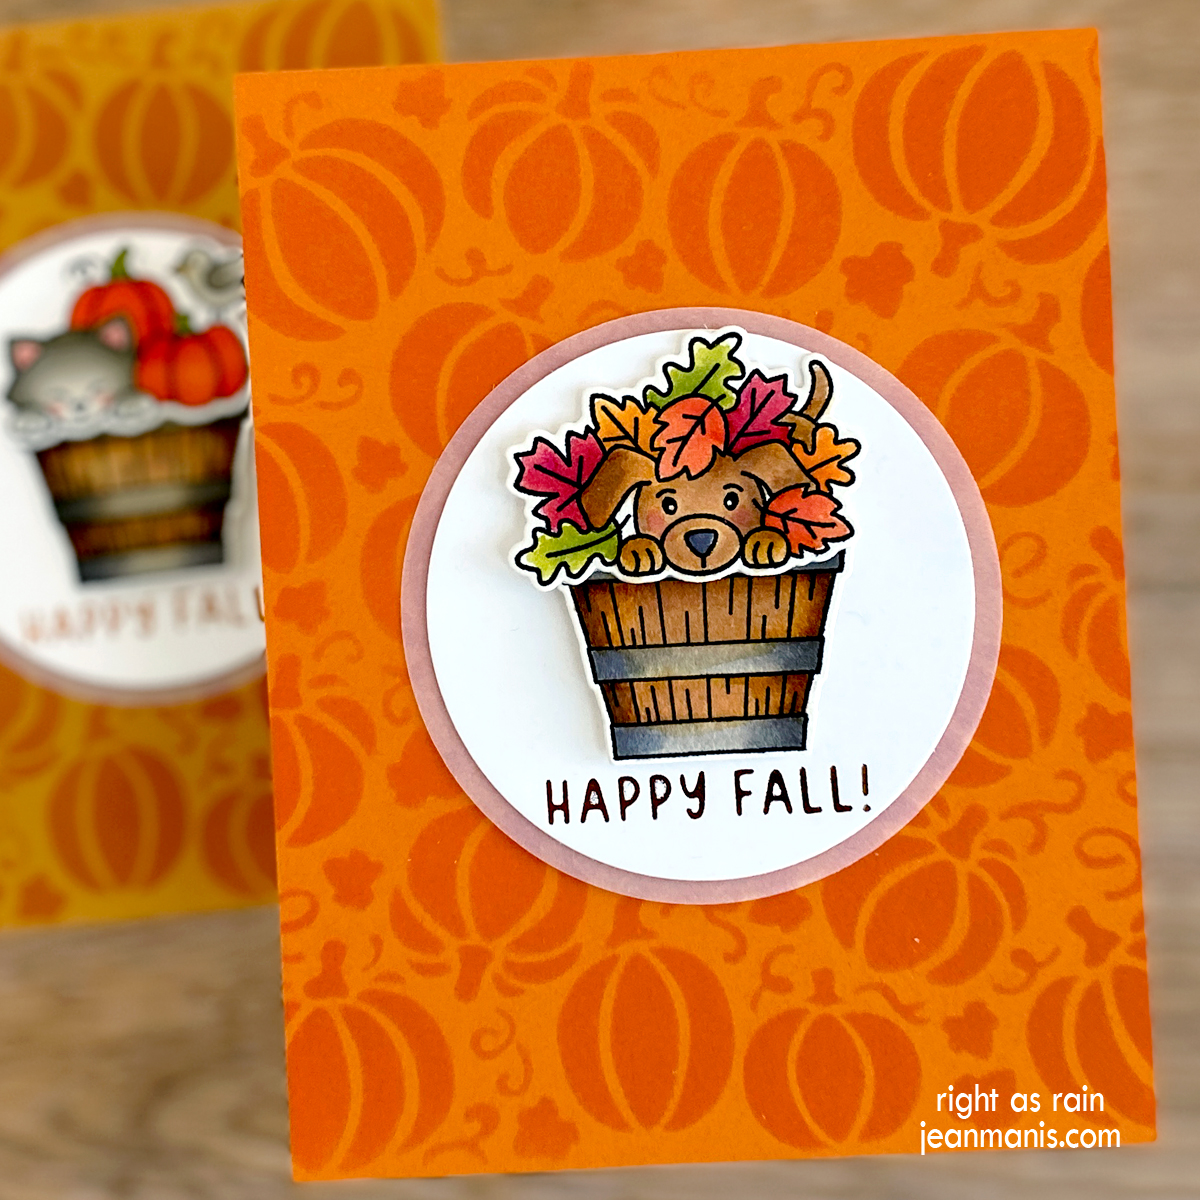
Hello! Today I am sharing two more cards created with the Newton’s Nook Designs Fall Harvest stamp set. I previously shared cards with this stamp and coordinating die set HERE. This time, I am using stenciled pumpkin backgrounds rather than patterned paper ones, applying ink through a stencil on to coordinating cardstock for a tone-on-tone background. You can read my post about creating stenciled backgrounds for cards HERE.

Newton’s Nook Designs | Fall Harvest Take Two

Newton’s Nook Designs | Fall Harvest Take Two

  • To create the focal images, stamp the Fall Harvest images with Versafine on Arches Cold Press watercolor paper and heat set. Color the images with watercoloring mediums of choice. Once dry, cut the images with the dies in the coordinating set. (Check out my “Resources for Watercoloring Stamped Images” HERE.)
  • To create the card backgrounds, apply ink through the Pumpkin Patch stencil. For the background with the dog, I used Dried Marigold ink on SU Pumpkin cardstock, and on the other background with the cat, I used Wild Honey ink on SU More Mustard cardstock. Trim panels to A2-size and attach to card bases. (Next time, I will cut the cardstock to A2 size before applying ink through the stencil. The stencil pattern is 5 1/2″ square.)
  • Glimmer foil the sentiment in the Autumn Greetings set with Copper foil on white cardstock (I used Taylored Expressions Sugar Cube, as it is not stark white). Cut panel with a 2 3/4″ die in the Everlasting Circles set. Cut another circle from vellum with a 3″ die in the same set.
  • Assemble the focal images, add the images to the circle mats, and adhere to the card fronts.

Newton’s Nook Designs | Fall Harvest Take Two

Newton’s Nook Designs | Fall Harvest Take Two


Spellbinders | Deco Holiday Embossing

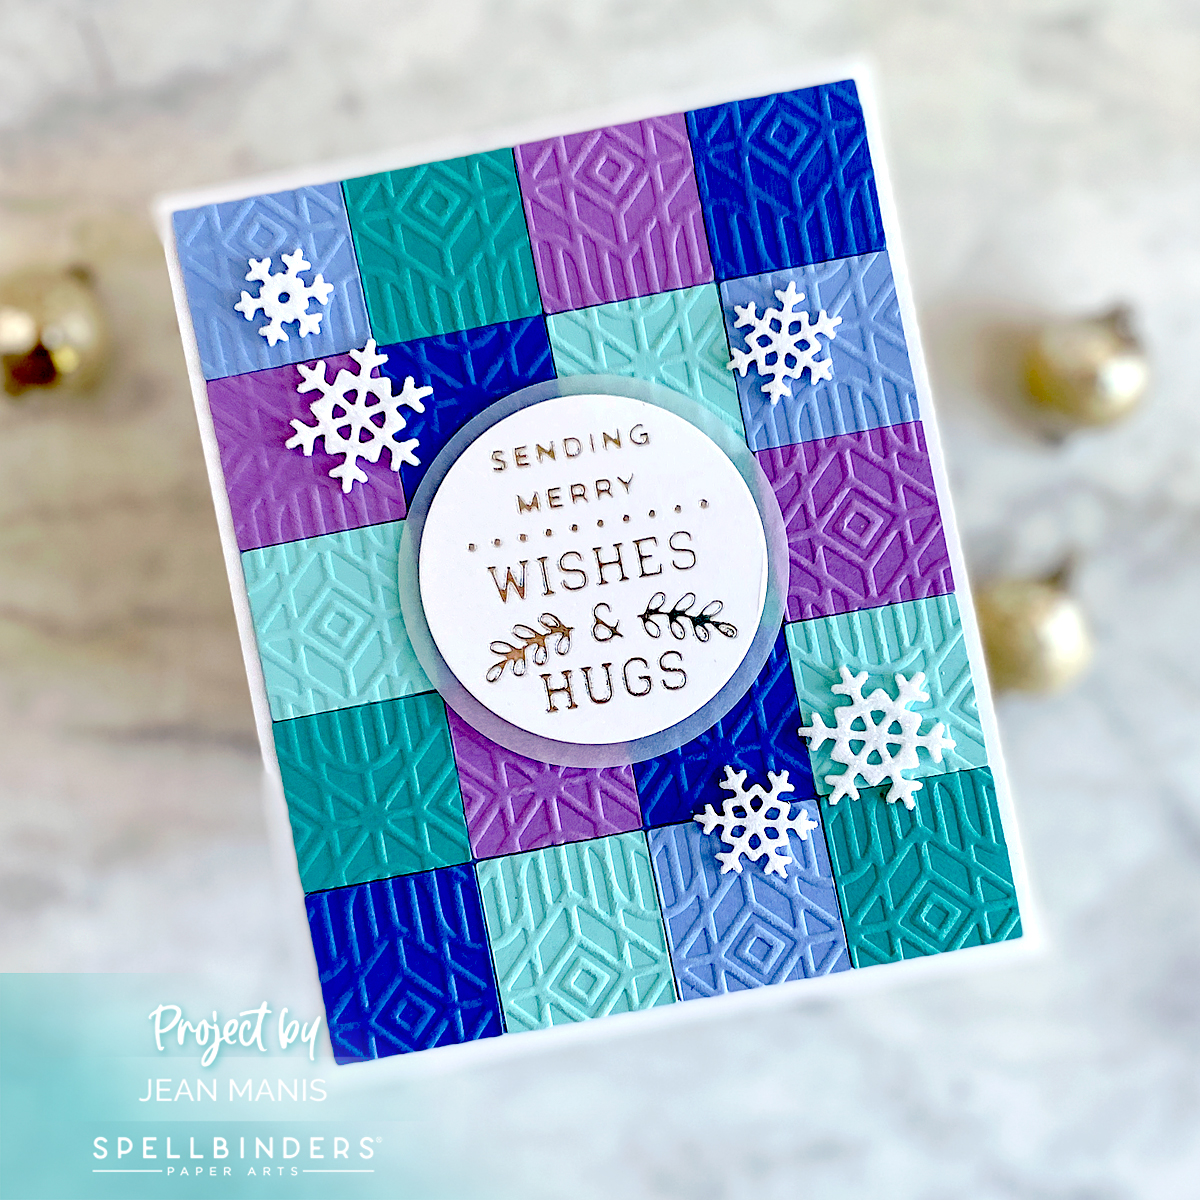
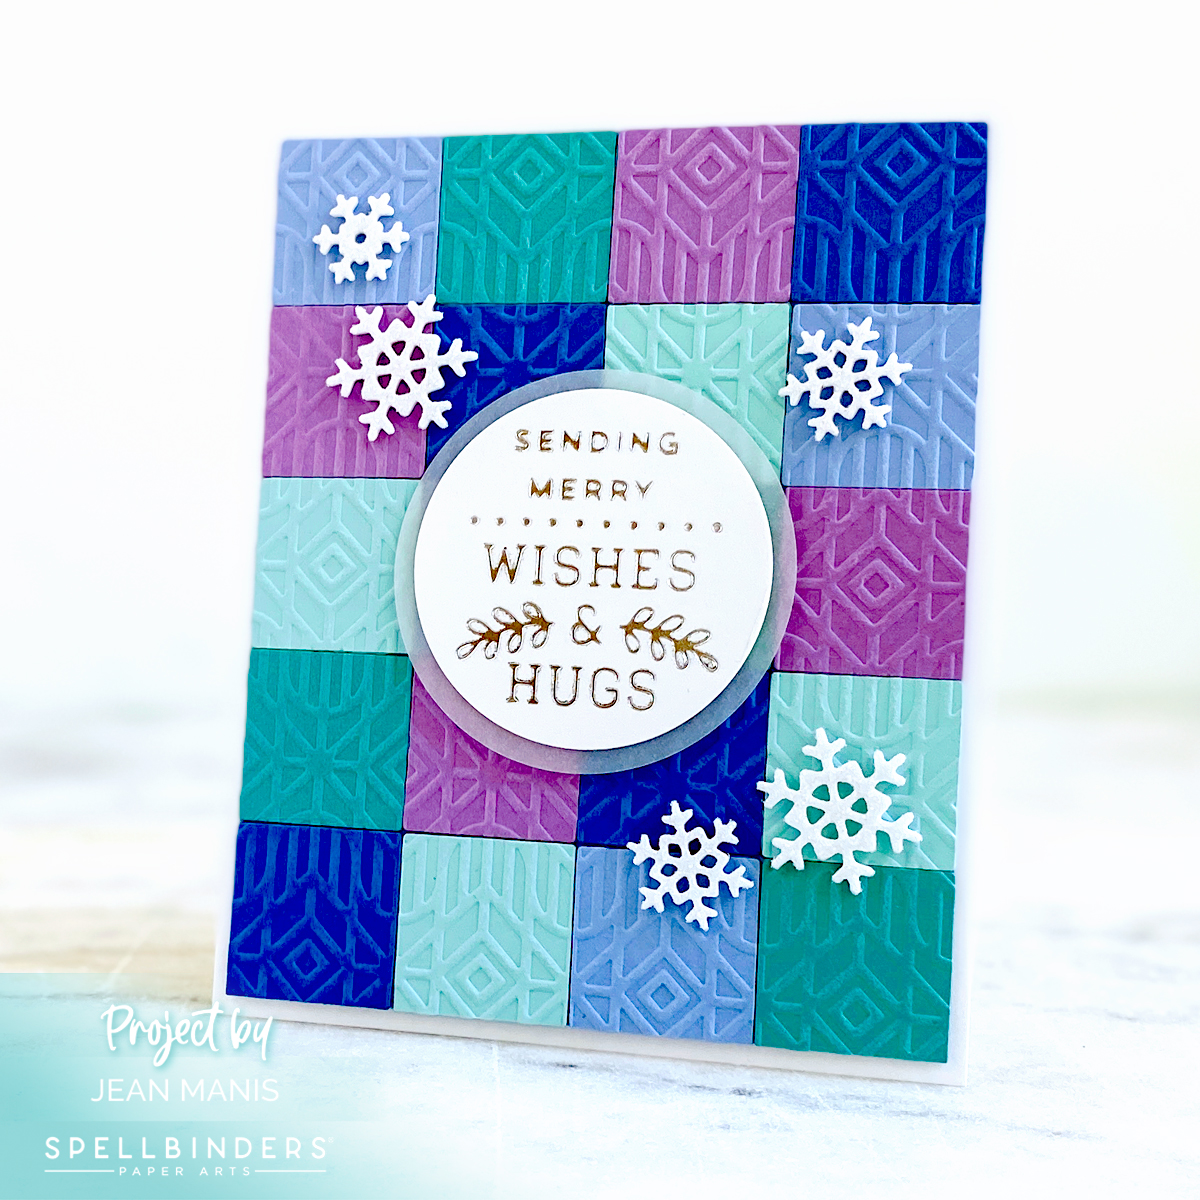
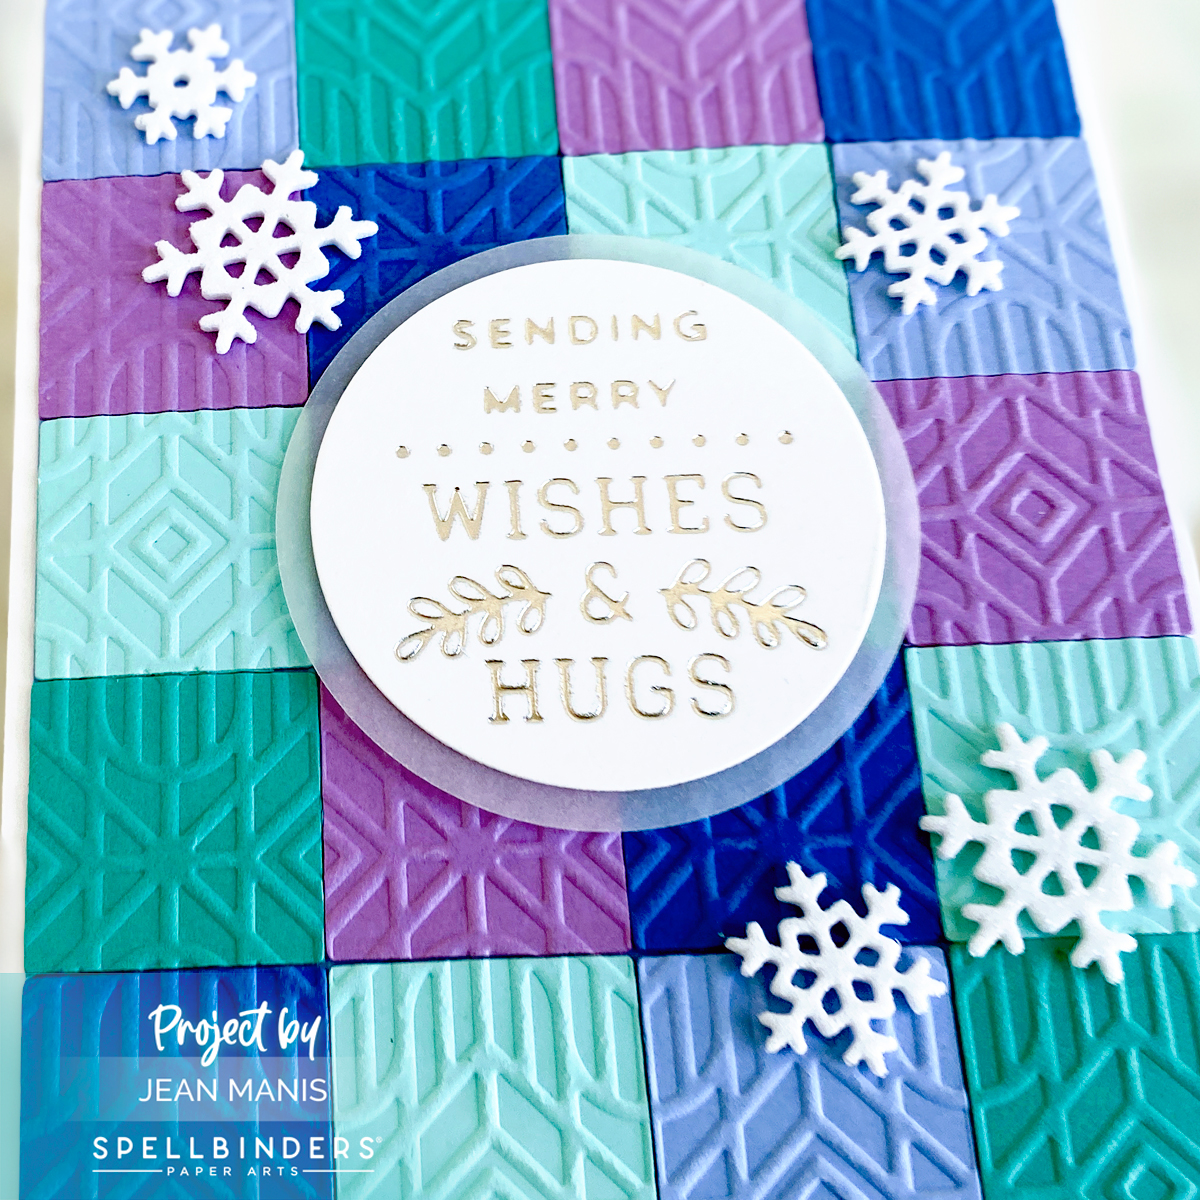
Hello! Today, I am sharing a CAS, holiday card showcasing the Spellbinders Deco Holiday embossing folder, used to dry-emboss a pattern of squares and paired with a glimmer-foiled sentiment.

Spellbinders | Deco Holiday Embossing

  • Using the 1″ die in the Everlasting Squares set, I cut twenty cardstock squares of purple, teals, and blues. I arranged the squares and taped them together on the back before dry embossing with the Deco Holiday folder. I added the panel to a Snowdrift cardstock base measuring 4 1/4″ x 5 1/4″.
  • Using one of the sentiments in the Christmas Mailbox Greetings set, I glimmer foiled Snowdrift cardstock in silver. I cut the sentiment with the 2″ die in the Everlasting Circles set and attached it to a circle cut from vellum with the 2 1/4″ die.
  • I attached the sentiment circle to the card center with foam adhesive and embellished with snowflakes cut with the Holiday Decorations set from white foam glitter.

Spellbinders | Deco Holiday Embossing

You can read more about card backgrounds created with embossing folders HERE.

Take advantage of the Spellbinders Fall Warehouse Sale that runs now through September 21!

Spellbinders Fall Warehouse Sale 2023


Newton’s Nook Designs | Fall Harvest

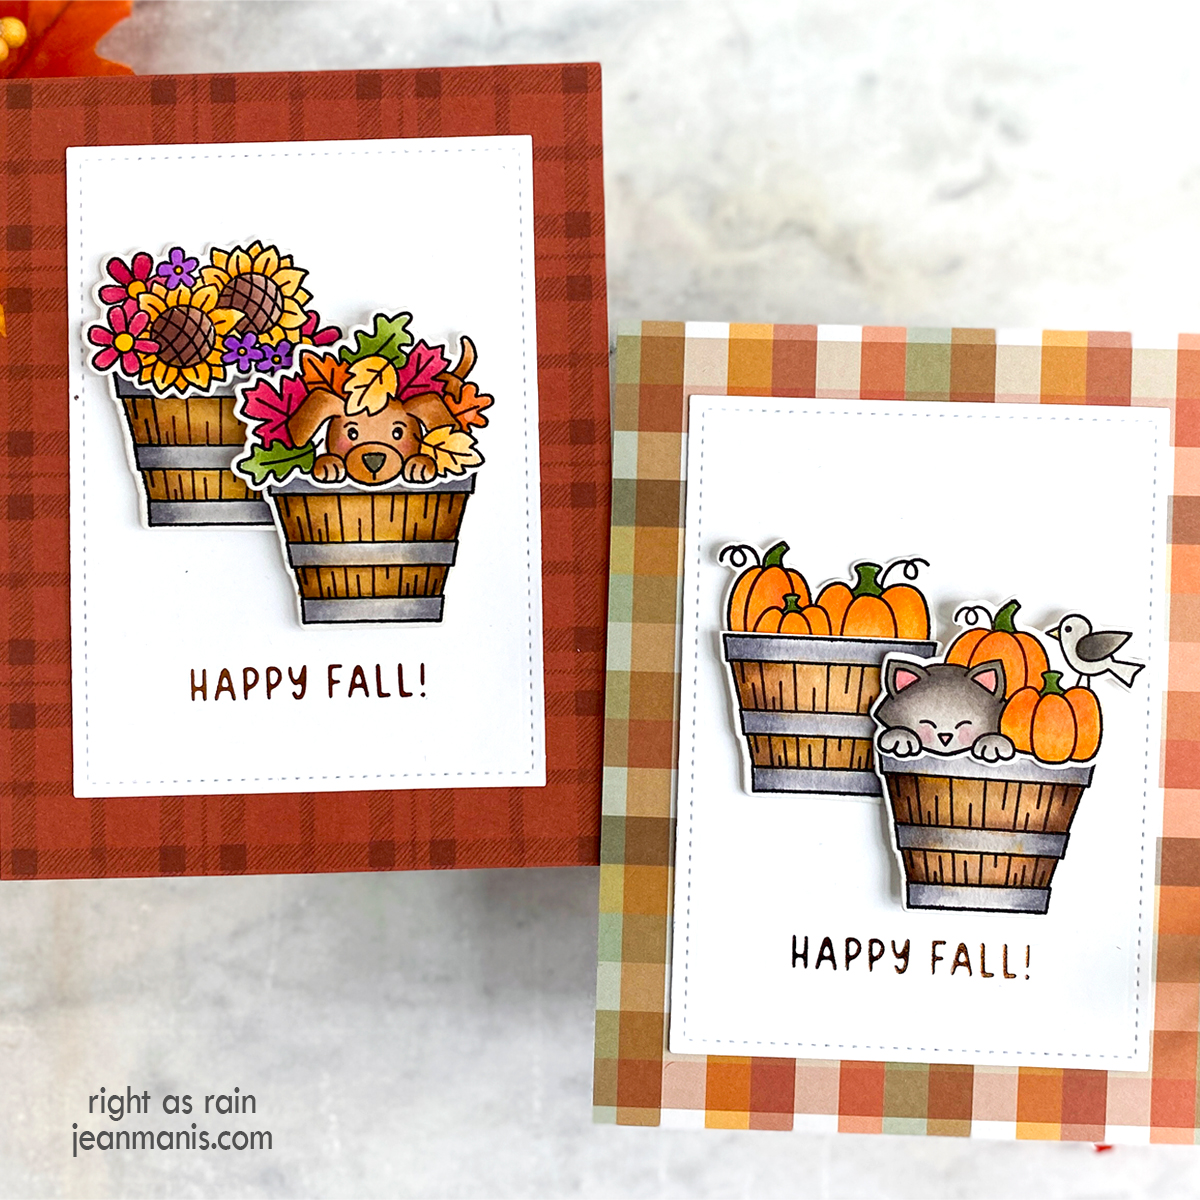
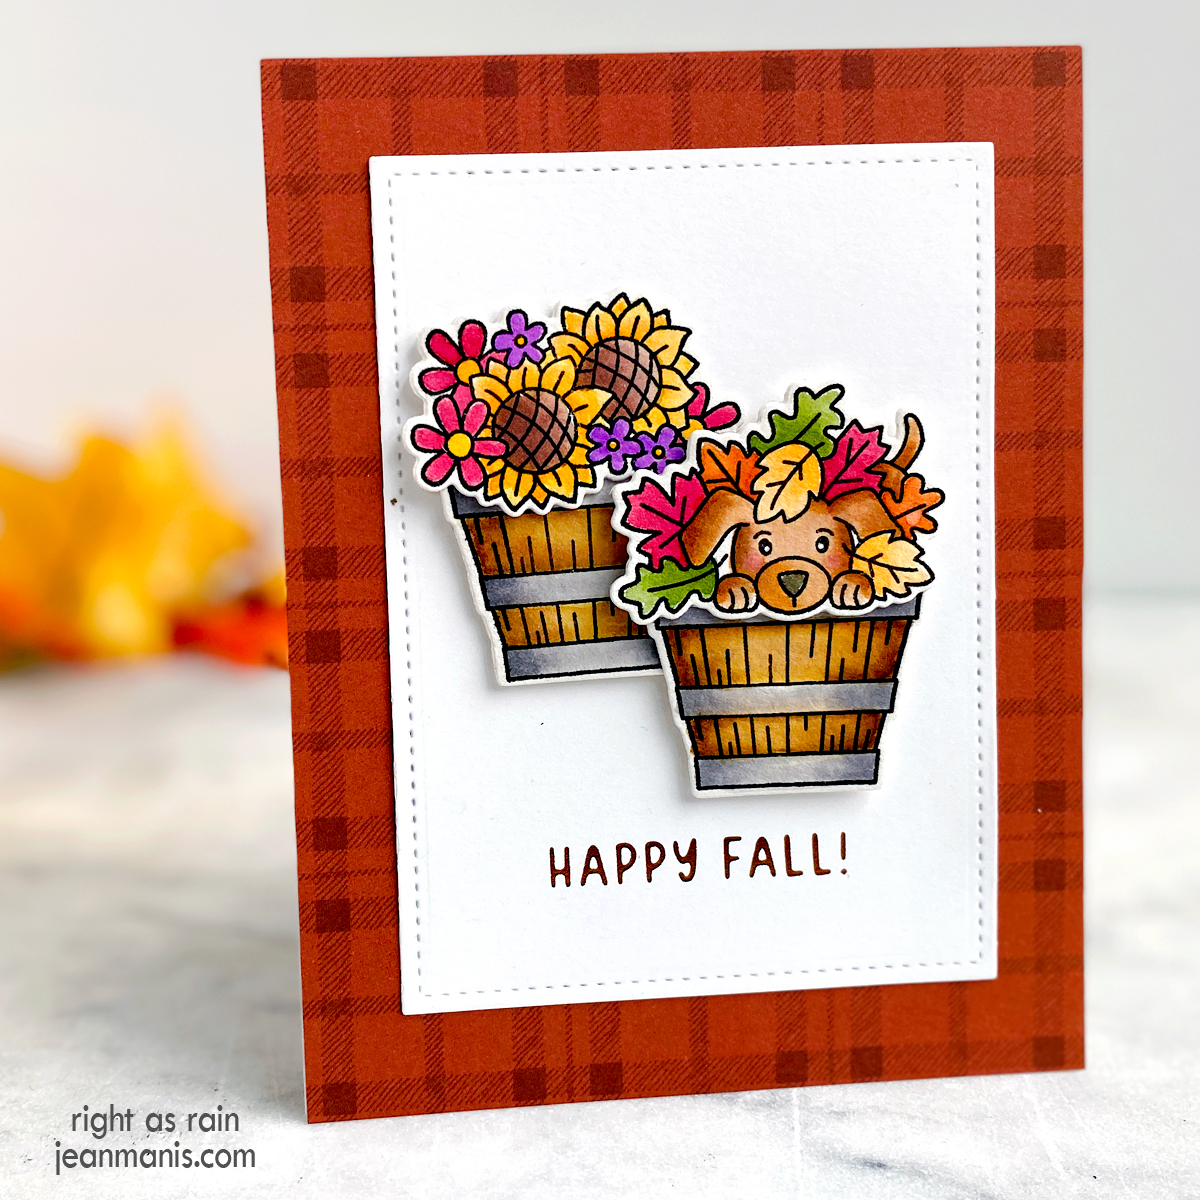
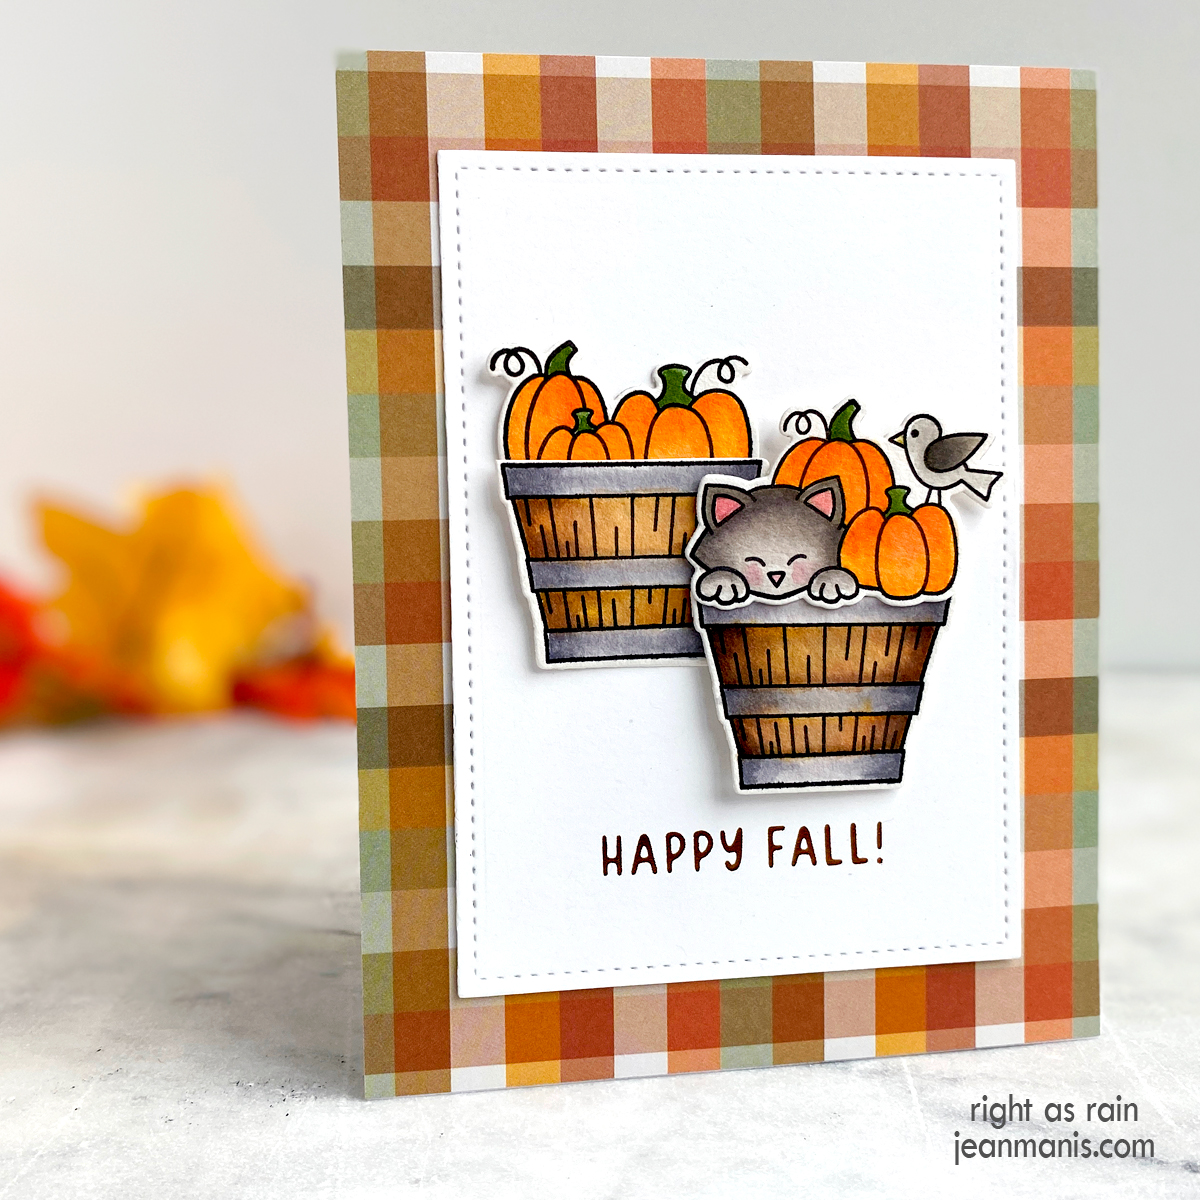
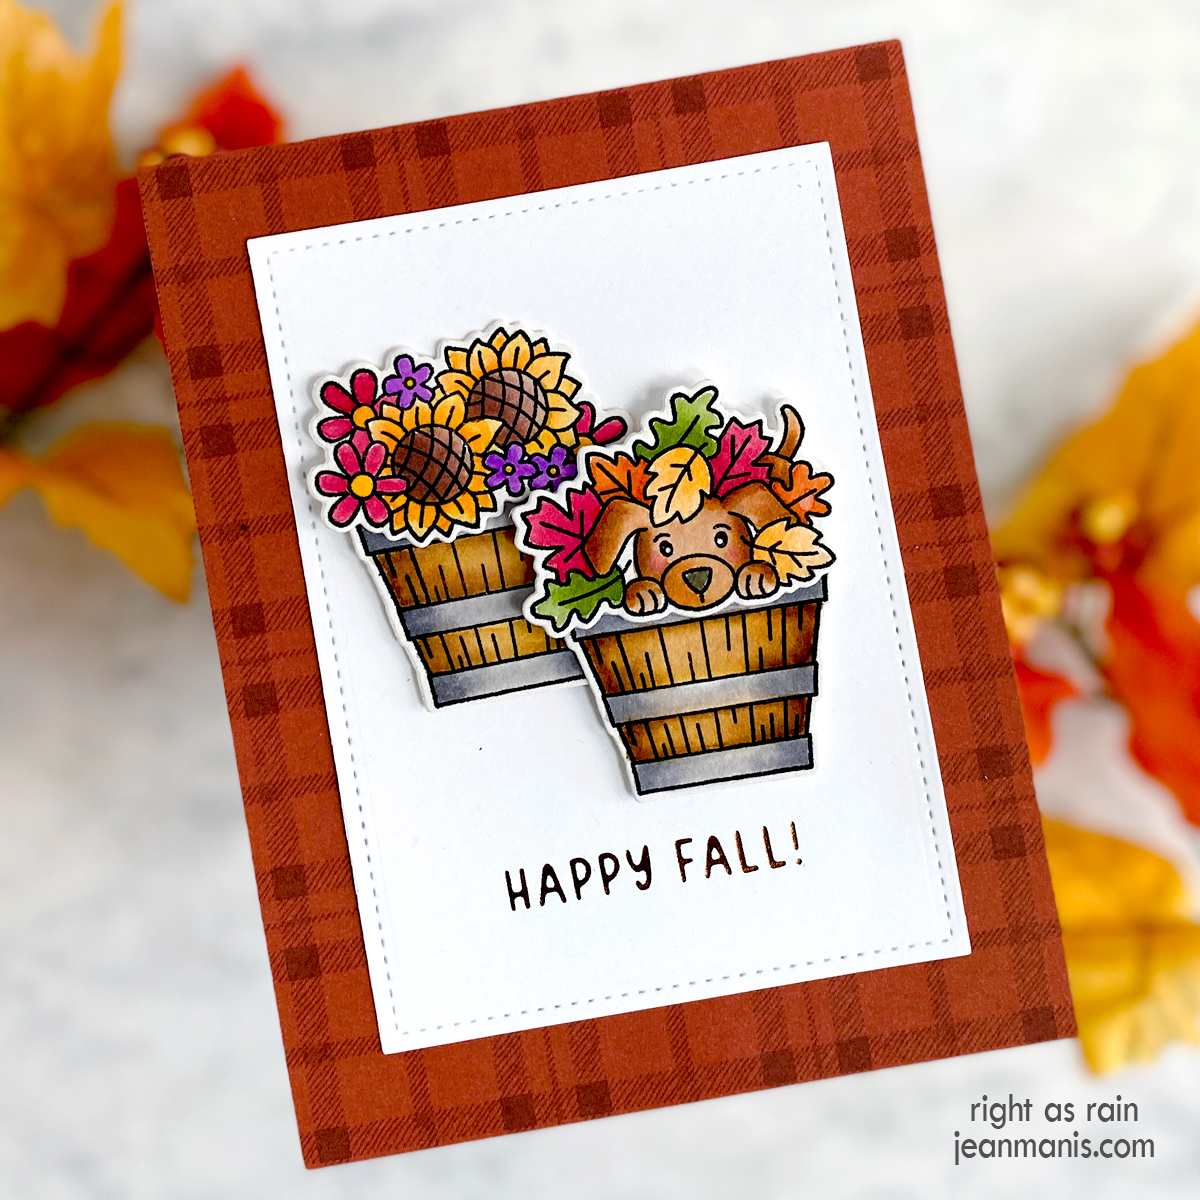
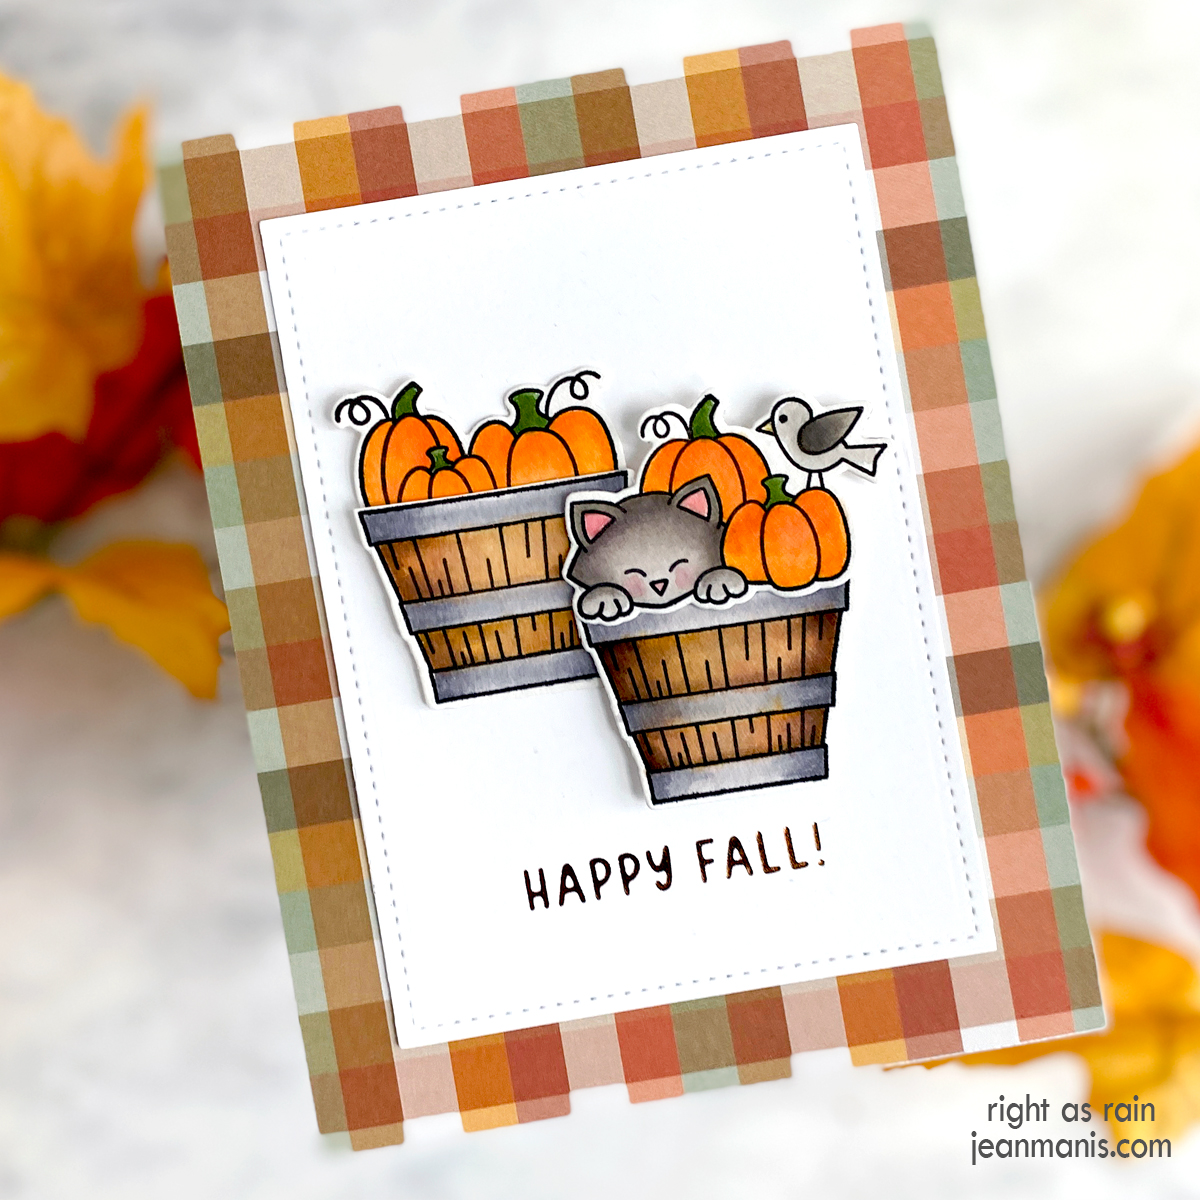
Hello! As the leaves turn golden and the air cools, I find myself embracing the charm of the fall season. Today, I am showcasing the Newton’s Nook Designs Fall Harvest stamp set on two friendship cards of the same design.

Newton's Nook Designs | Fall Harvest

To create the focal images, stamp the Fall Harvest images with Versafine on Arches Cold Press watercolor paper and heat set. Color the image with watercoloring medium of choice. Once dry, cut the images with the dies in the coordinating set. (Check out my “Resources for Watercoloring Stamped Images” HERE.)

Newton's Nook Designs | Fall Harvest

To create the card backgrounds, cut Fall Plaids papers and add to A2-size card bases.

Glimmer foil the sentiment in the Autumn Greetings set with Copper foil on white cardstock (I used Taylored Expressions Sugar Cube, as it is not stark white). Cut panel with die in the Large Stitched Rectangle Stackables set and attach to card base.

Newton's Nook Designs | Fall Harvest

Newton's Nook Designs | Fall Harvest

Assemble the focal images and add to the cards with dot and foam adhesive.