Art Impressions Winter Wonderland

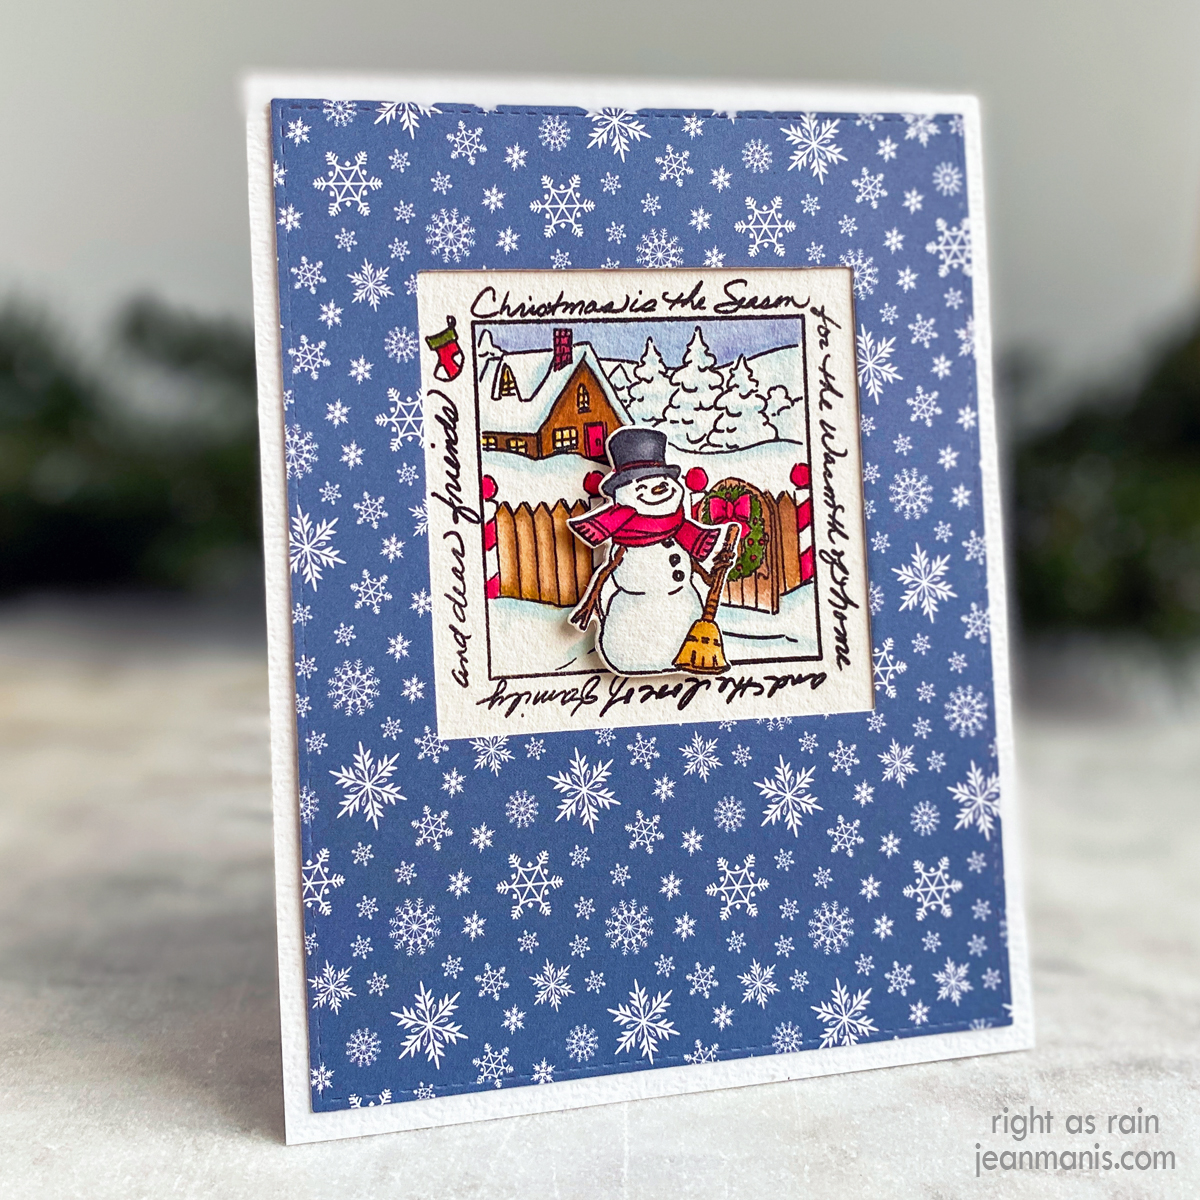
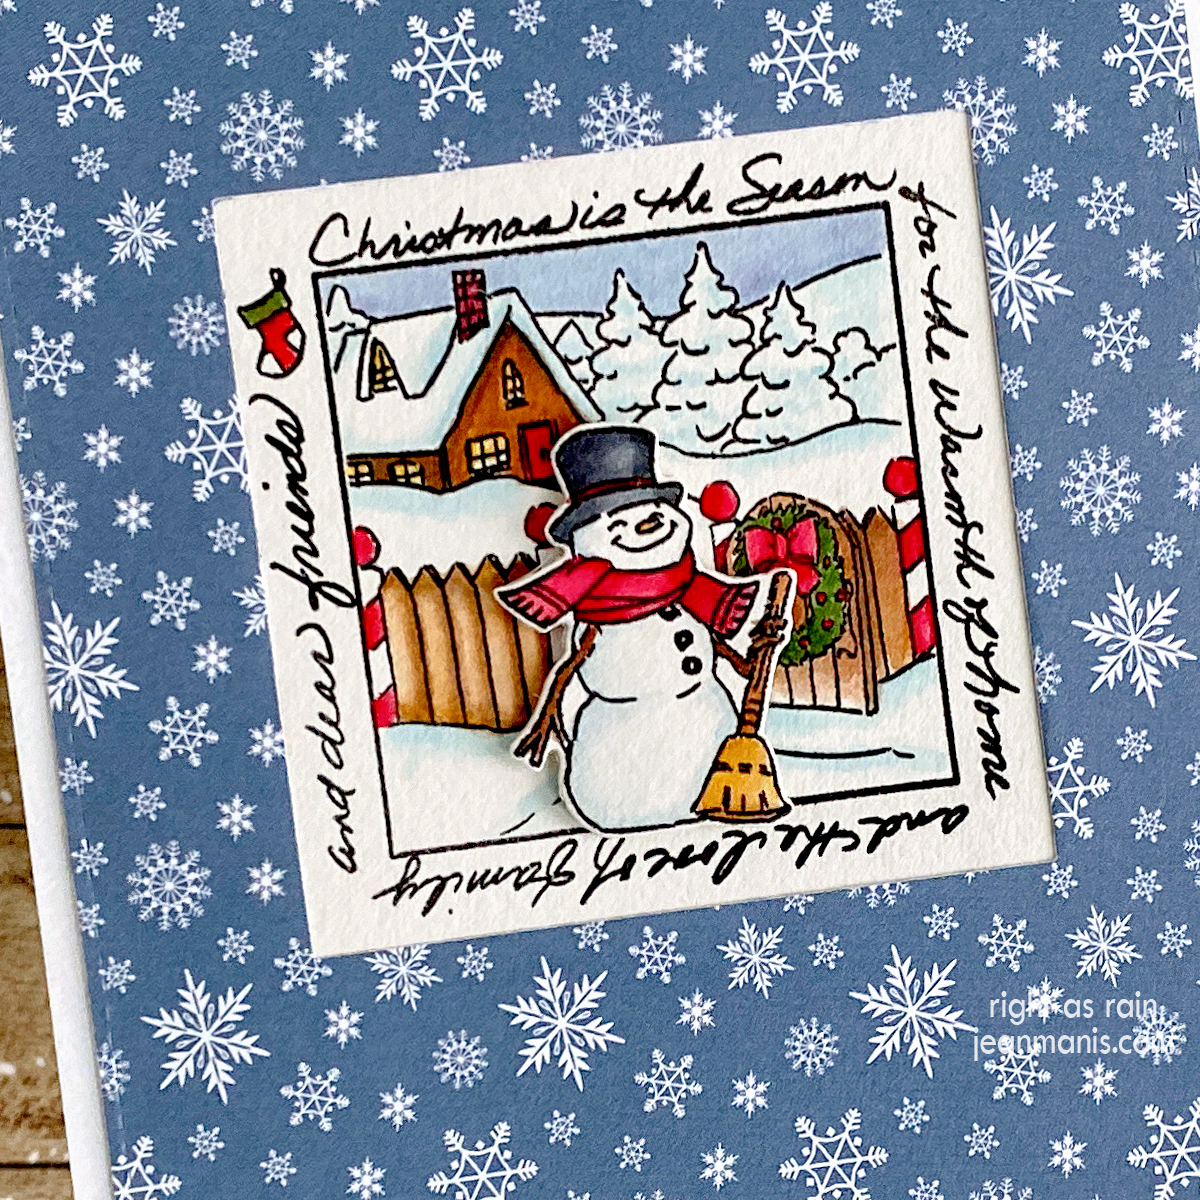
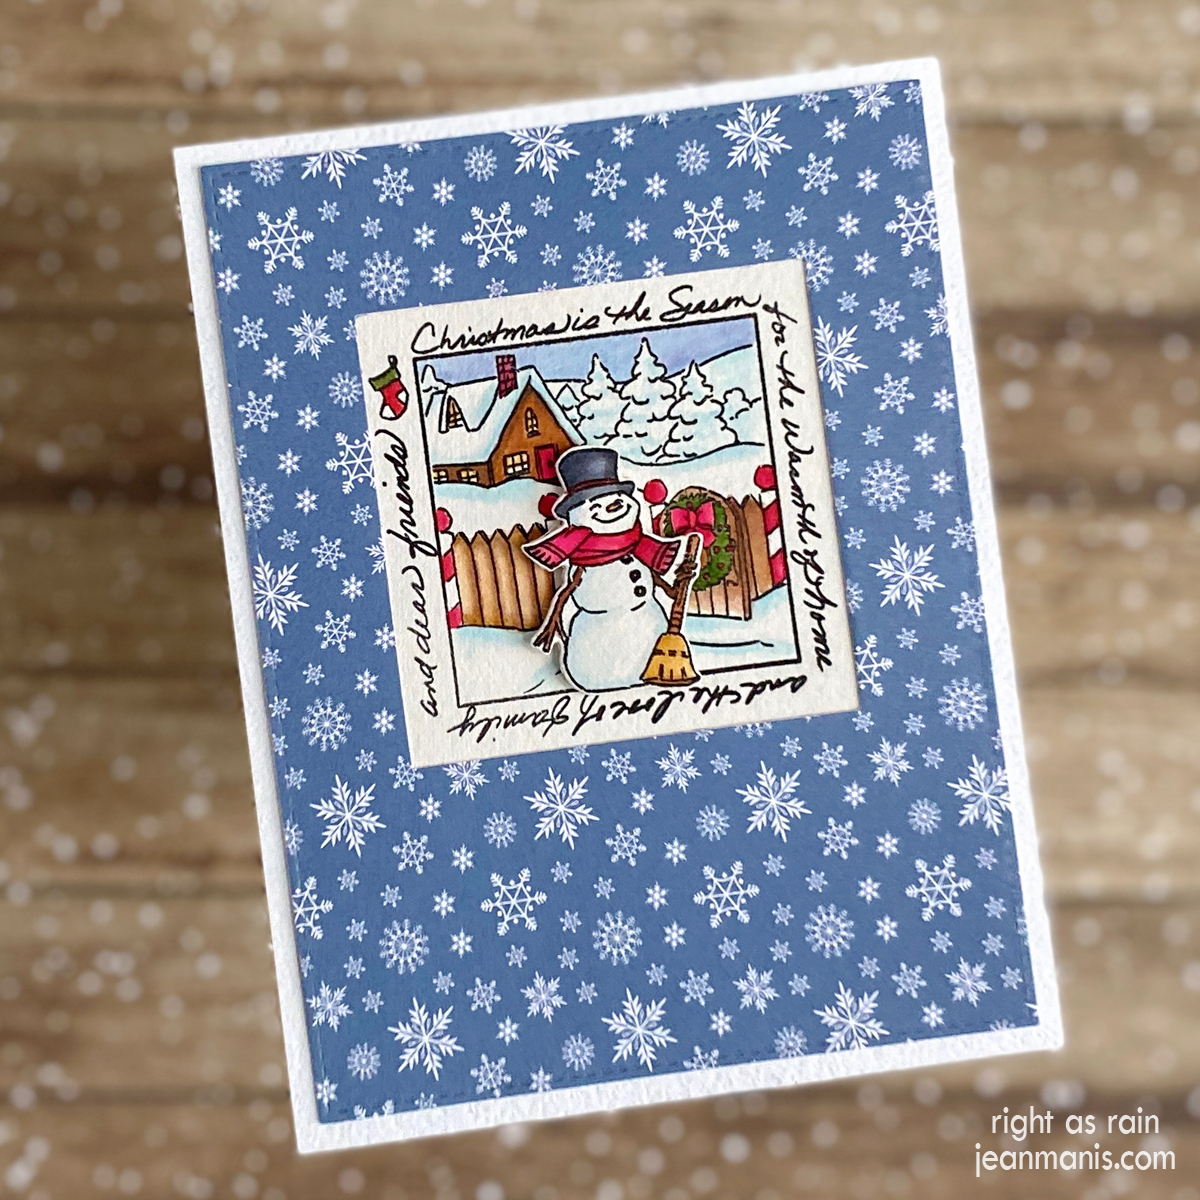
Hello and Merry Christmas! Step into a picturesque scene of a cozy house nestled in the snow, created with the Art Impressions Snowy Window stamp and die set.
Art Impressions Snowy Window

  • Stamp Snowy Window images (scene and snowman) with VersaFine ink on Arches Cold Press watercolor paper; heat set. Color the images with watercoloring mediums of choice (I used Tombow markers). Set aside to dry. (You can read more about watercoloring stamped images HERE.) Once dry, cut the snowman with the die included in the Snowy Window set.
  • Cut a 4 x 5 1/4 inch patterned paper panel (I used a now-retired My Favorite Things die). Use a square die to cut a window in the panel. Attach patterned paper frame to the watercolored image. Add assembly to an A2-size card base. Add the snowman to the scene with foam adhesive.
Art Impressions Snowy Window

Art Impressions Snowy Window

The window set stamps at Art Impressions are a lot of fun to color. I shared a card created with the Birdhouse Neighborhood set HERE.

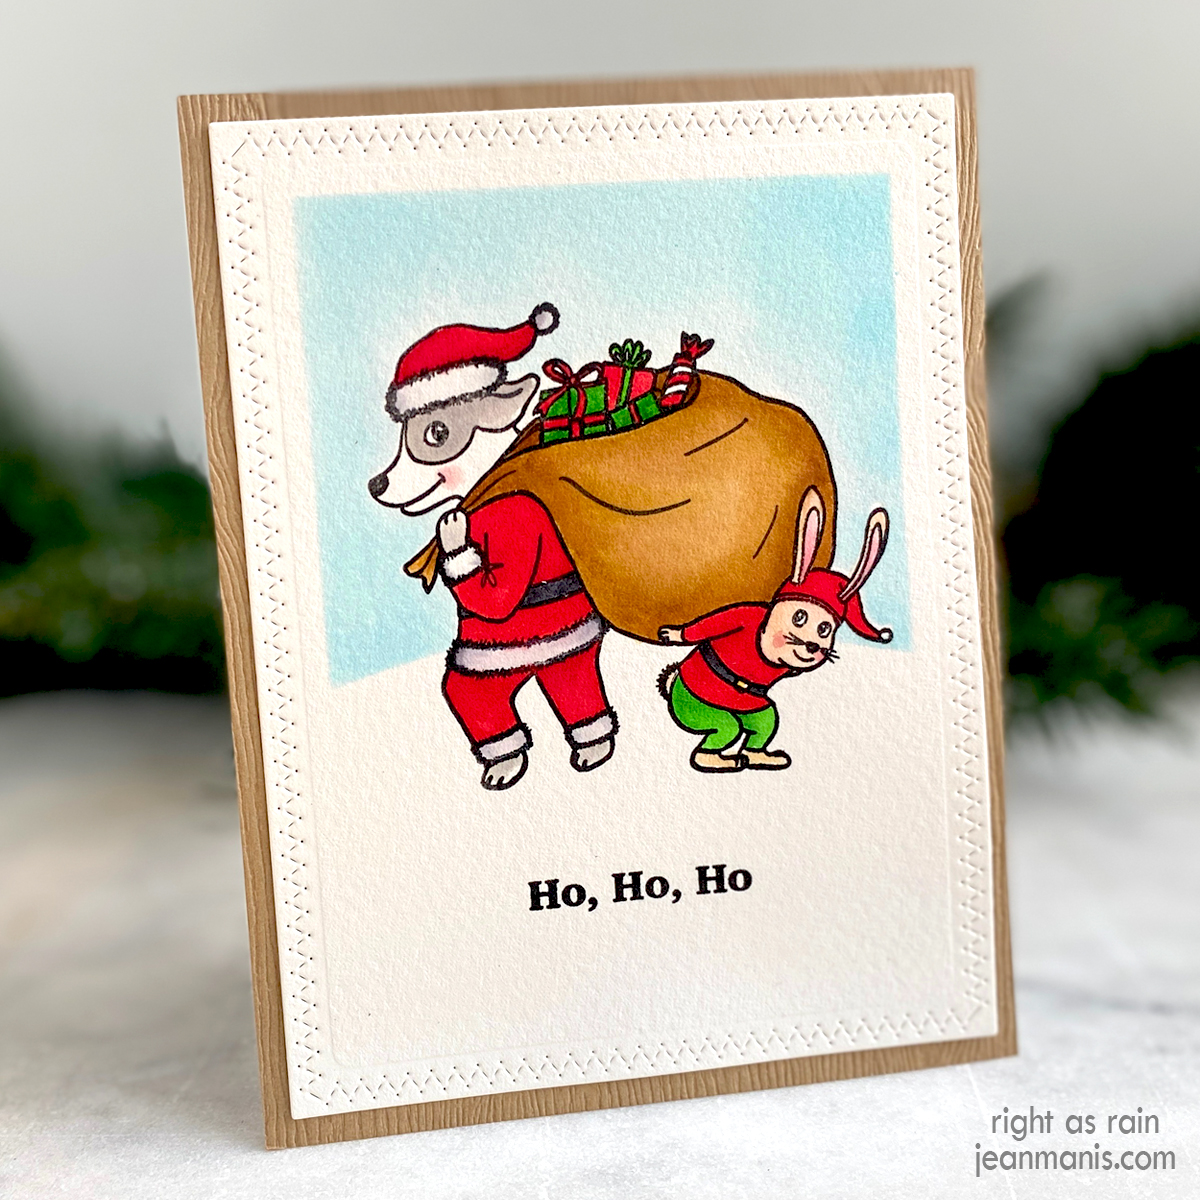
Watercolored Penny Black Santa Paws

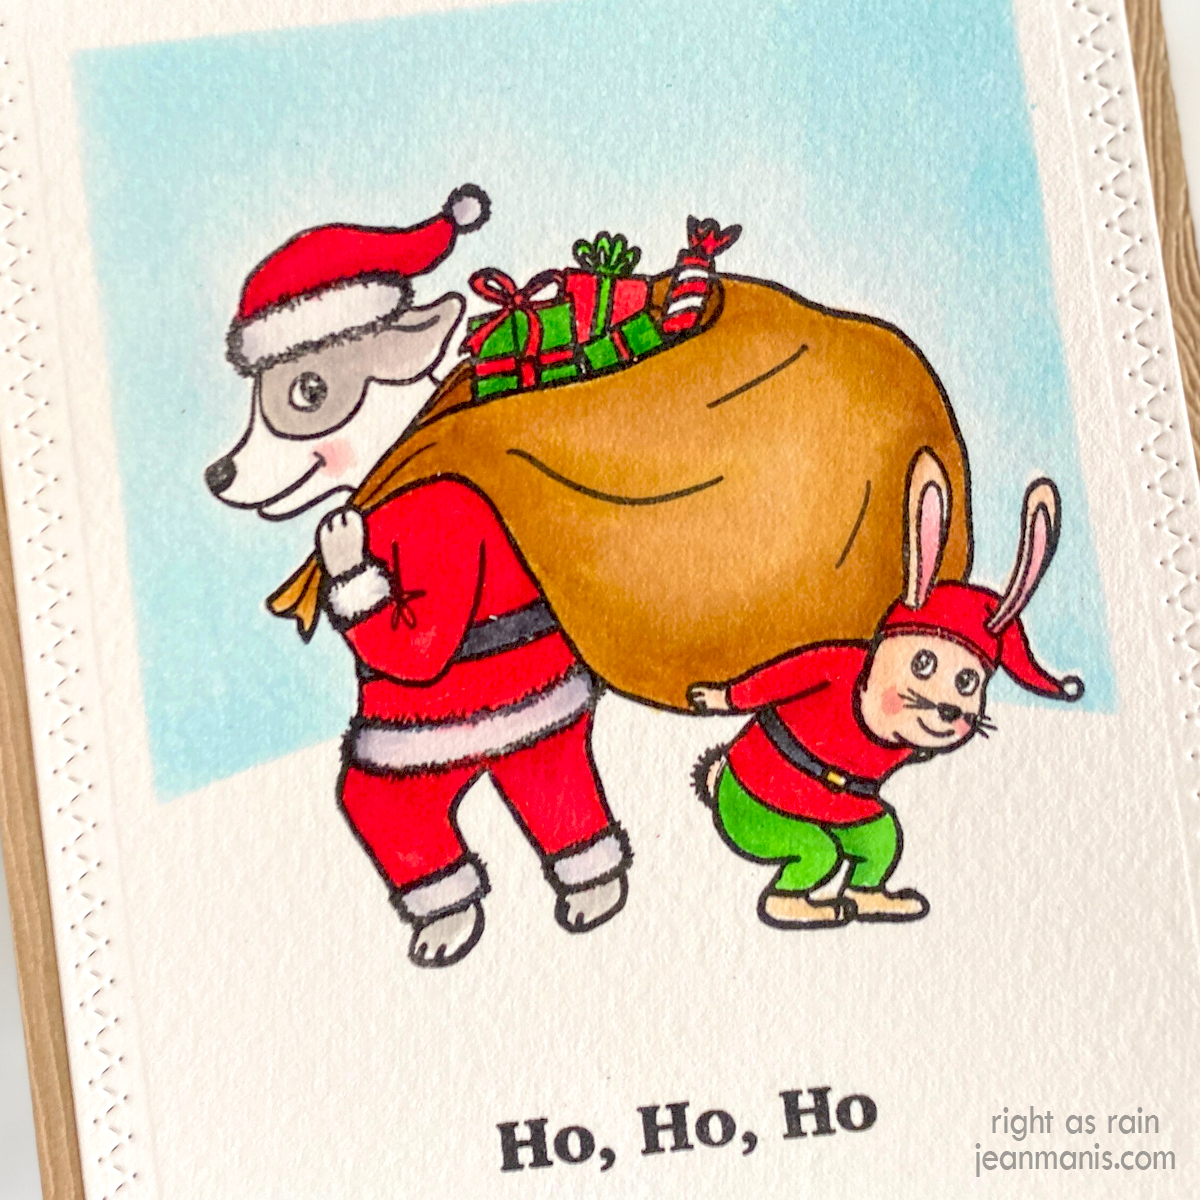
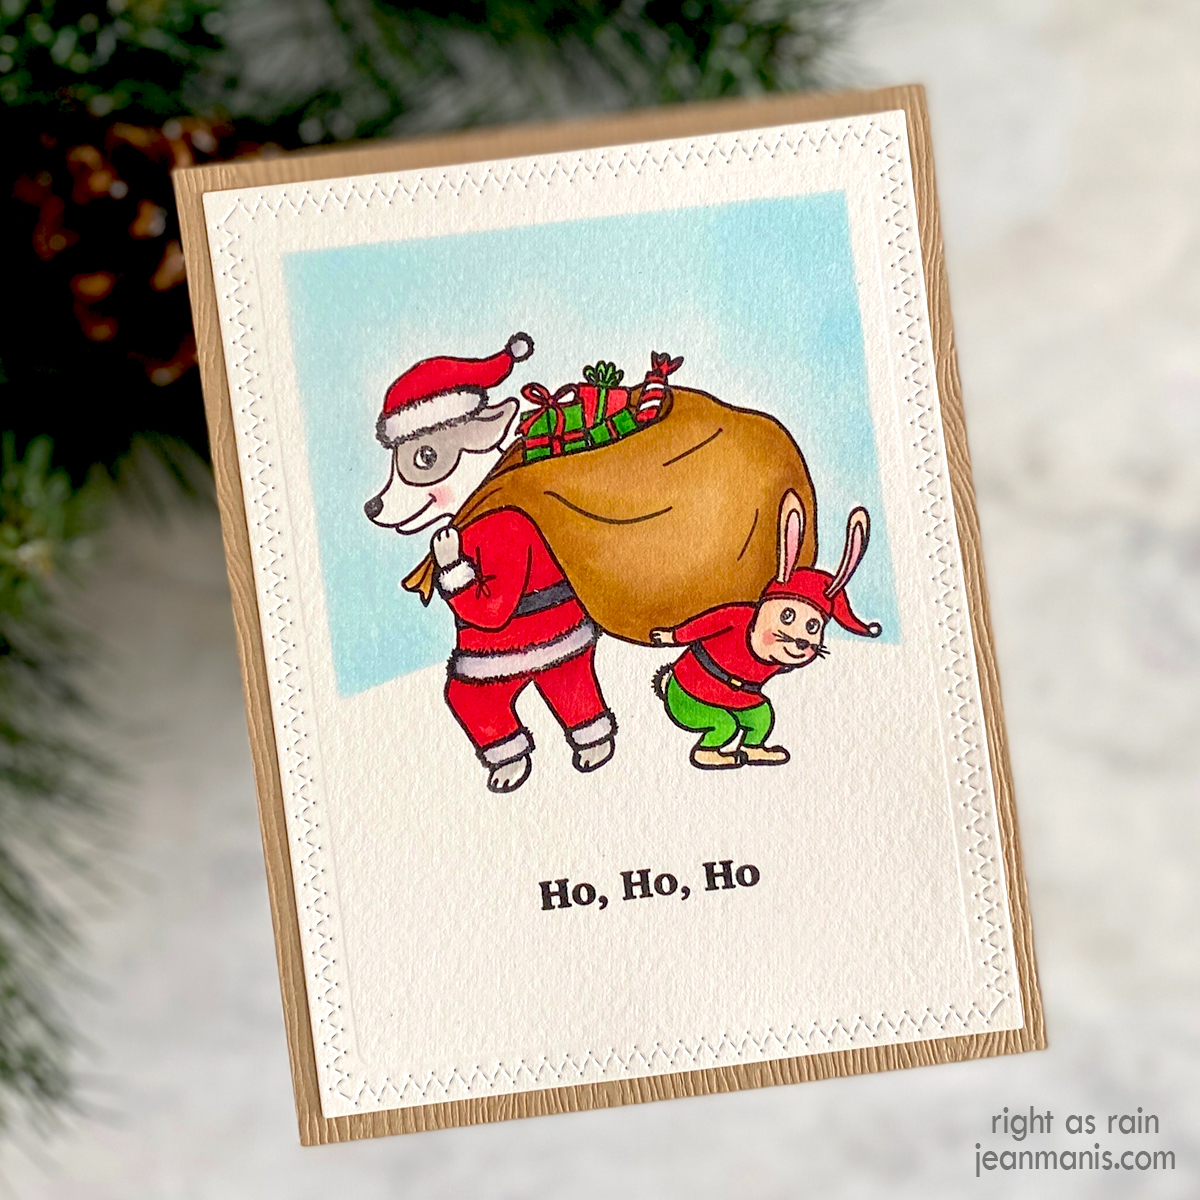
Hello! Today, I am sharing a holiday card featuring the adorable Penny Black Santa Paws stamp watercolored on a one-layer canvas. I was drawn to the image of a dog playing Santa and his rabbit helper spreading the magic of “Ho Ho Ho.”

Watercolored Penny Black Santa Paws

  • Cut an A2-size rectangle of Light Brown Woodgrain cardstock and add to a card base.
  • Stamp the Santa Paws image with Versafine on Arches Cold Press watercolor paper and heat set. Color the image with watercoloring mediums of choice (I used Distress Ink, and Zig and Tombow markers). (Check out my “Resources for Watercoloring Stamped Images” HERE.)
  • Stamp the image on to masking paper and fussy-cut.
  • Once the watercolored image is dry, stamp the sentiment on the panel.
  • Cut a snowbank from vellum. I used a die in the Sunny Studio Nature Borders set. Cover the image with the mask. Place the vellum snowbank over the image. Tape down one of the Background Basics stencils and apply Tumbled Glass ink to the sky area.
  • Cut the watercolored and stenciled panel with the largest die in the Zig Zag Stackers set. Add to the card base. I pressed the watercolored image overnight before adding to the card base.

Watercolored Penny Black Santa Paws

Watercolored Penny Black Santa Paws


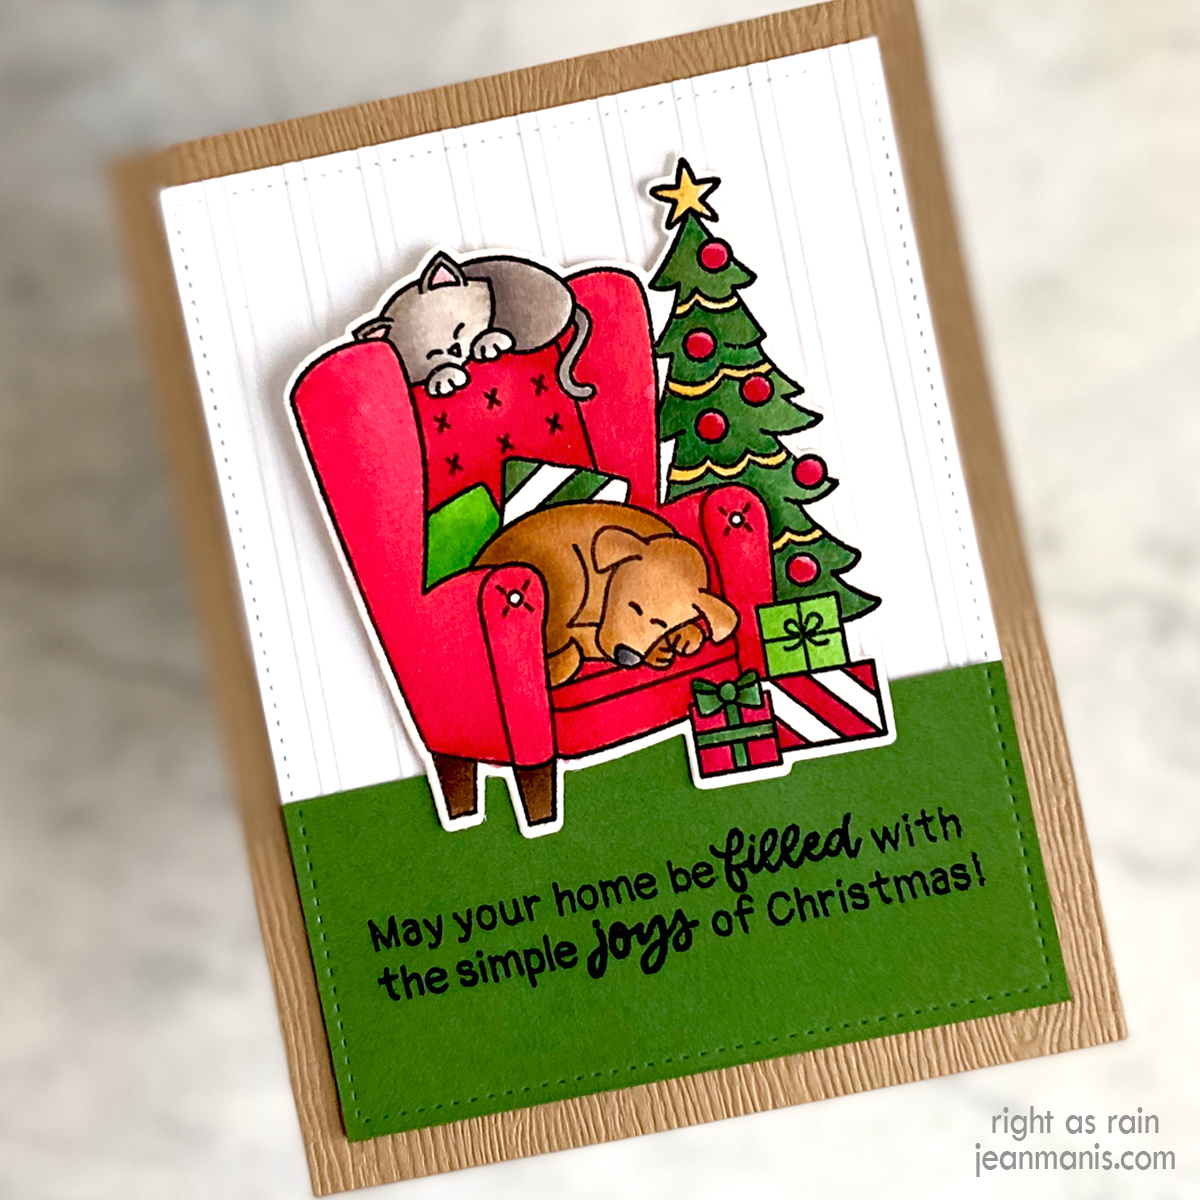
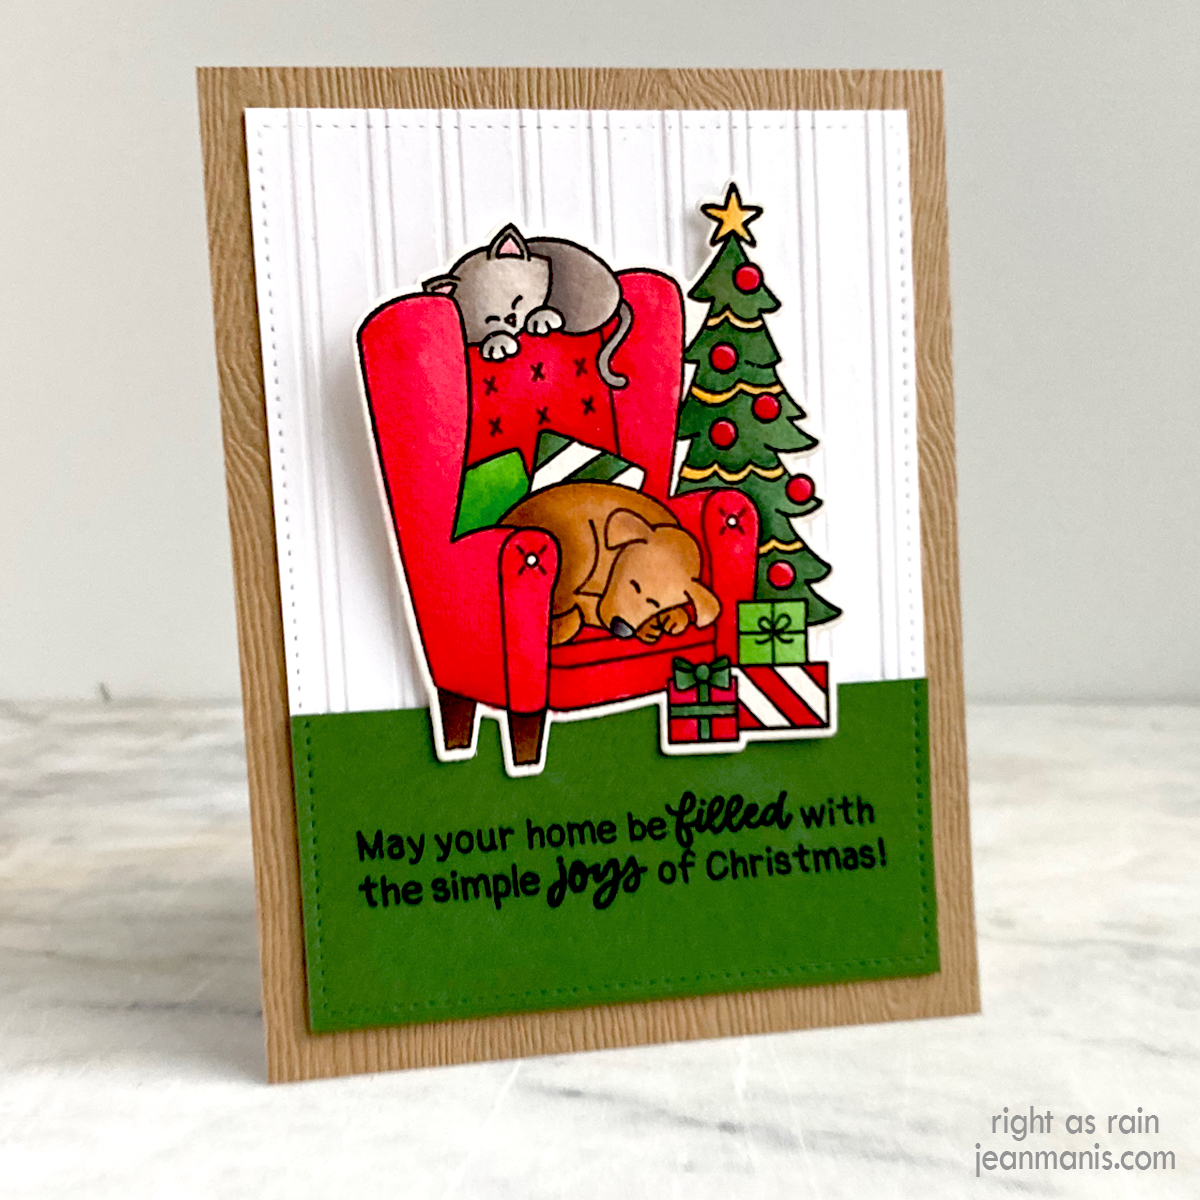
Newton’s Nook Christmas Nap

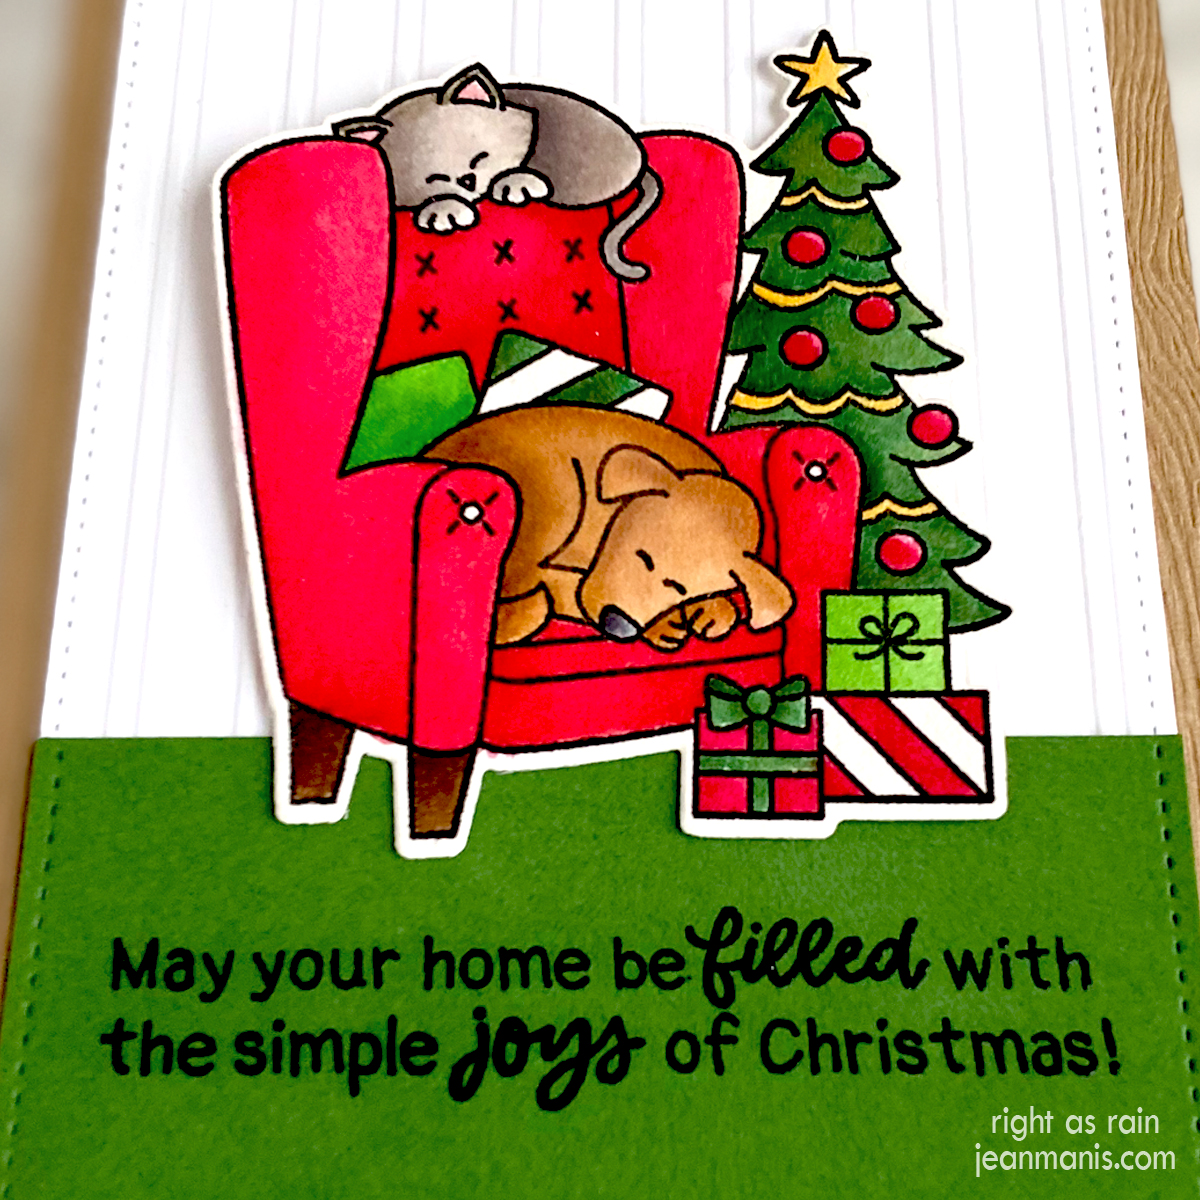
Hello! Today, I am sharing a holiday card featuring the Newton’s Nook Christmas Nap stamp set with coordinating die. Picture a watercolored Christmas scene featuring a lovable dog and a cozy cat nestled in a chair.

Newton's Nook Christmas Nap

    • Cut an A2-size rectangle of Light Brown Woodgrain cardstock and add to card base.
    • Stamp the Christmas Nap image with Versafine on Arches Cold Press watercolor paper and heat set. Color the image with watercoloring mediums of choice (I used Distress Ink, and Zig and Tombow markers). Once dry, cut the image with the die in the coordinating set. Simon Says has the stamp, and both the stamp and die are available directly from Newton’s Nook and Frantic Stamper. (Check out my “Resources for Watercoloring Stamped Images” HERE.)
    • Stamp the Christmas Nap sentiment in VersaFine ink on Fern cardstock and clear heat-emboss it.
    • Use the 3 3/4″ x 5″ Lawn Fawn Small Stitched Rectangle die to cut the sentiment panel on the bottom edge. Trim at top so that the panel is 1 3/4″ tall.
    • Cut a 3 3/4″ x 5″ Snowdrift cardstock panel with the Lawn Fawn Small Stitched Rectangle die. Dry-emboss with the Taylored Expressions Bead Board embossing folder (now retired).
    • Attach the sentiment panel to the dry-embossed panel and add the assembly to the card base.
    • Add the watercolored scene with foam adhesive.

Newton's Nook Christmas Nap

Newton's Nook Christmas Nap


Newton’s Nook Holiday Haul

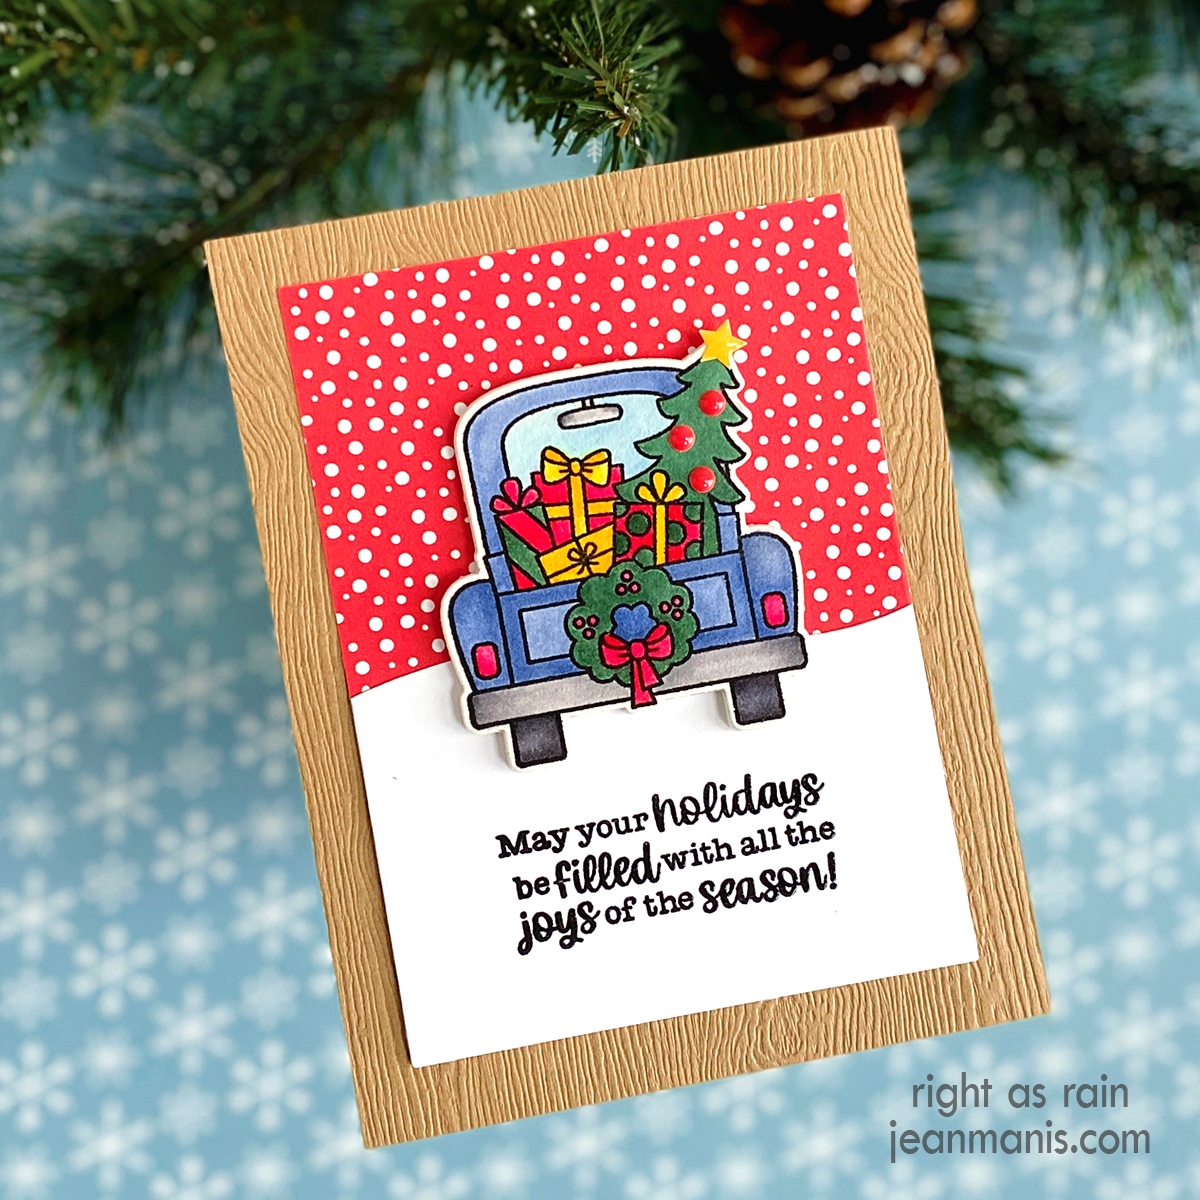
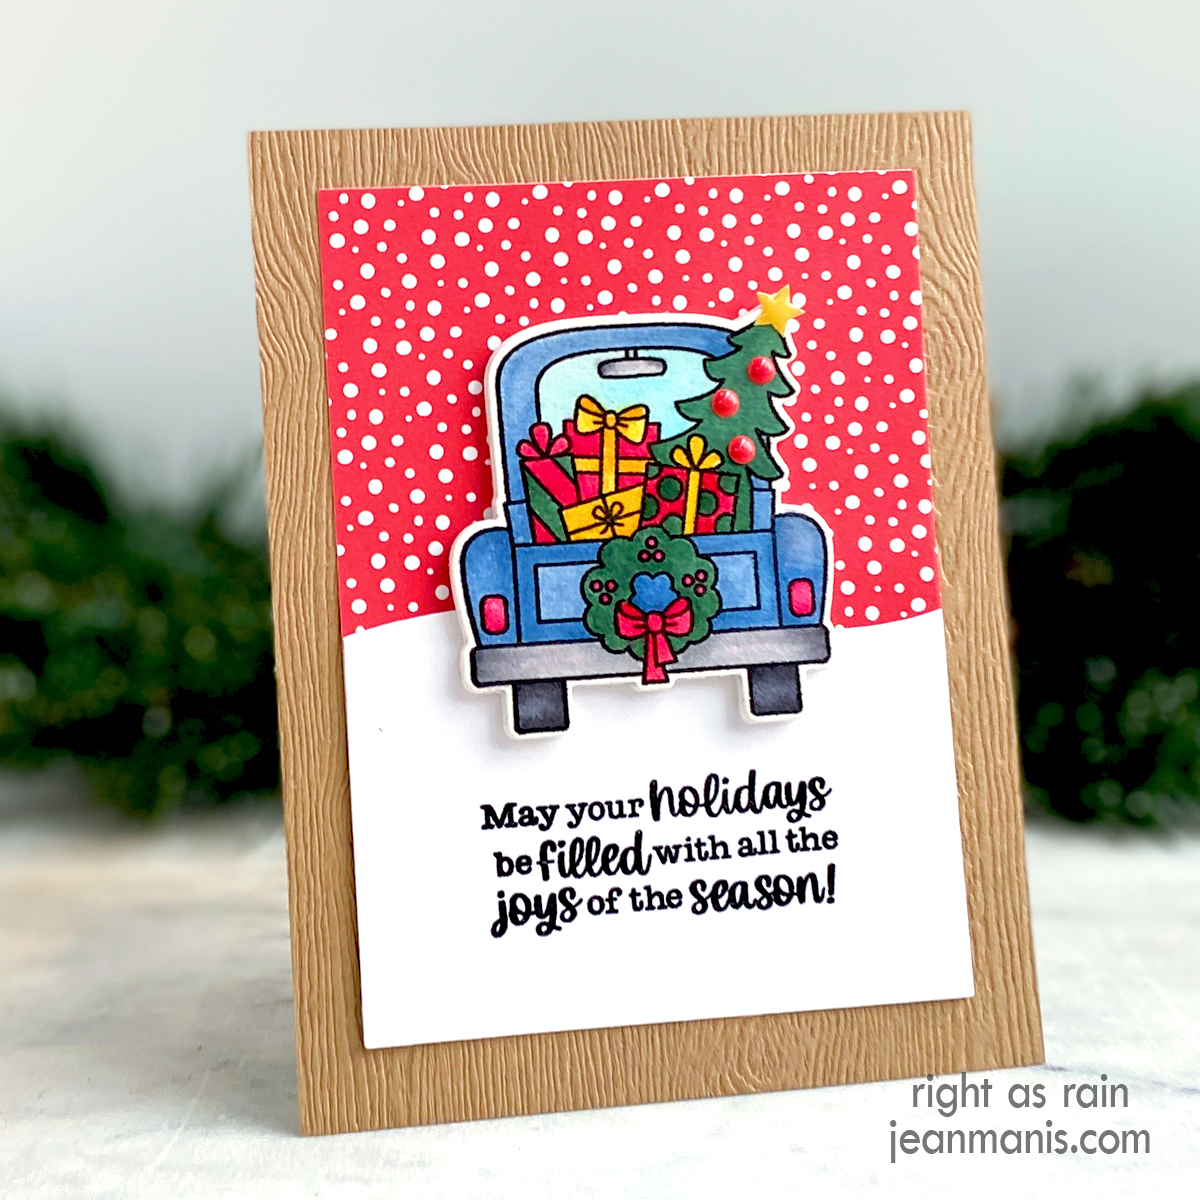
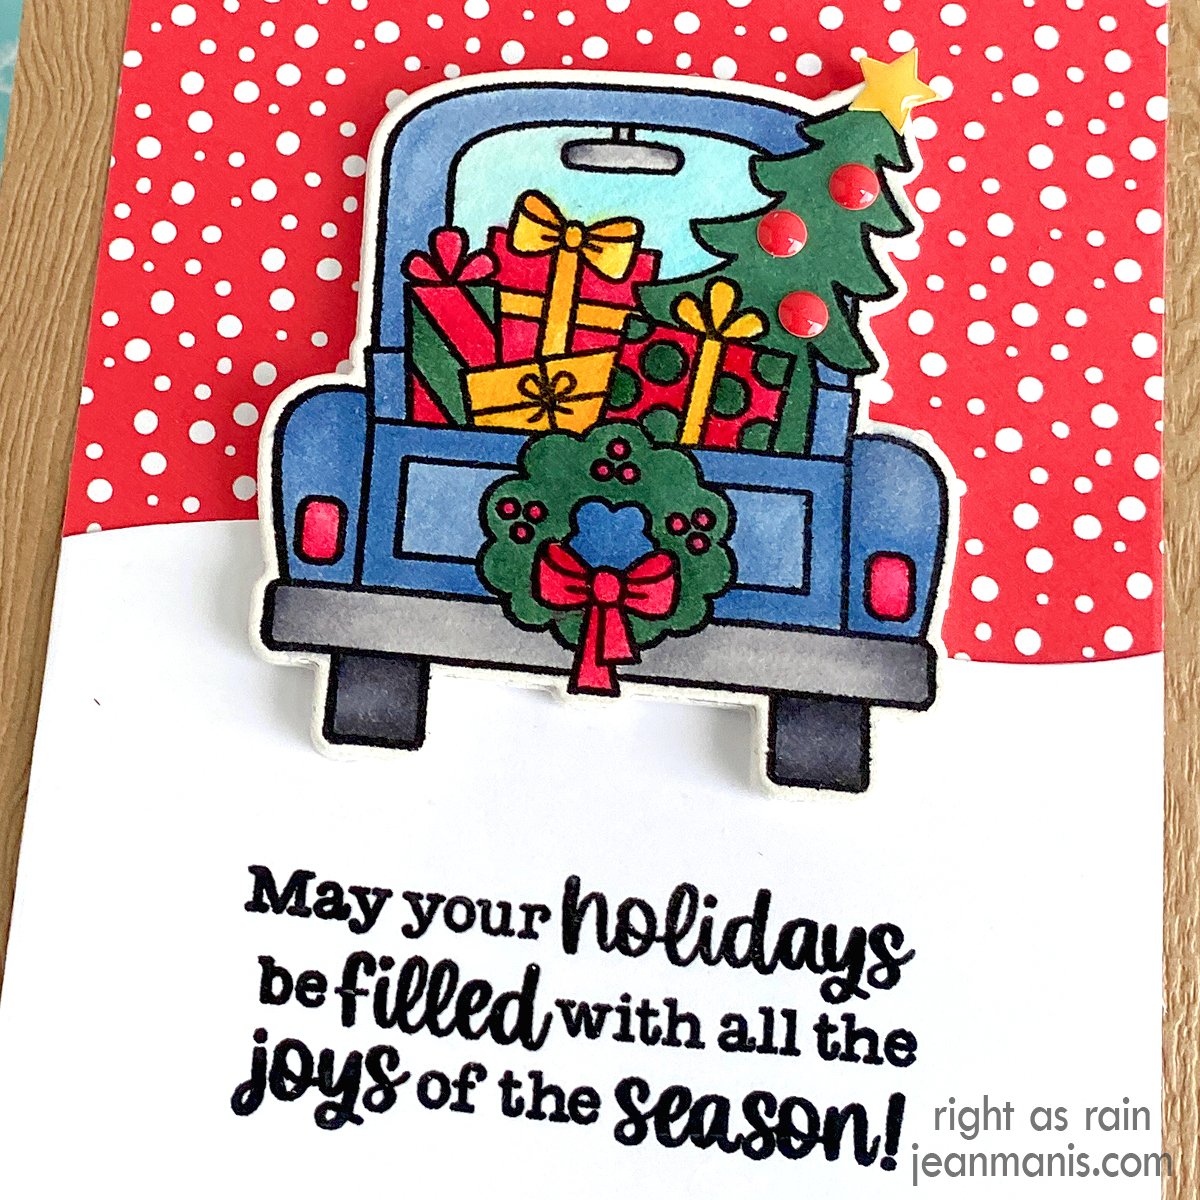
Hello! Today, I am sharing a holiday card featuring the Newton’s Nook Holiday Haul stamp set with coordinating die.

Newton's Nook Holiday Haul

      • Stamp the Holiday Haul truck image with Versafine on Arches Cold Press watercolor paper and heat set. Color the image with watercoloring mediums of choice (I used Zig and Tombow markers). Once dry, cut the image with the die in the coordinating set. (Check out my “Resources for Watercoloring Stamped Images” HERE.) Add enamel dots (Spellbinders) and star (retired Taylored Expressions) to the tree.
      • Stamp and heat-emboss with clear powder the Holiday Haul sentiment on white cardstock. Cut the sentiment first with a rectangle die and then a snowbank die (now-retired MFT Stamps Snow Drifts set). Add the sentiment panel to a piece of patterned paper. The assembly measures 3 1/2″ x 4 3/4″.
      • Attach assembly to an A2-size light brown woodgrain card base. Add watercolored truck to the card with foam adhesive.

Newton's Nook Holiday Haul

Newton's Nook Holiday Haul


Spellbinders | Festive Christmas Ornaments

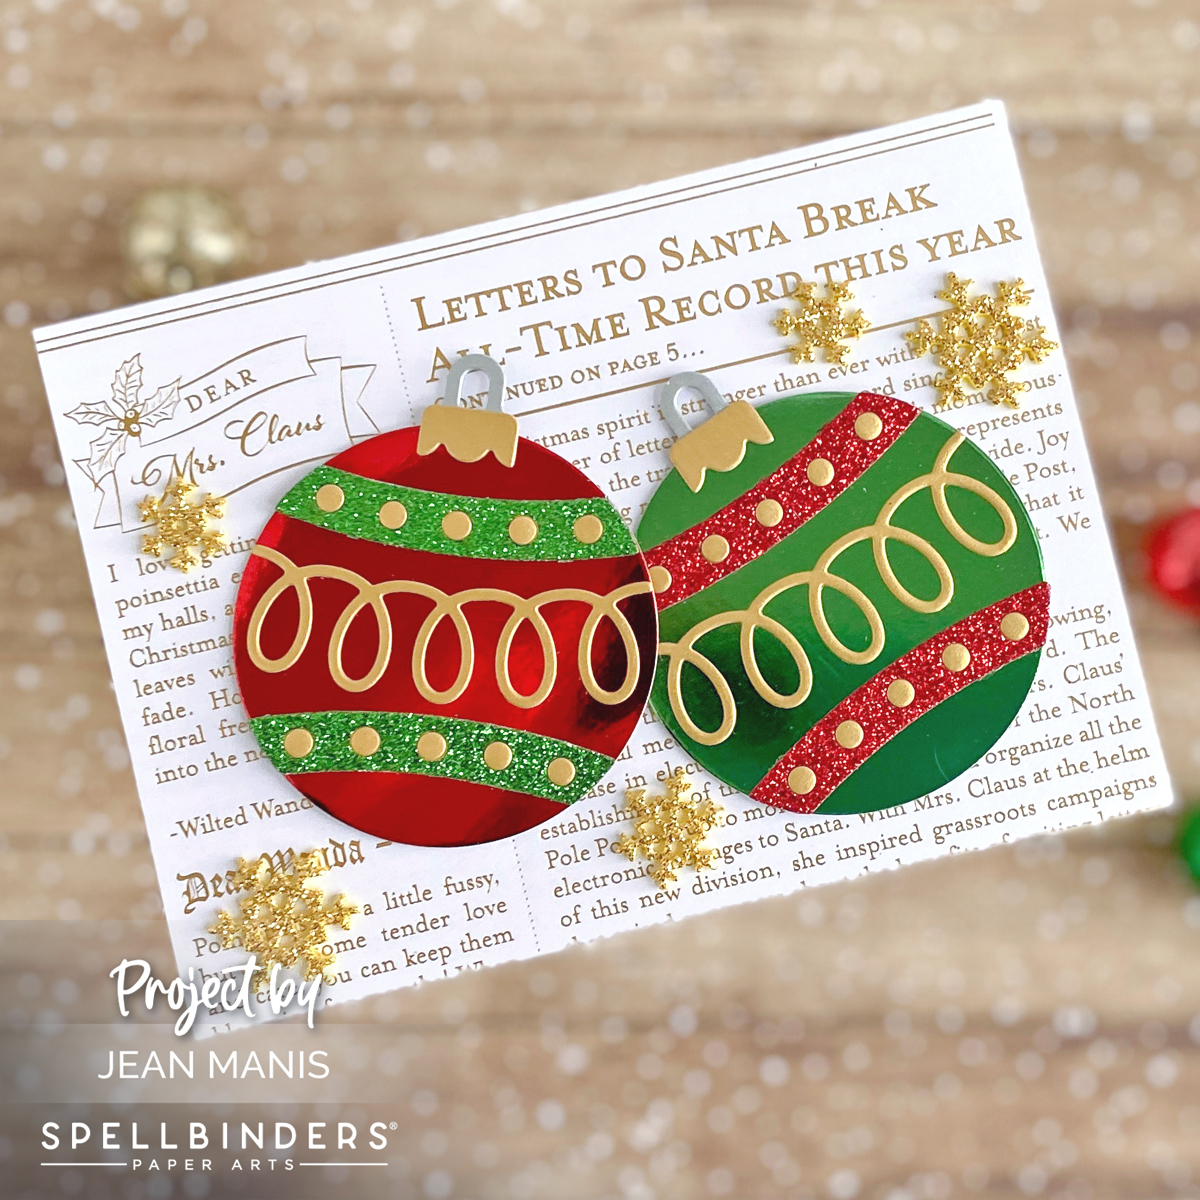
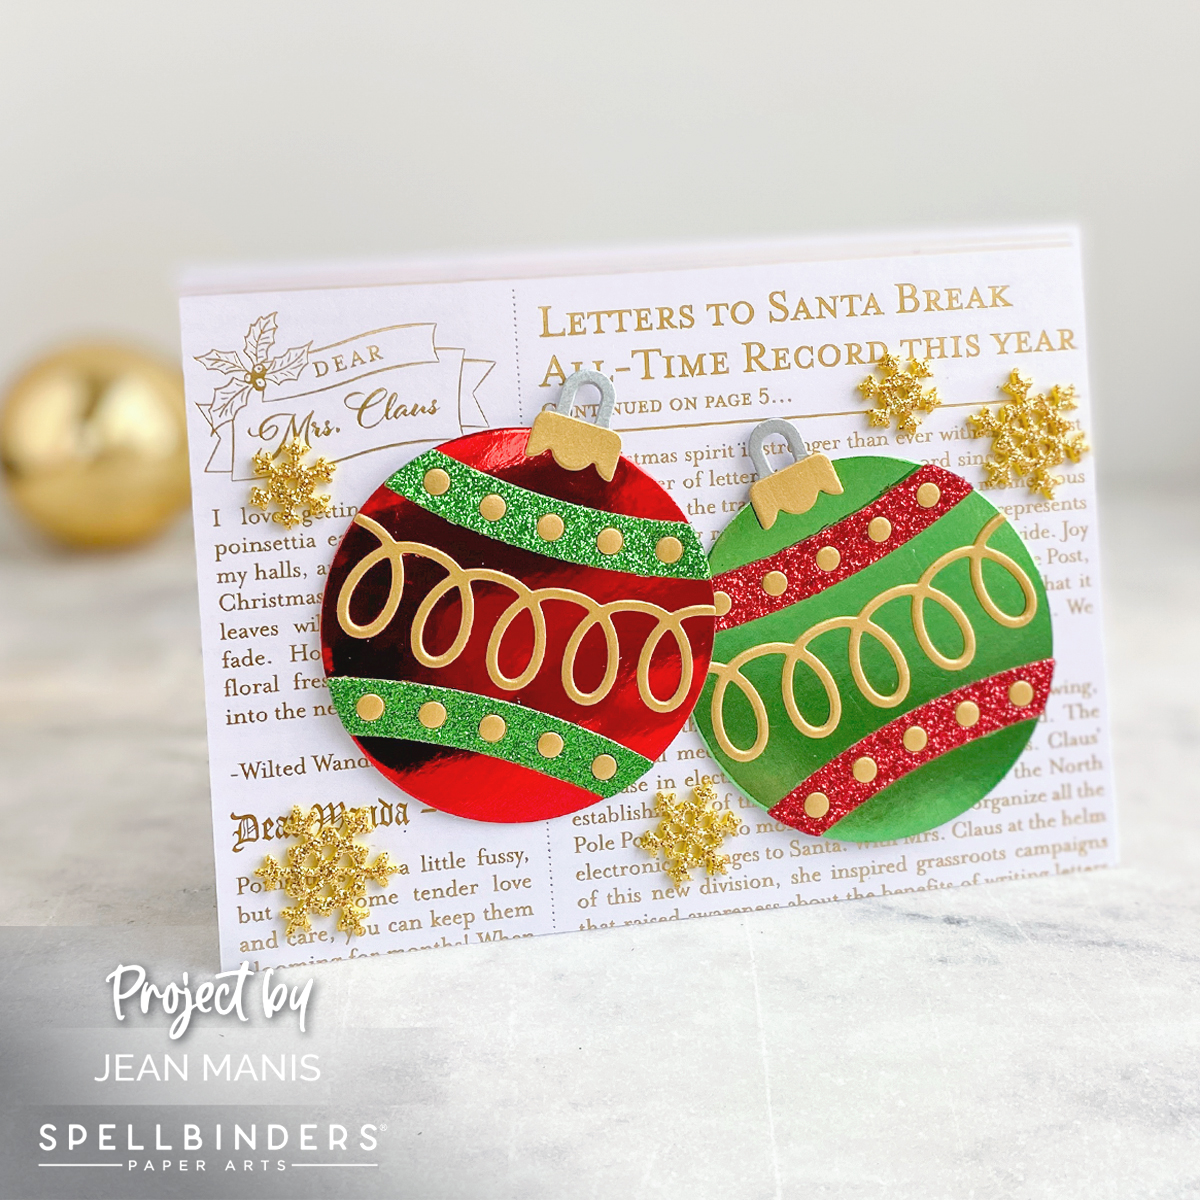
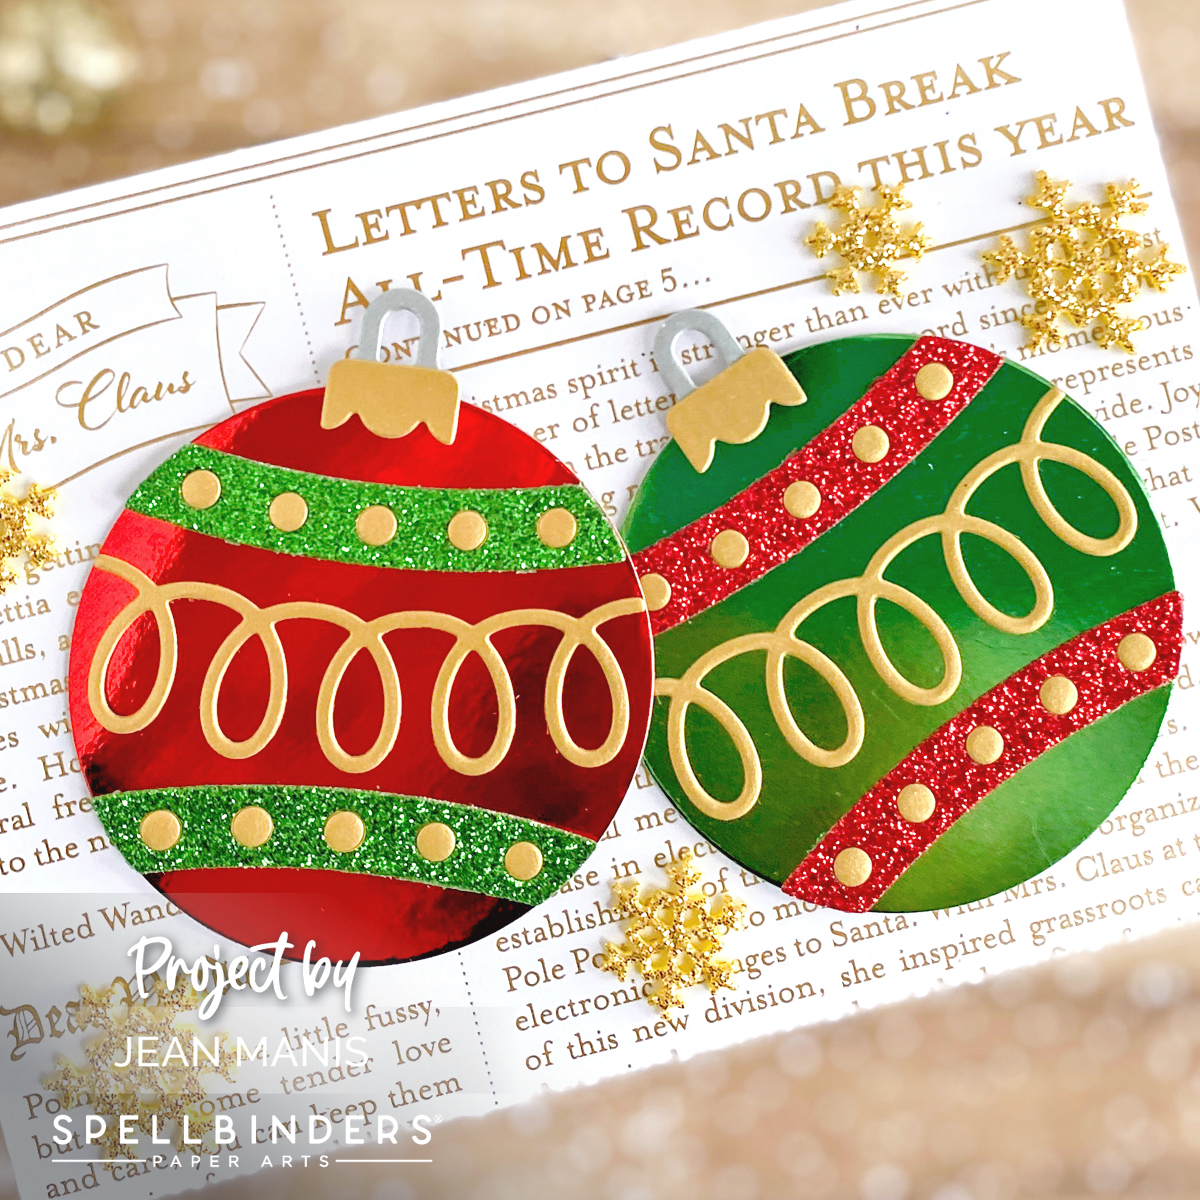
Hello! Today, I am delighted to share a Christmas card featuring the Festive Ornaments die set from the Merry Mugs & Circle Delights Collection at Spellbinders by Nichol Spohr. The ornaments take center stage against a backdrop of patterned paper. Previously, I shared a slimline card featuring this same die set HERE. Note: Now through November 30, save on many Spellbinders products with the Black Friday Sale!

Spellbinders | Festive Ornaments

With the Festive Ornaments set, cut ornament bases from red foil and green foil cardstock. With the same set, cut ornament holders from Brushed Gold and Brushed Silver. Cut the decorative elements from red glitter, green glitter, and Brushed Gold cardstock. Assemble.

After creating the ornaments, I went on the hunt for patterned paper on which to stamp a sentiment from the collection’s coordinating Santa’s Sippin’ Sayings stamp set. I stamped, as well as heat-embossed, one of the sentiments on several patterned papers and was not happy with the results; the sentiment simply did not show up enough. Going back to the drawing board, I found this patterned paper – Wonder of the Season – that was sold by Stampin’ Up! in 2020. I chose the paper because it had whimsical text on it, enabling me to forgo the sentiment. To embellish, I added snowflakes cut from Gold Glitter Foam with a die in the Holiday Decorations set.

Spellbinders | Festive Ornaments

Spellbinders | Festive Ornaments

Black Friday Sale 2023