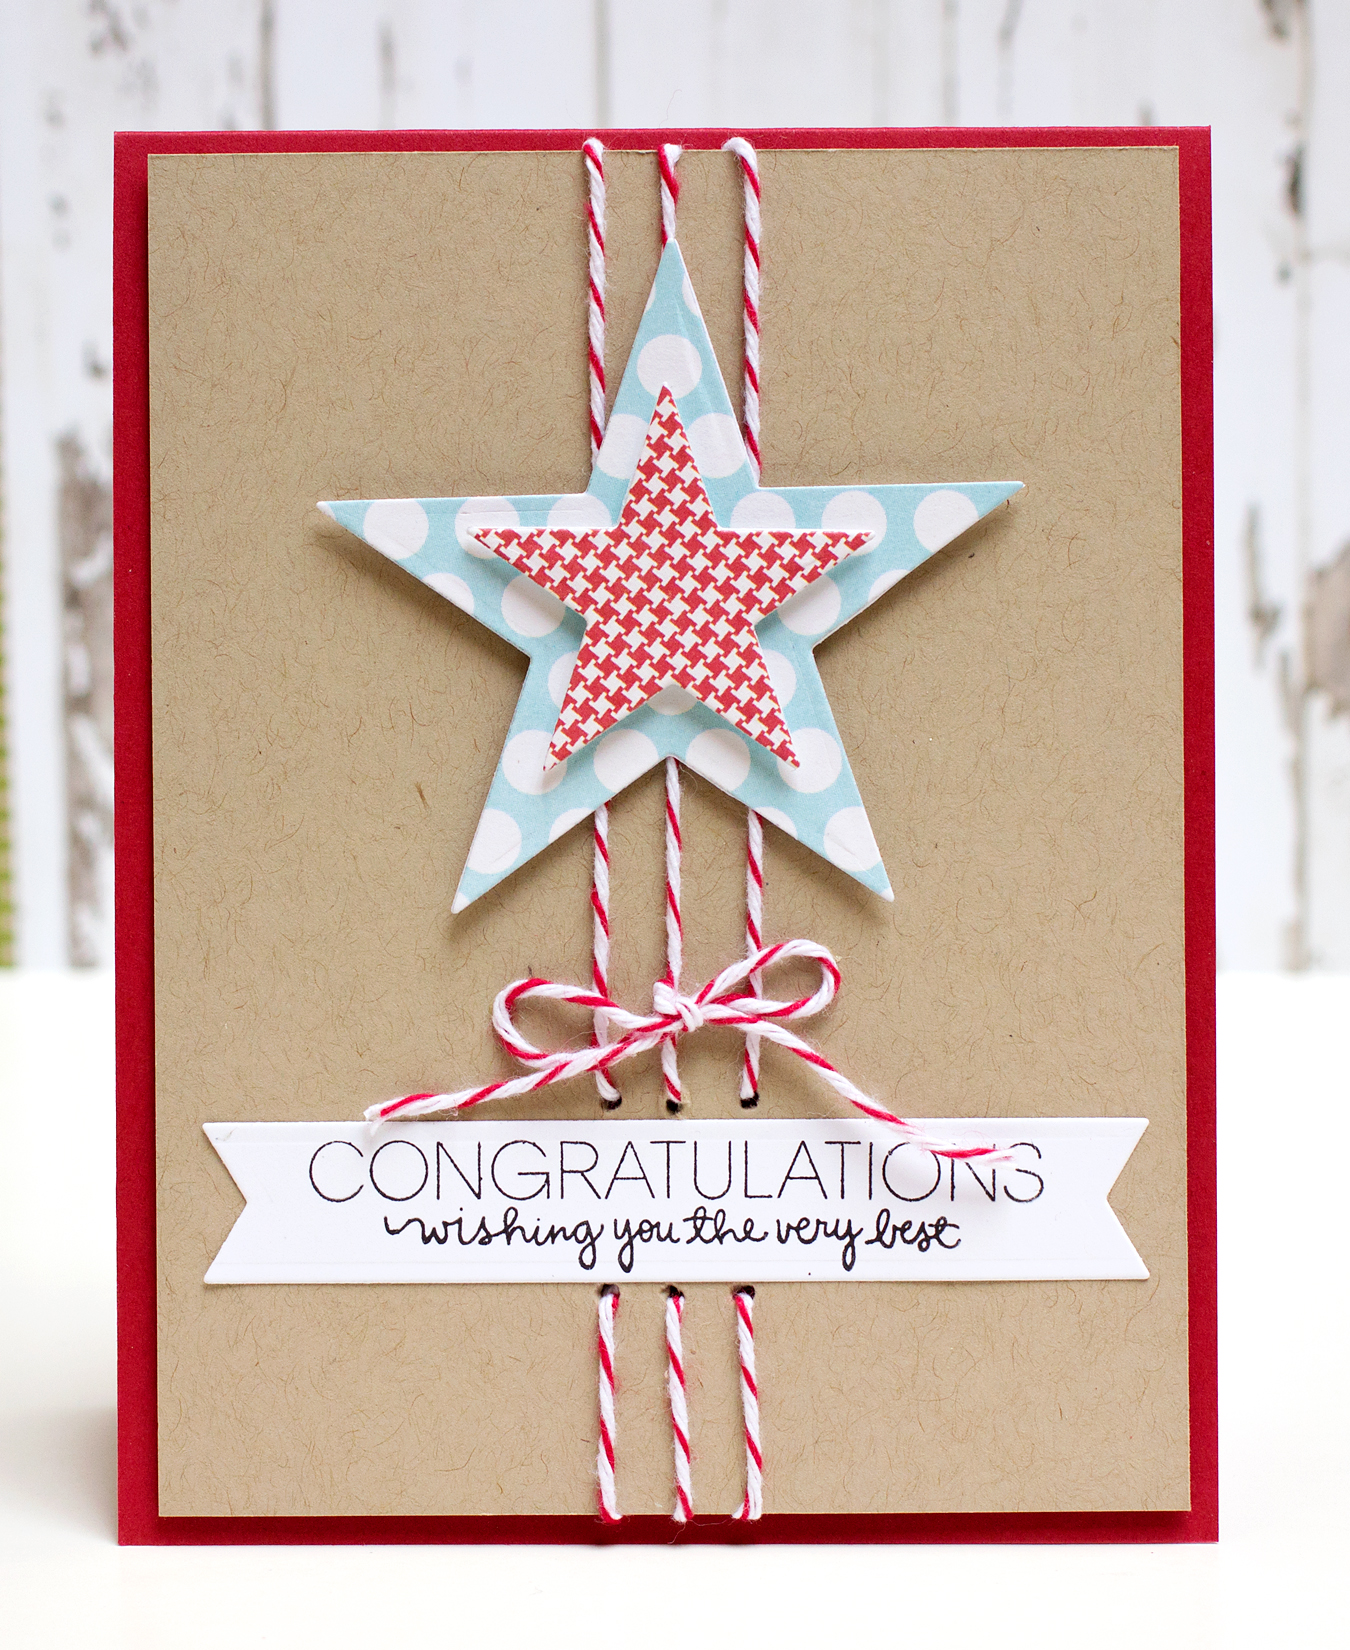
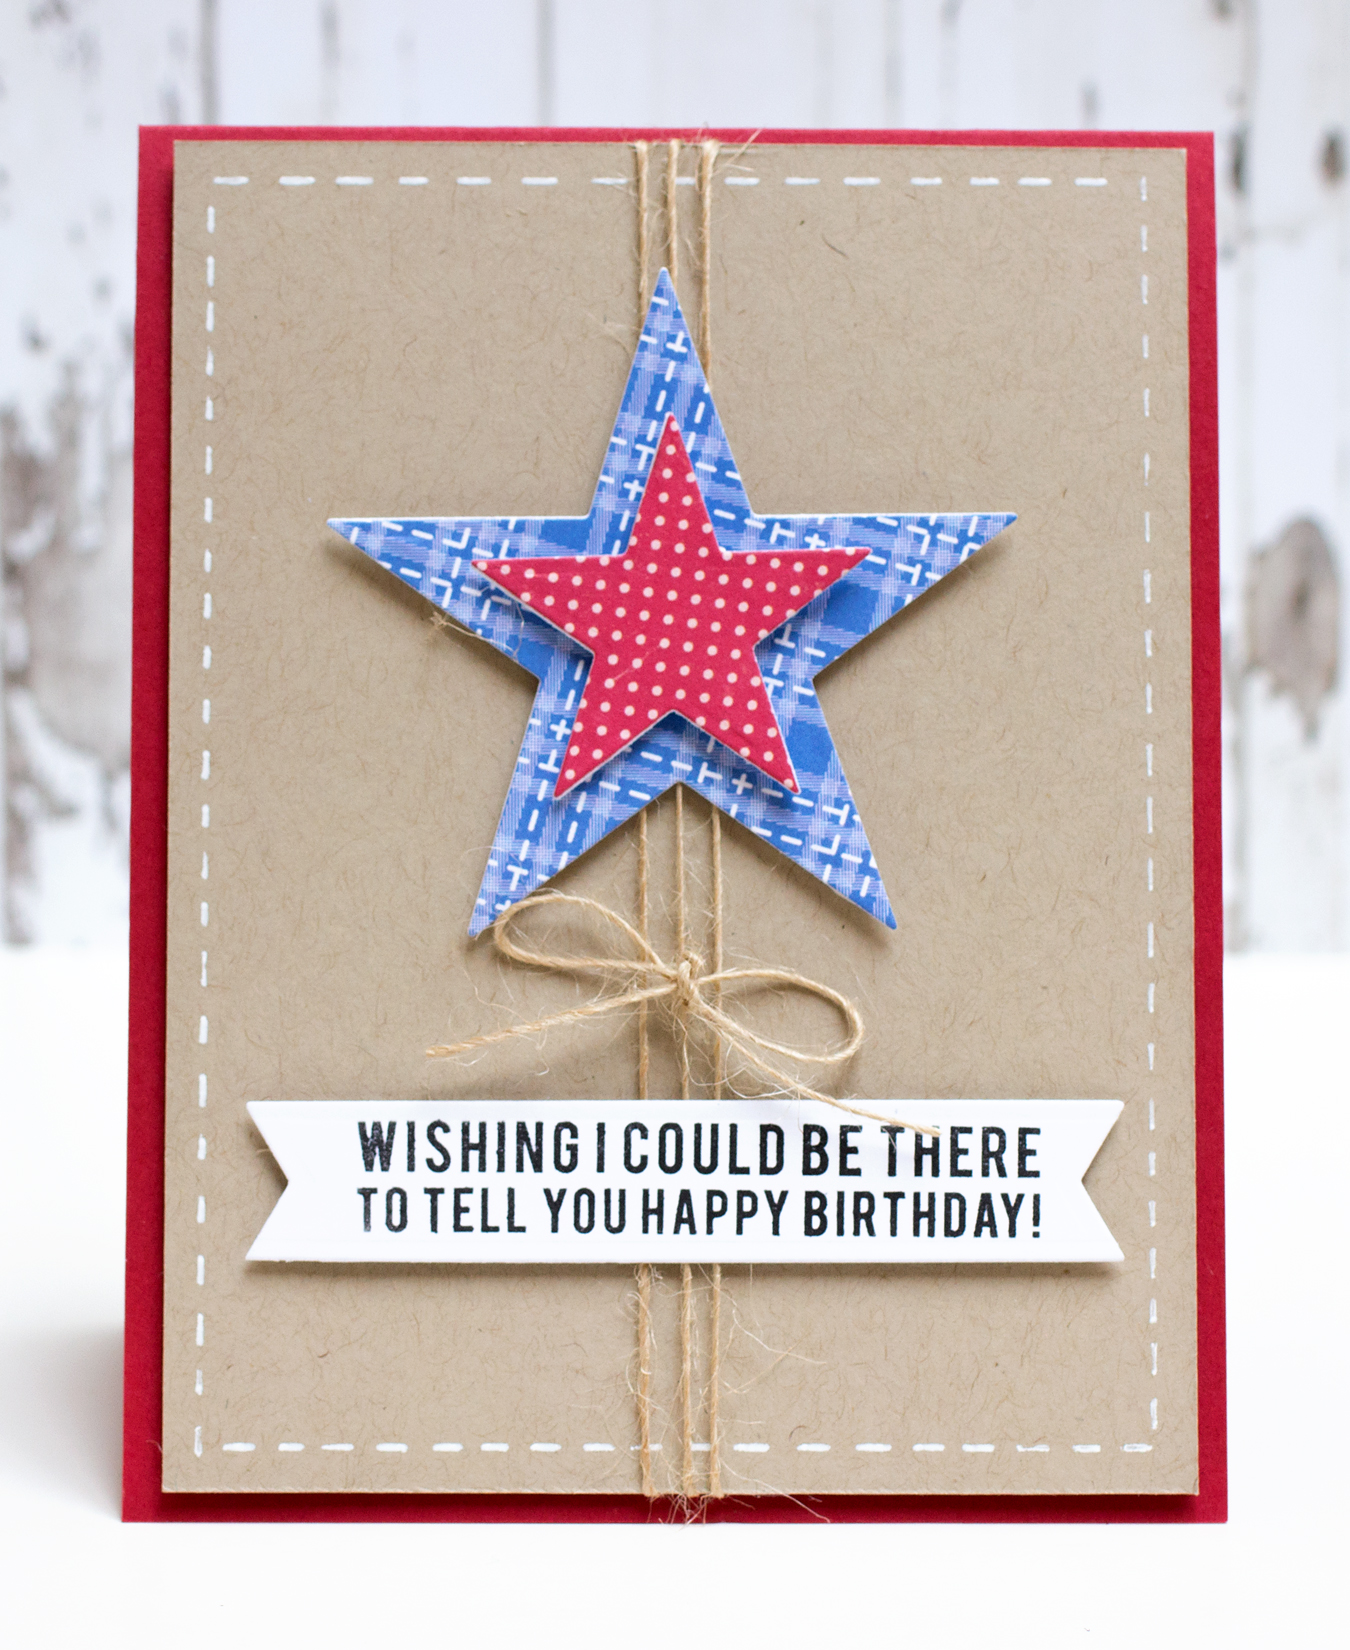
I’m still working through material from the Online Card Classes Summer Card Camp 2. The class provided a lot of fantastic inspiration that will keep me busy for weeks. I’m sharing two versions of the same design using one of the sketches from the third week.

On my first card, I followed the instructions from Kristina Werner’s class video for adding the twine. The baker’s twine is looped around the back, but the top and bottom sections were done separately. I consider this card to be the “hers” version (using some of the principles and ideas learned in the Online Card Classes His & Hers class).
Because this is a relatively easy card to make, I couldn’t resist making a “his” version. I tied the twine the way that Shari Carroll had done on the card she shared in the class. The twine is three separate pieces that are just taped onto the card back. So much easier than looping around! I added the dashed line, like Kristina had done on her card, as the natural twine on the kraft cardstock called for something extra on the card.

Supplies: Stampin’ Up cardstock (red)


these are amazing.. love how you added the string and twine..
I like both of them, especially the stars. Great cards!
How clever you are to take ideas from 2 OCC’s for your cards! Great take on the sketch, Jean…and I love all the red, white and blue on Kraft! Awesome cards, as always!
Really love these, especially the top one.
wonderful candy cane kraft creating Jean! love how you did the twine… cool!