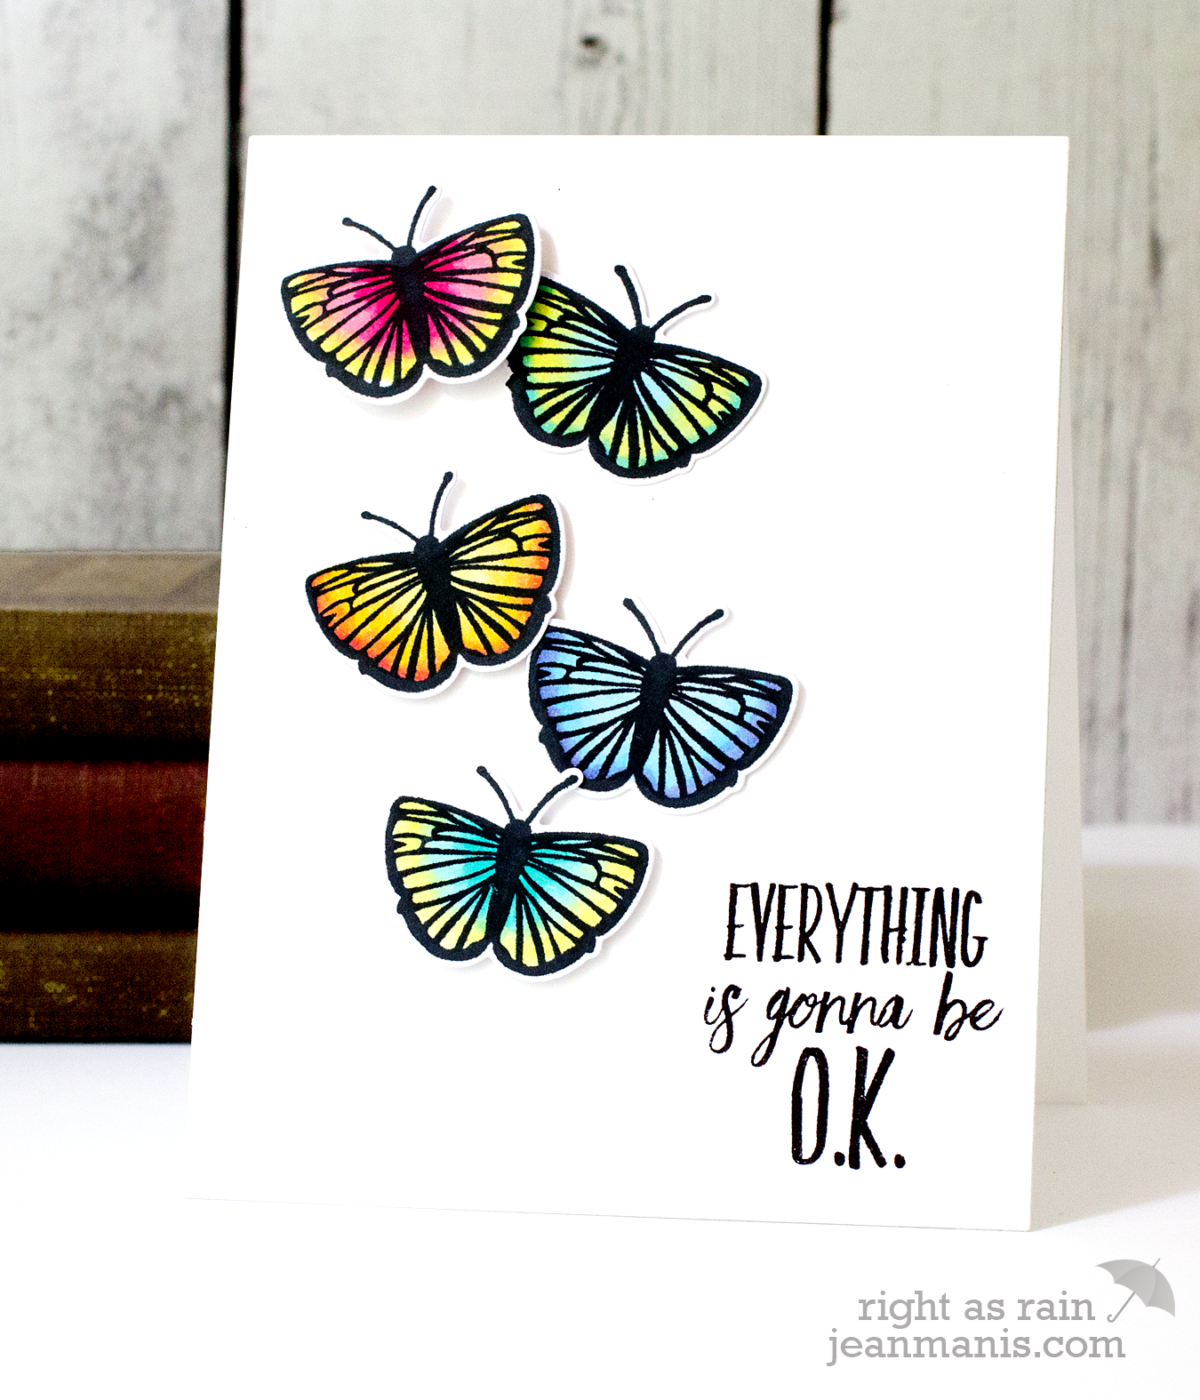
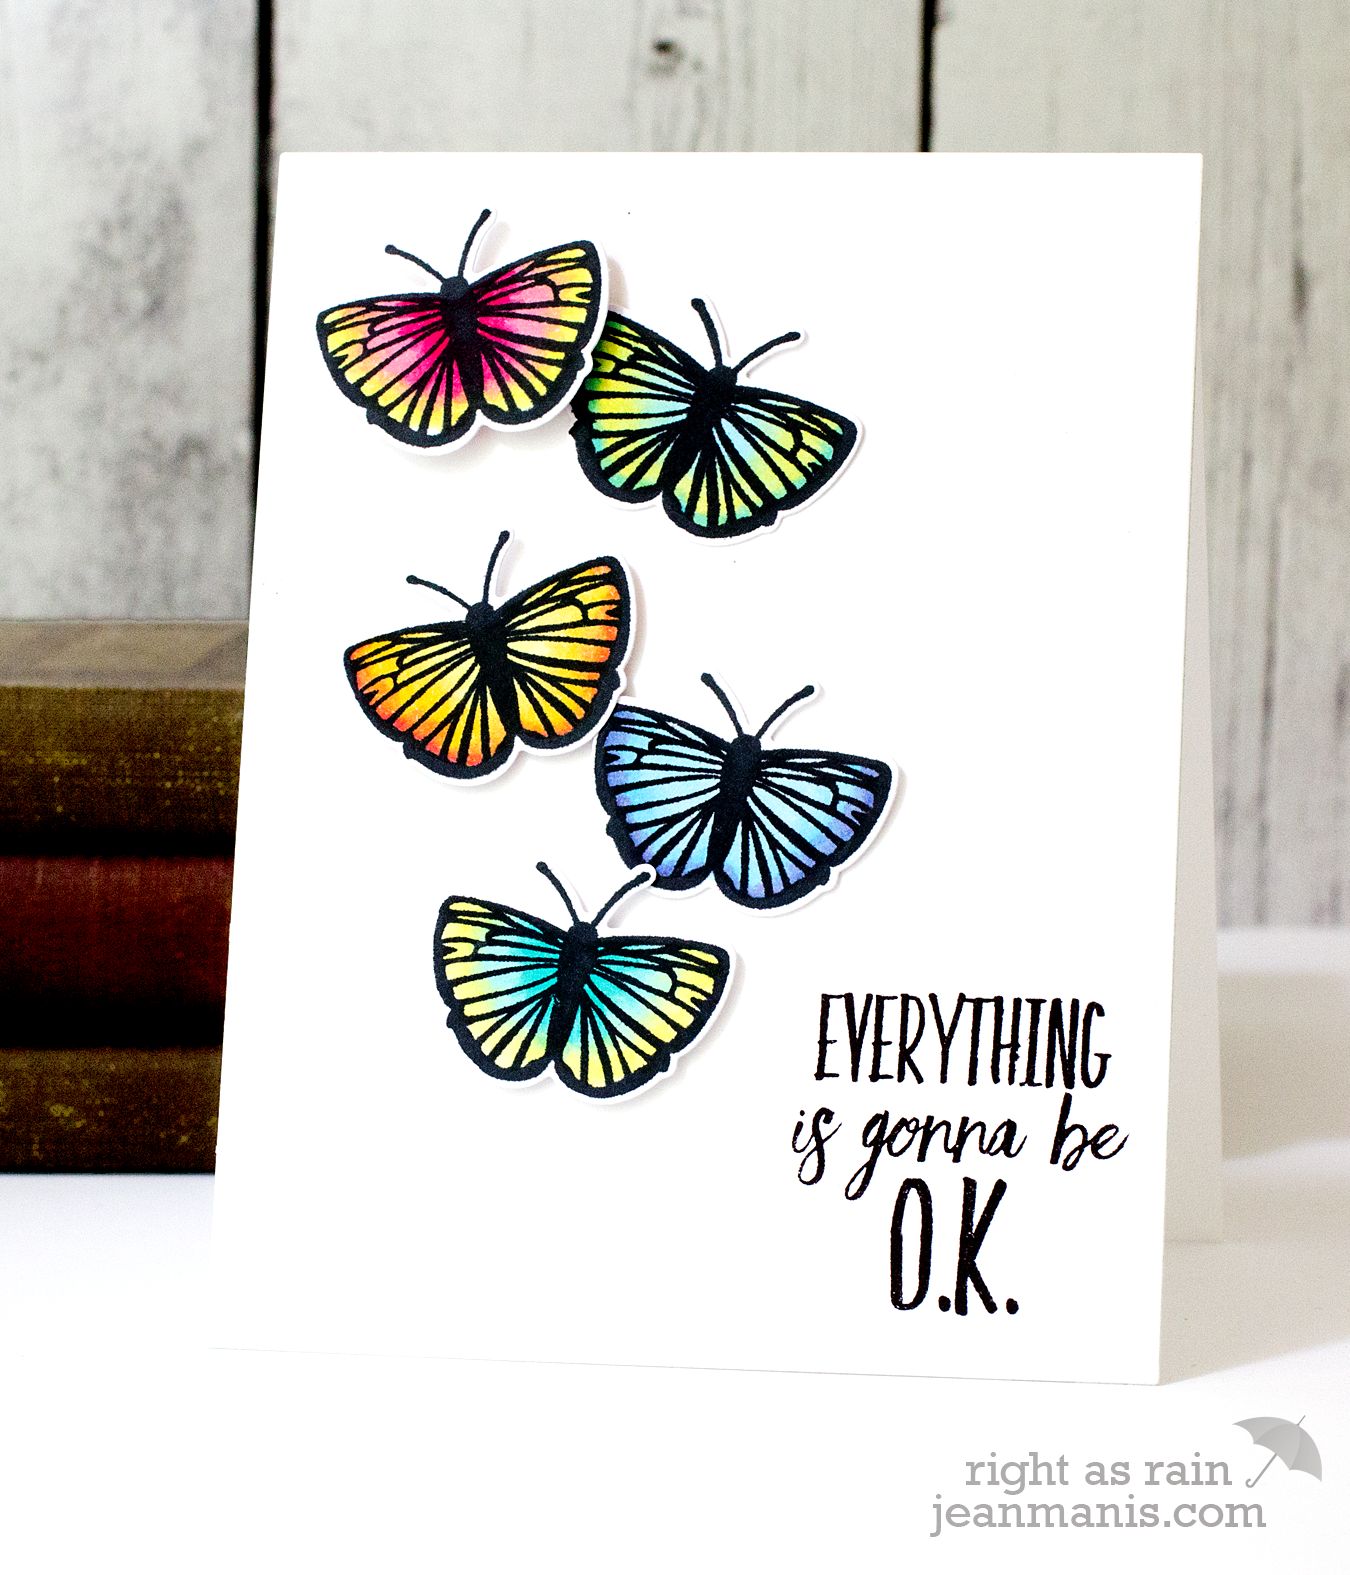
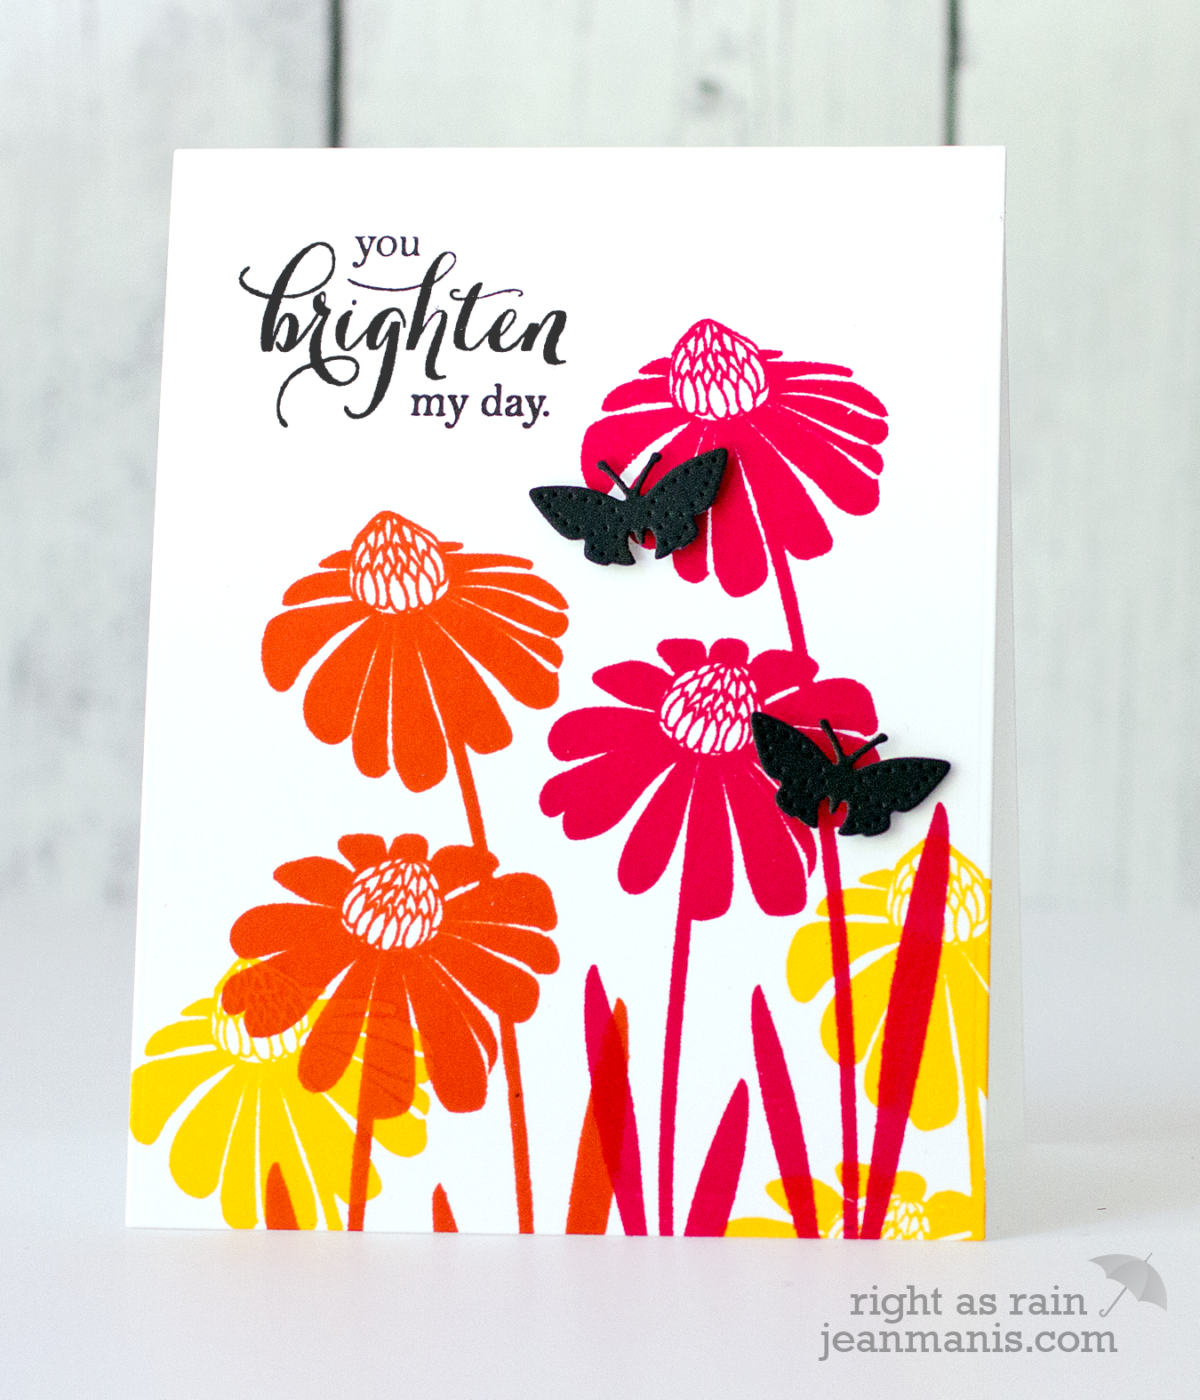
Let’s Set Sail!

Warmer, sunnier days this past week had me in the mood to make something nautical (one of my favorite card themes). I created a whimsical sailing scene with a miscellany of products from my stash.

Sailing Cat


I’ve professed my love of the Poppystamps Walking Cat die, which I’ve used on quite a few cards. I would have used the same die here, but the Walking Cat didn’t fit on the Paper Smooches Sail Boat (it was too big).

With the Paper Smooches Sail Boat die, I cut the sailboat from a variety of colors and adhered the pieces to a dry-embossed background. I attached the boat part (red) with foam so that the cat could be placed behind the hull. I heat-embossed the sentiment (from a Simon Says Stamp set) onto a panel that I cut with one of the dies in the Poppystamps Marina Sailboat die set.

Have a great weekend!

Supplies: Paper Smooches Sail Boat die, Poppystamps Sitting Cat die, Poppystamps Marina Sailboats die, Simon Says Stamp sentiment

TE Share Joy Challenge #33

Today I’m sharing a card I created for Taylored Expressions Share Joy Challenge #33.SJC33Apr28

I used the sketch to create an encouragement or congratulations card showcasing the Sky High – Airplane set. This is a perfect boy card!

TE Share Joy Challenge #33

I cut a variety of cardstock colors with the Sky High – Airplane set and assembled the pieces with liquid adhesive. I heat-embossed a sentiment from the Sky High Sentiments set and cut it with a die in the Stitched Banner Stacklets set. I used the Cloudy Days embossing folder for the panel behind the airplane and the Houndstooth embossing folder for the lower portion of the card. I rarely use two embossing folders on one card, but the patterned paper I tried on the lower half just didn’t work. The patterned paper strip (Carta Bella) was also cut with one of the dies in the Stitched Banner Stacklets set. (I cut once and then turned it around to cut a rectangle rather than a banner.)

TE Share Joy Challenge #33

Be sure to head over to the Share Joy Challenge Blog to see more inspiration and to link up your entry!

Supplies:

Penny Black Woodland Friends

Today, I’m sharing a CAS spring-themed card combining an image from Penny Black’s #30-278 Woodland Friends stamp set with a die-cut fox, created with #51-193 Woodland Friends II.

Penny Black Simplicity Woodland Creatures

I positioned the Woodland Friends stamp on my MISTI and masked off the fox. I colored the stamped image with watercolor pencils. (On my first try I colored the background blue, but I decided I preferred a more CAS look.) I separately cut the fox with the Woodland Friends II set from cardstock, which I had colored with Distress Inks. I added enamel dots for the nose and eye. I attached the fox to the scene with foam adhesive.

I masked a sentiment from #30-160 Friendship and cut it with one of the word balloons in the #51-003 Chat Bubbles set. To finish off the card, I added a dry-embossed strip along the bottom.

Paper Smooches Floral Thank You

Today, I’m sharing a spring-themed “thank you” card created with Paper Smooches dies and stamps.

Paper Smooches Floral Thanks

I cut the Dainty Flowers outlines twice from white cardstock and adhered the layers with liquid adhesive. I then adhered the outlines to the card panel and inserted the leaves and petals, (I added a little glue inside the outline areas beforehand), which I’d cut from colored cardstock. I used several other floral die sets to cut additional scattered flowers. I heat-embossed the sentiment from Lovely Thoughts and cut the sentiment out with a circle die. I adhered the sentiment circle to cardstock dry-embossed with the Taylored Expressions Weathered embossing folder.

Penny Black Simplicity: Background Shadow Stamping

Today, I’m sharing a shadow stamp card created with Penny Black stamps and dies. I created a “sister” version of this card (same design with a few tweaks) which is being shown today over on the Penny Black Simplicity site. I hope you’ll head over there and take a look.

Penny Black Simplicity Butterfly Hello

With my MISTI, I stamped 40-442 Butterfly Charmer in both VersaMark and white pigment ink. I die cut the sentiment 51-104 Hello from white cardstock twice and adhered the pieces (trimming the tail of the “o”). I stamped a sentiment from 30-283 Snippets onto vellum and positioned the “hello” over it (adhering the vellum to the background panel with liquid adhesive under the “hello” letters).