CAS3: Day Nine

I took the day off yesterday from the Clean & Simple Cardmaking 3 class. Well, technically, I tried a few things that didn’t work out the way I’d planned. One of those “fails” is incorporated into today’s card, which is based on the one shared in class by Debby Hughes.

CAS3: Day NineI made a few changes with the way I created my card. Rather than stamp and color a butterfly, as Debby did, I die cut a butterfly (Memory Box Vivienne Butterfly) that I inlaid into the panel. I backed the front panel with a heat-embossed and watercolored panel using the Penny Black Sweetness stamp (that was a project from yesterday which didn’t go according to plan). The butterfly was also cut from watercolor paper onto which I had scribbled some Distress ink. The front panel was stamped with a sentiment from the Hero Arts “Enjoy Today” set. I adding embossing paste with a Simon Says Stamp stencil.

I made the white panel three times. The first time I added some spray drops, as Debby did, and I didn’t like the effect at all. The second time, I got embossing paste in places I didn’t want! Third time’s a charm I guess!

CAS3: Day Seven

I’m sharing a card inspired by one shown by Jennifer Rzasa in today’s Clean & Simple Cardmaking 3 lesson. Jennifer’s card featured a beautiful painted feather.

CAS3: Day Seven

I wanted the simplicity of stamping (and wasn’t sure I could pull off painting a feather!). I stamped my sentiment, and then used a brush to apply some water to the paper. I colored the cityscape stamp with the Pitt Big Brush and stamped into the wet watercolor paper. The result was a subtle blur. I wanted to keep some of the cityscape detail. This is definitely a technique I’ll use for other stamps. From my brief investigation, it seems to work better with rubber stamps than clear ones.

Supplies:

Poppystamps Blog Blitz: Framed Sunflower

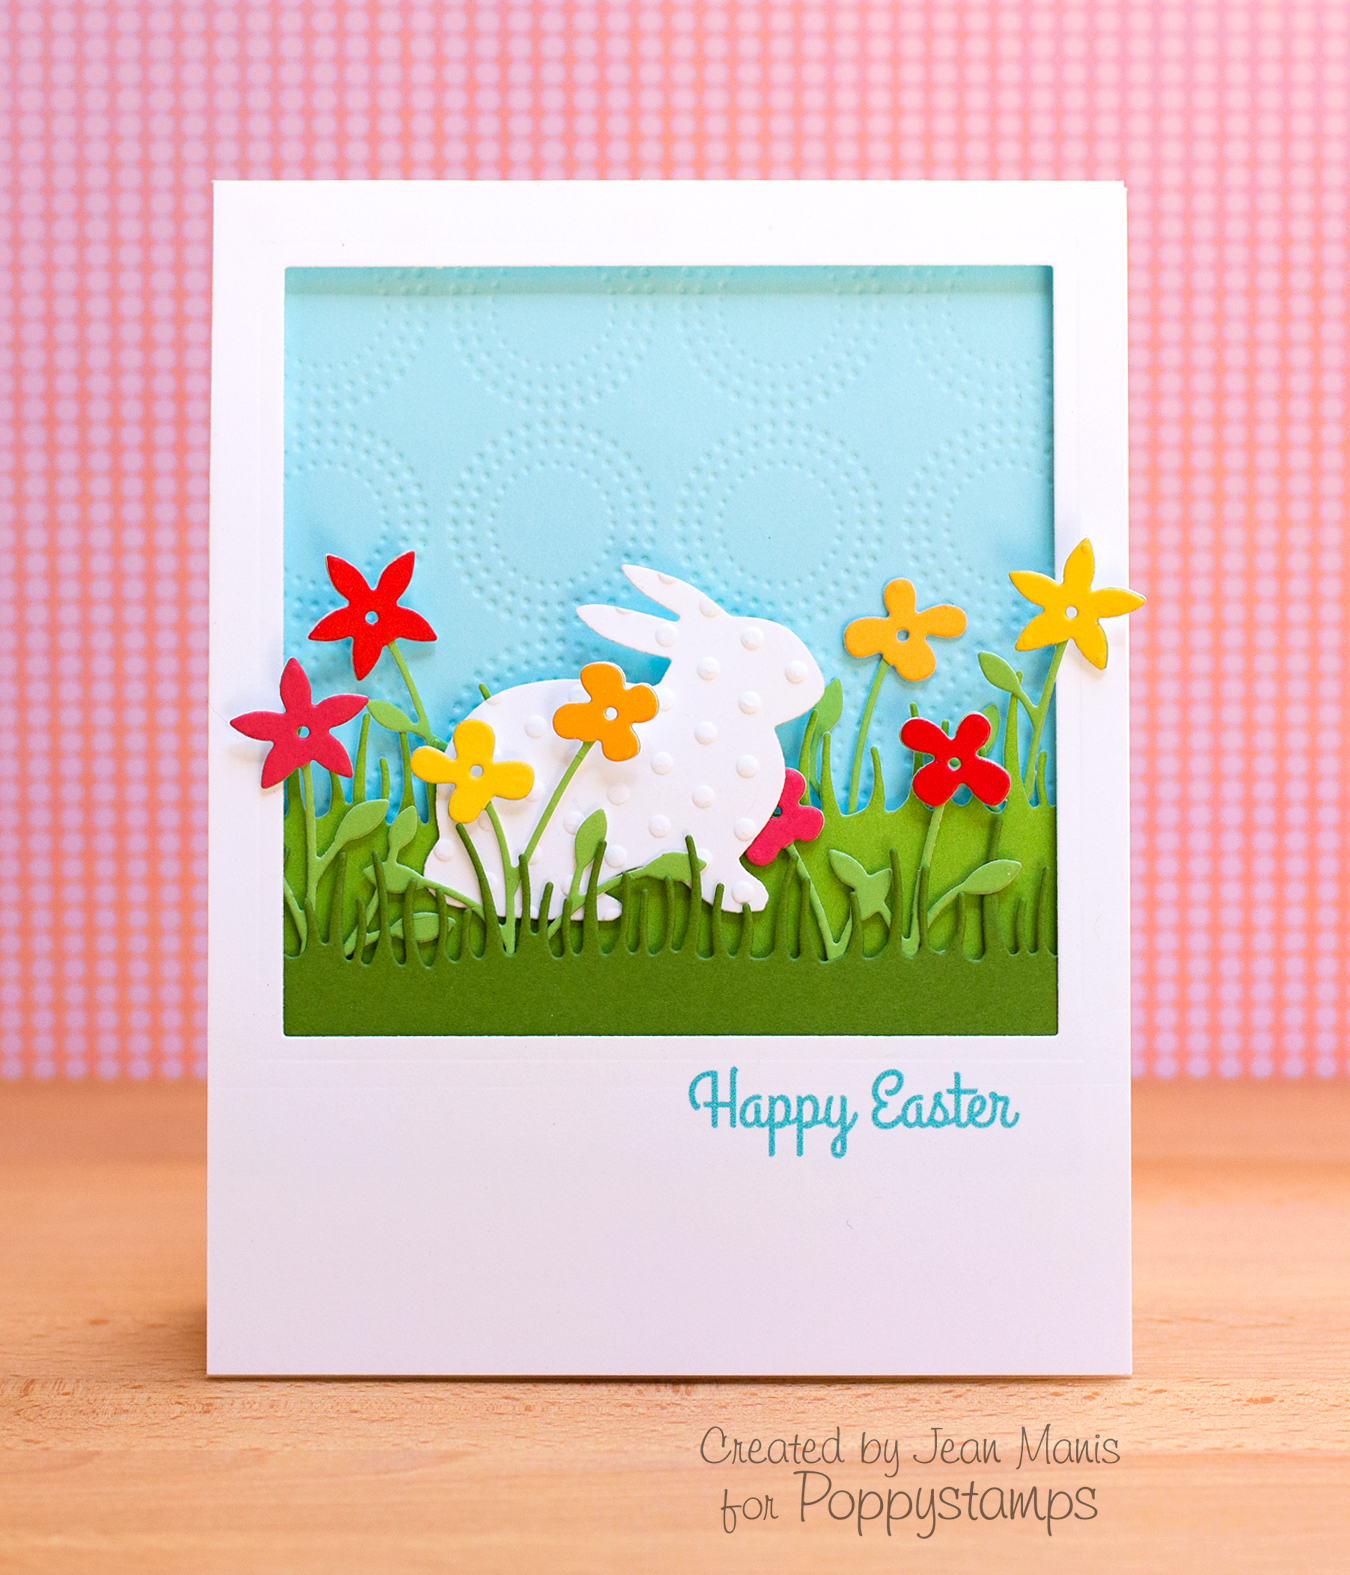
Did you hear? The Poppystamps Spring Release Blog Blitz is underway. Today, I’m sharing a card crafted with three new Poppystamps dies.

March2014ReleaseSunflower

We’re previewing all the new Poppystamps dies on the blog from March 14 to March 28. With each post, there will be a prize offered. Head on over to the blog for details on this card and to be entered to win the Massa Leaf Frame.

Supplies:

Kristina Werner CASE – Lucky Leprechaun

I’m on a mission to improve my coloring of images, and lately I’ve been on a watercoloring kick. I’m absolutely in awe of the talent out there when it comes to coloring! I was delighted that Kristina Werner posted a card on her Color Wednesday segment using the cute leprechaun from Paper Smooches in time for Saint Patrick’s Day!

leprechaun

Kristina used Distress Ink markers to color her leprechaun. I used both markers and ink pads for the colors. She had more advanced coloring for the leprechaun’s coat and his beard, combining two colors. I stuck with just one color! I really appreciate having a project to CASE in which the colors are already decided, and I can watch a video to see how the color is applied.

CAS 3: Day Five

Okay, confession time – this isn’t a single layer card! I decided that I’d “cheat” a bit today to get the technique, shown by Jennifer McGuire in today’s Clean & Simple Cardmaking 3 lesson, under my belt without all of the work.

DayFive

I cut the panel out of Distress Watercolor paper, heat embossed the sentiment (from the Hero Arts Fancy Basics set) and then applied Salty Ocean and Peacock Feathers Distress Inks with a brush. As instructed, I ironed the sentiment to remove the embossing when the panel was dry. I added some stitching to the panel with Lil’ Inker dies to give it a more finished look. Unfortunately, because the watercolor paper is thicker than cardstock, you can really see the lines from the edge of the die. I’d have to redo my embossing sandwich in order to eliminate those lines. Live and Learn!

I applied the watercolor panel to a panel that was heat-embossed using the Hero Arts Five-Line background stamp. I wanted a little texture for that base panel.