TE Share Joy Challenge #32

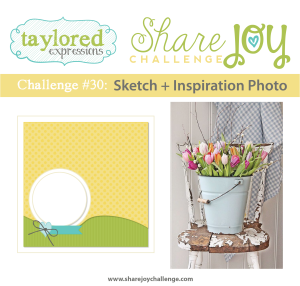
Today I’m sharing two CAS cards I created for Taylored Expressions Share Joy Challenge #32.

SJC32Apr21

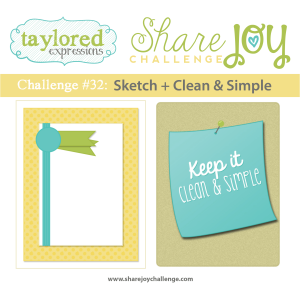
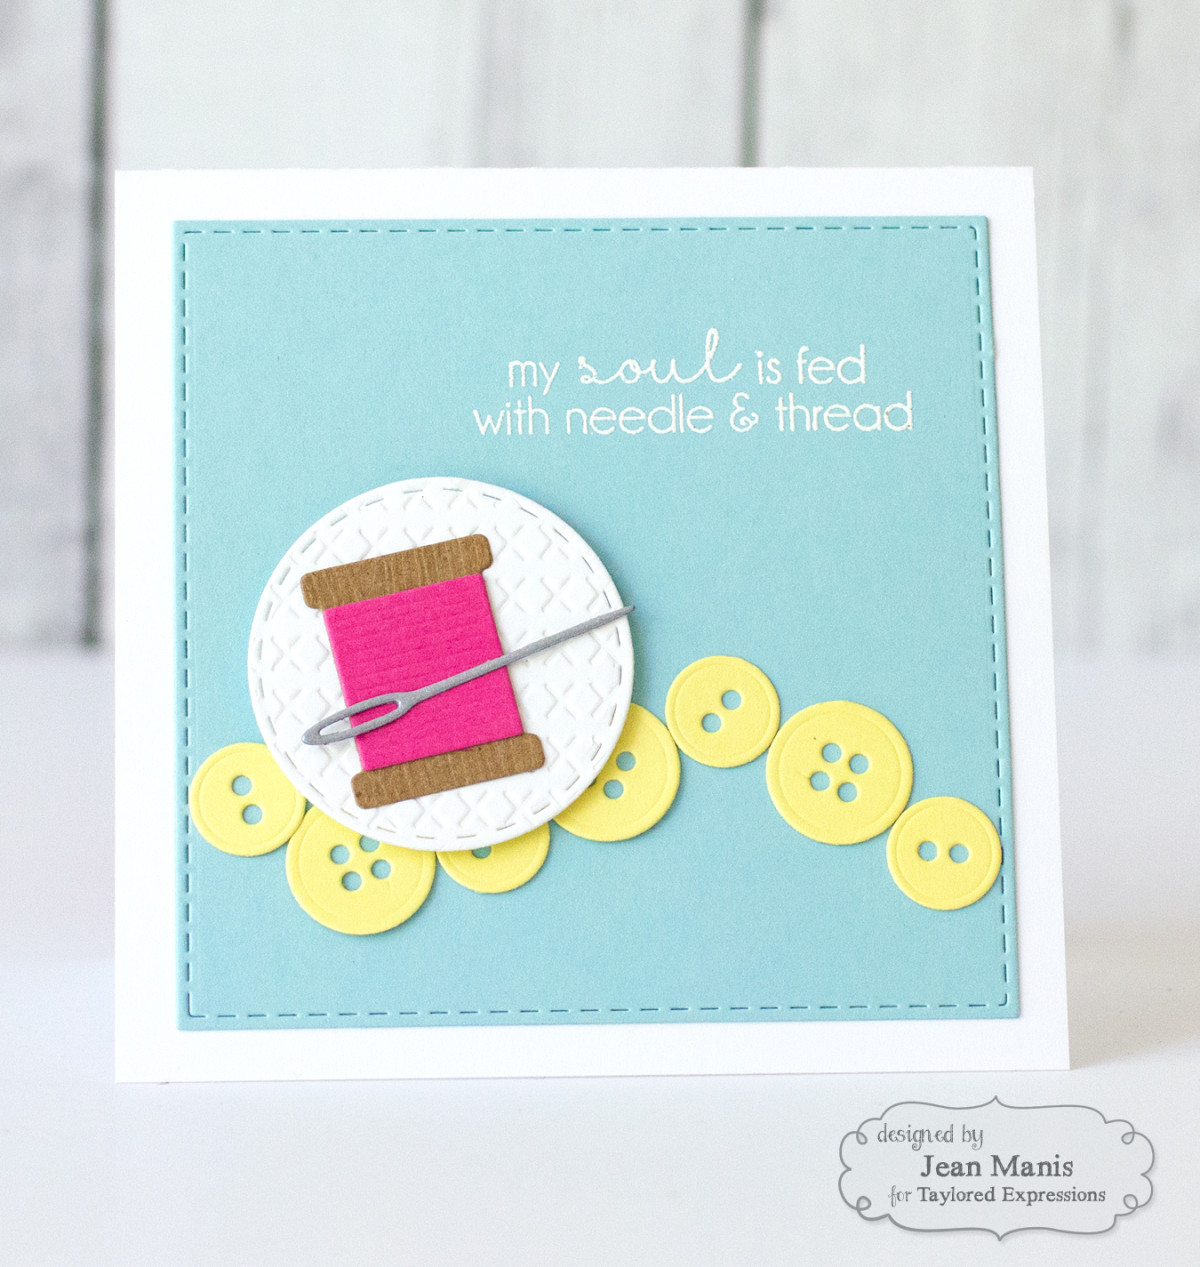
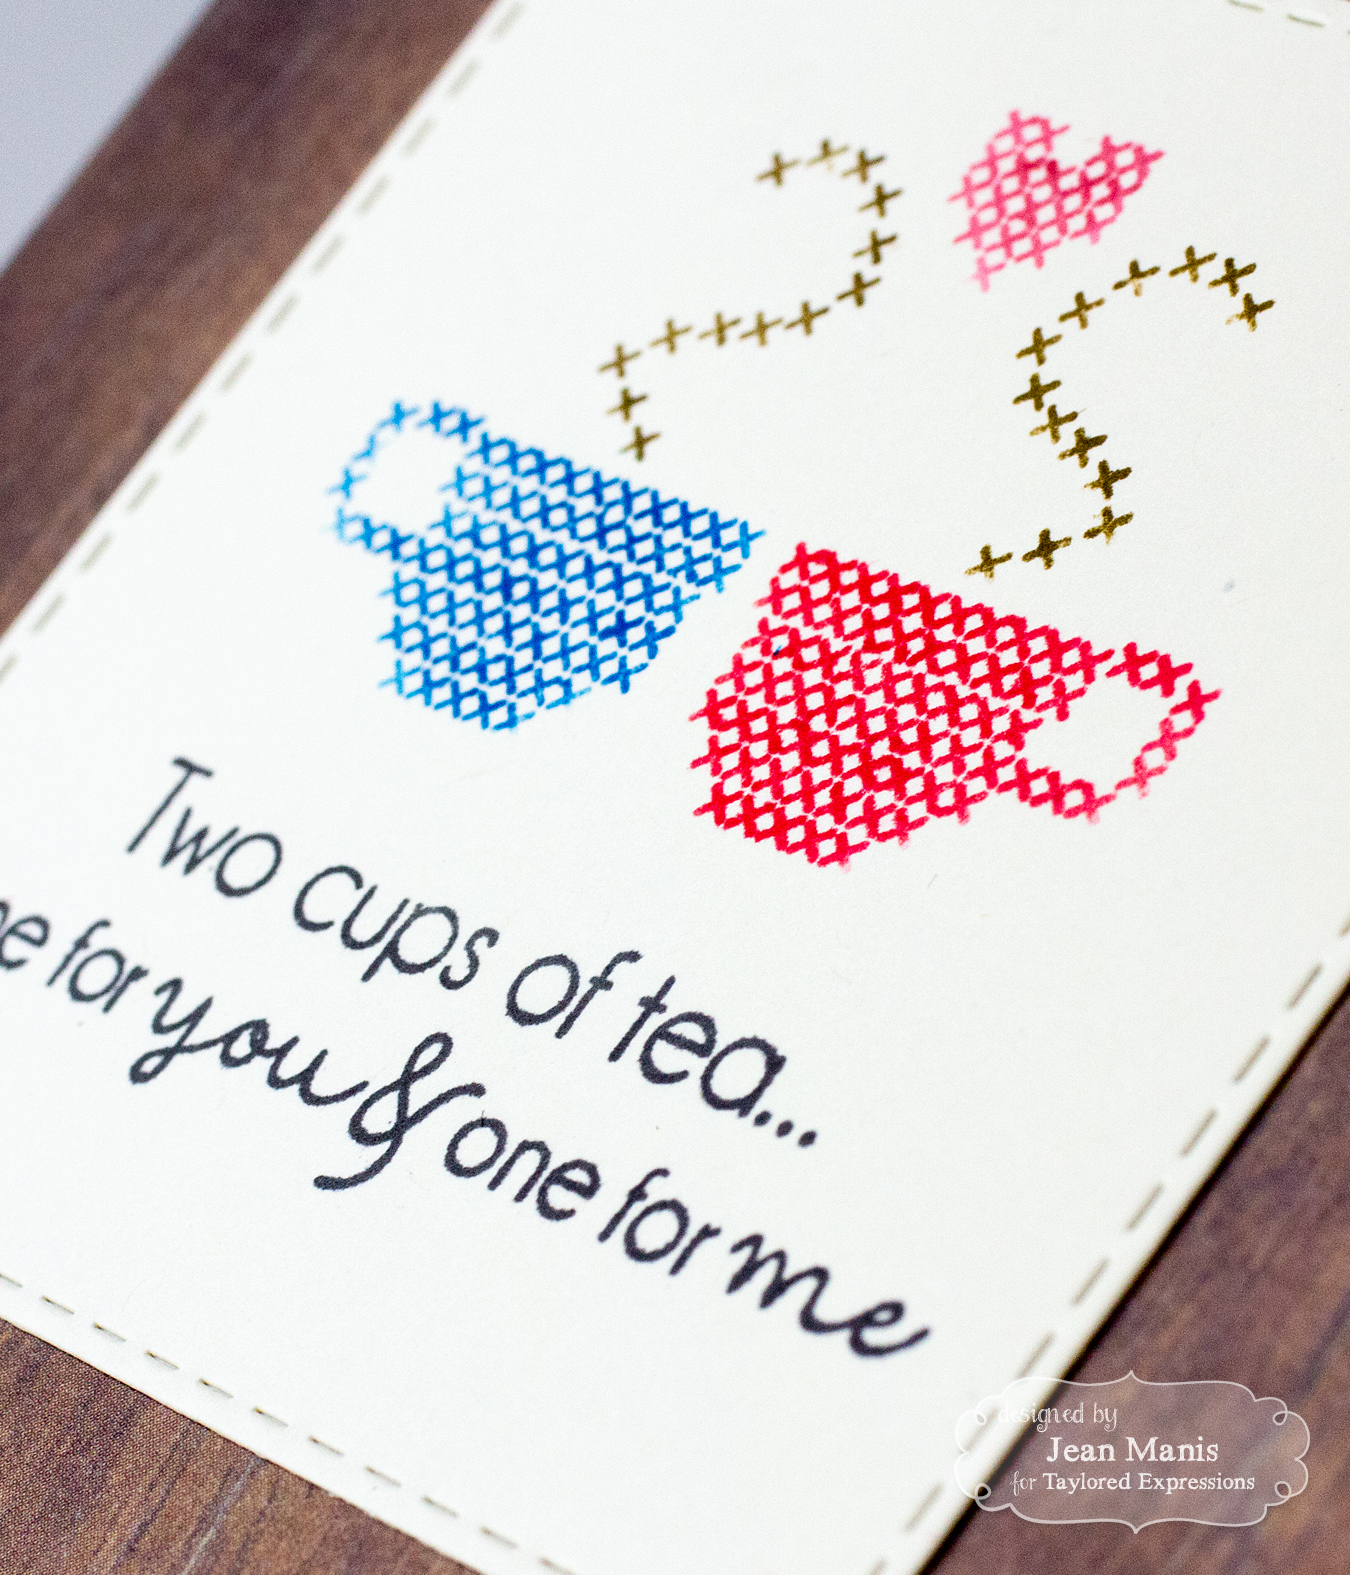
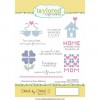
The cards (variations on the same idea) showcase the Stitch by Stitch 2 stamp set.

TE Share Joy Challenge #32

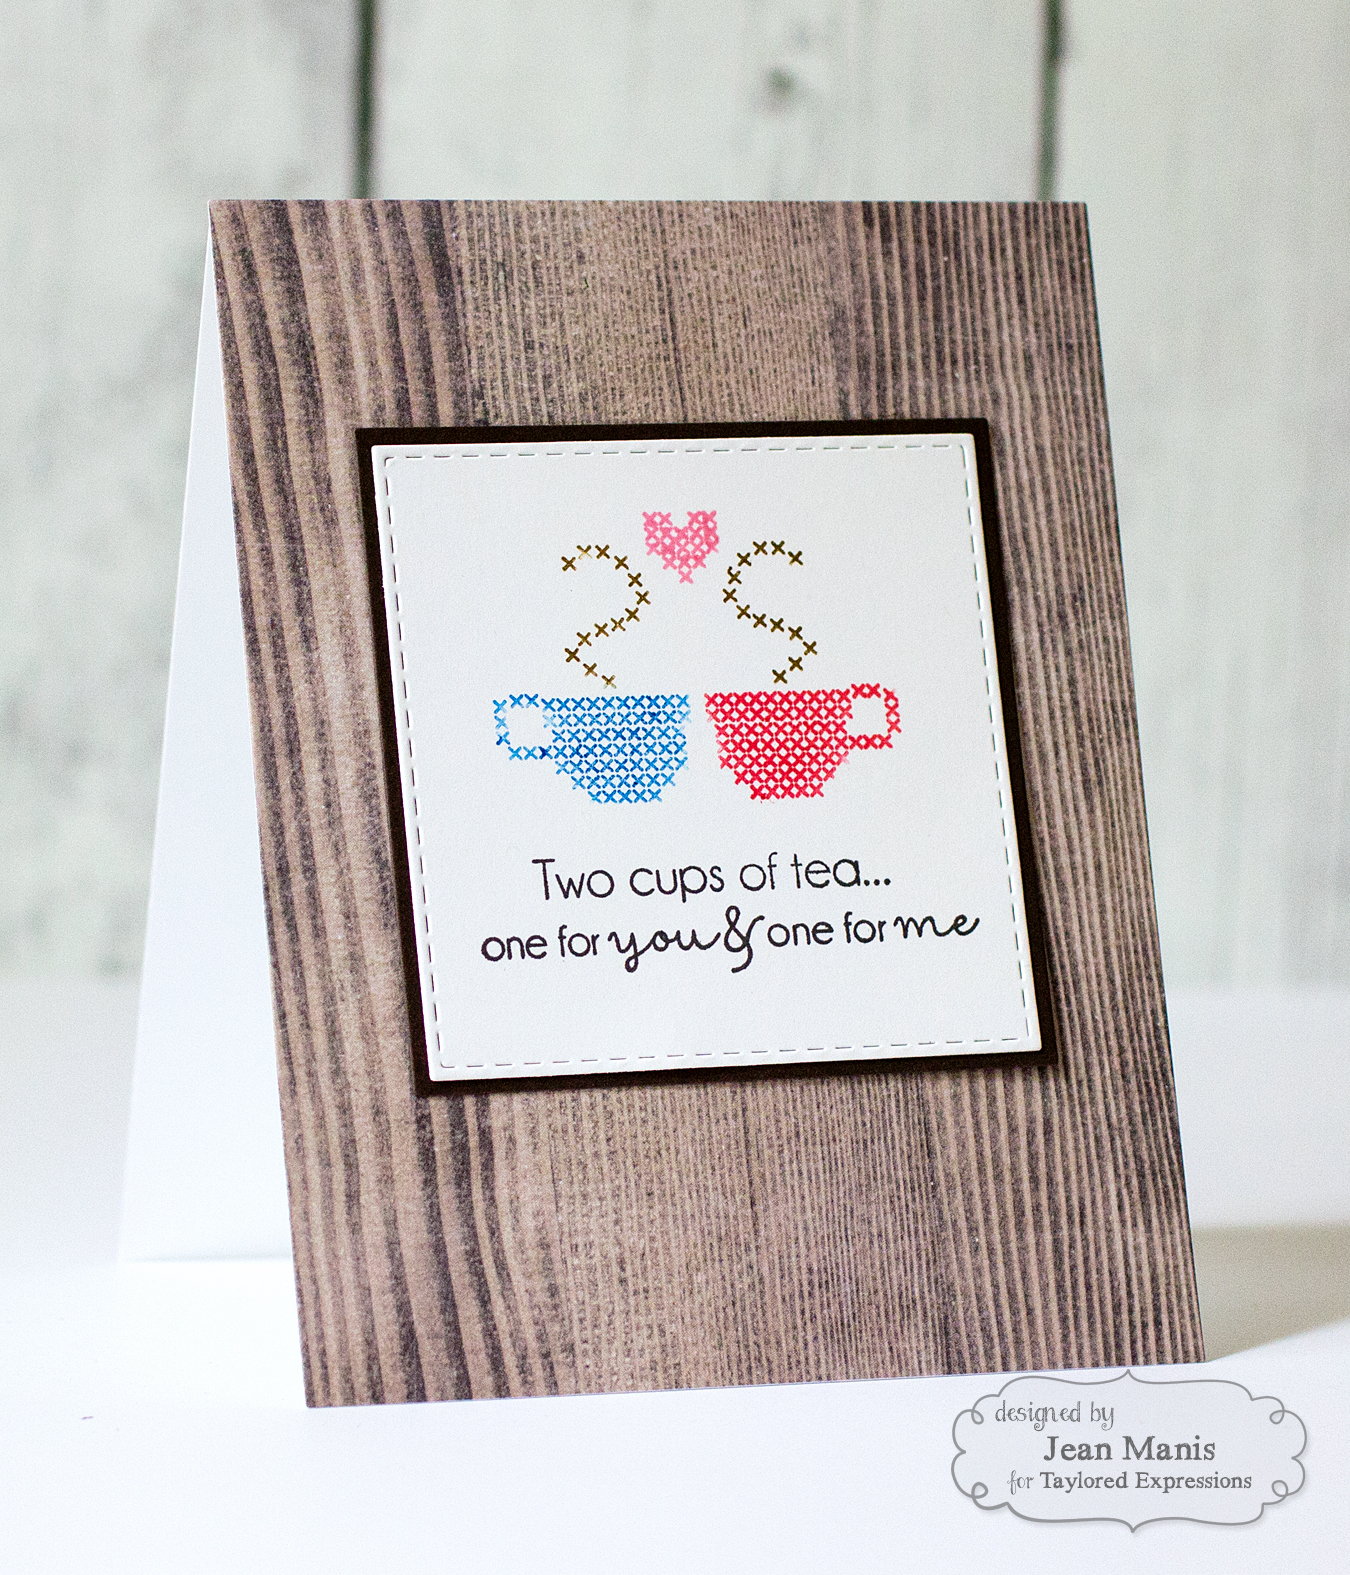
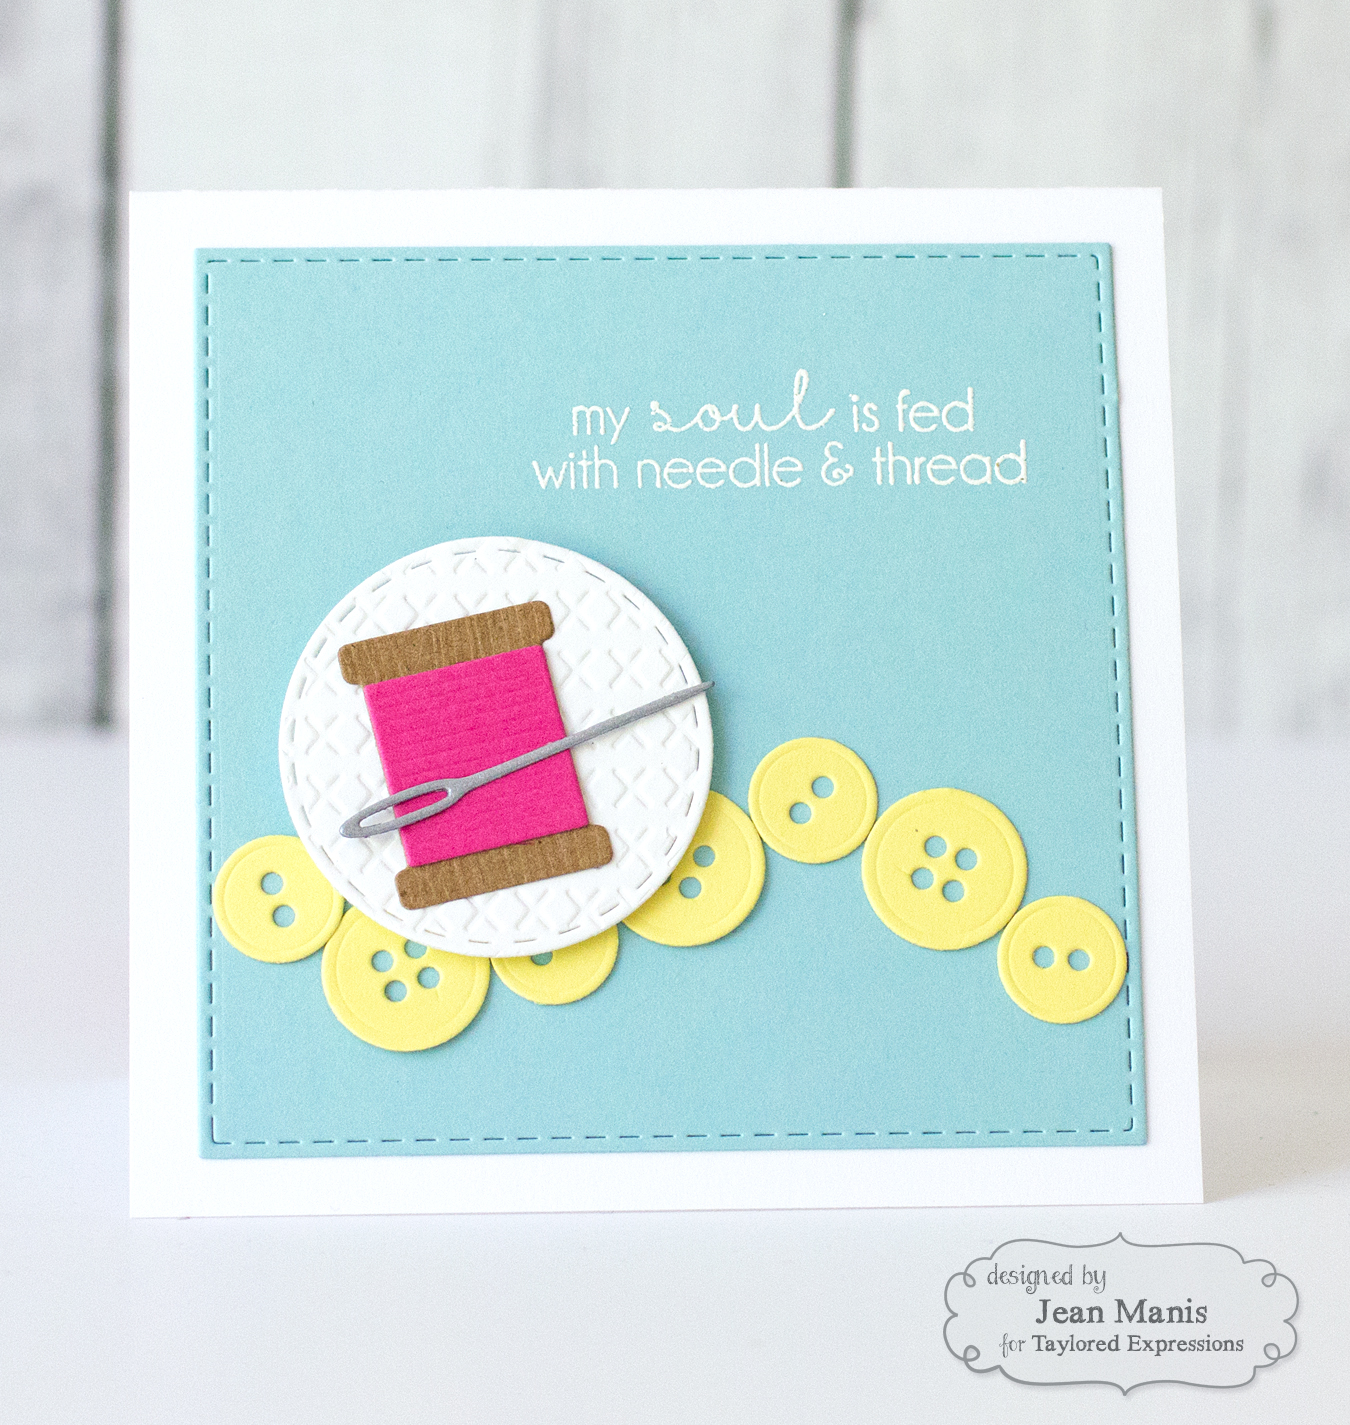
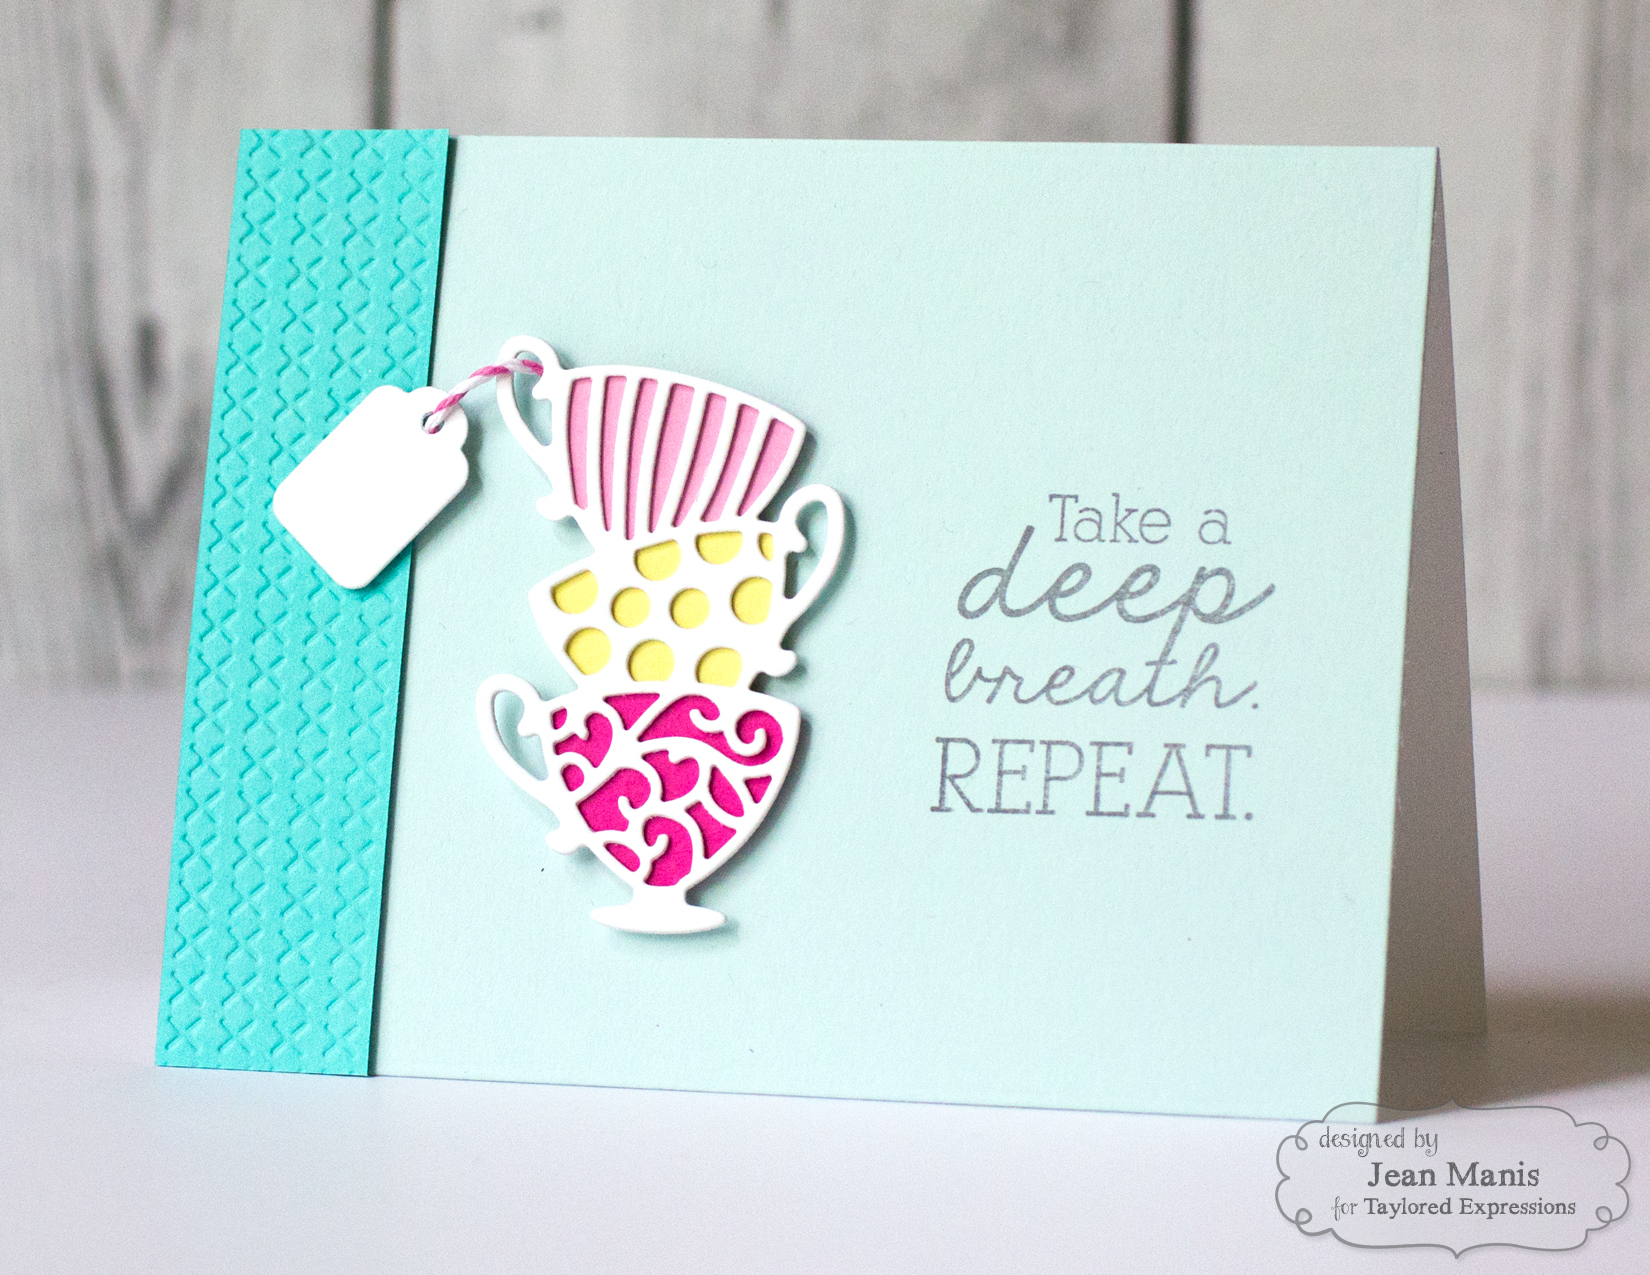
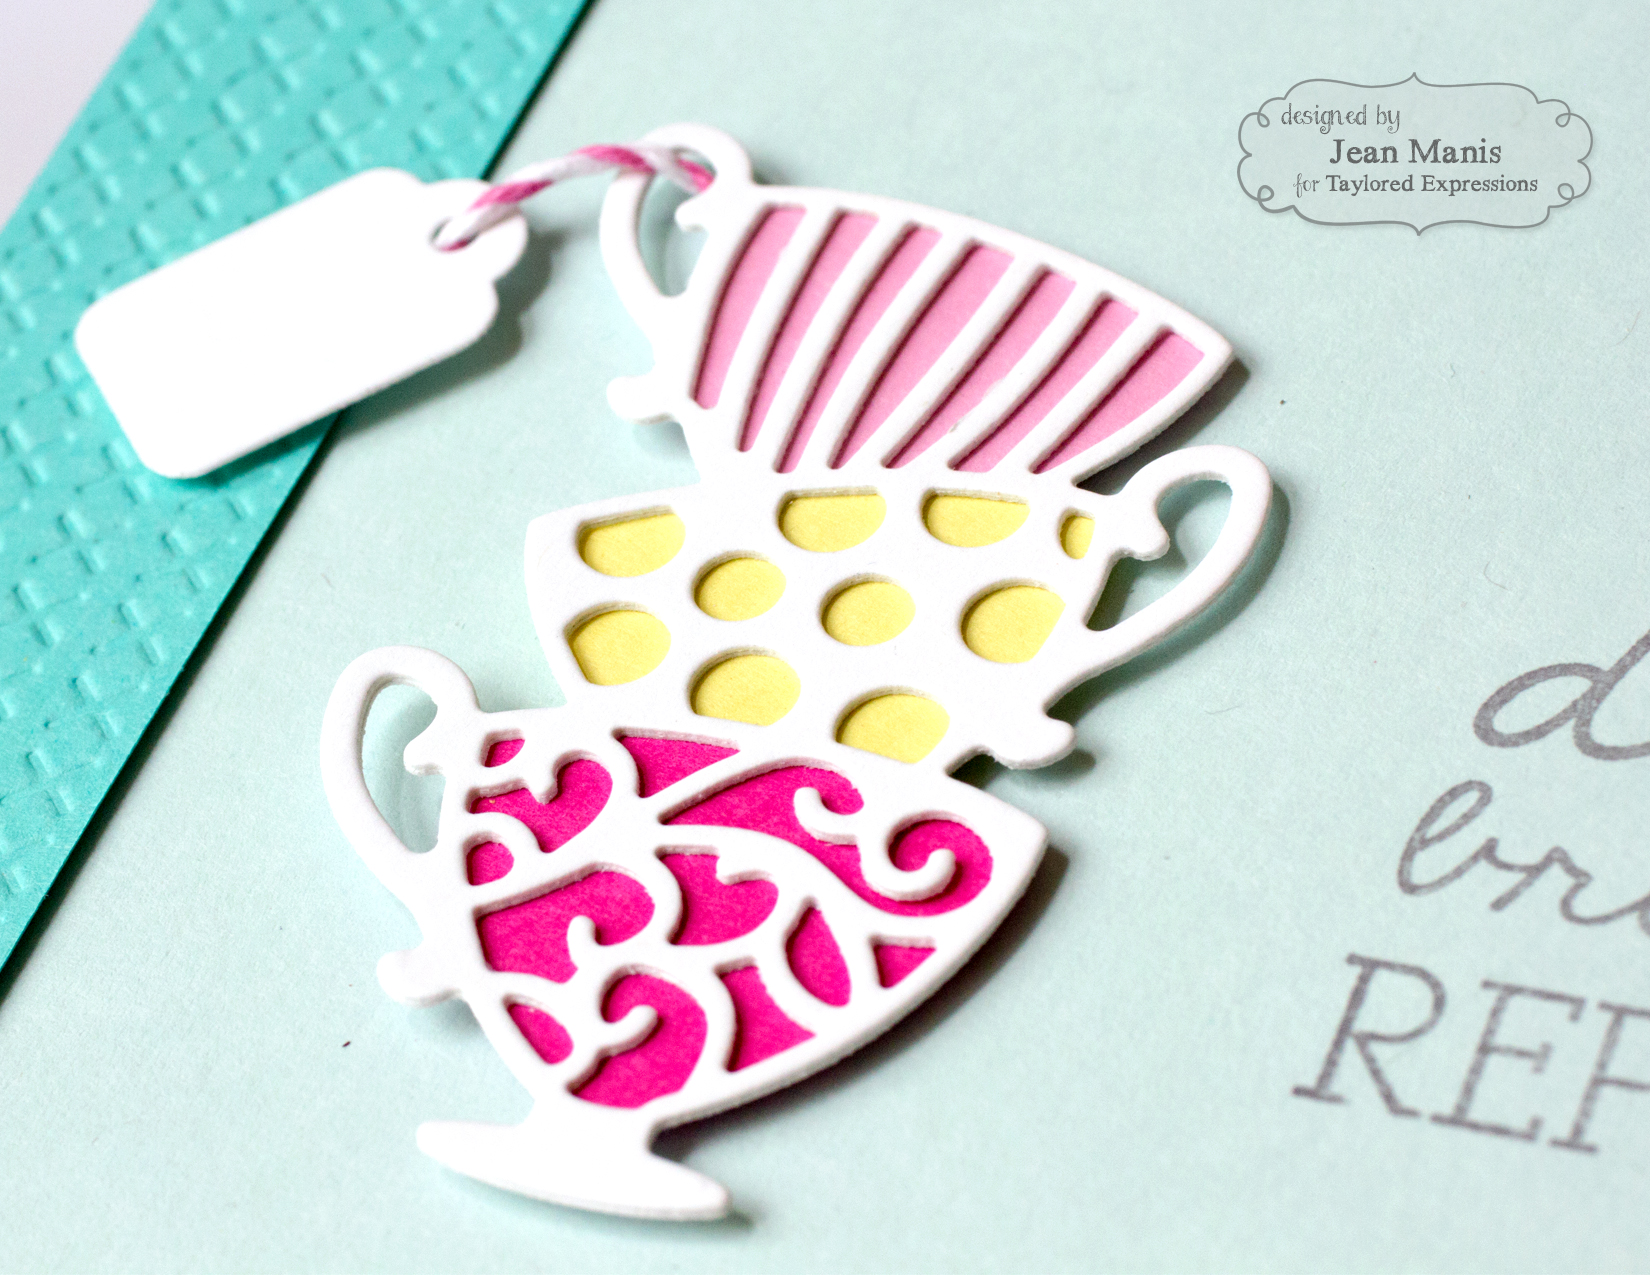
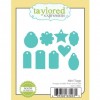
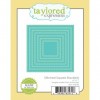
Using the MISTI I stamped the image and sentiment onto Sugar Cube cardstock (two separate stamps that I lined up). I inked the sentiment with an ink pad (holding a post-it note over the image) and then colored the image with Distress Ink and Memento markers. The MISTI made it possible to get good coverage. I cut the image with one of the dies in the Stitched Square Stacklets set, framed it with a slightly larger square, cut from Chocolate Truffle cardstock, and attached it to a woodgrain patterned paper.

TE Share Joy Challenge #32

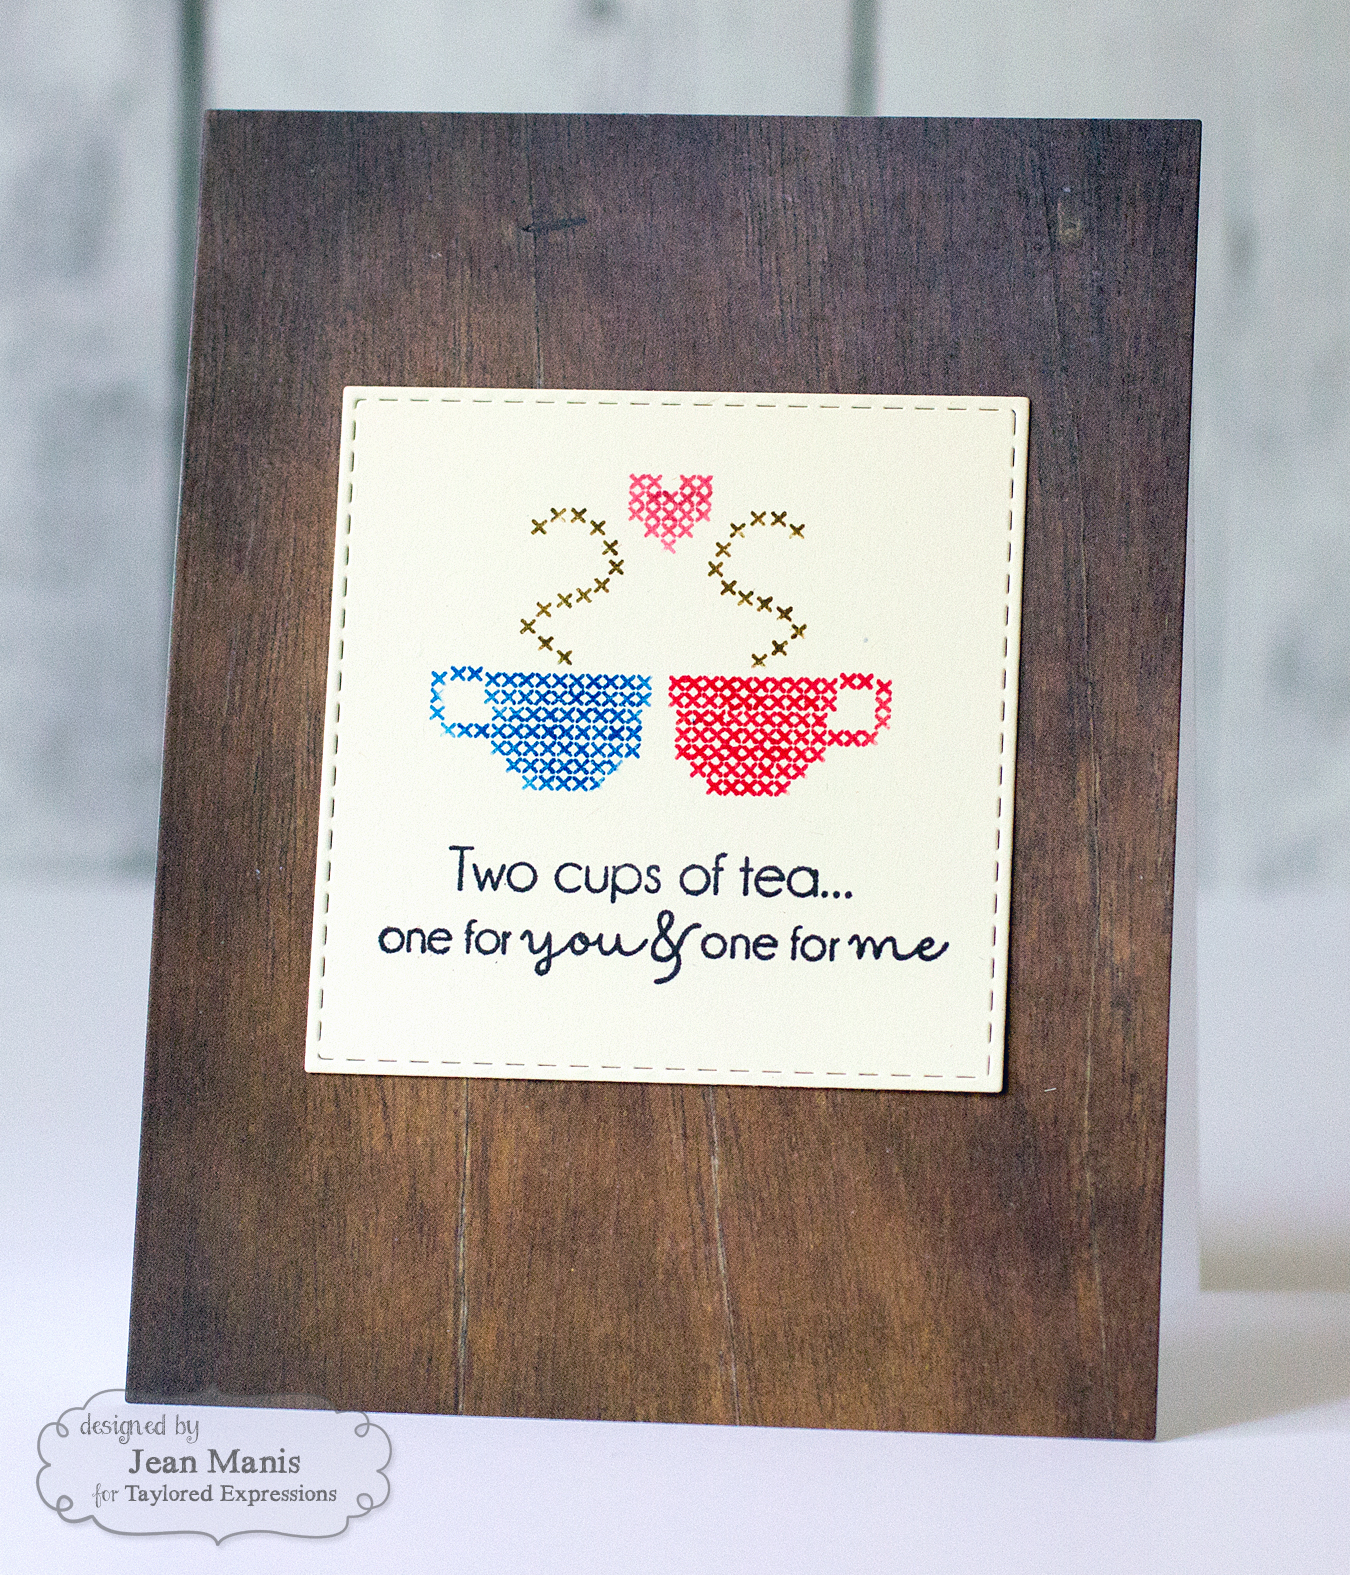
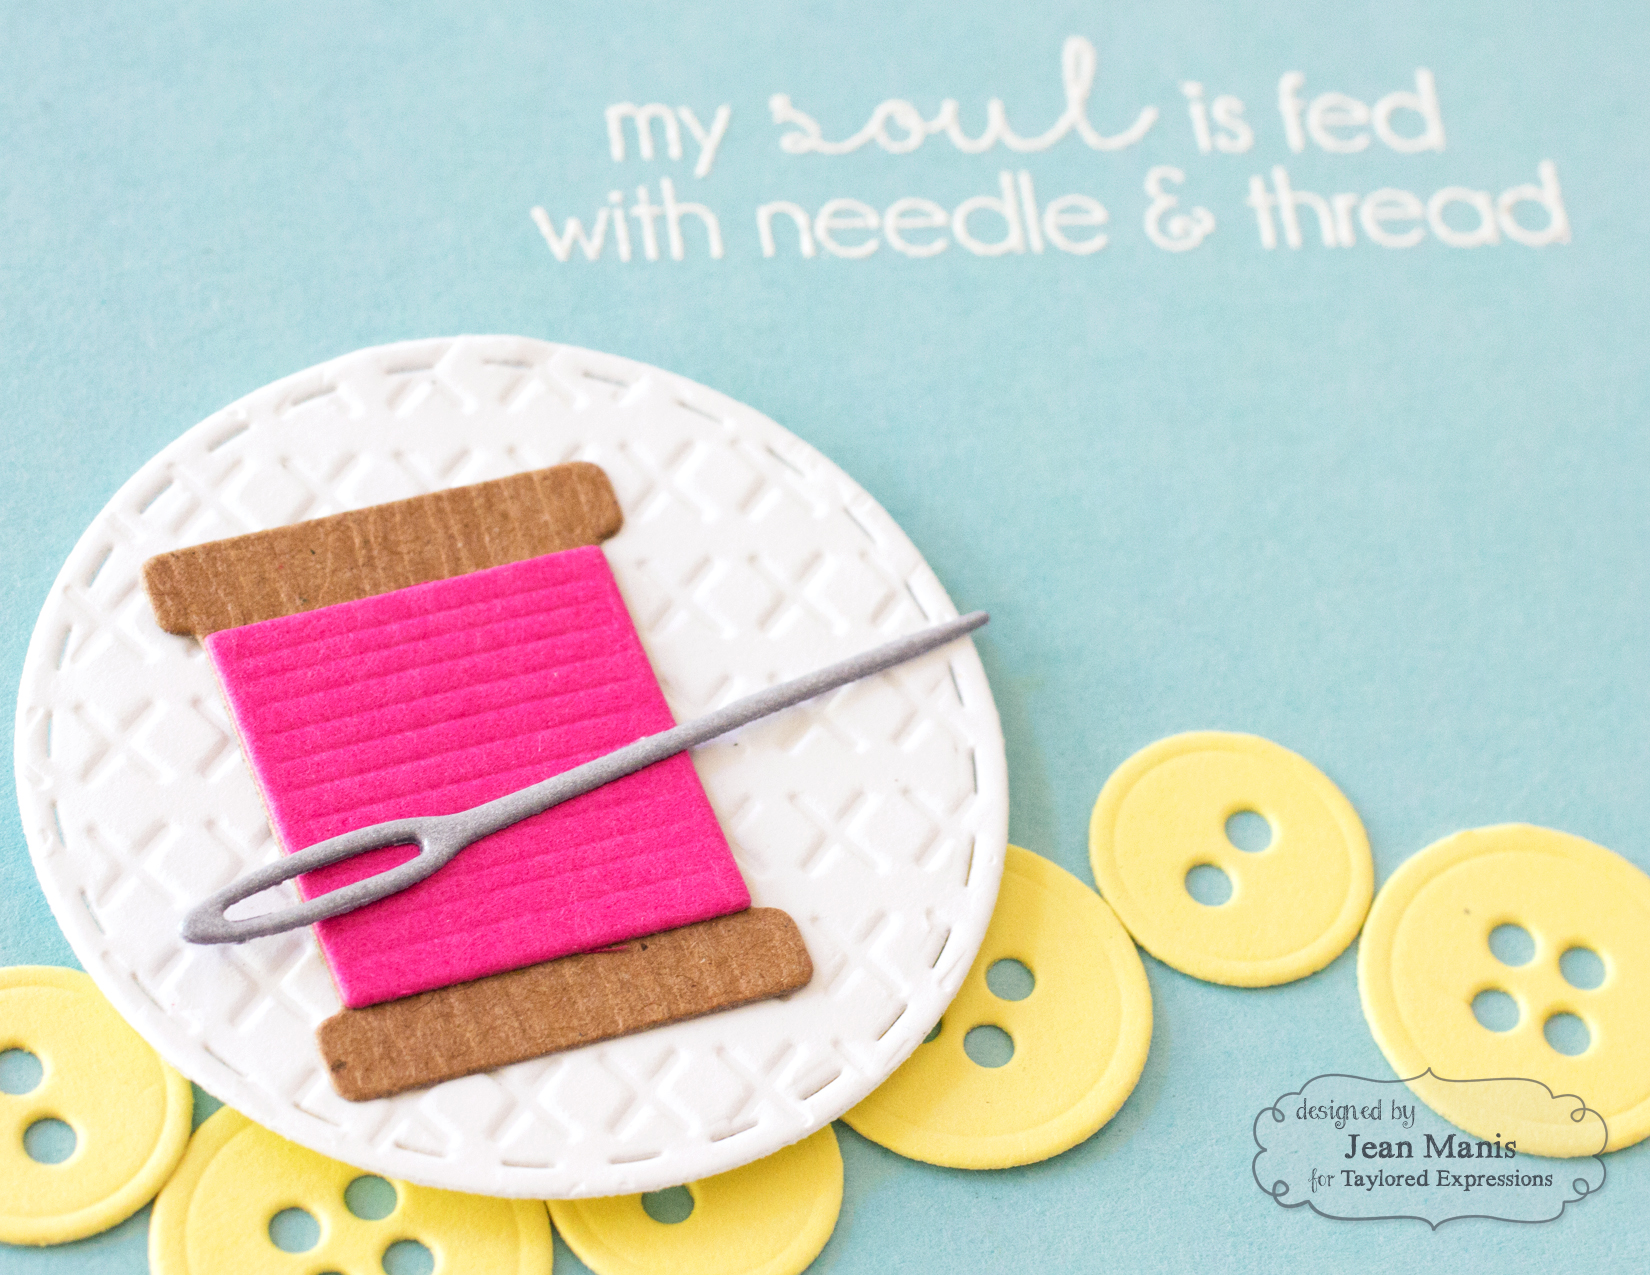
With the stamps still on the MISTI I stamped the image and sentiment (using the same method as above) onto Buttercream Frosting cardstock. I cut the image with one of the dies in the Stitched Square Stacklets set and attached it to a card panel cut from a different woodgrain patterned paper in my stash. The darker woodgrain paper looked better with the Buttercream Frosting cardstock and didn’t need the image to be framed in a darker cardstock.

TE Share Joy Challenge #32

Be sure to head over to the Share Joy Challenge Blog to see more inspiration and to link up your entry!

Supplies:

Penny Black Simplicity: Background Shadow Stamping

Today, I’m sharing a shadow stamp card created with Penny Black stamps and dies. I created a “sister” version of this card (same design with a few tweaks) which is being shown today over on the Penny Black Simplicity site. I hope you’ll head over there and take a look.

Penny Black Simplicity Butterfly Hello

With my MISTI, I stamped 40-442 Butterfly Charmer in both VersaMark and white pigment ink. I die cut the sentiment 51-104 Hello from white cardstock twice and adhered the pieces (trimming the tail of the “o”). I stamped a sentiment from 30-283 Snippets onto vellum and positioned the “hello” over it (adhering the vellum to the background panel with liquid adhesive under the “hello” letters).

Celebrating Sunny Days

Today I’m sharing a spring/summer-themed card featuring the Hero Arts Color Layering Graphic Flowers stamp set.

Hero Arts Sunshine

I created a one-layer card (with the exception of the dry-embossed strip on the left) using the stamp set and a MISTI. I’m completely sold on the MISTI at this point. (Note: the sentiment is designed with that distress on some of the letters; I realized that after stamping it something like five times!)

Taylored Expressions Burlap embossing folder; Stampin’ Up cardstock; Stampin’ Up inks

Share Joy Challenge #30

I’m playing along with the Taylored Expressions Share Joy Challenge #30.

TE Share Joy Challenge #30

I created a card with the sketch showcasing some of the April 2016 release products, specifically sewing-themed stamps and dies. And while I wasn’t trying to use the colors in the inspiration photo, it looks like I did (at least a little bit).

TE Share Joy Challenge #30

I heat-embossed a sentiment from Stitch by Stitch 2 and cut the panel with the largest die in the Stitched Square Stacklets set. I cut a circle with the Stitched Circle Stacklets and embossed it with the Cross Stitch folder. The buttons were cut with the Little Bits – Buttons set and the needle and thread with the Little Bits – Needle & Thread set (I cut the spool from cardstock in the Woodgrain Textured Cardstock Pack and the needle with Premium Cardstock – Metallic Neutrals).

TE Share Joy Challenge #30

Be sure to head over to the Share Joy Challenge Blog to see more inspiration and to link up your entry!

Supplies:

Have a Cuppa

Looking for my Ellen Hutson Mix-It-Up Challenge post? It’s here.

Welcome to the Taylored Expressions April 2016 Release! All of the products that we have been sharing this week are now available in the TE store, HERE!

Before you head off to shop, I have one more project to show you! My CAS card showcases the Stacked Teacups die.

Taylored Expressions April 2016 Release

I cut the tea cup stack twice and adhered the die cuts together with liquid adhesive, backing them with their separate die cuts. I added a sentiment from Plot Twist (this set has so many fabulous sentiments!). I used the Mini Tags set to cut a tea bag tag (I cut the tag and then shifted the die to cut the tag down a bit). I used the Cross Stitch embossing folder to deboss a strip to finish off the card.

Taylored Expressions April 2016 Release

Thanks so much for stopping by! If you’d like to see more projects and new product information, head over to the TE Blog for a complete blog roll of our participating designers!

Supplies: