Spellbinders – Artomology Collection by Jane Davenport

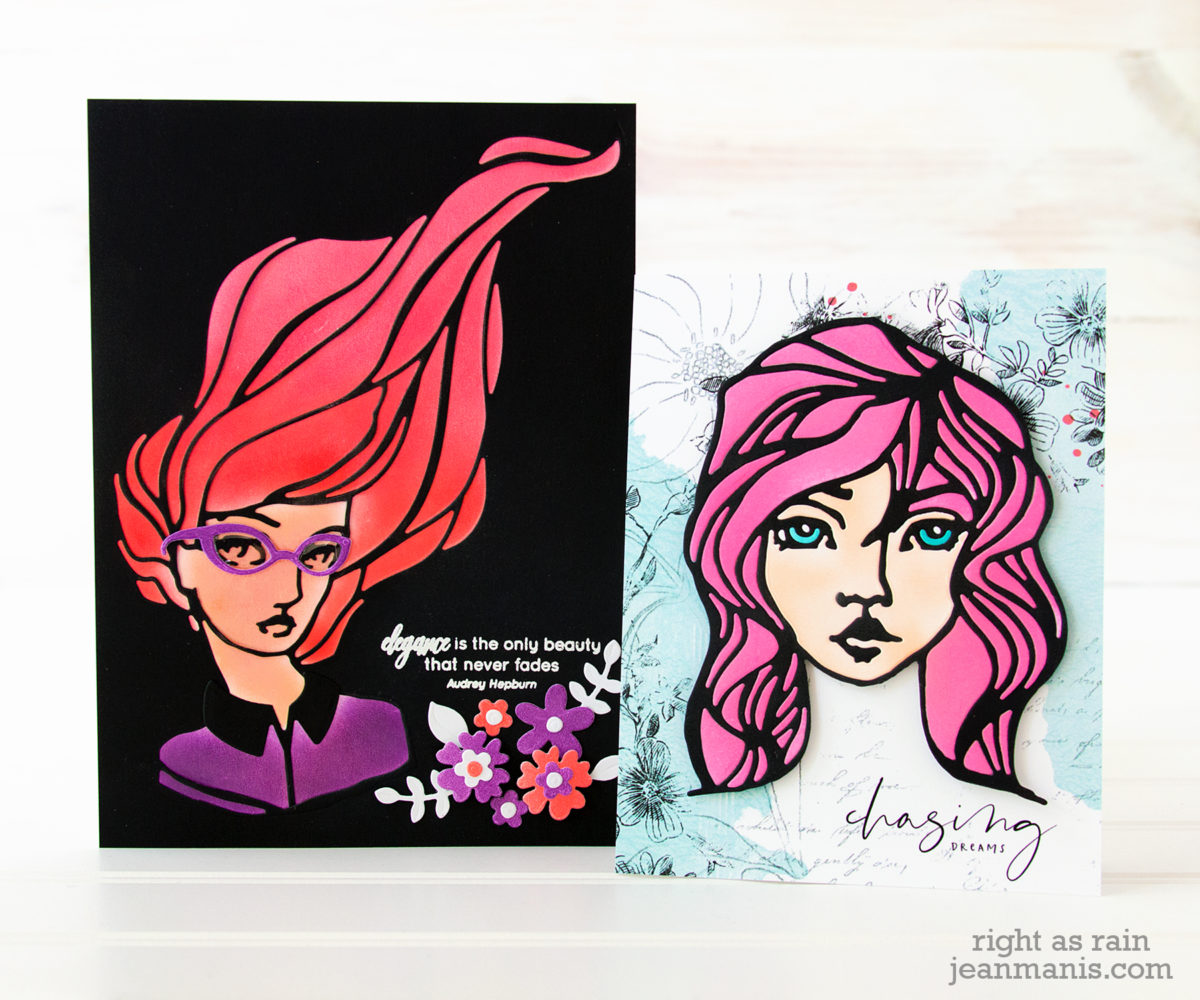
Hello! Today I am delighted to be sharing two cards featuring die sets from Spellbinders Artomology Collection by Jane Davenport – Marcia’s Makeover and Tousled. The Artomology Collection by Jane Davenport brings her iconic faces, fantasy creatures and quirky quotes to life! Keeping to my style, I used the die sets to create CAS mixed media cards. Let’s take a look.

Spellbinders - Artomology Collection by Jane Davenport

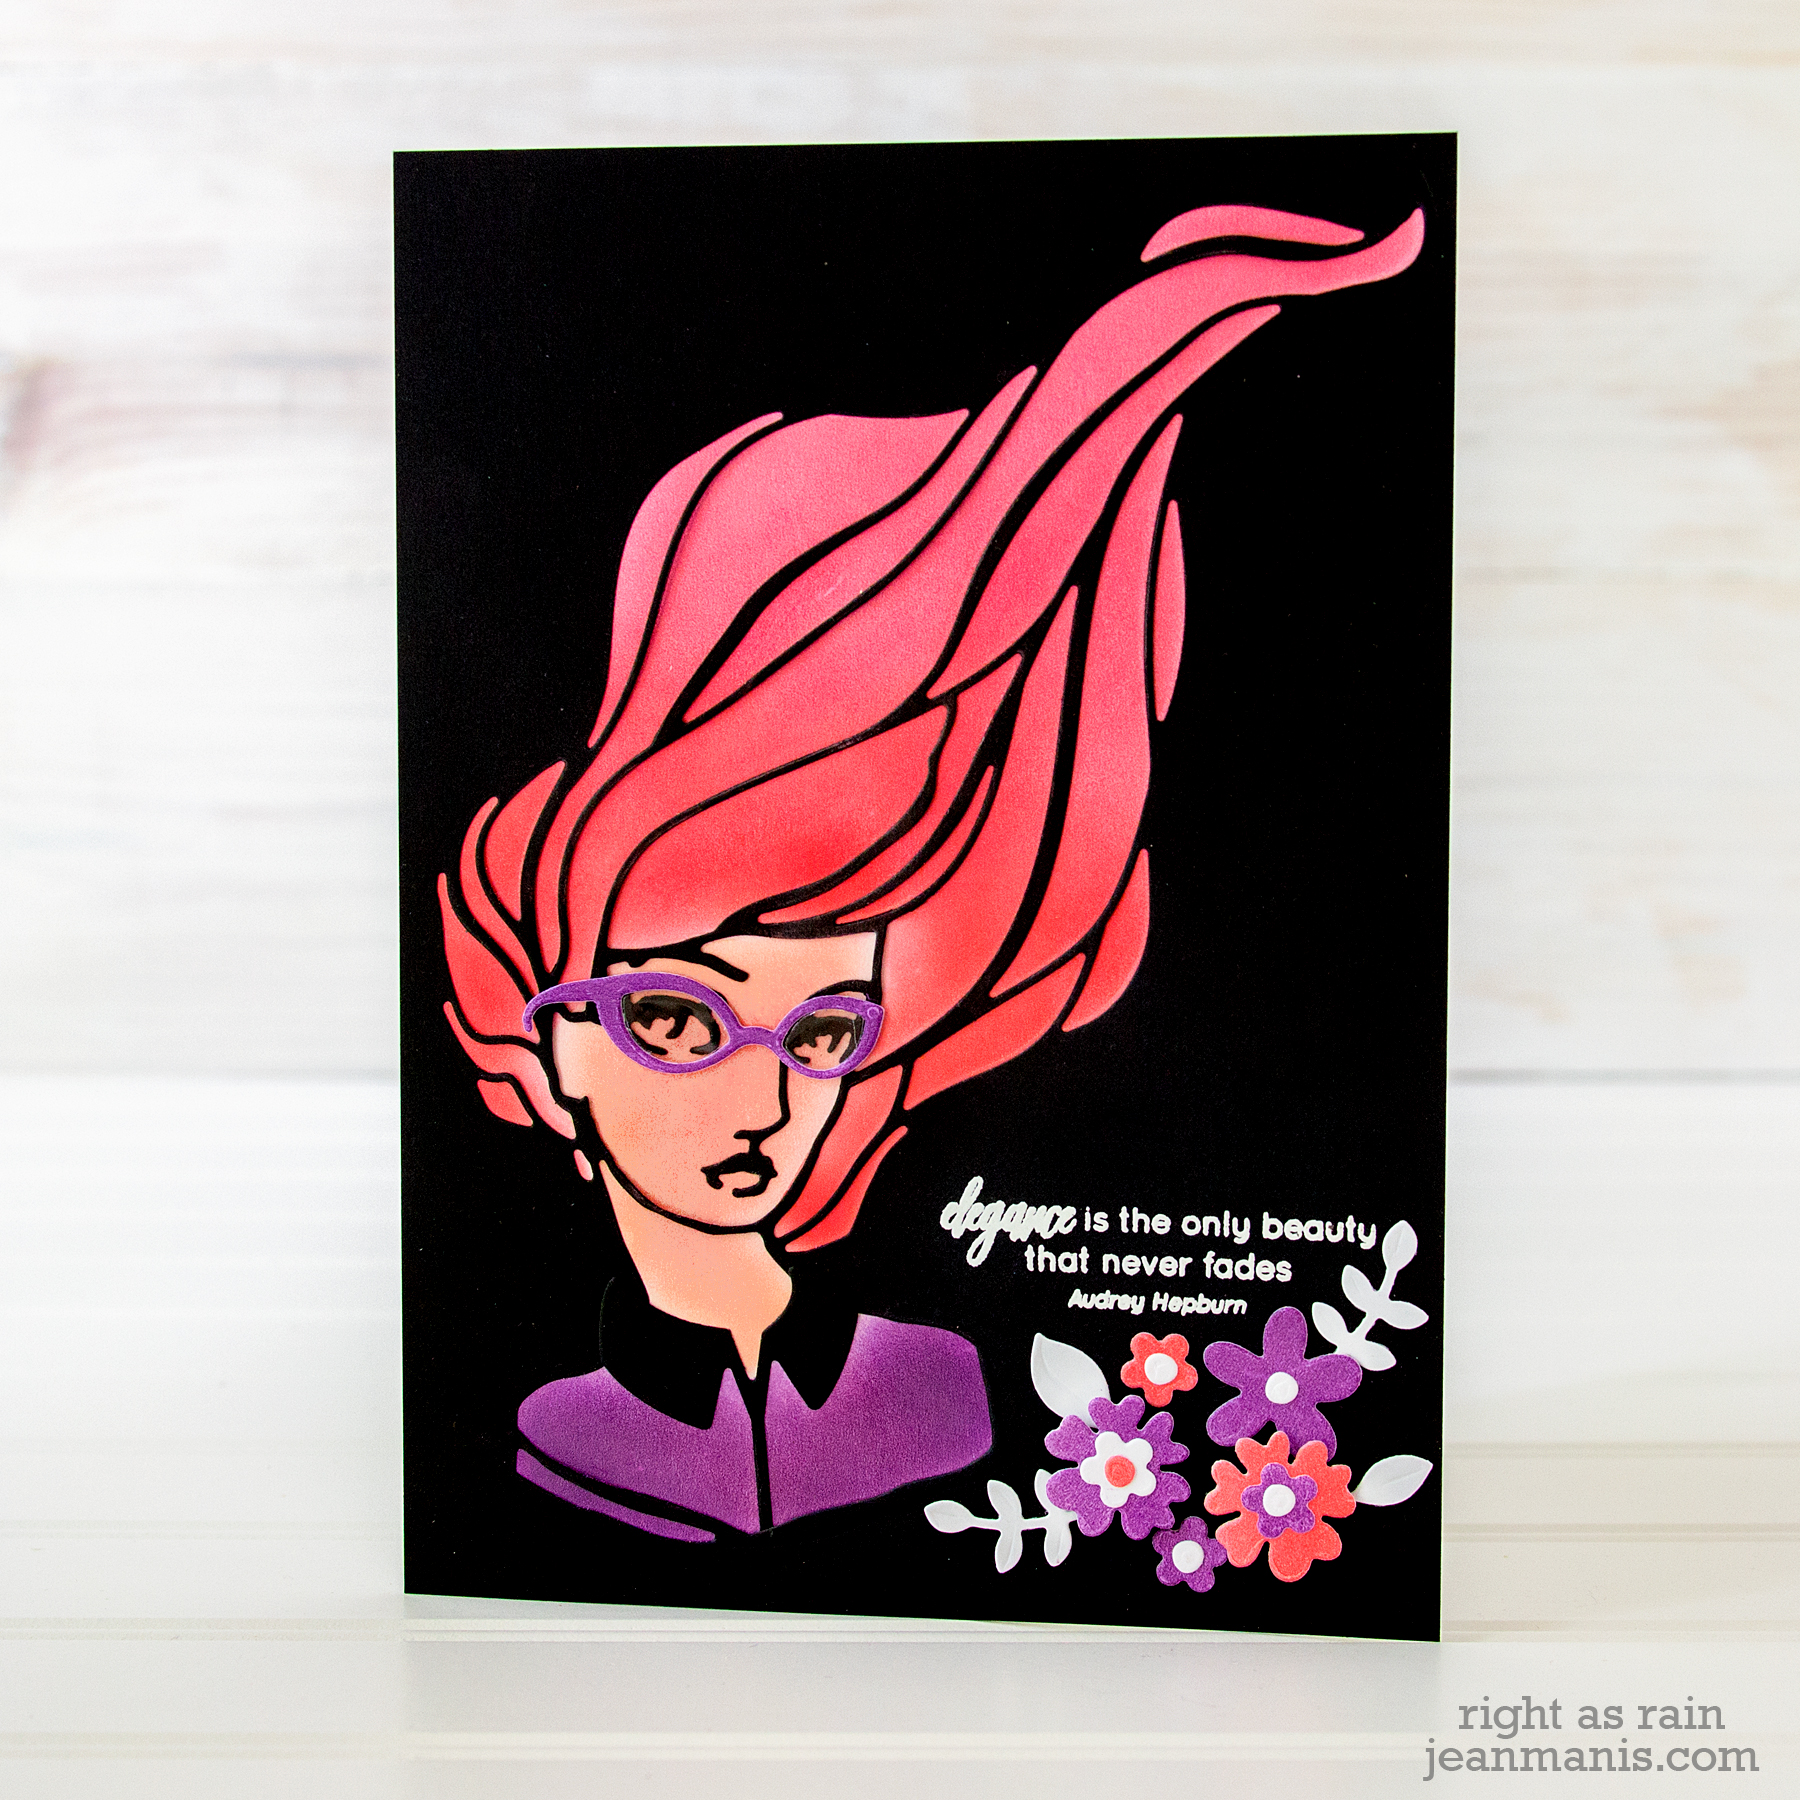
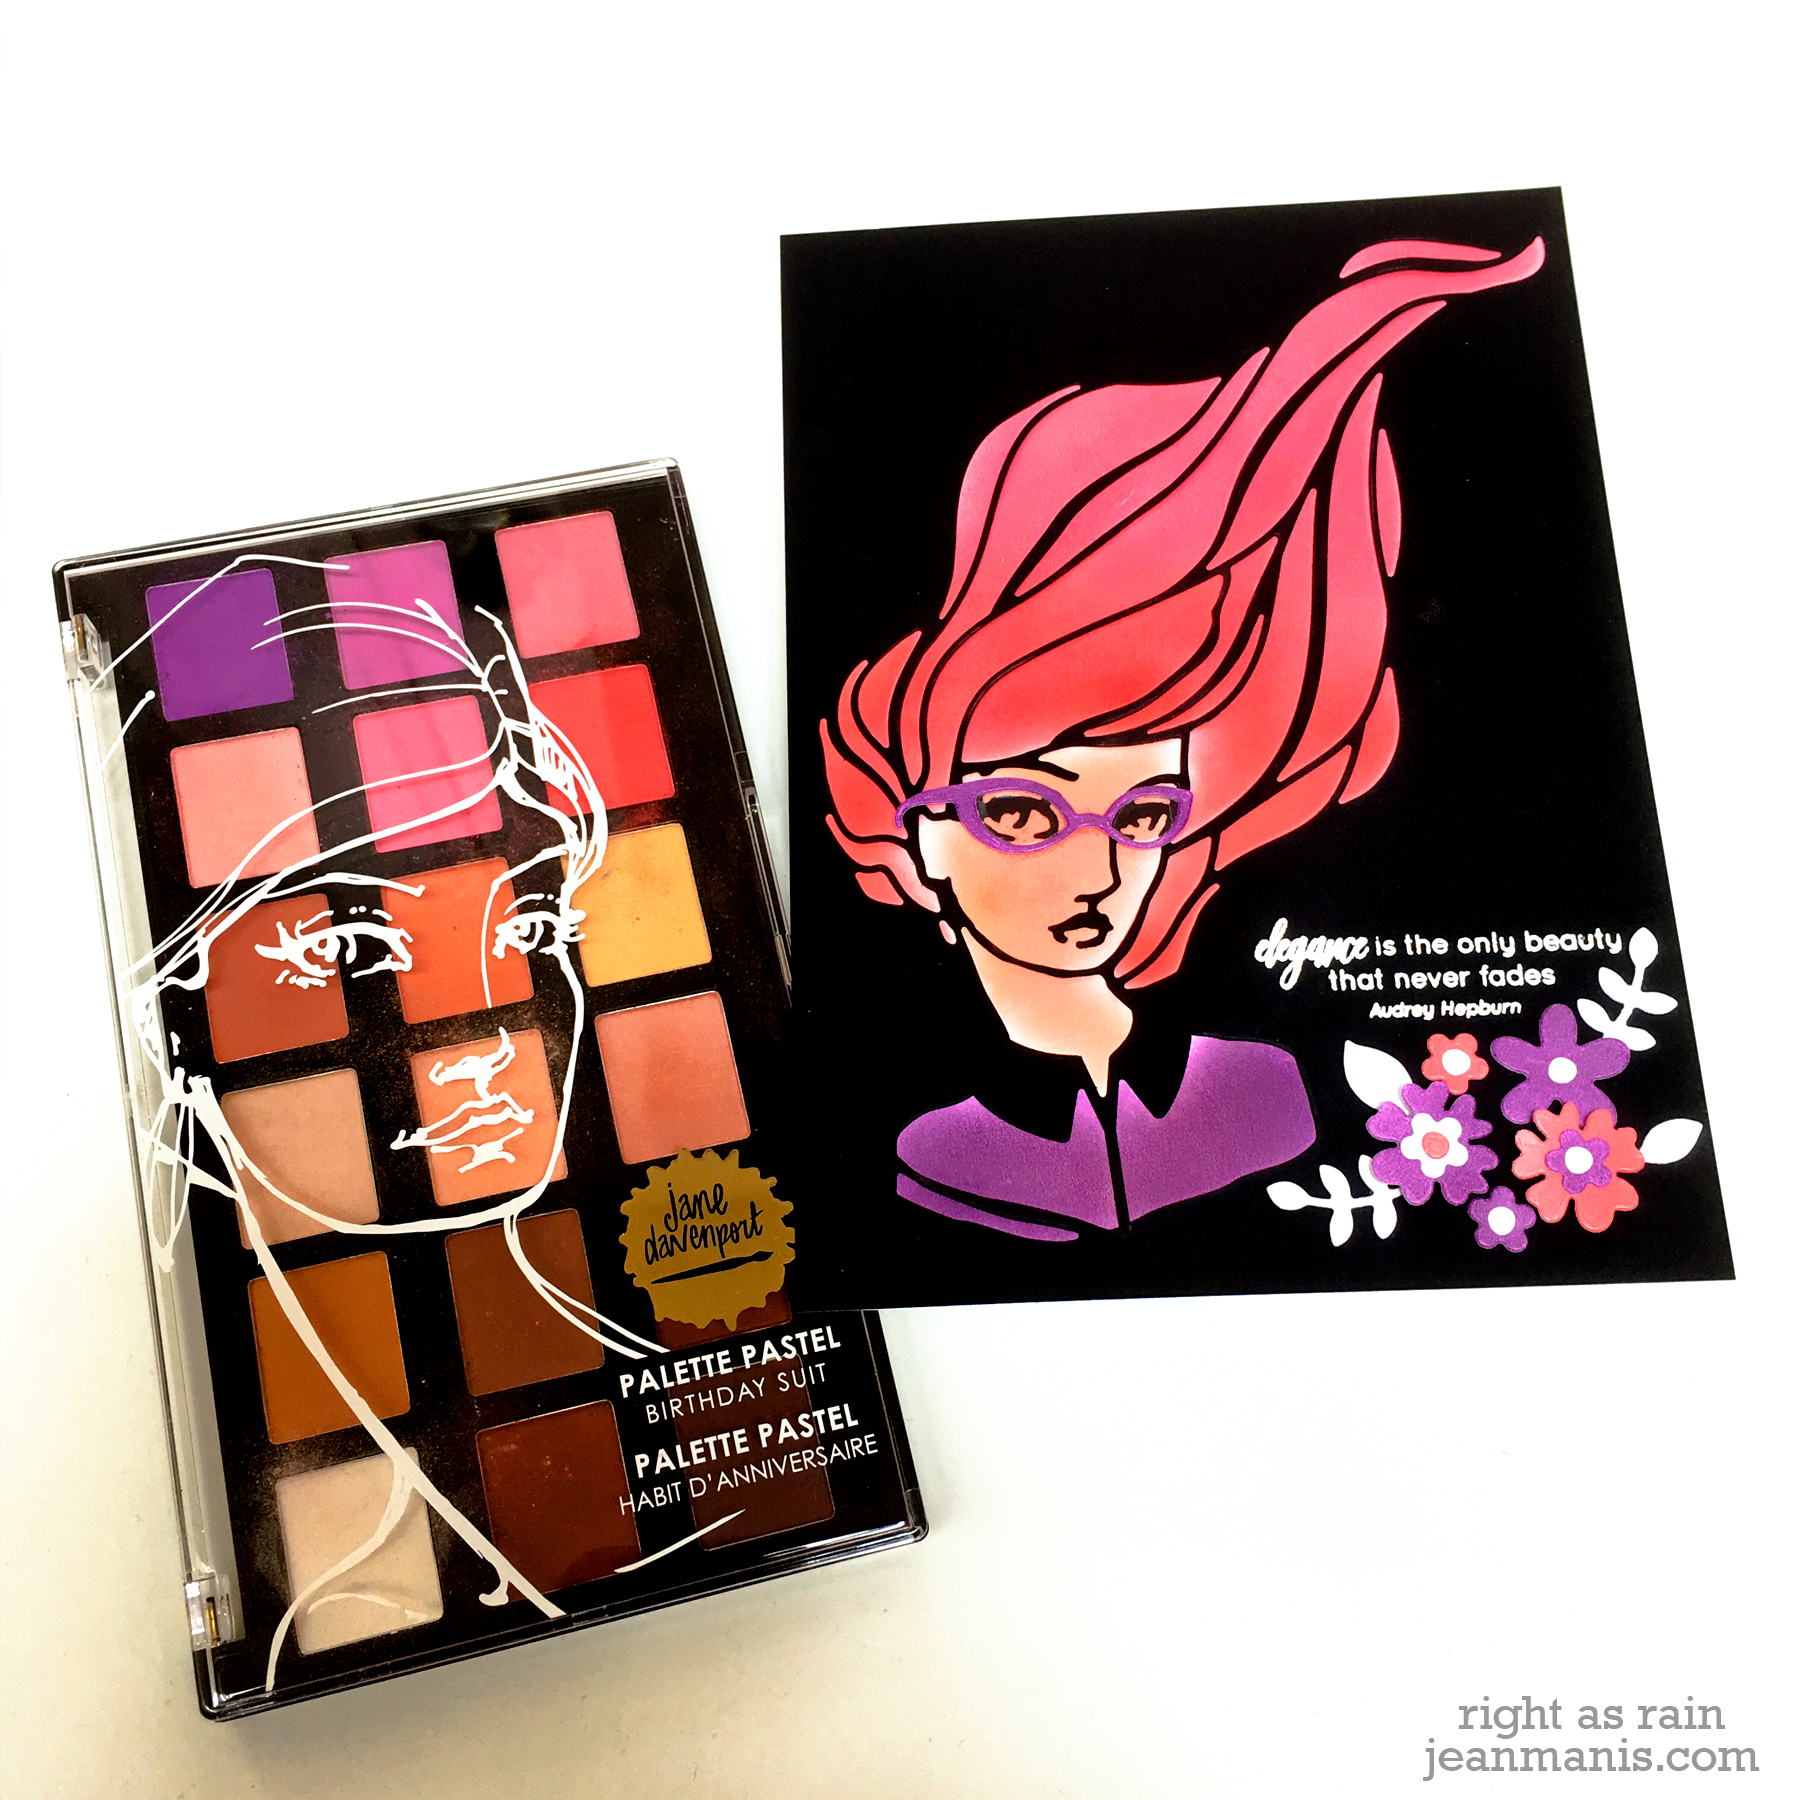
My first card, measuring 5″ x 7″, features the Marcia’s Makeover die set and the Birthday Suit Pallette Pastel set, a palette of 18 colors housed in a custom case.

Spellbinders - Artomology Collection by Jane Davenport

  • To create the card, I cut the detailed die and the collar from white cardstock to use as stencils.
  • I secured the stencils to white cardstock and applied the colors for Marcia’s hair, skin, and blouse to the white cardstock using the pastels in the set. I wanted to get the approximate location for the various colors.
  • I removed the stencil and filled in areas of the same color with sponge daubers knowing that I would cut the detailed piece as an overlay.
  • I cut the detailed piece from black cardstock and heat-embossed the sentiment – “Elegance is the only beauty that never fades.” I trimmed the panel to 5″ x 7″.
  • I sprayed adhesive on the back of the black piece and adhered it to the white cardstock on which I had applied the pastels.
  • I cut the sunglasses from cardstock colored with the pastels and added “glass” cut from an acrylic sheet to the frames.
  • I added the panel to a 5″ x 7″ card base. For embellishment, I cut flowers and foliage with dies in the same set from white cardstock colored with pastels in the pallette.

Spellbinders - Artomology Collection by Jane Davenport

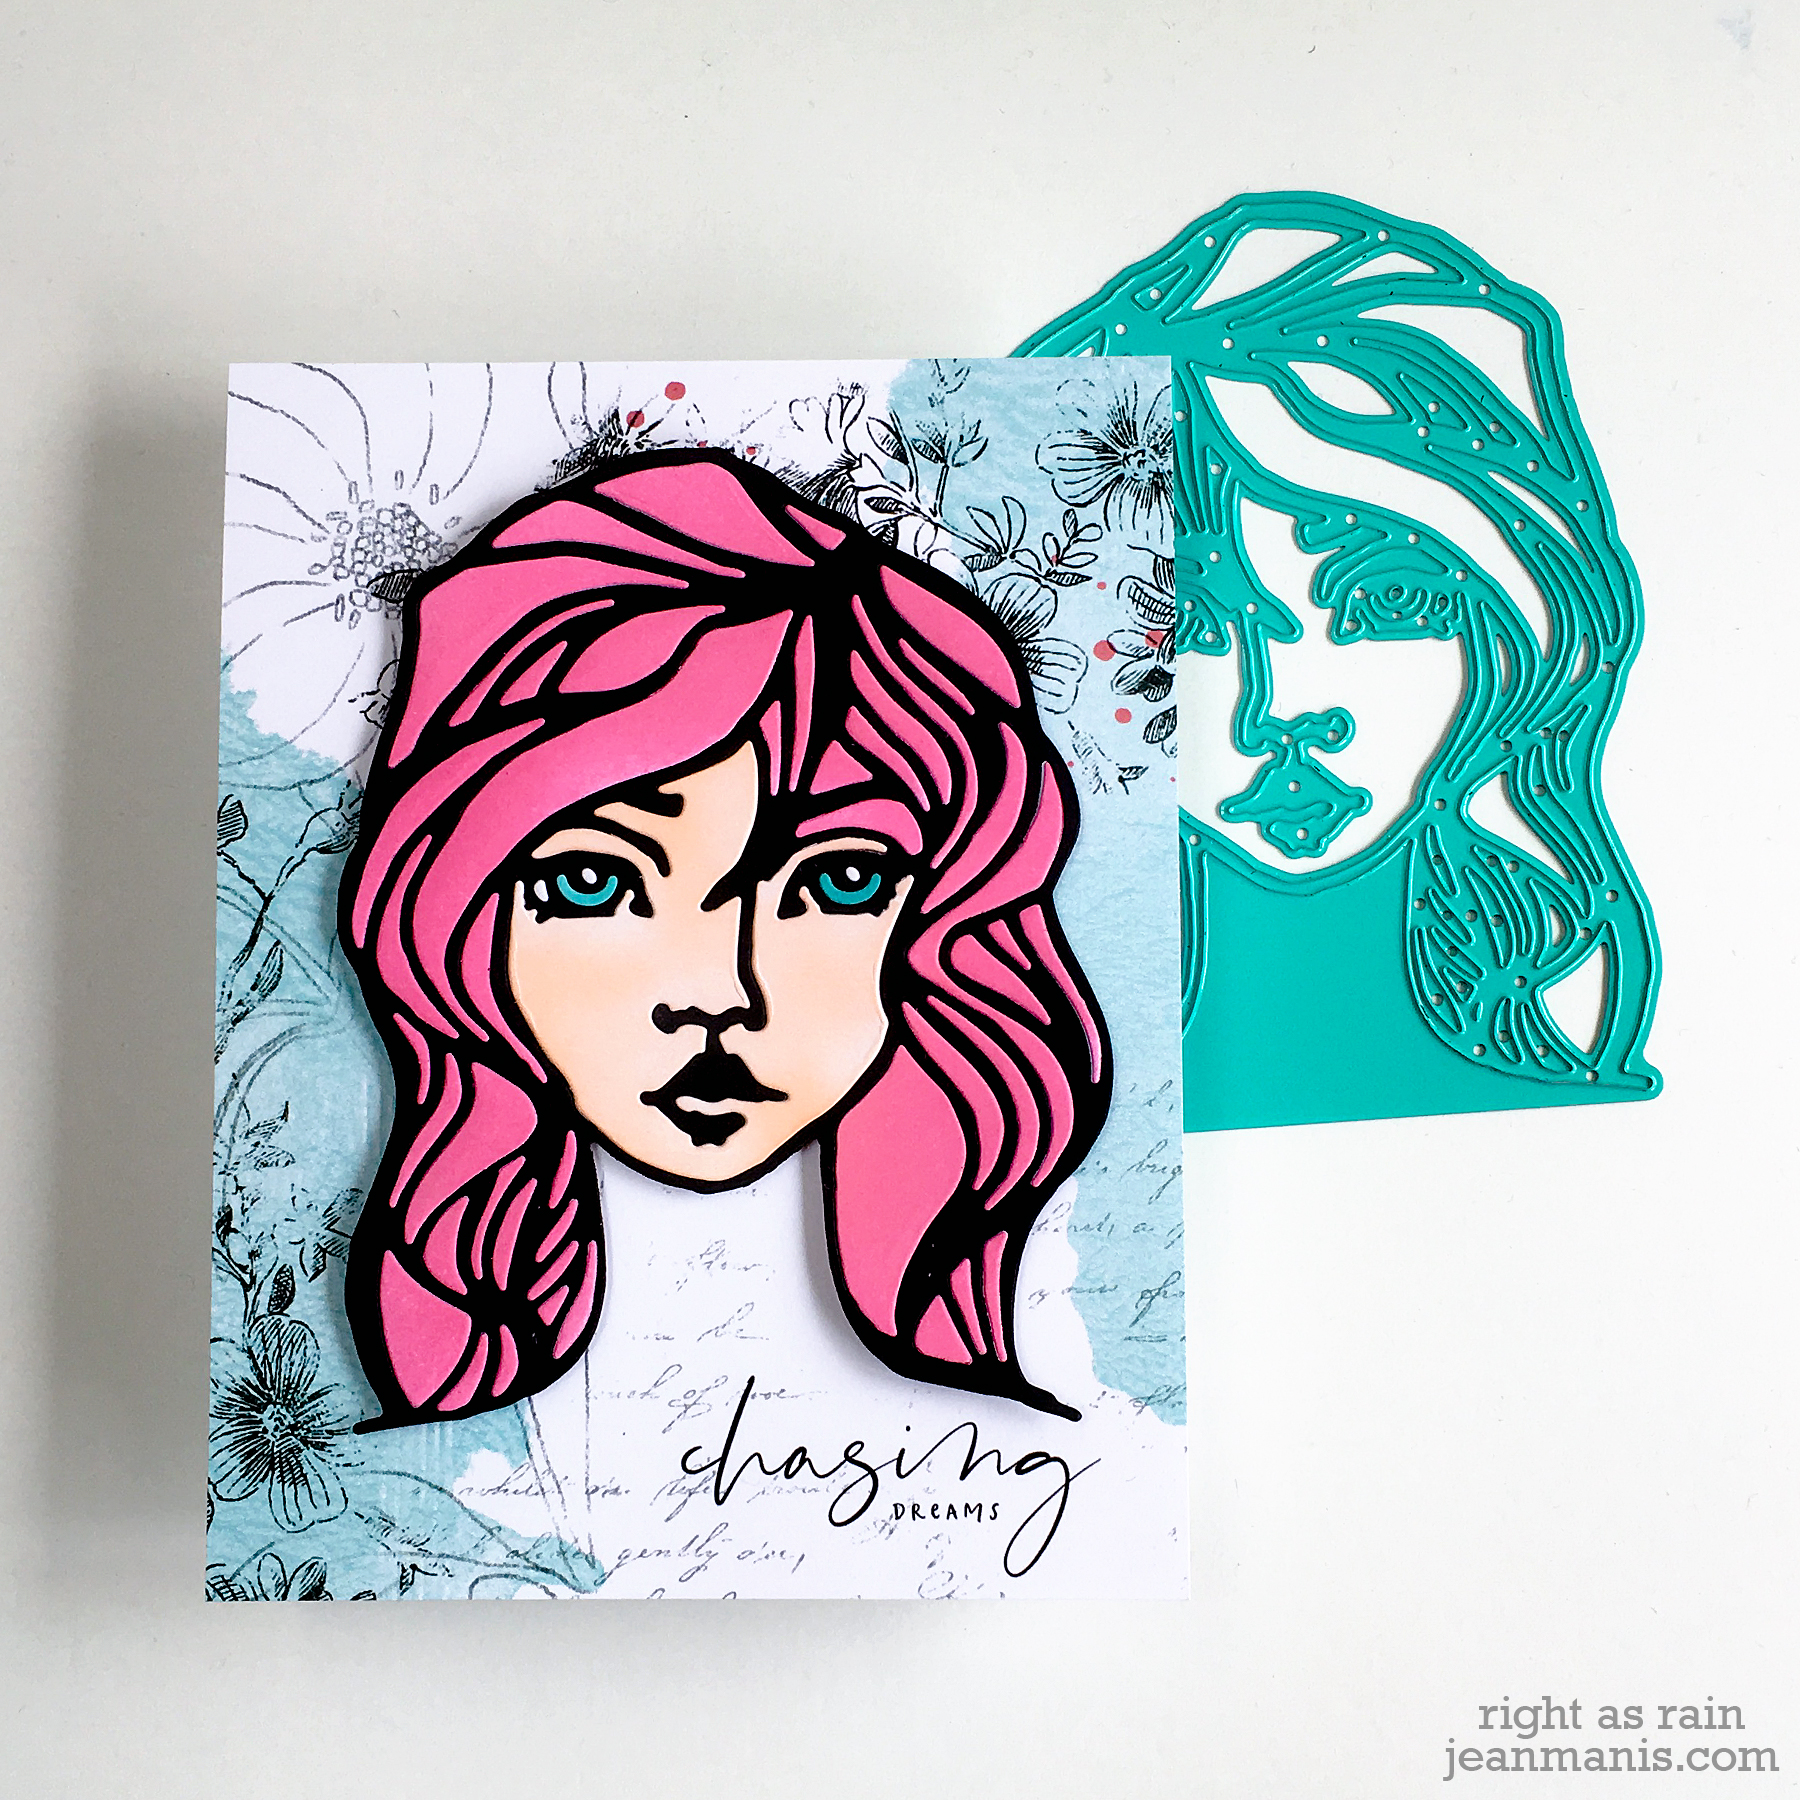
My second card, A-2-sized, features the Tousled die set combined with a digitally-created background and  sentiment. On this card, I used the inlaid technique.

Spellbinders - Artomology Collection by Jane Davenport

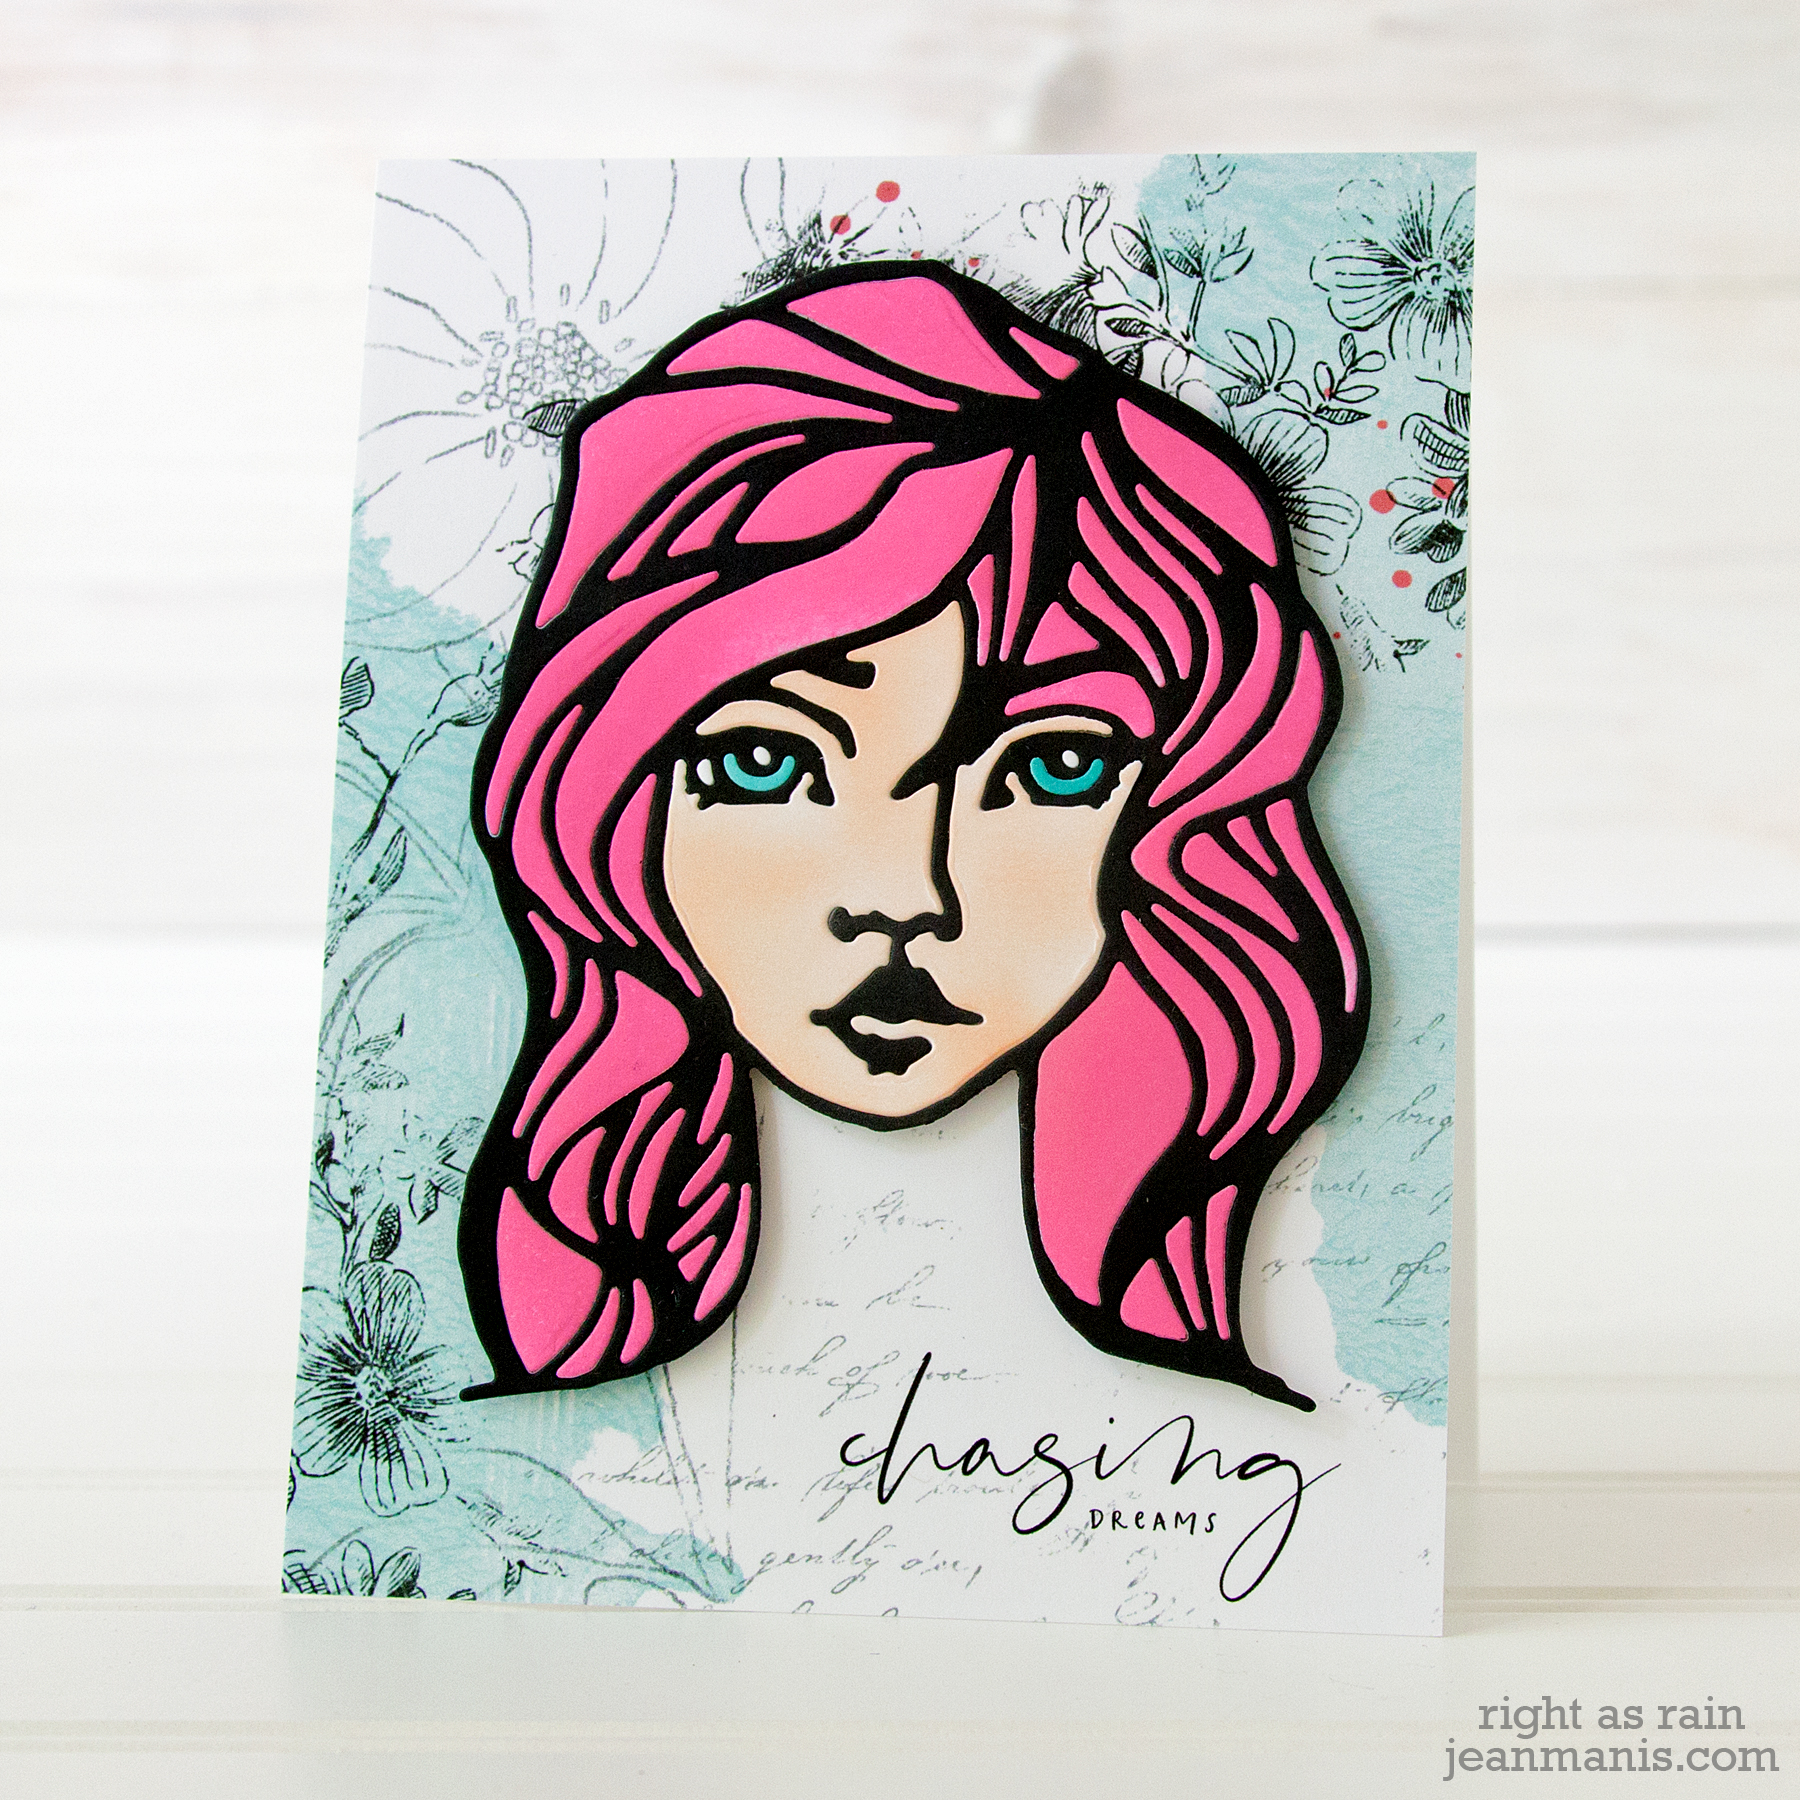
  • I digitally created and printed the background and “Chasing Dreams” sentiment on white cardstock.
  • I cut black cardstock with the Tousled die to work as the frame.
  • I cut cardstock colored with pink ink for the hair with the Tousled die and added the pieces to the frame, securing the pieces with tape on the back.
  • I cut cardstock colored with the a skin tone in the Pallette Pastel set for the face and added the pieces to the frame, securing with tape on the back.
  • I cut cardstock colored with teal ink for the eyes and added the pieces to the frame. There were several places in the eyes where I inlaid white cardstock as well.
  • I added the assembled face to the card base with foam adhesive.

Spellbinders - Artomology Collection by Jane Davenport

Thanks for visiting today!
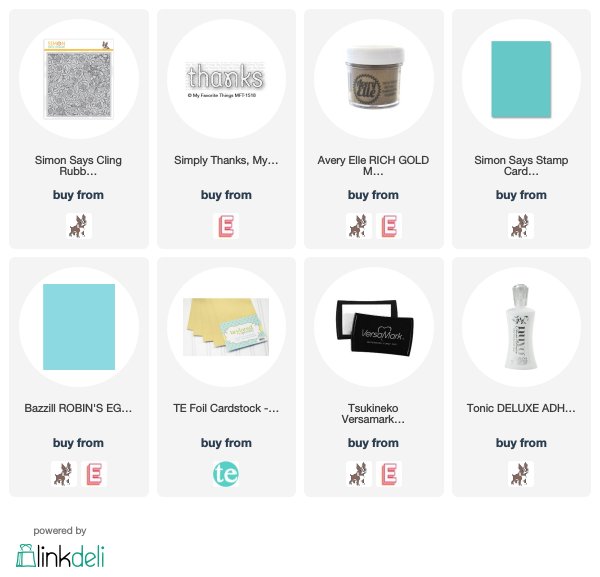
Supplies:

My Favorite Things – Birthday Cake Take Two

Hello! Today I am sharing a second card featuring the My Favorite Things Birthday Cake die set. On this card, I incorporated the My Favorite Things Confetti stencil set. You can see the first card I created with this die set here.

My Favorite Things - Birthday Cake Take Two

  • I cut the cake layers, cake plate, and decorations from white, yellow, and pink cardstock. The decorative pieces were glued. I assembled the cake stack by taping the layers together on the back.
  • I stenciled the confetti in Spun Sugar and Tumbled Glass inks. The set contains two stencils.
  • I stamped the sentiment (from the You Wow Me stamp set) with Picked Raspberry ink on the stenciled panel.
  • To help the cake stand out from the stenciled background, I die-cut a circle.
  • The assembled cake was added to the circle with foam adhesive. The circle was added to the card base with foam adhesive.

My Favorite Things - Birthday Cake Take Two

Supplies:

CAS Thanks Card – Two Takes

Hello! Today I am sharing two CAS Thanks cards (slightly different designs) featuring the My Favorite Things Simply Thanks sentiment die paired with the Flower Explosion stamp from Simon Says Stamp.

CAS Thanks Card - Two Takes

When I designed these cards, I envisioned wedding Thank You notes using the colors from the wedding (there is no significance to the gold and teal, it’s just a combination I like). One of my favorite things to do is look at wedding mood boards; I love to see the different color combinations and themes. The colors for my own wedding, a small affair held outside at someone’s home, were Cornflower blue and yellow.

CAS Thanks Card - Two Takes

For the first card, I stamped and heat-embossed the Flower Explosion background stamp with gold embossing powder on Robin’s Egg cardstock. I created a band on which to adhere the gold letters. I used the negative piece from diecutting the letters as a guide.

CAS Thanks Card - Two Takes

On the second card, I stamped and heat-embossed the Flower Explosion background stamp on Audrey Blue cardstock. I die-cut the panel the sentiment from the panel and taped the gold letters into the knockout (inlaid technique). I added the panel to a card base.

One of the reasons I chose this particular background stamp is that it doesn’t have a strong direction, (up and down or side to side), which meant that I didn’t have a strong vertical or horizontal on which I had to line up the letters. Die-cutting directly into the panel was stressful enough!

Supplies:

Paper Smooches Water Wise – Take Two

Hello! Today I am sharing another card featuring the Paper Smooches Water Wise die set combined with a sentiment from the Simon Says Stamp Vacation Time set. Last week I shared a card with the Water Wise dies and a card with the same Vacation time sentiment.

Paper Smooches Water Wise - Take Two

  • I created an ink blended background with Distress Oxide inks.
  • I cut the fish from cardstock to which I had applied Distress Oxide inks.
  • I stamped the sentiment and cut it out with a circle die.
  • I cut the circle frame from cardstock to which I had applied Distress Oxide ink.
  • I added the fish to the circle with foam adhesive and adhered the circles to the card base.

Paper Smooches Water Wise - Take Two

I’ve got just about all of my supplies packed for my upcoming move. I have not packed up my Distress Oxide inks or my white cardstock. Those will be the last thing I pack!

Supplies:

Simon Says Stamp – Time for a Break

Hello! Today, I am sharing a CAS friendship card featuring Simon Says Stamp products – the Abstract Triangle stencil and a sentiment from the Vacation Time set.

Simon Says Stamp - Time for a Break

  • I applied Distress Oxide inks through the Abstract Triangle stencil.
  • I cut the stenciled panel with a 4″ square die at an angle to the pattern.
  • I heat-embossed the sentiment and cut it with a skinny die in the A-2 Matting Basics set.
  • I added the panel to a square card base and popped the sentiment up with foam adhesive.

Simon Says Stamp - Time for a BreakThanks for visiting!

Supplies: