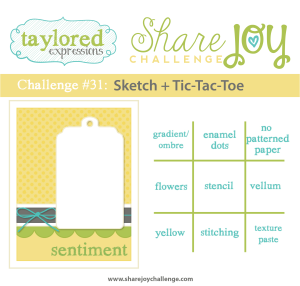
Today I’m sharing a card I created for Taylored Expressions Share Joy Challenge #33.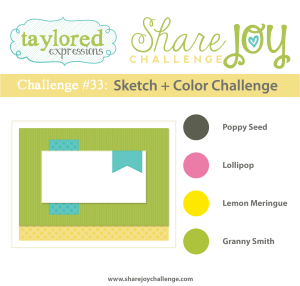
I used the sketch to create an encouragement or congratulations card showcasing the Sky High – Airplane set. This is a perfect boy card!
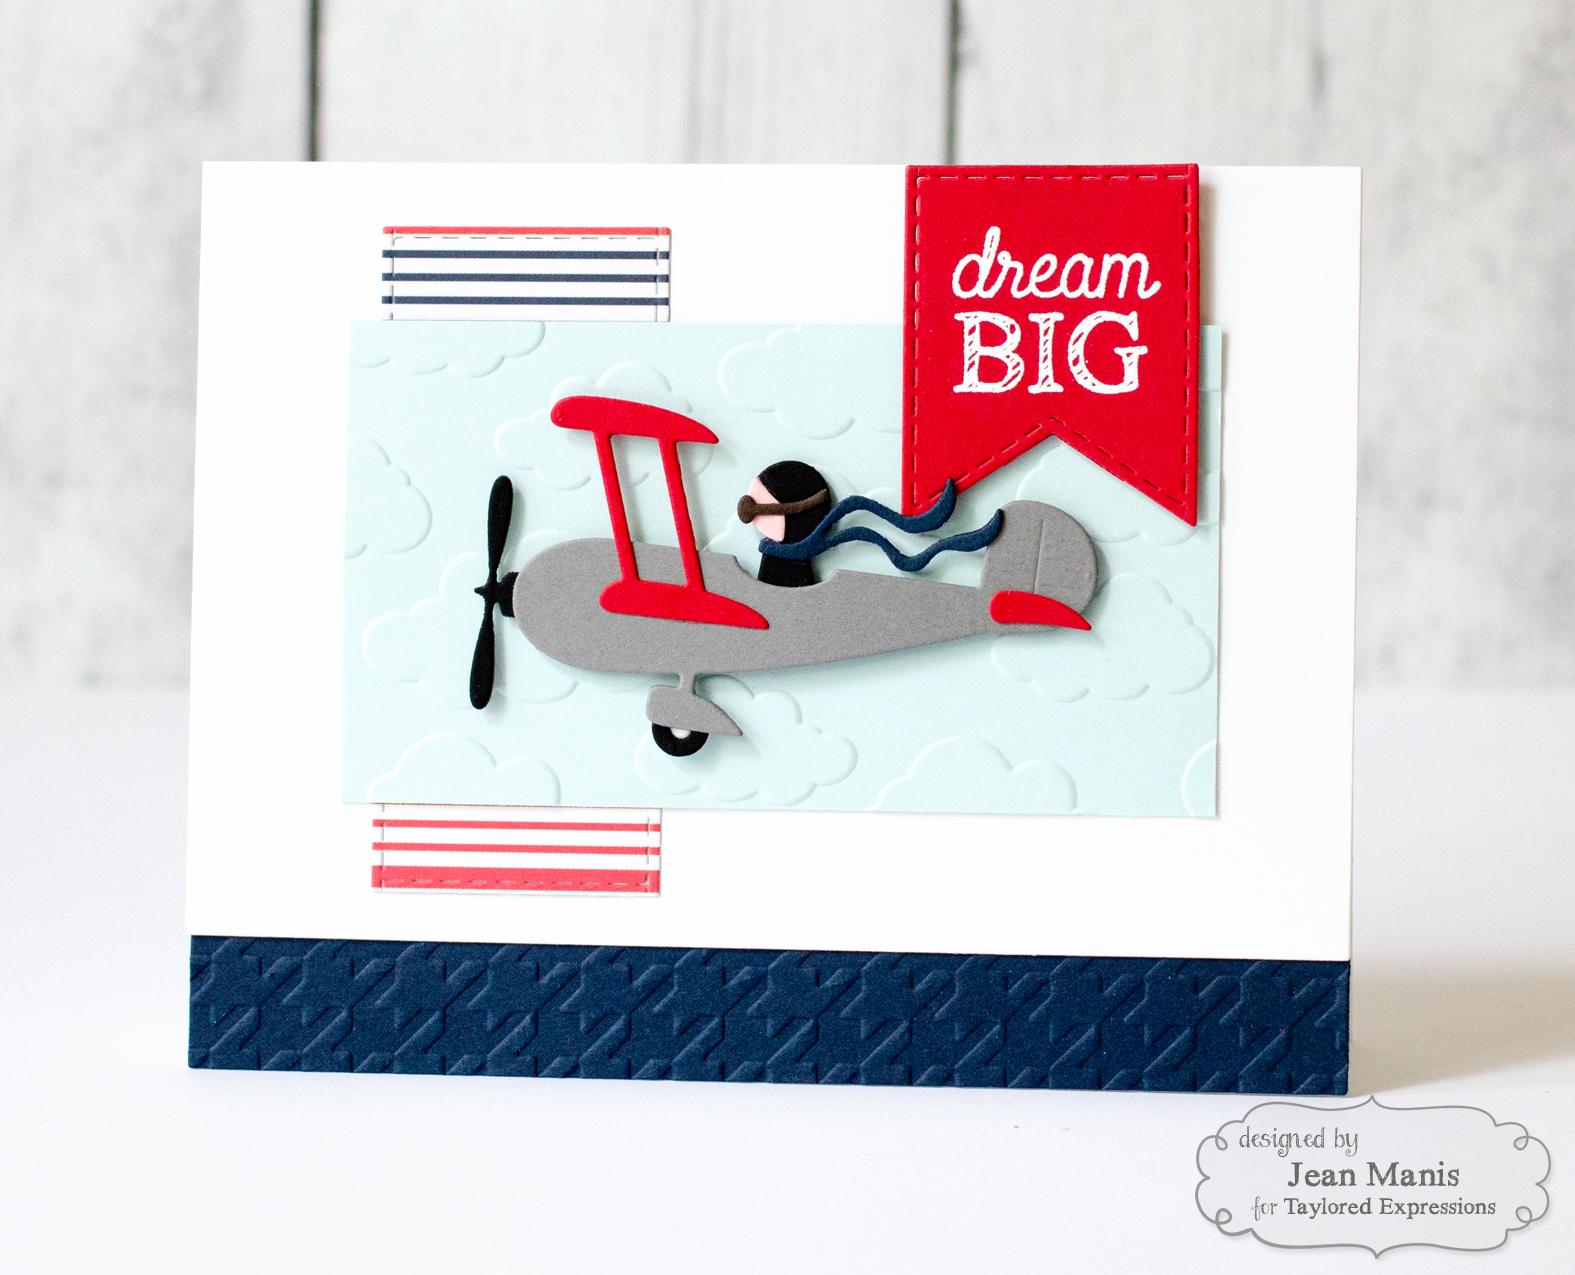
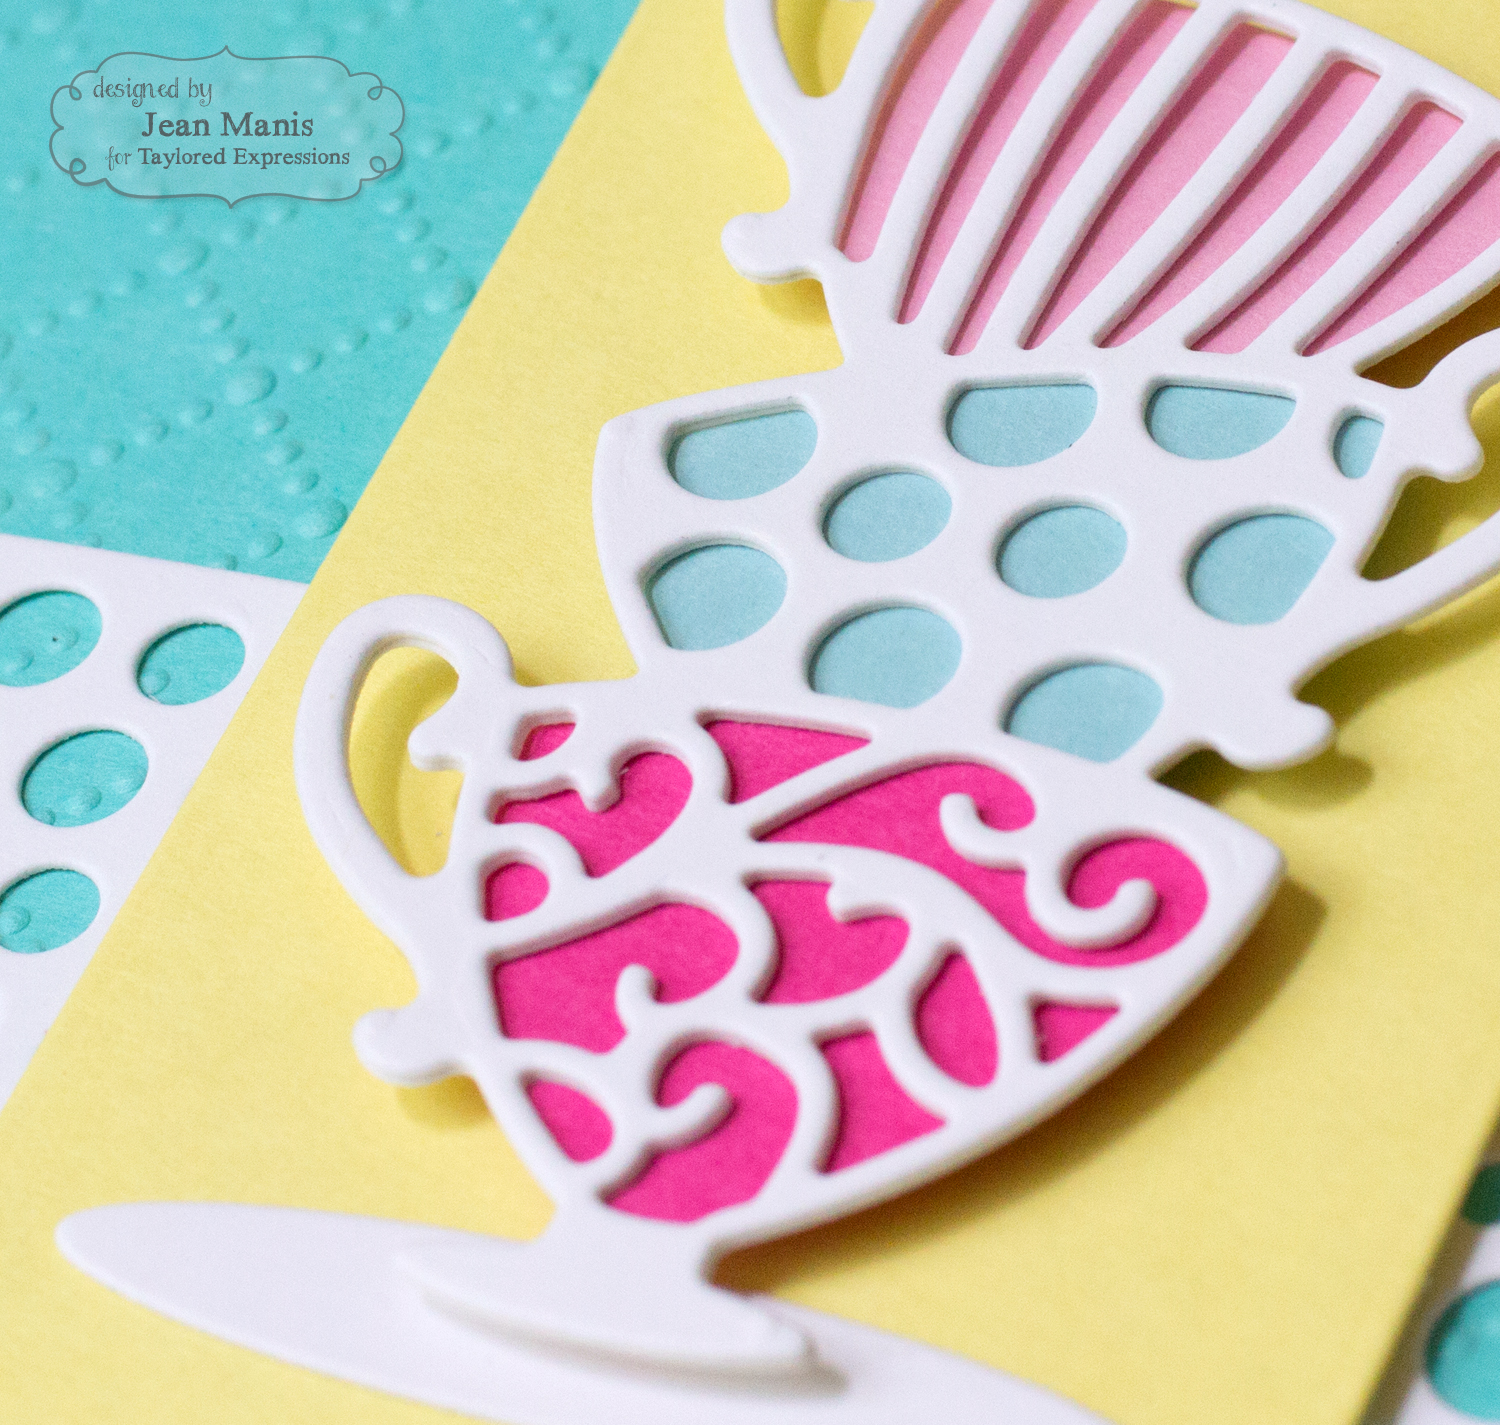
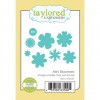
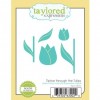
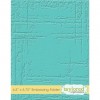
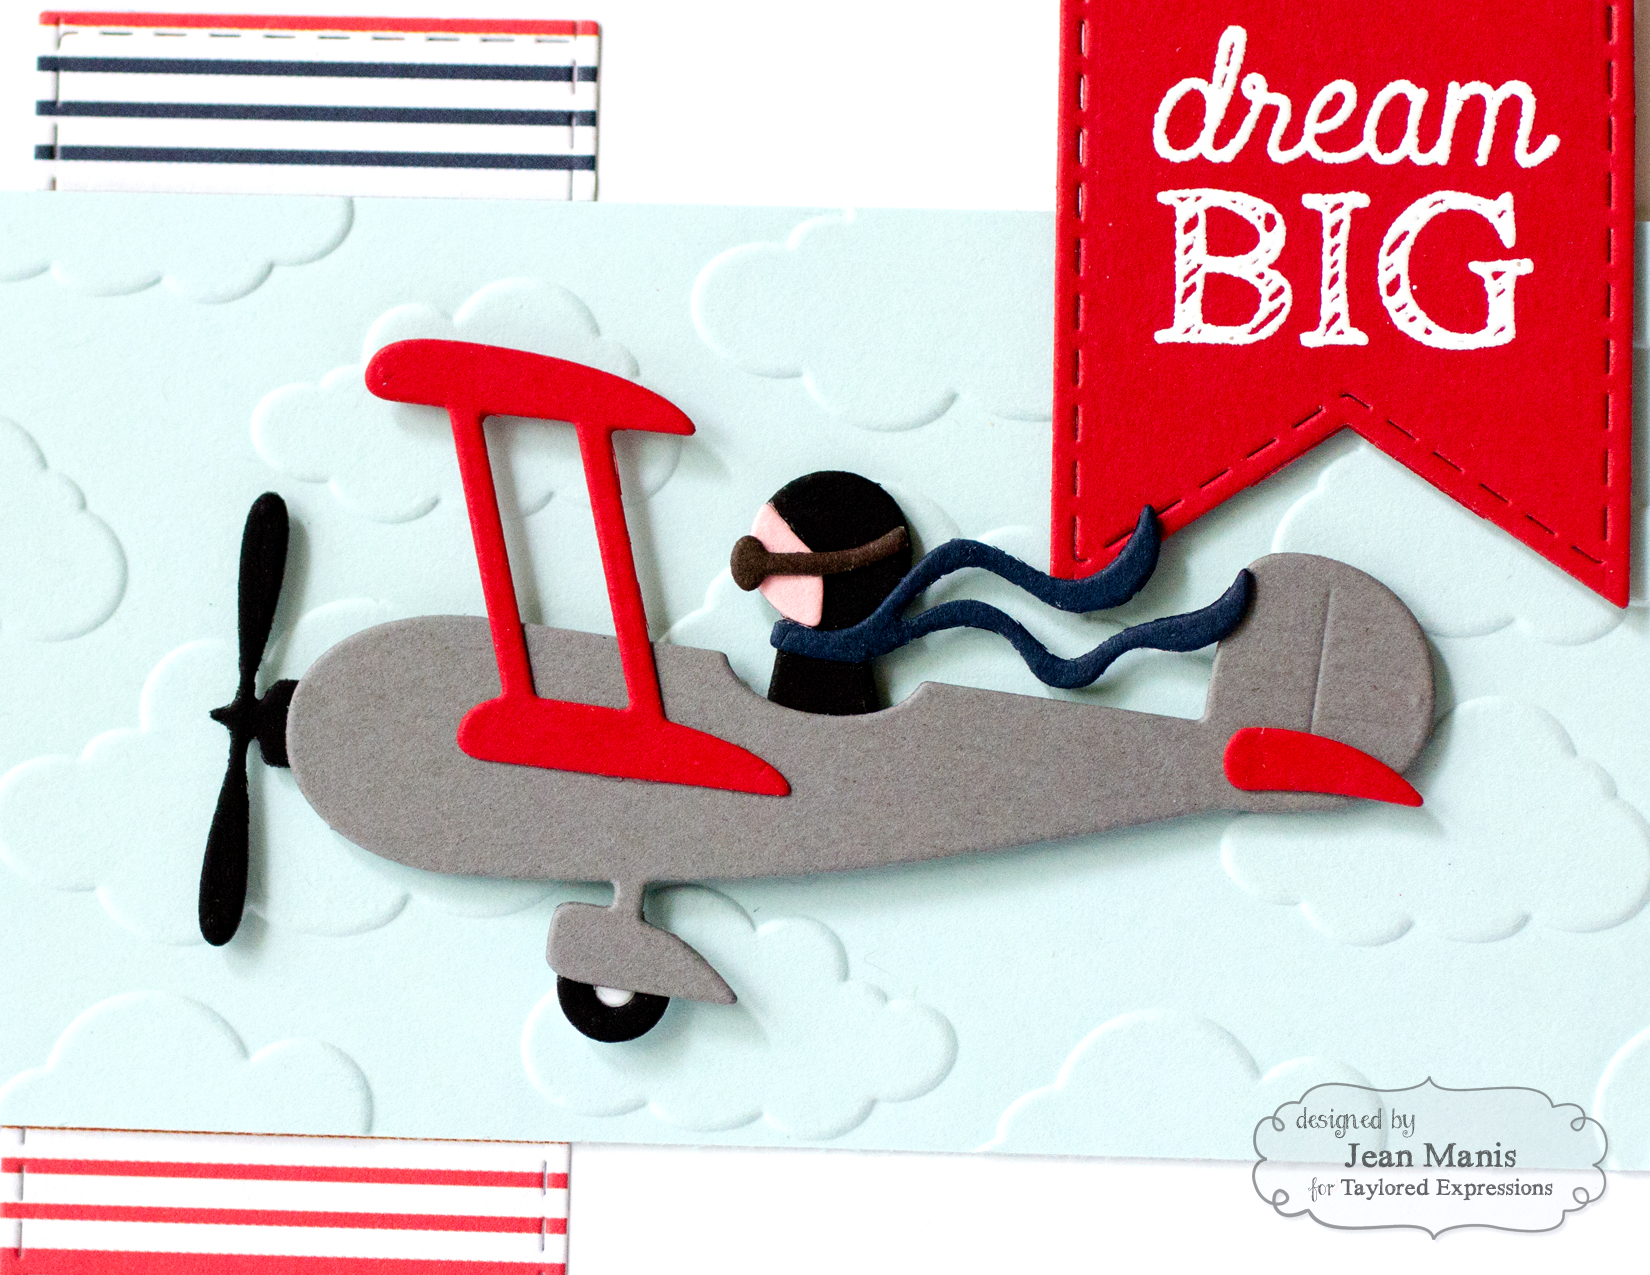
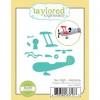
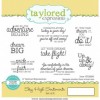
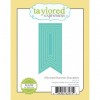
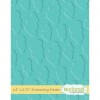
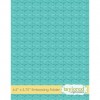
I cut a variety of cardstock colors with the Sky High – Airplane set and assembled the pieces with liquid adhesive. I heat-embossed a sentiment from the Sky High Sentiments set and cut it with a die in the Stitched Banner Stacklets set. I used the Cloudy Days embossing folder for the panel behind the airplane and the Houndstooth embossing folder for the lower portion of the card. I rarely use two embossing folders on one card, but the patterned paper I tried on the lower half just didn’t work. The patterned paper strip (Carta Bella) was also cut with one of the dies in the Stitched Banner Stacklets set. (I cut once and then turned it around to cut a rectangle rather than a banner.)
Be sure to head over to the Share Joy Challenge Blog to see more inspiration and to link up your entry!
Supplies:
 |
 |
 |
 |
 |
 |
 |
 |
 |
 |
 |
 |
 |
 |