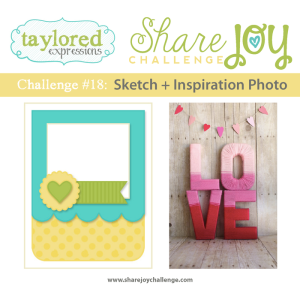
Today, I’m playing along with the Share Joy Challenge #19 at Taylored Expressions.
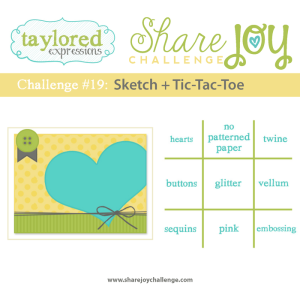
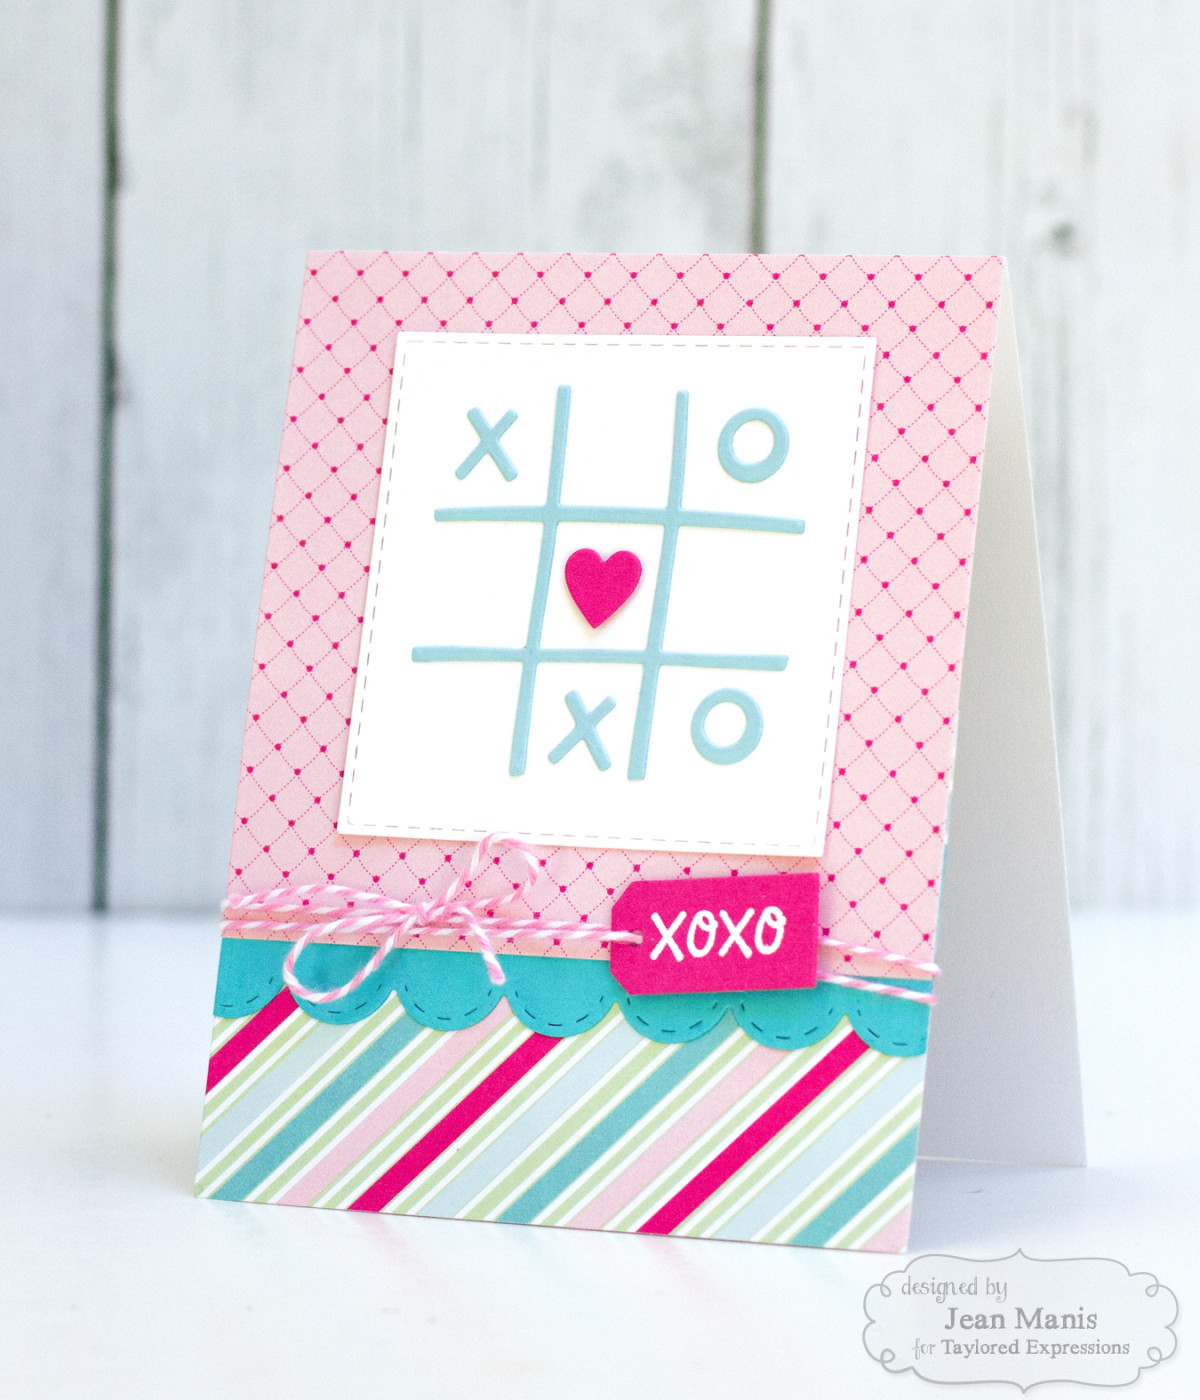
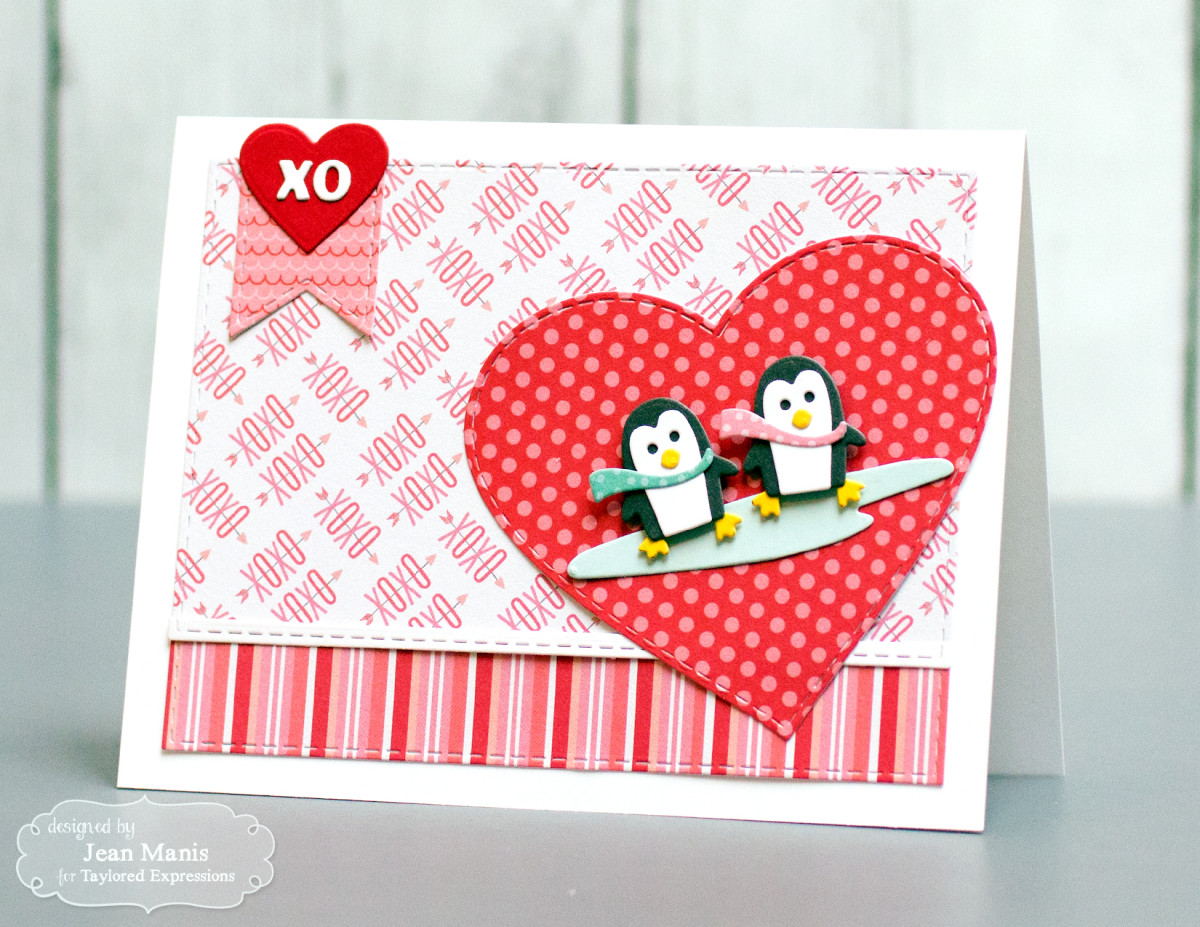
I used the sketch to create a Valentine’s Day card created with die cuts:
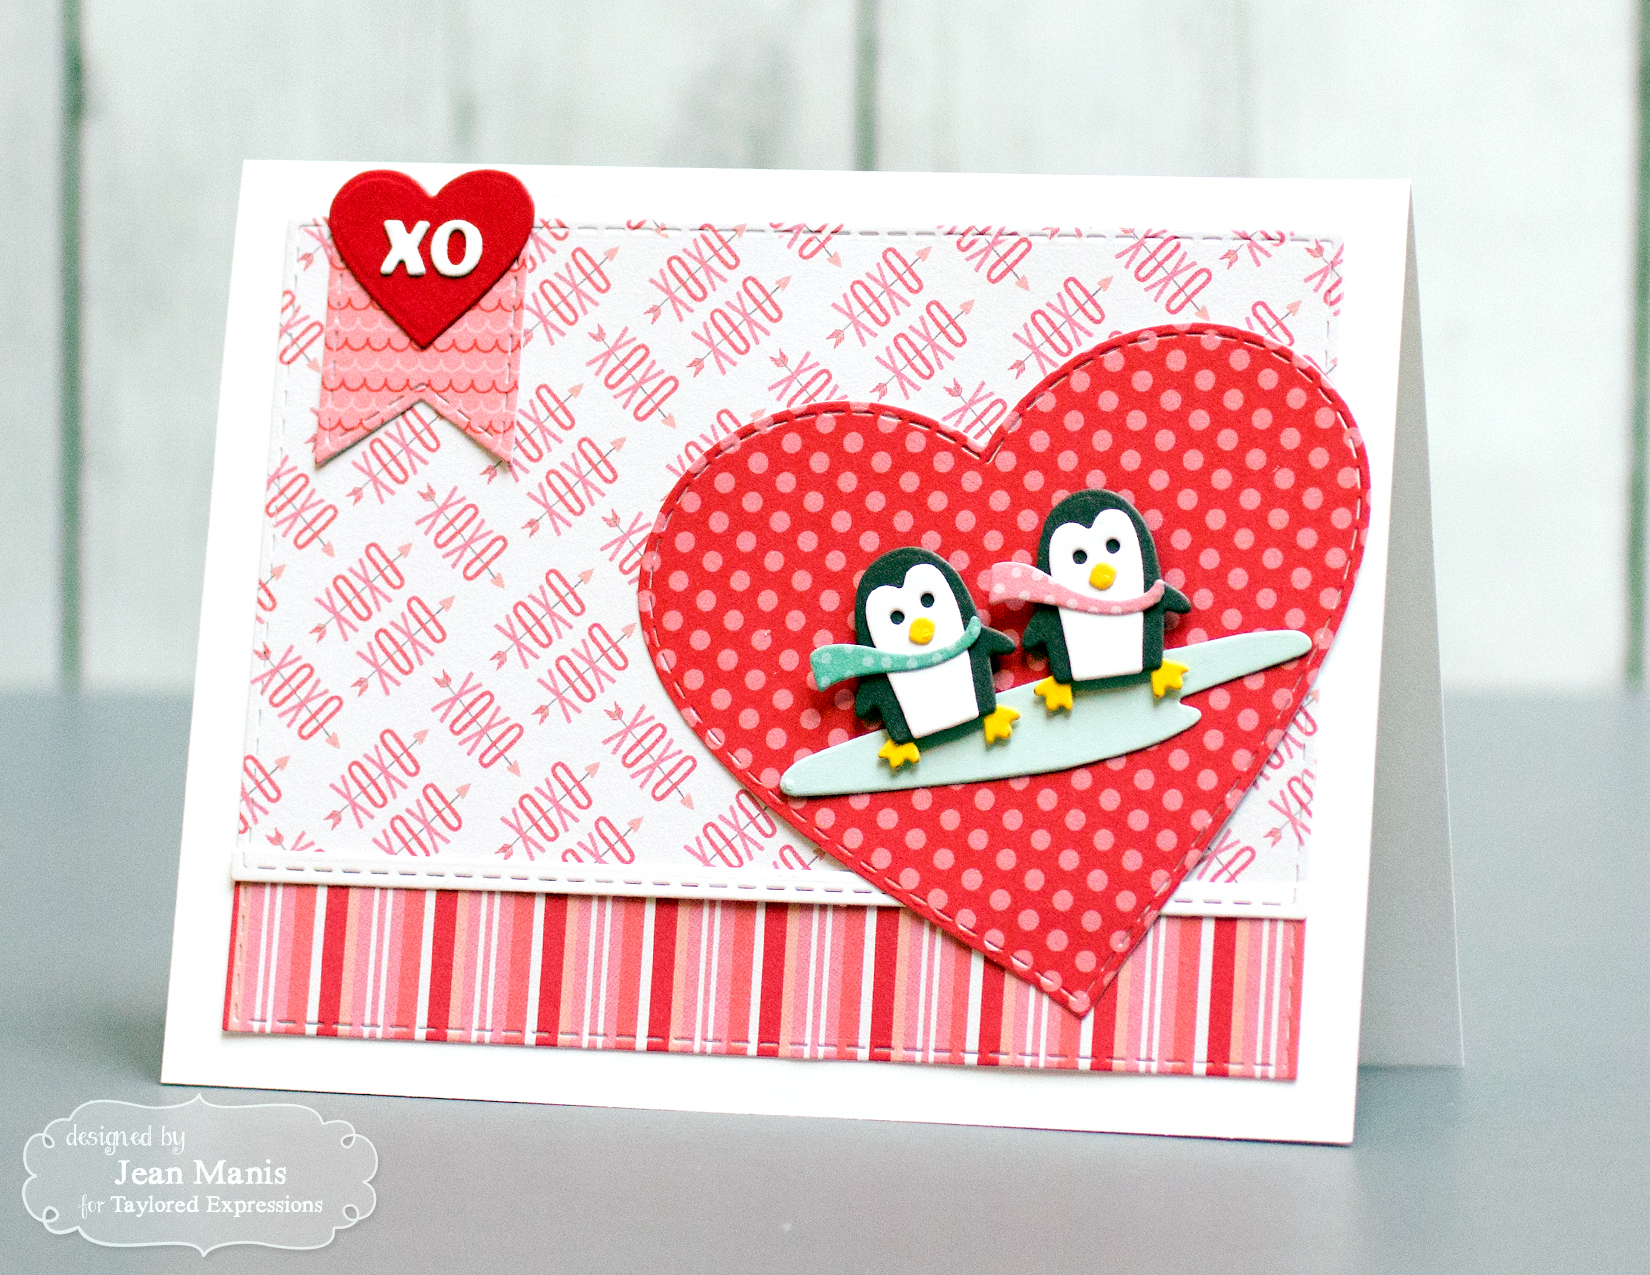
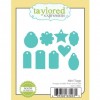
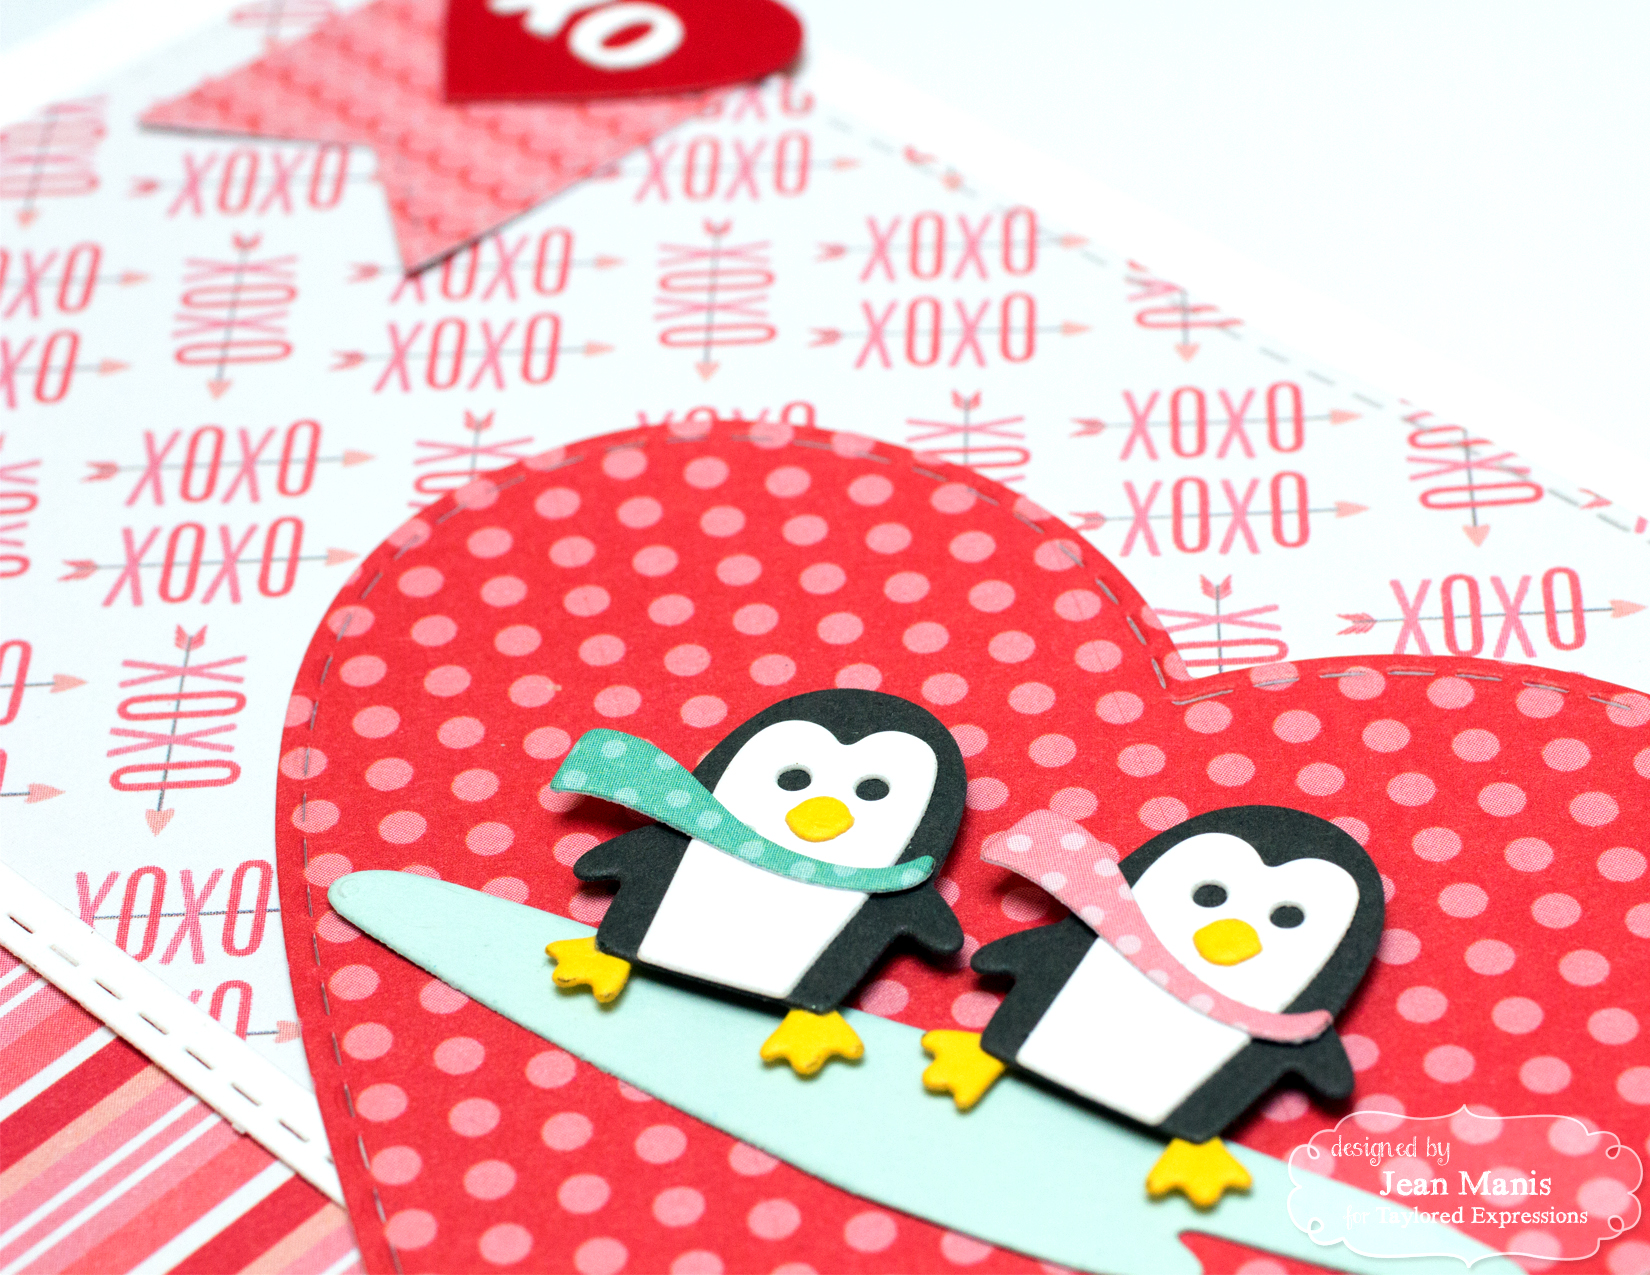
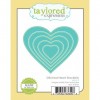
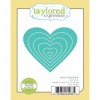
I used the Little Bits penguin die to create a boy and a girl penguin. I sized down the skating pond so that it would fit on the stitched heart. I cut it once, and then re-positioned the die on one end and cut again. Then I re-positioned the die on the other end and cut again.
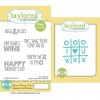
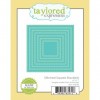
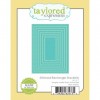
I used the stitched rectangle die to create the Sugar Cube stitched piece joining the patterned papers by cutting once with the die and then again, leaving the stitched center.
Be sure to head over to the Share Joy Challenge Blog to see more inspiration and to link up your entry!
 |
 |
 |
 |
 |
 |
 |
 |
 |
 |
 |
 |
 |