Welcome back to Day Two of the Countdown to Confetti. Today Reverse Confetti is introducing the stamp sets Shine From Within and Color Me Happy, as well as the Hello Confetti Cuts.
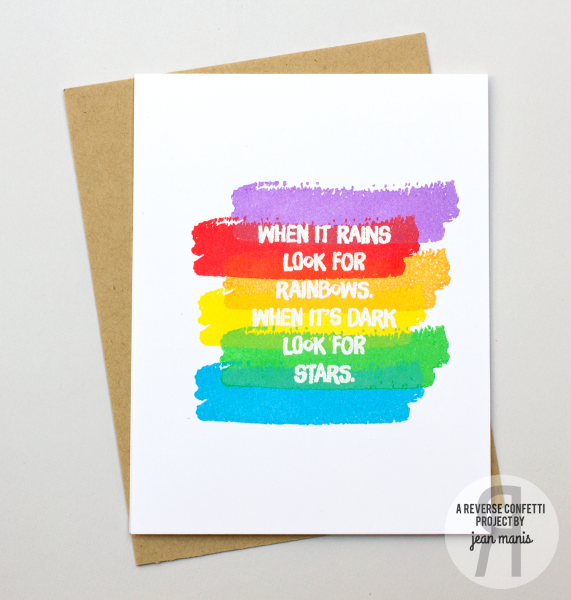
My first card features a sentiment from Shine From Within heat-embossed over stamped brush strokes from Color Me Happy.
For my second card, I’m showcasing the new Hello Confetti Cuts die cut paired with the Geometric Background Confetti Cuts.
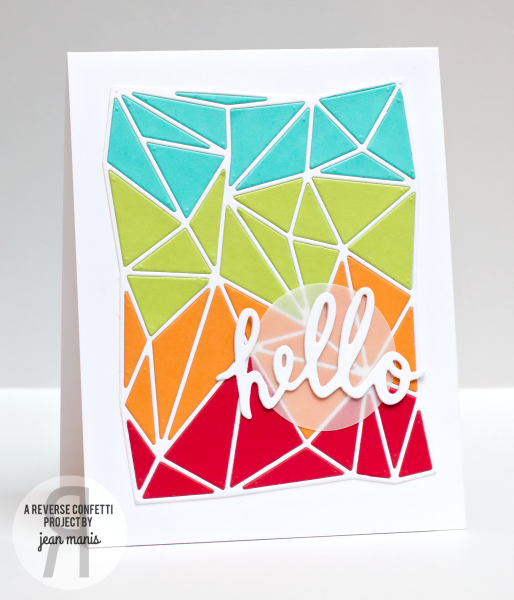
I cut the Geometric Background Confetti Cuts from white, turquoise, green, orange and red cardstock, piecing the colored pieces into the white frame. I cut the hello sentiment twice, placing it over a die cut vellum circle.
There are two $15 gift certificates up for grabs – one for blog commenters and one for Facebook commenters. Increase your chance of winning by leaving a comment on each sneak peek post for each designer. Comments will close at noon CST on April 7th and the winner will be announced at 5pm on April 7th on the Reverse Confetti blog and FB page.