I was inspired by Jennifer McGuire’ss post on watercolor die cuts and decided to give the techniques she showed a try.
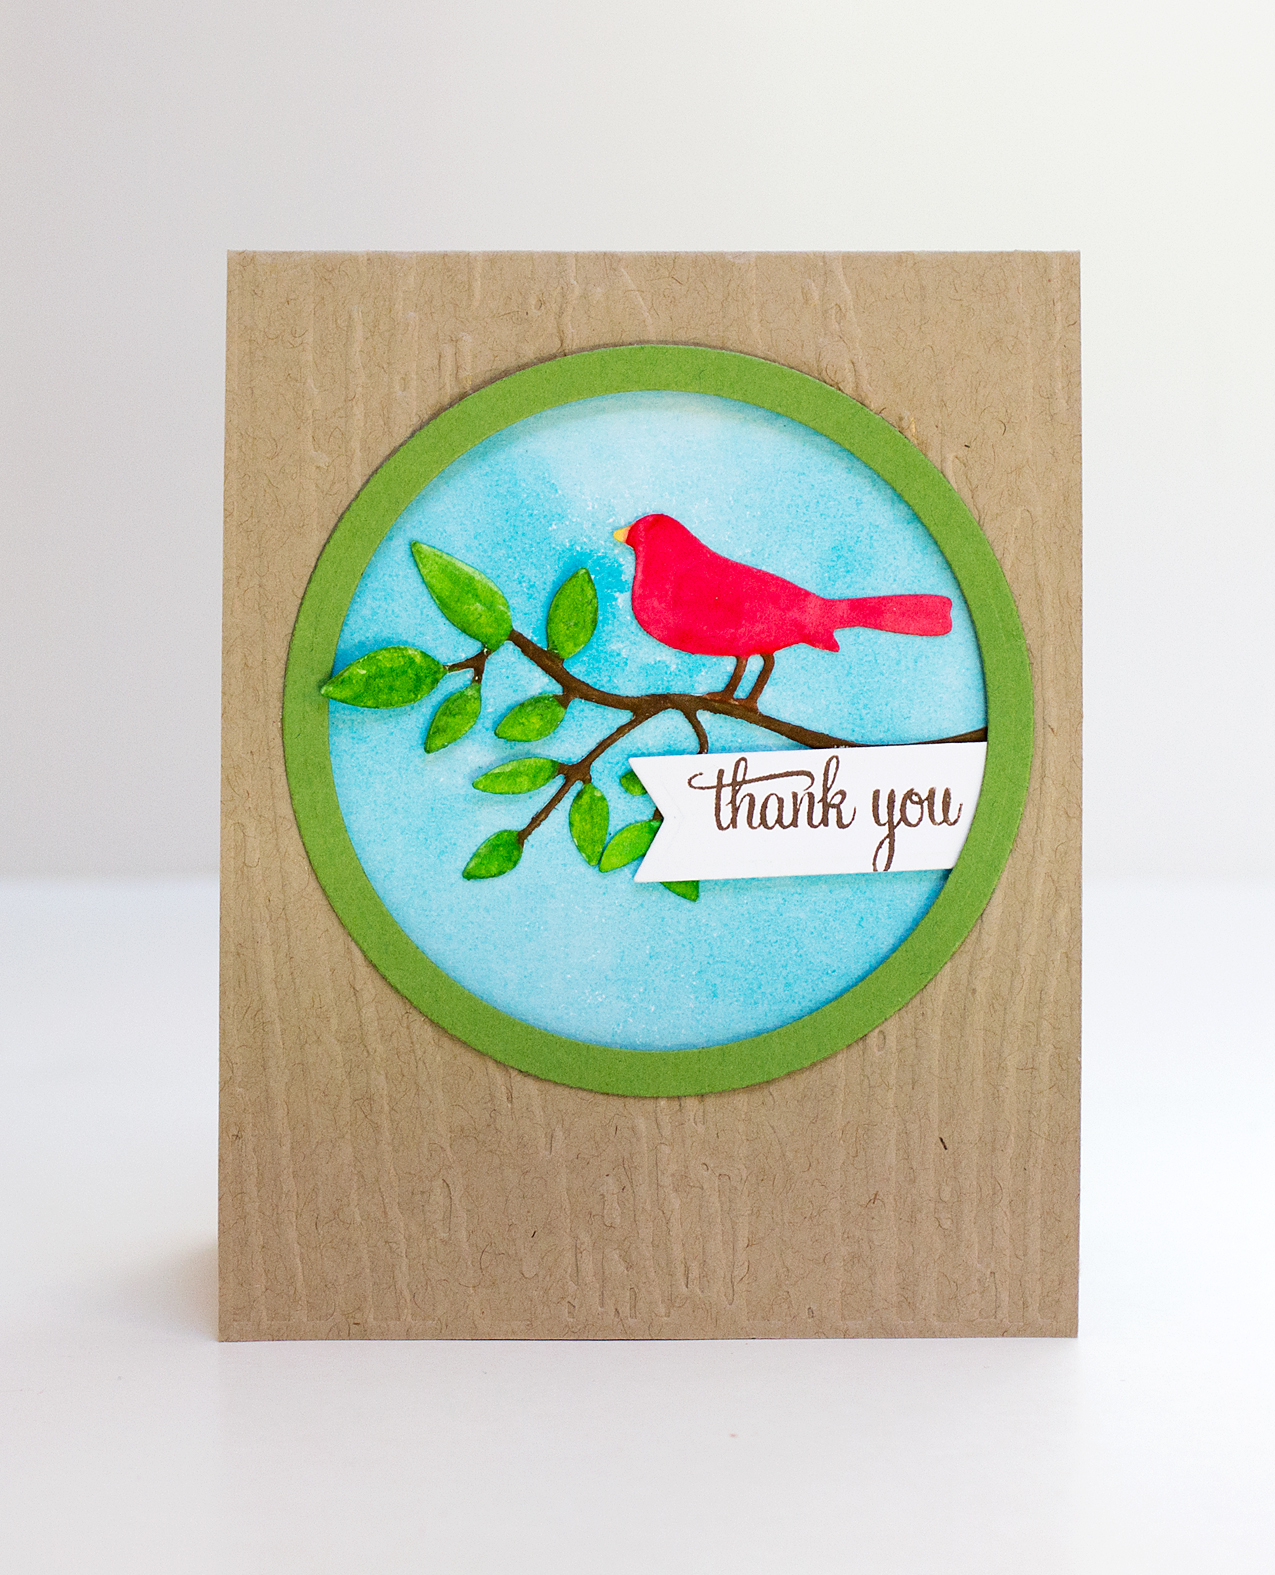
For the first card, I watercolored the Marianne Design Bird on Branch, cut from watercolor paper, with traditional watercolors. I placed the bird over a background of watercolor paper colored with an application of Tumbled Glass Distress stain sprayed with a Mini Mister.
For my second card, I decided to use the same die cut in an inlaid design.
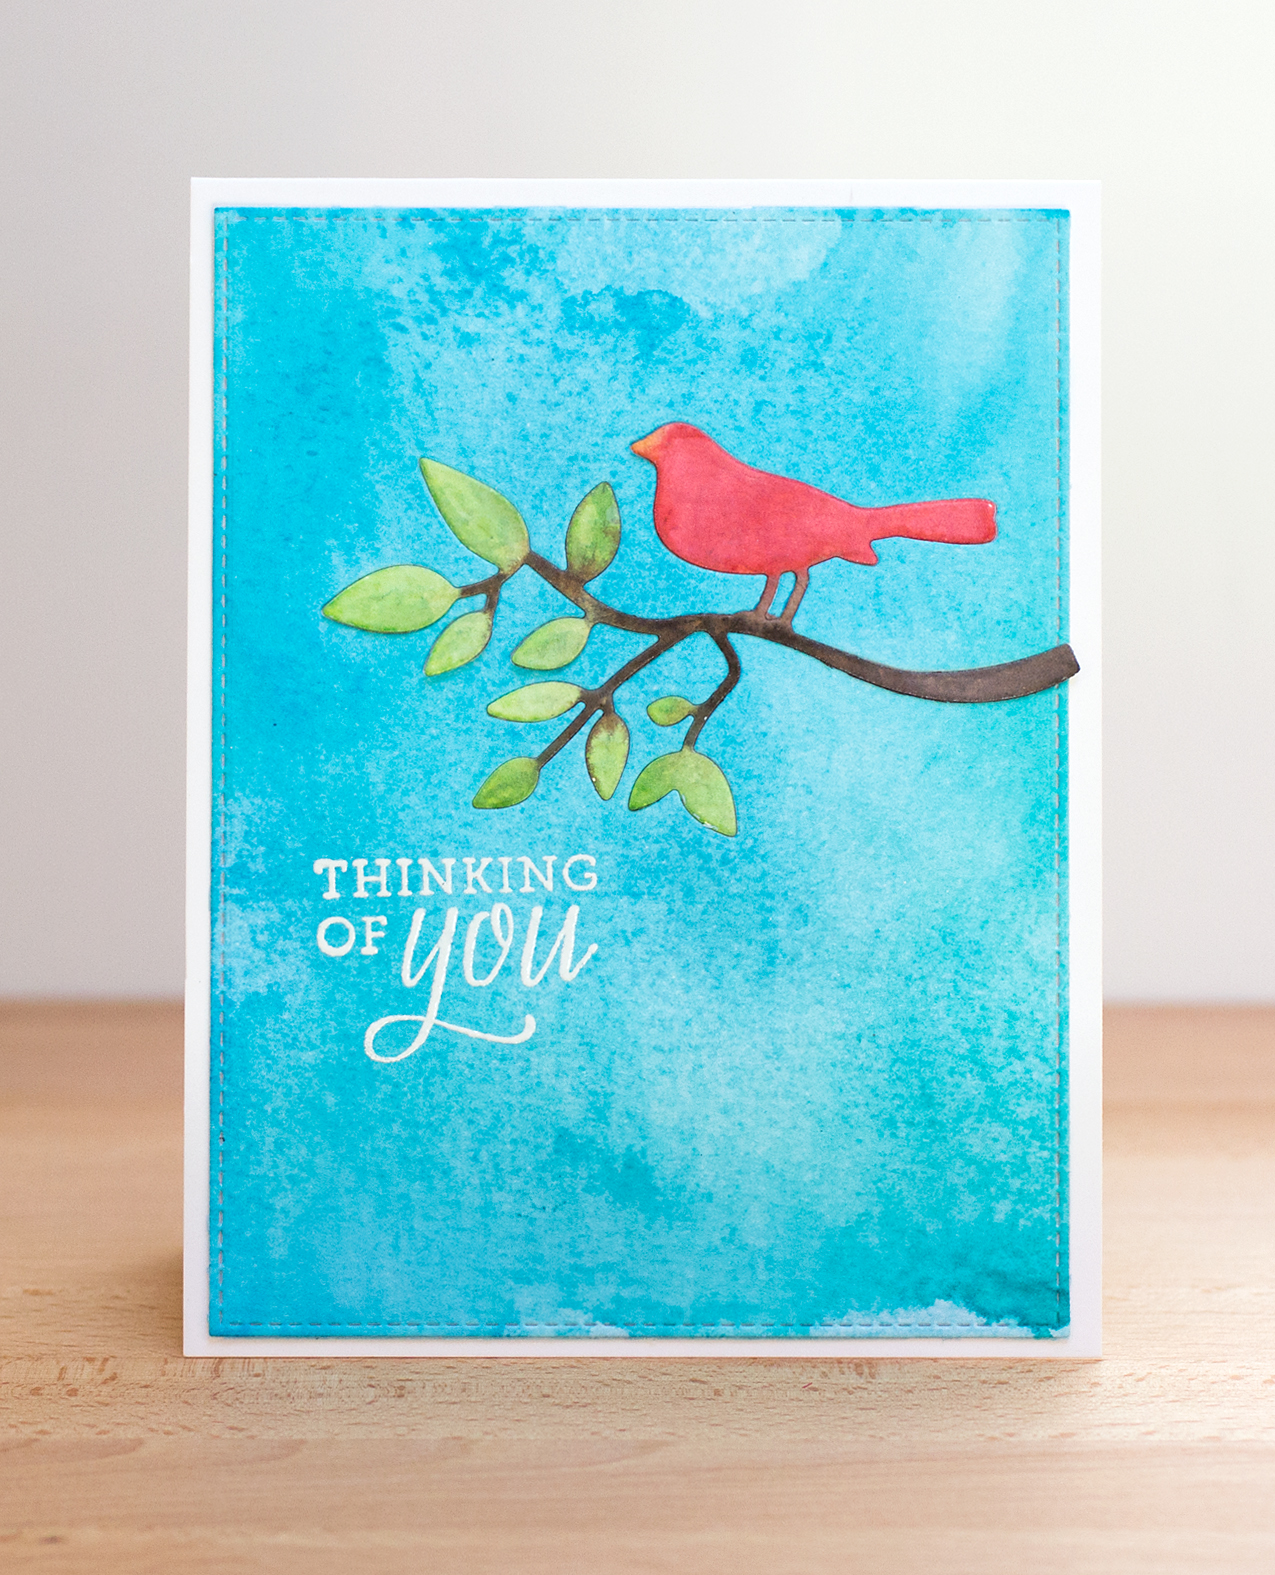
For this background, of watercolor paper, I applied Salty Ocean and Peacock Feathers and sprayed with water. I dried the background with a heat gun and decided it needed more color,so I sprayed it with Tumbled Glass Distress Stain in a Mini Mister. Still wanting more color, I smooshed the Salty Ocean and Peacock Feathers ink pads onto my craft sheet, spritzed the sheet with water, and put the watercolor paper into the pool. The bird and branch die cut were colored with Distress Ink markers following Jennifer’s technique and then sprayed with water. I liked how the water evened out the application of the markers. I finished the card with a heat embossed sentiment.
Supplies: sentiment for top card from Penny Black