In today’s Clean & Simple Cardmaking 3 lesson, we received more wonderful inspiration using the techniques shown yesterday. I CASEd Heather Campbell‘s card, again using the inlaid die cut technique.
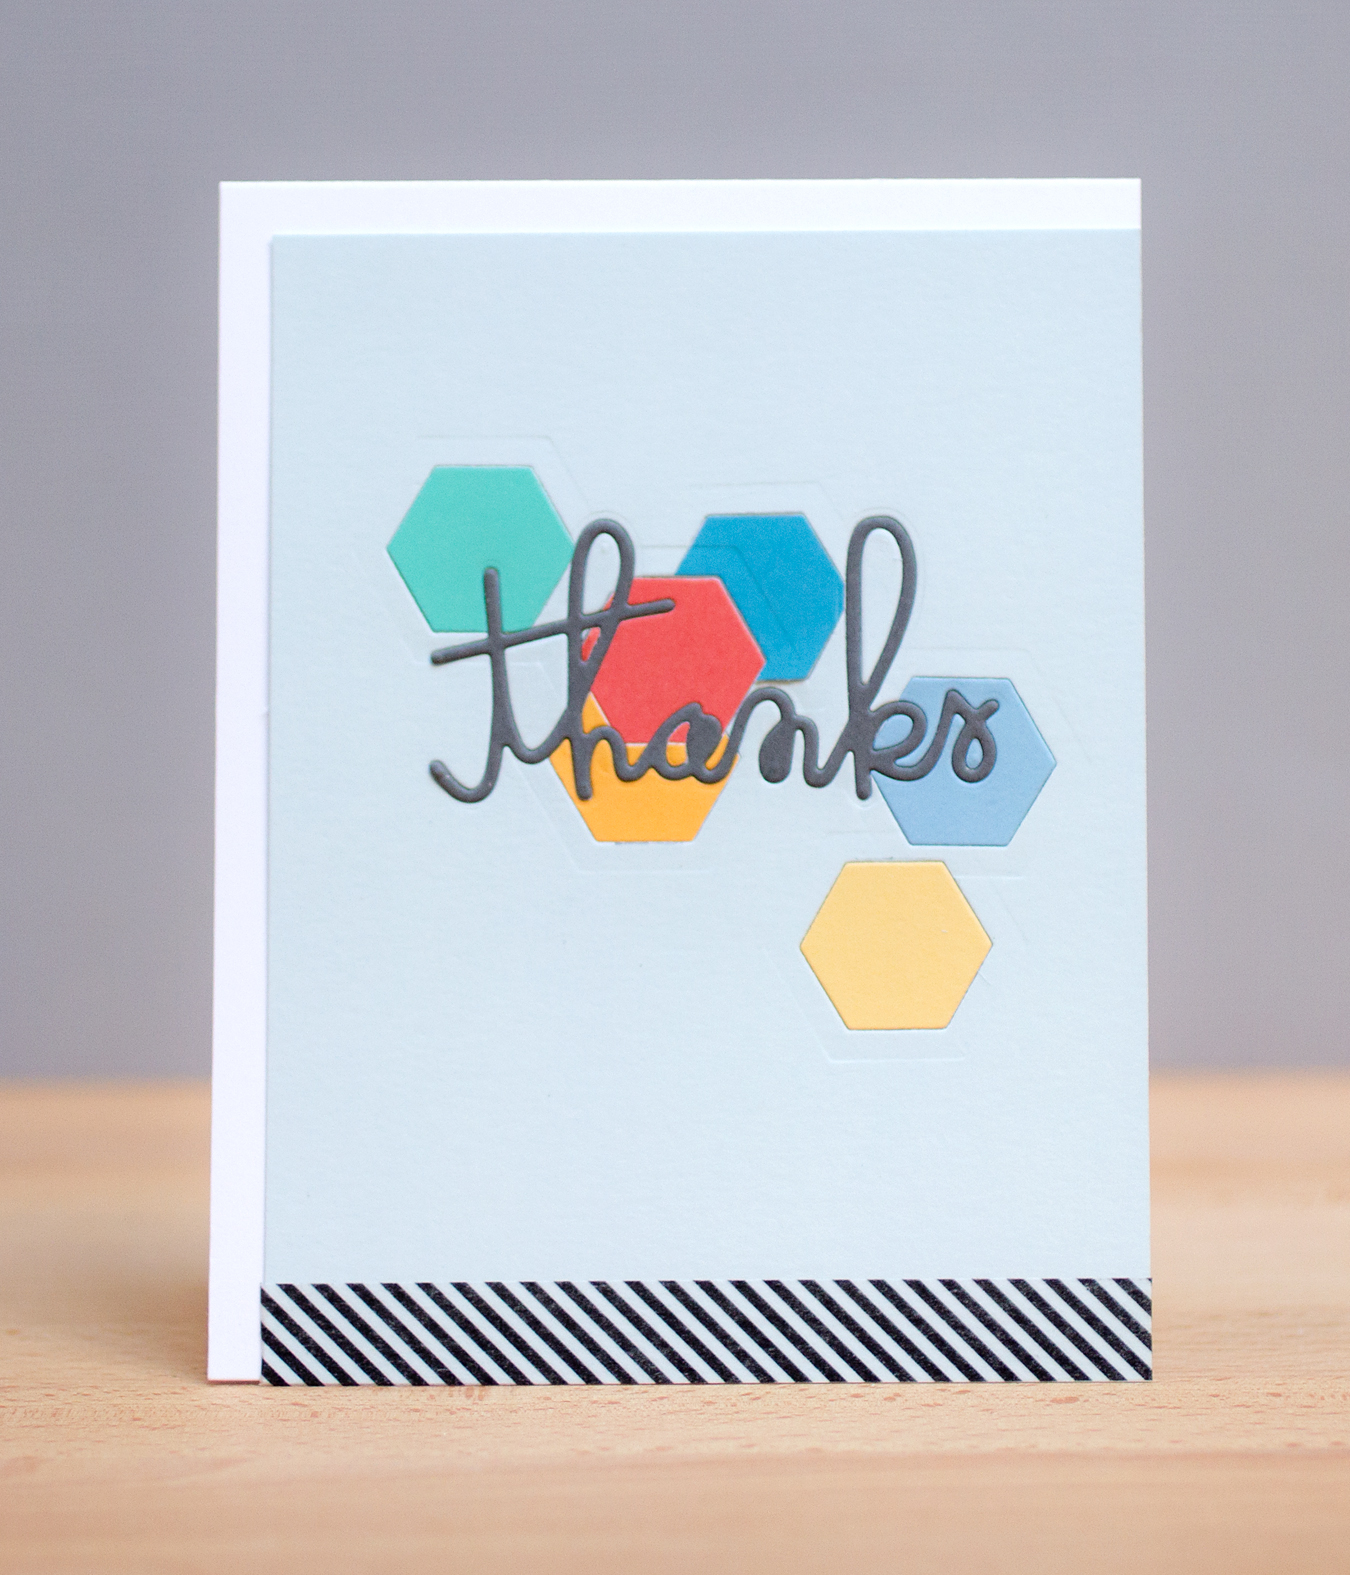
The Thanks die is from Paper Smooches, and the hexagon die is from a Hero Arts set. I really like this technique, although I do find it to be challenging!