Another fabulous day of inspiration in the Online Card Classes Insider course.
The card shared by Laura Bassen was the starting point for my card. I simplified the design considerably by using a background stamp for the inside.
This card was extremely difficult to photograph for a multitude of reasons, not least of which was the acetate panel. On to the details – I die cut a glitter cardstock panel with an MFT snow slope die. Trust me, that front panel glitters. 🙂 The snow slope was adhered to an acetate panel. I added a gold metallic cardstock Poppystamps die cut deer for some visual interest on the front.
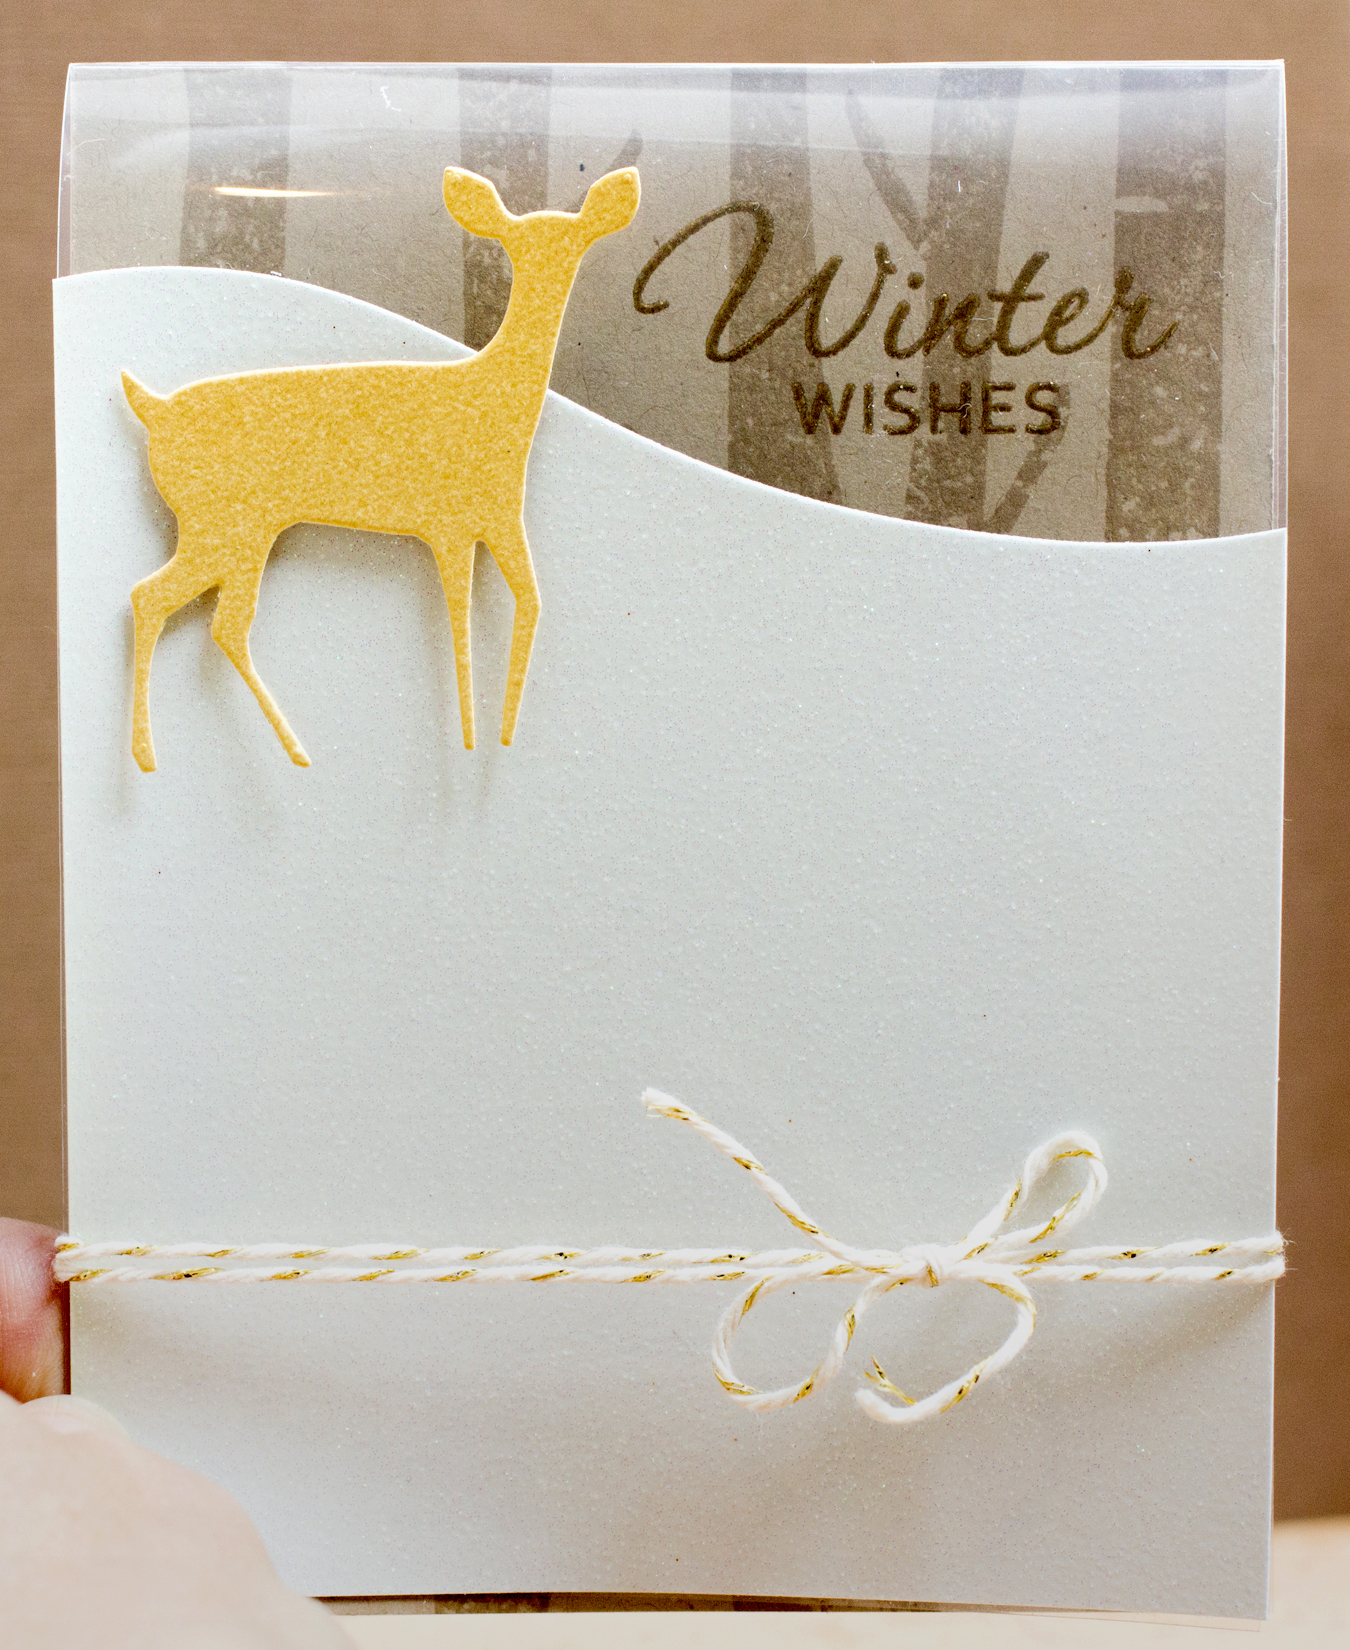
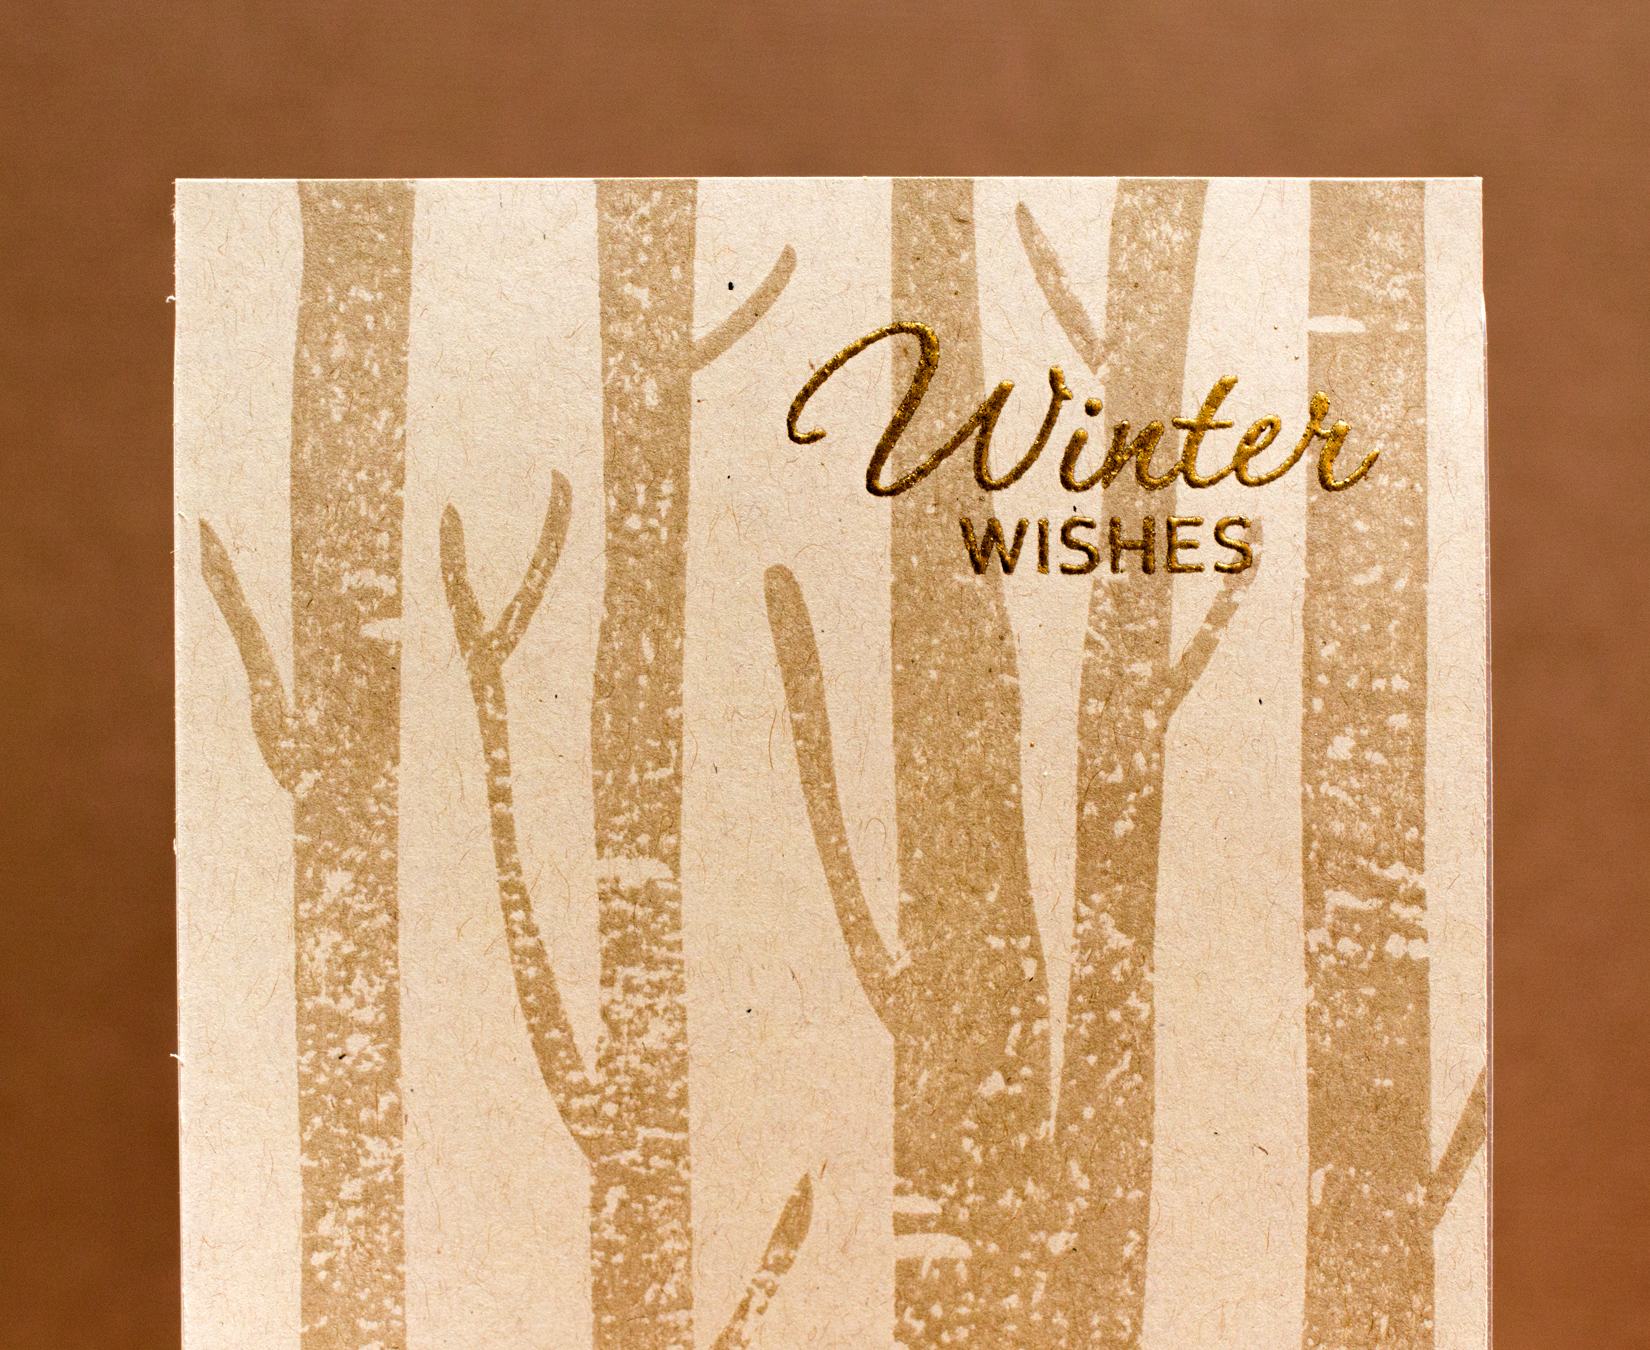
The inside was stamped with Memento Toffee Crunch on kraft cardstock using the Hero Arts Tree Trunks background stamp. I then stamped a sentiment from Hero Arts’ Winter Wishes set with Versamark and embossed it with WOW gold powder.
I can see using this idea of an acetate panel in lots of ways. I’d like to try this same design again with different colors, such as white trees on a blue background.