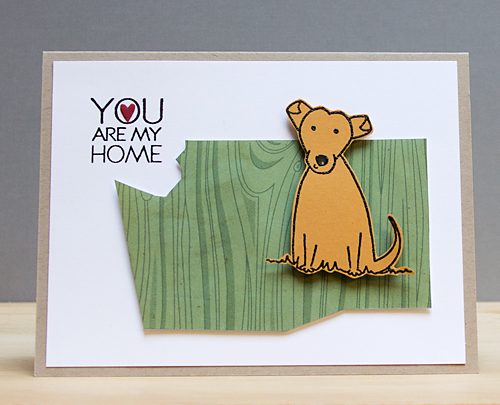
I’ve still got the concept of “home” on my mind as a result of the map course I’m taking (which I mentioned in this post). For this home-themed card, I was inspired by a card created by Jennifer McGuire for the Online Card Classes Summer Cards course. I’ve had the “Whimsical House” stamp set for awhile but have never used it before.
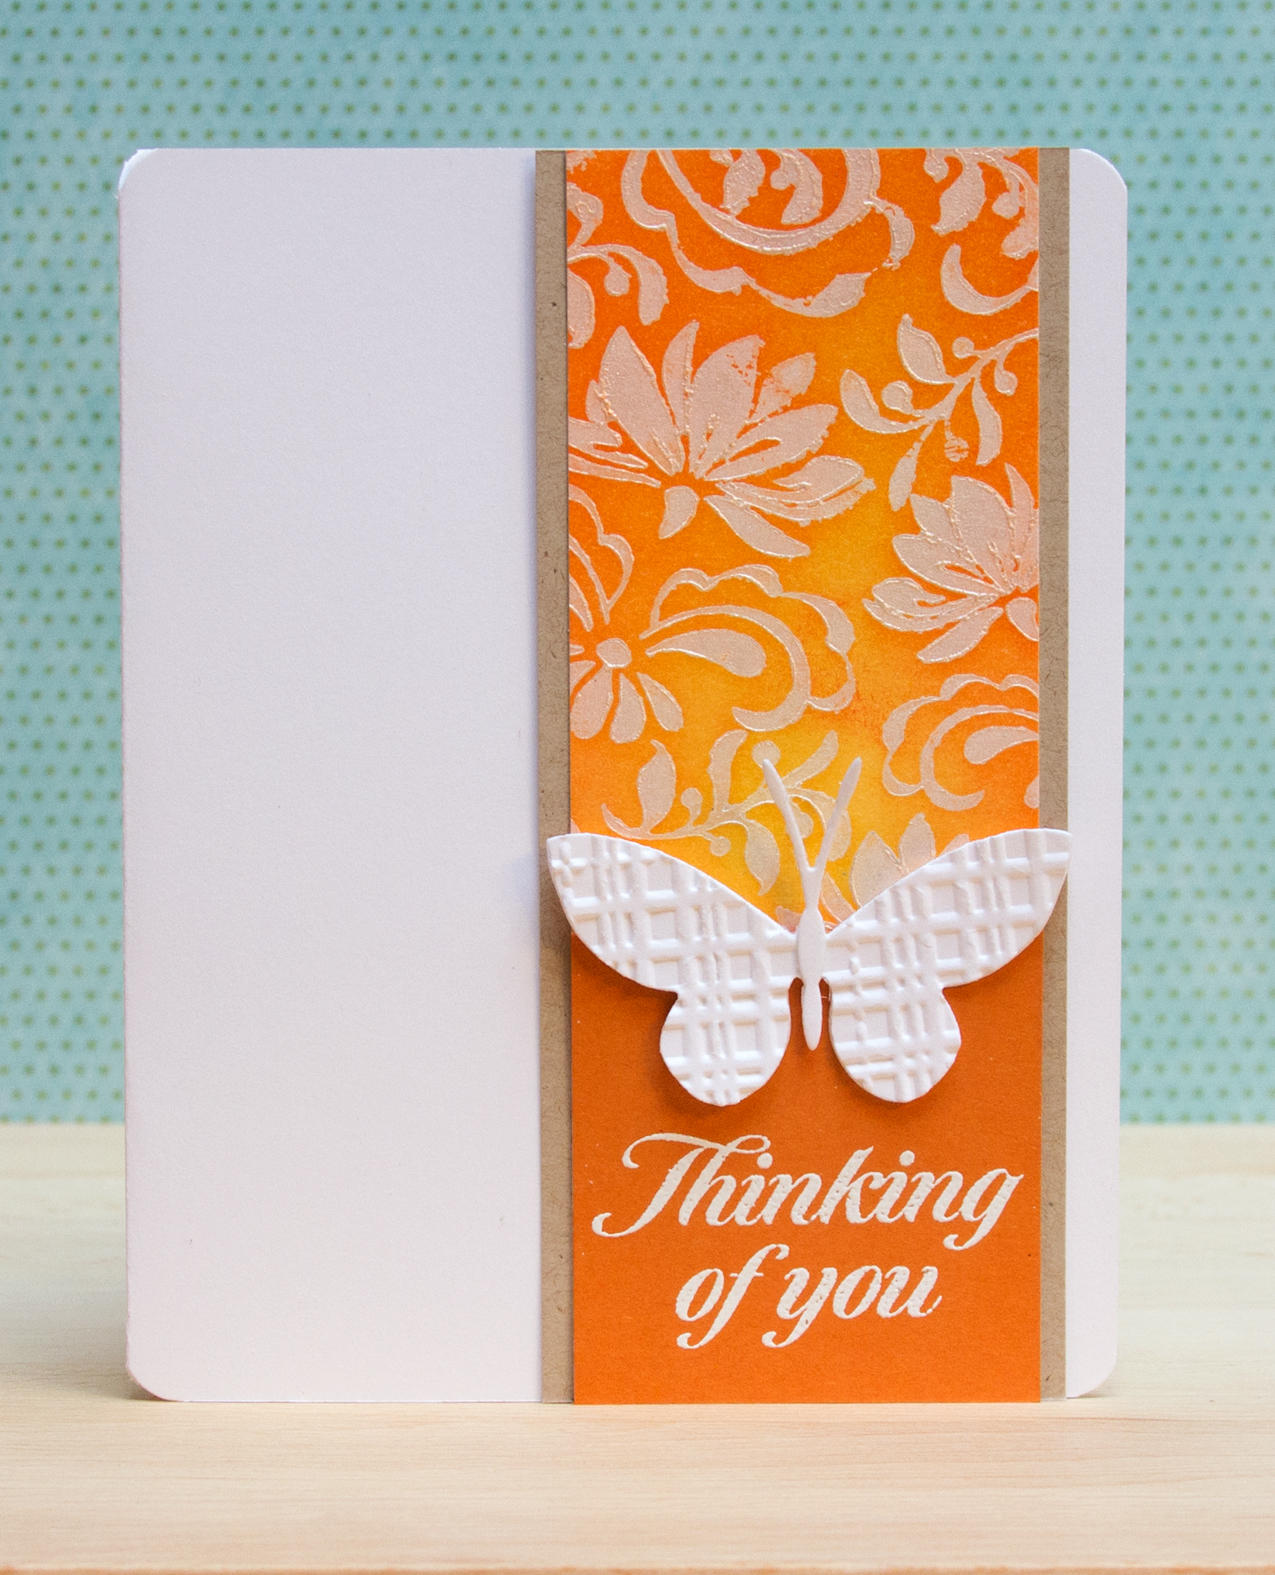
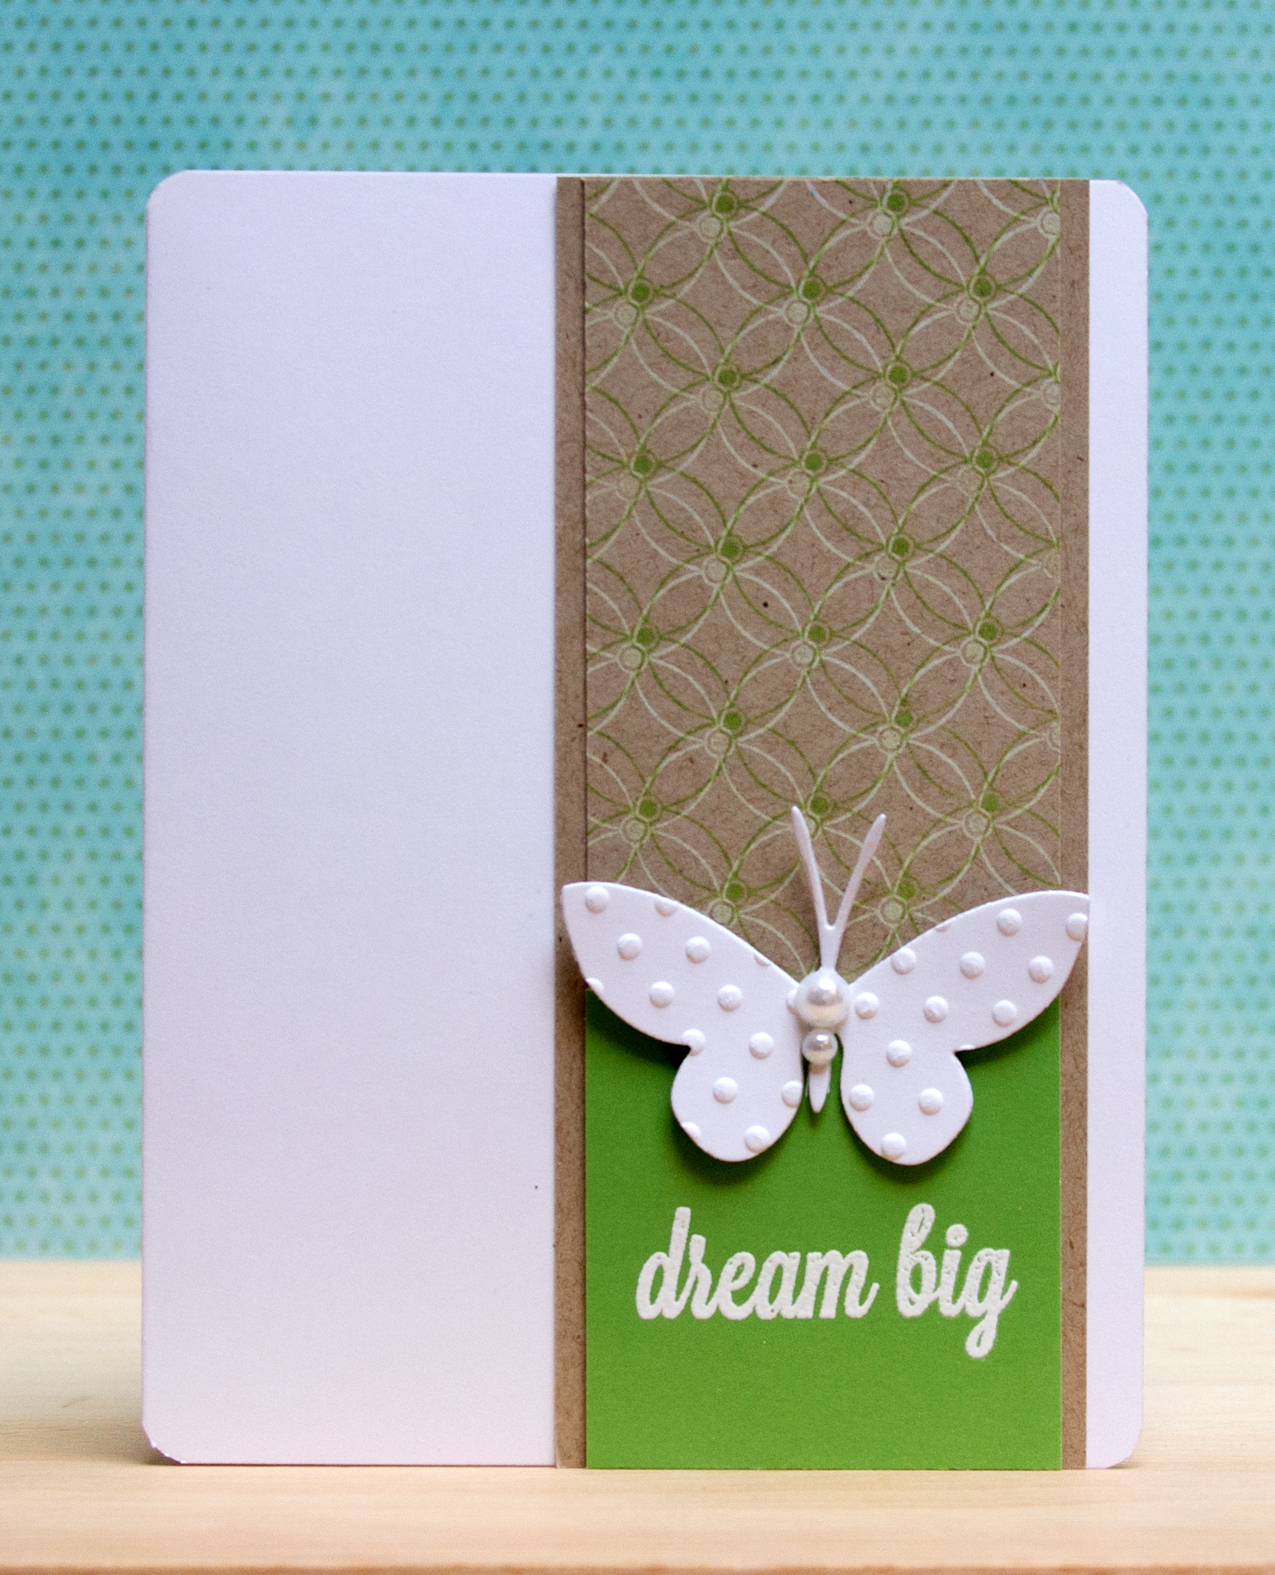
As you can see, I’m using the same design (from Jennifer McGuire) as in some of the other cards I posted last week. It’s a great design to use as I try out techniques!
|
|