His & Hers Day Four: Father’s Day

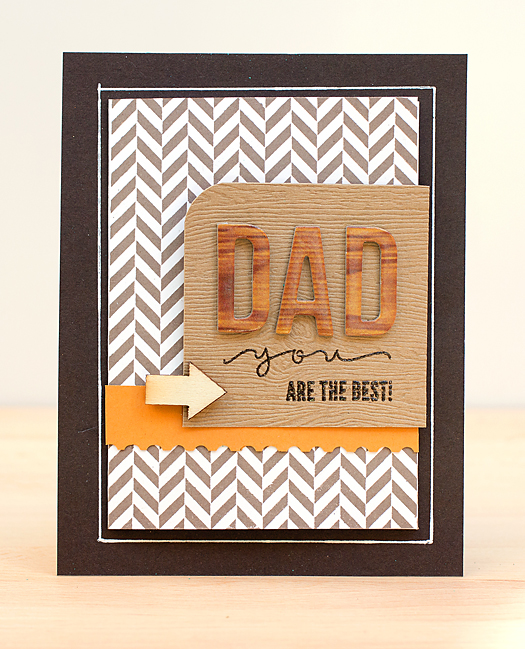
The focus of today’s  Online Card Classes “His & Hers” course was Father’s Day and Mother’s Day cards. This lesson couldn’t have come at a more opportune time as neither of our sons will be around on Father’s Day, and I need both to sign a card in the next several days.

My Father’s Day card follows a design shown by .

His & Hers Day Four: Father's Day

I took a couple of shortcuts. For example I used a Studio Calico/American Crafts alpha for the “DAD” whereas Kelly’s cards used letters die-cut and adhered to one another. I will definitely give this design another try. I learned quite a bit in its assembly! The woodgrain section is actually a flap that is held in place by the wood veneer arrow.

Supplies: Hero Arts Tweed Pattern Background Stamp;  Simon Says Stamp You Clear Stamps; Hero Arts Cup O’ Joe Shadow Ink Mid-Tone; Studio Calico Wood Veneer; Stampin’ Up cardstock; Avery Elle woodgrain cardstock



His & Hers: Day Three Sympathy Cards

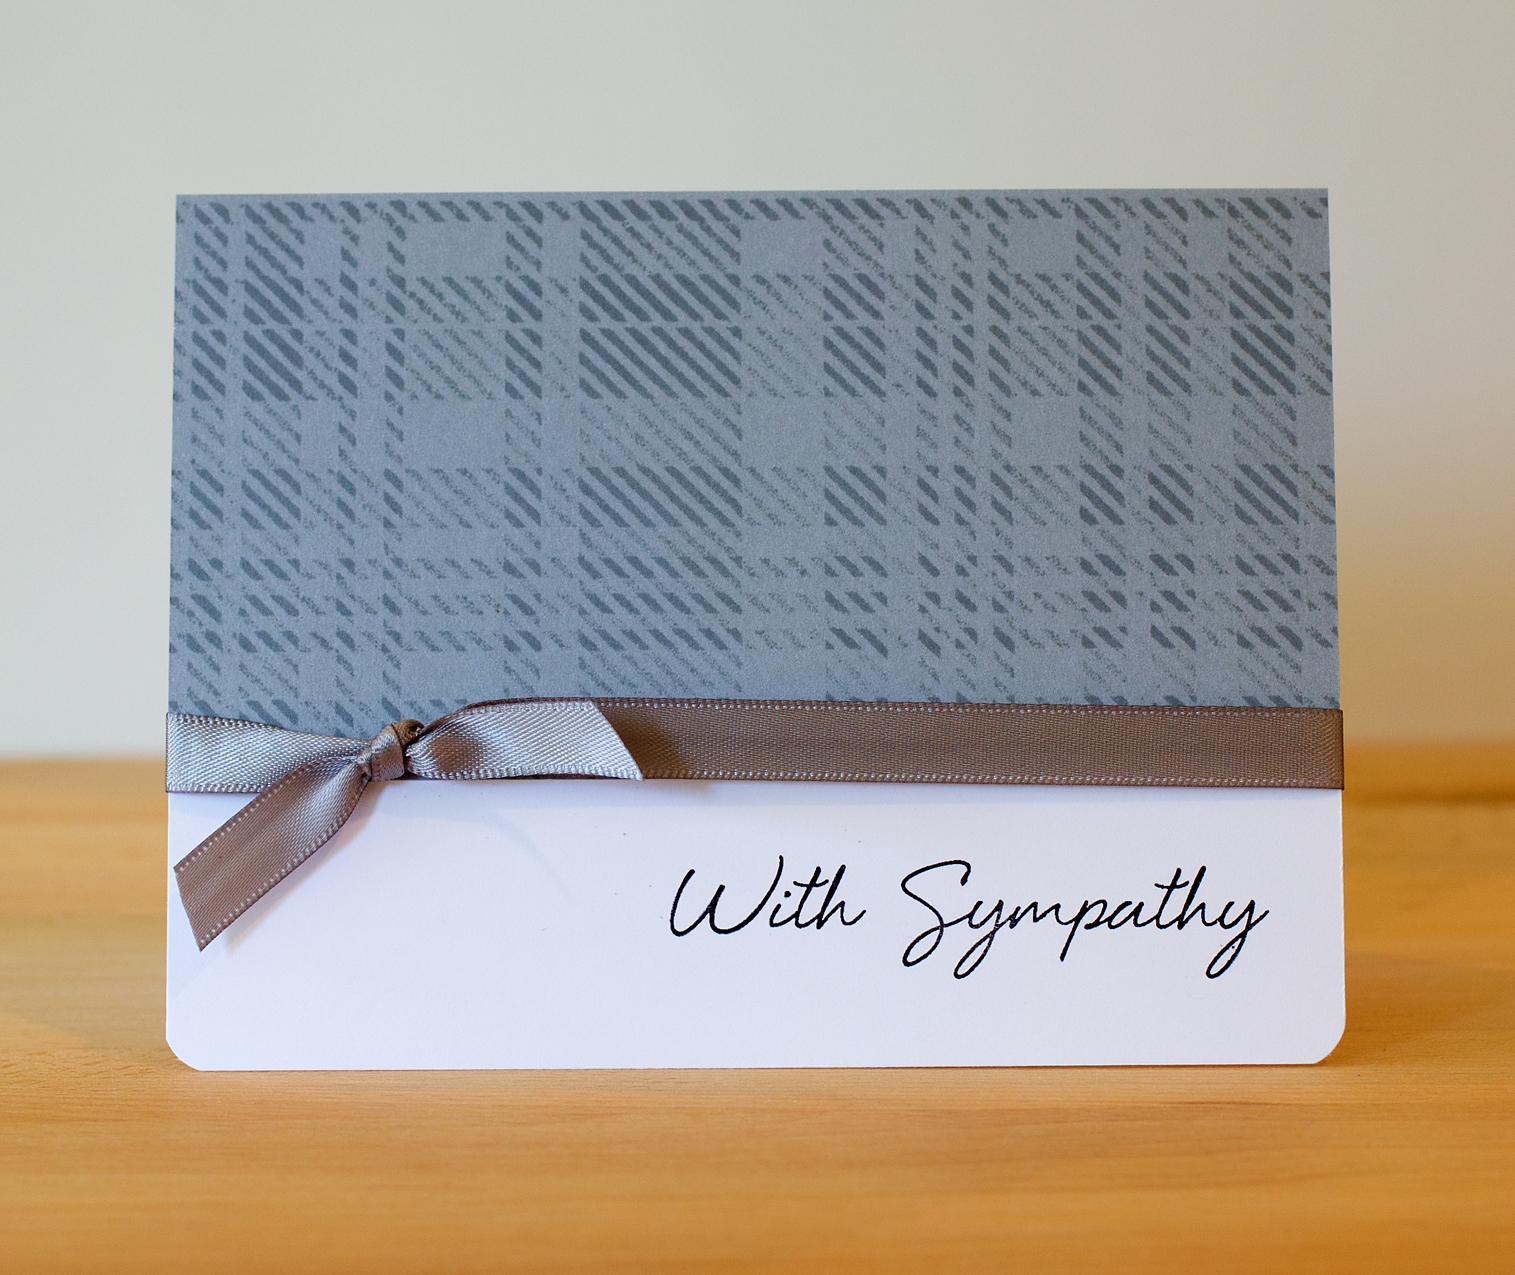
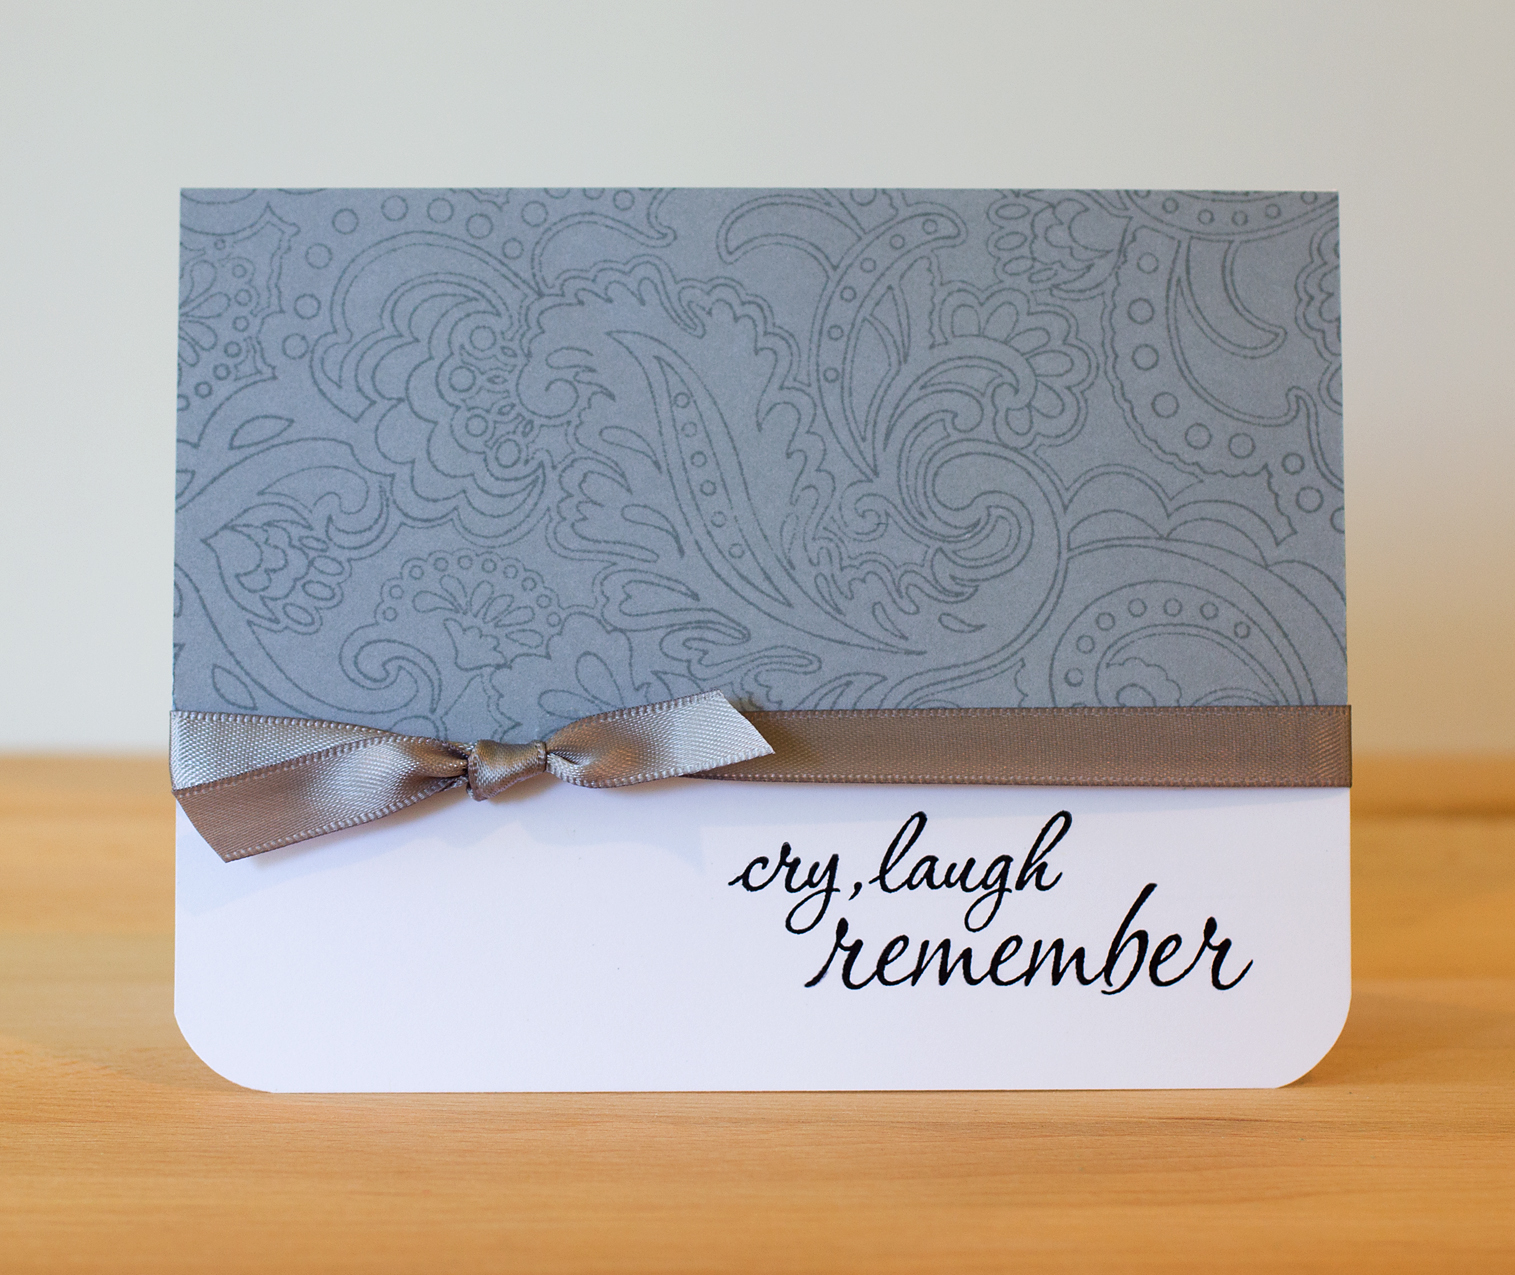
The focus of today’s  Online Card Classes course “His & Hers” was sympathy cards. I know that I’ve been unimpressed with the store bought choices for sympathy cards, so I welcomed the opportunity to handcraft these cards.

I crafted my cards with the same design and colors, simply varying my stamp choices. For the “Hers” card, I paired the Hero Arts/Basic Grey Flower Dot Pattern background stamp with a sentiment from the Hero Arts “Remember” stamp set. I really like this sentiment set, and “Cry, Laugh, Remember” aptly expresses my feelings about the death of a loved one.

His & Hers: Day Three Sympathy Cards

For the “His” version I paired the Hero Arts/Basic Grey Tartan Background with a sentiment from Hero Arts “Say It All.” For both cards, I used Memory Box “Dove Gray” cardstock, Hero Arts Soft Granite ink, Hero Arts dye ink and ribbon from Ellen Hutson.

His & Hers: Day Three Sympathy Cards

His & Hers: Day One

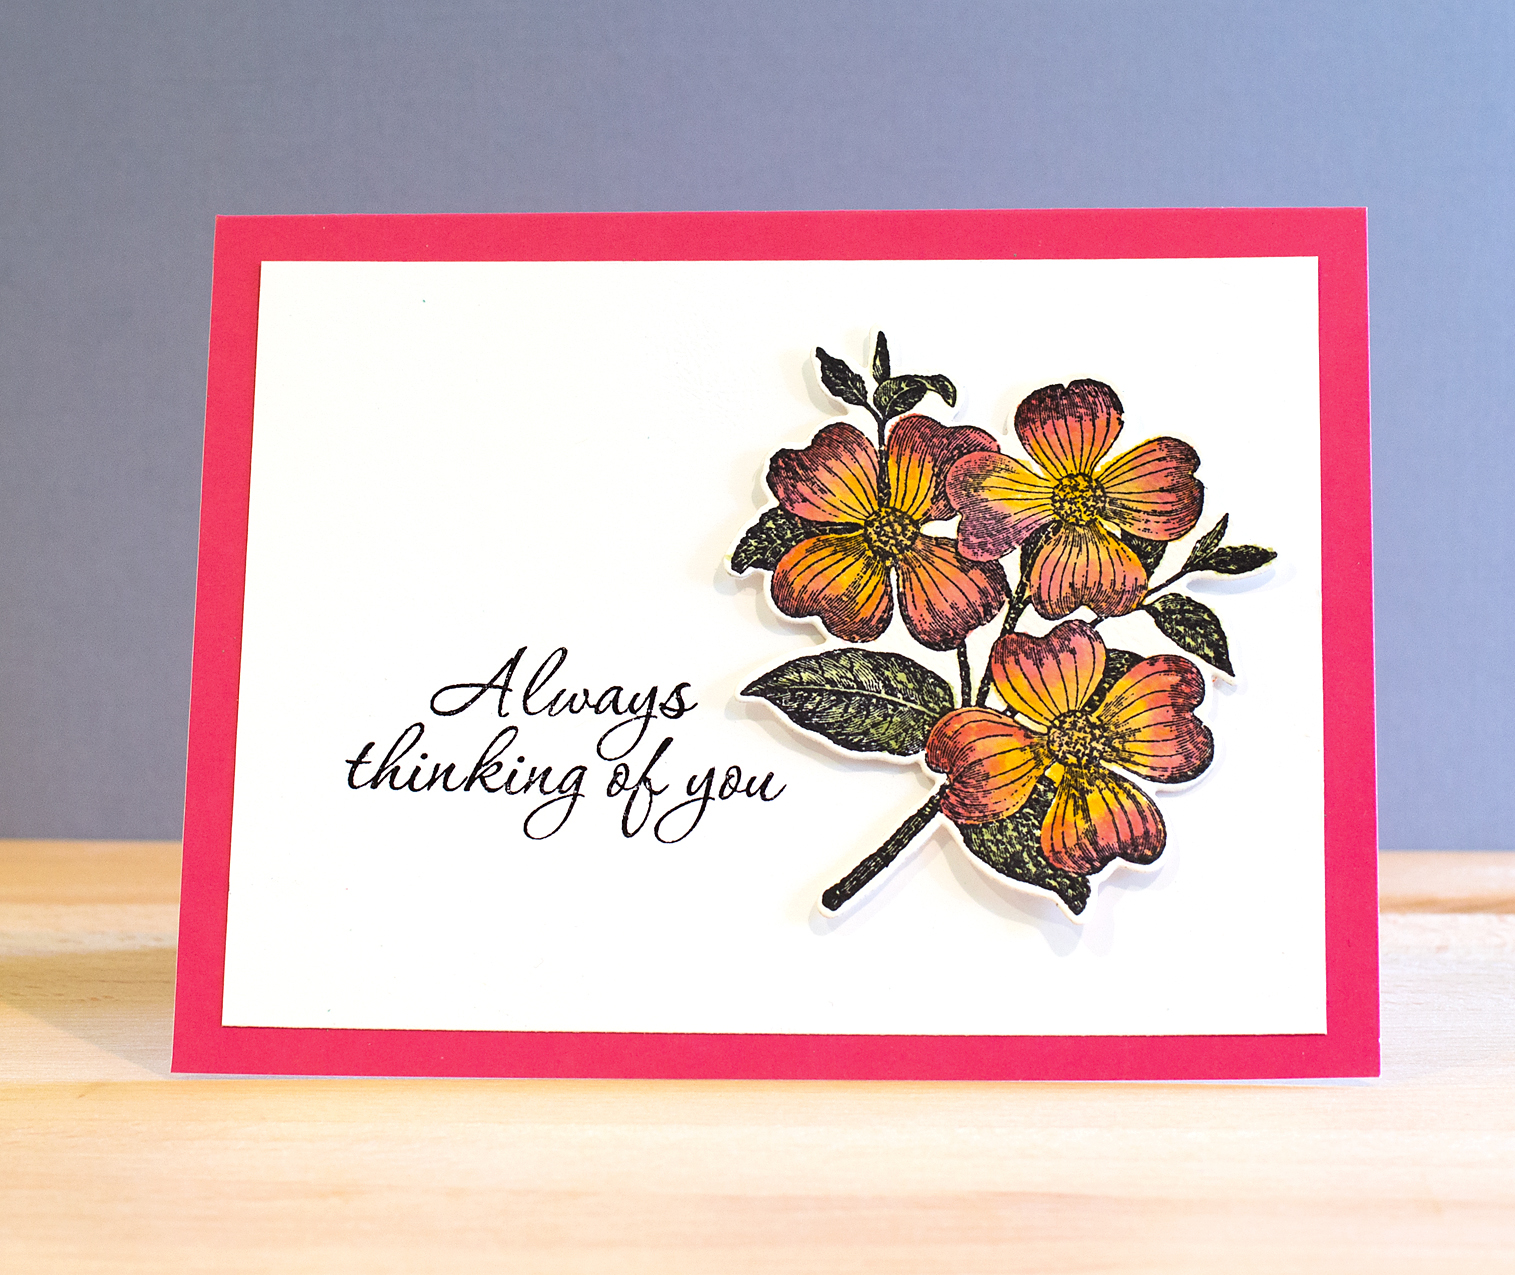
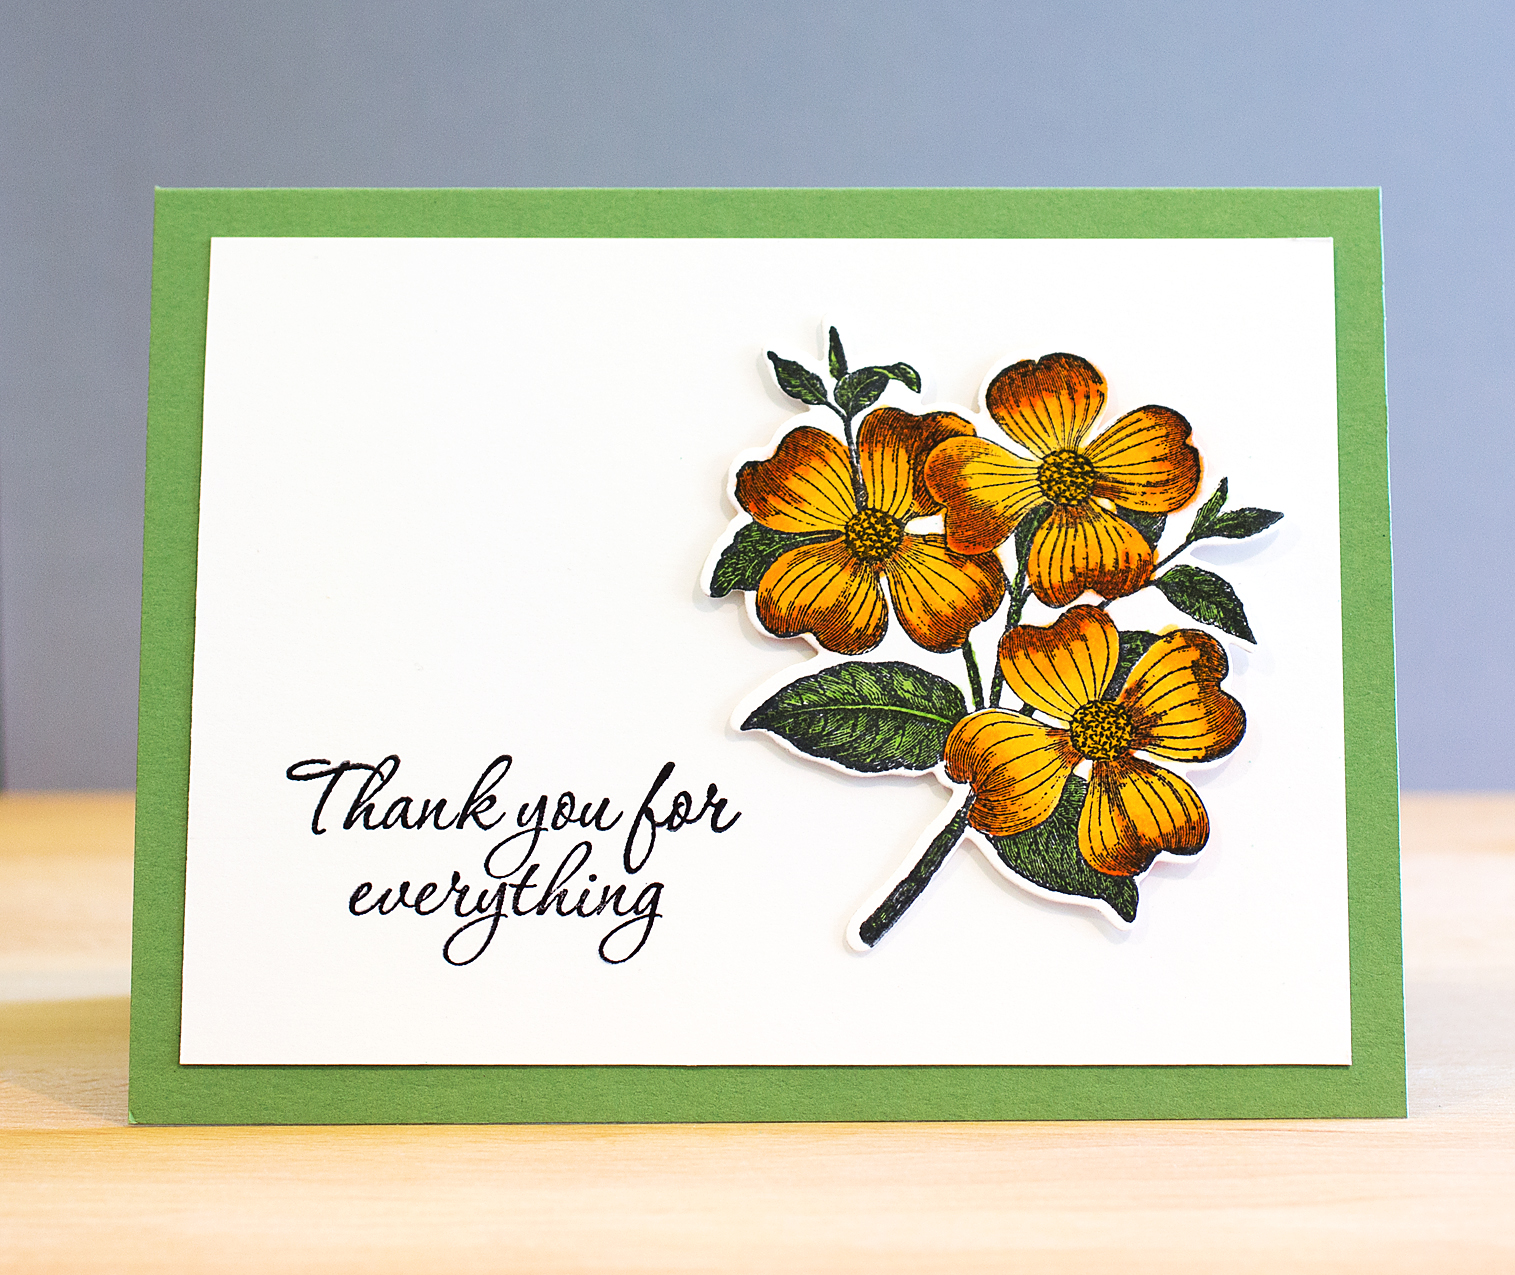
Today is the first day of the latest Online Card Classes course “His & Hers.” I created two cards, which technically qualify as “hers.” That being said, I feel that the second one is more masculine (probably because there’s no pink in it) than the first. 🙂

I loosely followed the cards shown by Kristina Werner in class today. For the first card, I colored the flower stamp with distress inks and a water brush. The texture of the watercolor paper gives this card a distinct look.

His & Hers: Day One

For the second card I colored the flowers with Copics. I have more Copic experience than watercolor experience, so I was more comfortable coloring this card. I felt I had more control with the coloring than I did with the watercolors.

His & Hers: Day One

Something I particularly liked with Kristina’s cards, which I did on my cards as well, was to cut the panel at 3 3/4″ x 5″ giving a 1/4″ border on the card base.

Supplies: Hero Arts “Antique Flowers and Butterflies”; Hero Arts “Good Friends”; Copics: YR31, YR15, YR18, YG13, YG17, Y19; Distress Markers “Barn Door”, “Spiced Marmalade”, “Peeled Paint”

Pattern Play: Day 1 Revisited

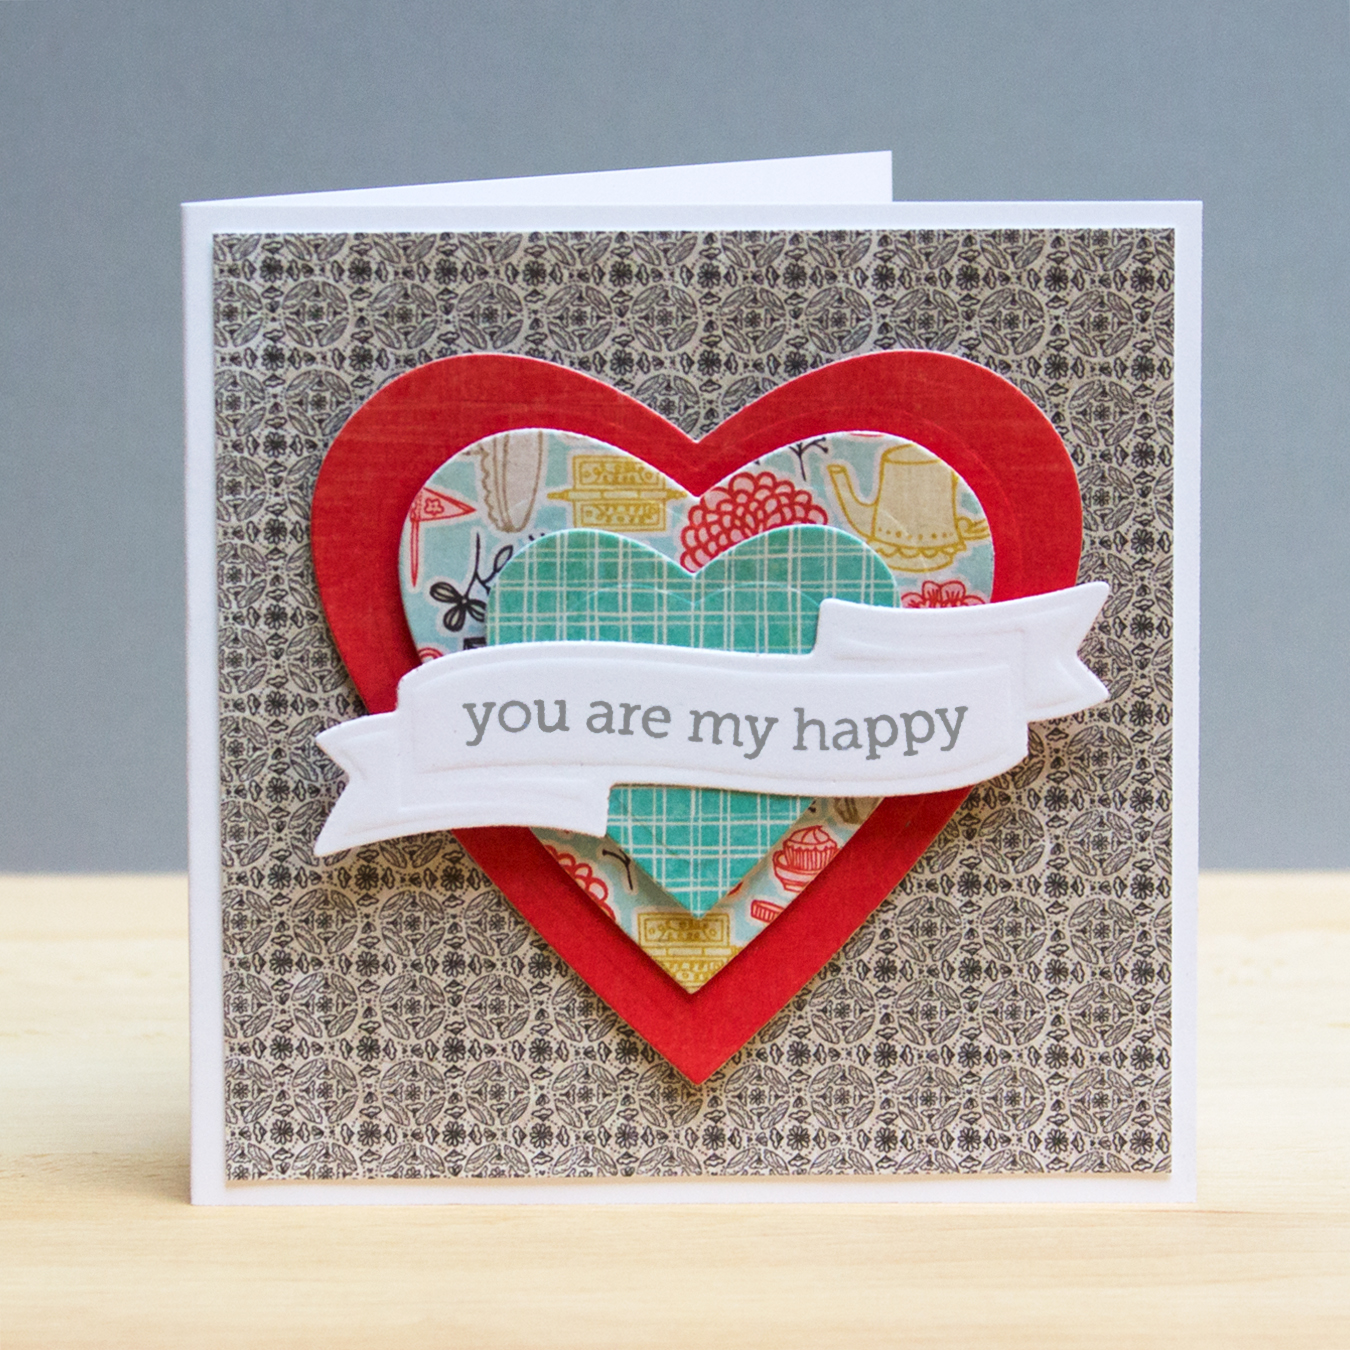
Today I’m sharing another card from the Online Card Class Pattern Play class. This card is inspired by one of Jennifer McGuire’s from the Day 1 lesson.

Pattern Play: Day 1 Revisited

My favorite aspect of the lesson was Jennifer’s explanation on how to choose coordinating patterns. Jennifer’s card combined a floral with three tone-on-tone patterns. As I recall her papers were from several different companies. Since I’m still taking “baby steps” with patterned paper, I combined papers from the Basic Grey “Paper Cottage” pad choosing just one paper with a multitude of colors (the second heart from the top). This technique makes paper paper combining so much easier! The hearts are popped up with dimensional adhesive to give some depth.

Supplies: Spellbinders banner die

Pattern Play: Day 2 Revisited

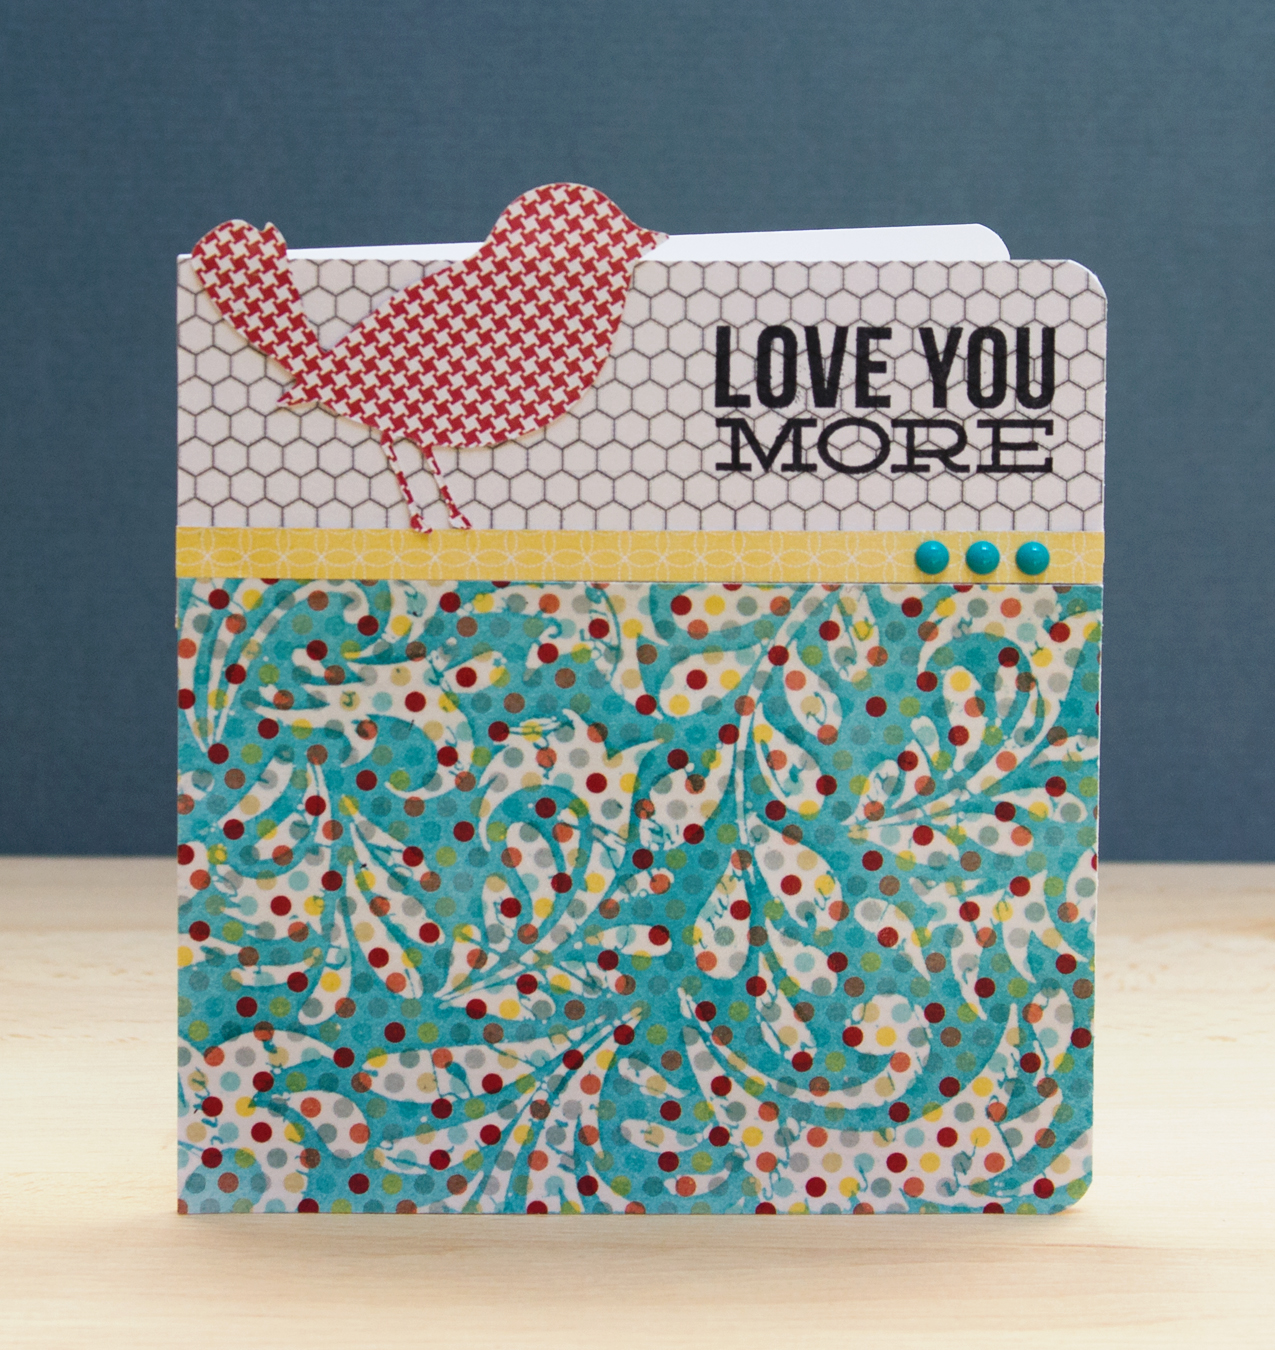
I’m going back through the Online Card Class Pattern Play class lessons to make cards which I didn’t make during the week of class. Today I’m sharing a card using the emboss resist technique inspired by one of Jennifer McGuire’s cards from the Day 2 lesson.

Pattern Play: Day 2 Revisited


The tricky part in crafting this card is choosing the background stamp. The Hero Arts “Leaf and Floral” pattern provides the right amount of negative space so that enough of the patterned paper still shows through. I ironed the embossing off, after I applied the distress ink, per Jennifer’s instructions in the lesson. I’ve never done this before; I really like the results! To ensure that the papers coordinated with one another, I chose all of the papers from the MME “Quilting Bee” pad.