Penny Black: Poppies and Chalkboard

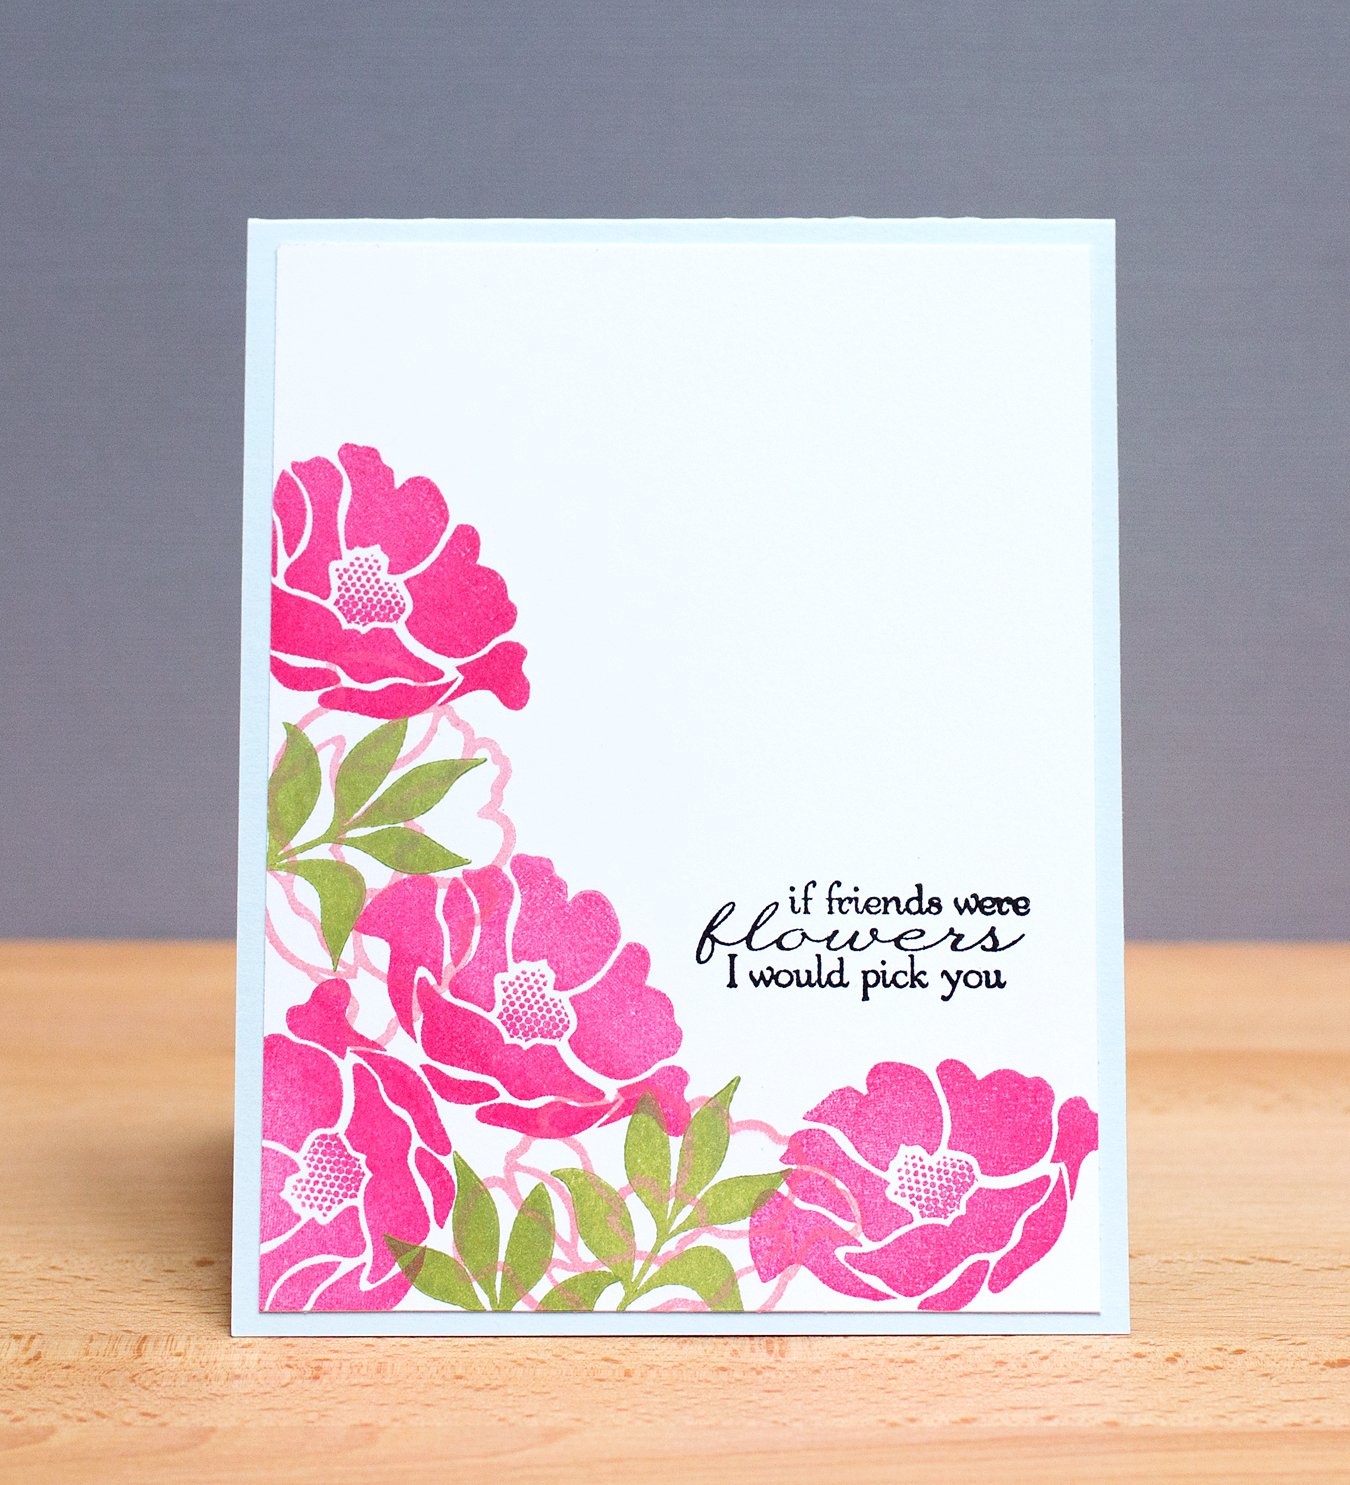
Today I’m sharing a CASE of Jill Foster’s lovely card featuring Penny Black Poppy Pattern [#40-290] paired with a sentiment from Truly Great [#40-309].

PaintedPoppiesBackground

Jill used paint on her background whereas I used a combination of Memento inks. I applied the inks to the stamp, misted the stamp, and then pressed watercolor paper onto the stamp, using a brayer to really soak up the ink. The sentiment is heat embossed on an ATC-size Art Square. I really like the dimension that the Art Square adds.

Using the same design, I created a monochromatic background by stamping with orange ink on orange paper.

MonochromaticPoppies

For this version, I stamped the sentiment onto black cardstock and attached it to the poppy background with dimensional adhesive. I  trimmed the background so that the card would have a white border.

Seeing Jill’s card using paints, I can’t wait to give that technique a try as well!

Penny Black First Dance

Today I’m sharing a card created with the Penny Black First Dance [#4383K] stamp from the Happy Everything release.

FirstDanceI dabbed a selection of Distress Paints directly onto the stamp and stamped onto a white cardstock panel. I tried a number of color combinations and settled on one with golds and reds. Once the paint was dry, I distressed the edges of the panel with Antique Linen Distress Ink. I then inked up the Penny Black Fleur De Lys background [#40-204] with the same ink, wiping away some of the ink before stamping. I found this technique on Jill Foster’s blog and really like how it adds a subtle pattern to the background of the panel. I adhered the panel to a cardstock base over a dry-embossed rectangle with dimensional adhesive. To finish, I added a sentiment from Fashion Tweet [#30-233].

CAS3: You Make Me Happy!

Today, I’m sharing a CASE of a card by Tami Hartley from the Online Card Classes CAS3 class. I’m still in the process of going back through the class  material trying designs and techniques I missed. There’s so much information and inspiration packed into these classes!

Happy

Tami’s card was a single layer crafted on cardstock. I made a few modifications, creating my panel out of watercolor paper and adhering it to a cardstock base. The background was created with a combination of inks, both Hero Arts and Distress. The Hero Arts inks do not move a lot on watercolor paper. After applying the Hero Arts inks, I filled in with a wash of the Distress Inks. Once the panel was dry, I stamped the Penny Black Dots in Space with Mint Julep ink and then stamped the Raindrops in Pool. Next, I applied some Picket Fence paint to the area where I was planning to stamp the sentiment. I used my finger to fade out the white paint. Once that I was dry, I stamped the sentiment from On Fun. I’m looking forward to creating more watercolor backgrounds, testing the Hero Arts inks on different papers, and layering background stamps.

Supplies:

Penny Black Poppies

Today, I’m sharing a CASE of a card made by Jill Foster using Penny Black dies and stamps. I’ve been working my way through many of Jill’s tutorials in the past several weeks.

PennyBlackPoppies

Mine is a little simpler than the card Jill made. I used the Field of Dreams die [ #51-030] to cut the poppies and painted them with Distress Paints. (As an FYI, the die works with the Poppies stamp in the Blooming Garden stamp set [#30-155].) I created the yellow background by making a single-use stencil out of cardstock with the Interlocking die [#51-029], through which I applied a combination of Distress Inks. I finished the card with a sentiment stamped with Versafine ink from the Blooming Tags [#30-228] stamp set.

Penny Black Spring Celebration!

Happy Spring for those of you in the Northern Hemisphere! Today, I’m sharing a spring-themed card inspired by a card design of Heather Telford’s.

FloralWatercolor

To begin, I stamped the Penny Black Sweetness [#40-208] background stamp on watercolor paper with Versamark ink and heat embossed it with white embossing powder. I applied several Distress Ink colors to the floral area. Any ink that went on to the embossed area was easily wiped away. After the panel dried, I ironed off the embossing. I cut the panel into squares, arranging them on a card base. I applied white embossing paste through a one-time stencil I created with one of the dragonflies in the Flutters [#51-006] die cut set. I finished the card with a sentiment stamped in gold ink from the Special Wishes [#30-229] set. I tried a couple of other color inks, including green and cocoa brown, before choosing the gold ink for the sentiment. I wanted something soft and elegant.

Did you know that Penny Black offers a free membership for all of their fans?  Simply join the Penny Black club by clicking HERE so you can get a first peek at new releases, blogging events, new card and scrapbooking ideas, and receive card ideas with step-by-step instructions.

I’m delighted to be sharing cards in an upcoming “Three Steps” feature to club members.

three steps