Reverse Confetti Blog Hop

The wait is over! REVERSE CONFETTI has just released FIVE stamp sets, EIGHT Confetti Cuts and “Piña Colada” Quick Card Panels in the April “Special Release”!!

The hop started on the Reverse Confetti blog, and you should have made it here from Lisa’s blog. It would be worth your while to start at the beginning of the hop, so you don’t miss a thing. We have tons of inspiration for you to see using all the new Reverse Confetti stamp sets and dies!

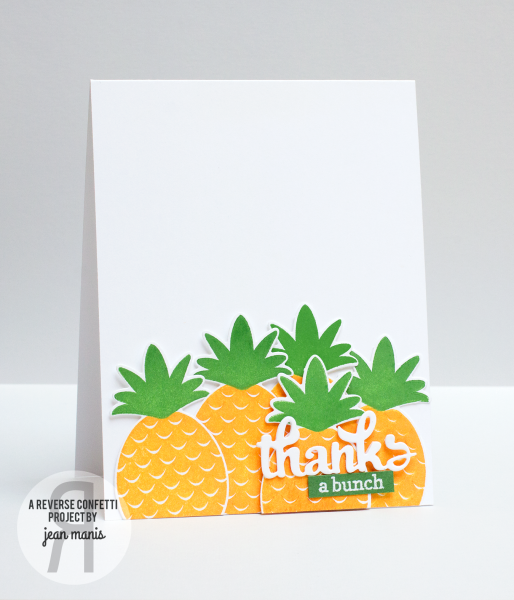
For my first card, I stamped one of the pineapples from the Pineapples Aplenty set several times, adding the pineapple tops, and cut them with the coordinating Confetti Cuts die. I added a sentiment pair with Fancy Word Coordinates and the Fancy Words Confetti Cuts to create a colorful thank you card.

PineapplesaPlentyFancyWords

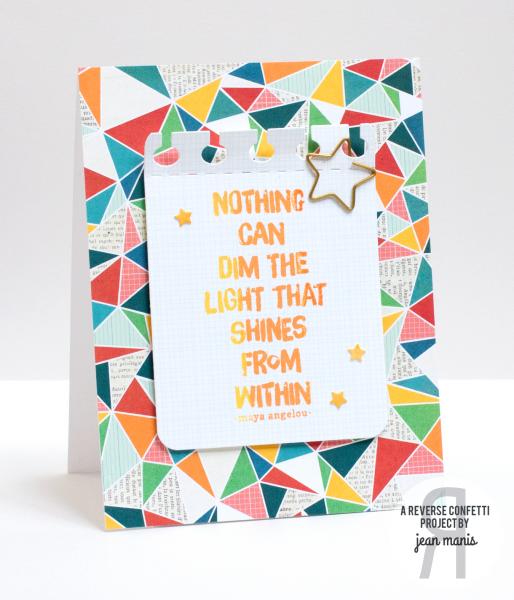
My second card features one of the sentiments from Shine From Within stamped with ombré ink. I cut the stamped sentiment with the rectangle die in the Documented Confetti Cuts set that I then cut with two of the dies from the Office Edges Confetti Cuts. The stars were cuts with the Shakers ‘n Frames Confetti Cuts set.

ShineFromWithin

I hope you’ve enjoyed hopping with us today. Be sure and hop with us on the 8th of EVERY MONTH for more REVERSE CONFETTI inspiration! Now it’s time to hop on over to Kathy’s blog. If you get lost along the way, you can find the hop order and list of all the participating designers over on the Reverse Confetti blog.

Countdown to Confetti Day Three

Welcome to Day Three of the Countdown to Confetti at Reverse Confetti!  Today, Reverse Confetti introduces the Fancy Word Confetti Cuts with the Fancy Word Coordinates stamps. All of my three projects are celebration-themed.

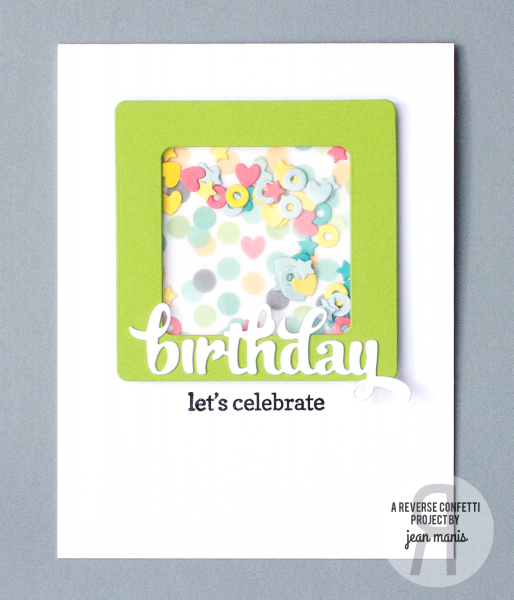
For my first project, I nested two of the Shakers ‘n Frames Confetti Cuts dies (one of the standalone Confetti Cuts sets in this release) to create a shaker frame to which I attached the birthday die cuts from the Fancy Word Confetti Cuts set.

For the frame interior, I covered one of the “Piña Colada” Quick Card Panels with vellum. The stars, hearts and sequins were cut with the Shakers ‘n Frames Confetti Cuts set out of coordinating cardstock. The coordinating sentiment was stamped directly on the card base.

ShakersnFramesFancyWordsCard

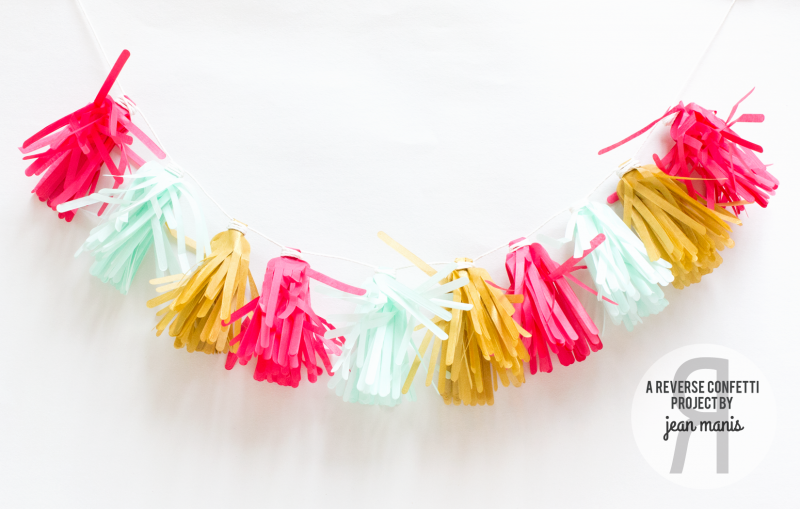
Speaking of celebrations, for my next project, I created a tassel garland with the standalone Tassel Confetti Cuts die.

TasselBanner

With the die, I cut three colors of tissue paper – light aqua, gold and pink. The die cuts through a folded-up sheet of tissue paper creating several tassels at once. I laid out the packets of tassels in the order that I wanted and then placed a cord across them. I folded the tassel packets over the cord and secured them with more cord. It’s an easy way to make custom party decorations! After the string of tassels was complete I did a bit of fluffing.

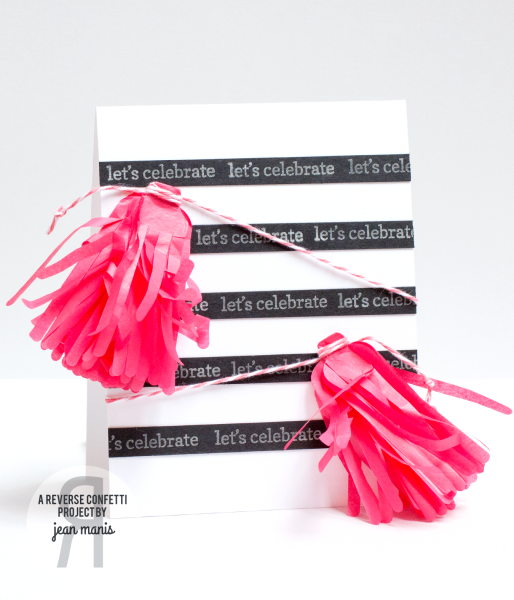
For my final project today, I combined the Tassel Confetti Cuts die with the Fancy Word Coordinates stamp set.

TasselCard

I cut narrow strips of black cardstock and repeatedly stamped the “let’s celebrate” sentiment with silver pigment ink. (The strips were cut wider than the A2 card base so that I could stagger the words on the card base.) I attached the sentiment strips and trimmed off the excess. I tied the tassels with baker’s twine, secured one in the left-hand corner, wrapped the cord around the card and attached the the other tassel in the right-hand corner.

There are two $15 gift certificates up for grabs – one for blog commenters and one for Facebook commenters. Increase your chance of winning by leaving a comment on each sneak peek post for each designer. Comments will close at noon CST on April 7th and the winner will be announced at 5pm on April 7th on the Reverse Confetti blog and FB page.

Countdown to Confetti Day Two

Welcome back to Day Two of the Countdown to Confetti. Today Reverse Confetti is introducing the stamp sets Shine From Within and Color Me Happy, as well as the Hello Confetti Cuts.

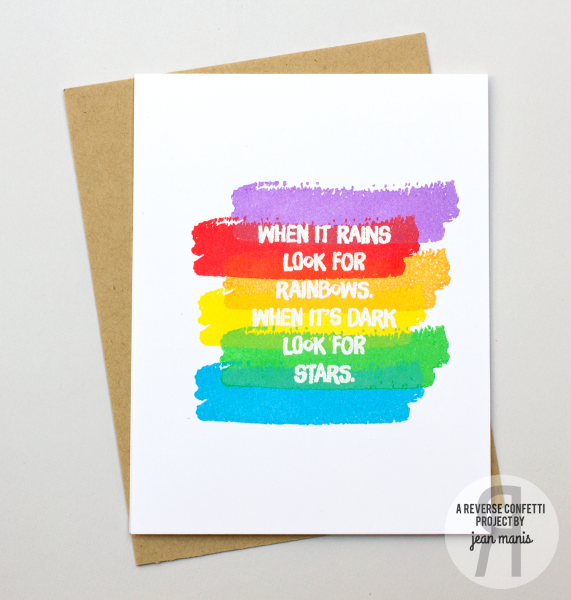
My first card features a sentiment from Shine From Within heat-embossed over stamped brush strokes from Color Me Happy.

ShinefromWithinColorMeHappy

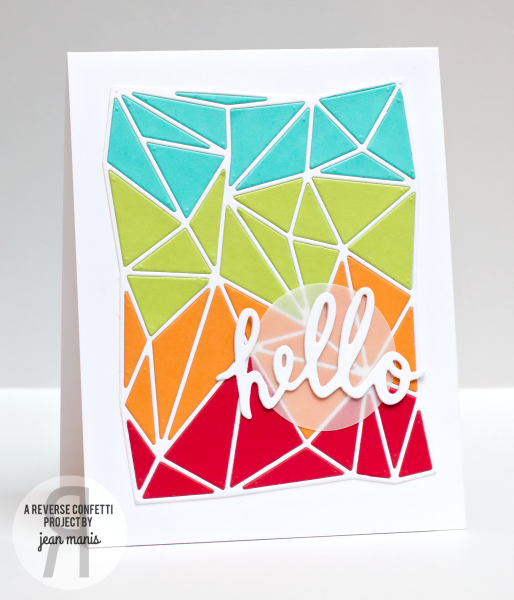
For my second card, I’m showcasing the new Hello Confetti Cuts die cut paired with the Geometric Background Confetti Cuts.

GeometricPanelHello

I cut the Geometric Background Confetti Cuts from white, turquoise, green, orange and red cardstock, piecing the colored pieces into the white frame. I cut the hello sentiment twice, placing it over a die cut vellum circle.

There are two $15 gift certificates up for grabs – one for blog commenters and one for Facebook commenters. Increase your chance of winning by leaving a comment on each sneak peek post for each designer. Comments will close at noon CST on April 7th and the winner will be announced at 5pm on April 7th on the Reverse Confetti blog and FB page.

Countdown to Confetti Day One

It’s Countdown to Confetti time at Reverse Confetti! There are FIVE stamp sets, EIGHT Confetti Cuts and “Piña Colada” Quick Card Panels in the April “Special Release”!! Today, Reverse Confetti introduces two awesome stamp sets – Leaping Lions and Pineapples Aplenty – both with coordinating Confetti Cuts!

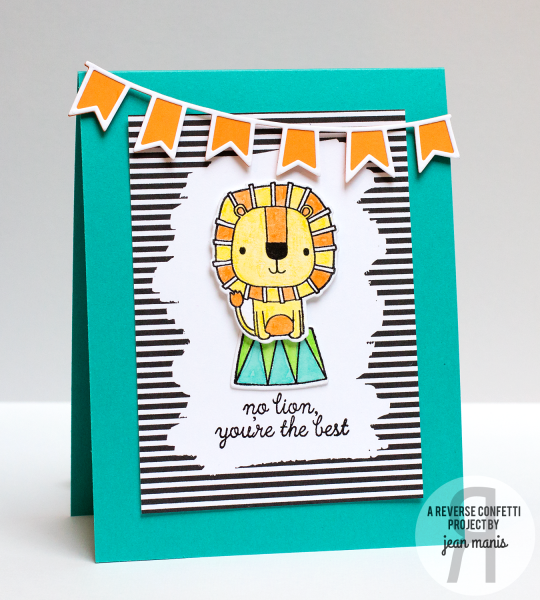
My first project features the stamp set Leaping Lions along with its coordinating Confetti Cuts set, as well as one of the Piña Colada Quick Card Panels and the Double Banner Garland Confetti Cuts die.

LeapingLions

I stamped and clear-embossed the lion and his pedestal on watercolor paper and then colored both with watercolor pencils. I stamped the sentiment directly on the Quick Card Panel. The Double Banner Garland Confetti Cuts was cut in both orange and white cardstock and then glued together.

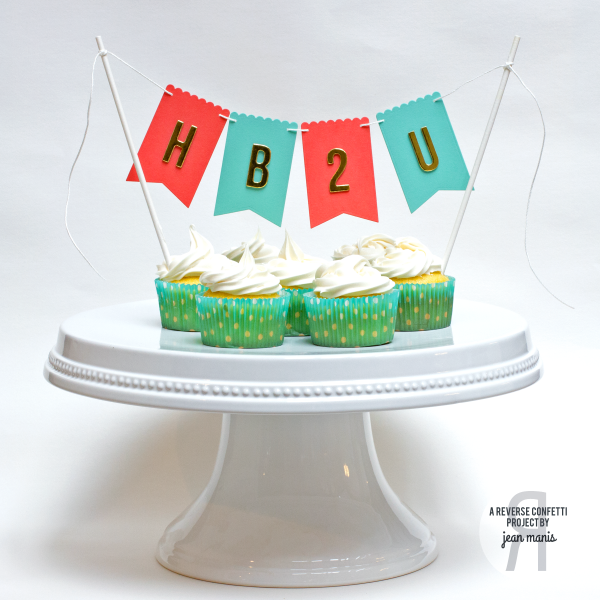
For my next project, I used the one of the die cuts from the Layered Banners Confetti Cuts set to create a birthday decoration.

LayeredBanners

I added gold foil chipboard letters to banners cut from cardstock with the largest die in the set. I strung the banners with cord on two cardboard sticks (the type used to make cake pops). It’s an easy way to create custom birthday decorations!

There are two $15 gift certificates up for grabs – one for blog commenters and one for Facebook commenters. Increase your chance of winning by leaving a comment on each sneak peek post for each designer. Comments will close at noon CST on April 7th and the winner will be announced at 5pm on April 7th on the Reverse Confetti blog and FB page.

Light It Up Blue for Autism Awareness Blog Hop

Today, I’m sharing a card created for the Light It Up Blue for Autism Awareness Blog Hop. Fantastic sponsors are showing their support for Autism Awareness and you can see the complete list on the post. If you would like a chance to win a prize from one of these fabulous companies leave a comment on this blog and any of the other blogs participating in today’s hop! Winners will be chosen at random and announced on Monday, April 6.

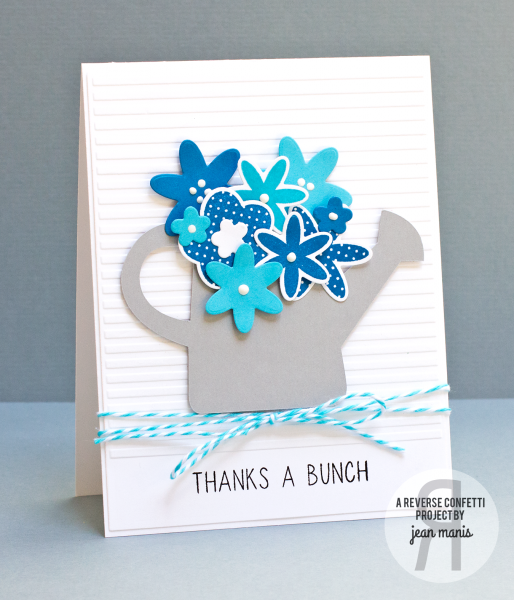
The theme for the cards and projects is “blue” and can be for any occasion. Here’s my “Thank You” card created with Reverse Confetti stamps and Confetti Cuts. Reverse Confetti is one of the blog hop sponsors.

April2BlogHop

I stamped flowers from the Petals ‘n Posies set, as well as die-cut some with the Confetti Cuts set without stamping, in shades of blue. I also used the small flower in the The Tweet Life Confetti Cuts set to cut some smaller blooms. The watering can was cut with my Silhouette. I added a dry-embossed panel, onto which I stamped the sentiment from the Petals ‘n Posies set.

Head on over to the Light It Up Blue for Autism Awareness Blog Hop post for all of the details.