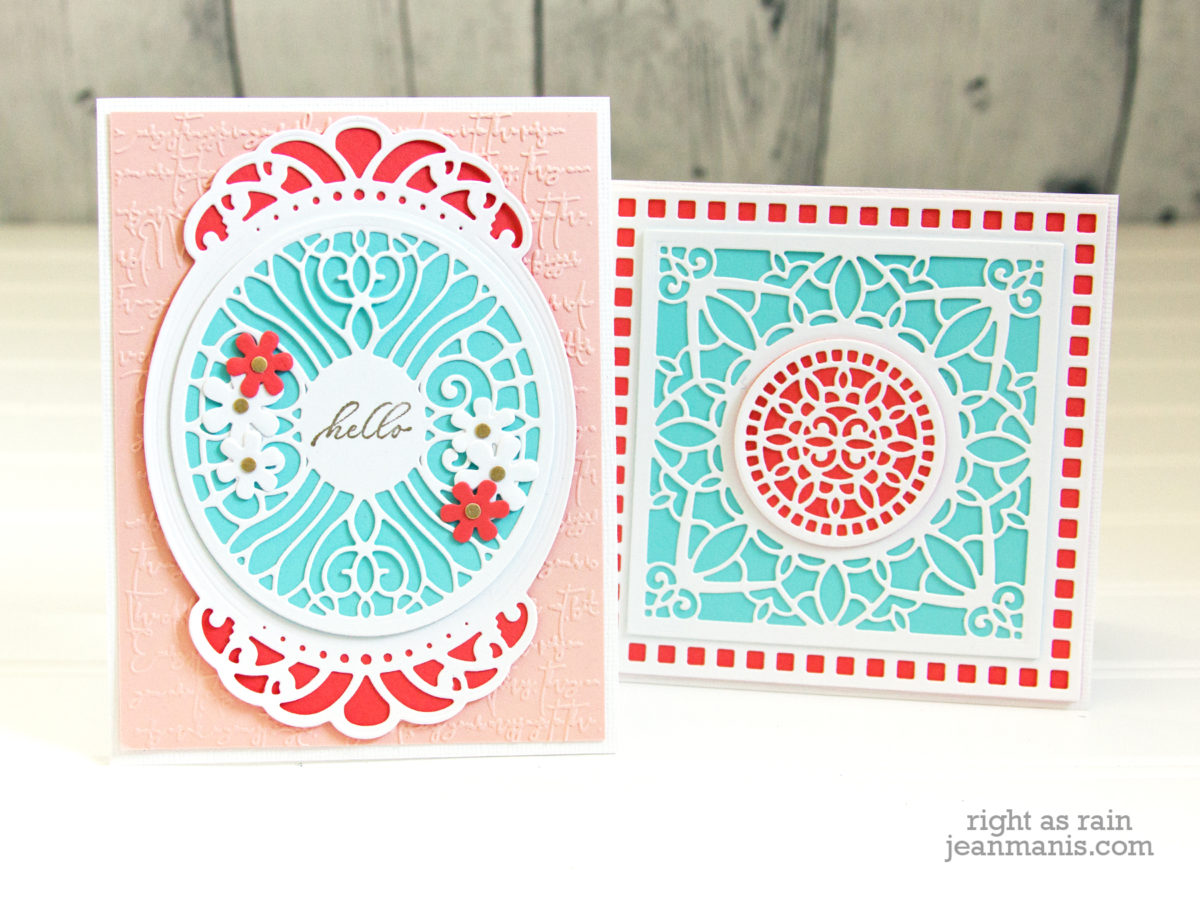
Hello! Today I am sharing two elegant CAS cards created with die sets from the Flourished Fretwork collection by Becca Feeken at Spellbinders.

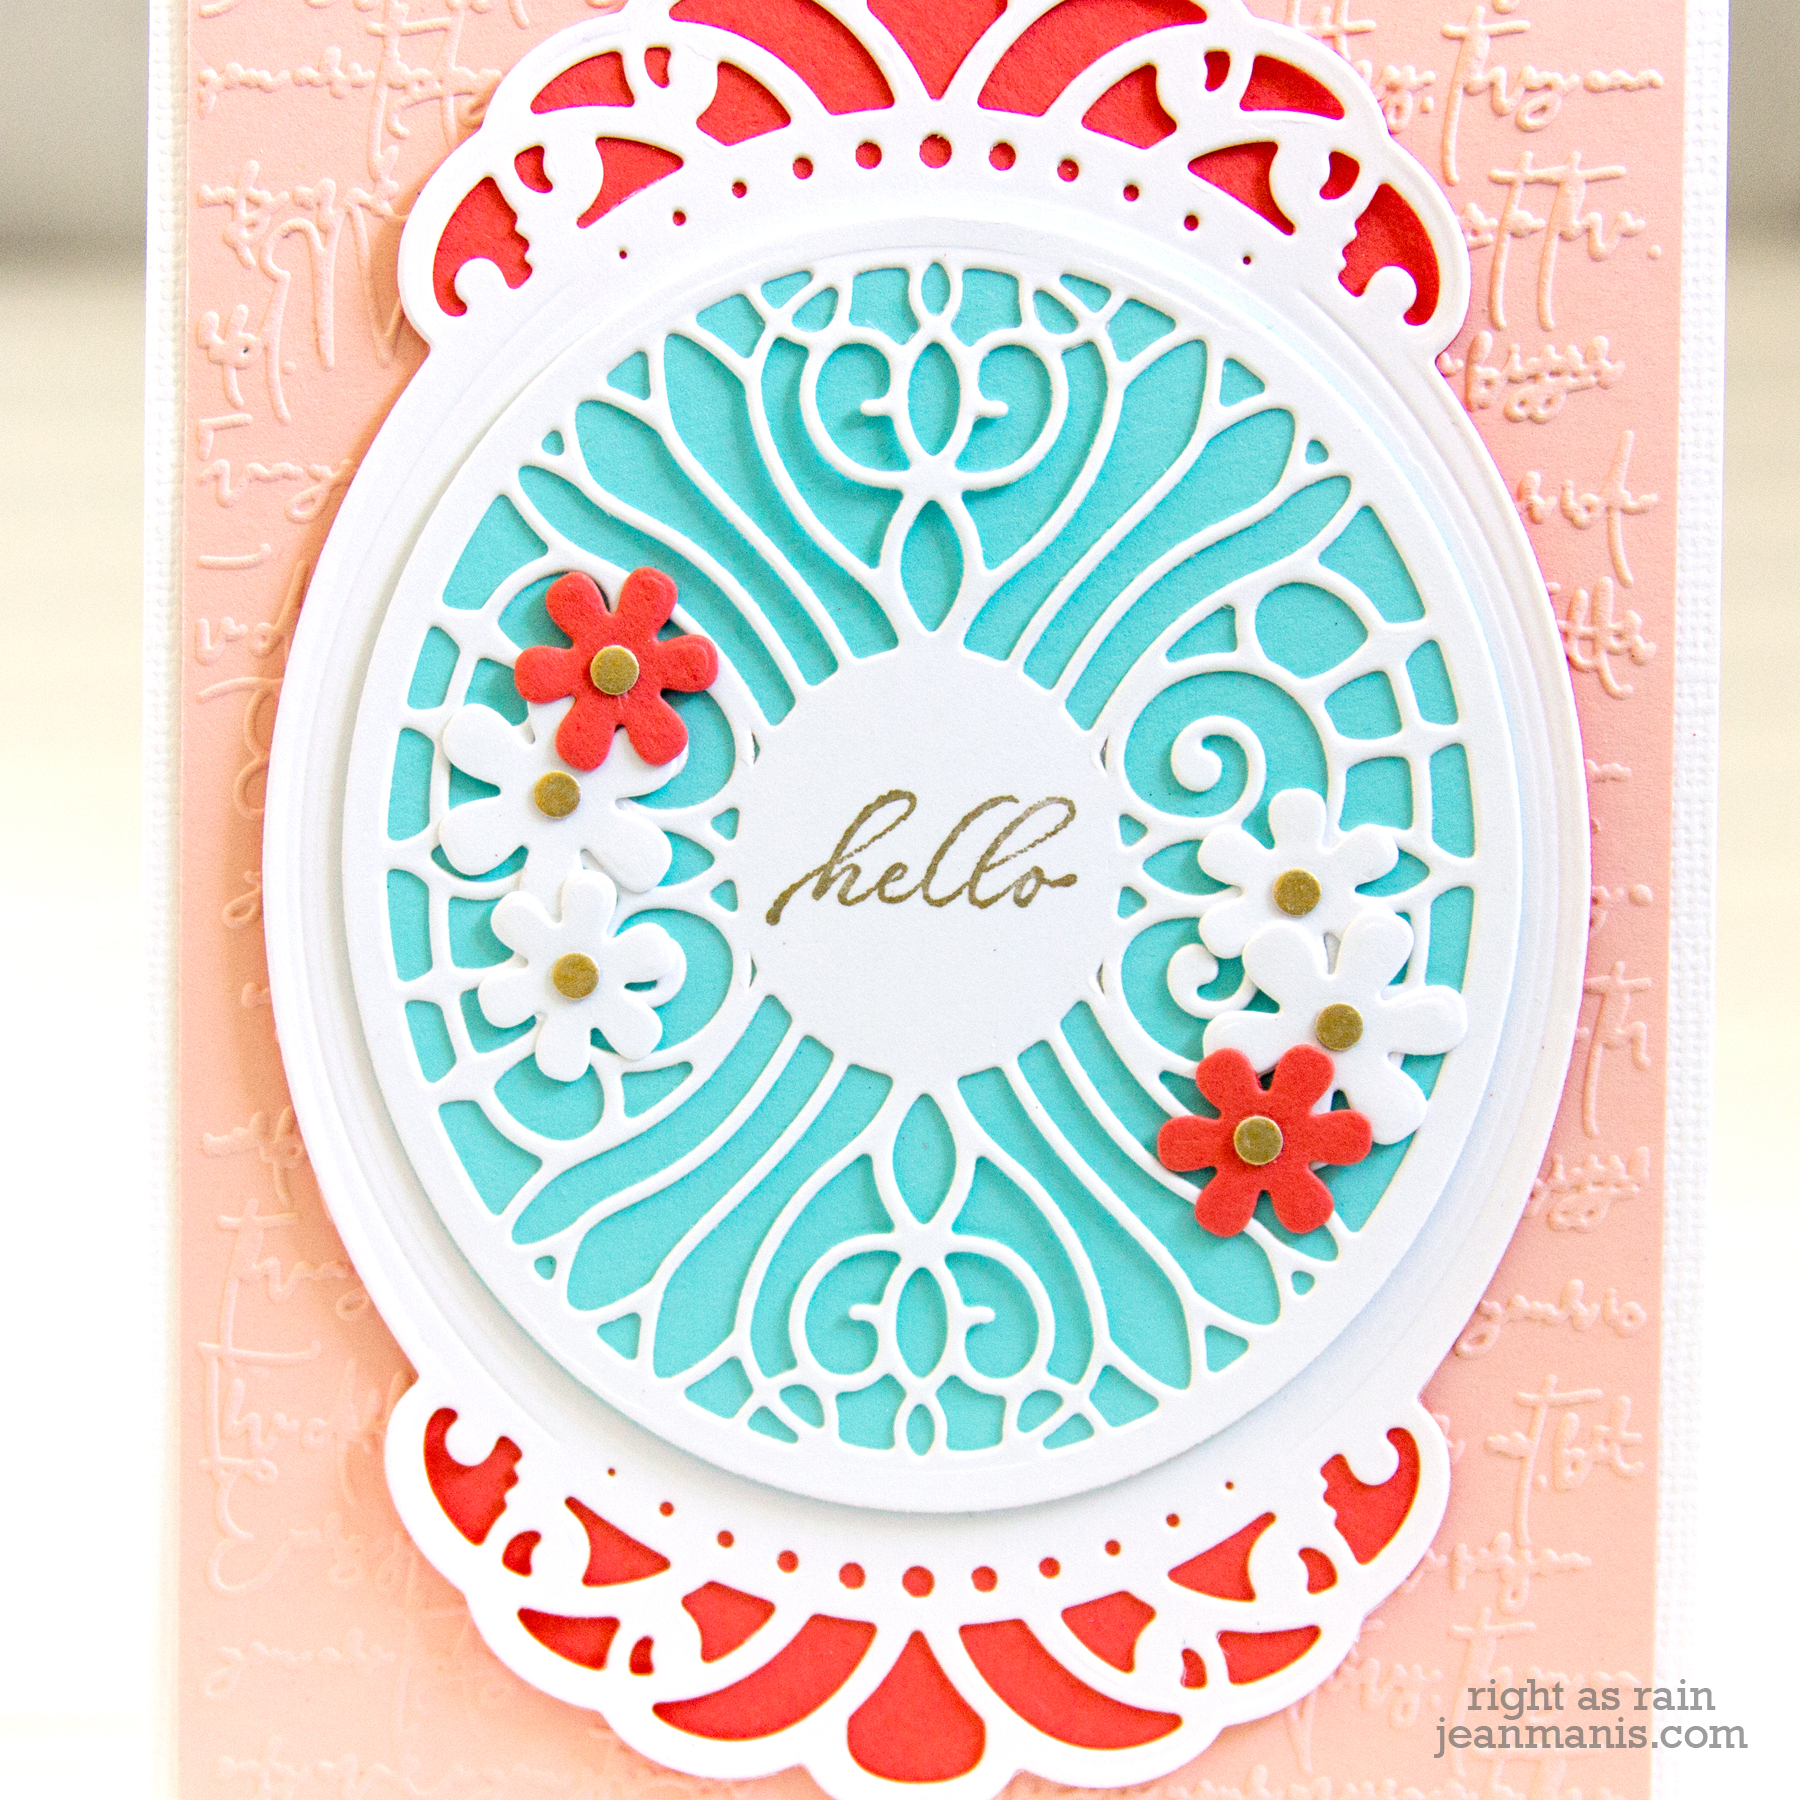
I created my first card with the Oval Coronet set. The set includes five dies: a small oval (which I didn’t use), an ornate oval overlay, a solid oval of the same size, an ornate base oval, and a base oval of the same size.
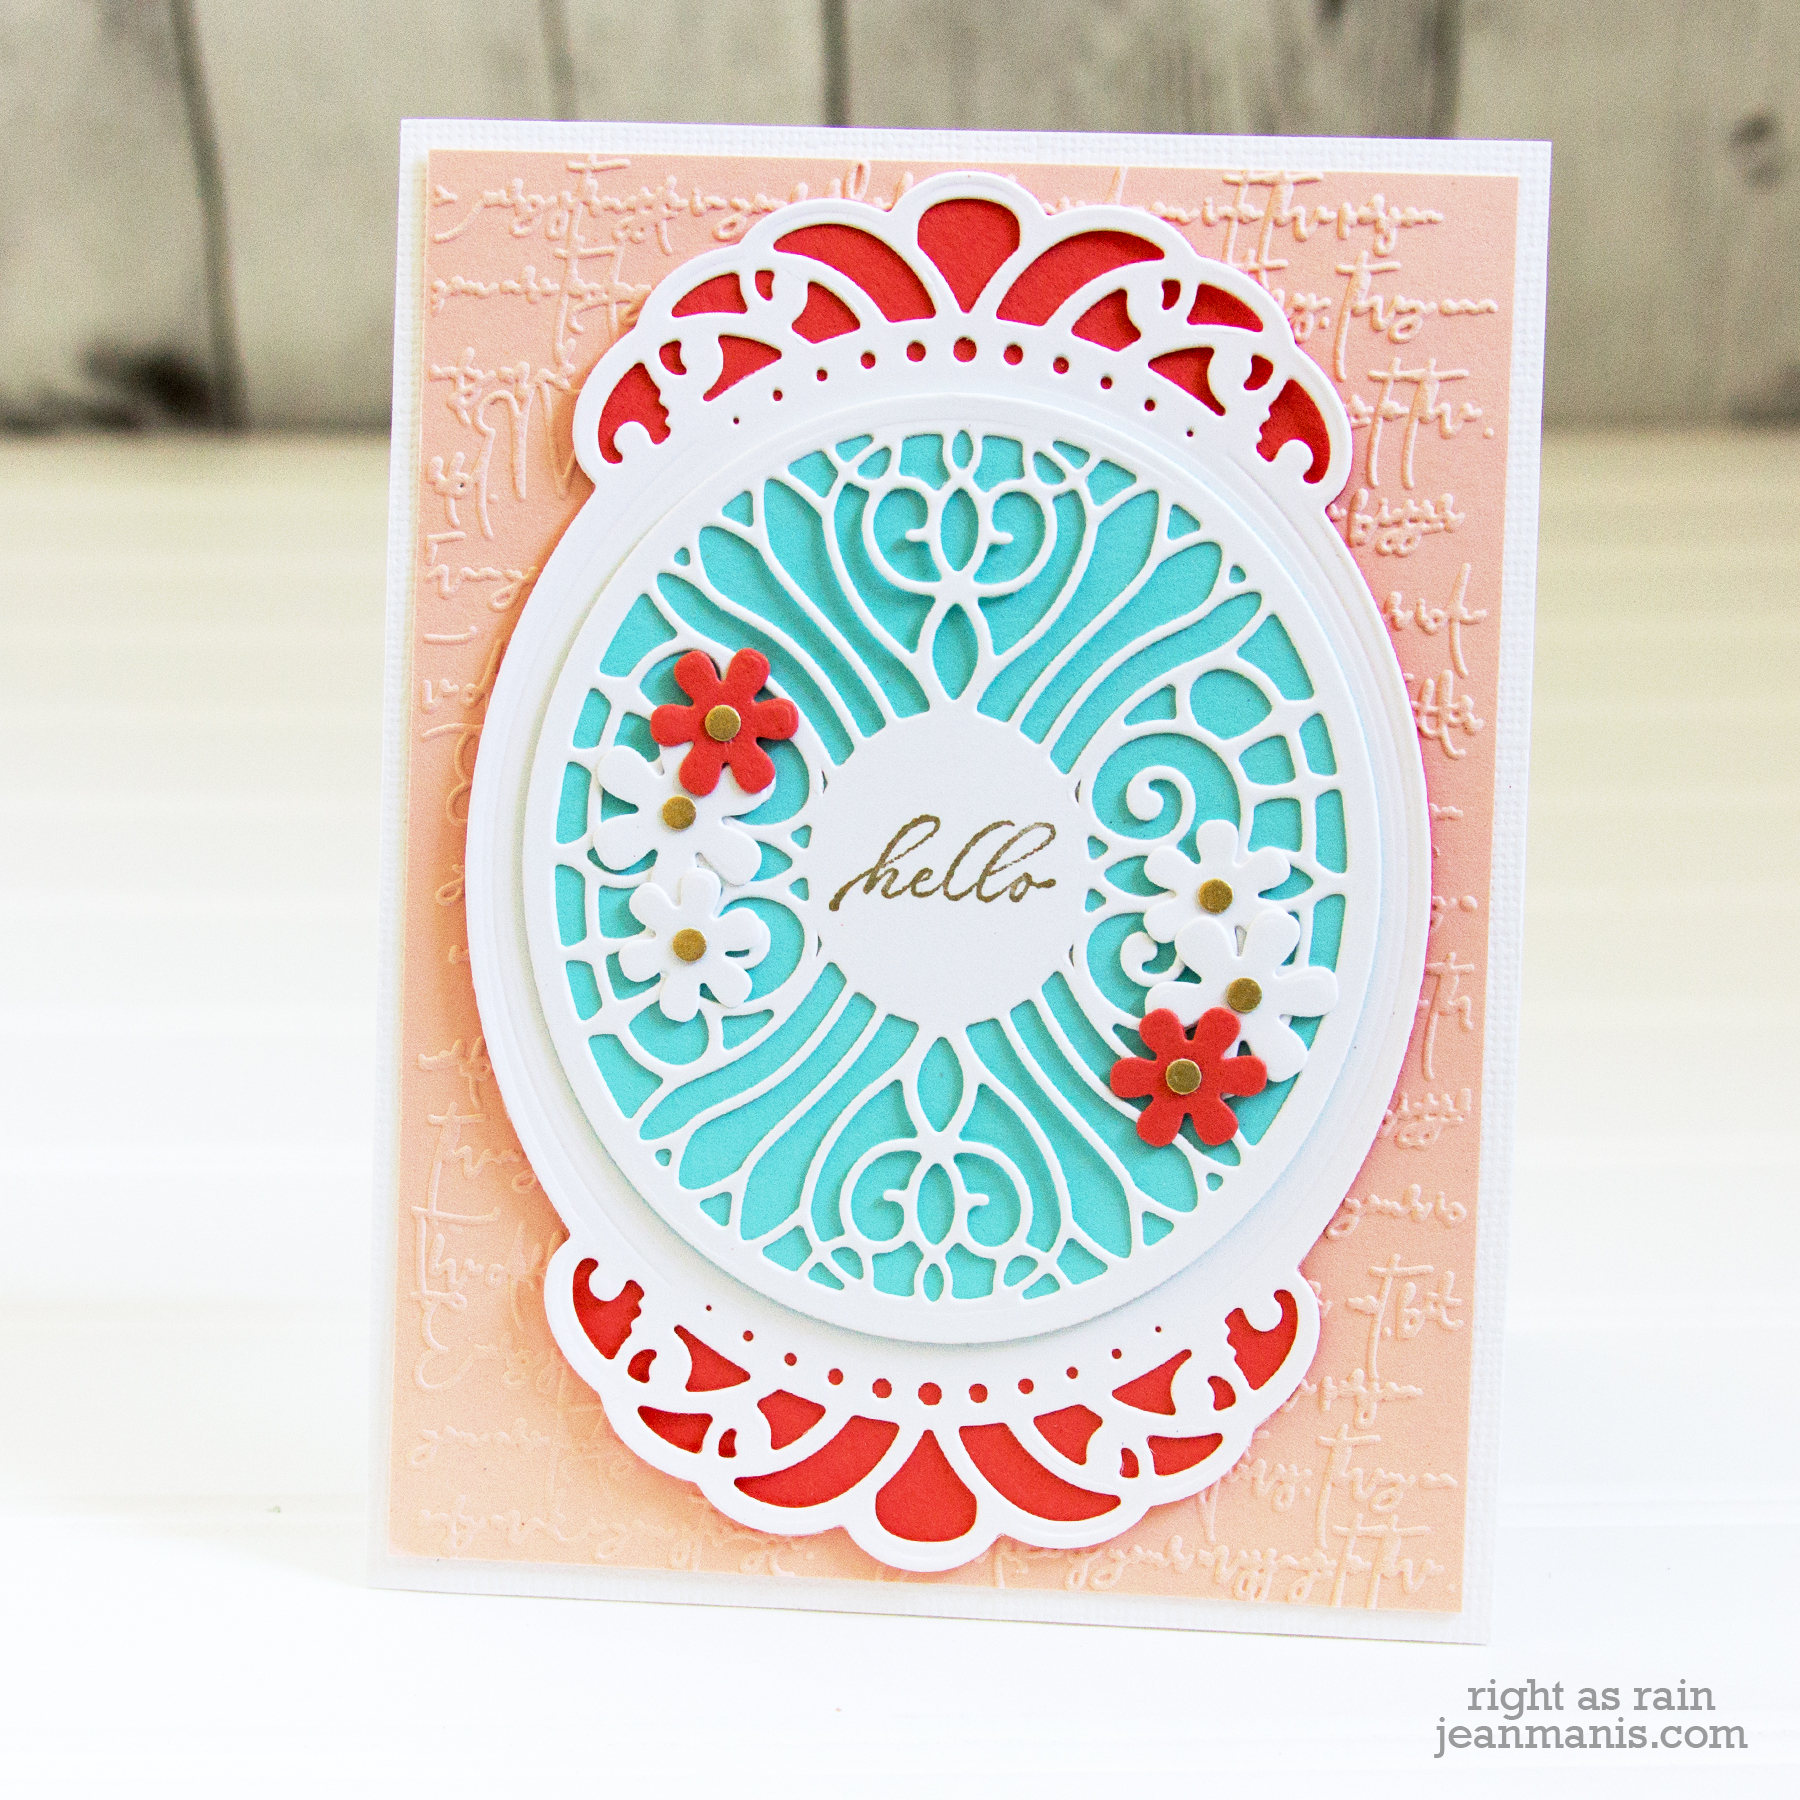
I cut the ornate elements from Whip Cream cardstock. I cut the background of the small oval from Robin’s Egg cardstock and the base background from Calypso Coral cardstock. I stamped the sentiment in gold ink in the center of the top oval. I dry-embossed the Petal Pink background with the Inspire embossing folder. I added flowers created with a die in the Floral Tiara Topper set, to which I adhered centers punched with a hole punch from Brush Gold cardstock.
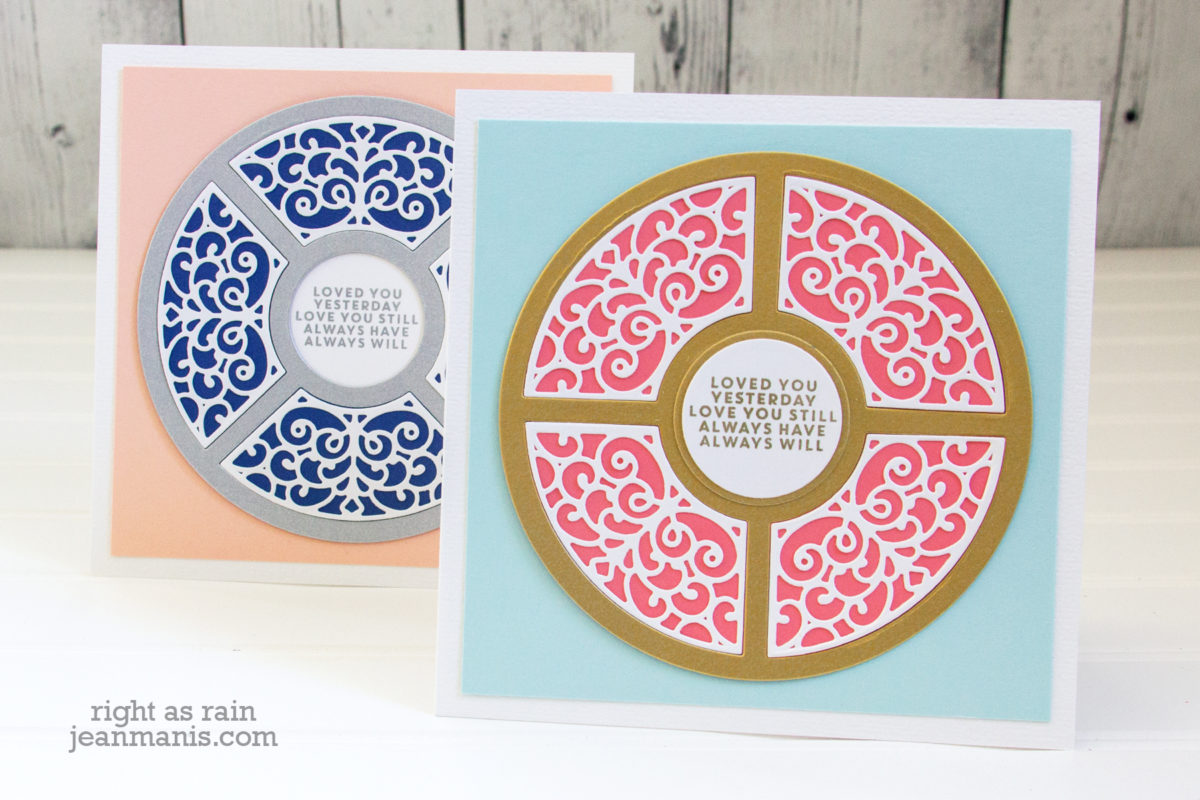
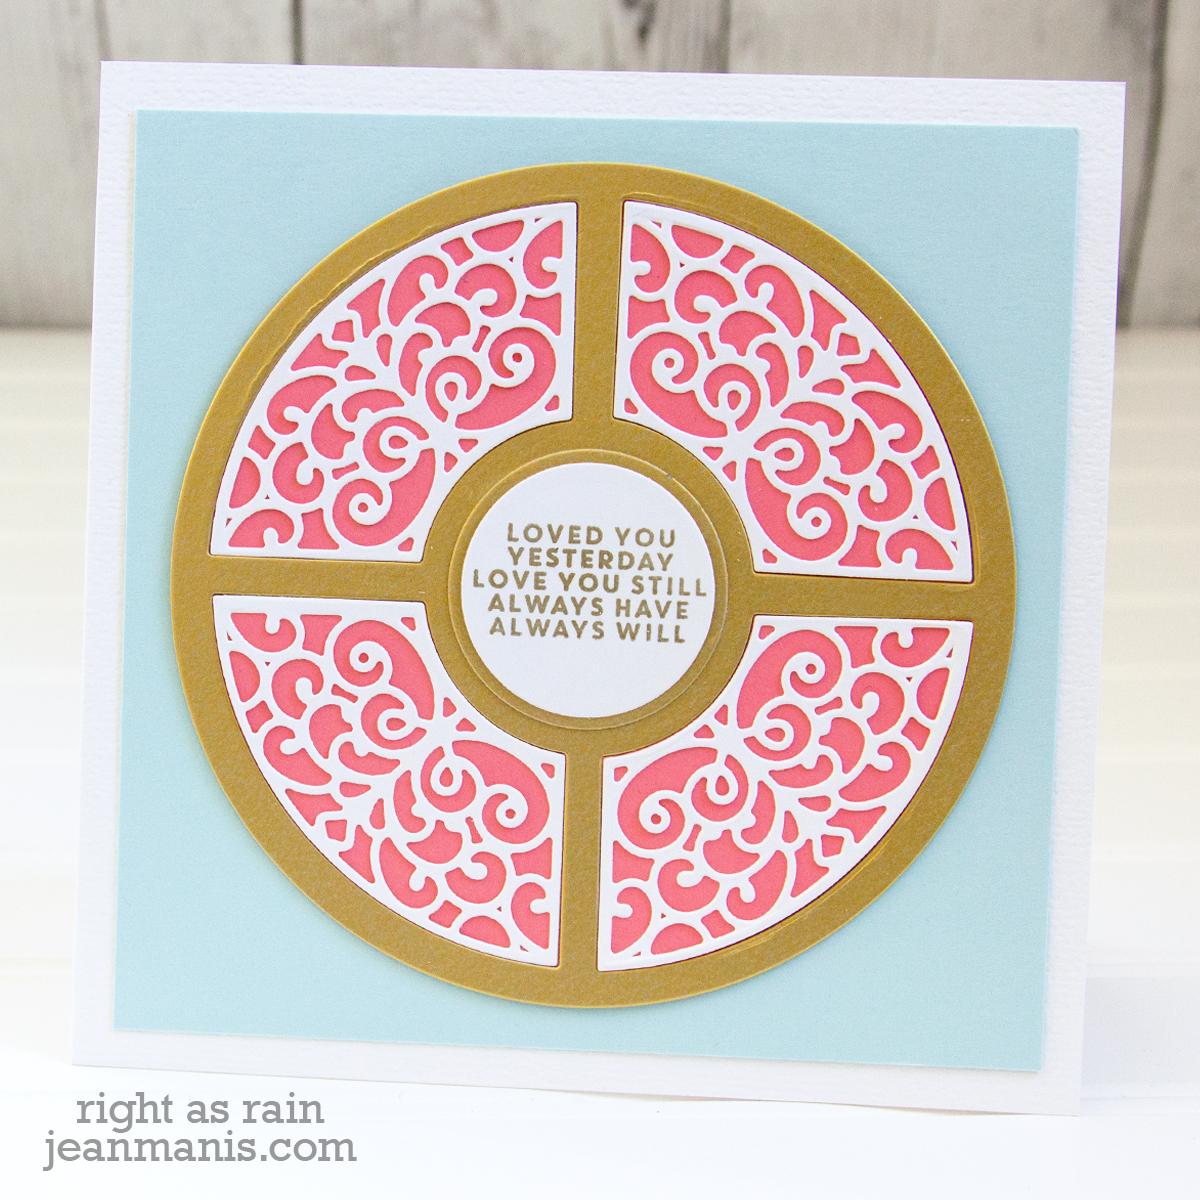
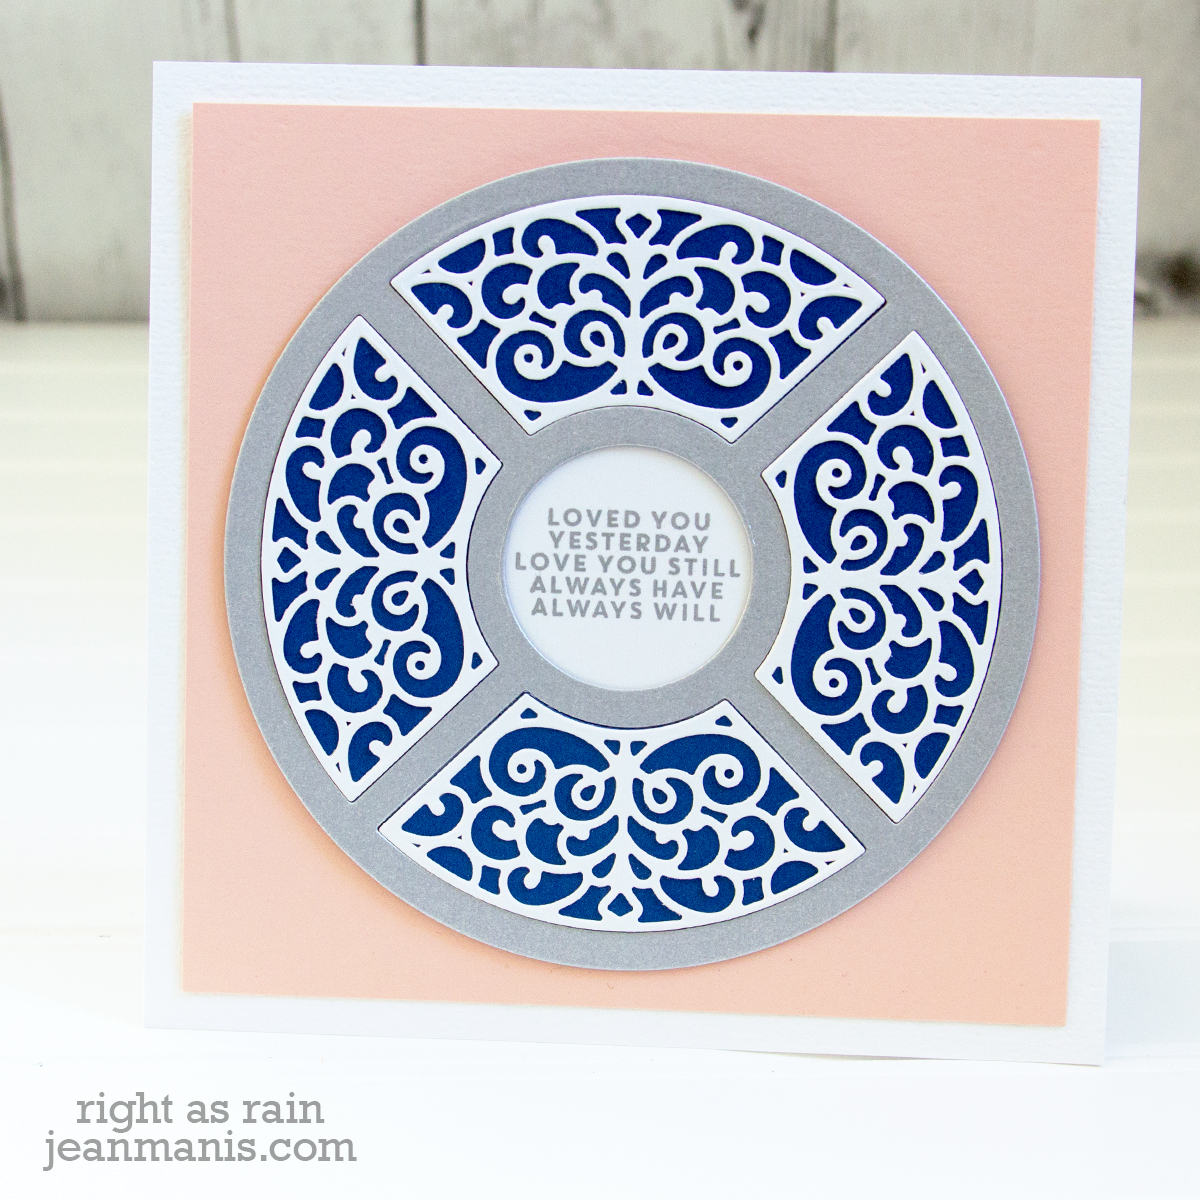
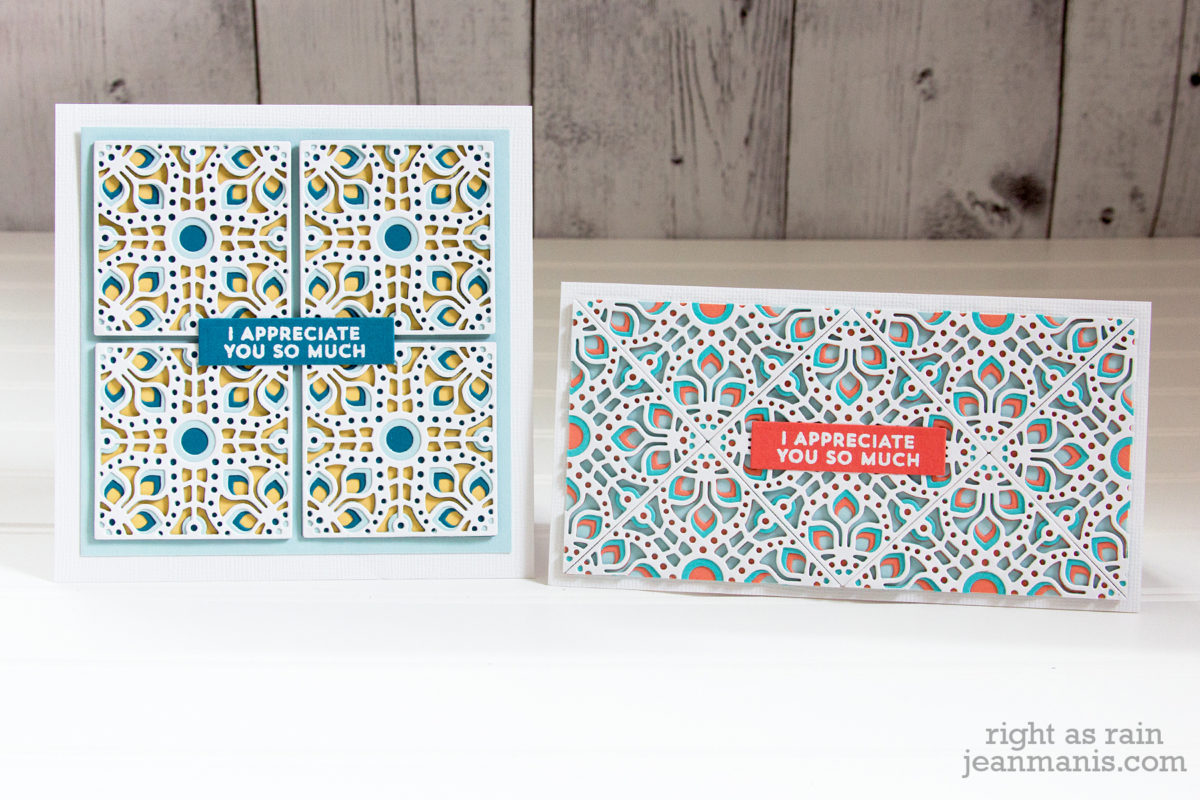
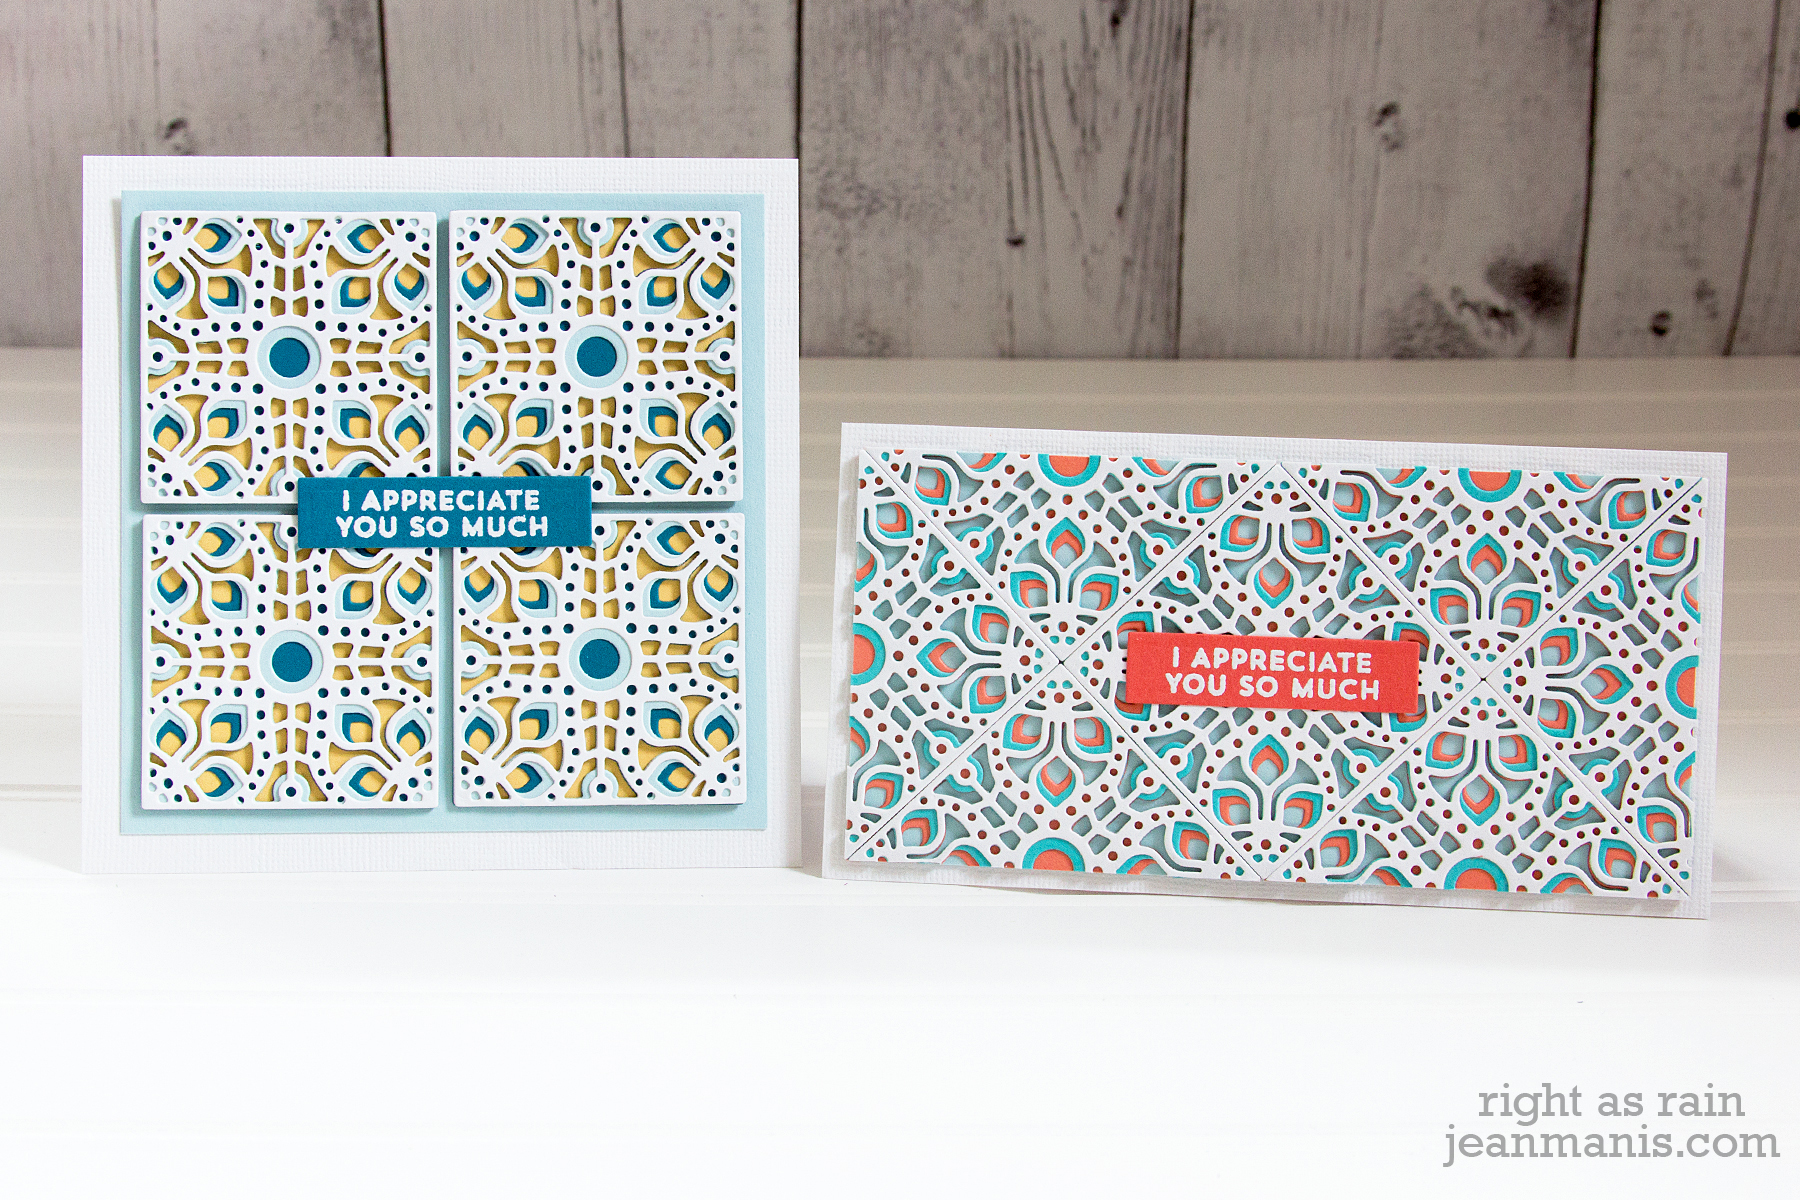
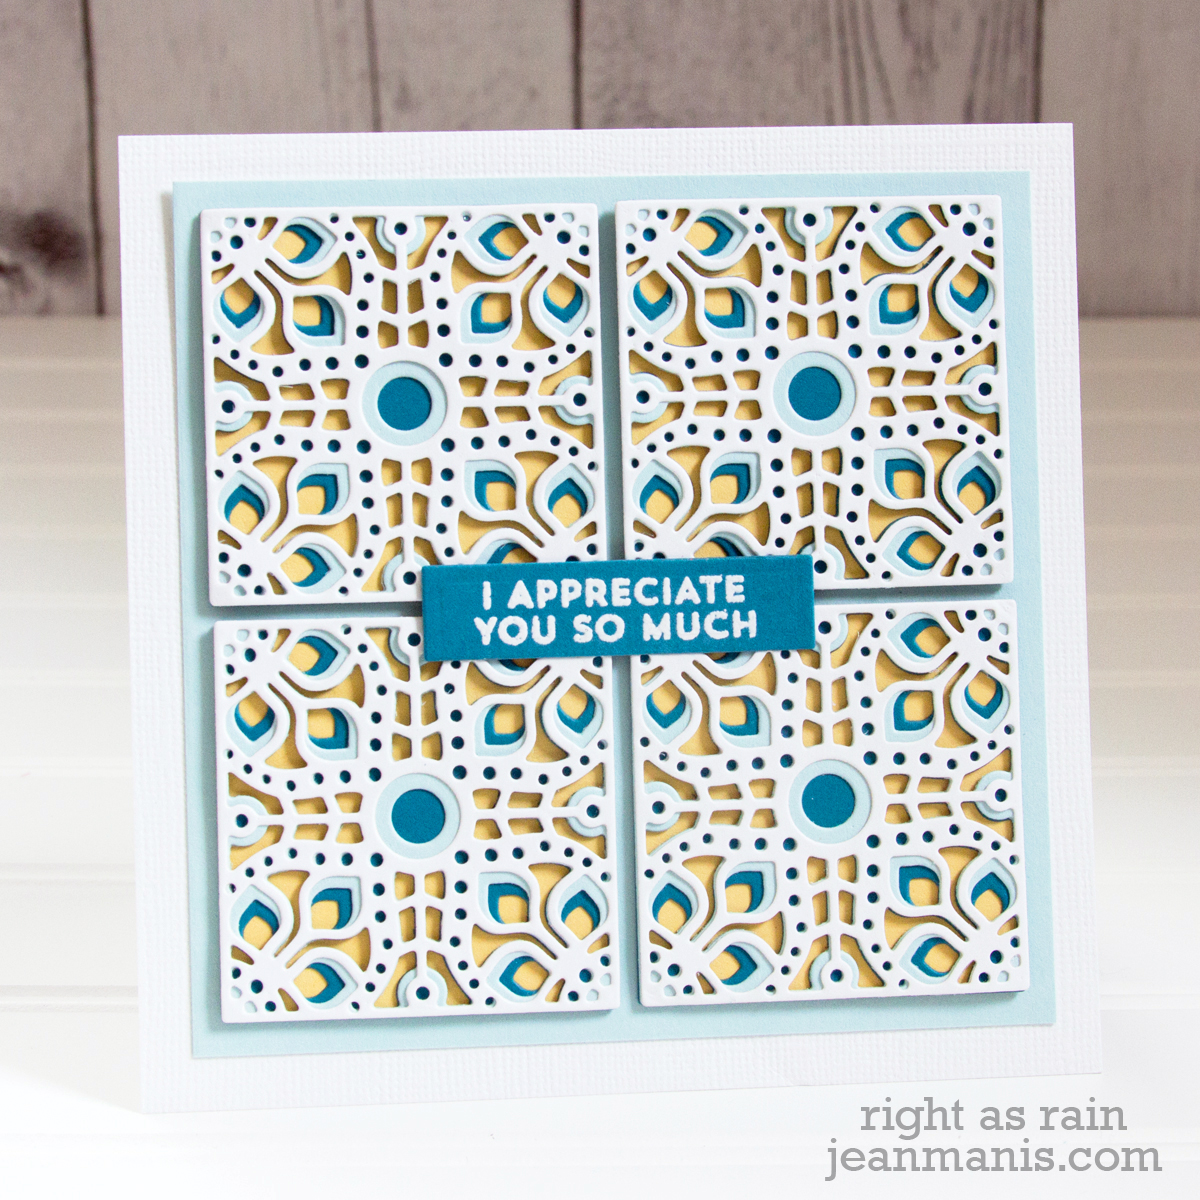
On my second card I used the Richelieu Square set.
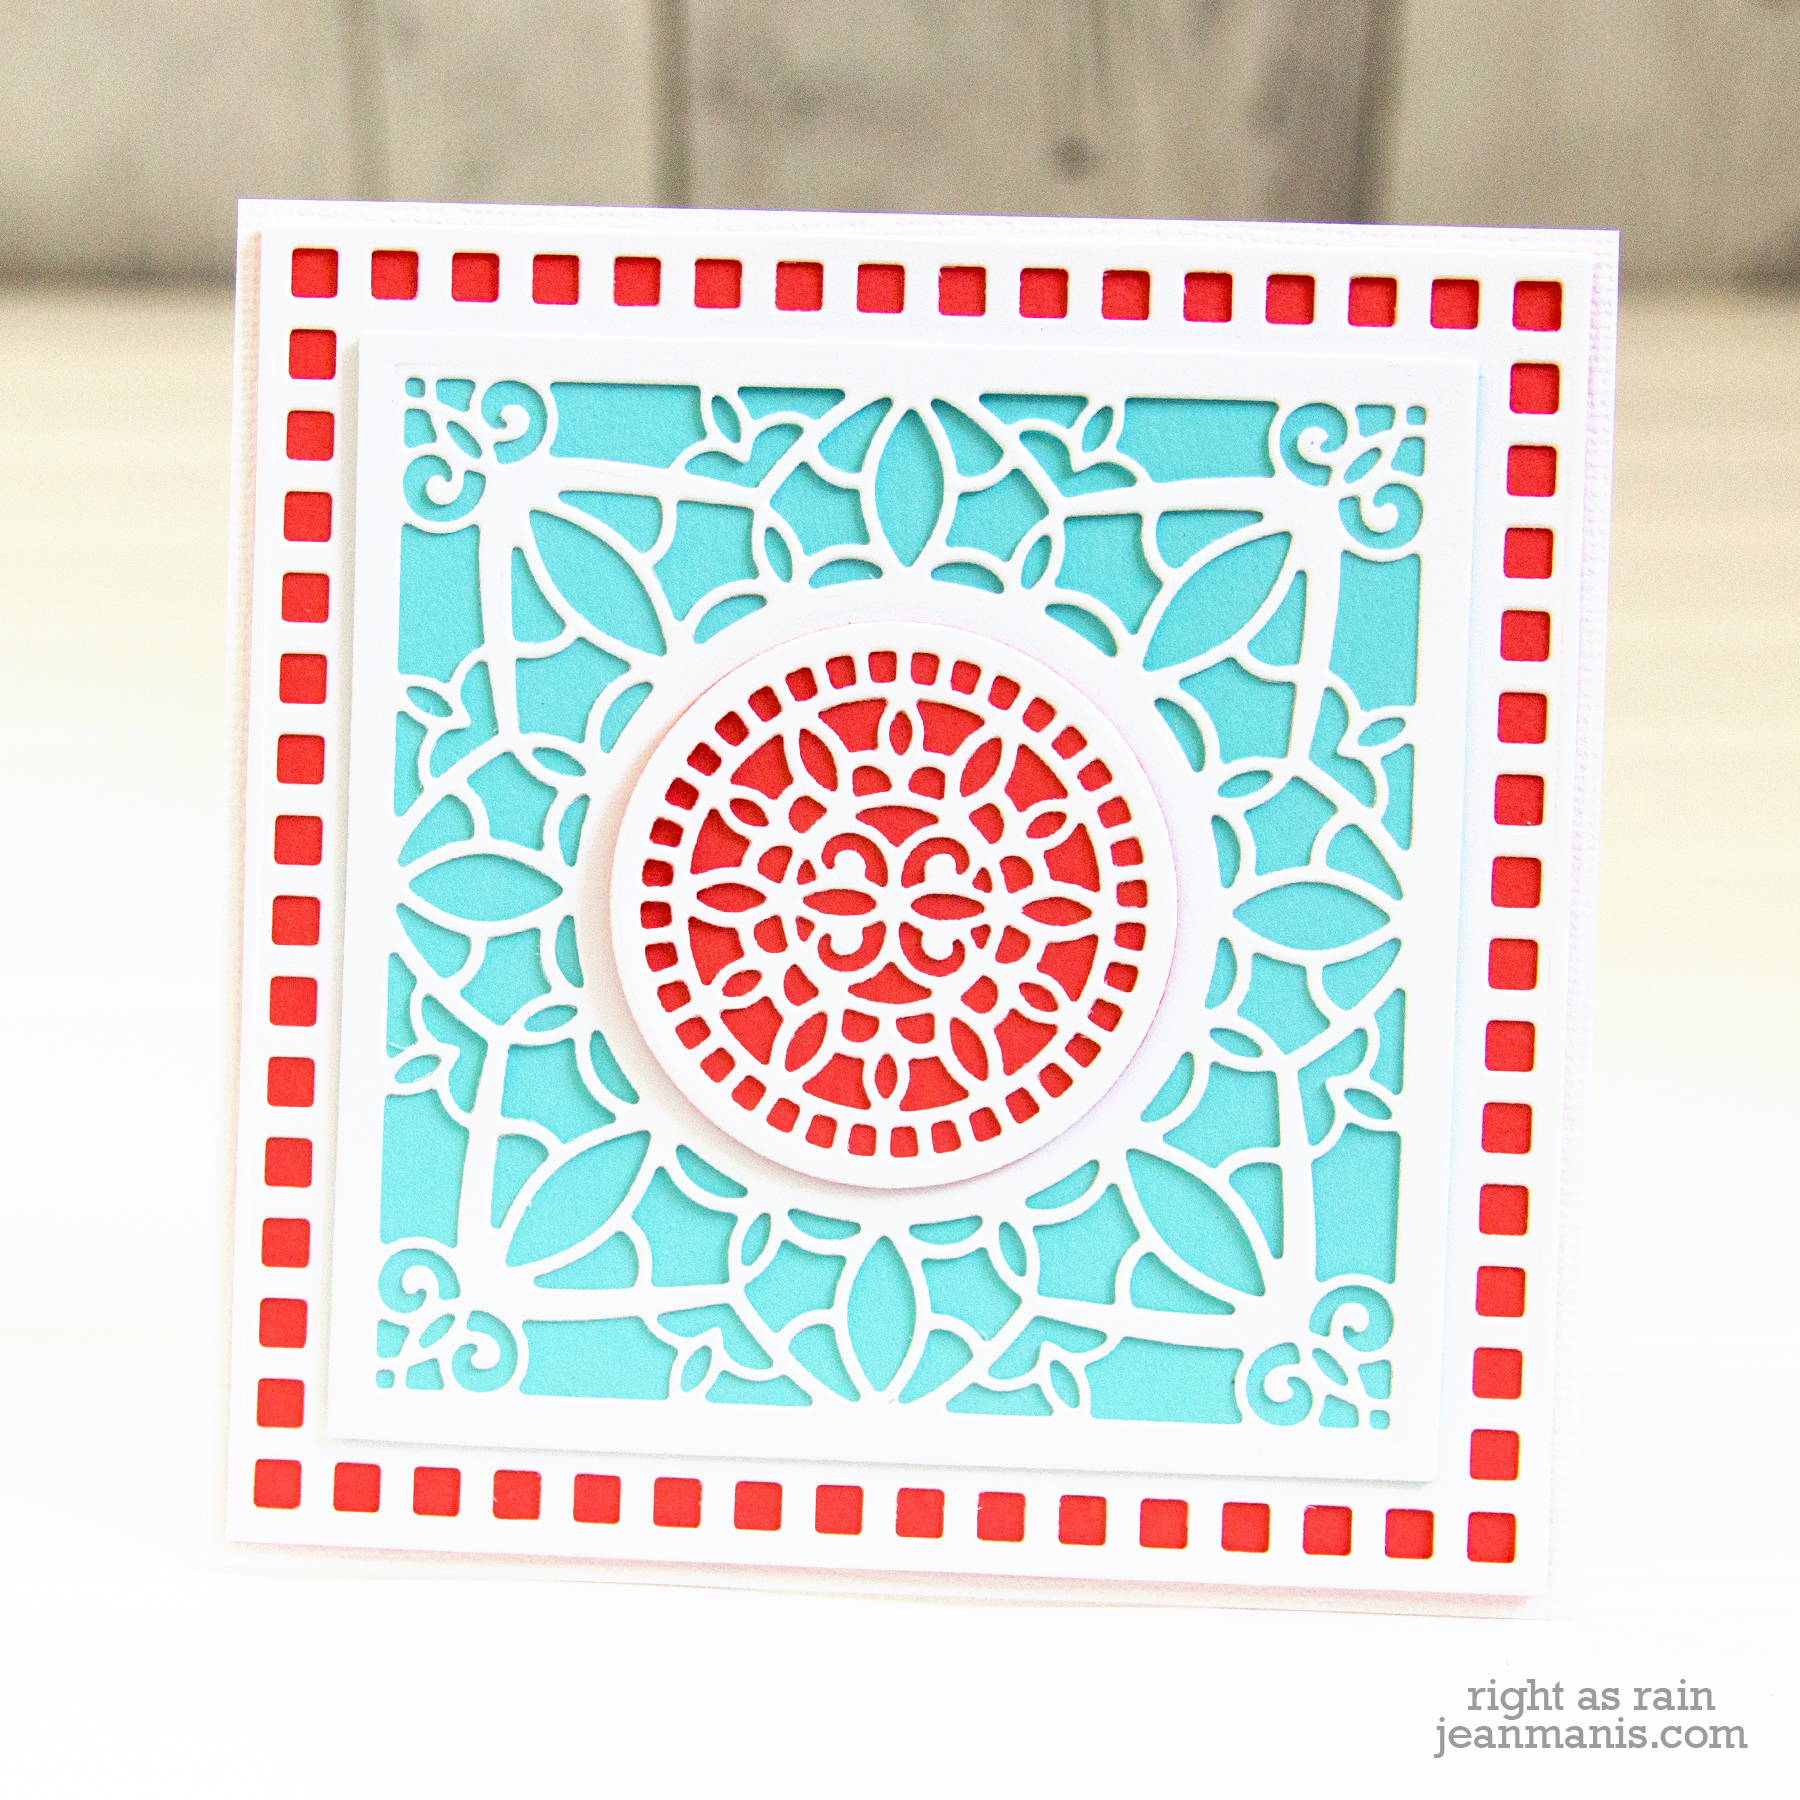
The Richelieu Square die set includes six dies: an ornate circle, a circle die of the same size without detail, an ornate square, a square die of the same size without detail, and a 4.4″ square border die, and a square die of the same size. I cut the ornate pieces from Whip Cream cardstock. The background of the circle and large square were cut from Calypso Coral and the smaller rectangle from Robin’s Egg cardstock. I left off a front sentiment to allow the ornate elements speak for themselves.
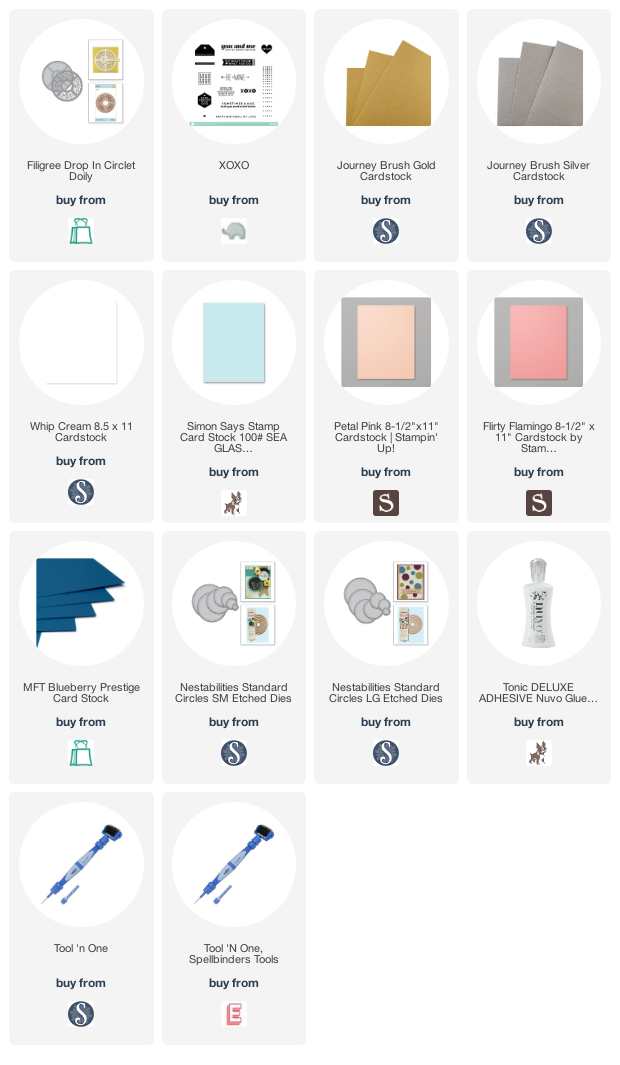
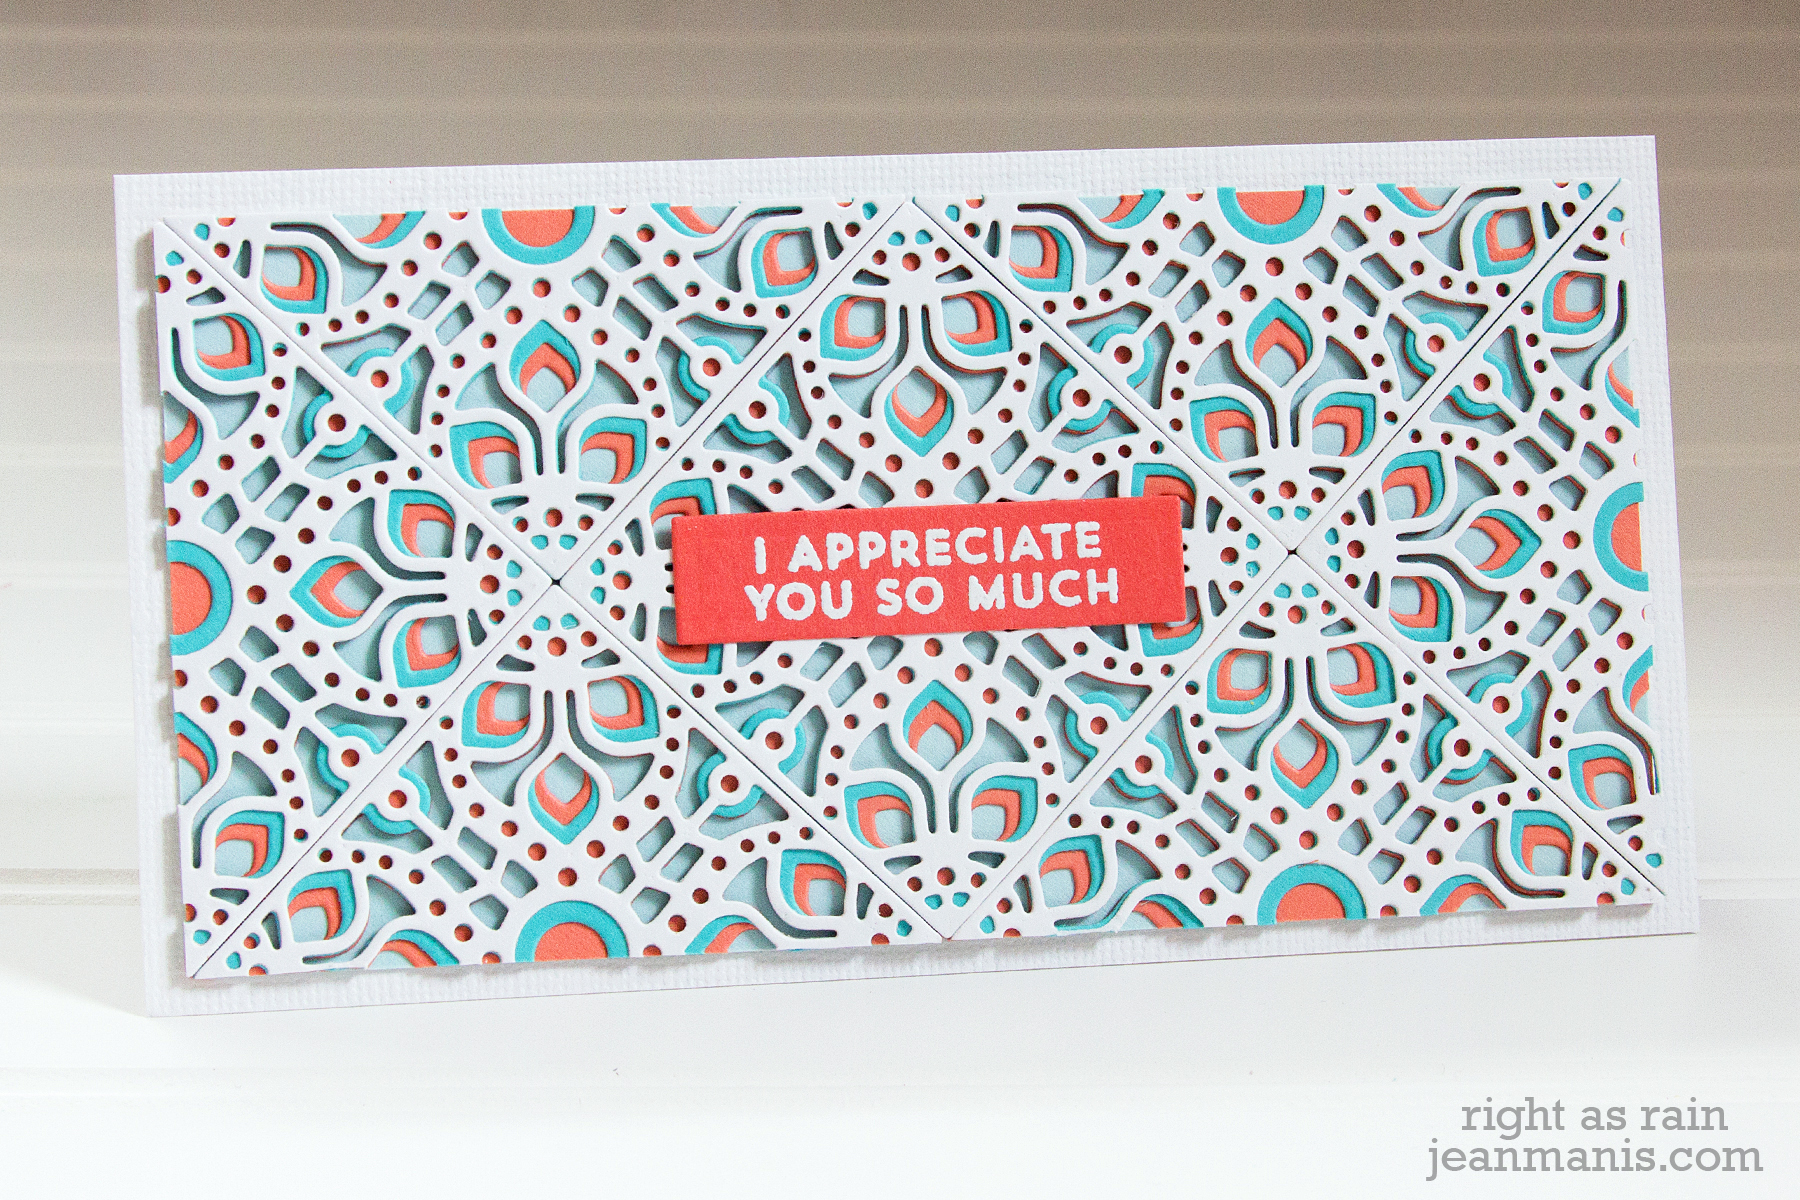
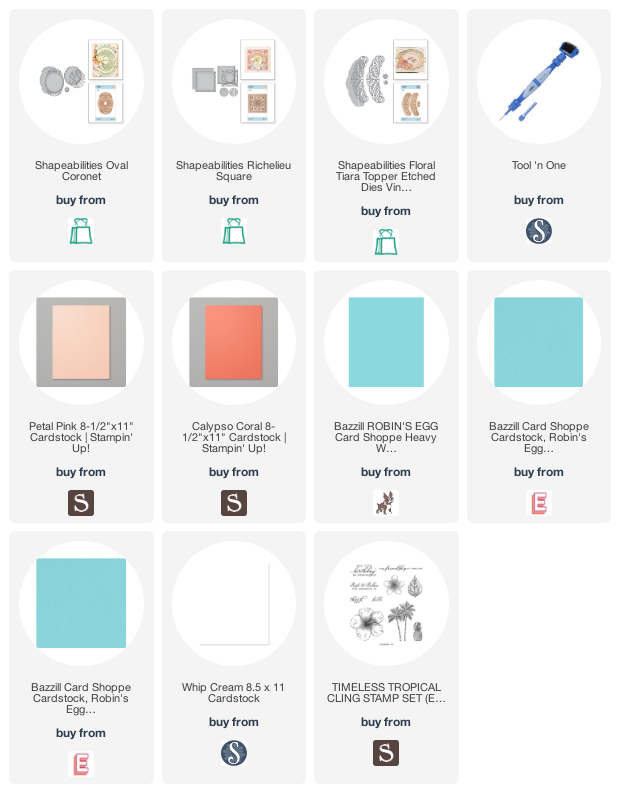
Supplies:


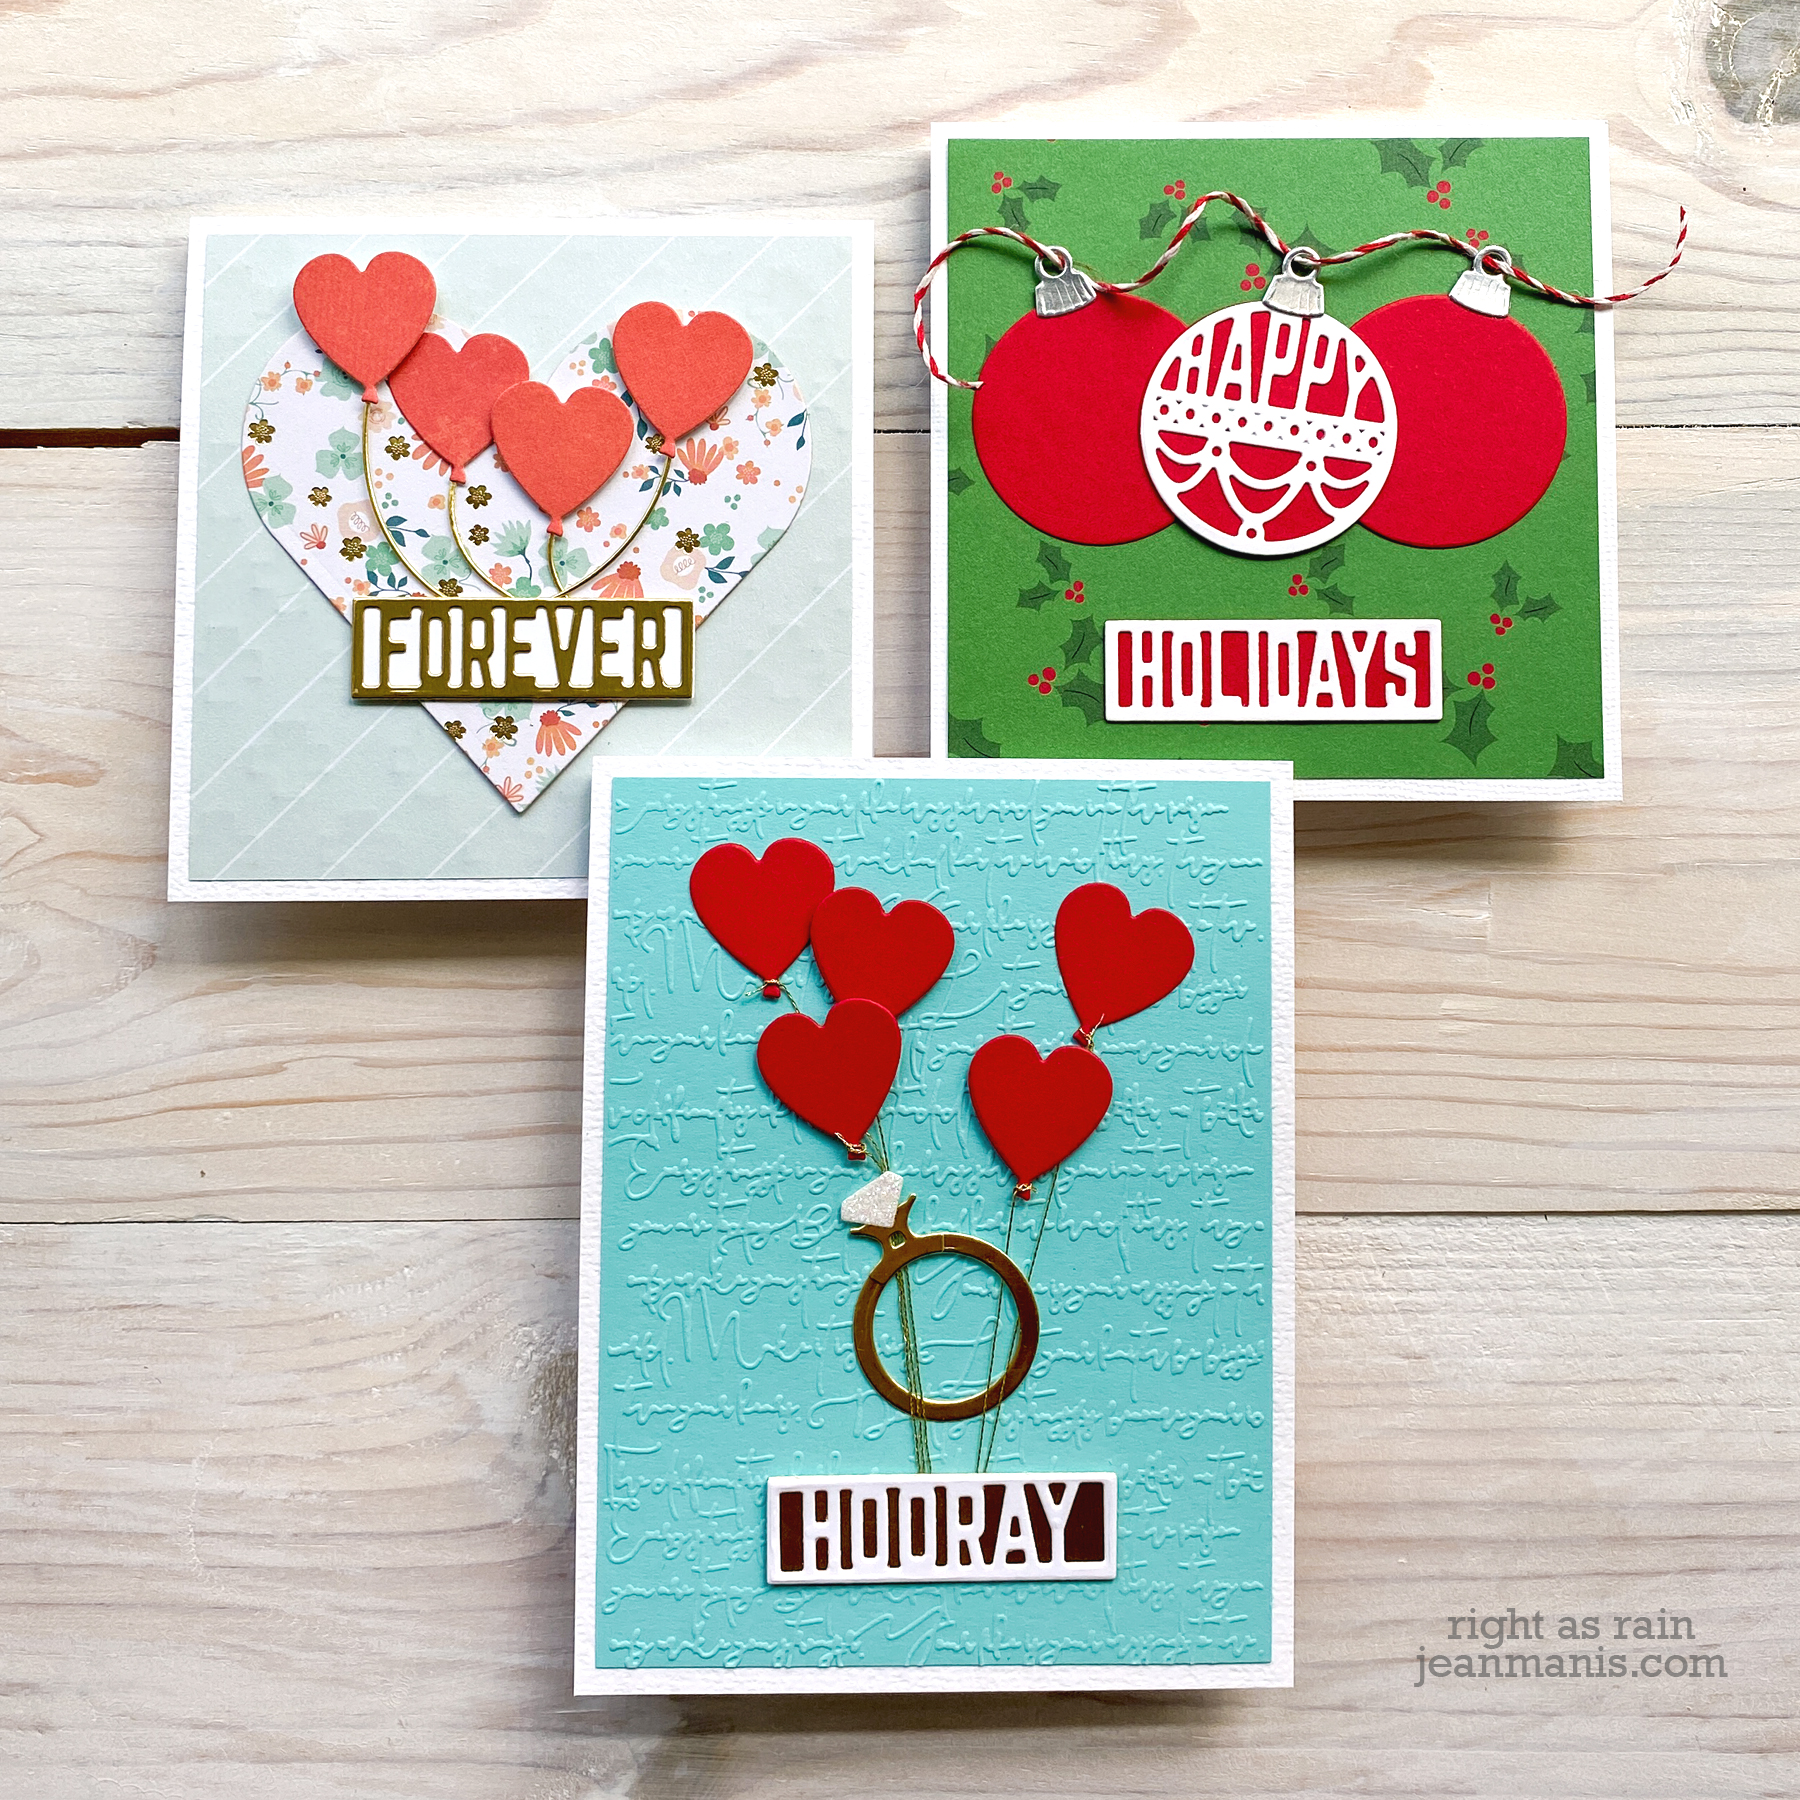
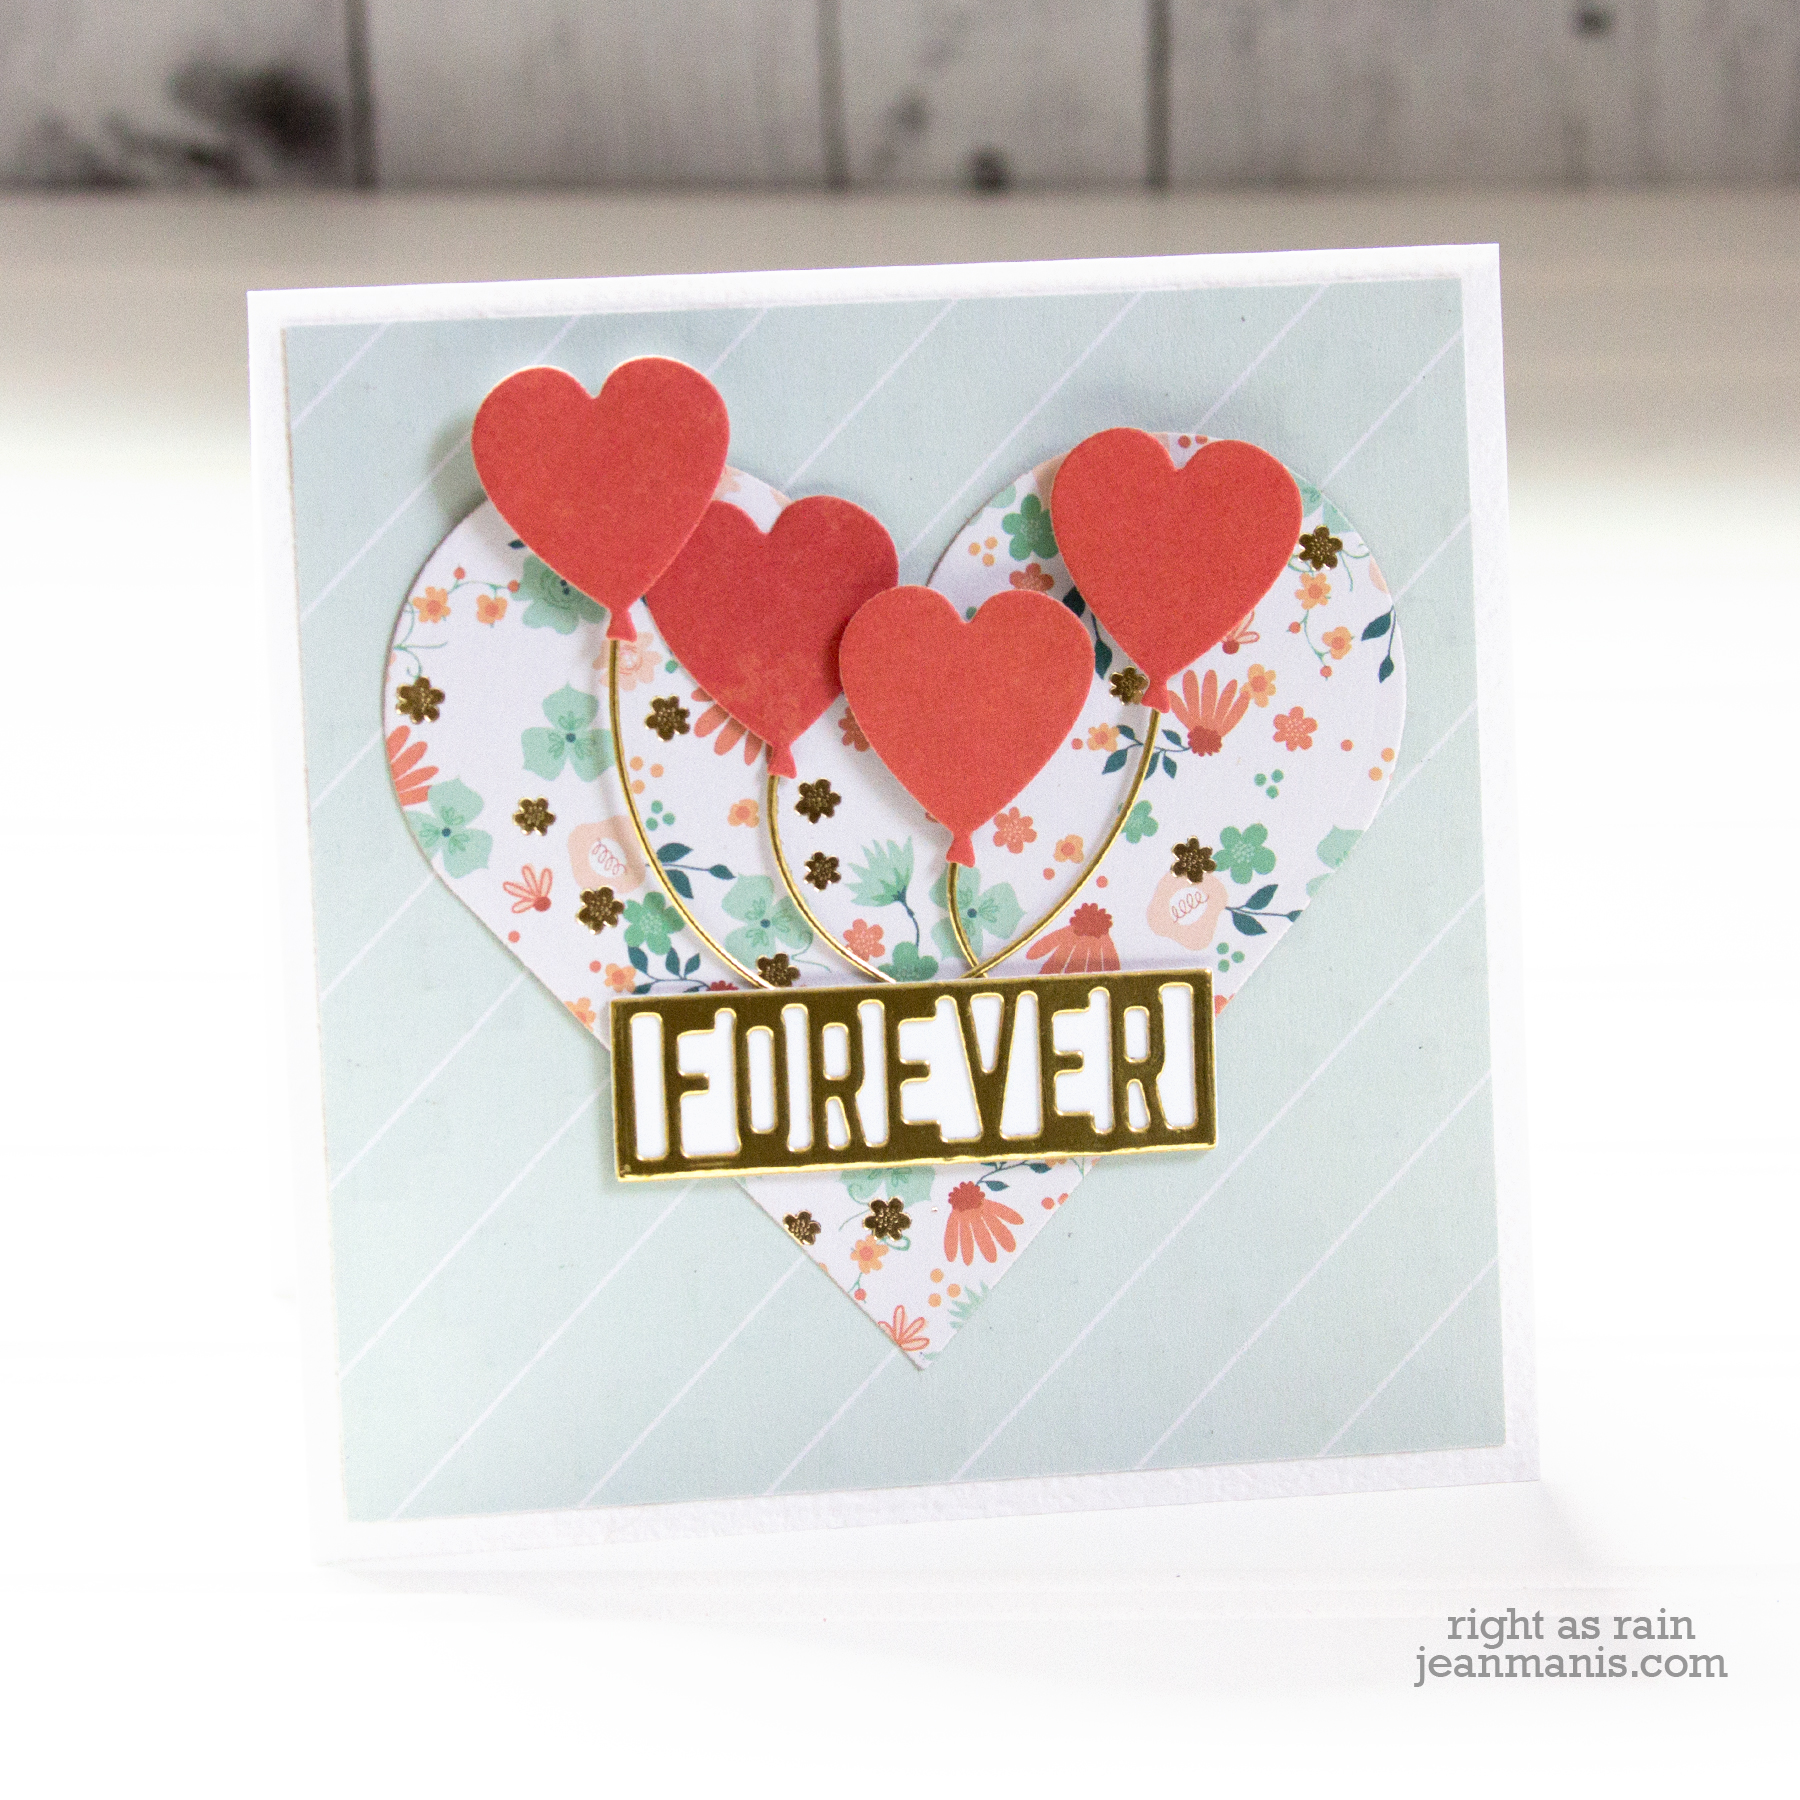
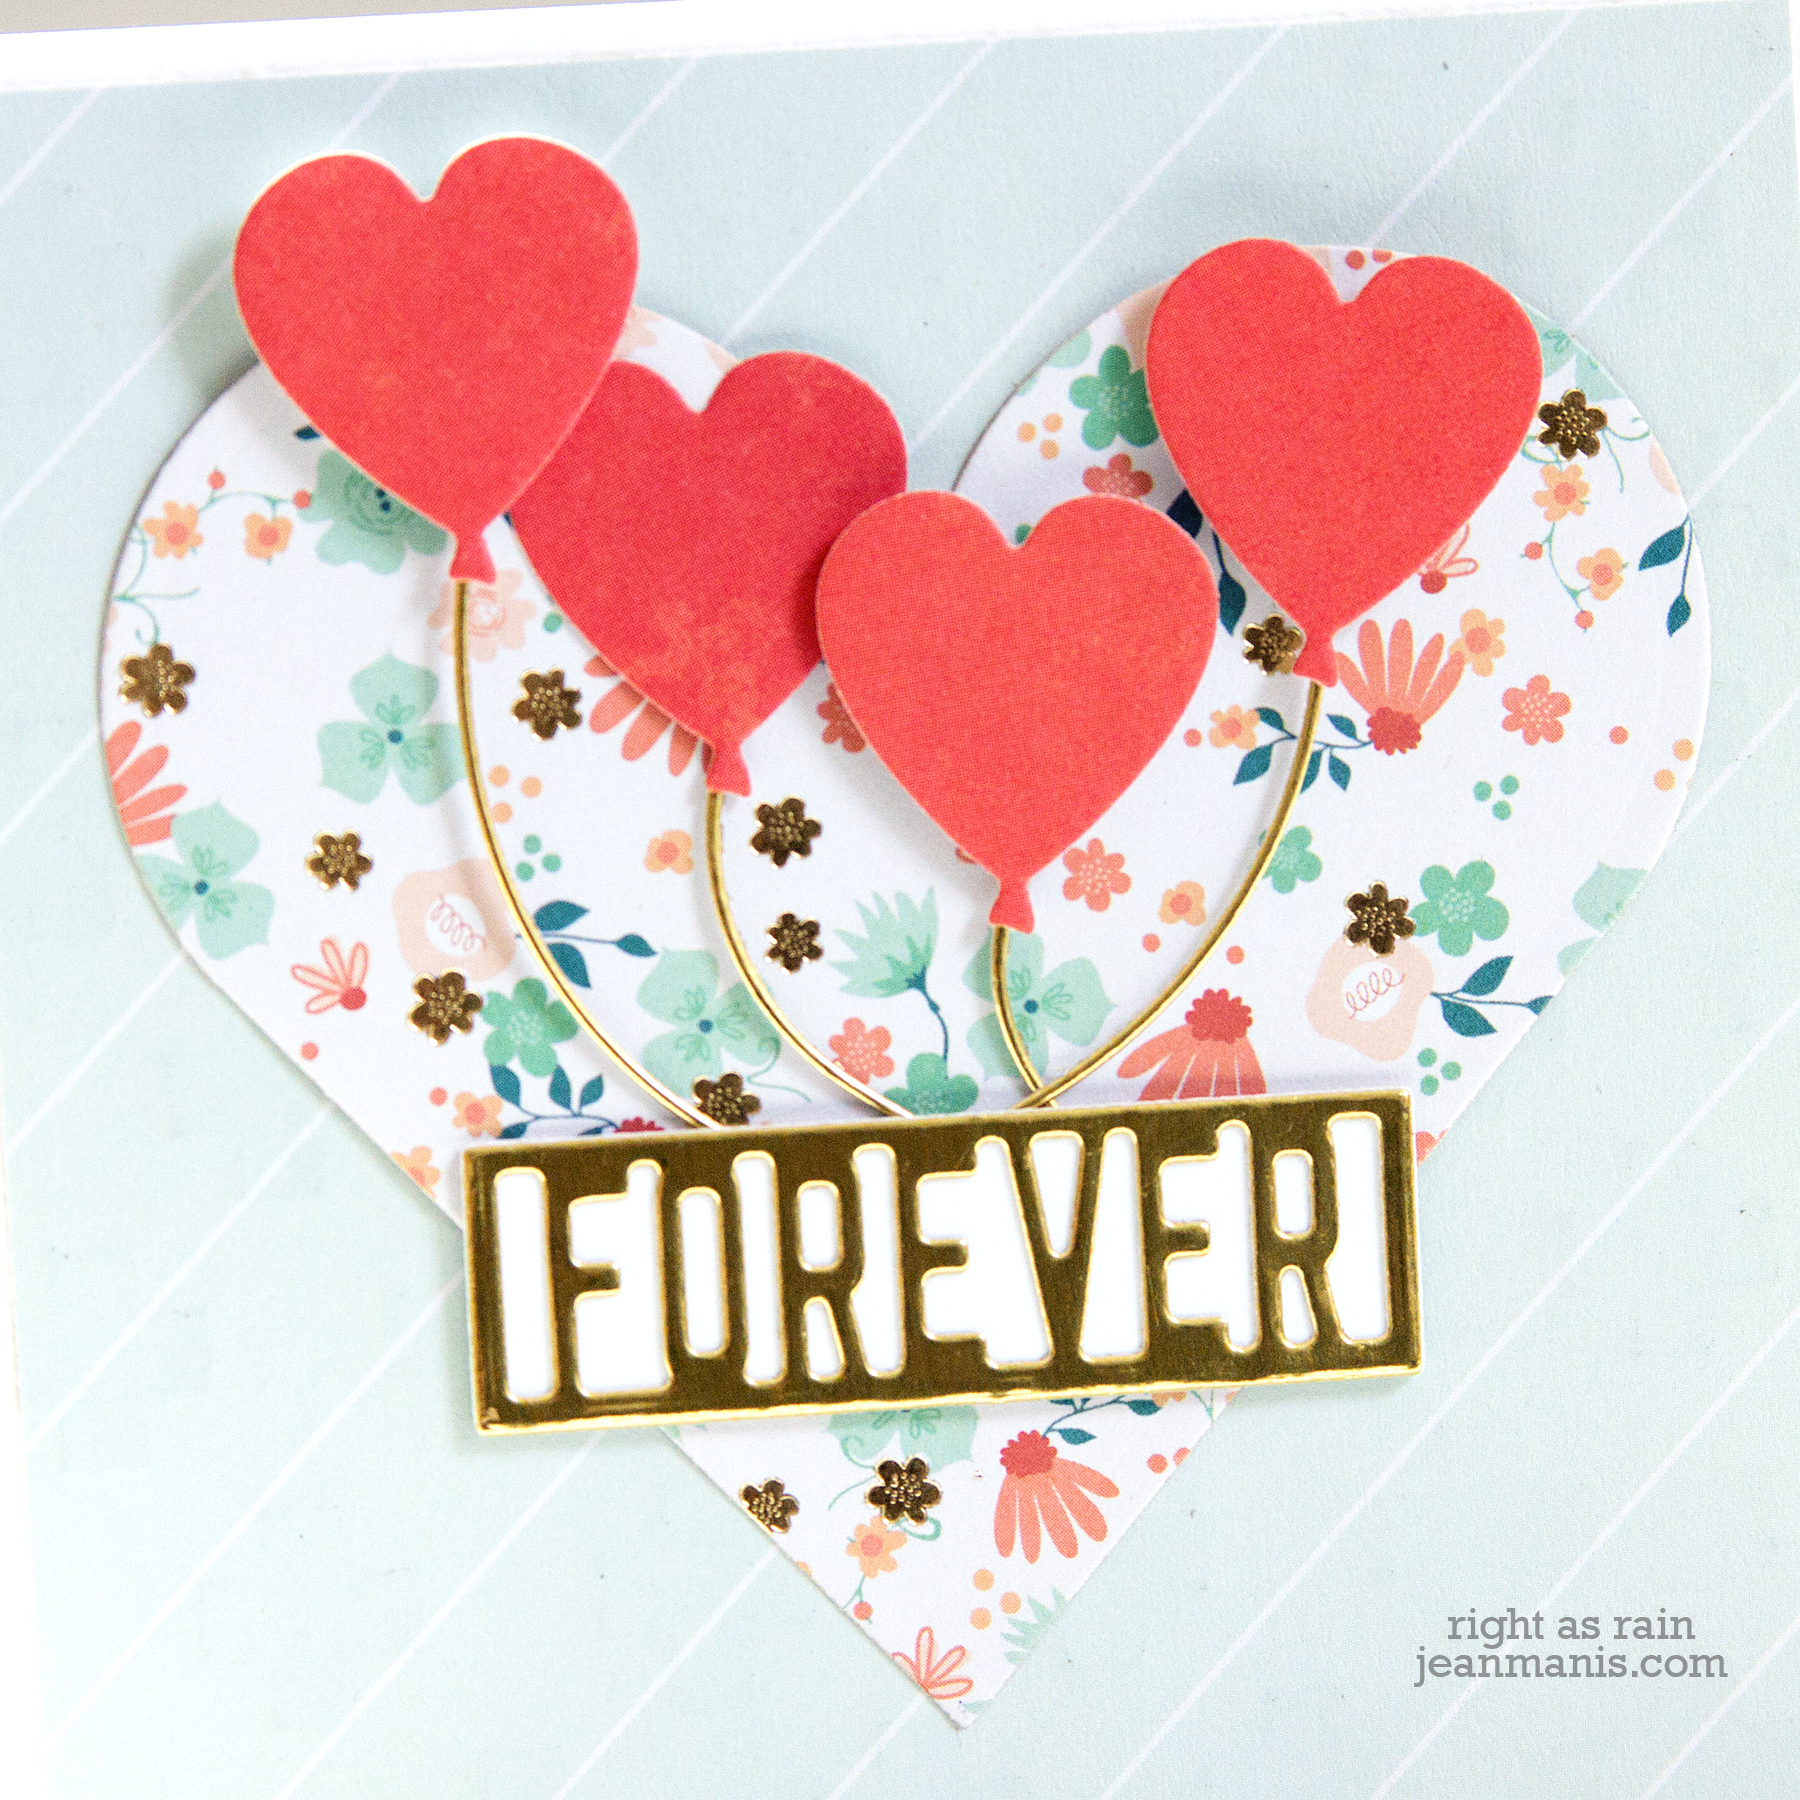
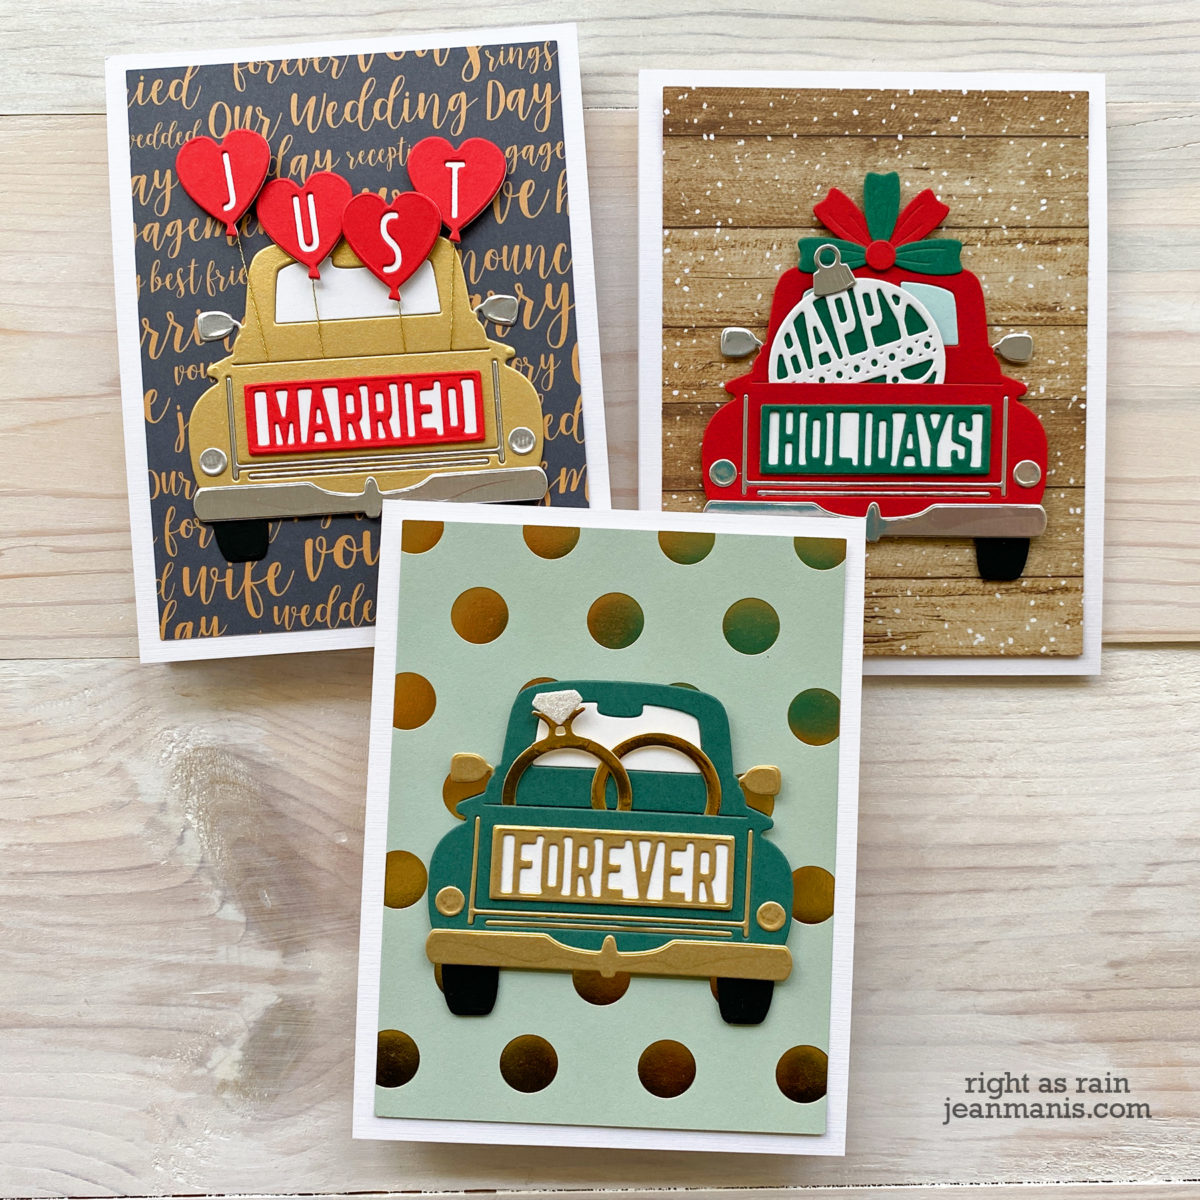
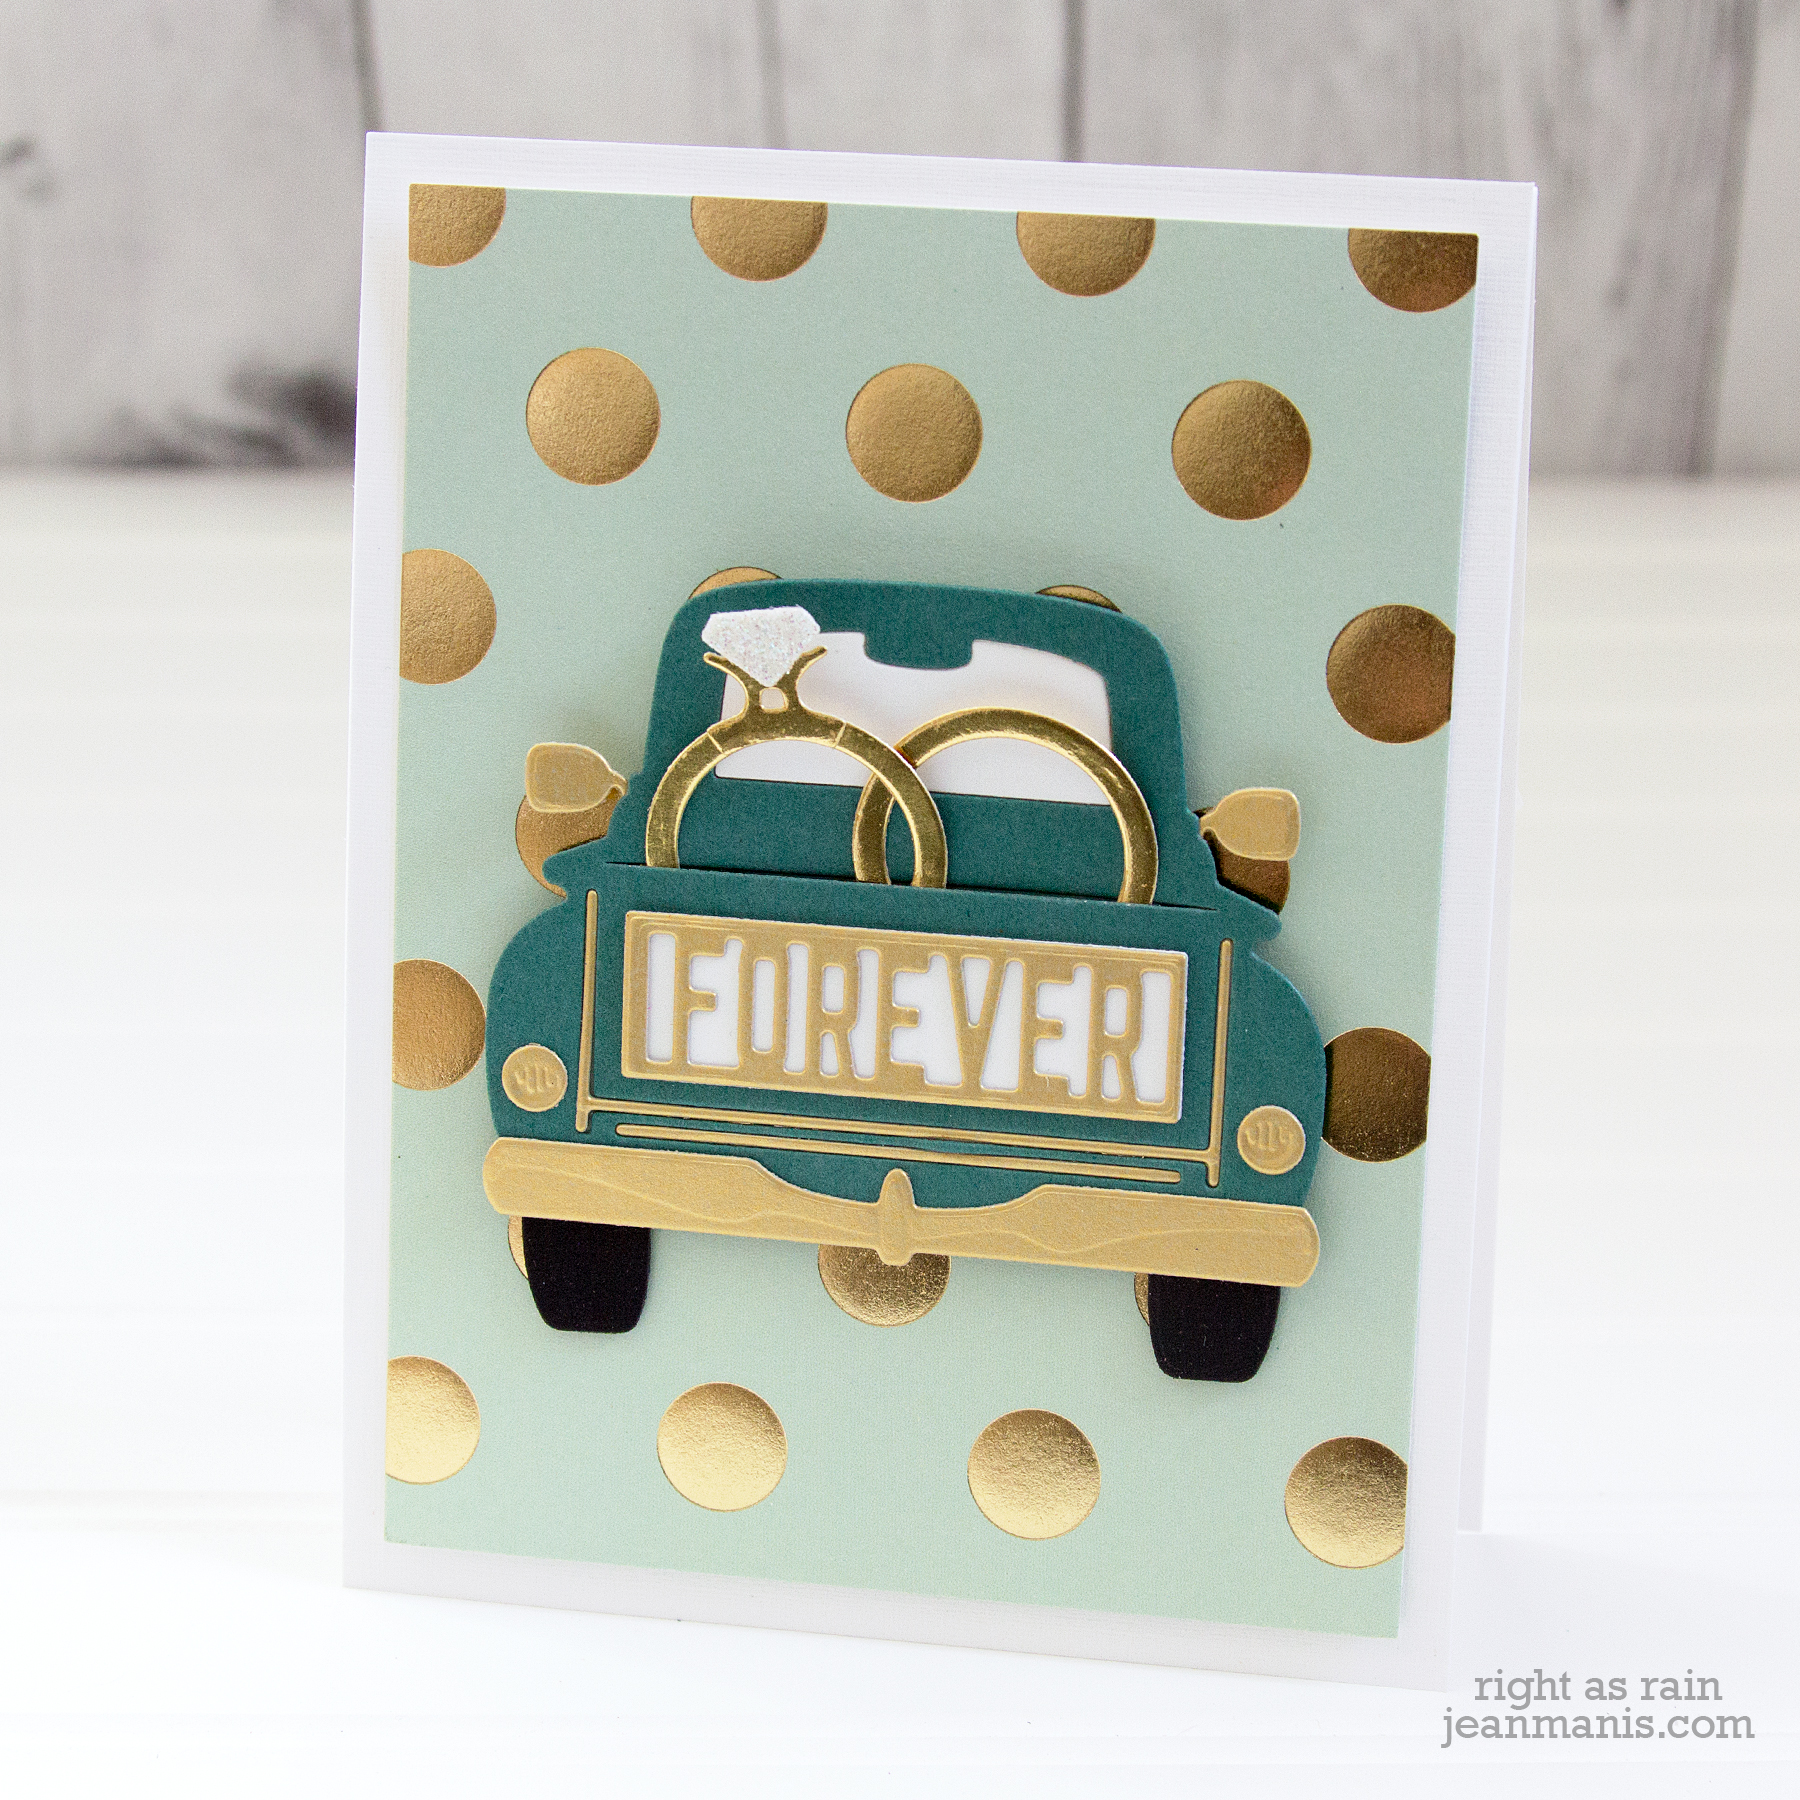
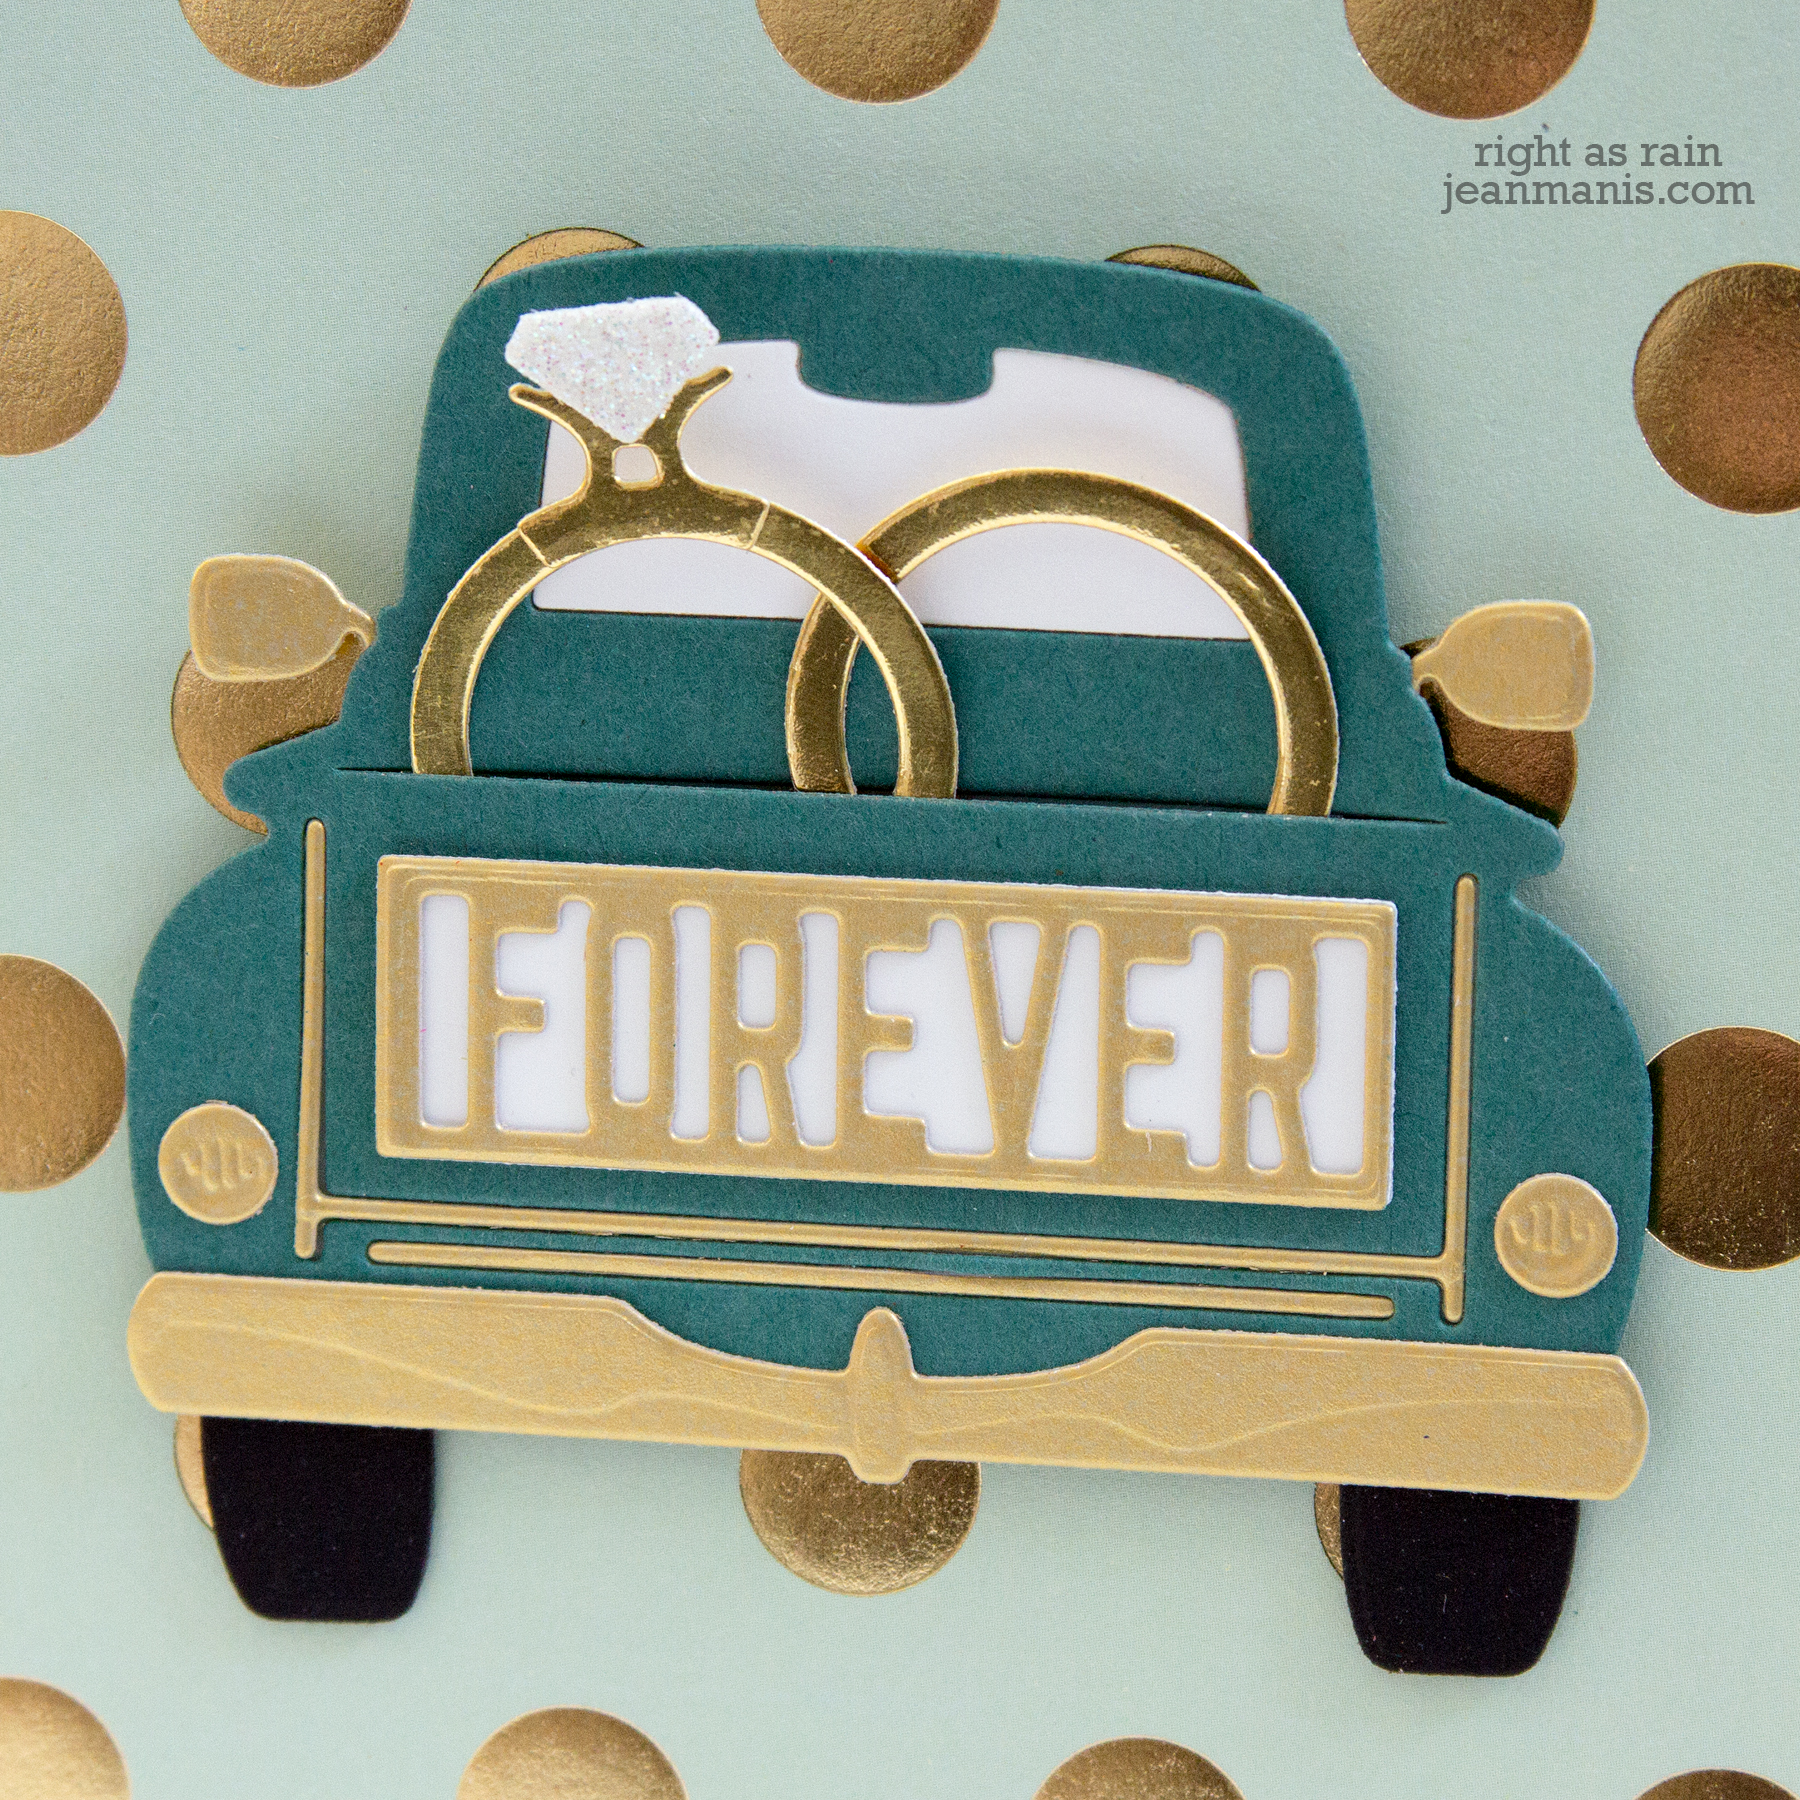
 For the anniversary card, I created the sentiment using the “Forever” license plate. I added heart balloons and a heart cut from patterned paper for the background.