24 Carrot – March 2020 Spellbinders Small Die of the Month

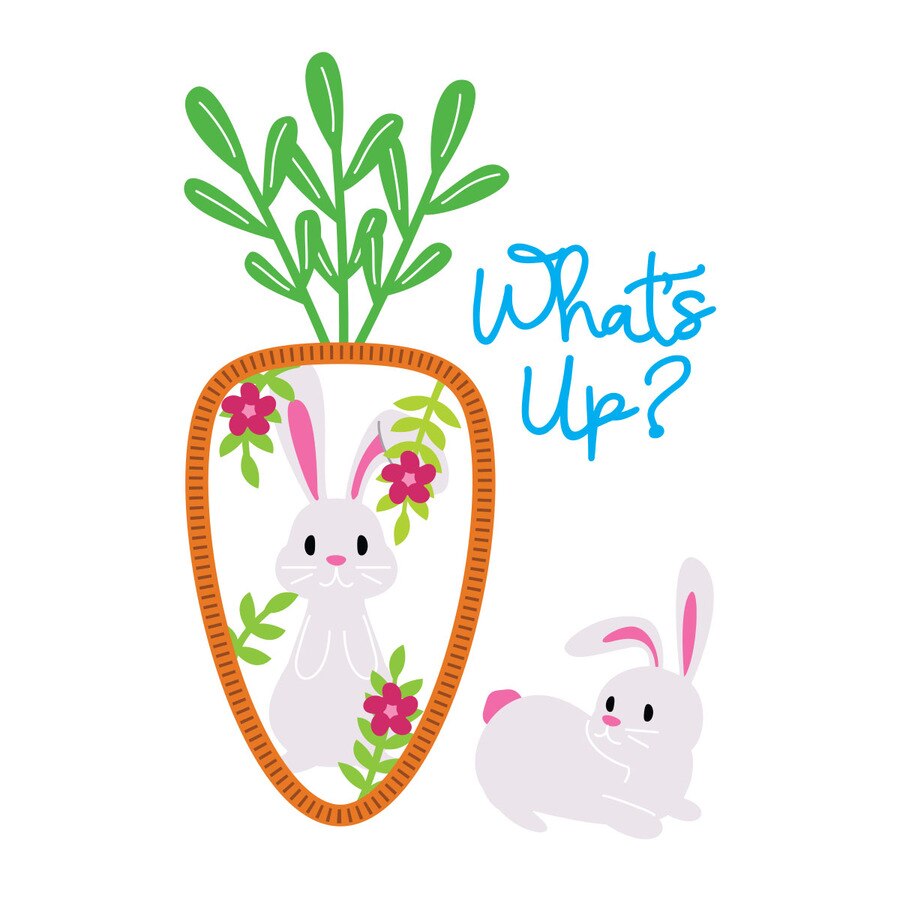
Hello and Happy March! 2020 is flying by. Today I am sharing two cards created with the March Small Die of the Month kit from Spellbinders – “24 Carrot.” The set includes nine dies with which you can create spring- and Easter-themed cards. Let’s take a look!

24 Carrot – March 2020 Spellbinders Small Die of the Month

24 Carrot – March 2020 Spellbinders Small Die of the Month

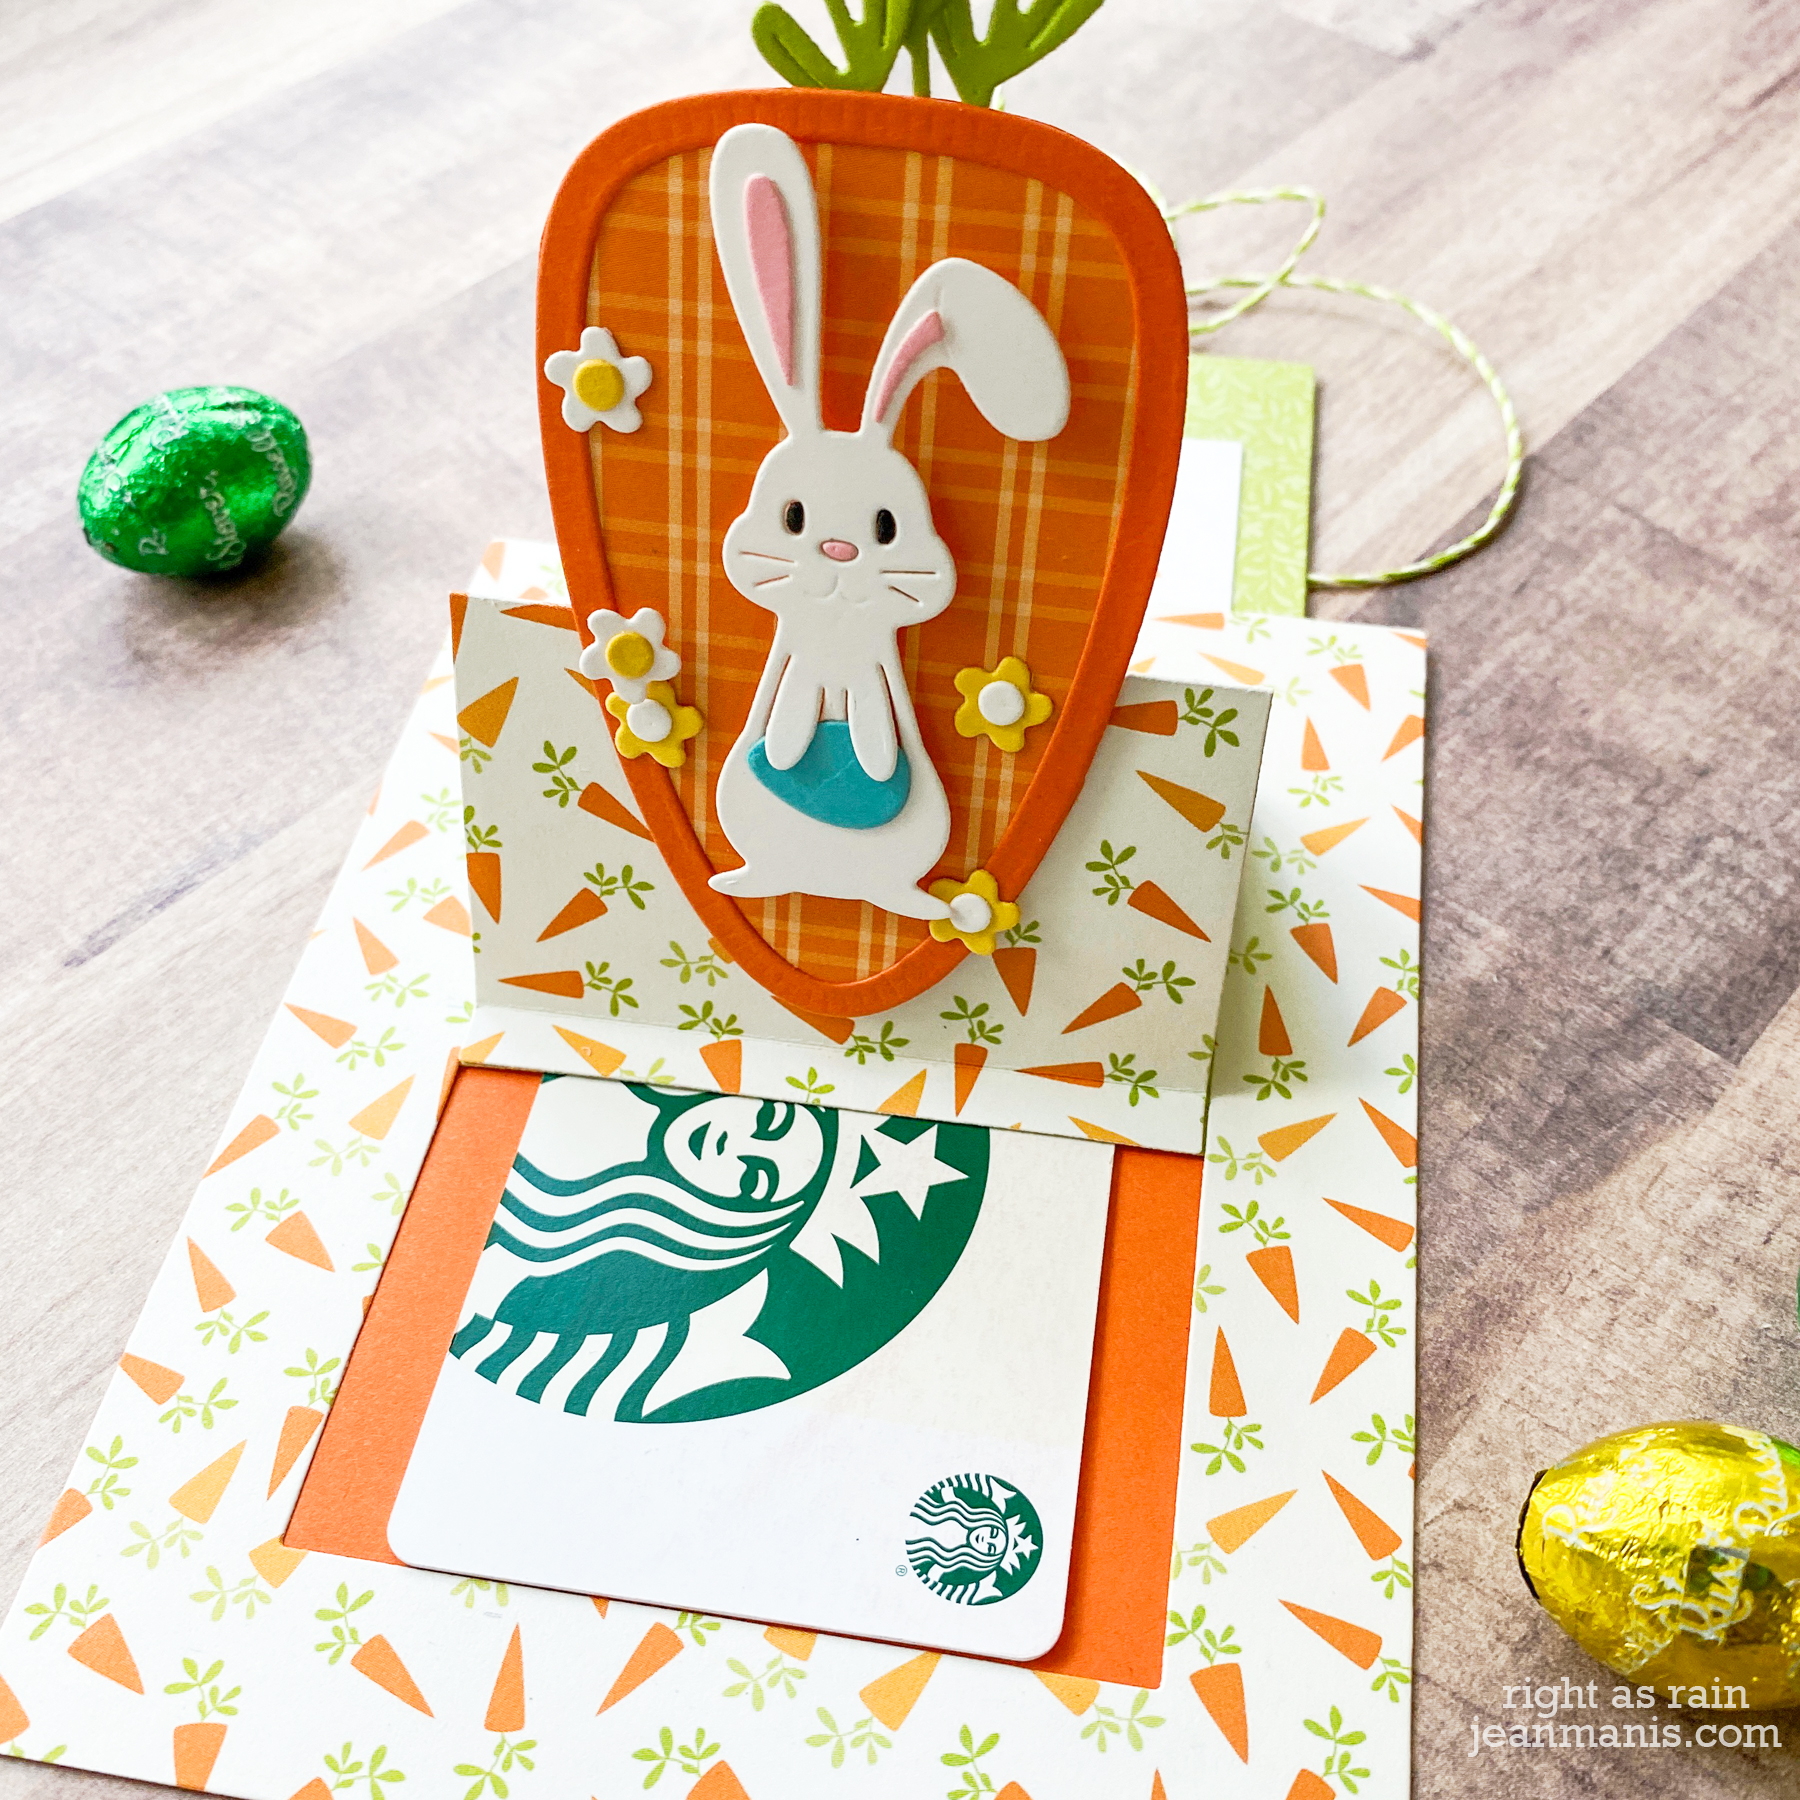
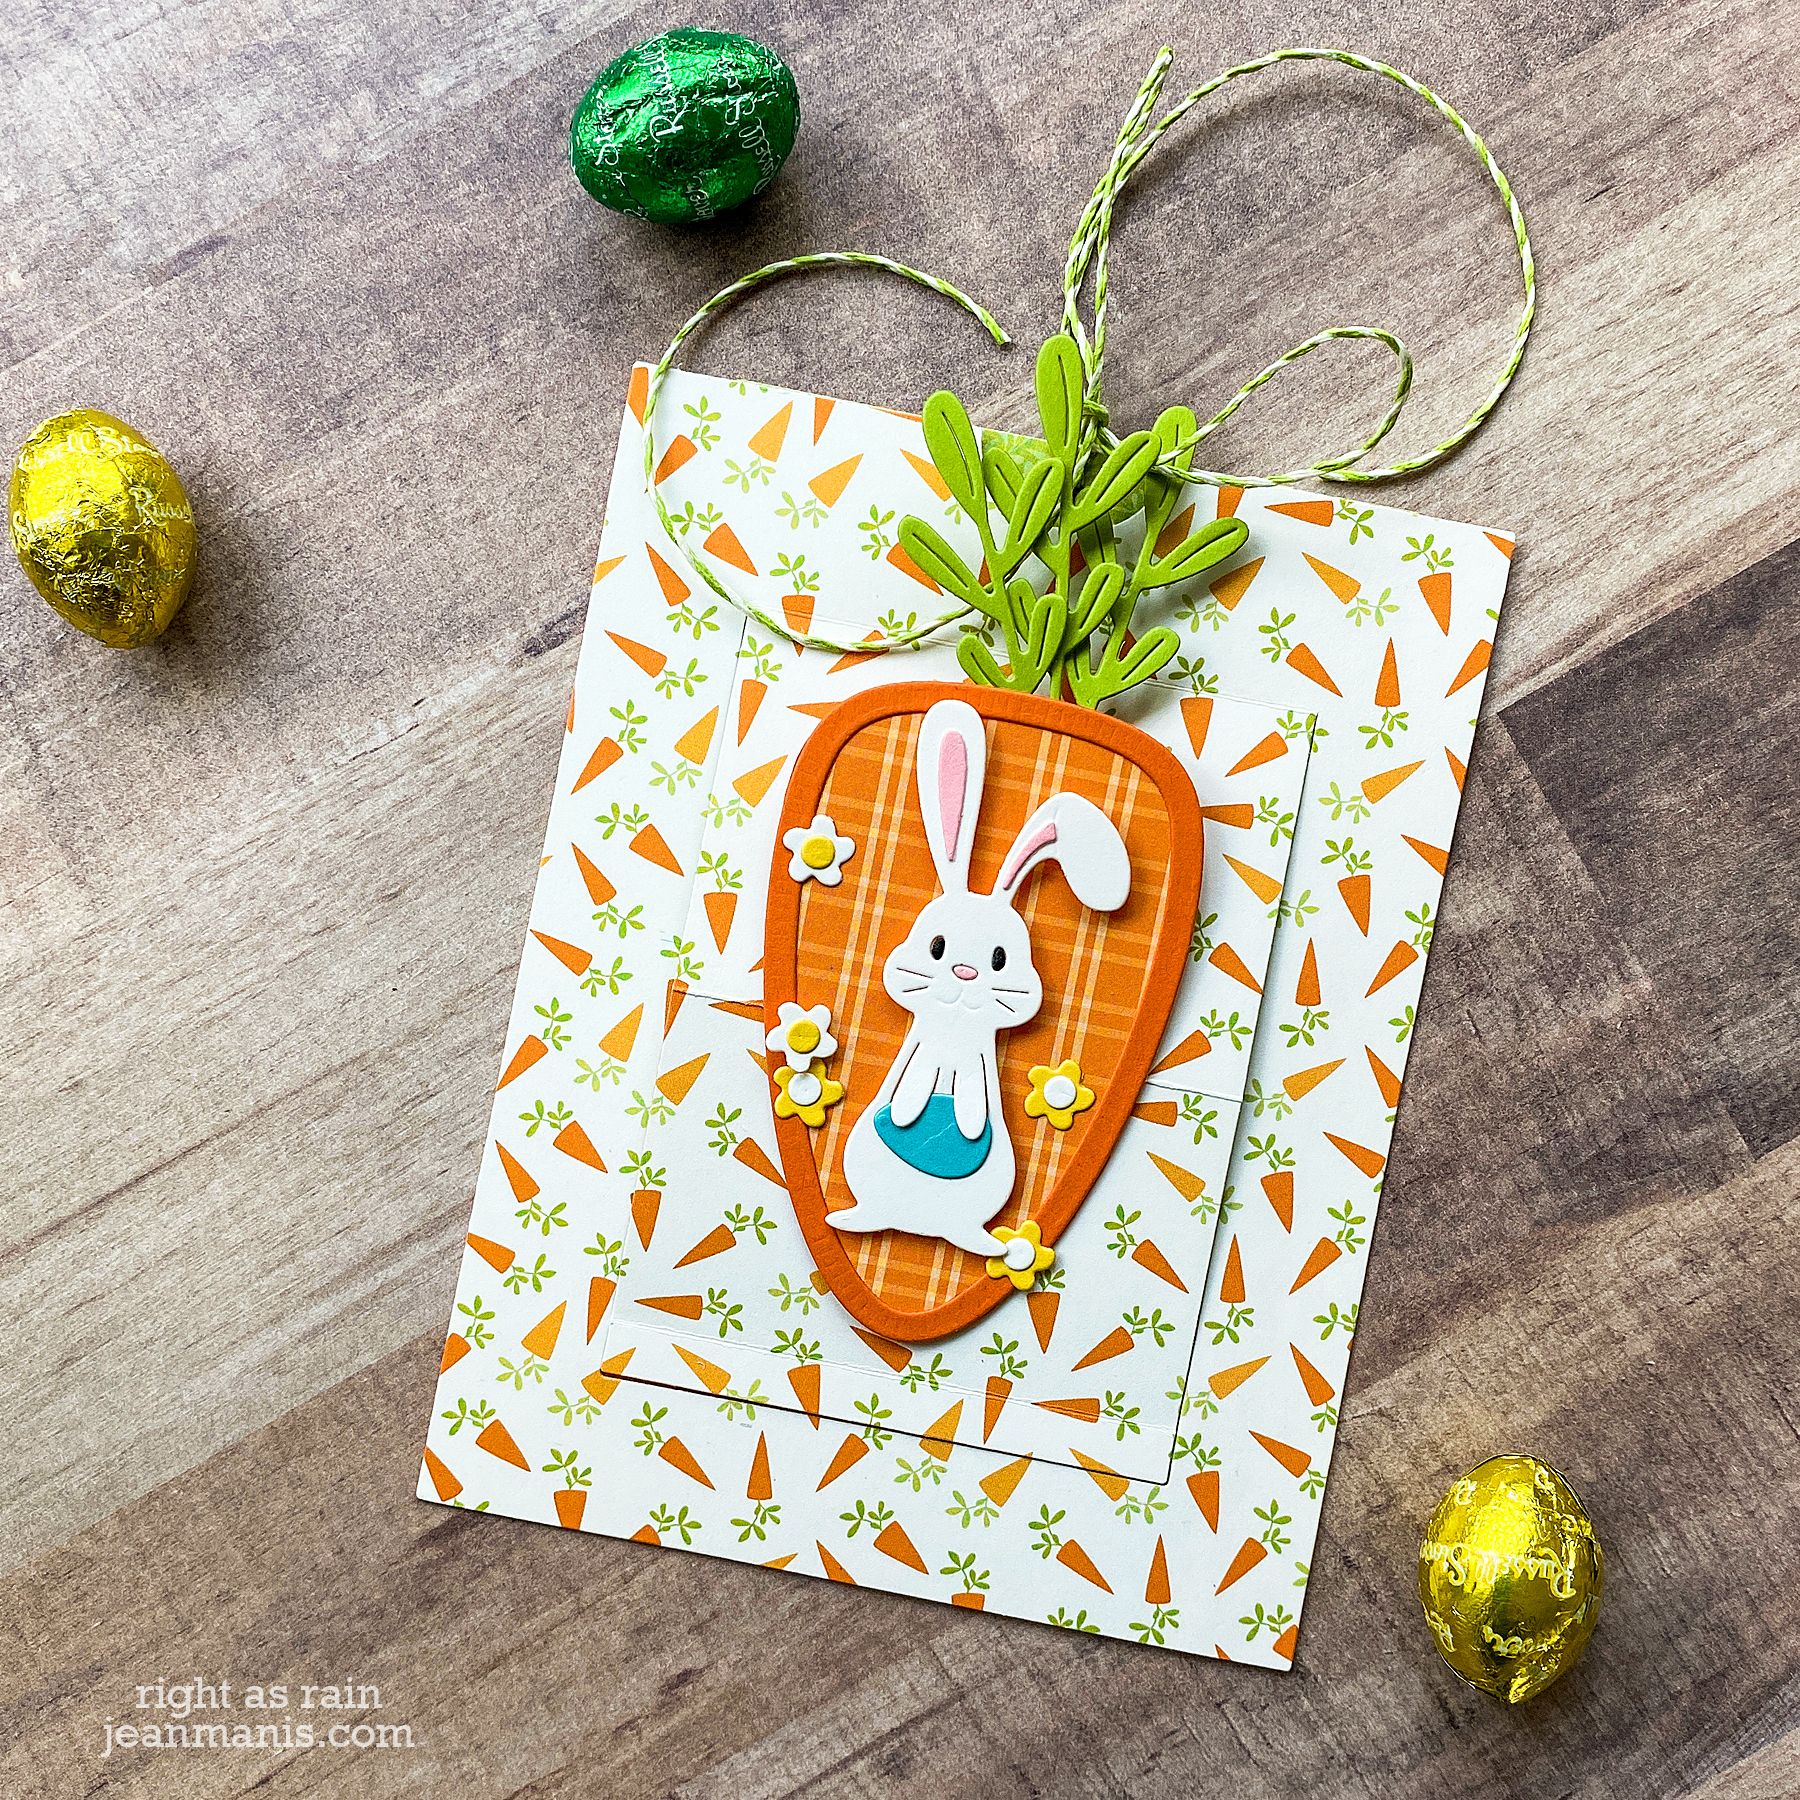
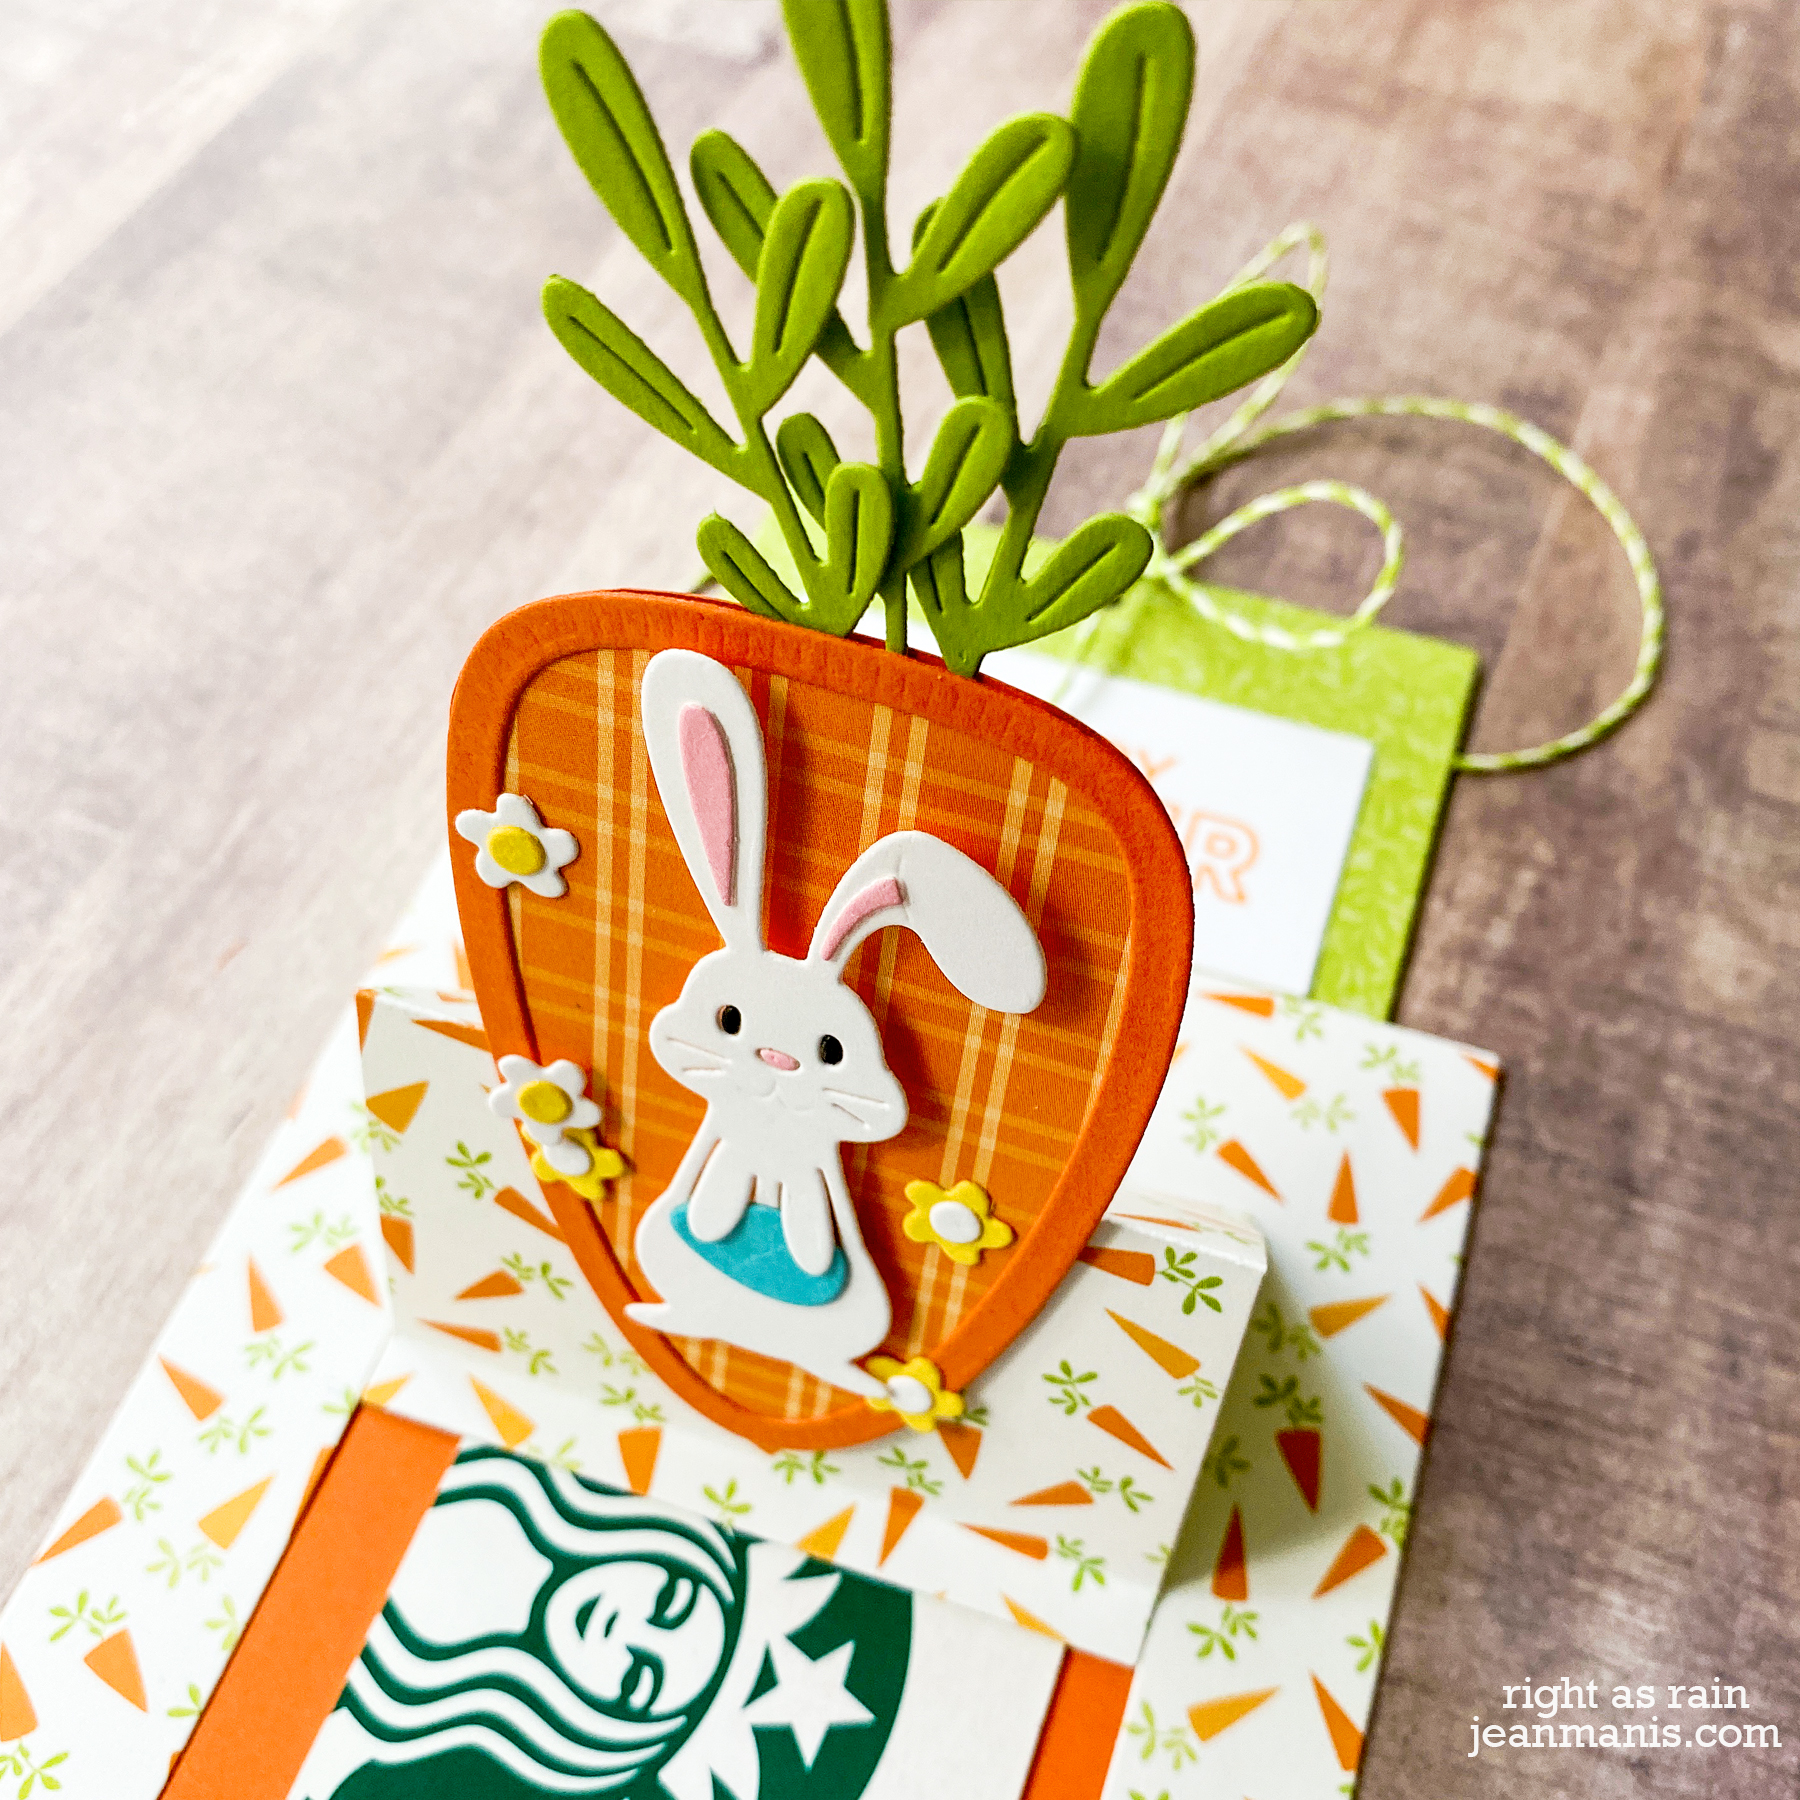
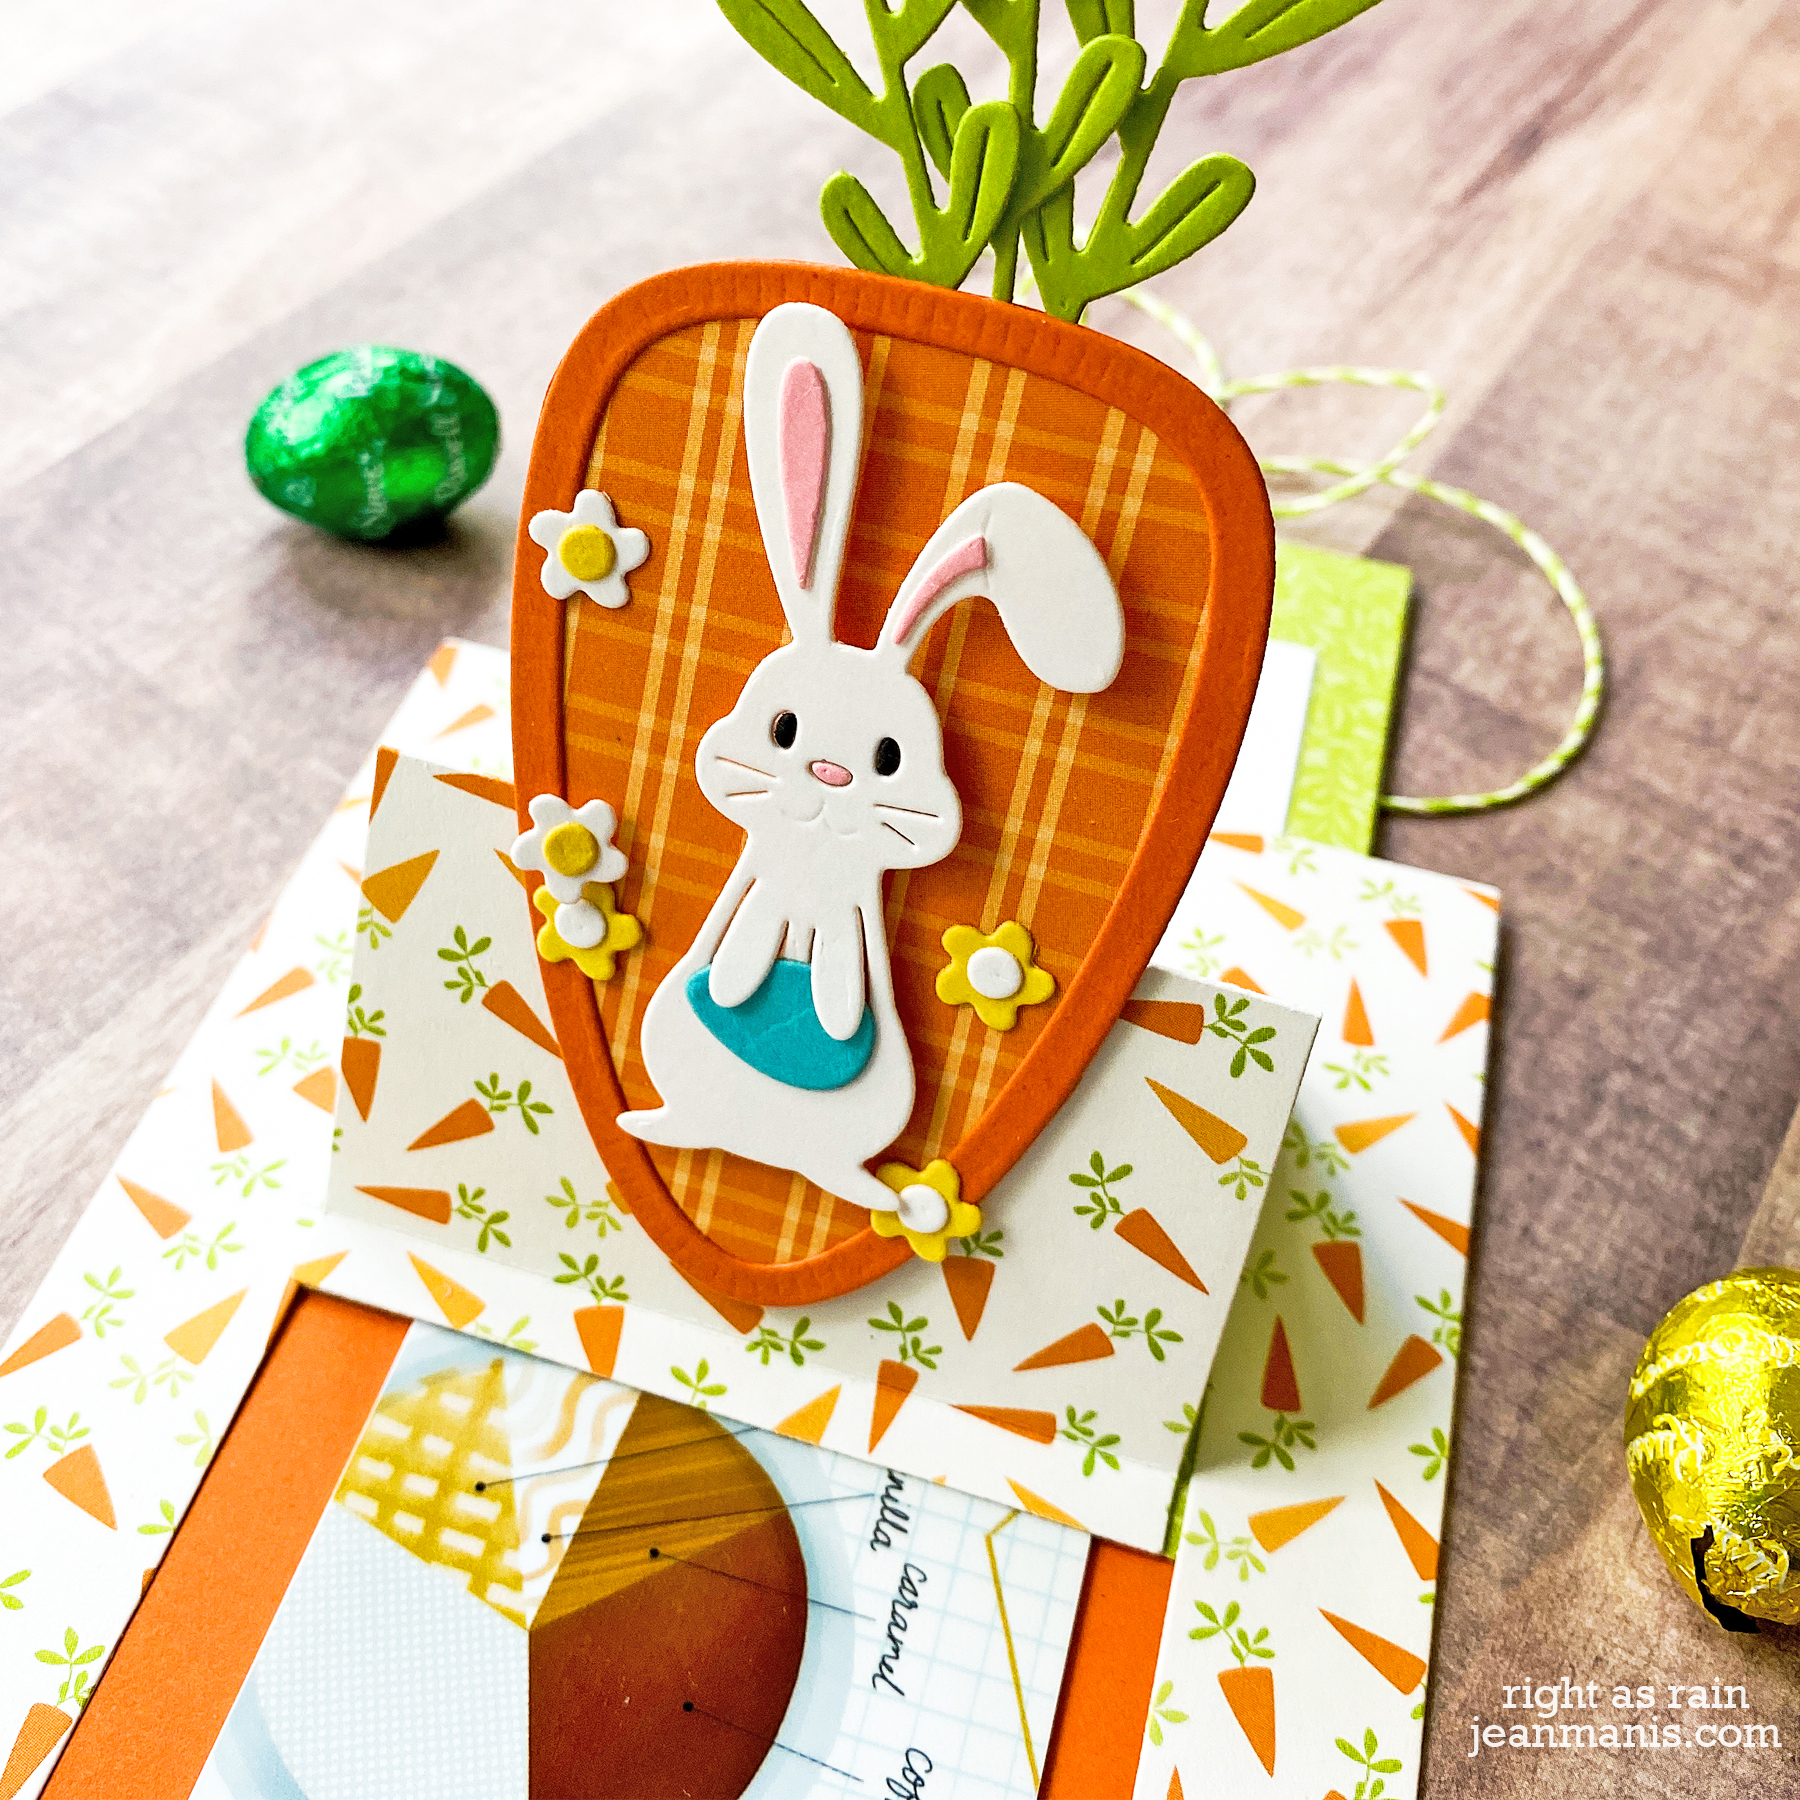
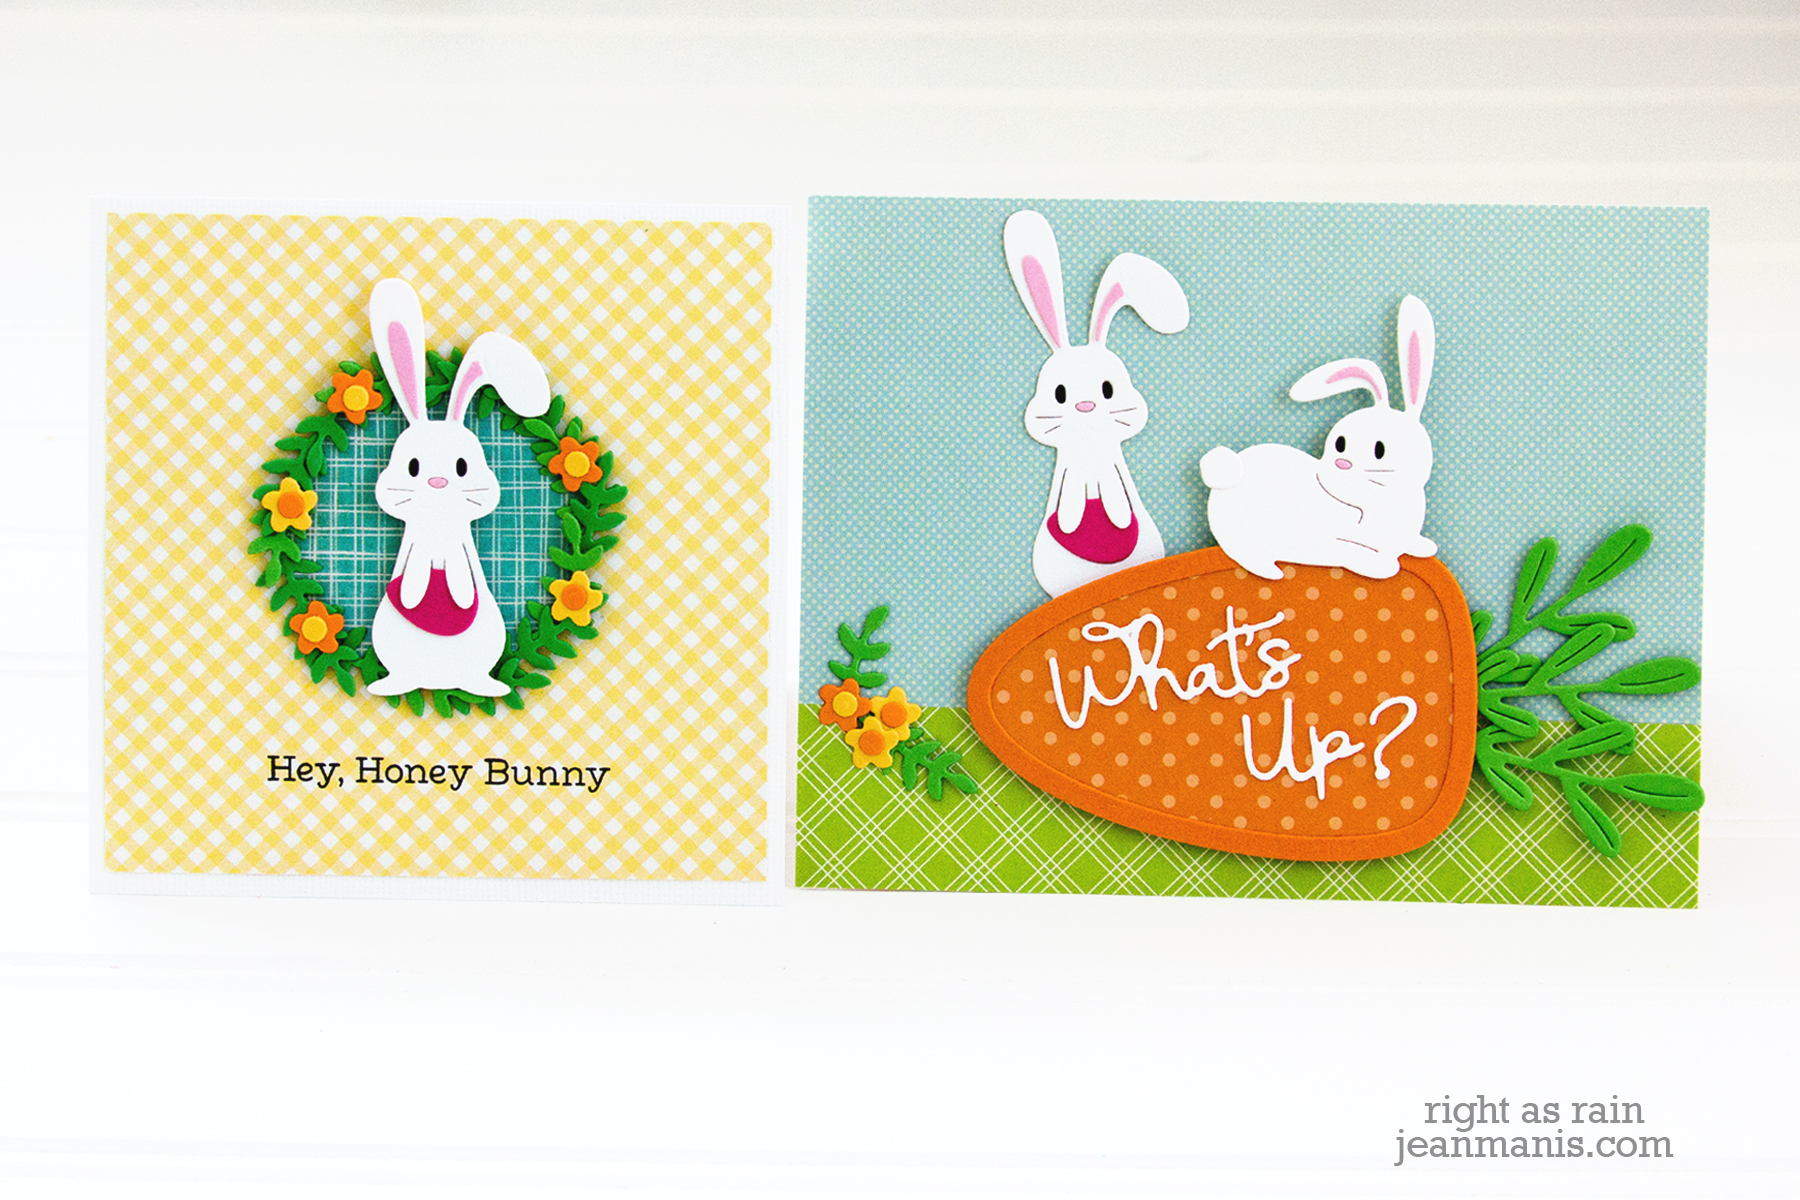
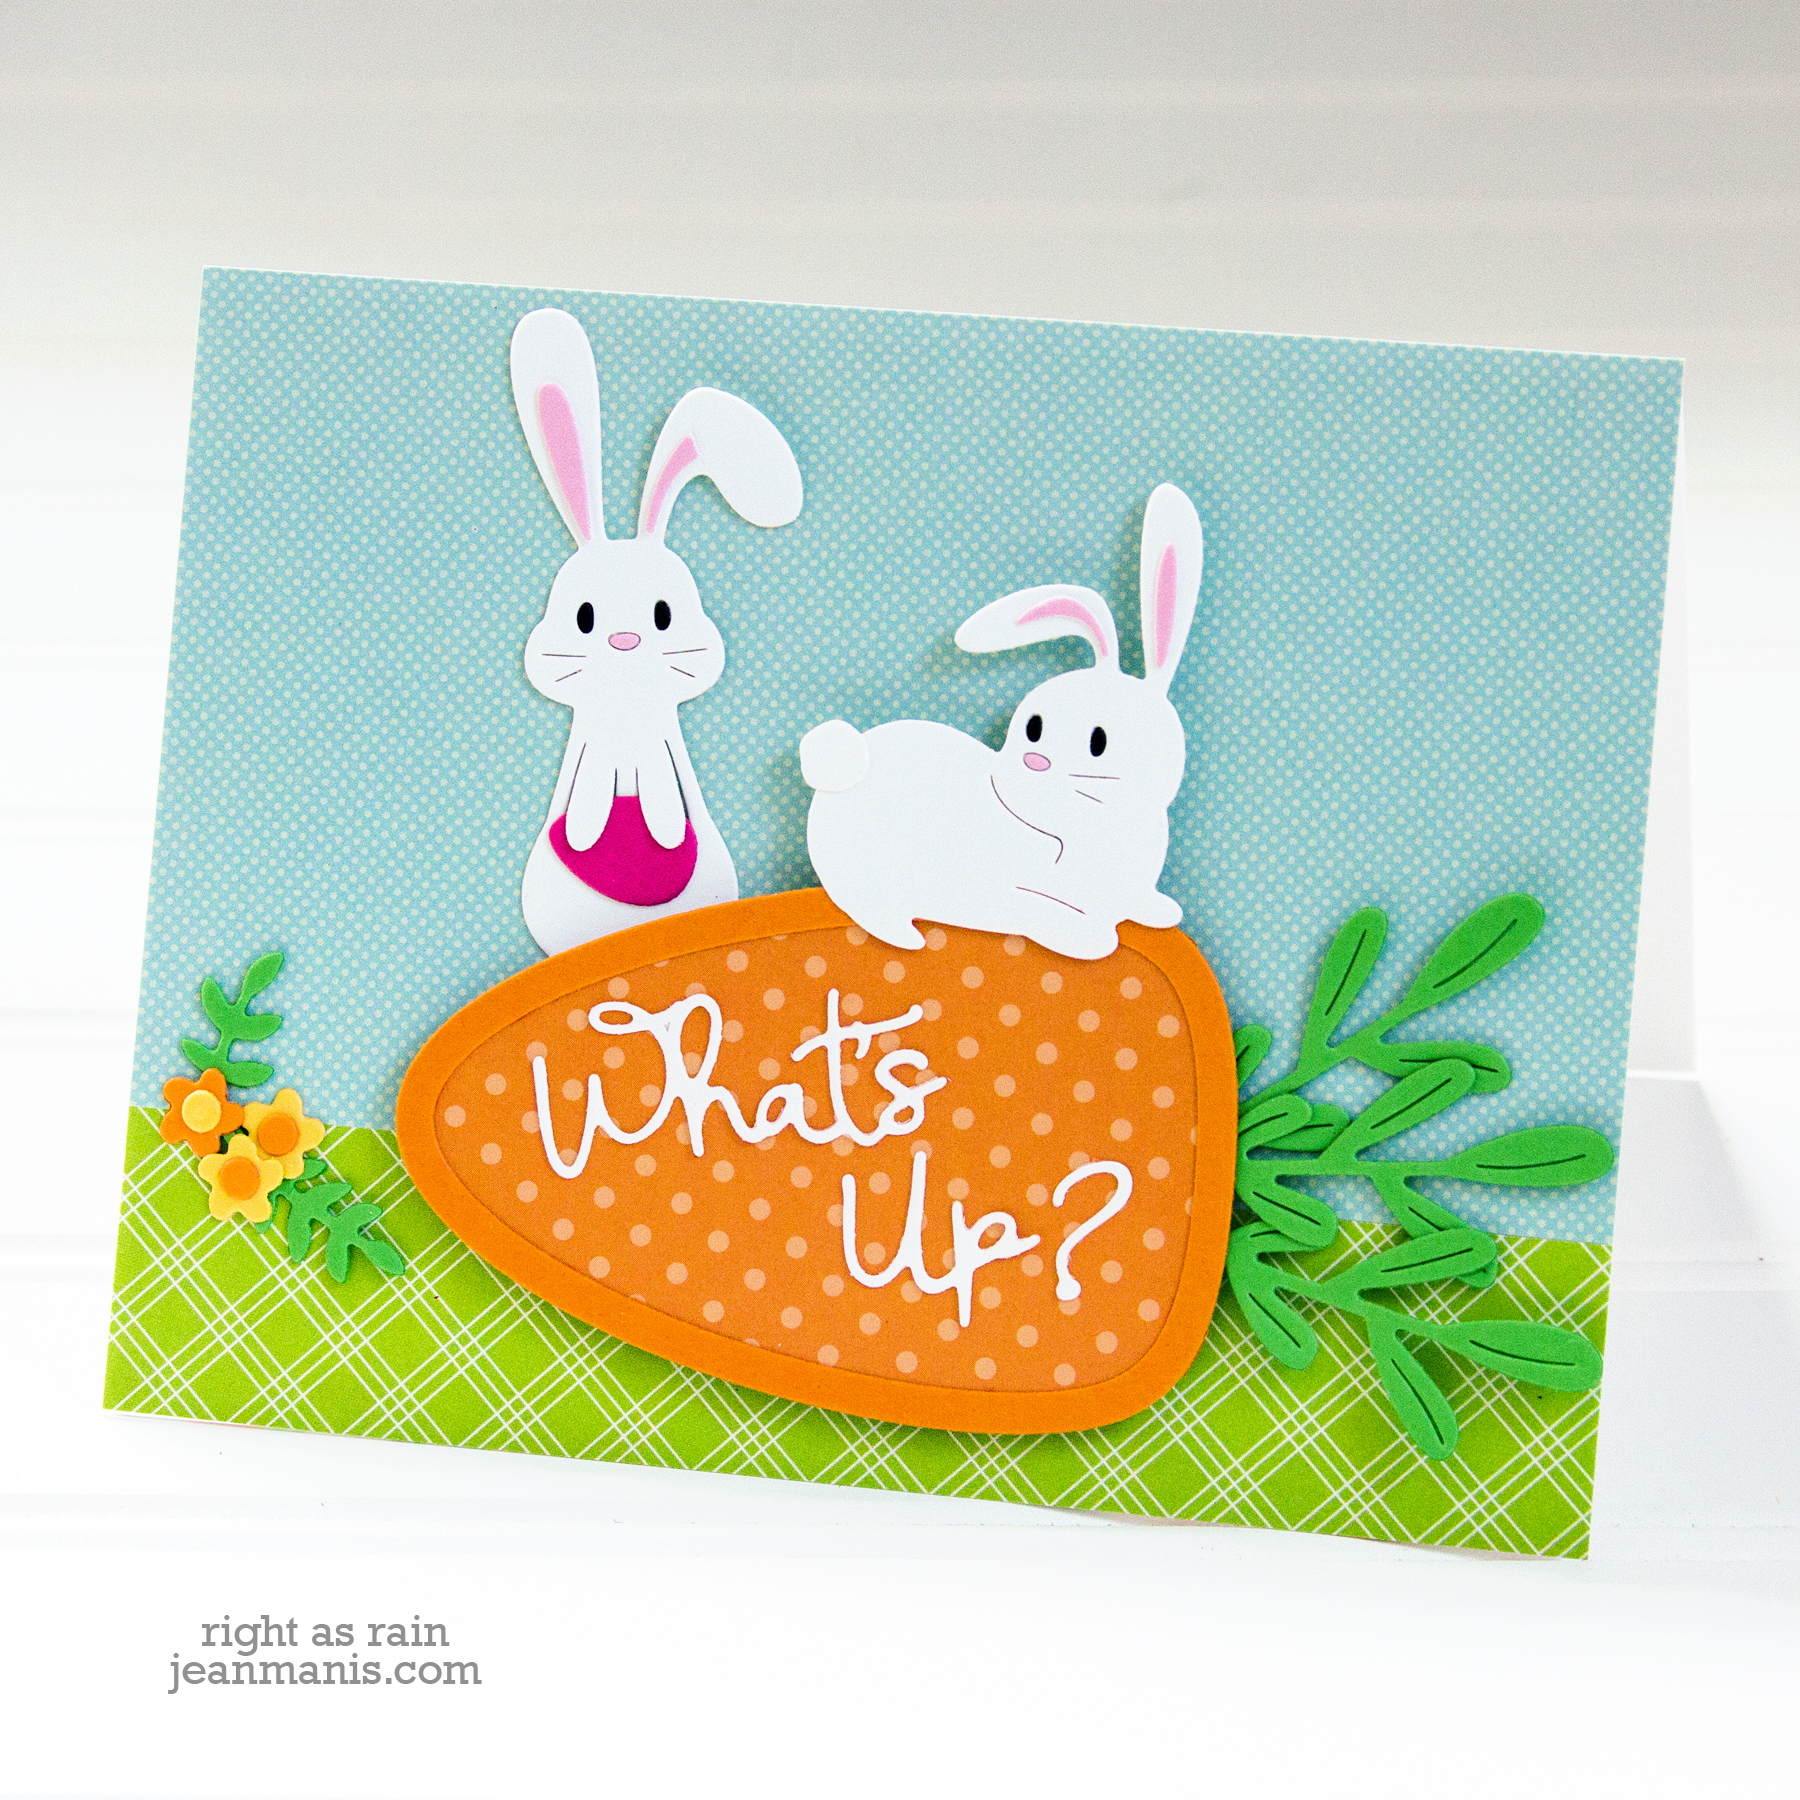
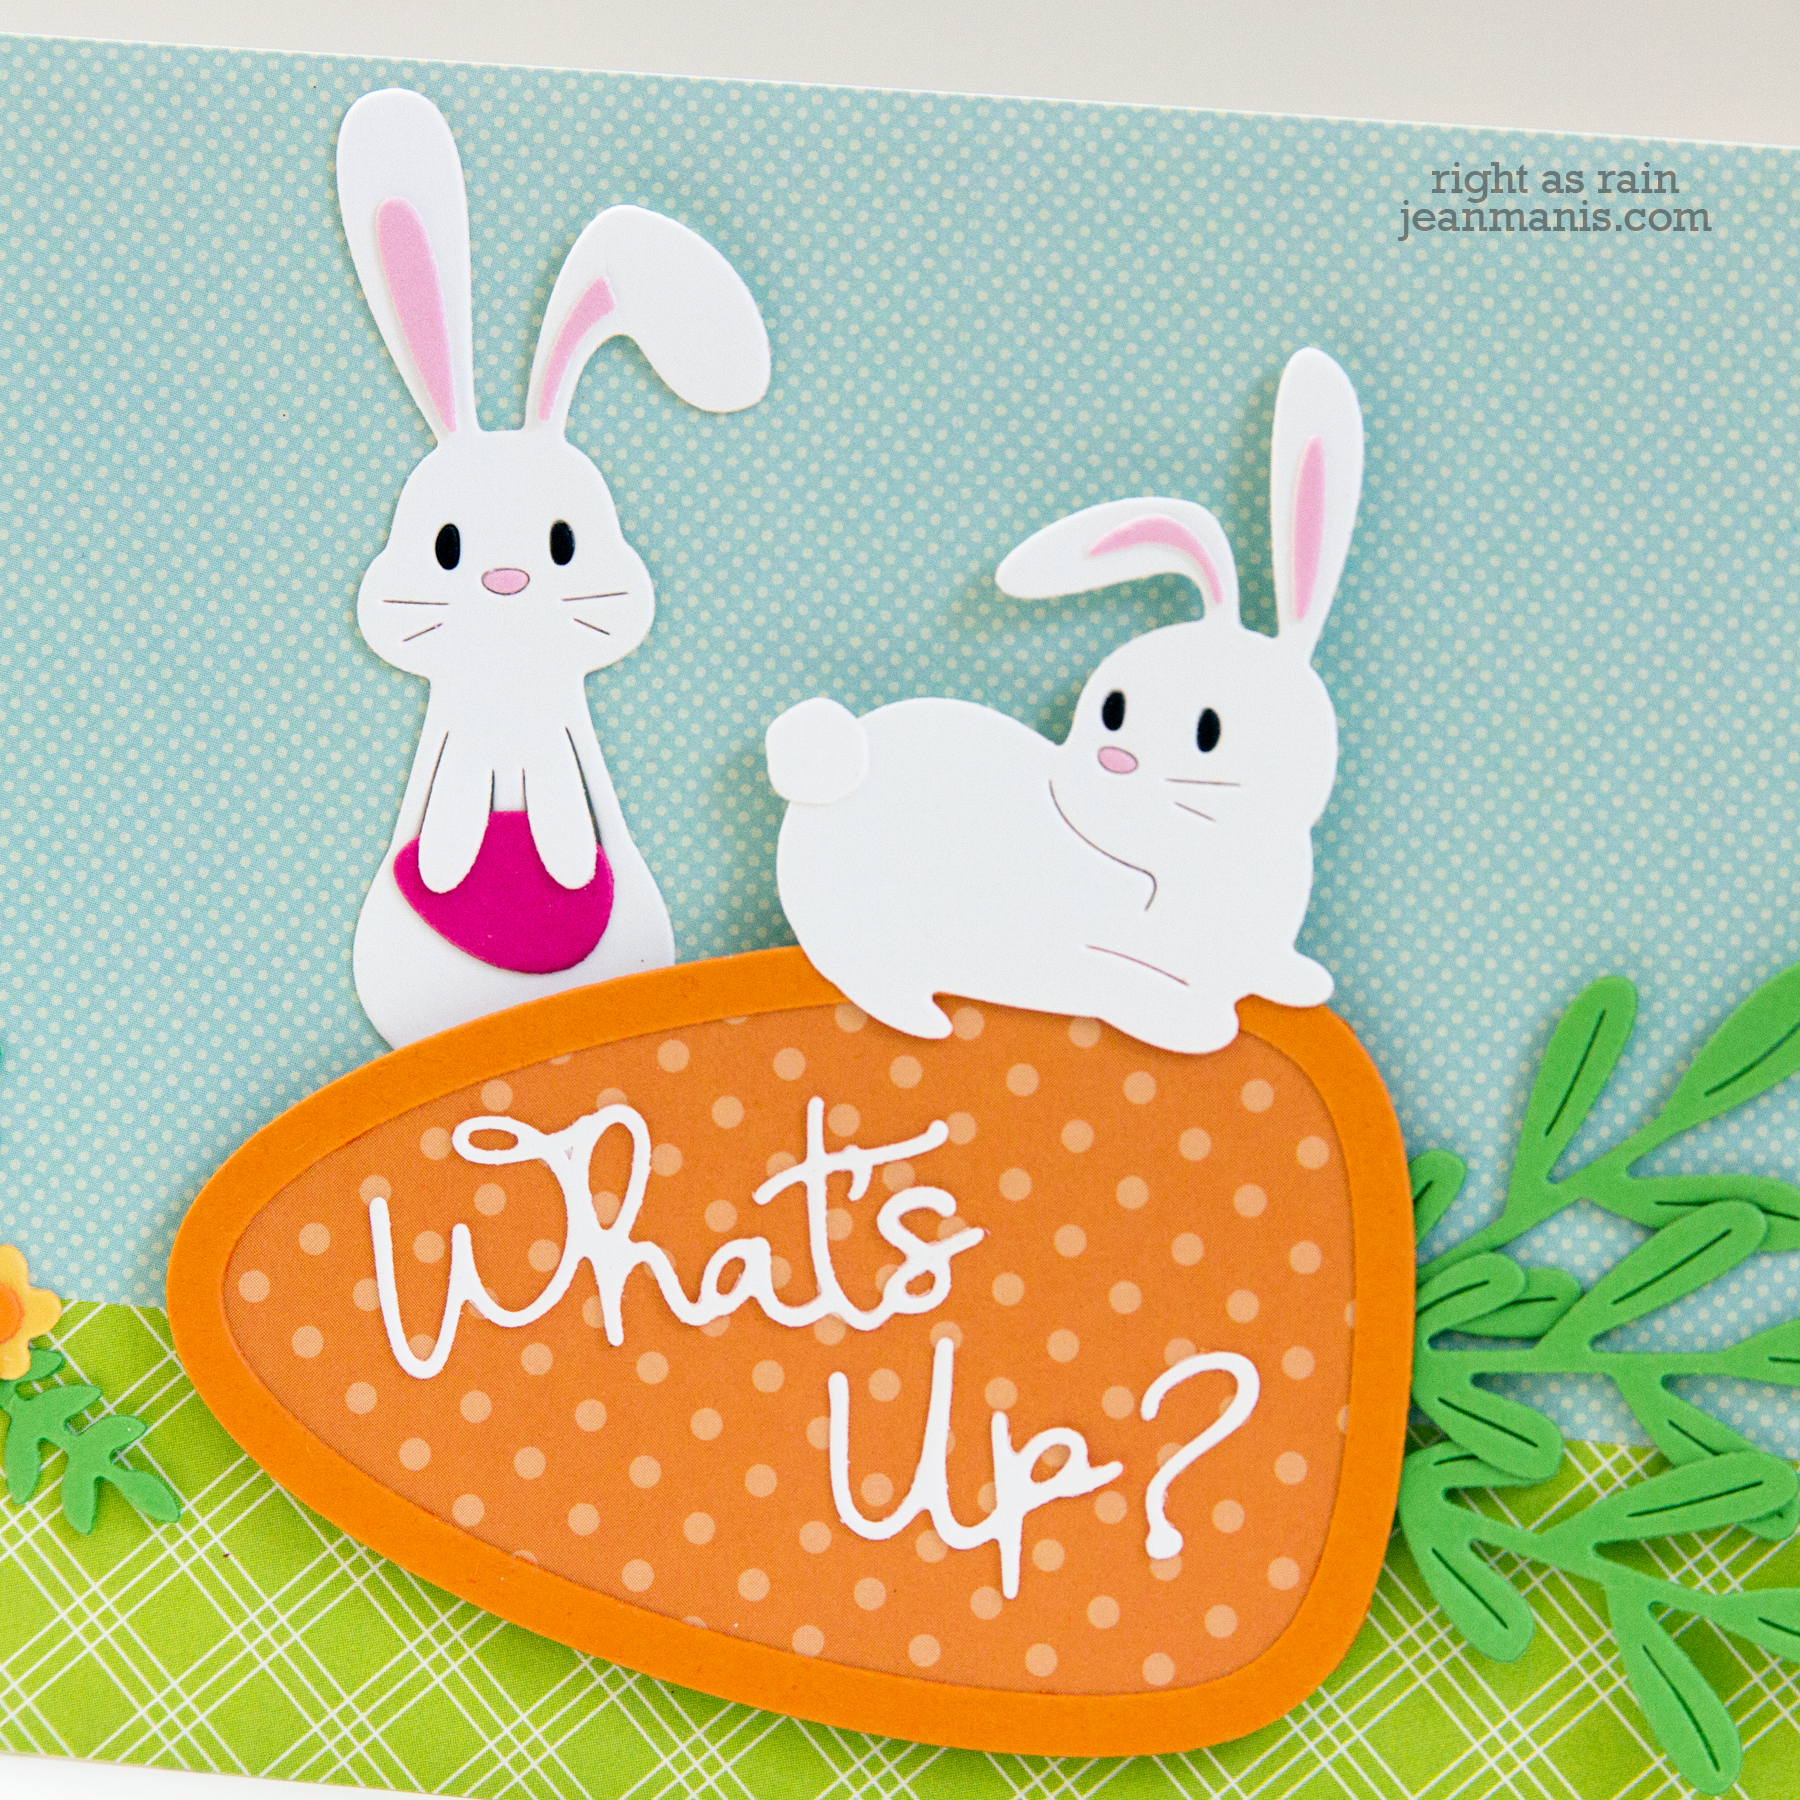
My first card features the carrot and two bunnies on a playful card using the “What’s Up?” sentiment included in the set.

24 Carrot – March 2020 Spellbinders Small Die of the Month

  • I began by cutting patterned paper for the card background.
  • I cut the carrot frame from orange cardstock. Using the negative piece, I traced the shape on to patterned paper. I cut the patterned paper and adhered the carrot outline to it. I added carrot tops cut from green cardstock. I then added the die-cut sentiment.
  • I cut the bunnies from white cardstock to which I added the ear pieces. The eyes and noses were inlaid.
  • The Easter egg, held by the bunny on the left, was cut with a die in the Festive Wreath Slider set.
  • I embellished with flowers and greenery on the left side.

24 Carrot – March 2020 Spellbinders Small Die of the Month

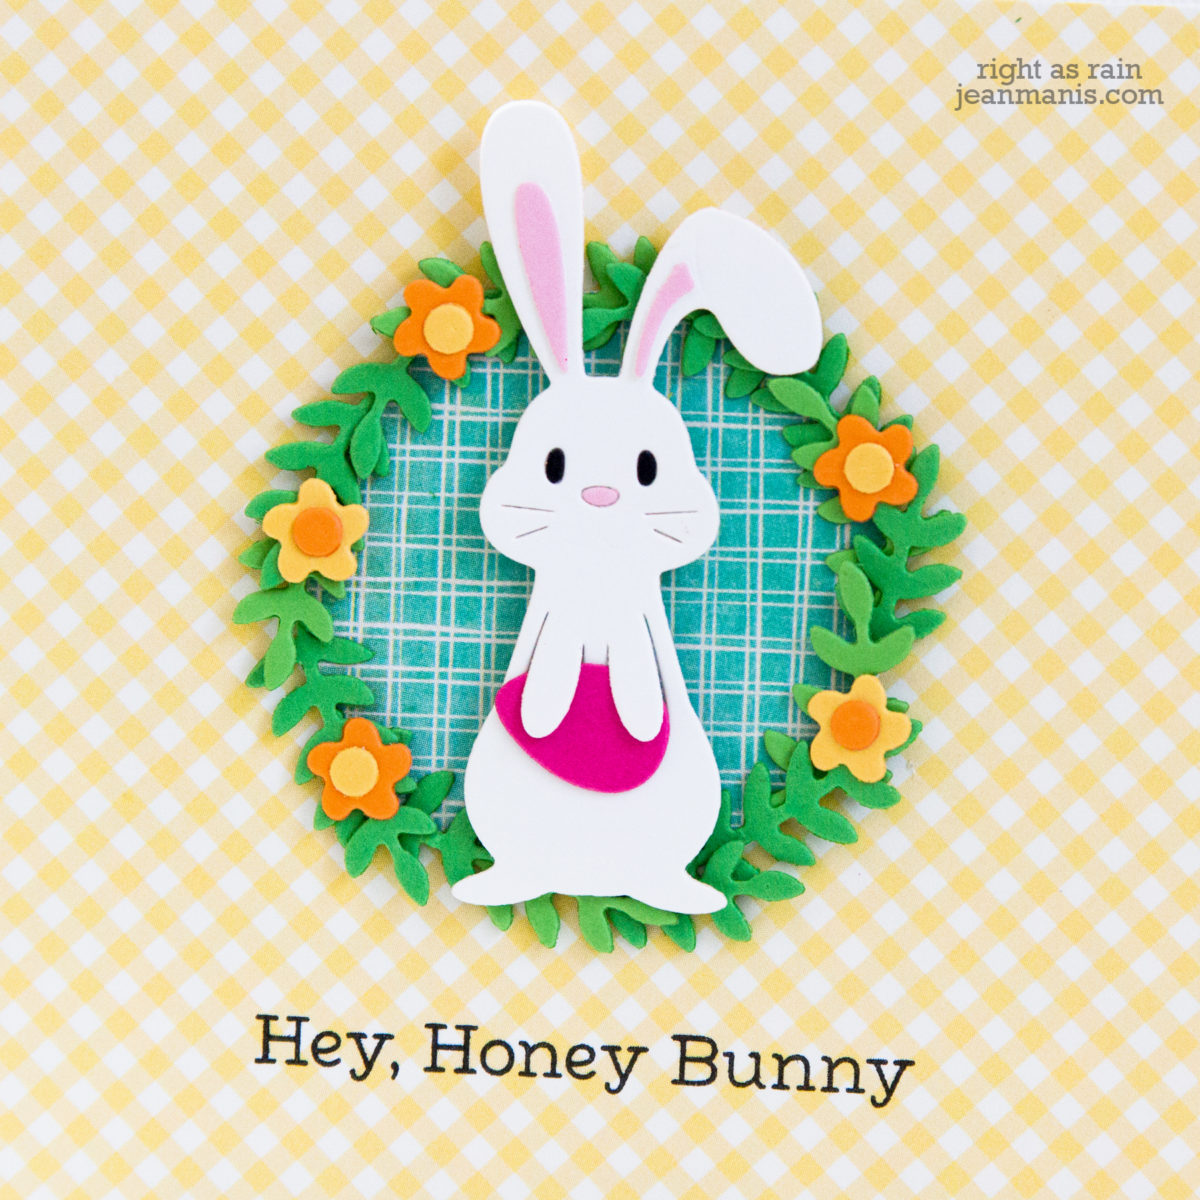
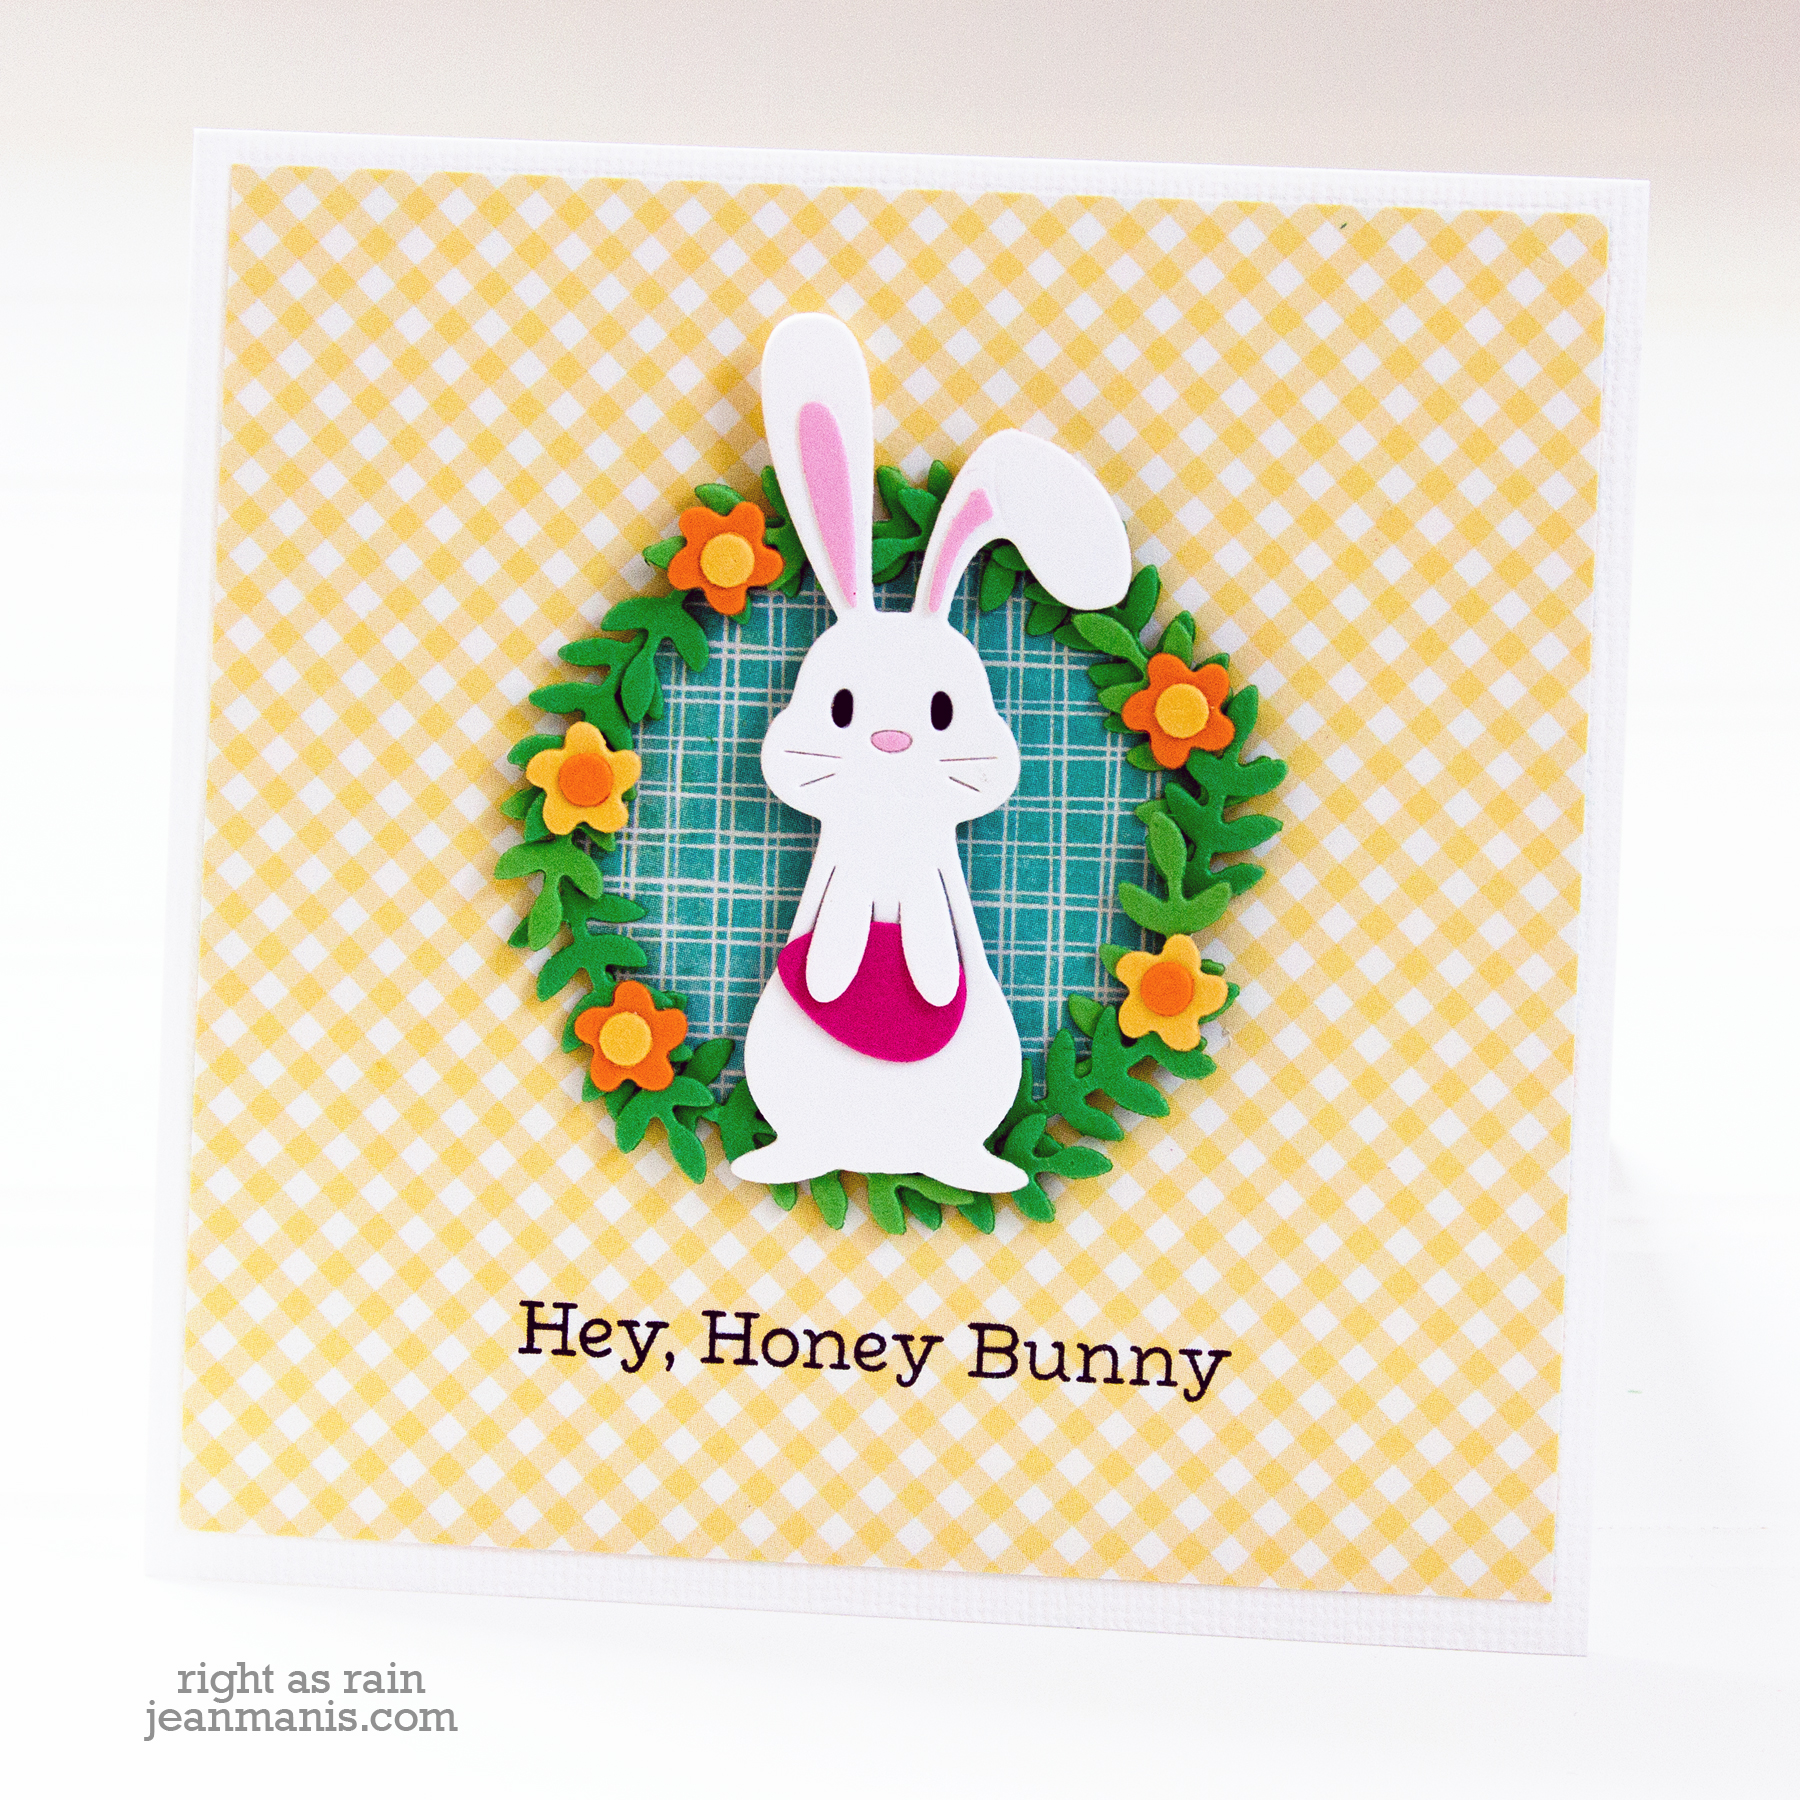
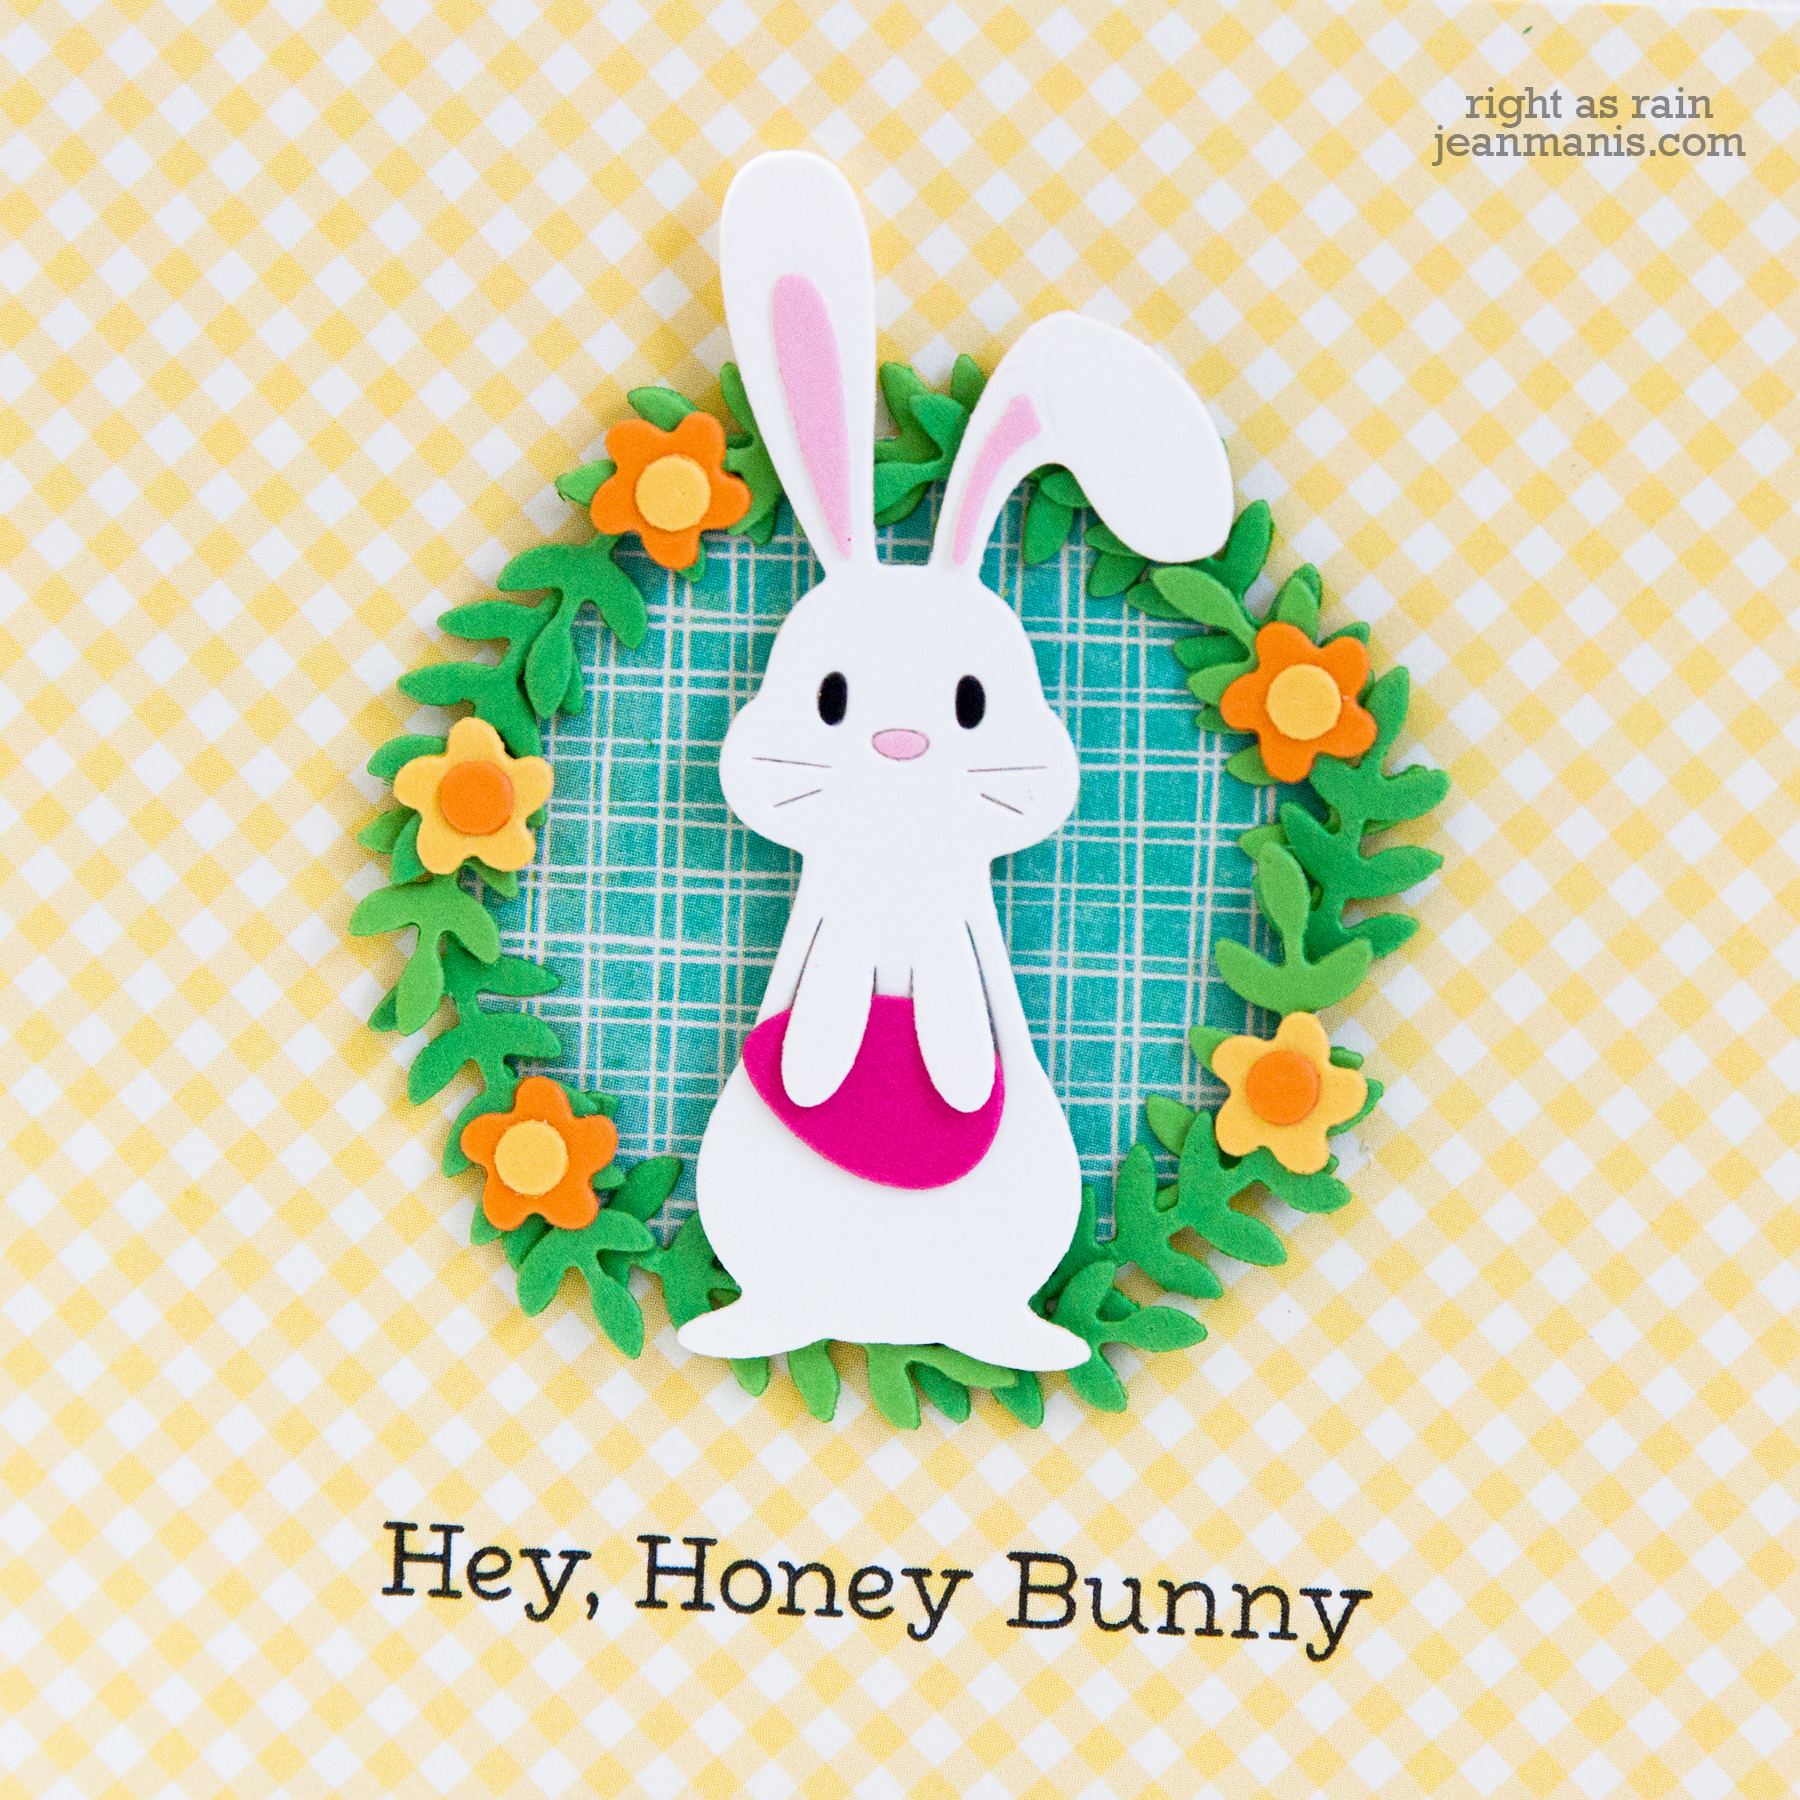
For my second card, I placed one of the bunnies on top of a wreath constructed using the foliage dies included in the set.

24 Carrot – March 2020 Spellbinders Small Die of the Month

  • To begin, I cut a circle from patterned paper to which I added the die-cut greenery.
  • I constructed the bunny as I did on the first card.
  • I stamped the sentiment on to patterned paper (panel measures 4″ x 4″) and added it to a white, linen-textured 4 1/4″ square card base.
  • I added the wreath to the card and adhered the bunny with foam adhesive.
  • I embellished the wreath with flowers.

24 Carrot – March 2020 Spellbinders Small Die of the Month

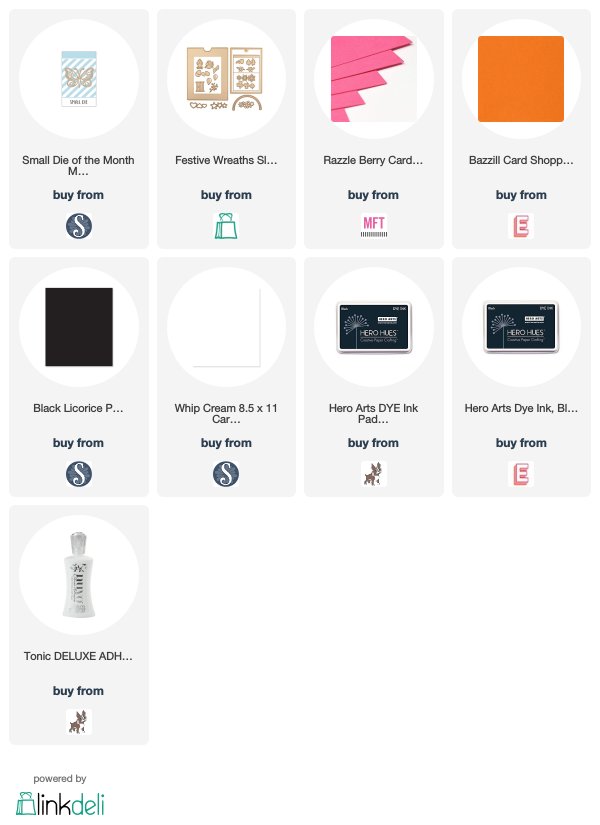
Supplies:
Art Studio Botanicals – February 2020 Spellbinders Small Die of the Month

Hello and Happy February! Today, I am sharing two friendship cards created with the February Small Die of the Month kit from Spellbinders – “Art Studio Botanicals.” The set includes seven dies with which you can create fun abstract art – three circle shapes feature botanical images, three circle shapes feature geometrical images, and a circle die (to cut the outline on the images and to cut a solid circle).

My first card features the assembled circles placed around a “hello” sentiment on an A2-sized card.

February 2020 Spellbinders Small Die of the Month

I cut the botanical images from Whip Cream cardstock. I cut the geometrical pieces from green, blue, and teal cardstock. I cut the bottom circles from black. I assembled the circle stacks and added them to the card front. I added enamel dots to help fill the “white space.”

February 2020 Spellbinders Small Die of the Month

My second card is sized 6  1/2″ x 3  1/2″ and features the assembled circles in a row.

February 2020 Spellbinders Small Die of the Month

I cut the botanical images from Whip Cream cardstock. I cut the geometrical pieces from teal, blue, and red cardstock. I cut the bottom circles from black. I assembled the circle stacks and added them to a yellow cardstock rectangle. I heat-embossed the sentiment on to dark grey cardstock.

February 2020 Spellbinders Small Die of the Month

Supplies:

Spellbinders Walrus Valentine

Hello! Today I am sharing a Valentine that showcases Woliver, a walrus die set from Spellbinders.

Spellbinders Walrus Valentine

  • I cut Woliver and the iceberg from cardstock and assembled the items.
  • I cut the heart from patterned paper and added it to a patterned paper base.
  • I heat-embossed the Fun Stampers Journey “Sending My Love” sentiment on black cardstock.
  • I added hearts cut with a die in the Festive Wreaths set to fill the space.

Spellbinders Walrus Valentine

Hope your week is off to a terrific start!

Supplies:

Bold Love – January 2020 Spellbinders Small Die of the Month

Happy New Year! Today, I am sharing two Valentine’s Day cards created with the January Small Die of the Month kit from Spellbinders – “Bold Love.”

Bold Love - January 2020 Spellbinders Small Die of the Month

Bold Love - January 2020 Spellbinders Small Die of the Month

I’ve created cards of the same design in two different color combinations to illustrate the variety obtained simply by changing colors. For example, including metallic cardstock creates a more formal card.

The red background card incorporates brushed gold letters, a white background for the letters, gold hearts, and purple flowers. The LOVE letters were added to the background assembly with foam adhesive.

Bold Love - January 2020 Spellbinders Small Die of the Month

Bold Love - January 2020 Spellbinders Small Die of the Month

The turquoise/teal background card incorporates red letters, a white background for the letters, red hearts, and yellow and blue flowers.

Bold Love - January 2020 Spellbinders Small Die of the Month

Bold Love - January 2020 Spellbinders Small Die of the Month

I’m already thinking of additional color schemes for the card. Black background? Gold background for the letters? Brushed and shiny metallic for the hearts and flowers?

Wishing you all the best in 2020!

Supplies:

Santa at the Window

Hello! I recently commented on how much I like cards with windows – today I am sharing a CAS Christmas card with Santa at the window!

Santa at the Window

  • I cut the window pieces with the Window View die set.
  • I cut Santa with the Santa Parade die and positioned him behind the window.
  • I backed the window with soft yellow cardstock.
  • I heat-embossed a sentiment from the now-retired Hero Arts Holiday Animals stamp set.
  • I added embossing paste to the dark blue base through the Carta Bella Snowed In stencil.

Santa at the Window

I originally had the window assembly on a green dry-embossed (pine bough motif) panel, and it just wasn’t quite whimsical or fun enough. I’m so glad I swapped that panel out for the dark blue with snow. Another idea would be to apply the Transfer Gel product through the stencil and run the panel through the Minc with white flock (something I’m just now thinking about).

Supplies: