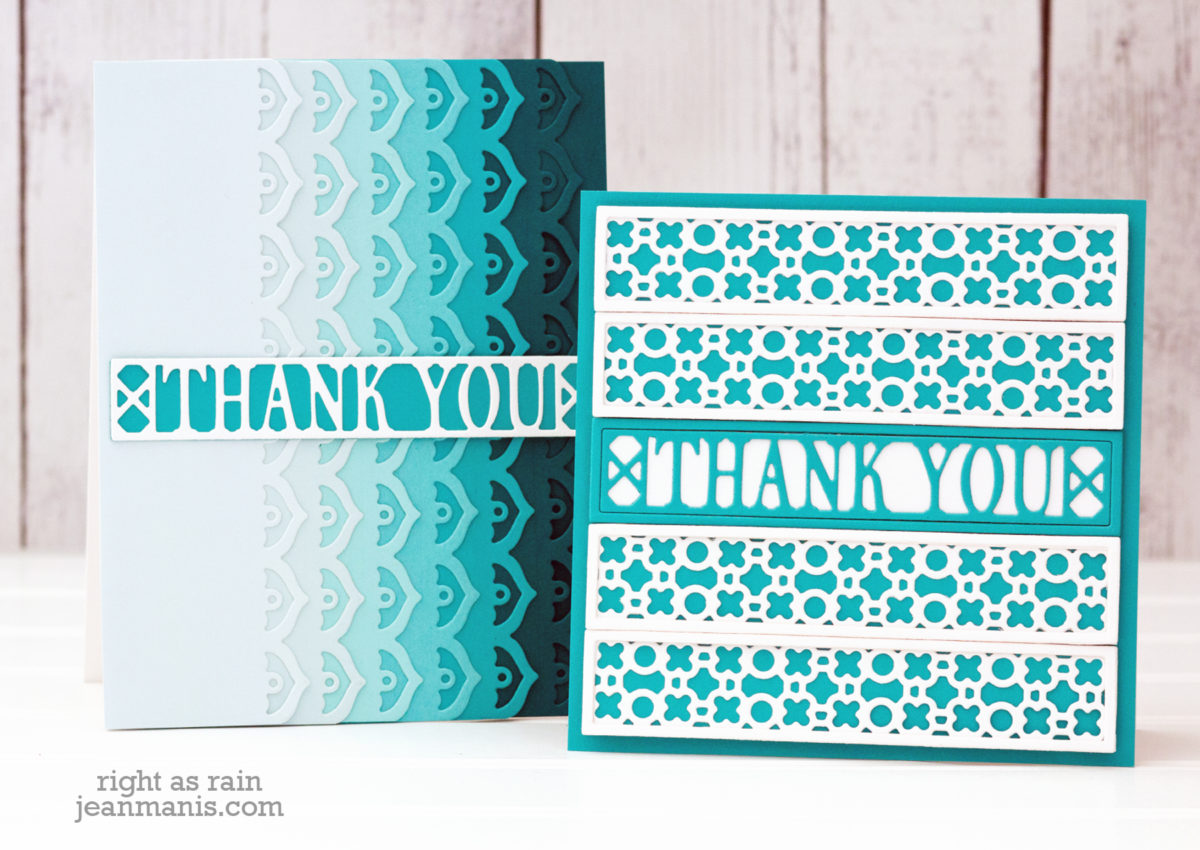
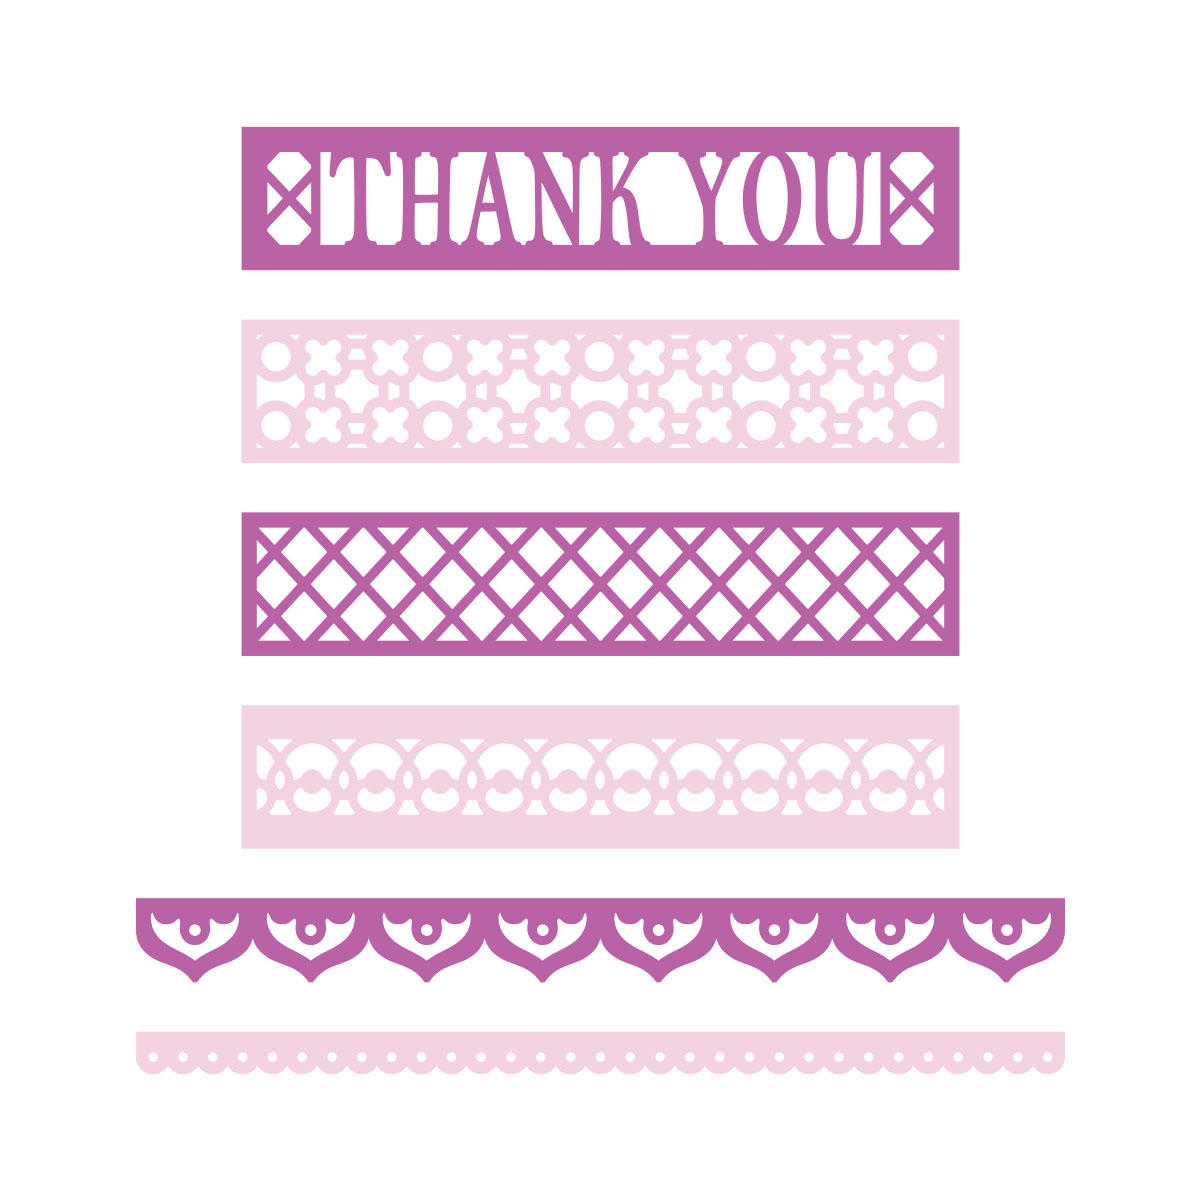
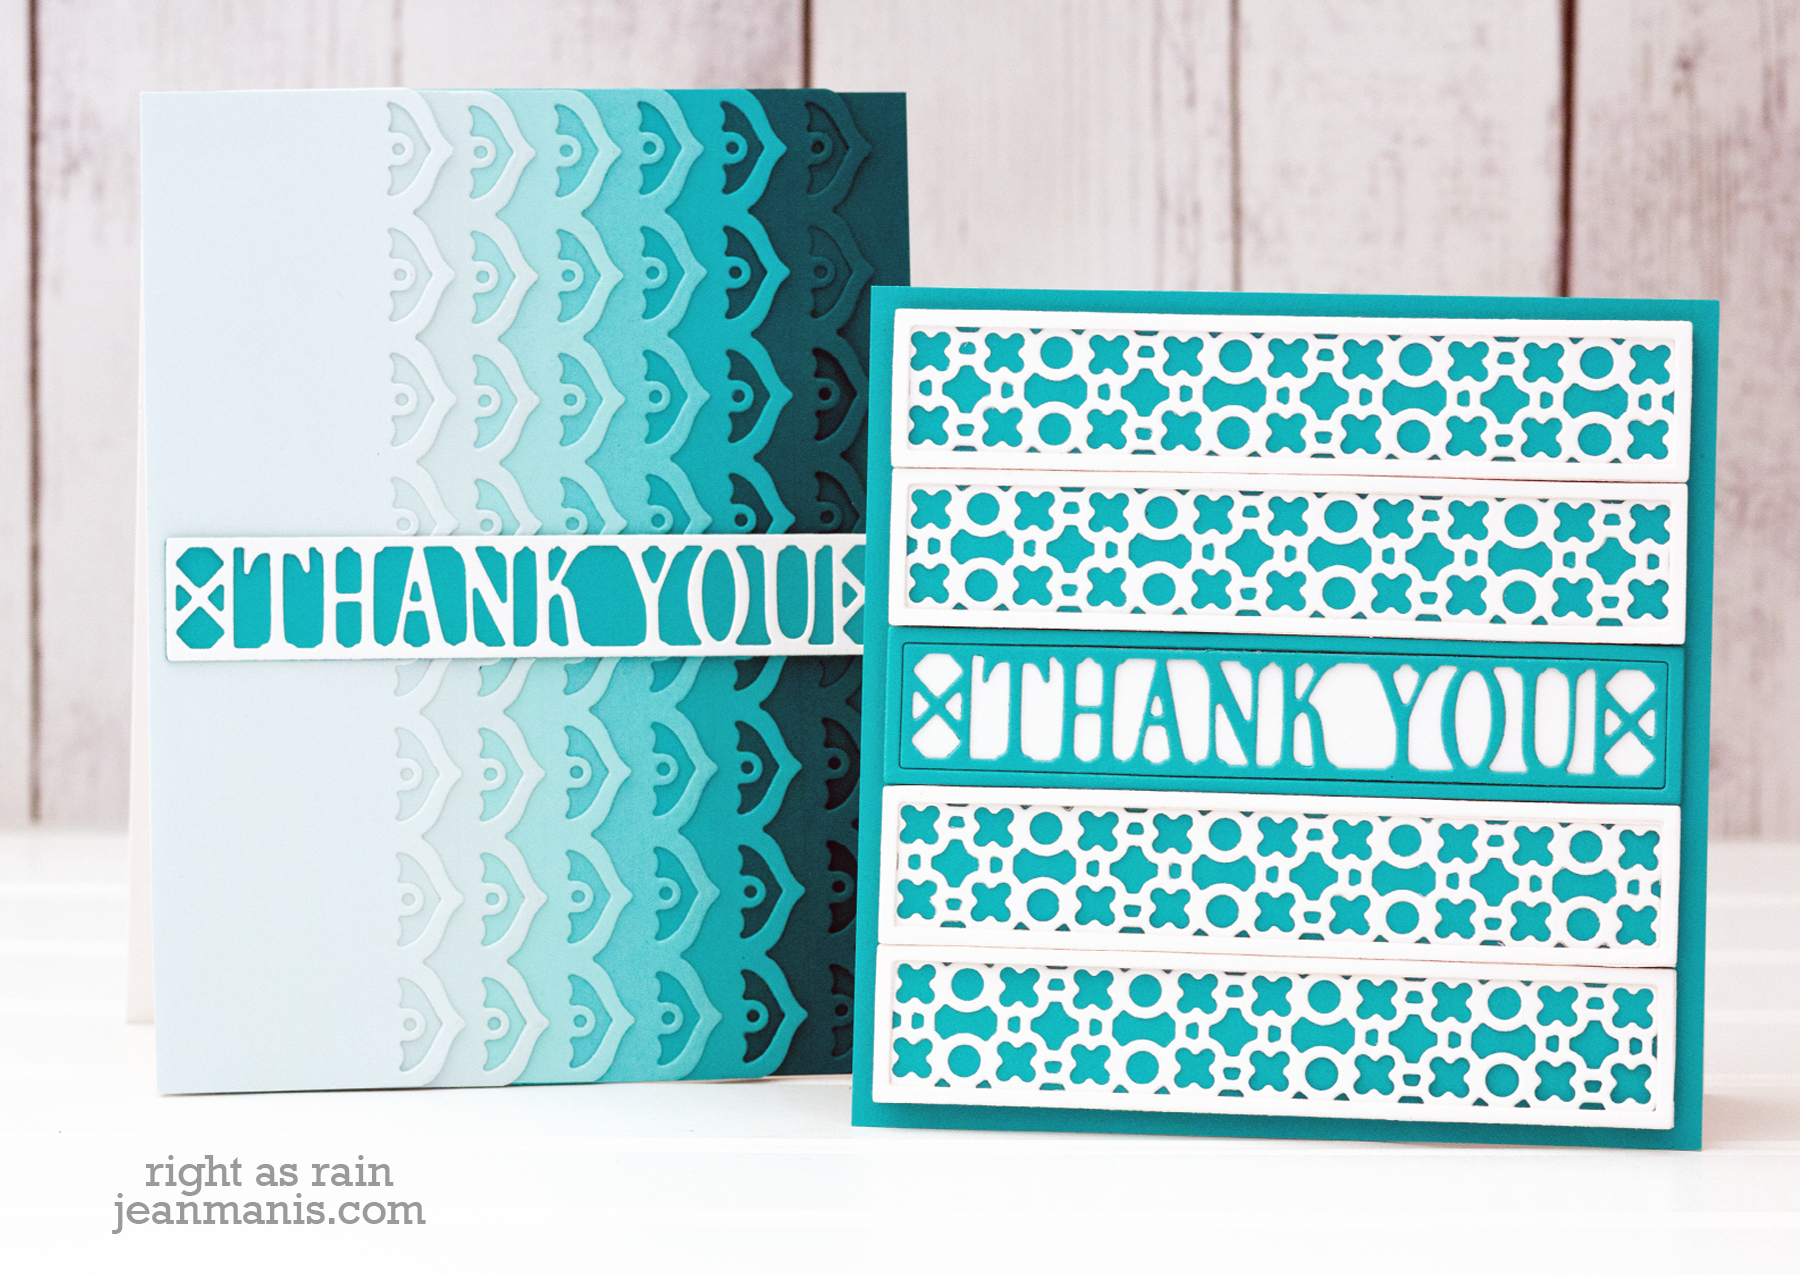
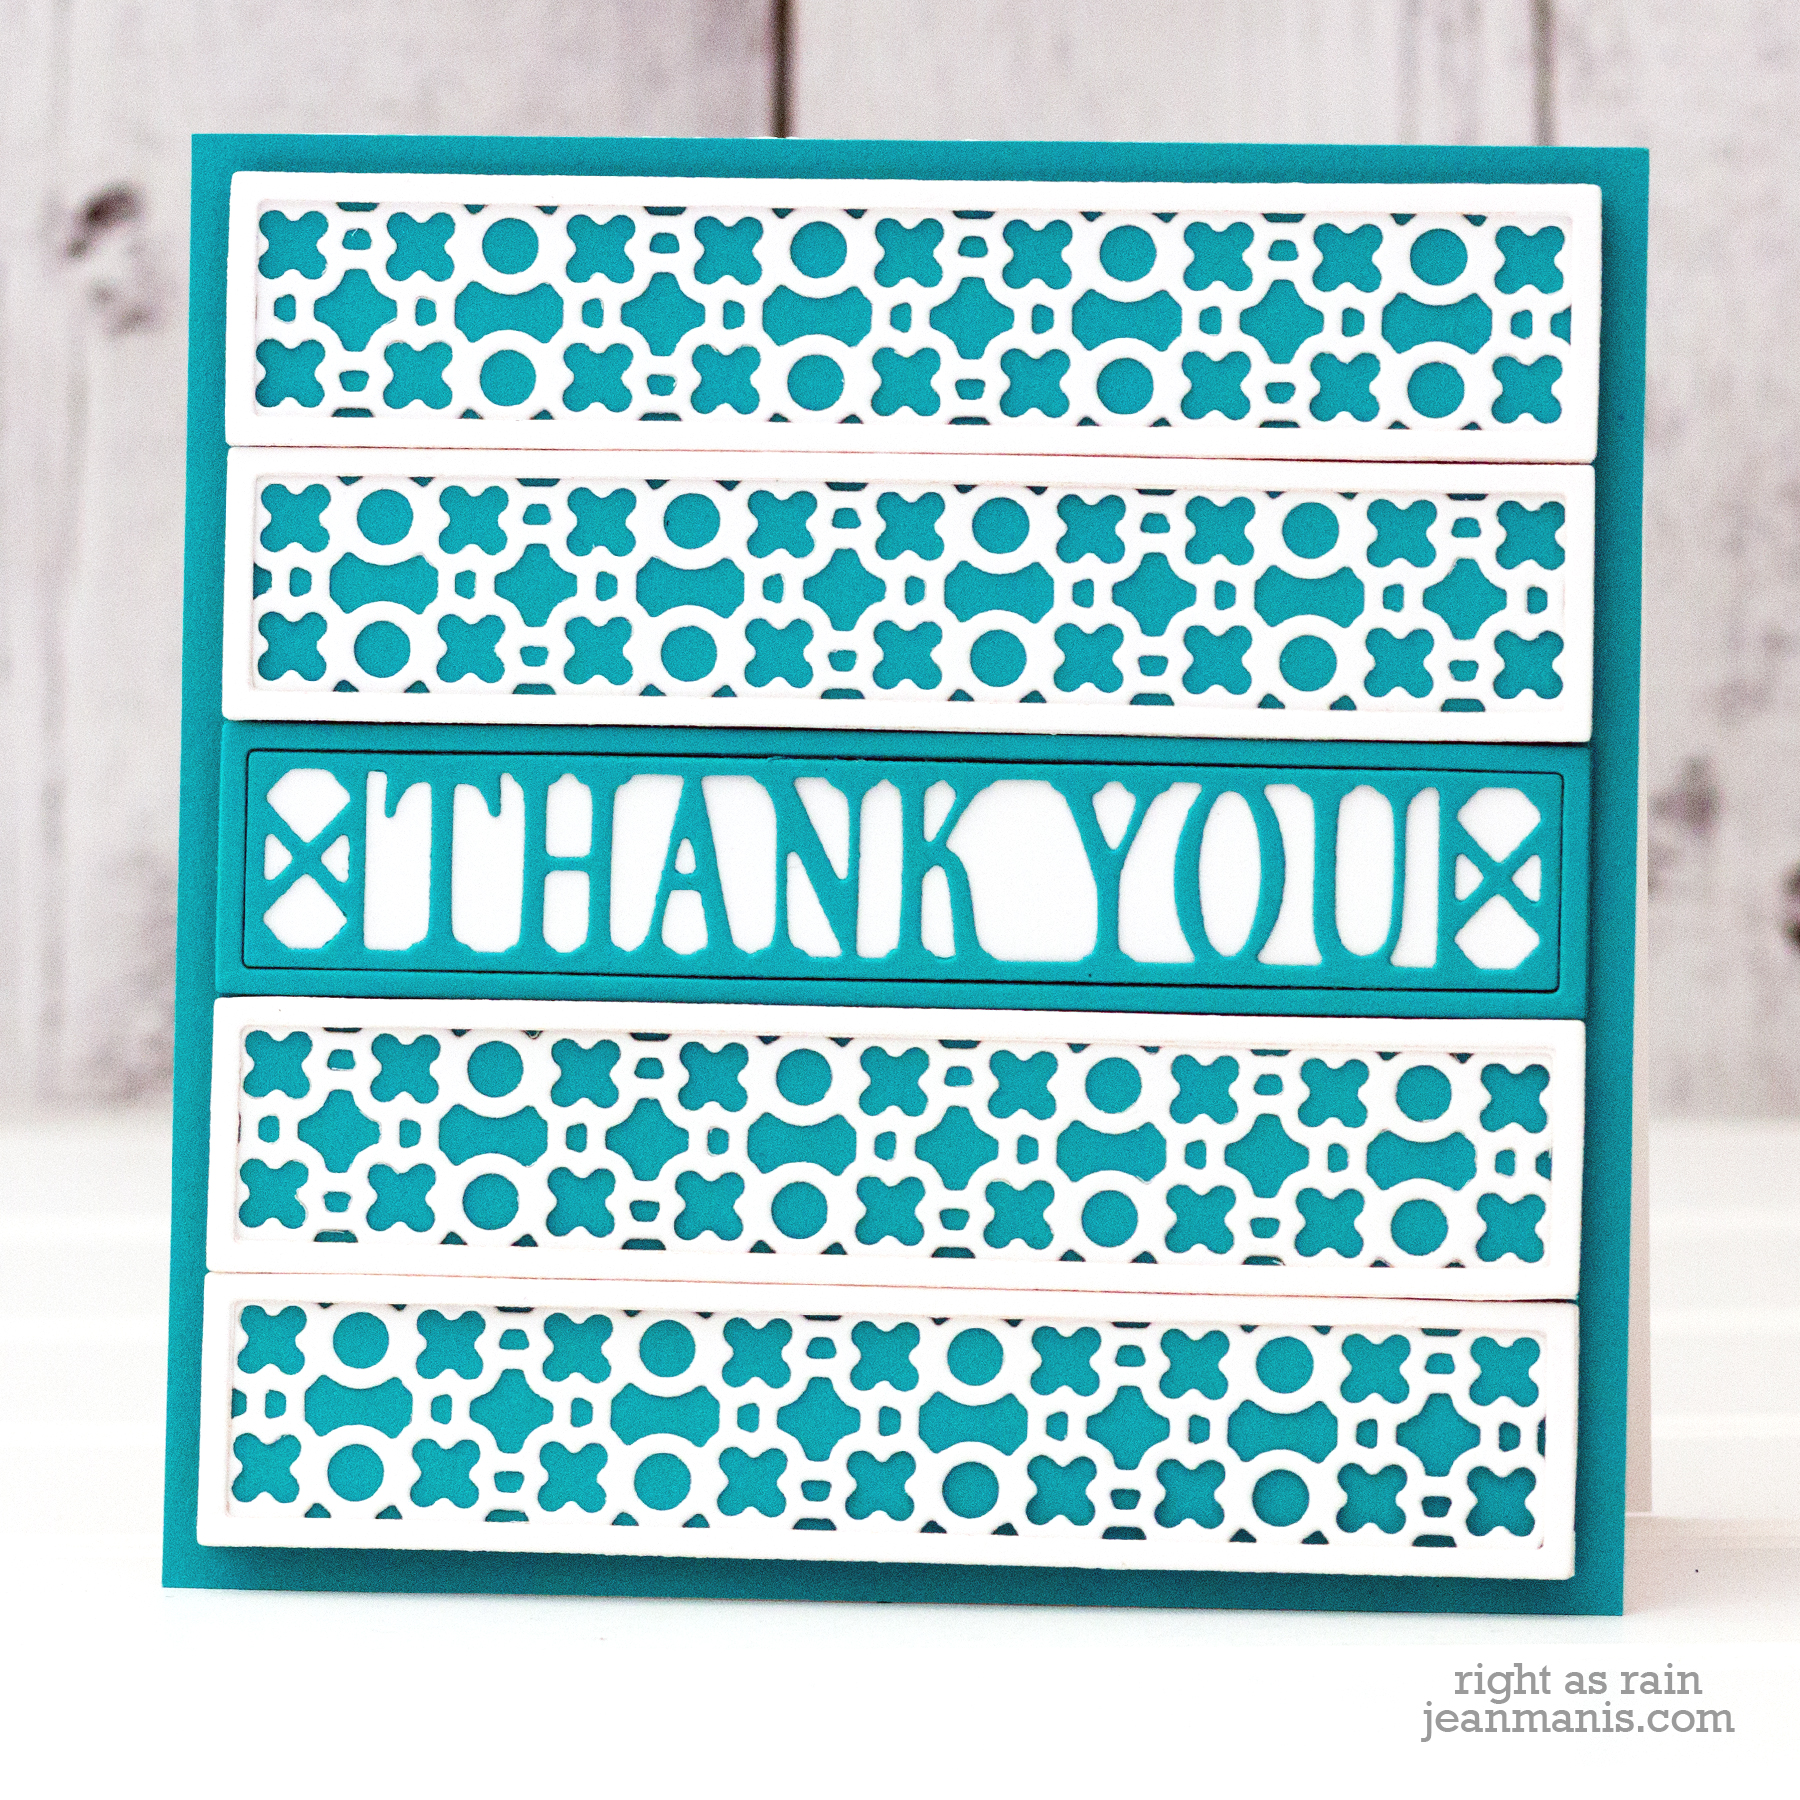
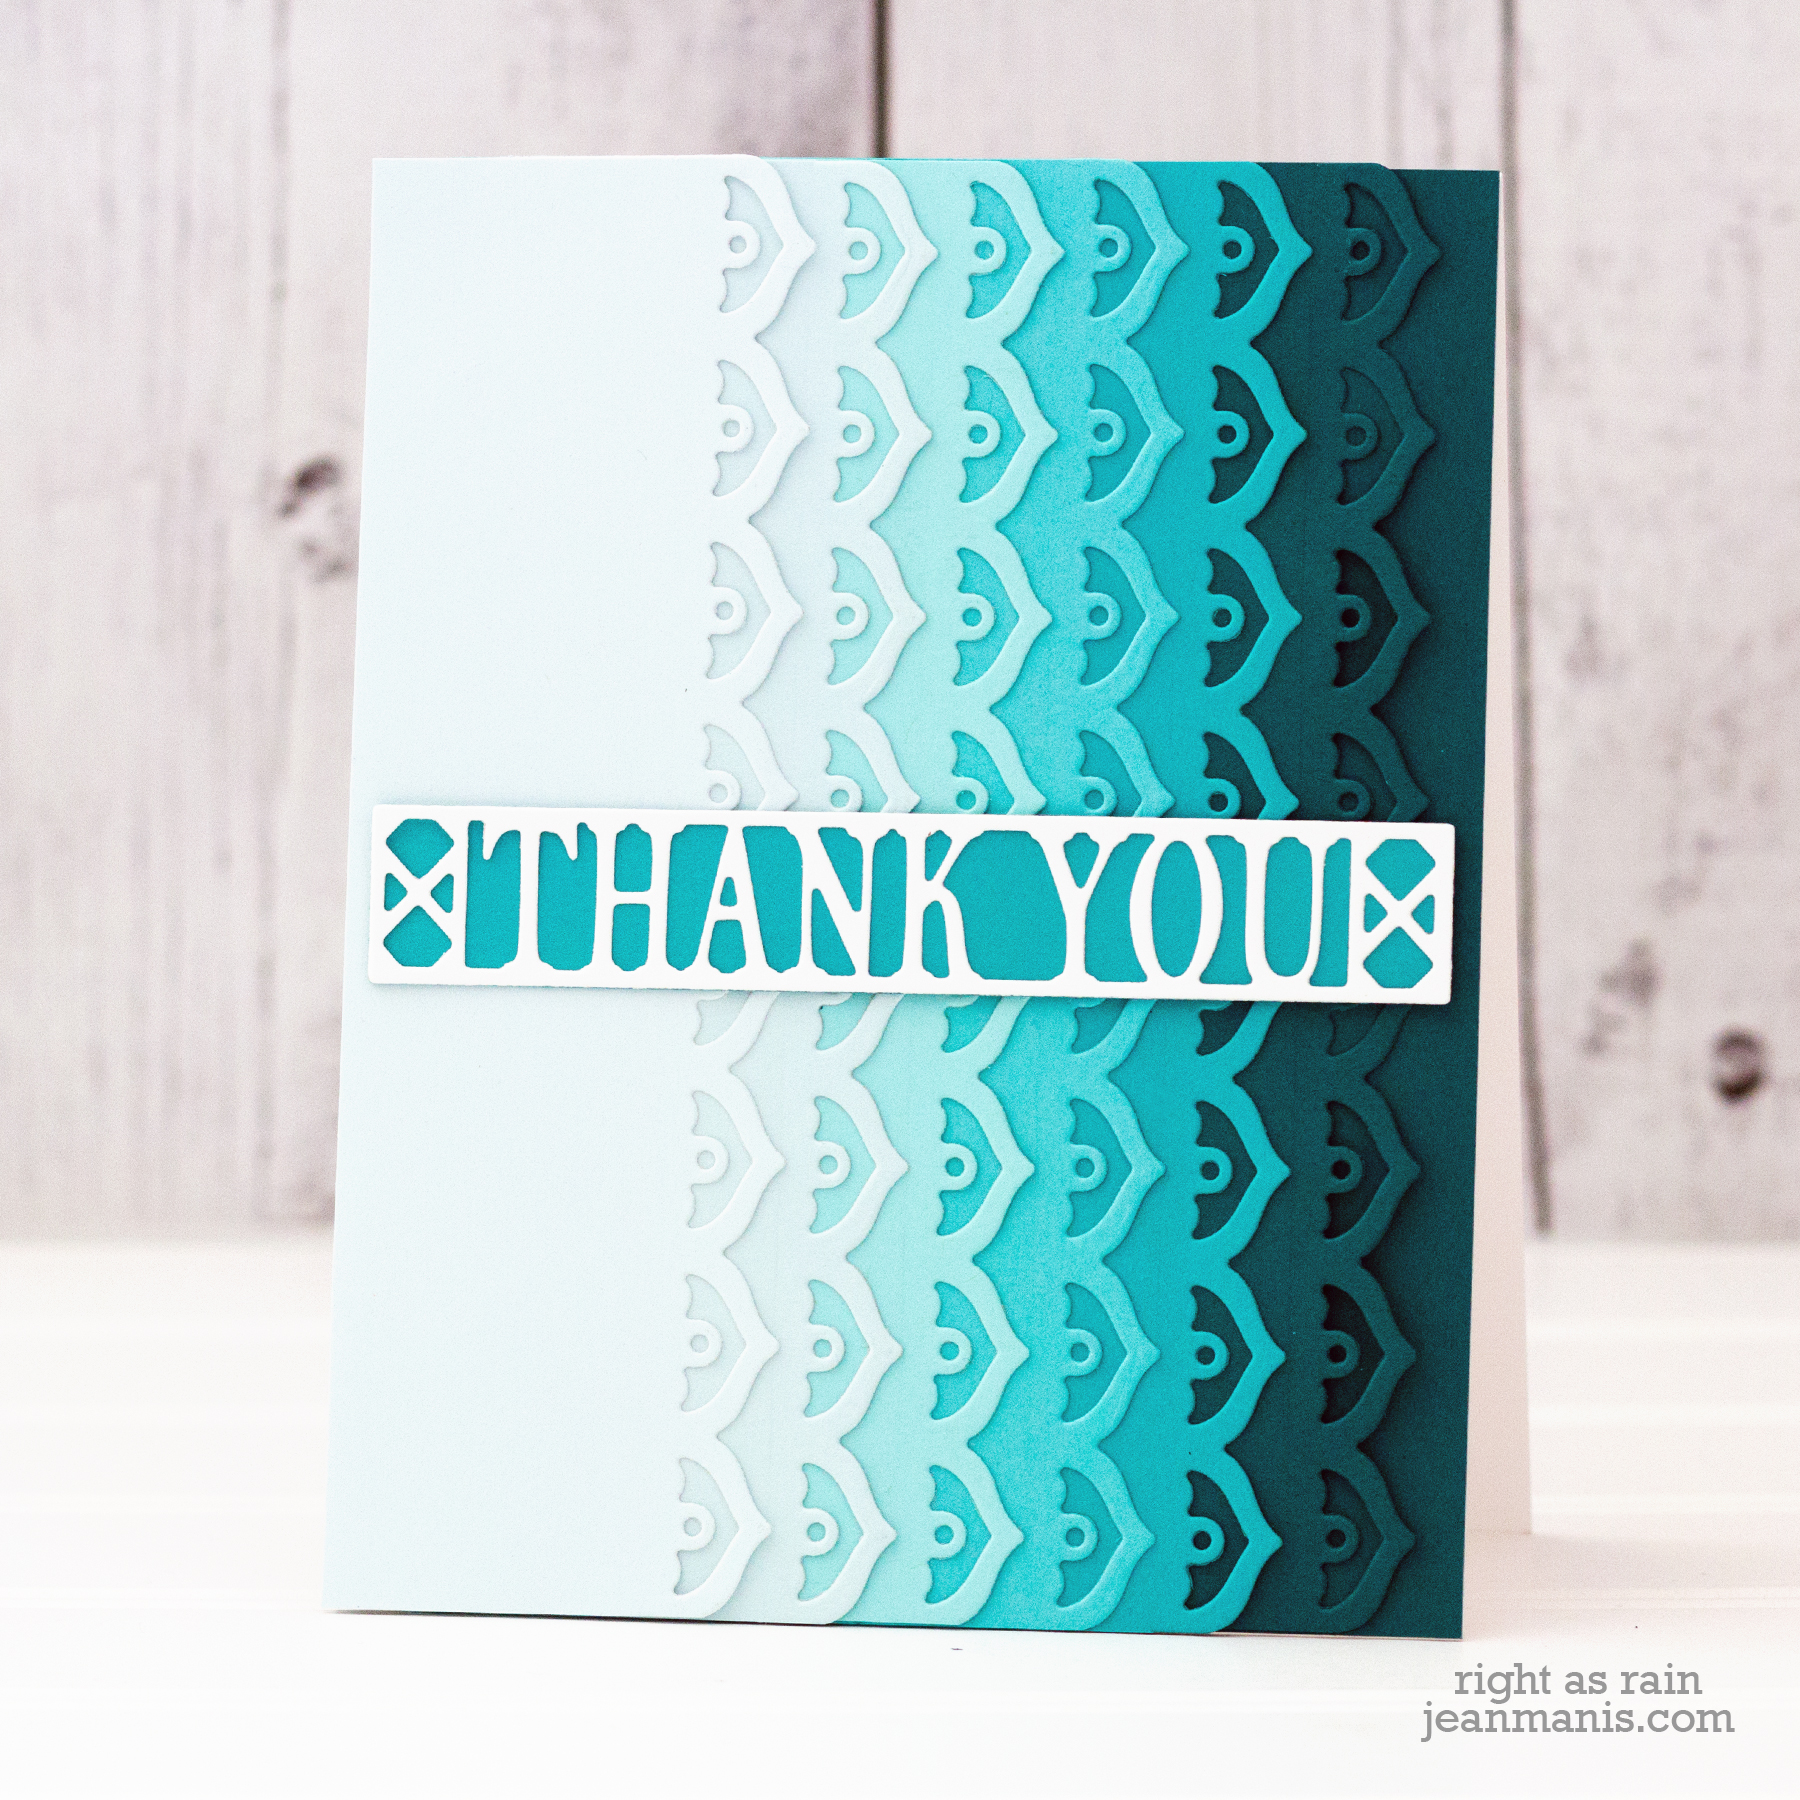
 Hello! Today, I am delighted to be participating in a blog hop along with other papercrafters sharing projects created with the Spellbinders May 2020 Club Subscriptions. You should have reached me from the blog of Jennifer Snyder. (The entire list of participants is listed at the end of my post.) For the hop, I created a card with the May Small Die of the Month kit from Spellbinders – “Stacked Decorative Edges.”
Spellbinders is giving away a $50 gift certificate to 3 lucky blog readers, selected from the comments on the Spellbinders blog. Hop along for additional chances to win. Giveaway closes Sunday, May 31, 11:59 pm EDT. The winner will be announced in the Spellbinders blog hop post the following Tuesday. The winner is responsible for shipping cost, duties, and taxes. Please note, the gift certificate cannot be applied to Club Subscriptions; it can be applied to shop past Club products, Club extras, and regular releases.
Additionally, I will be drawing a winner from the comments on my blog to receive a $25 gift certificate. Deadline is Friday, May 29 at 11:59pm EDT. The winner is responsible for shipping cost, duties, and taxes.
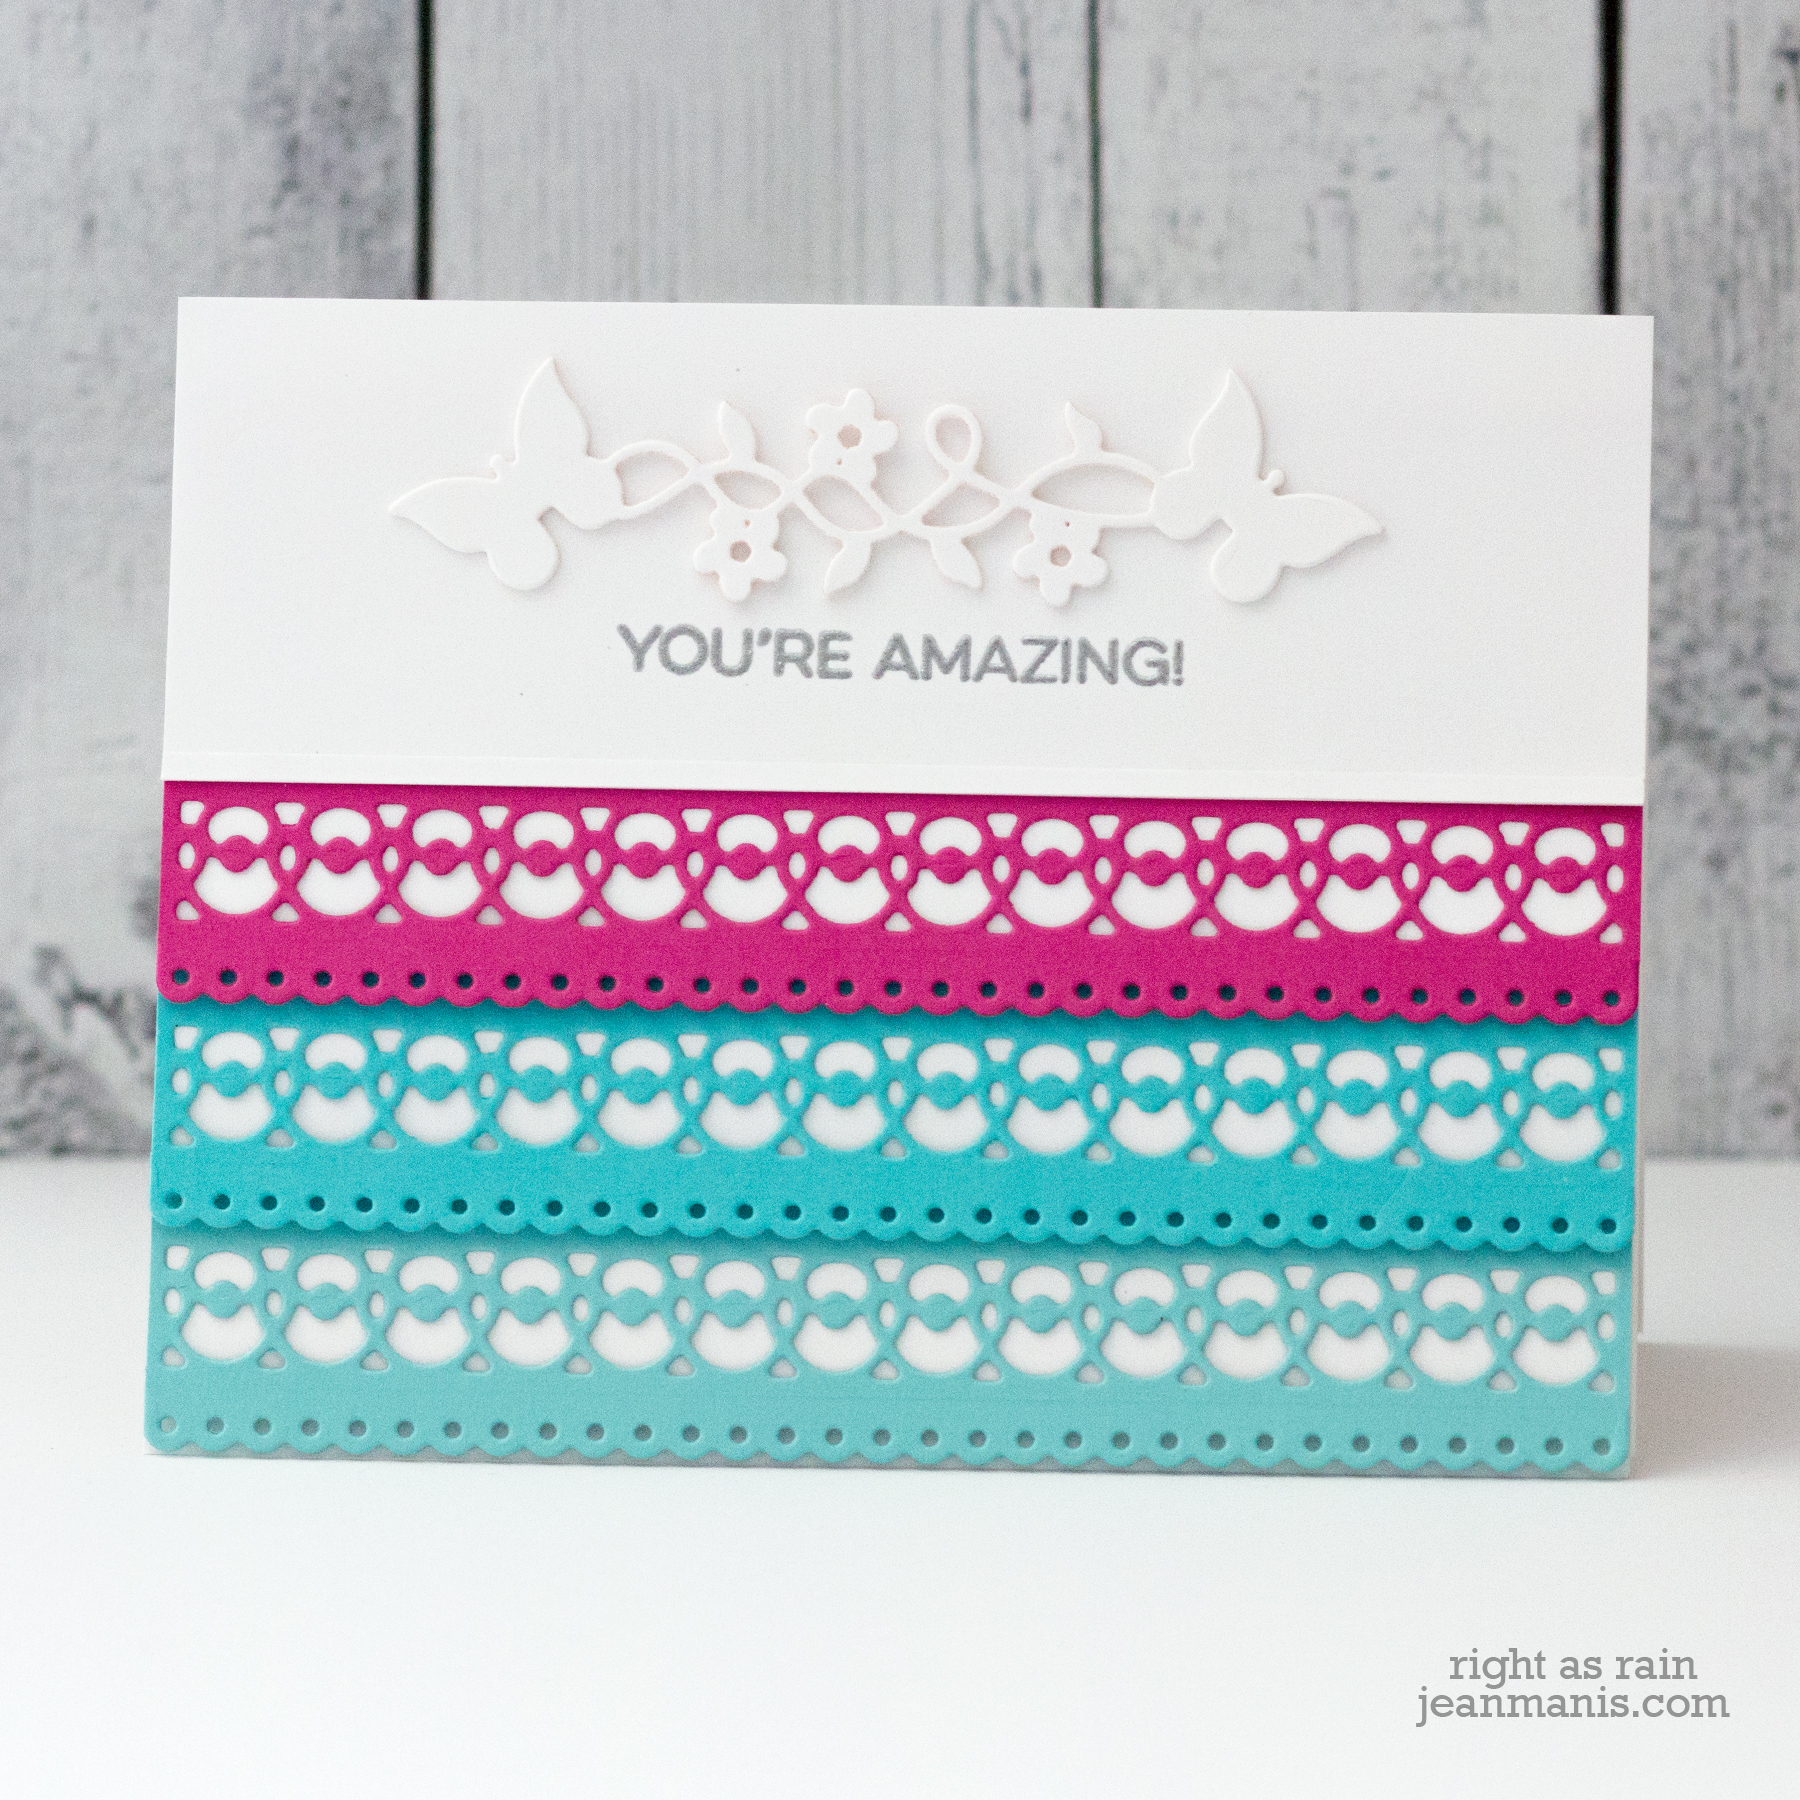
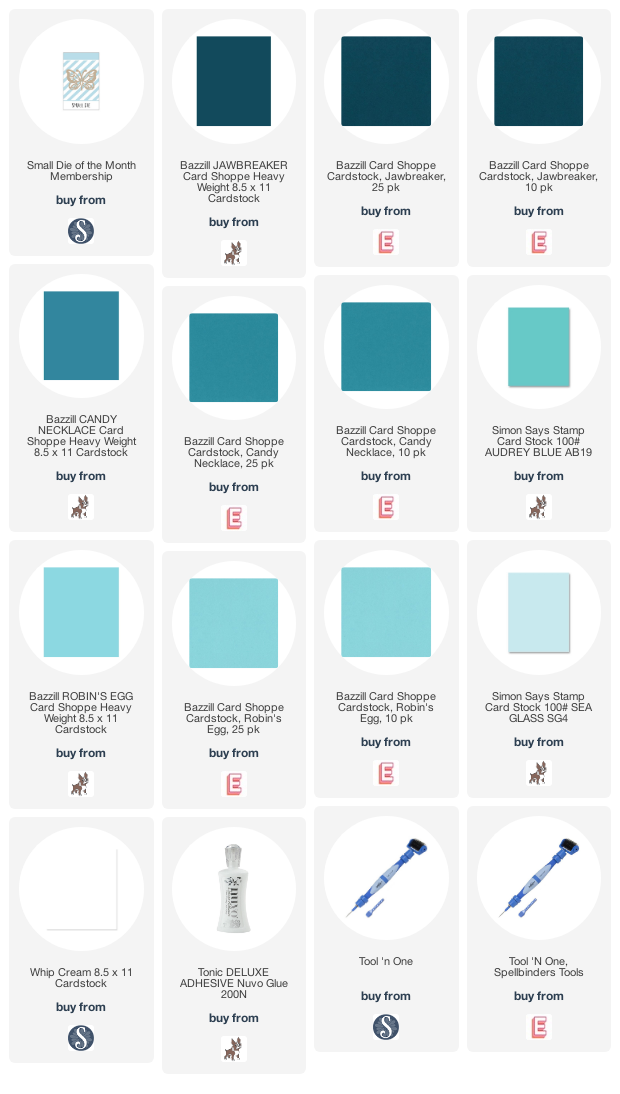
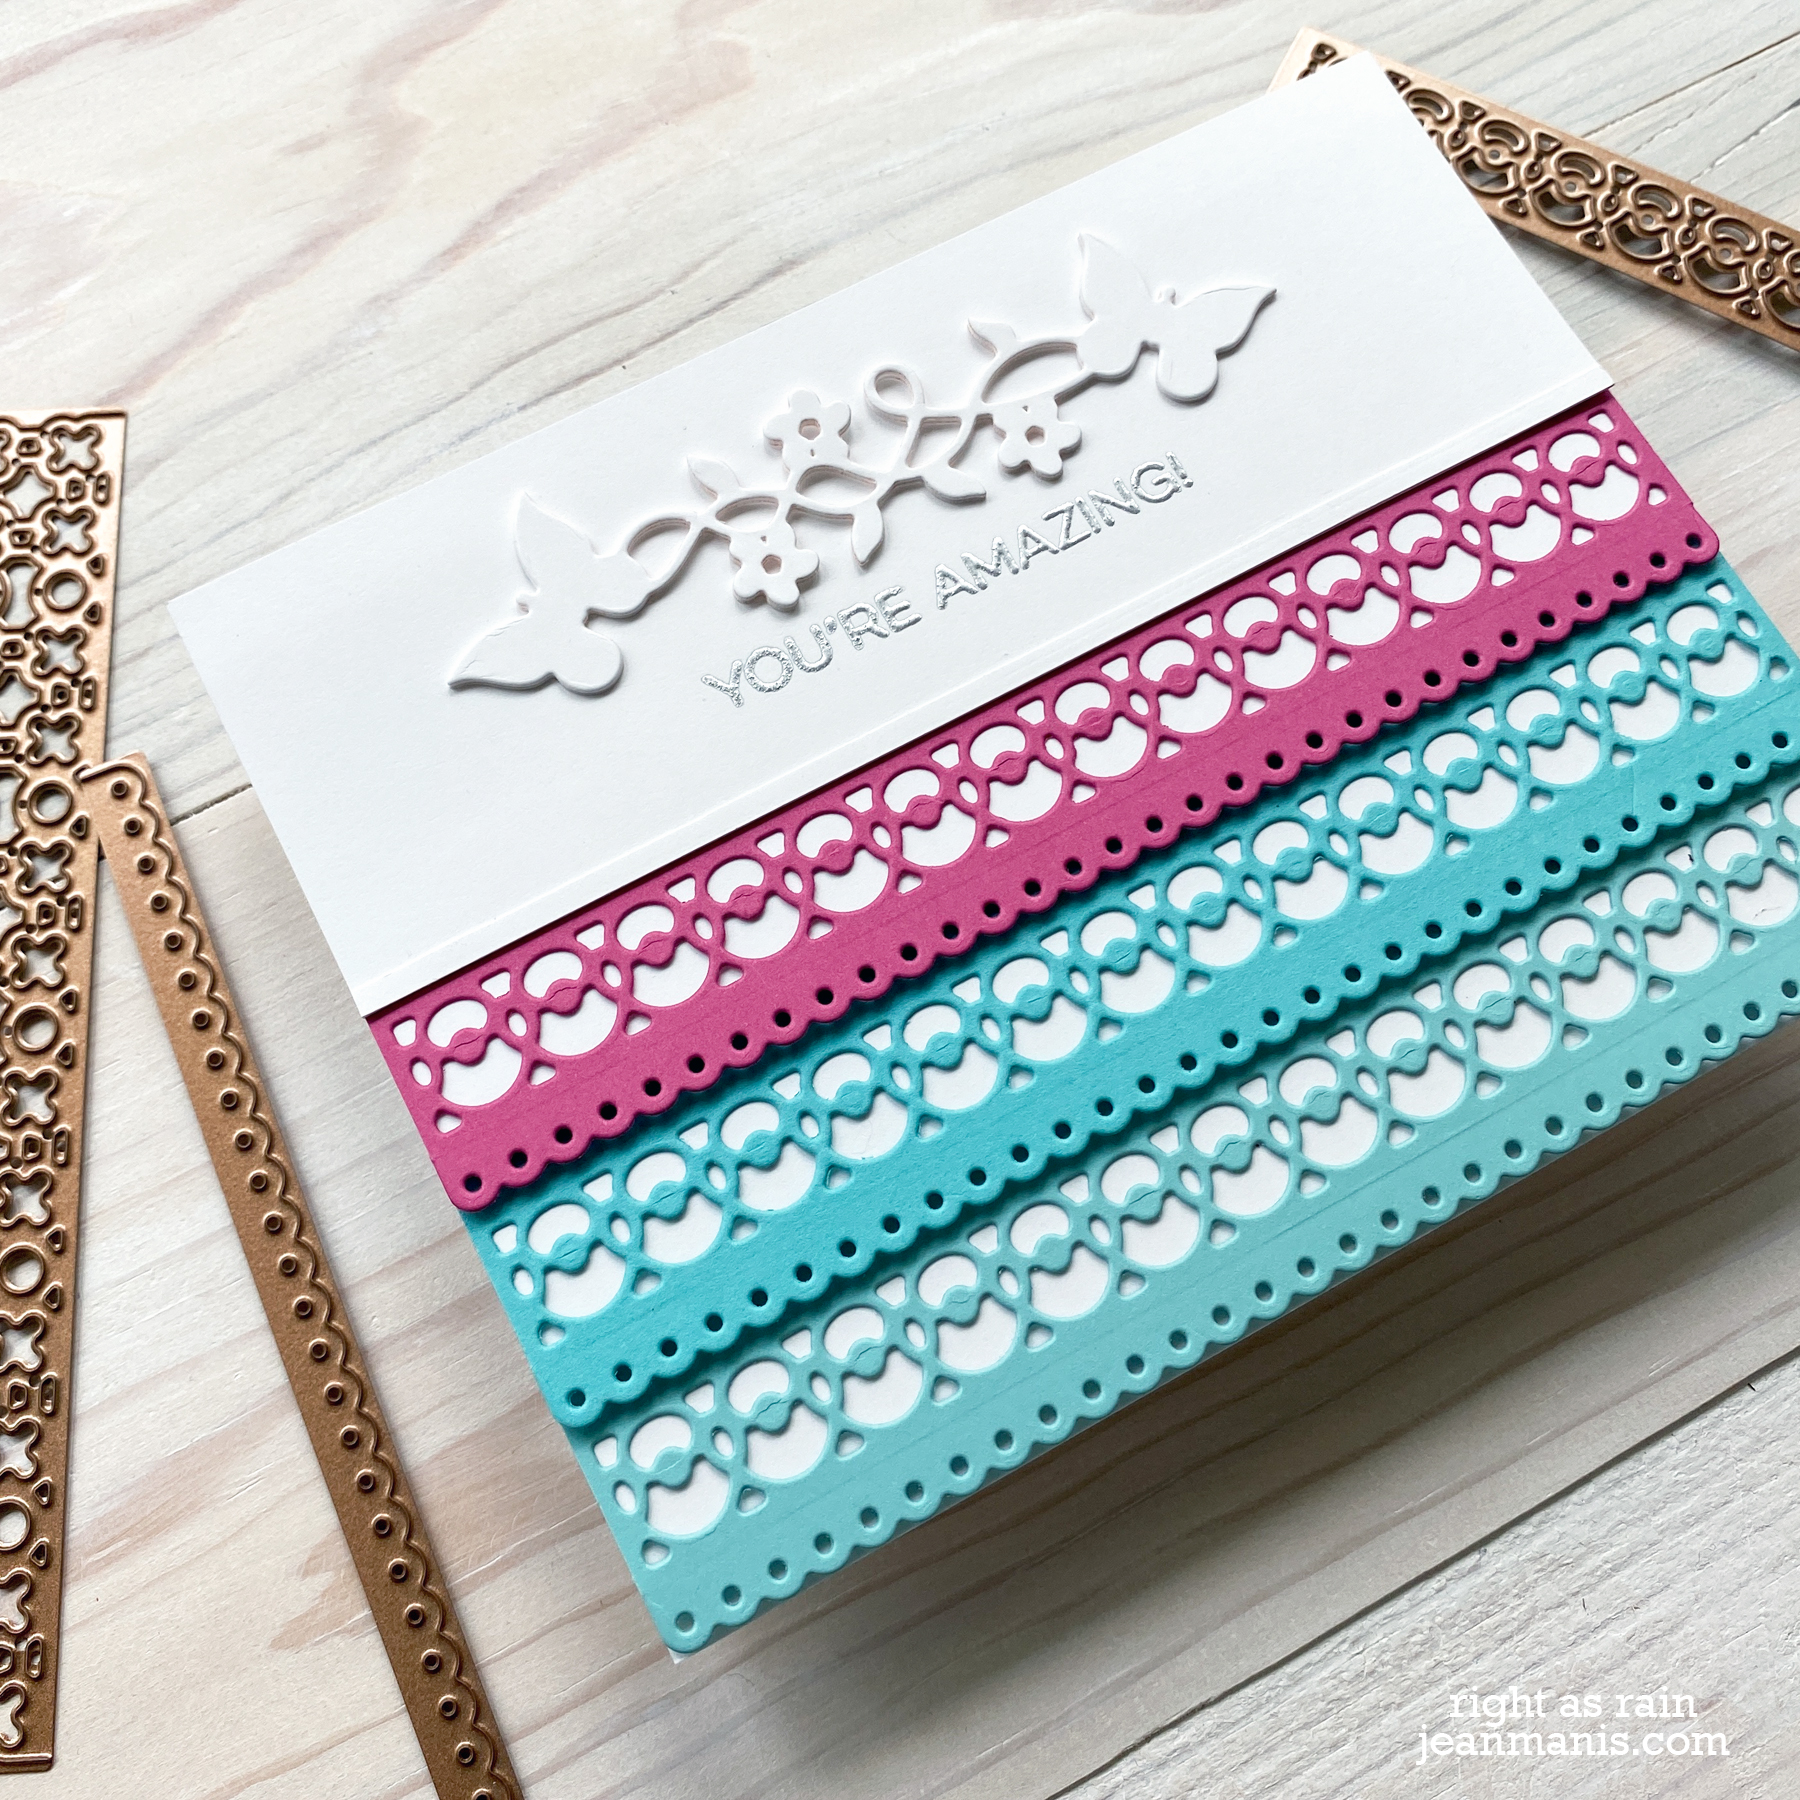
- To create my CAS card, I used two of the dies in the May Small Die of the Month set to cut detailed borders. The dies can be lined up together and cut simultaneously in a variety of combinations. I cut the borders from three different cardstock colors.
- I lined the backs of the die-cut borders with Whip Cream cardstock.
- I heat-embossed the sentiment in silver on to Whip Cream cardstock.
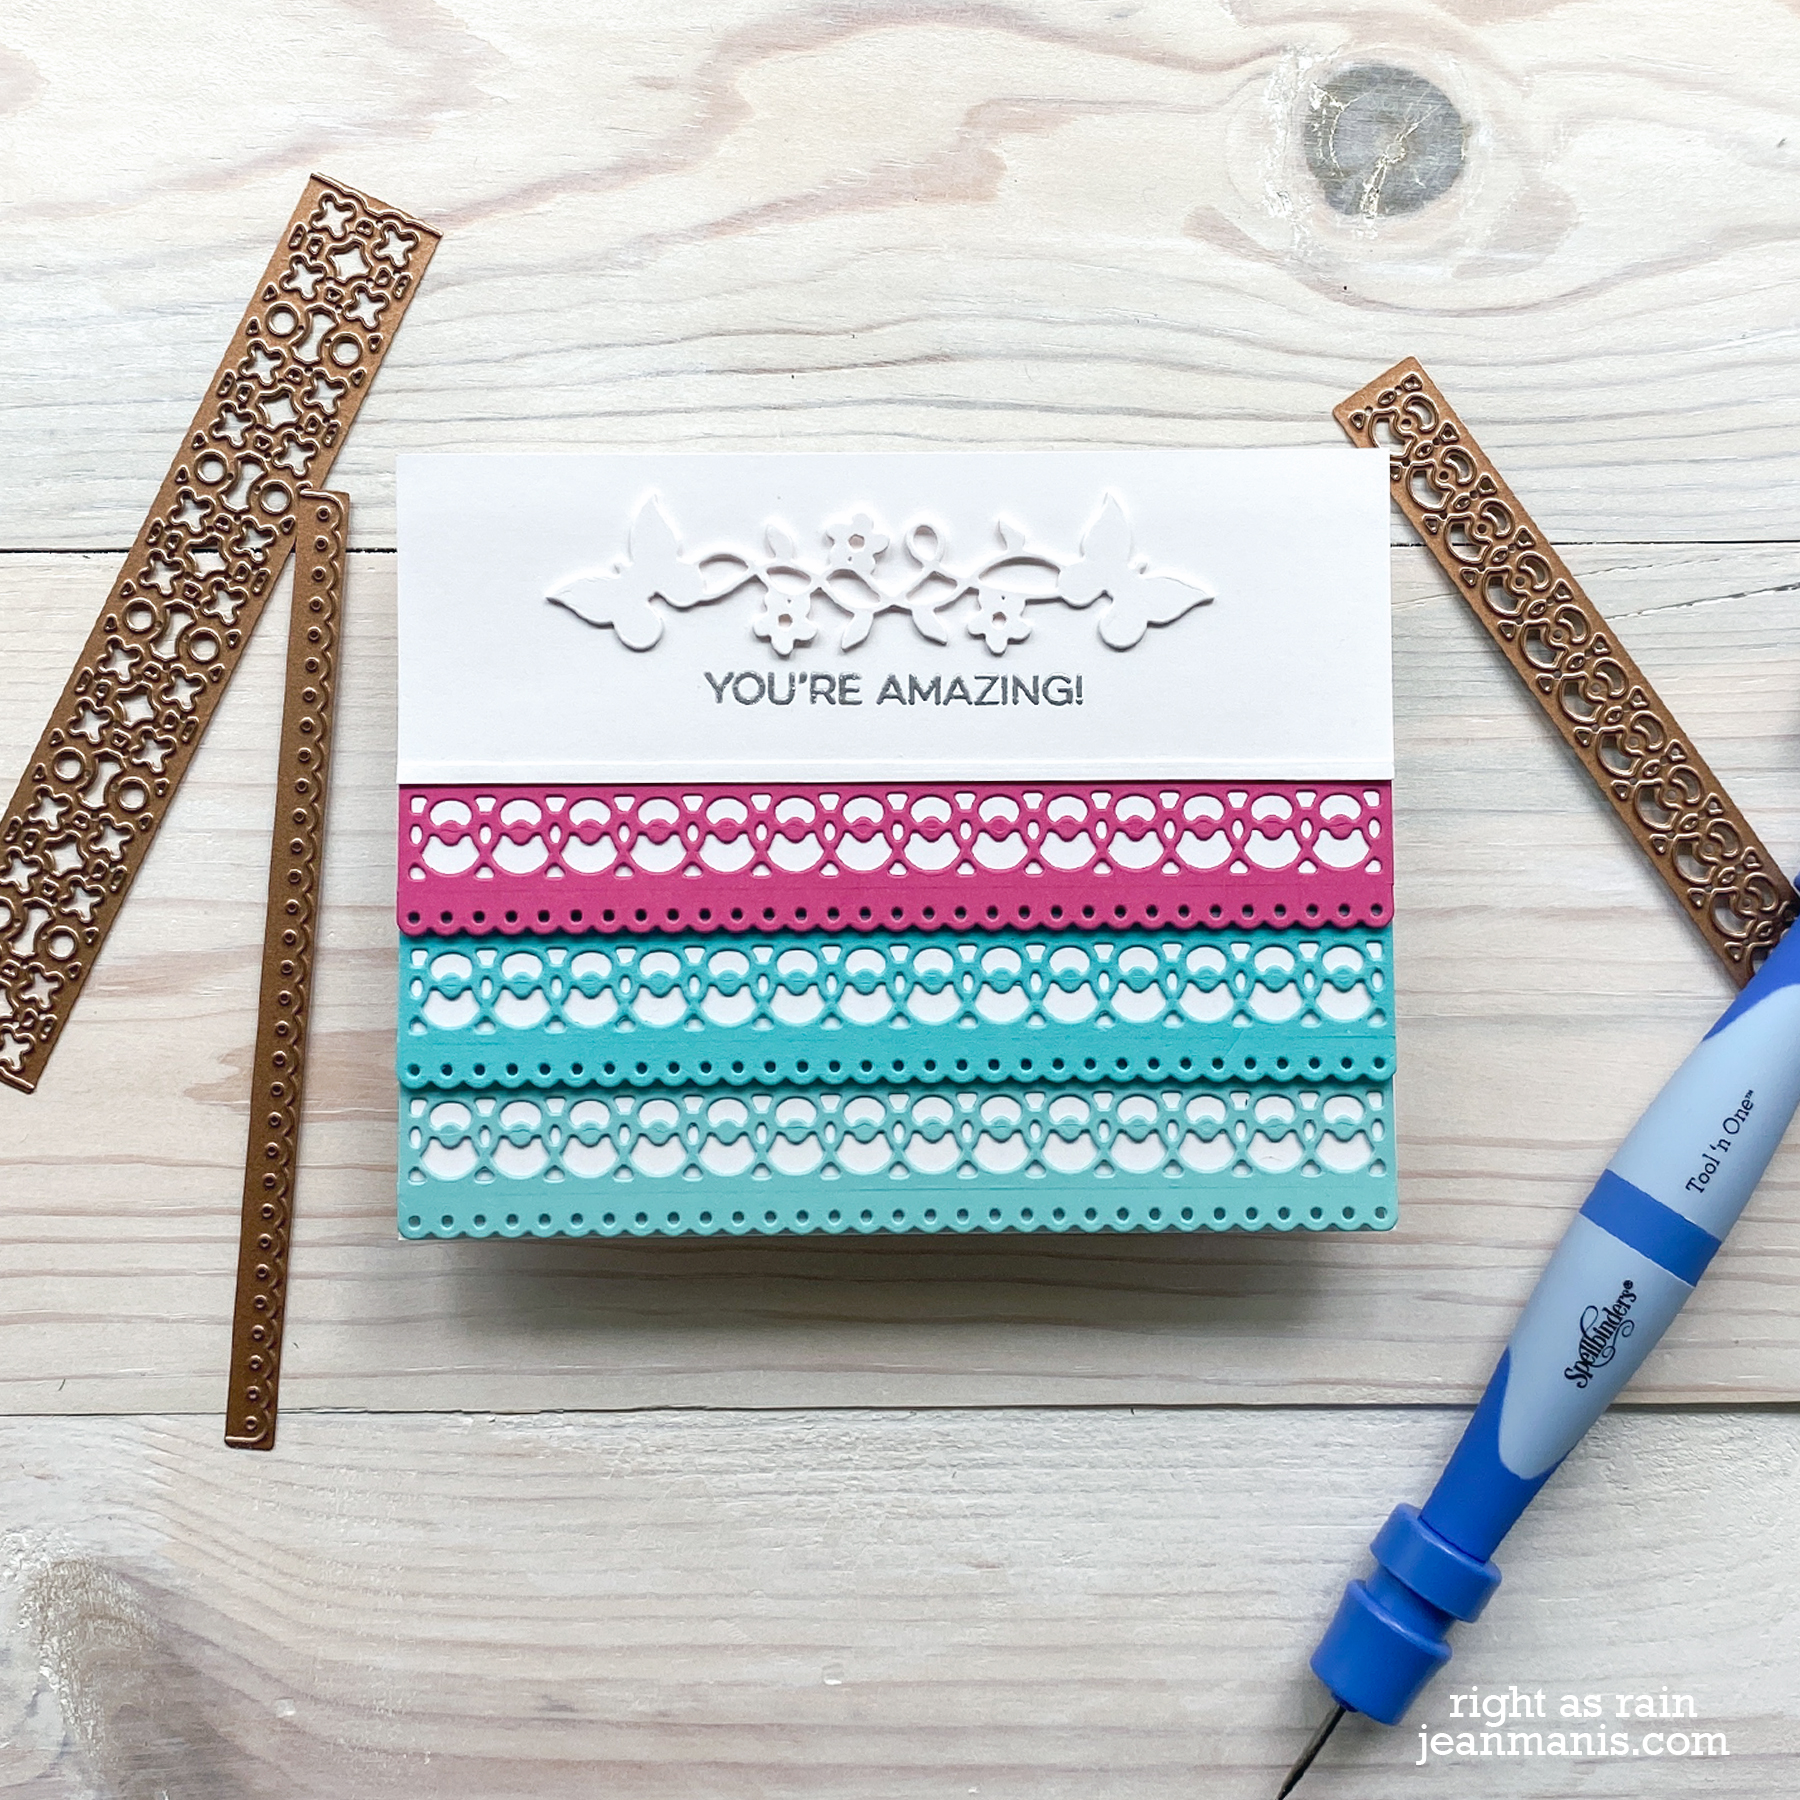
- I added the Butterfly Frame die-cut, cut three times for additional dimension, to the top of the card as a focal point.
- I assembled the card by adhering the panels on to a card base, starting with the bottom layer first.
- At the point where the white panel meets the pink detailed border, I added a thin strip of Whip Cream cardstock.
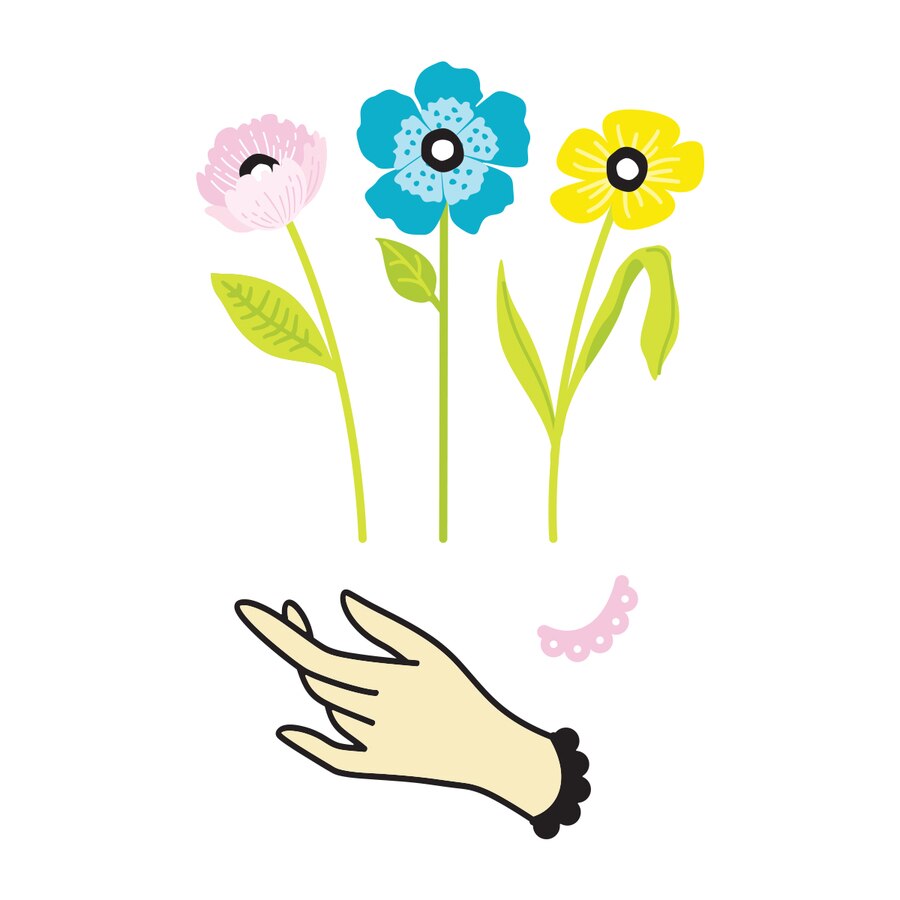
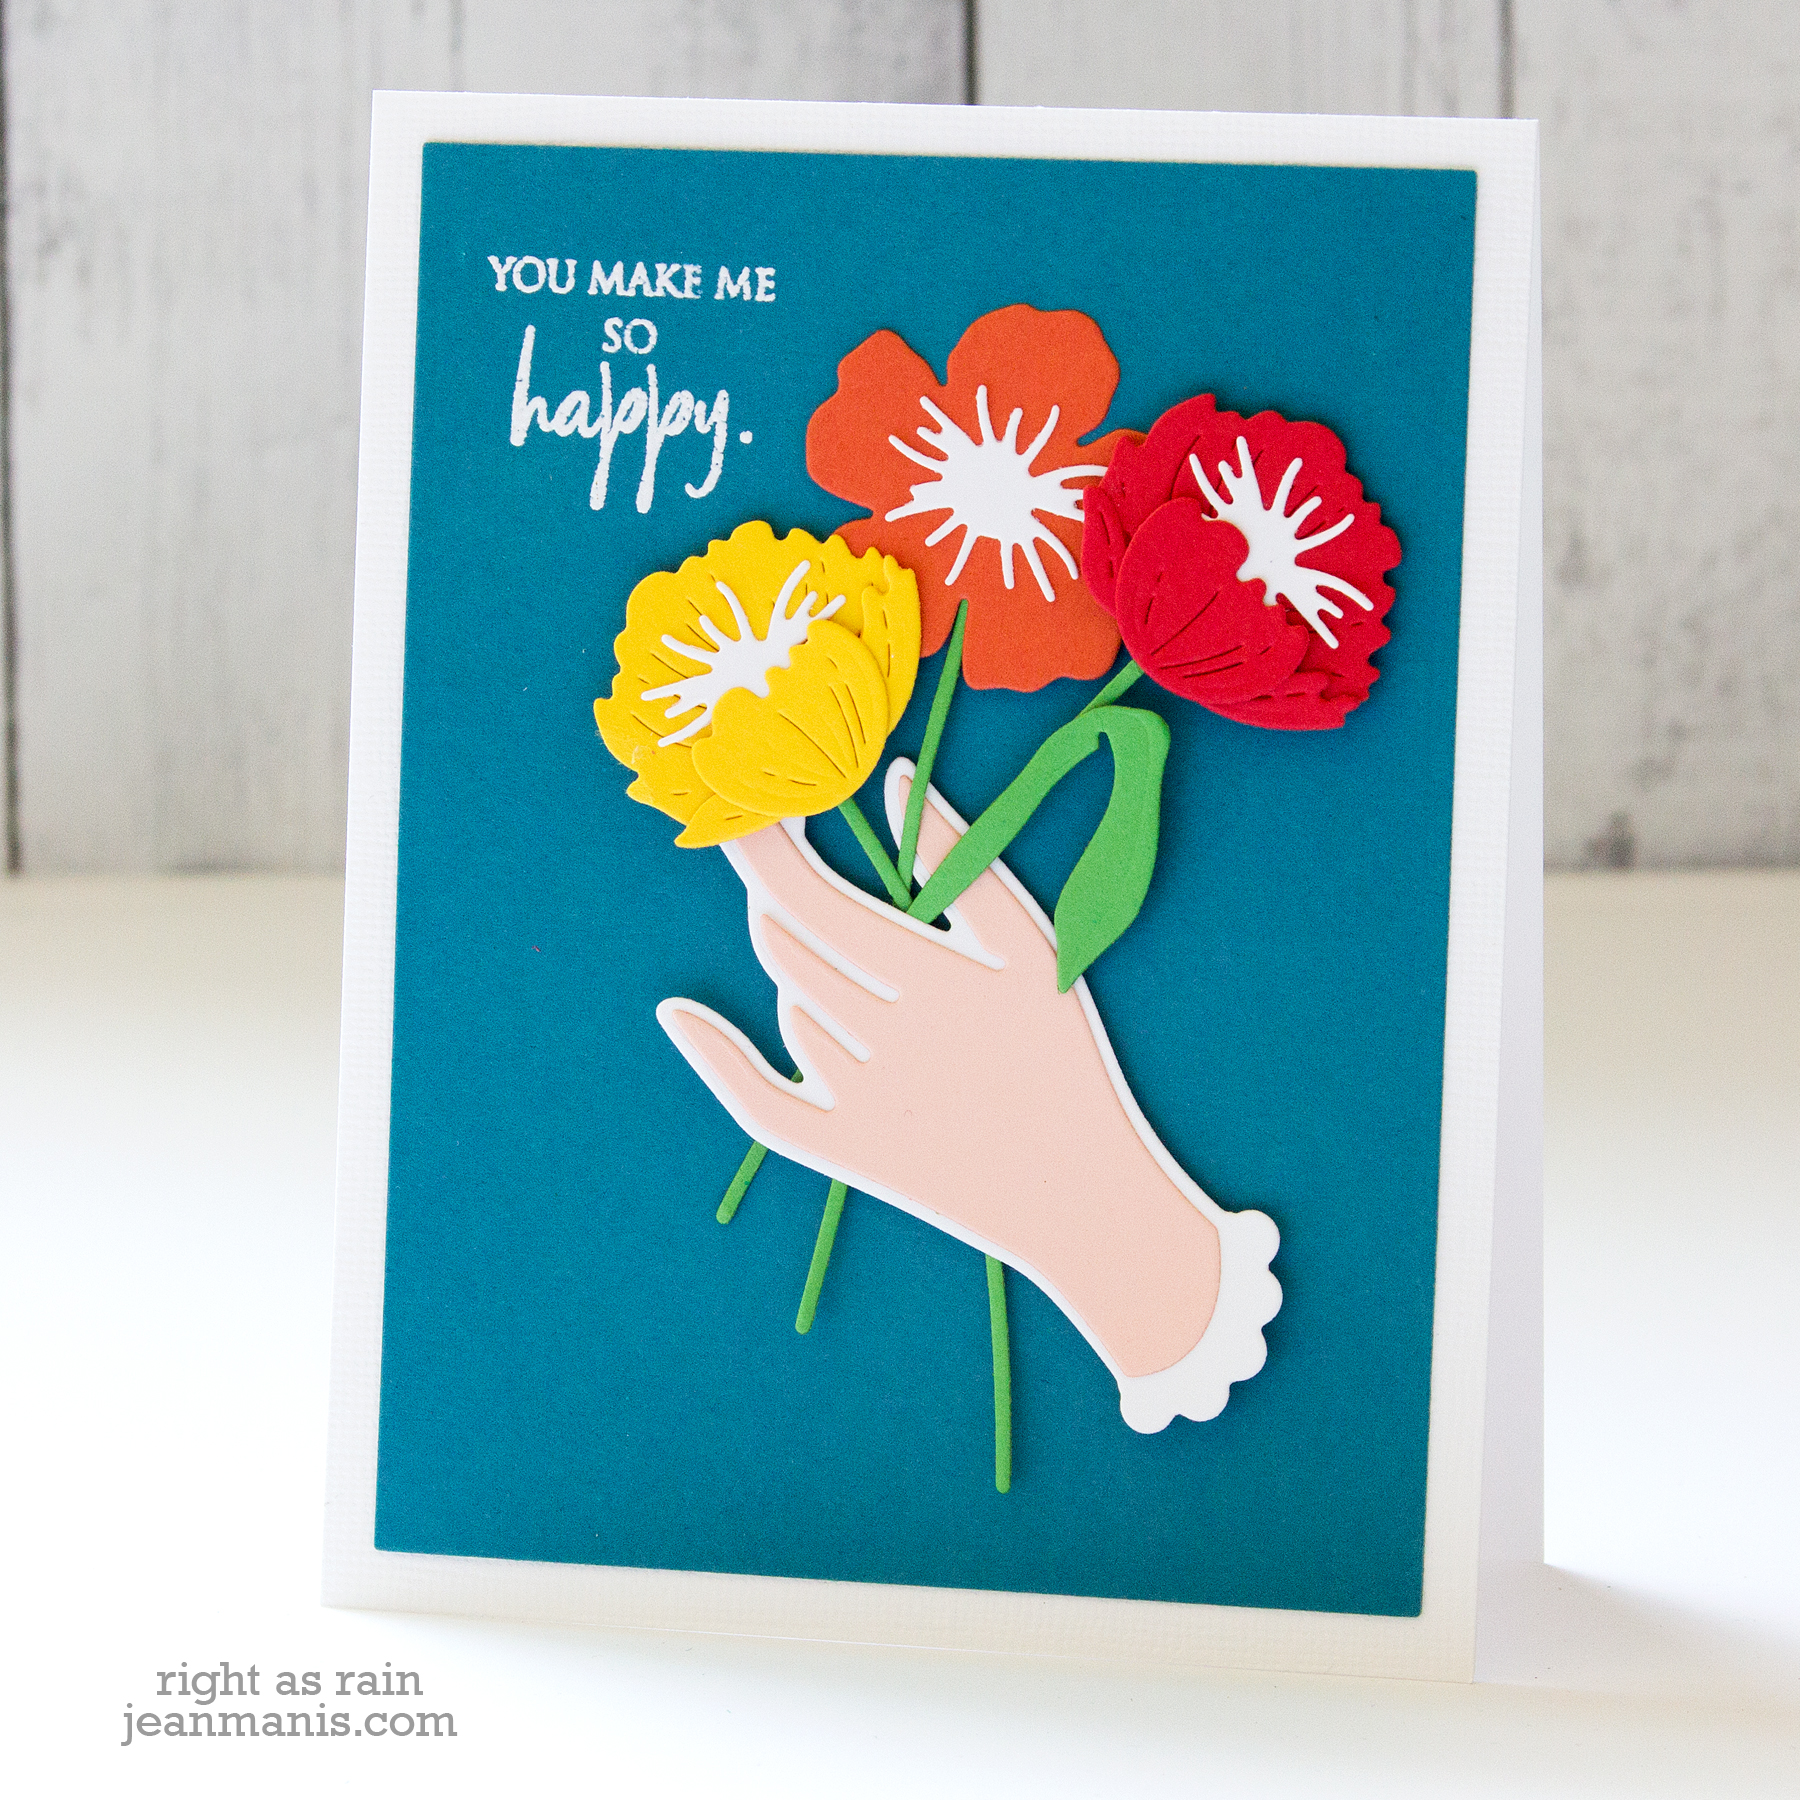
Looking for more inspiration with the Stacked Decorative Edges? I shared two CAS cards using the May Small Die of the Month kit in this post.
Head next to the blog of Virginia Lu.
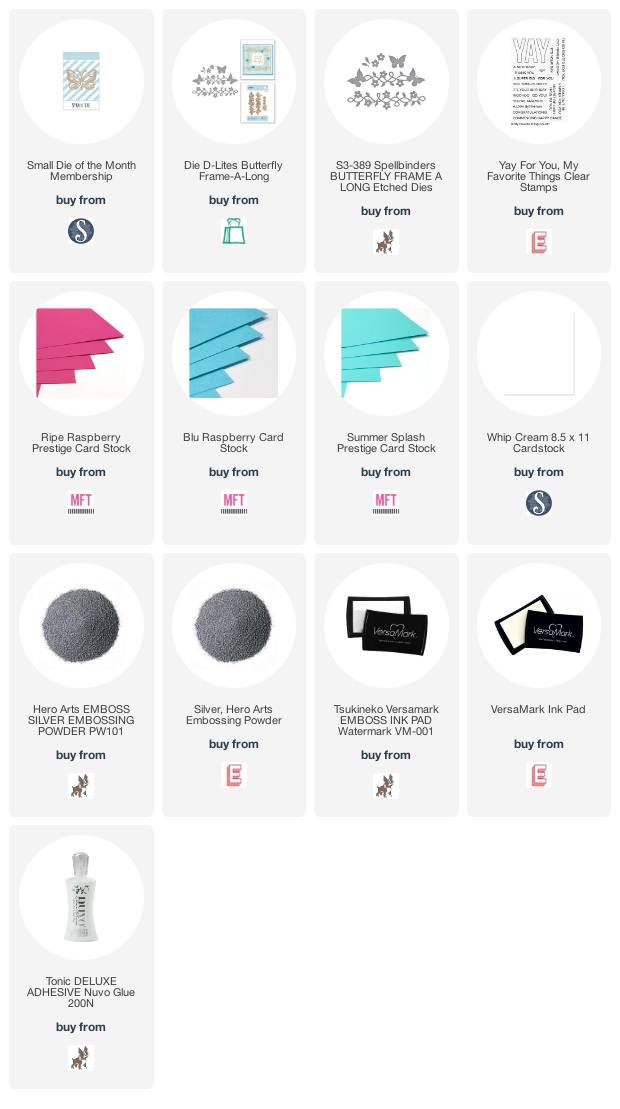
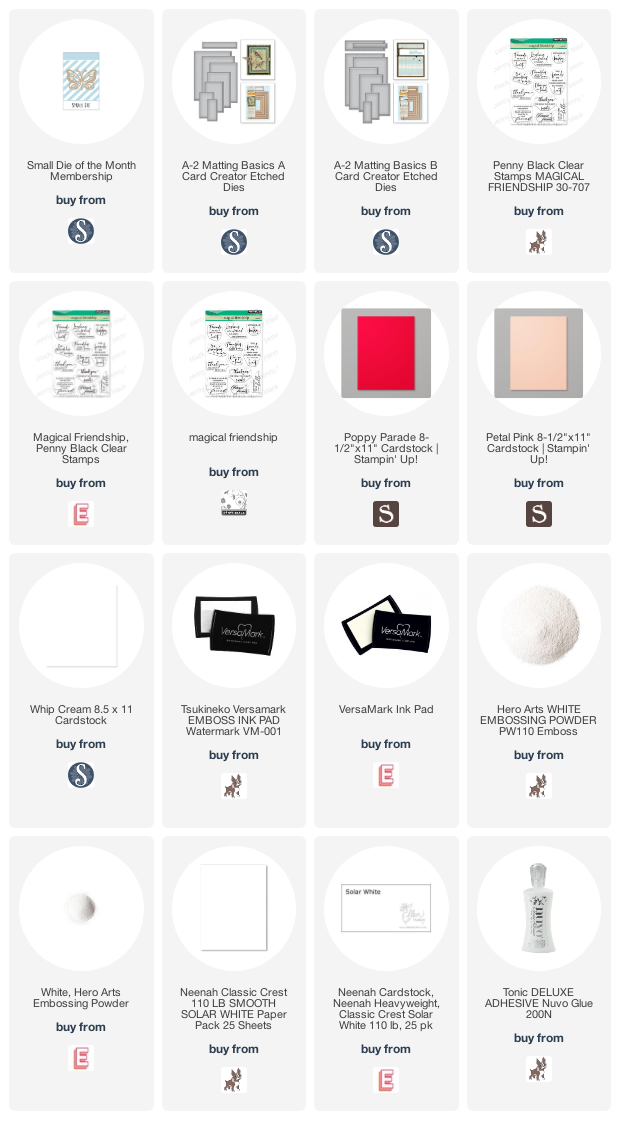
Supplies:
Blog Hop List:
Spellbinders Blog
Yana Smakula
Nichol Spohr
Tina Smith
Desiree Kuemmerle
Kathy Clement
Bibi Cameron
Jackie Pasko
Marie Heiderscheit
Jill Hilliard
Carrie Rhoades
Hussena Calcuttawala
Jennifer Snyder
Jean Manis
Virginia Lu
Jeanne Jachna
Ilina Crouse

 Hello! Today, I am delighted to be participating in a blog hop along with other papercrafters sharing projects created with the


