Taylored Expressions – You Make Life Sweet

Cardmaking and Scrapbooking with Jean Manis

Hello! Today, I am sharing a birthday card on which I combined a number of different Taylored Expressions stamp sets.
I stamped and heat-embossed with gold powder the Rosey Posey images on watercolor cardstock. I watercolored the flower petals with Distress Inks. Once dry, I cut the flowers with their corresponding dies. I stamped and heat-embossed flowers and foliage from the Happily Ever After stamp set and cut those with their corresponding dies.
For the background, I stamped the Striped Background with Cookie Monster ink on Cookie Monster cardstock. I stamped and heat-embossed the sentiment from Simply Stamped – Roses on a Sugar Cube cardstock strip.

Hello! Welcome to the Taylored Expressions February 2018 Release! All of the products that we have been sharing this week are now available in the TE store! Before you head off to shop, I have several more spring- and Easter-themed projects to show you.
My first project features the Floral Frame Cutting Plate paired with the Floral Frenzy stamps and dies.

I cut the plate and colored it with inks in various colors, masking pieces of the frame as I worked (including the outside edge). I stamped the Floral Frenzy sentiment and cut it out with the Floral Frame Cutting Plate so that it would fit inside the center. I added a few Floral Frenzy blooms and foliage cut with the Mini Bloomers and Bloomers Greenery die sets.

I created two CAS cards with the Quick Critters – Spring Stamp & Die Combo using the same design for both.

The card bases are patterned paper from the Playful Patterns – Sweet pack. I used the Cloud Nine Background to create the sky behind the animals, cutting it and the Build a Scene – Grassy Hills with one of the Egg Stacklets dies to reinforce the Easter theme.

I dry-embossed the Potato Chip cardstock rectangle with the Flower Power embossing folder.

I heat-embossed the sentiments on Lollipop cardstock and used one of the dies in the Banner Stacklets 1 set to cut them out.

For a limited time, earn DOUBLE CRAFTY POINTS on the Floral Frenzy Bundle! If you’re not a Crafty Points member, it’s free and easy to join. Just create an account at the TE webstore and you’re automatically enrolled to begin earning crafty points with every purchase. You’ll earn 100 Crafty Points on the purchase of our Floral Frenzy stamp and coordinating die set bundle! Offer valid on qualifying purchases made between 9am CST on Thursday, February 8, 2018 and 11:59 pm CST on Sunday, February 12, 2018 and only while supplies last. Crafty Points are only available on purchases made via our retail site: www.tayloredexpressions.com.

Thanks so much for stopping by! To see more projects with the new release and new product information, head over to the TE Blog for a complete list of the participating designers!
Hello! Welcome to Day 3 of the Taylored Expressions February 2018 Release Sneak Peeks. The spring- and Easter-themed products which I have been sneaking will be released tomorrow – Thursday, February 8 @ 7 AM PST!
My first project showcases the new Floral Frenzy set with corresponding dies. At the end of the post, you will find details about a promotion for the Floral Frenzy stamps and dies.
The Floral Frenzy set includes solid and detail stamp images. I stamped the floral solids first in a variety of ink colors and then followed with the detail image in Oreo ink. I cut the blossoms and leaves with their corresponding dies. For the background, using the Clarity Stencil Brushes, I added Potato Chip ink from the top and Sprinkles ink from the bottom. I then stamped the sentiment with Oreo ink. I laid out the bouquet and then using the Press ’N Seal technique to pick the floral pieces up off the background. I added adhesive to the backs of the die-cuts and then placed the bouquet back down.

For my second project today, I have created a fireplace scene decorated for spring with the Sitting Pretty – Spring Accessories set.

I cut the Sitting Pretty – Spring Accessories pieces from cardstock in a variety of spring-inspired colors and assembled them with Ranger Multi Medium Matte. I dry-embossed the Salt Water Taffy background with the Bead Board embossing folder and added a strip of the Playful Patterns – Sweet paper at the base. I die-cut the Welcome Spring Banner and one of the Skinny Mini Spring Borders to decorate the front of the mantel (and serve as the card’s sentiment).
For a limited time, earn DOUBLE CRAFTY POINTS on the Floral Frenzy Bundle! If you’re not a Crafty Points member, it’s free and easy to join. Just create an account at the TE webstore and you’re automatically enrolled to begin earning crafty points with every purchase. You’ll earn 100 Crafty Points on the purchase of our Floral Frenzy stamp and coordinating die set bundle! Offer valid on qualifying purchases made between 9am CST on Thursday, February 8, 2018 and 11:59 pm CST on Sunday, February 12, 2018 and only while supplies last. Crafty Points are only available on purchases made via our retail site: www.tayloredexpressions.com.

Taylored Expressions is celebrating Release Week with a giveaway during each day of sneak peeks! Visit the TE Blog to answer Taylor’s Question of the Day for a chance to win one of the latest products before you can buy it!

Thanks for visiting! On the TE Blog you will see more projects and product information, as well as a complete list of participating

Hello! Welcome to Day 2 of the Taylored Expressions February 2018 Release Sneak Peeks. The spring- and Easter-themed products will be released Thursday, February 8 @ 7 AM PST!
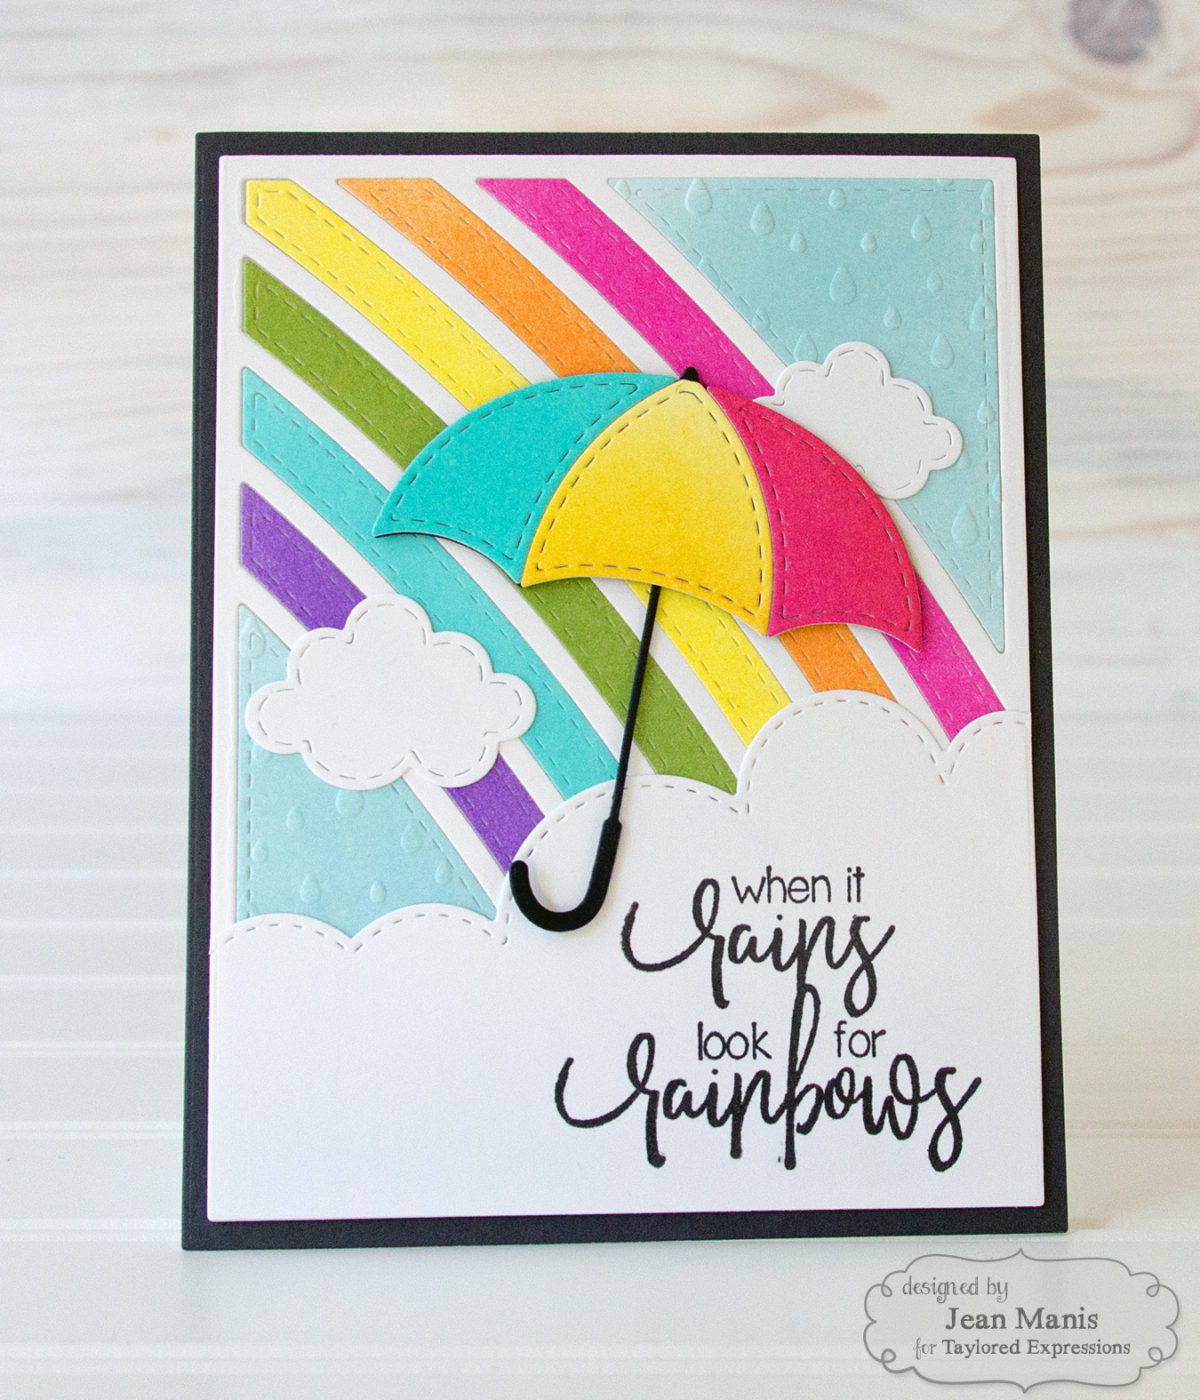
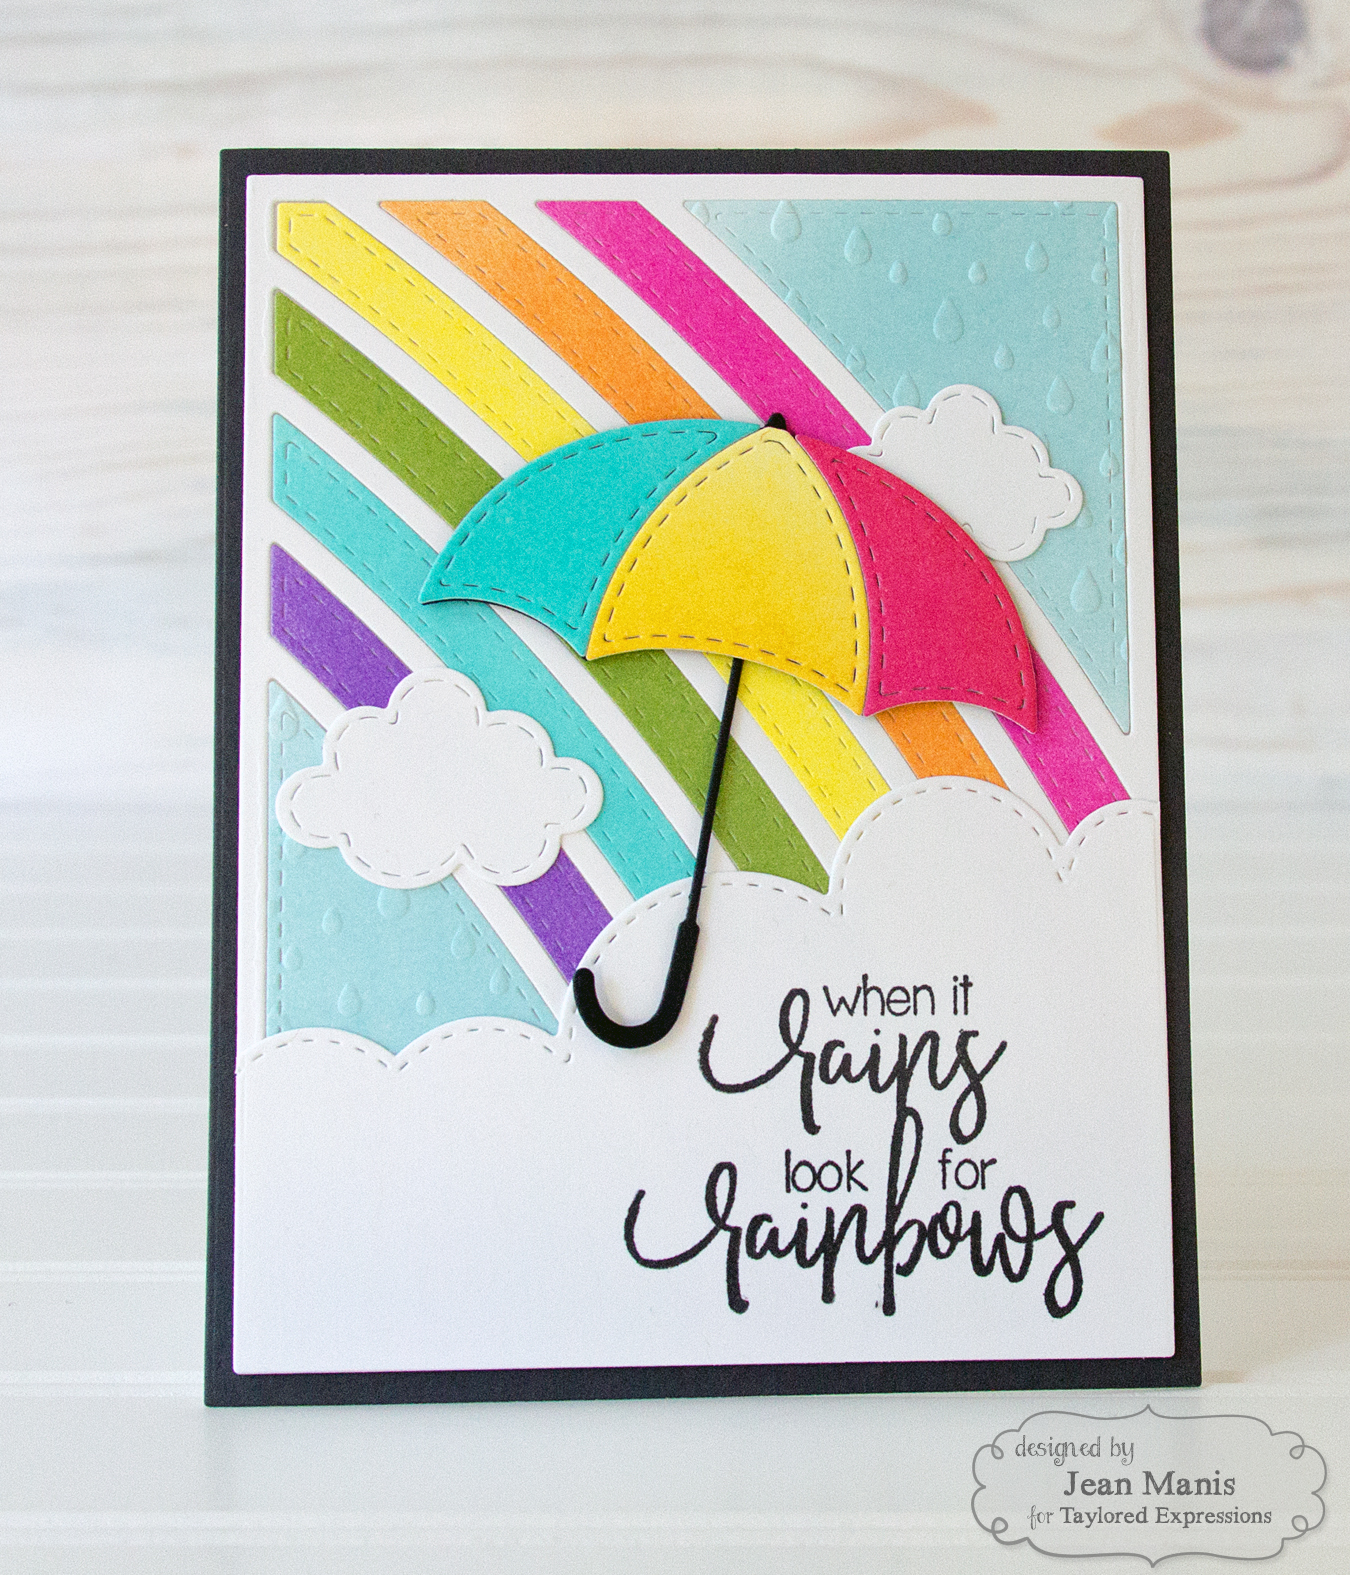
For my first project, I created an encouragement/friendship card combining die-cuts, new and old, and a fabulous sentiment from Rain or Shine.
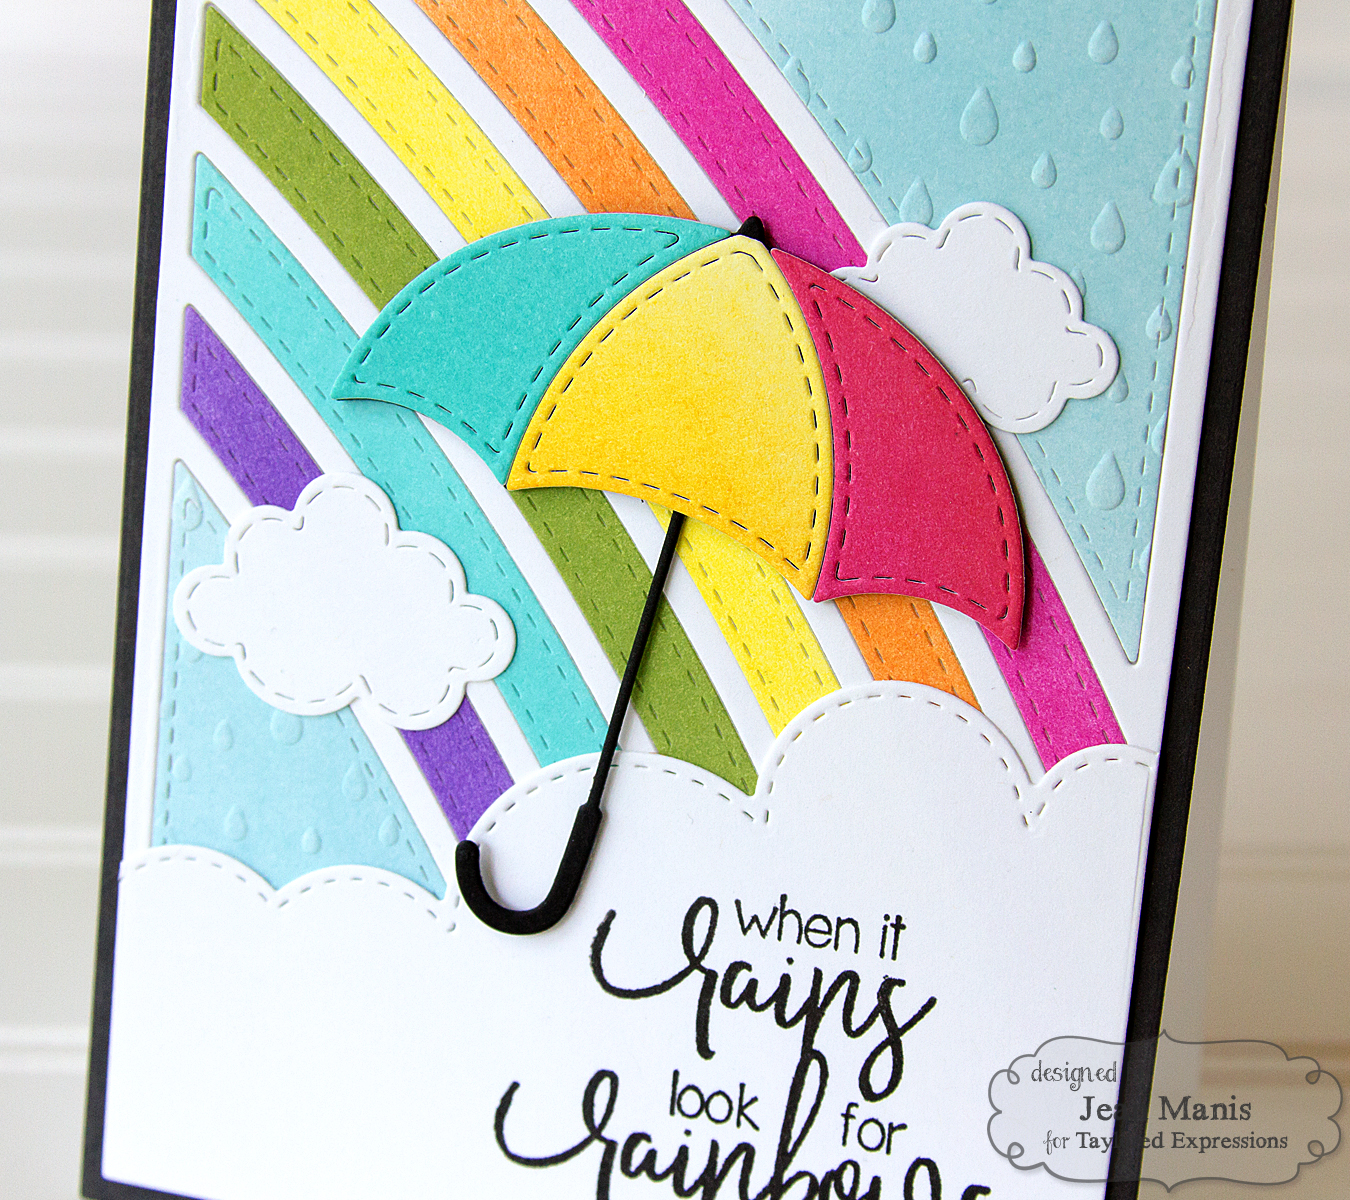
I colored Sugar Cube cardstock with a variety of TE inks to create the colors of the rainbow, which I cut with the Rainbow Cutting Plate. I used the Raindrops embossing folder to add texture to panels in the upper-right and lower-left corners. I cut the When It Rains umbrella from Oreo cardstock and inked cardstock. I stamped the Rain or Shine sentiment and then cut it with the one of the Build-a-Scene Rolling Clouds dies. I also added clouds cut with the Stitched Cloud Duo.

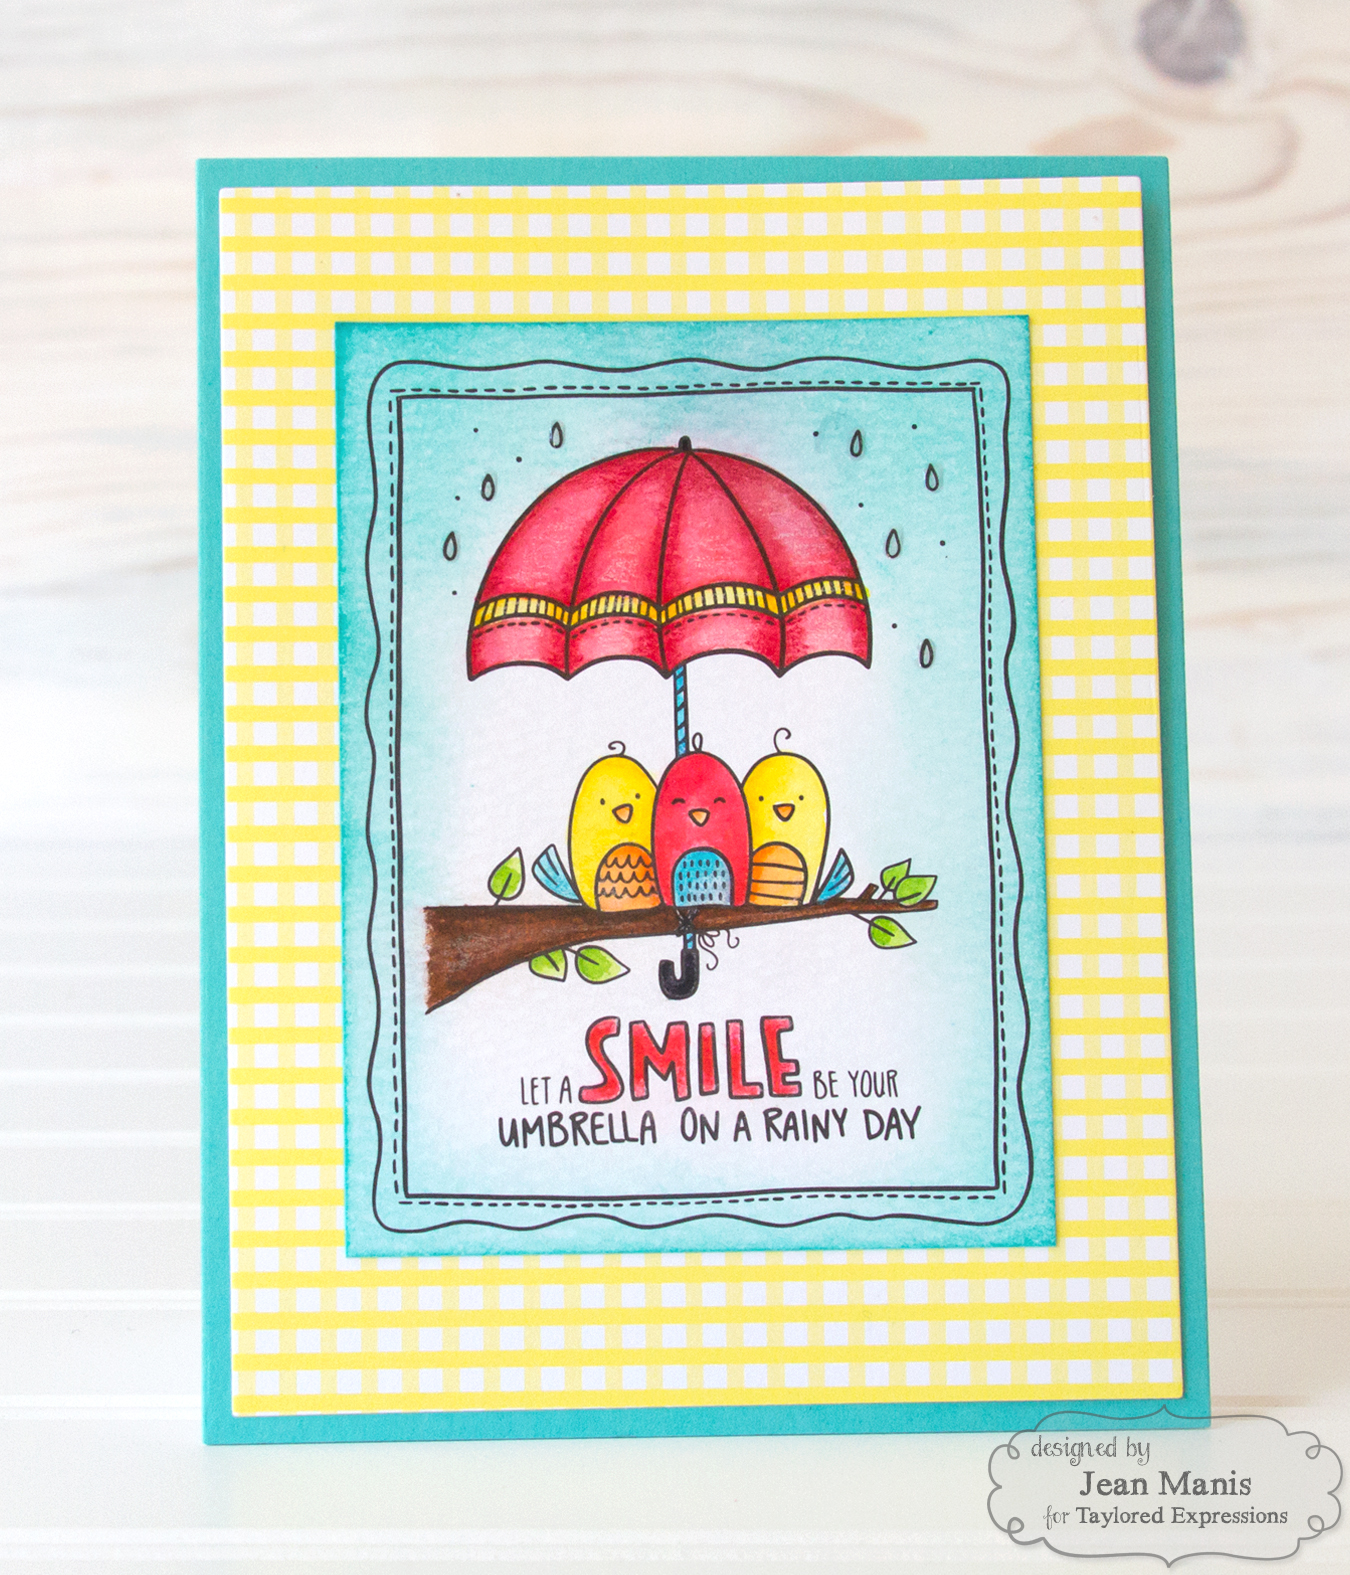
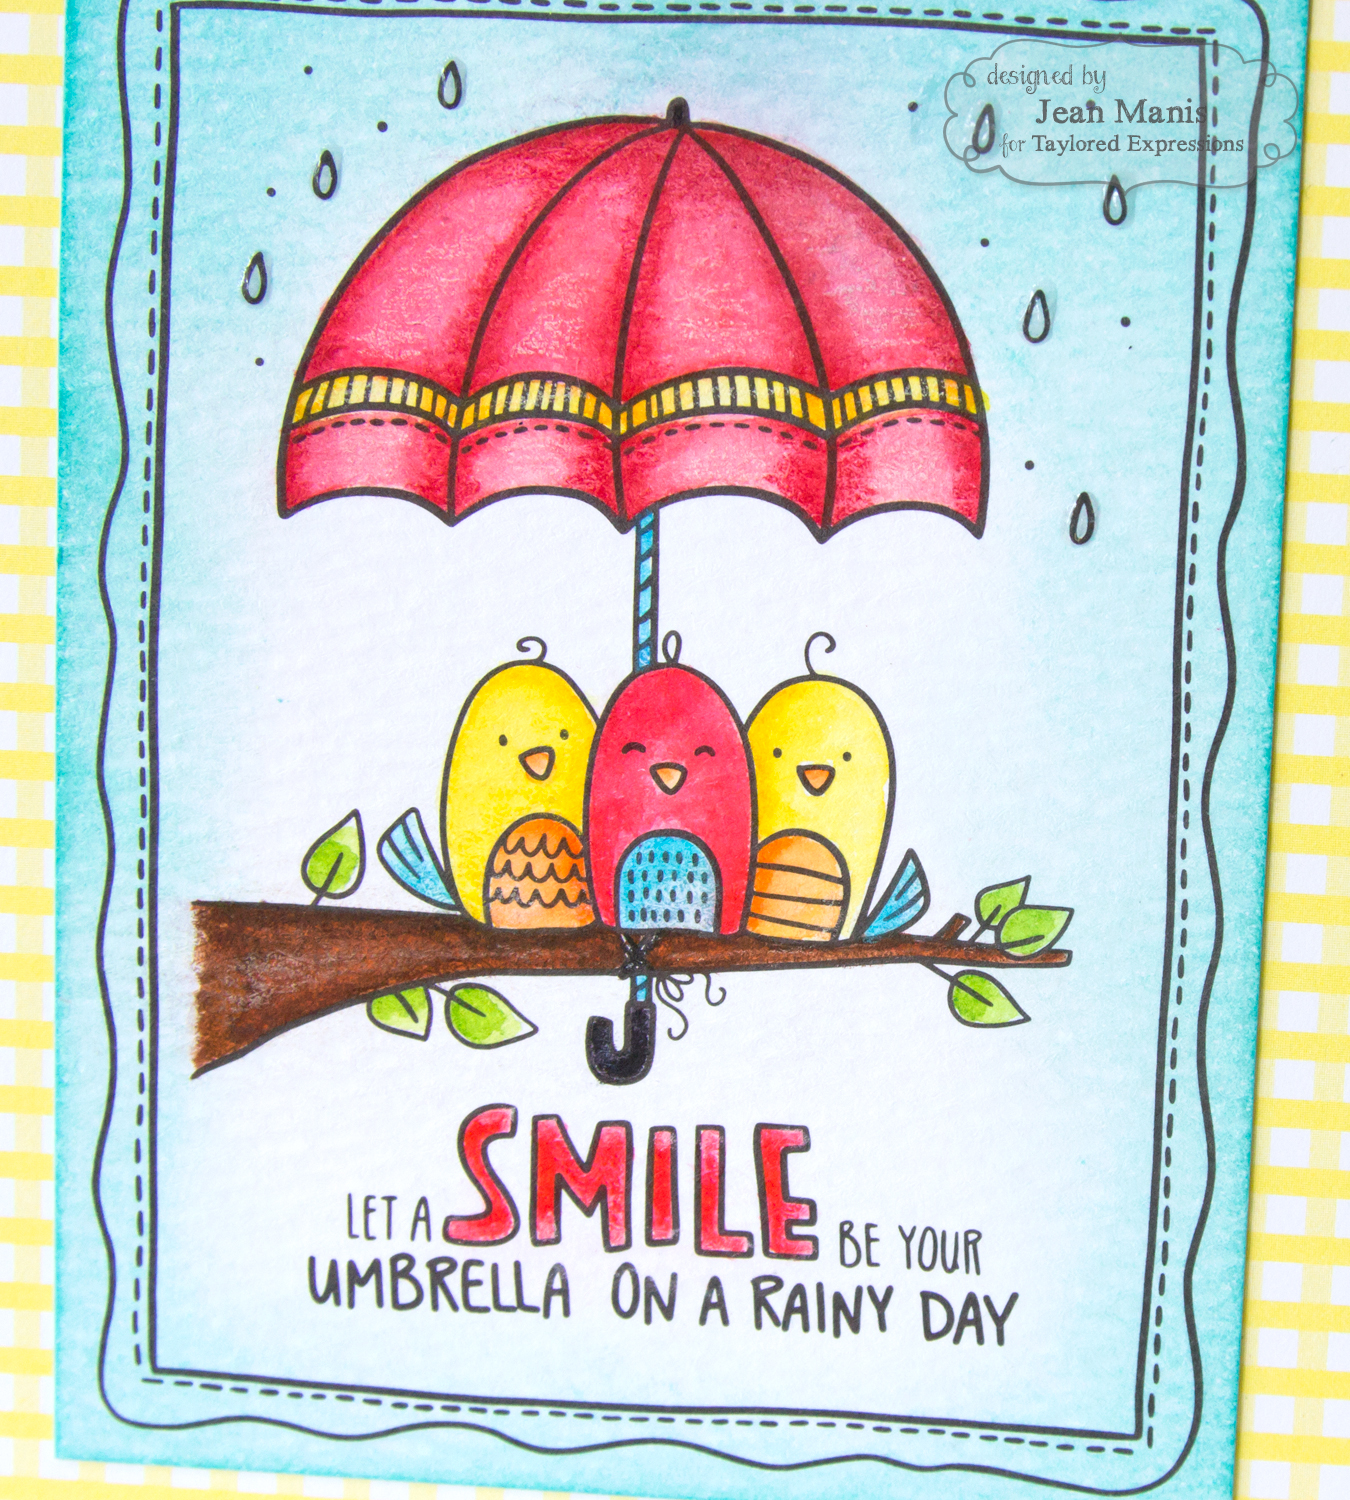
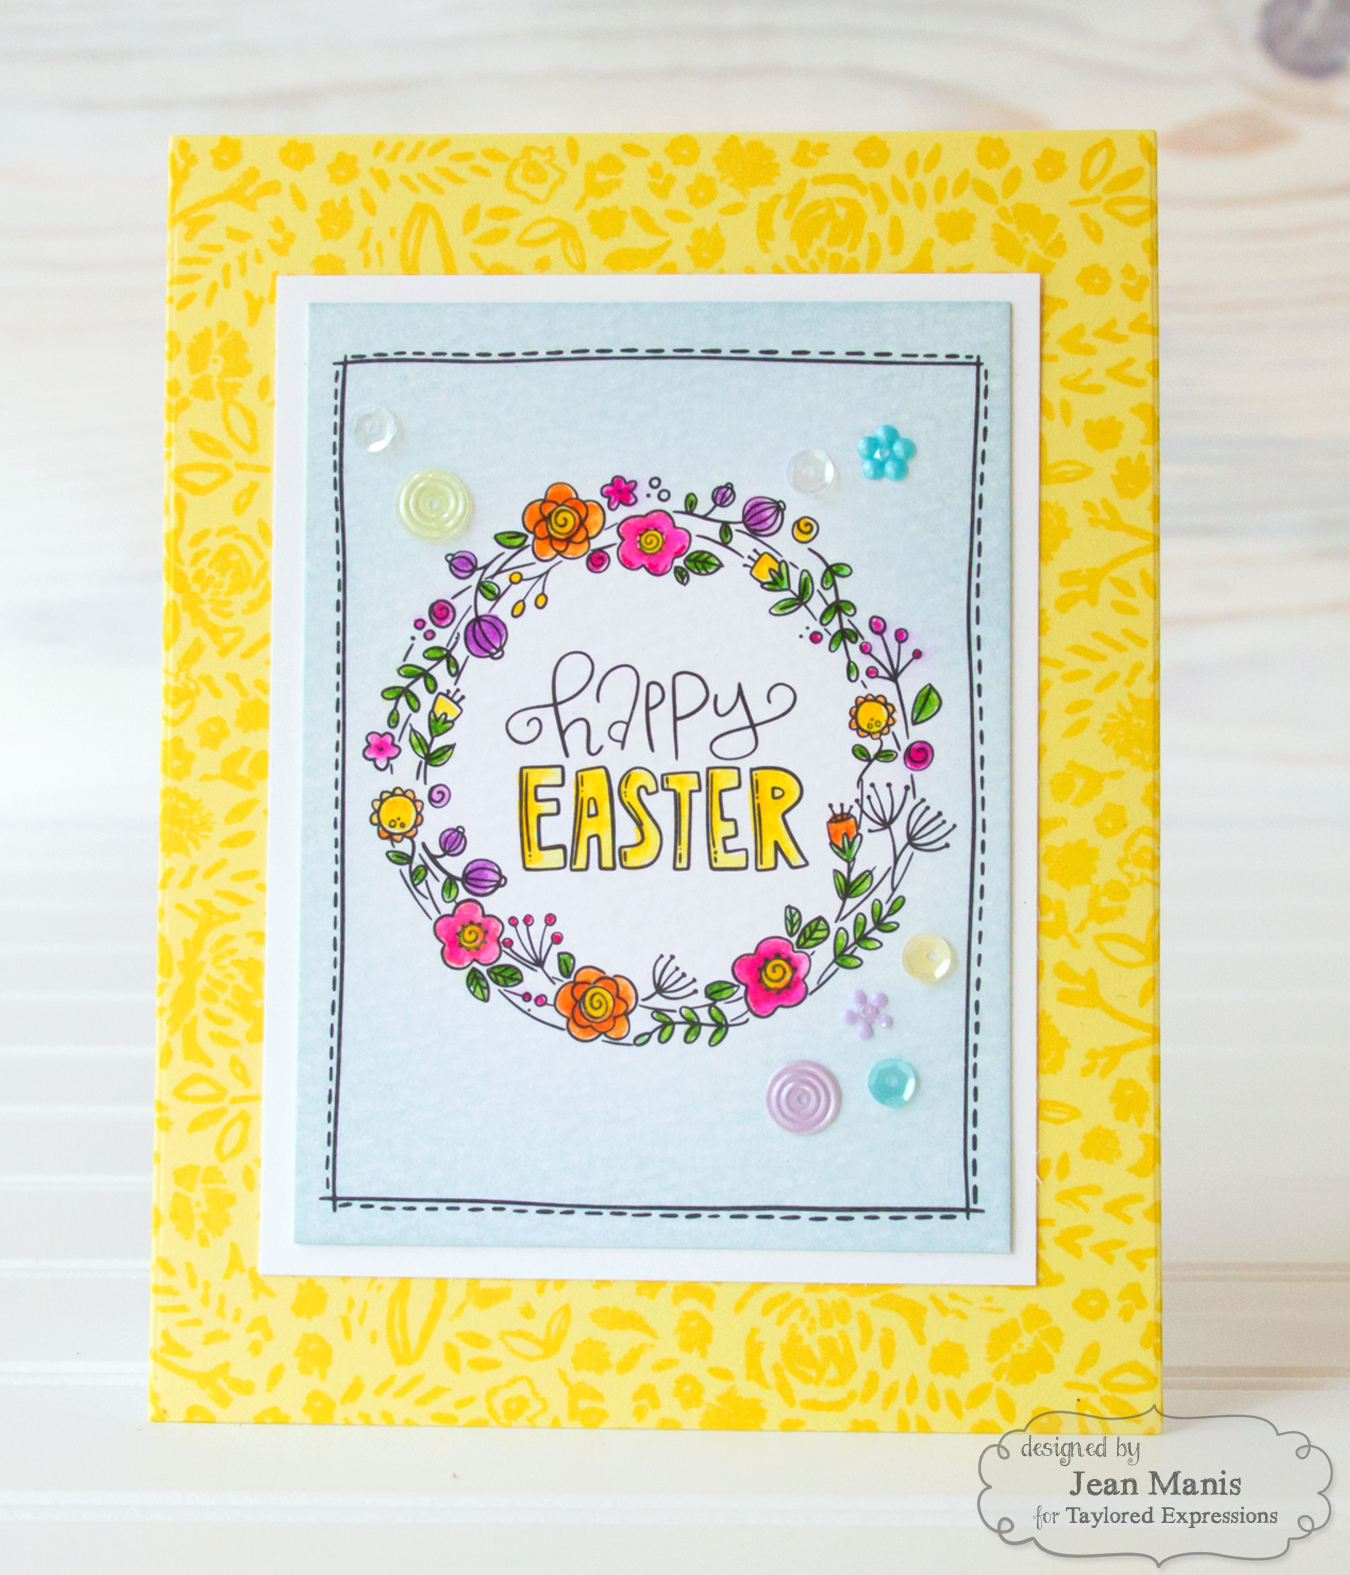
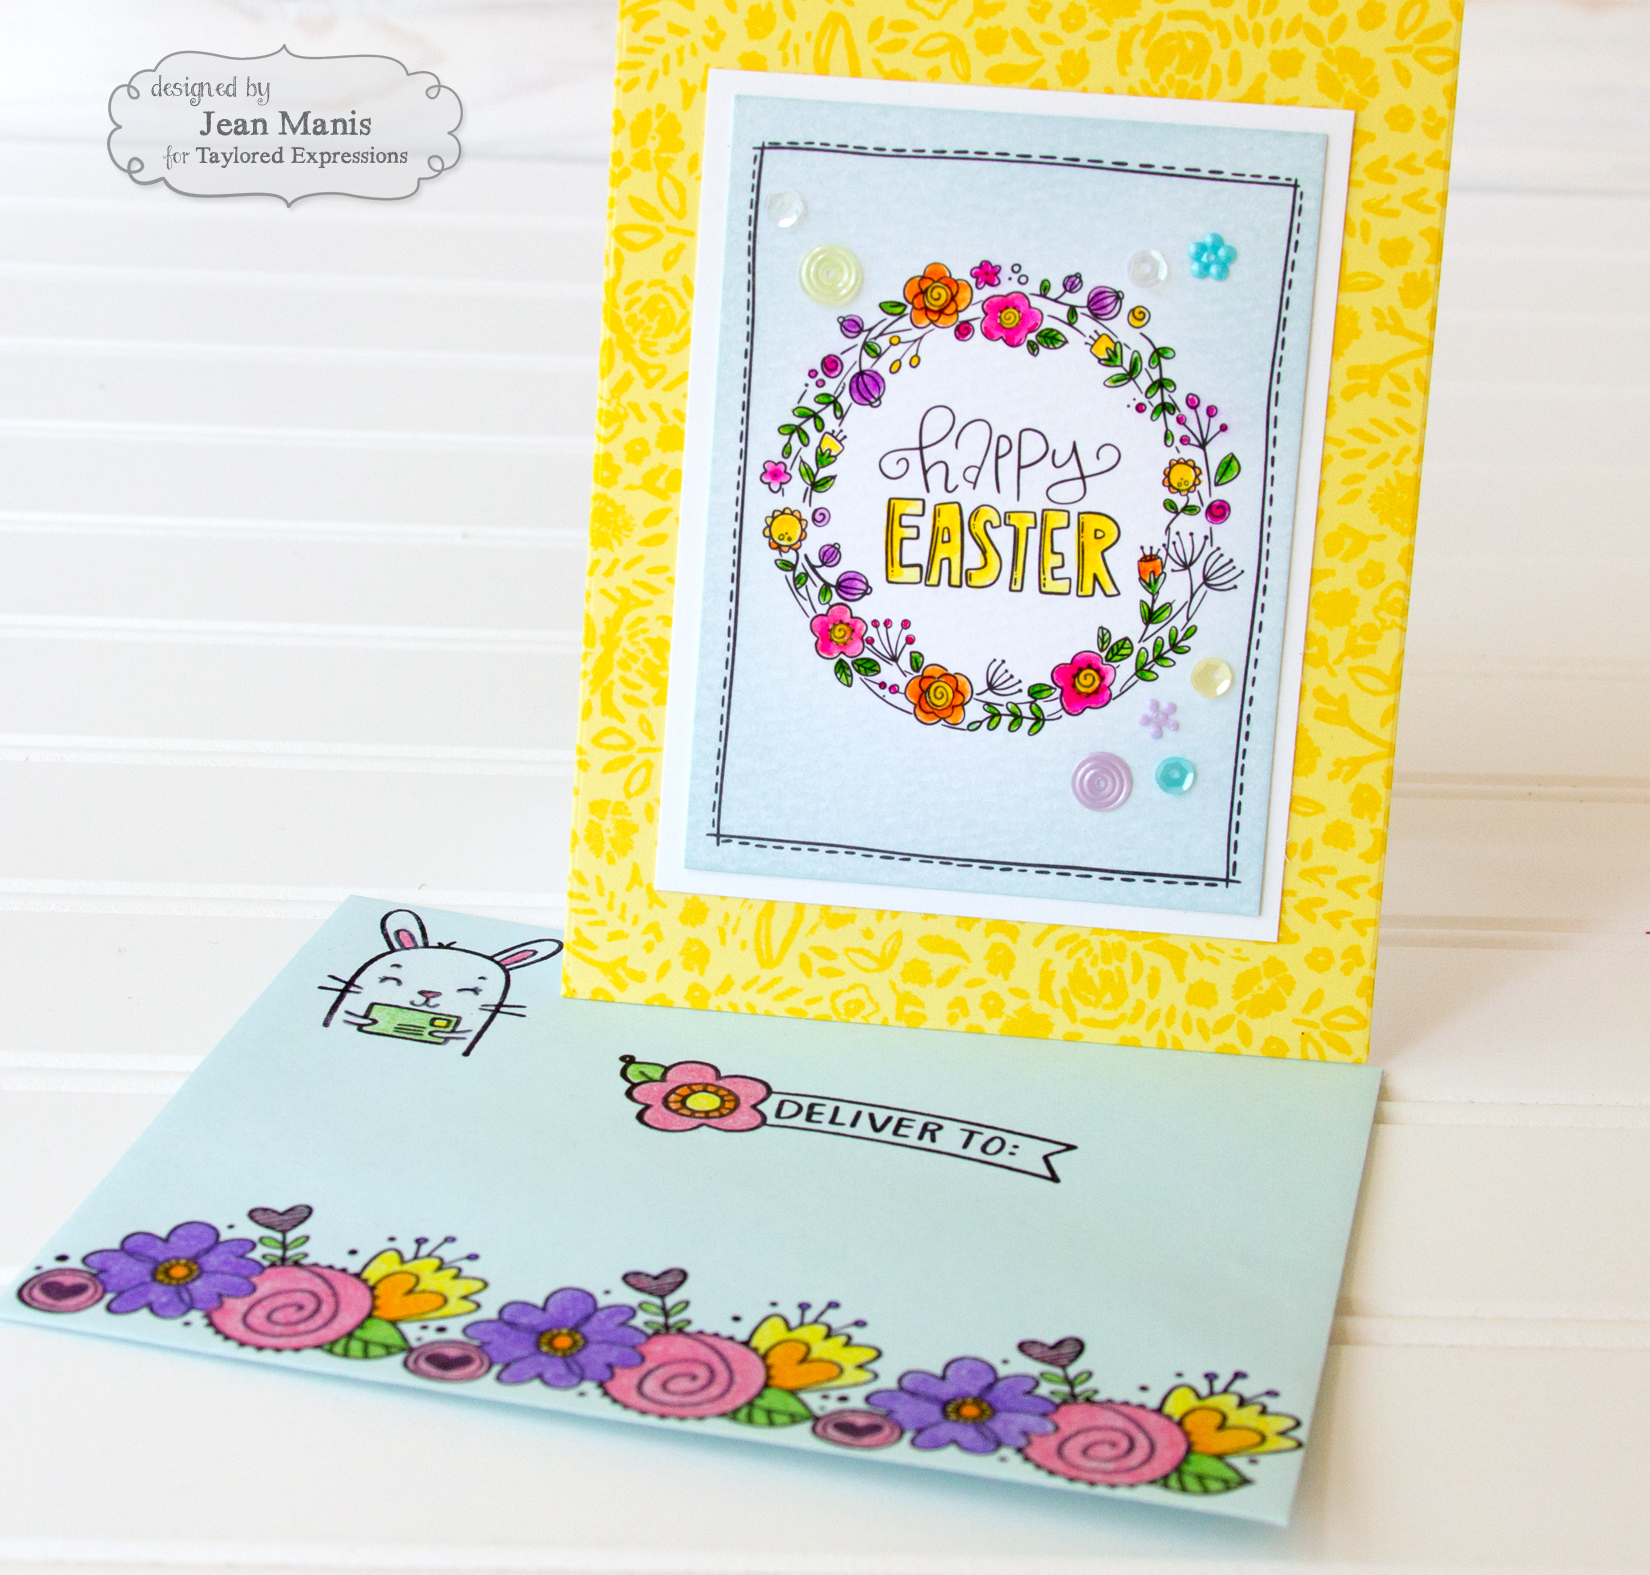
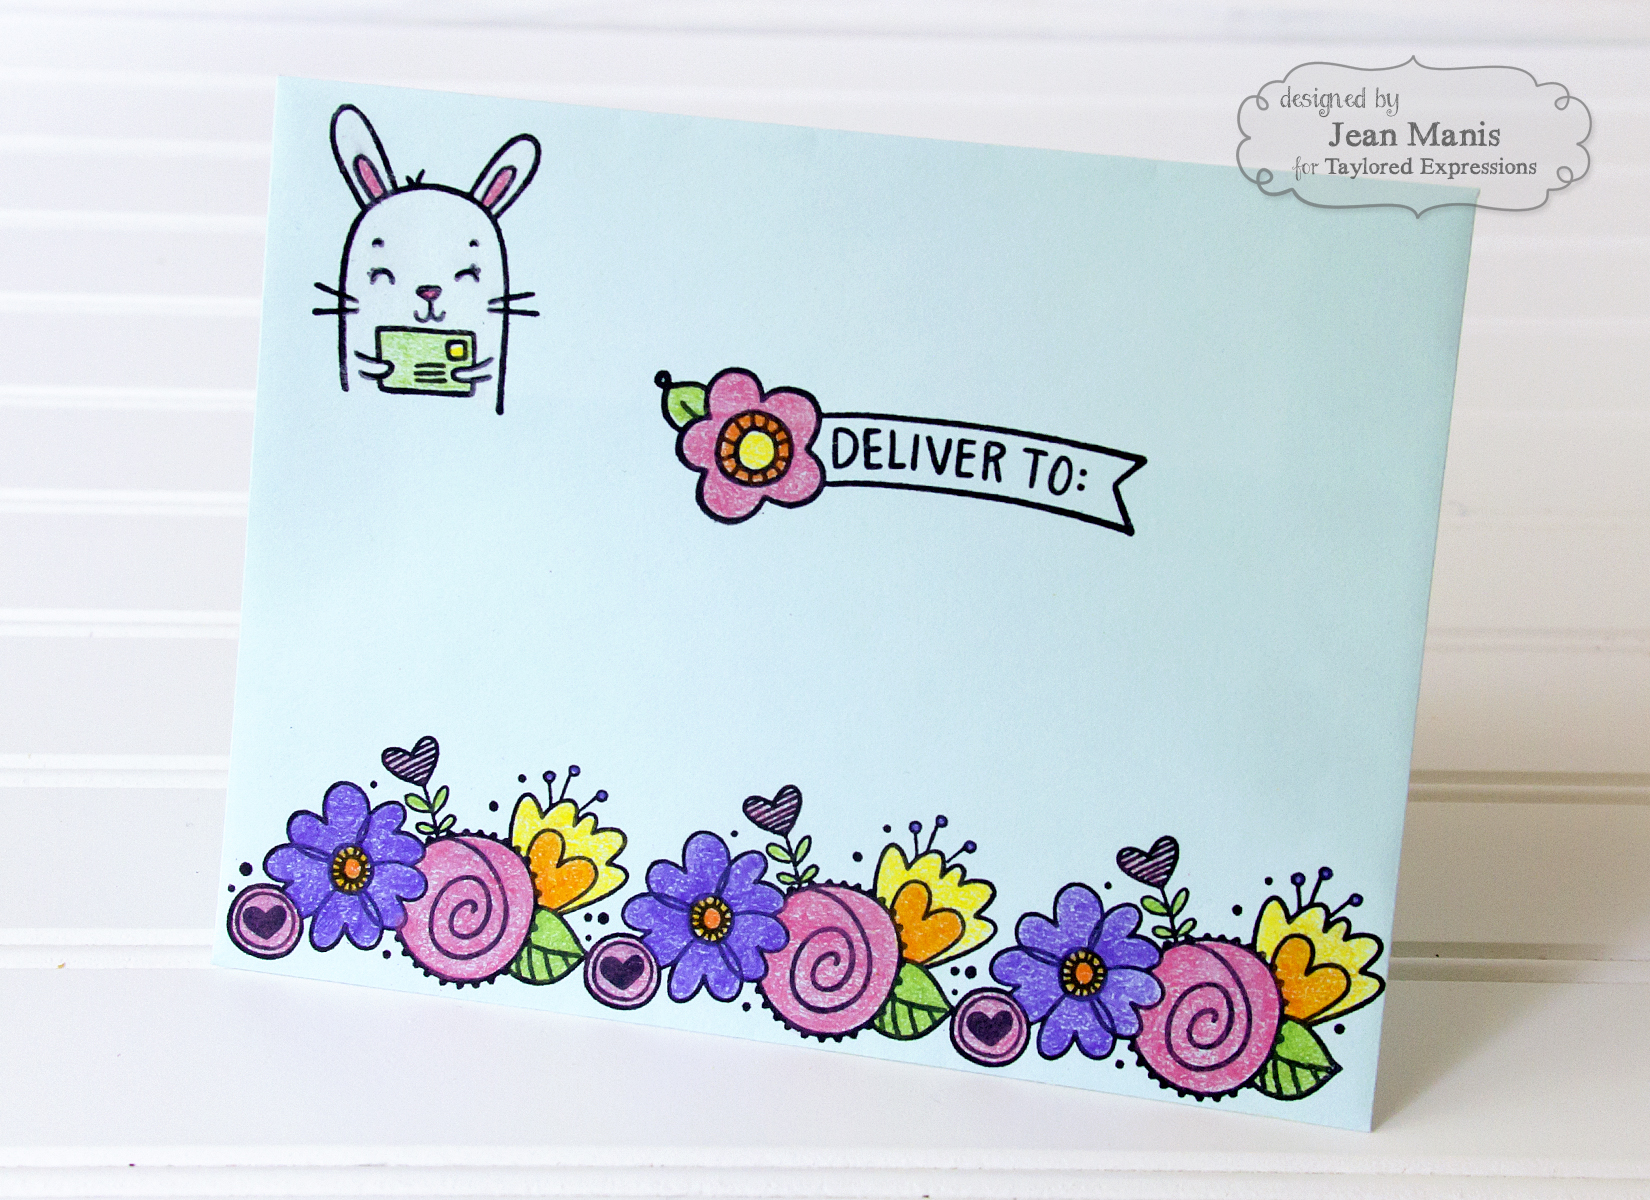
For my second project, I created cards with the 3 x 4 Watercolor Panels – Easter set and a decorated envelope.

I watercolored this sweet scene from the set, and added Cookie Monster ink around the edges before attaching the panel to a card base on which I used the Playful Patterns – Sweet patterned paper.

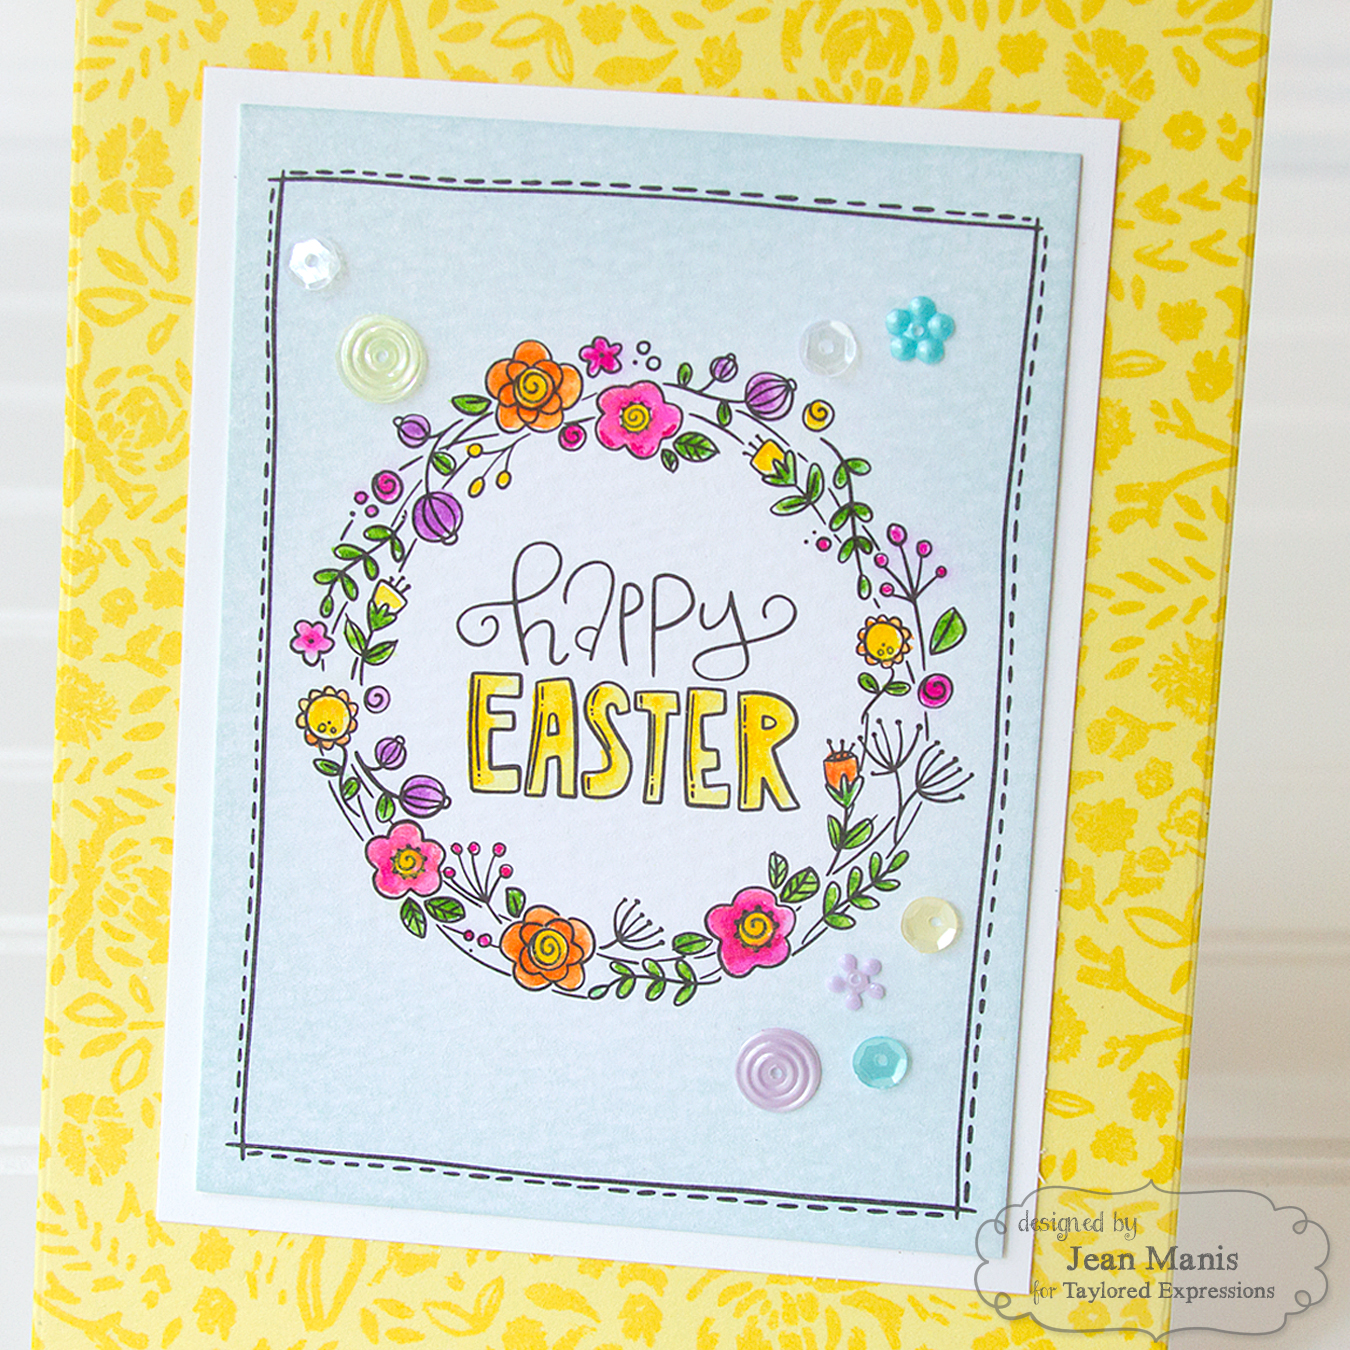
Similarly, I colored the Happy Easter panel to which I added Pretty Pastels sequins for texture.

To create the card base, I stamped Petite Petals background with Lemon Meringue ink on Potato Chip cardstock.

I stamped an envelope with several of the images in the Happy Mail set and colored with colored pencils.