Countdown to Confetti Day Three

Welcome back to the final day of Countdown to Confetti! I’m sharing projects created with Love Blooms, which has its own corresponding Confetti Cuts set, along with Sugary Sweet Sentiments and a Square Tag Confetti Cuts set.

Let’s take a look at the gorgeous Love Blooms!

The coordinating Confetti Cuts set makes creating a bouquet of blossoms easy! The sentiments in Love Blooms work for a variety of occasions including Valentine’s Day, a card to a friend or a card congratulating a newly-engaged couple!

Now for a fun treat packaging idea that could be used for classroom treats or a party favor. On tags cut with the Square Tag Confetti Cuts set, I heat-embossed several of the Sugary Sweet Sentiments. I chose colors for the tags that coordinated with the various candies, which are the movie-size boxes. I tied the tags onto the boxes with baker’s twine.

Countdown to Confetti Day One

It’s Countdown to Confetti time! Today I’m happy to introduce two awesome stamp sets – Puppy Love and Heart to Heart – both with Confetti Cuts die sets and perfect for Valentine’s Day cards! Want to know what’s in store for this release??……SIX stamp sets, EIGHT Confetti Cuts and Quick Card Panels!!

Let’s start with Puppy Love!

I stamped the adorable dogs in the set, colored them with Copic markers and cut them with their Confetti Cuts. I used another die in the set to cut a heart, which I added to a tag cut with Tag Me. I attached the “Love” die cut, cut with the Heart Love Pretty Panel, to the banner cut with Tag Me. That little heart was cut using a die in the Love Note set.

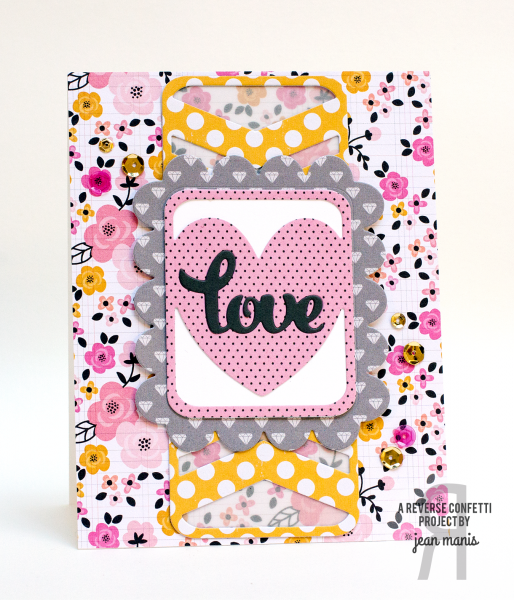
For my next card, I stamped one of the fabulous, and very much on trend, hearts from Heart to Heart and cut it with its corresponding die. I cut a Straight Stripes Pretty Panel in light pink and backed it with a vellum panel, cut with a die in the Class Act set. The little heart was cut using a smaller heart die in the Heart to Heart Confetti Cuts set. I attached a “Love” die cut, cut with the Heart Love Pretty Panel, to the banner cut with Tag Me. I attached those elements to a Happy Heart Day Quick Card Panel, which I adhered to the card base. I particularly like the sturdy weight of the Quick Card Panels – they nicely support the combination of elements, much better than patterned paper would.

Paper Smooches Spark Challenge

Today, I’m sharing a project created for the Paper Smooches Sparks Picture Perfect Challenge.

I interpreted the picture loosely, drawing on the general theme of love and the colors – gold, two shades of pink and gray.

PS-SparksFeb92014

I stamped two floral images from the newly released Botanicals sets, framing the panel with the Frame Duo die. I heat-embossed a sentiment with gold powder, and finished the card with two hearts cut from the Hearts die set out of gold cardstock.

Supplies:

Poppystamps Valentine

Today I’m sharing a card created with the Poppystamps Heart Lattice Background from the new Poppystamps release.

Feb2014-1

Cut in white and overlaid on blue cardstock, the heart lattice resembles clouds on a sunny day. I tried out a number of different colors for the bird and the birdhouse, settling on something hinting at Valentine’s Day (the red) and something cheery (the yellow). I created the sentiment on my computer.

Happy Valentine’s Day!

Supplies:

Penny Black Hugs

Today I’m sharing two projects featuring the Penny Black “Hugs” die from Love Expressions [#51-025].

On the card, I stamped and fussy-cut hearts from Heart Swatches [#30-204]. I added the “Hugs” sentiment and dragonfly from Flutters [#51-006], both cut out of silver cardstock, to a dry-embossed card base. I wanted to use non-traditional Valentine’s Day colors for a spring-themed friendship card.

SpringValentines

For my second project, I added the die cut “Hugs” to a tag cut with the largest tag in the Tagged [#51-007] die cut set. I created the ombré heart pattern using a stamp from the My Type [#40-189] set. I attached the tag to a bag of chocolates for Valentine’s Day.

PBTreatBag