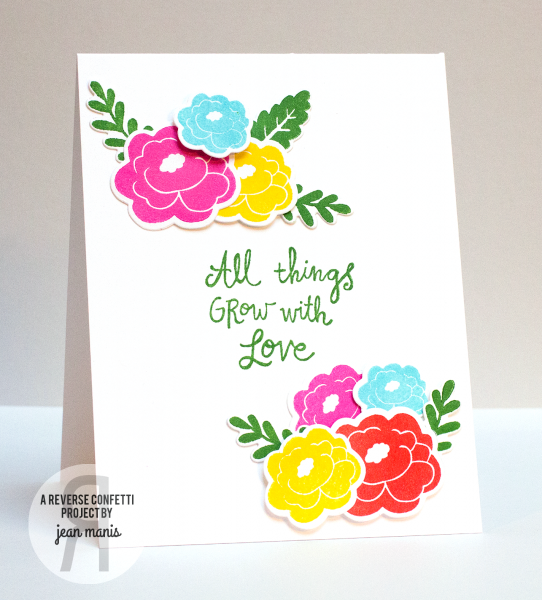
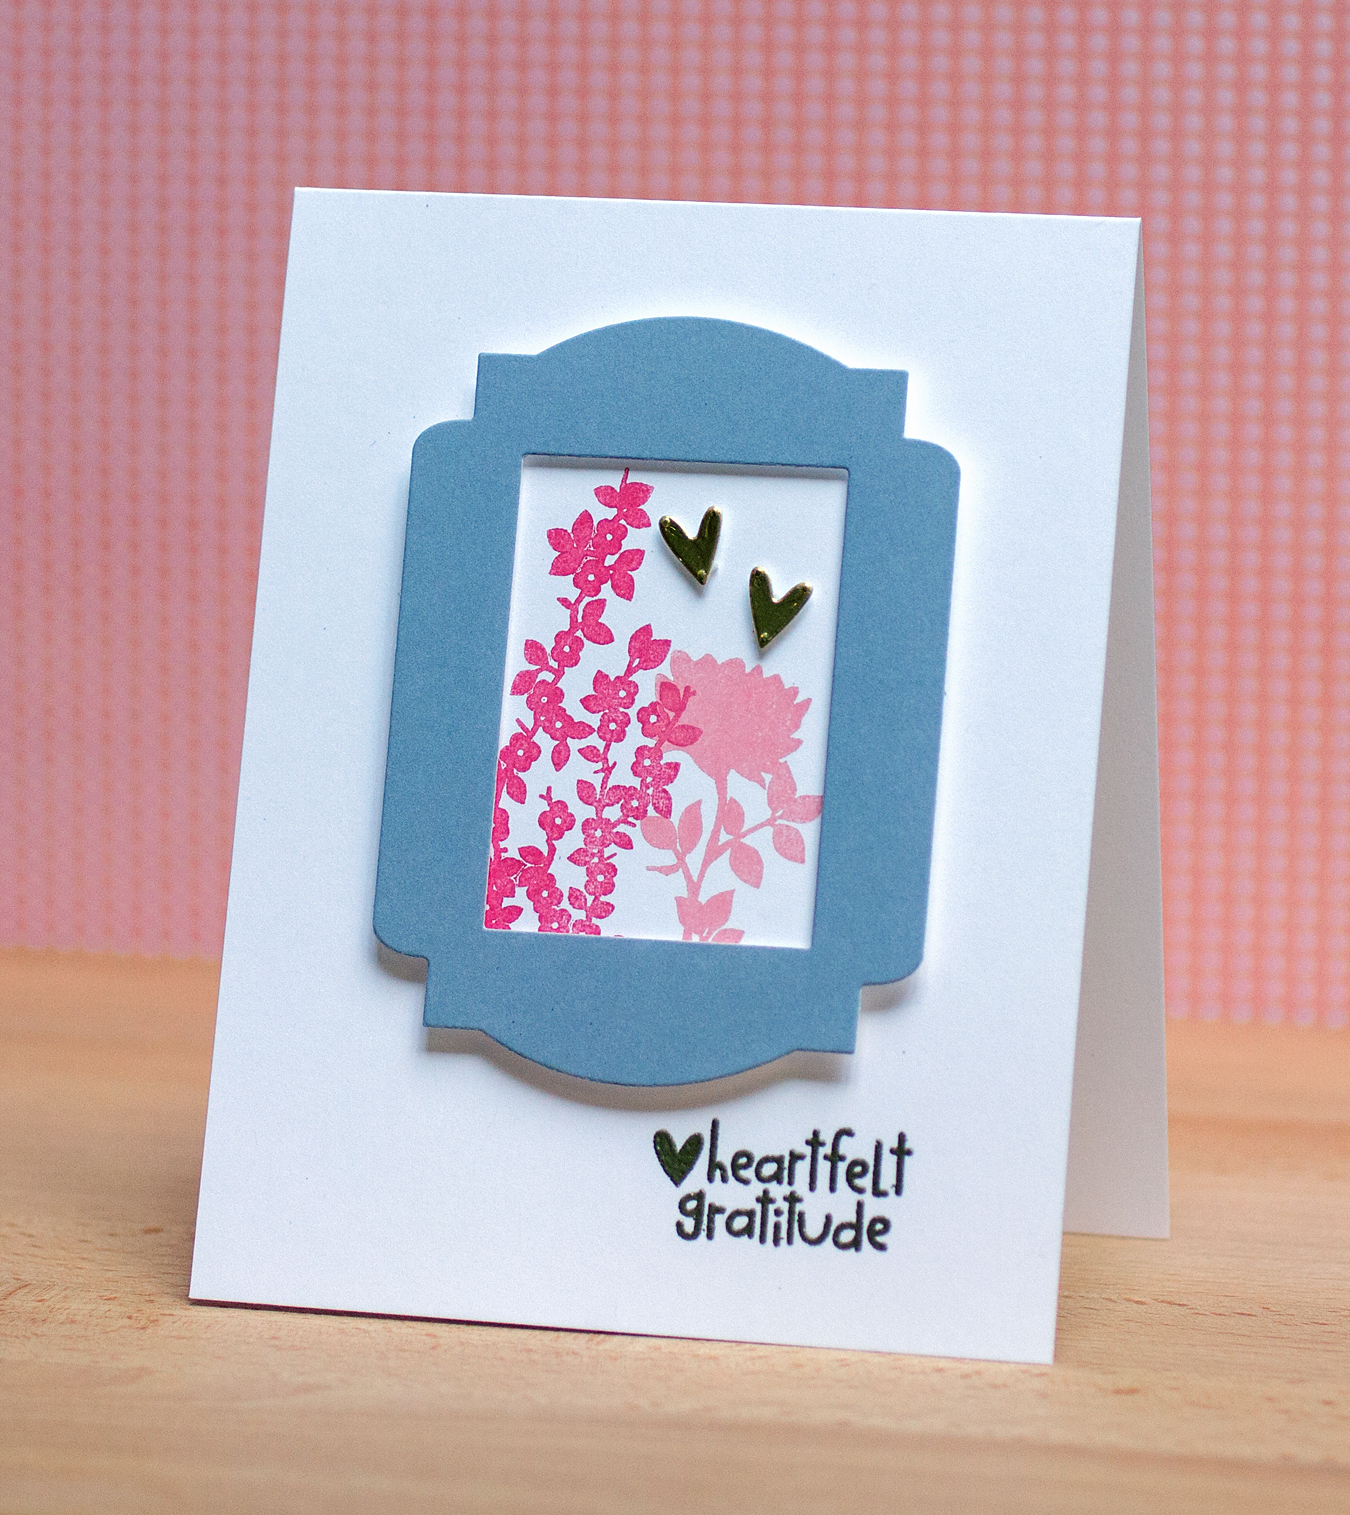
The wait is over! REVERSE CONFETTI has just released SIX stamp sets, EIGHT Confetti Cuts and Quick Card Panels!! There’s something for everyone in this release – whether you’re working on Valentine’s Day cards, putting together classroom or party treats, documenting your everyday or special days with scrapbooking, …
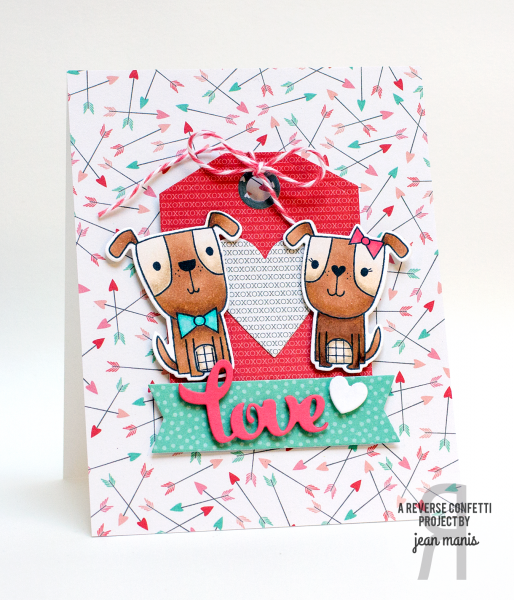
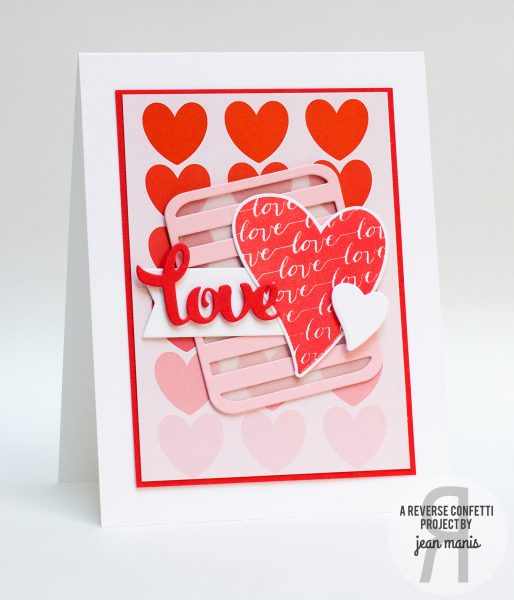
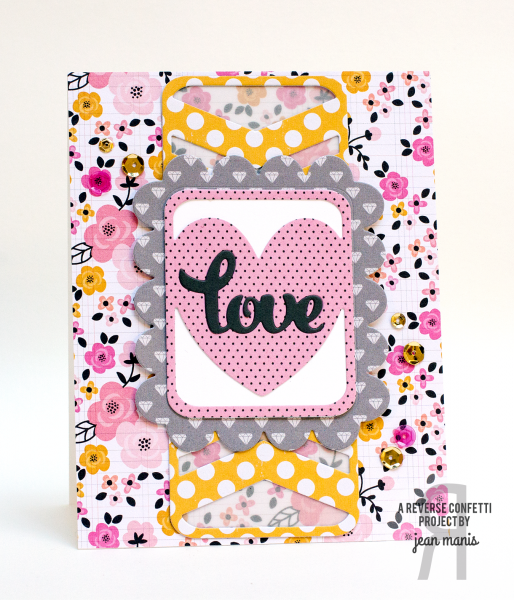
To begin, I’m sharing a Valentine’s Day card that combines several of the newly released Pretty Panels – Heart Love and Big Chevron.
Next, here are Pocket Scrapbooking pages using Here’s the Story, Right Here Right Now and the Documented Confetti cuts.
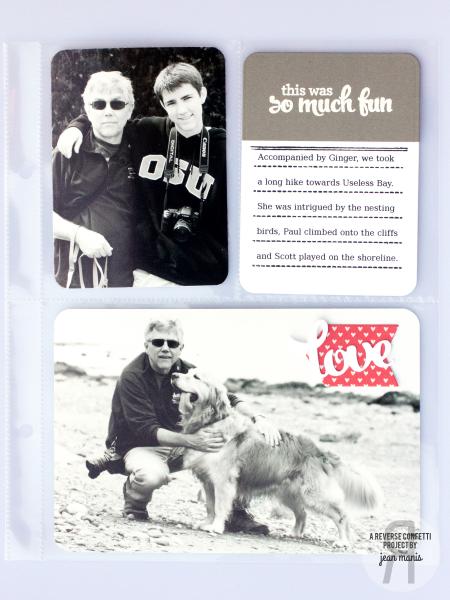
I used the round-corner rectangle die in Documented to cut out journaling cards and photographs. I printed my journaling onto cardstock and then stamped the lines, from the Right Here Right Now set. For some variety, I heat-embossed one of the sentiments from Here’s the Story and added it to the journaling card. (As an alternative, I could have simply stamped the sentiment and the lines on a card and hand-written my journaling.) For the embellishment in the lower photo, I cut an arrow with Documented and added “love” from the Heart Love Pretty Panel.
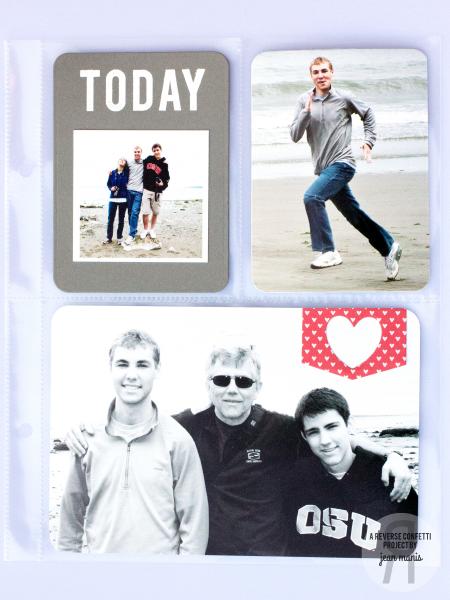
For the card in the upper-left, I heat-embossed the “Today” from Right Here Right Now. The cut out heart embellishment (bottom photo) was created with the Love Note heart die and a die in the Class Act set.
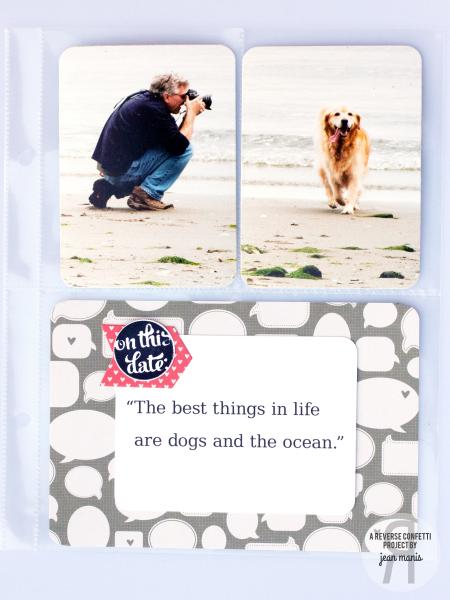
To embellish the quote card, I used the arrow in Documented topped with the stamped “on this date” from Right Here Right Now.