The wait is over! REVERSE CONFETTI has just released FIVE stamp sets, SIX Confetti Cuts and “Let’s Celebrate” Quick Card Panels in the May “Birthday Release”!!
The hop started on the Reverse Confetti blog, and you should have made it here from Lisa’s blog. It would be worth your while to start at the beginning of the hop, so you don’t miss a thing. We have tons of inspiration for you to see using all the new Reverse Confetti stamp sets and dies!
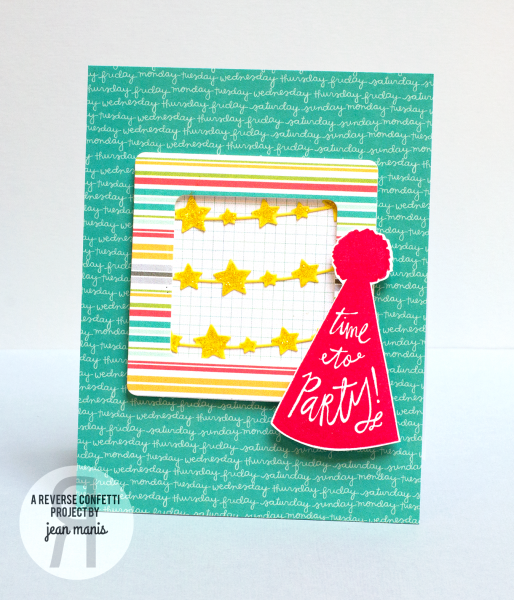
For my first card, I stamped one of the hats from the Party Hats set and cut it with the coordinating Confetti Cuts die.
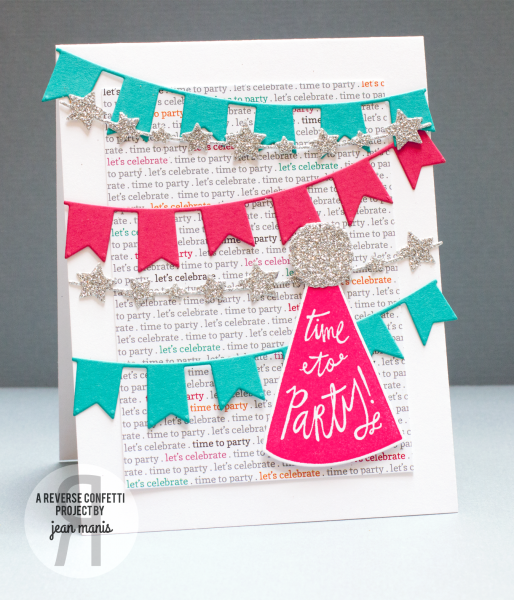
I added garlands cut with the Star Garland and Double Banner Garland Confetti Cuts sets. I topped the Party Hat with a pom pom cut with glitter paper using the separate die in the Party Hats Confetti Cuts set. The background is one of the “Let’s Celebrate” Quick Card Panels.
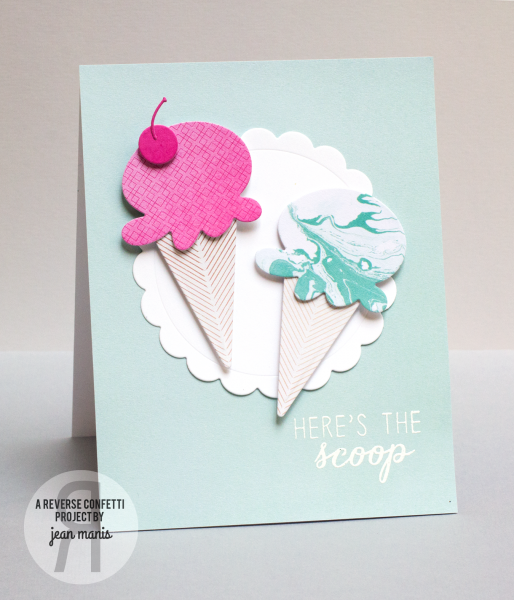
For my next project, I used the Love and Ice Cream stamp set and Love & Ice Cream Confetti Cuts.
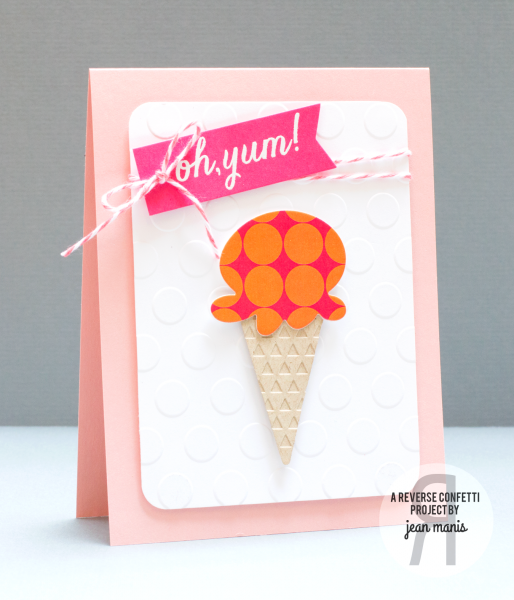
I stamped and heat-embossed a sentiment from the Love and Ice Cream stamp set and cut it with the banner from Tag Me Confetti Cuts. To make the ice cream, I cut one of the “Let’s Celebrate” Quick Card Panels with a die in the Love & Ice Cream Confetti Cuts set. The cone was cut and then dry embossed.
I hope you’ve enjoyed hopping with us today. Be sure and hop with us on the 8th of EVERY MONTH for more REVERSE CONFETTI inspiration! Now it’s time to hop on over to Kathy’s blog. If you get lost along the way, you can find the hop order and list of all the participating designers over on the Reverse Confetti blog.