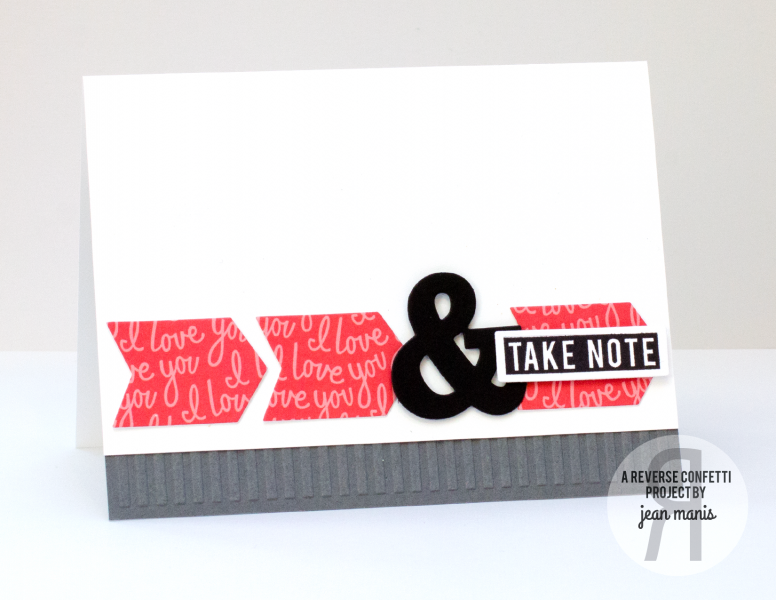
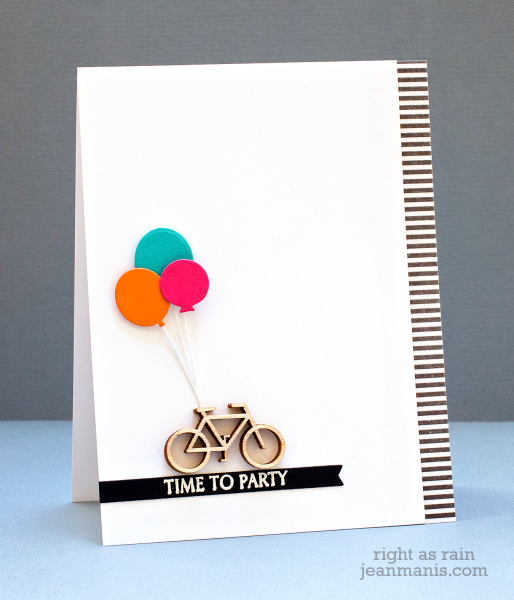
Today, I’m playing along with the CAS(E) this Sketch #119 Challenge. This is a really versatile sketch I can see using again and again.
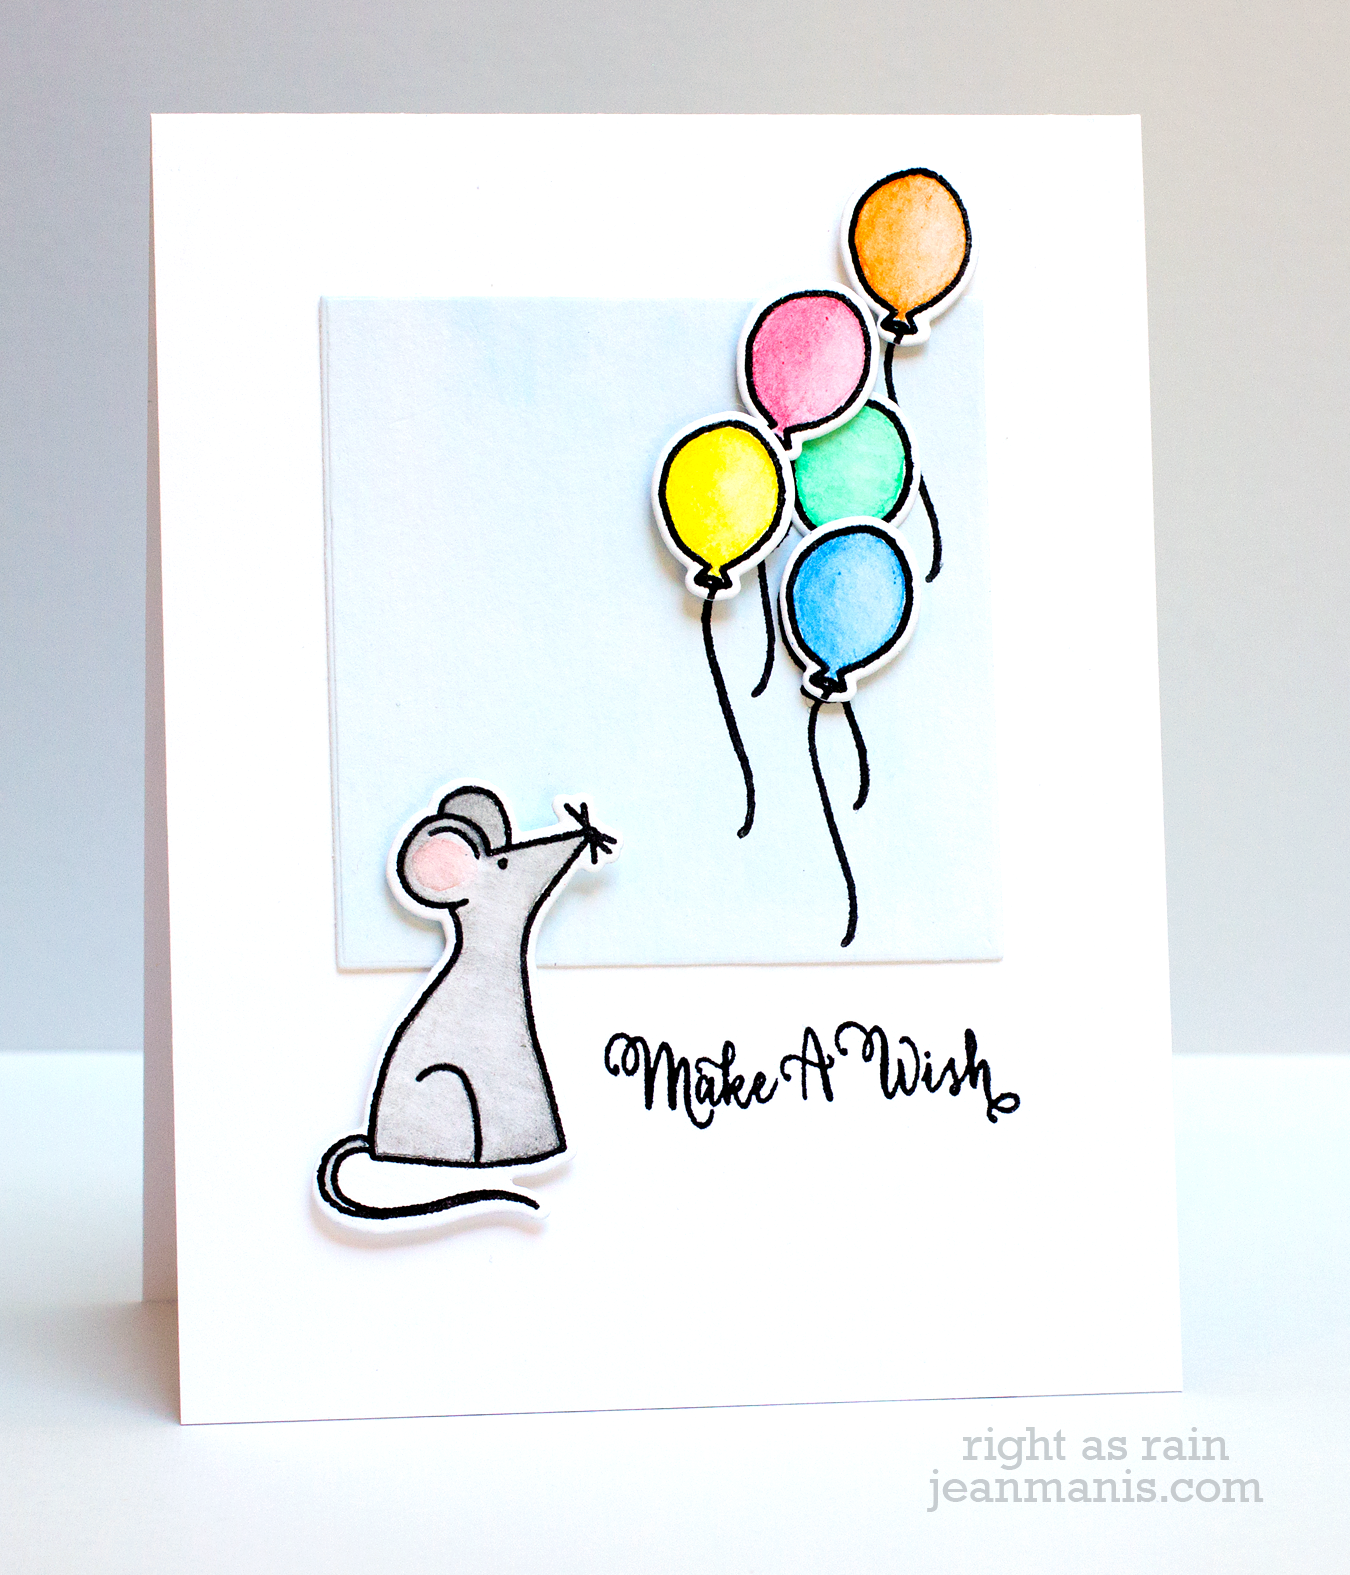
I heat-embossed an Avery Elle sentiment pairing it with balloons, cut with an Avery Elle Elle-ments die set (there are a lot of balloon sizes in the set!), and a wood veneer bike (I glued two bikes together for extra depth). To balance the reverse-type sentiment, I trimmed the edge with black-and-white striped Shape ‘n Tape. The balloon strings were cut on my Silhouette.
Supplies: