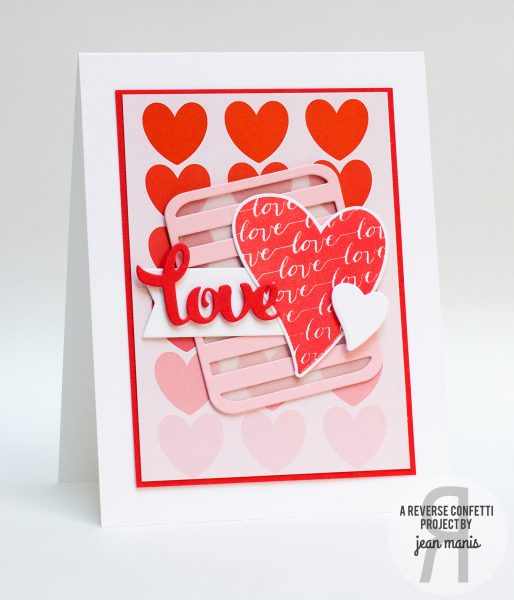
Welcome back to the final day of Countdown to Confetti! I’m sharing projects created with Love Blooms, which has its own corresponding Confetti Cuts set, along with Sugary Sweet Sentiments and a Square Tag Confetti Cuts set.
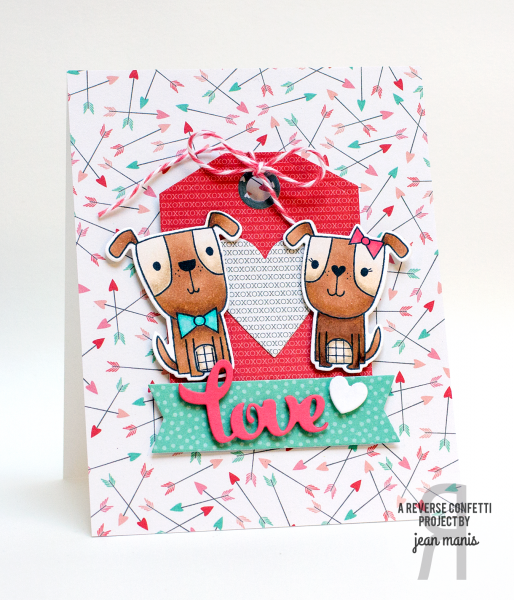
Let’s take a look at the gorgeous Love Blooms!
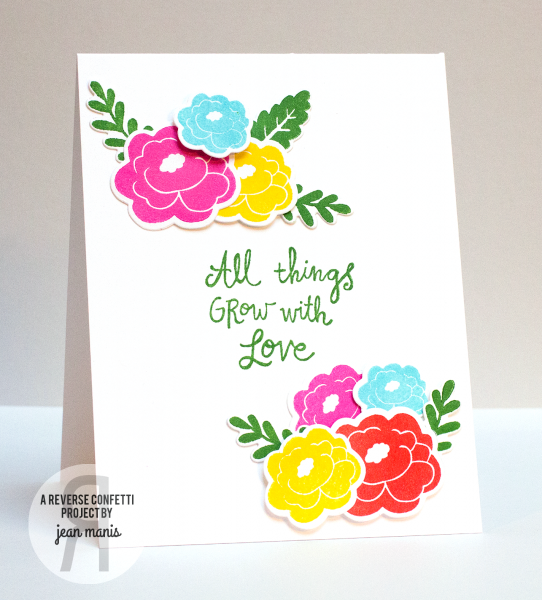
The coordinating Confetti Cuts set makes creating a bouquet of blossoms easy! The sentiments in Love Blooms work for a variety of occasions including Valentine’s Day, a card to a friend or a card congratulating a newly-engaged couple!
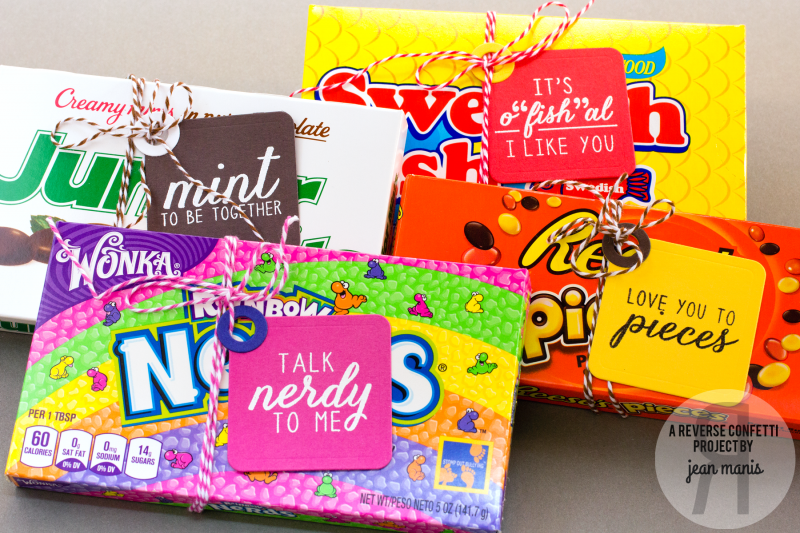
Now for a fun treat packaging idea that could be used for classroom treats or a party favor. On tags cut with the Square Tag Confetti Cuts set, I heat-embossed several of the Sugary Sweet Sentiments. I chose colors for the tags that coordinated with the various candies, which are the movie-size boxes. I tied the tags onto the boxes with baker’s twine.