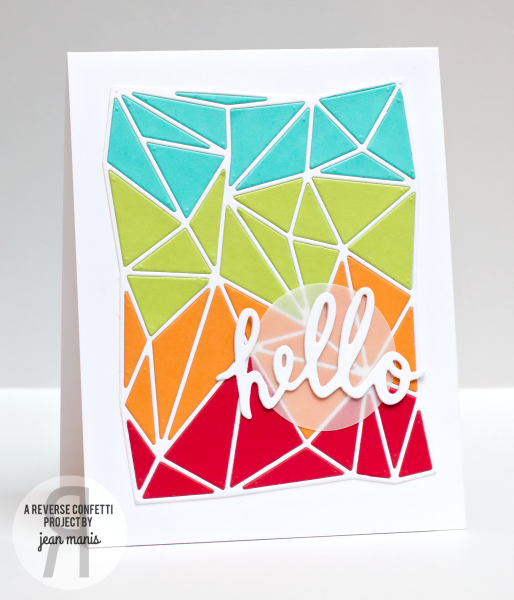
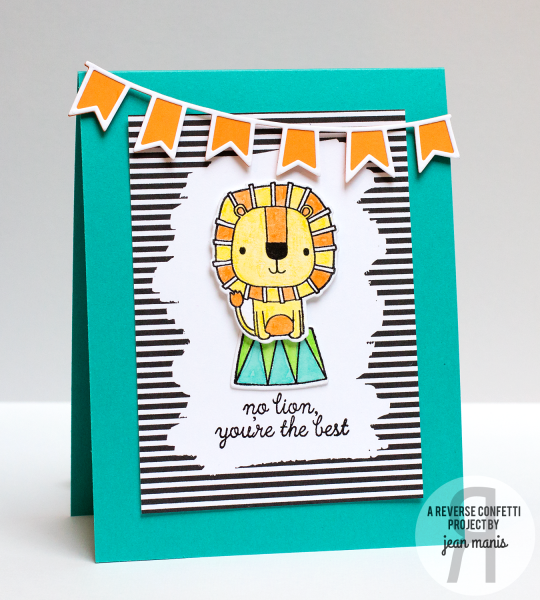
Welcome to Day Three of the Countdown to Confetti at Reverse Confetti! Today, Reverse Confetti introduces the Fancy Word Confetti Cuts with the Fancy Word Coordinates stamps. All of my three projects are celebration-themed.
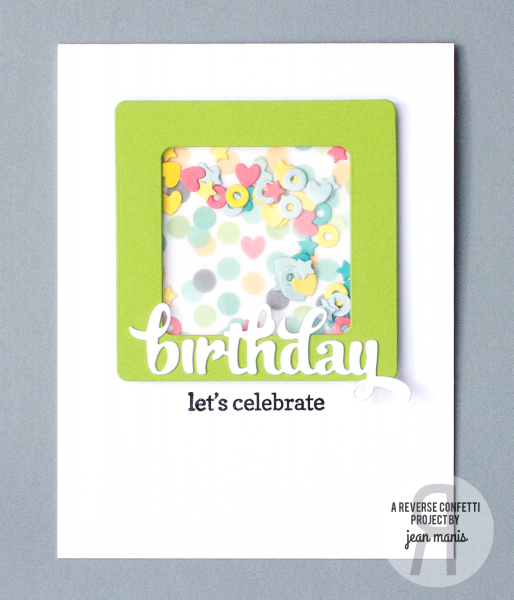
For my first project, I nested two of the Shakers ‘n Frames Confetti Cuts dies (one of the standalone Confetti Cuts sets in this release) to create a shaker frame to which I attached the birthday die cuts from the Fancy Word Confetti Cuts set.
For the frame interior, I covered one of the “Piña Colada” Quick Card Panels with vellum. The stars, hearts and sequins were cut with the Shakers ‘n Frames Confetti Cuts set out of coordinating cardstock. The coordinating sentiment was stamped directly on the card base.
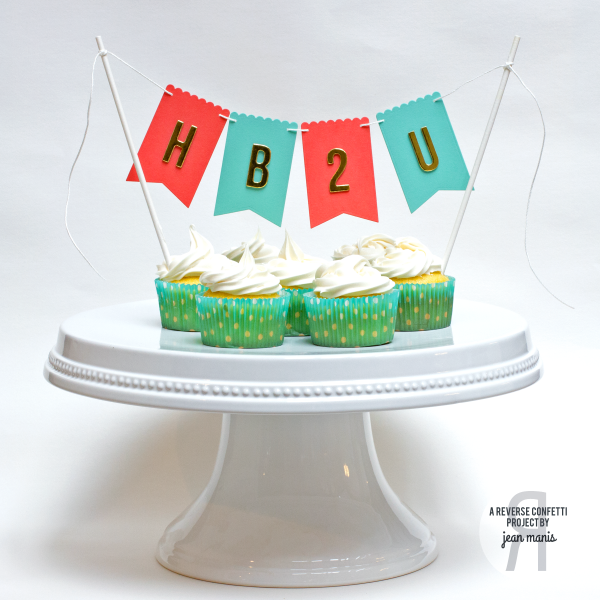
Speaking of celebrations, for my next project, I created a tassel garland with the standalone Tassel Confetti Cuts die.
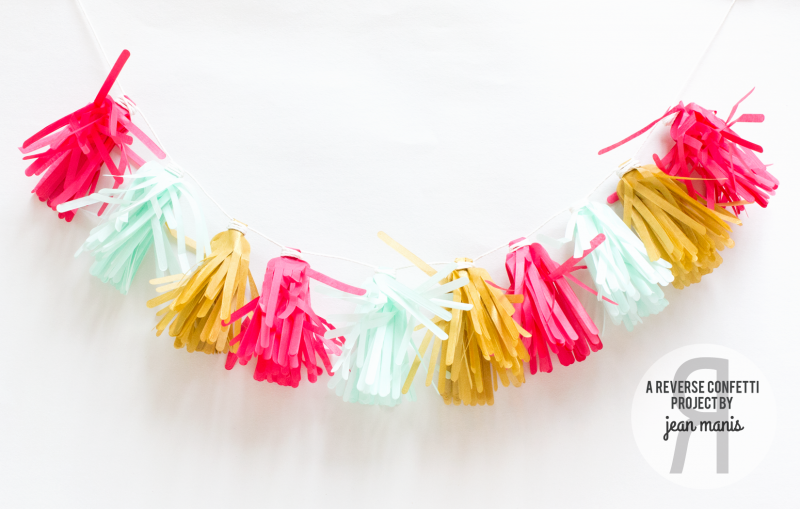
With the die, I cut three colors of tissue paper – light aqua, gold and pink. The die cuts through a folded-up sheet of tissue paper creating several tassels at once. I laid out the packets of tassels in the order that I wanted and then placed a cord across them. I folded the tassel packets over the cord and secured them with more cord. It’s an easy way to make custom party decorations! After the string of tassels was complete I did a bit of fluffing.
For my final project today, I combined the Tassel Confetti Cuts die with the Fancy Word Coordinates stamp set.
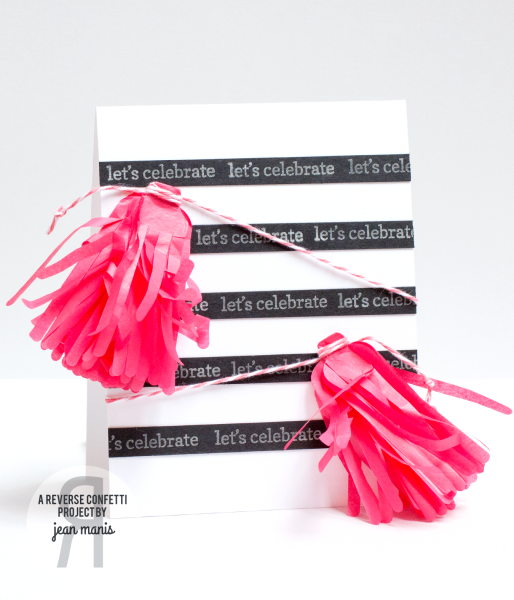
I cut narrow strips of black cardstock and repeatedly stamped the “let’s celebrate” sentiment with silver pigment ink. (The strips were cut wider than the A2 card base so that I could stagger the words on the card base.) I attached the sentiment strips and trimmed off the excess. I tied the tassels with baker’s twine, secured one in the left-hand corner, wrapped the cord around the card and attached the the other tassel in the right-hand corner.
There are two $15 gift certificates up for grabs – one for blog commenters and one for Facebook commenters. Increase your chance of winning by leaving a comment on each sneak peek post for each designer. Comments will close at noon CST on April 7th and the winner will be announced at 5pm on April 7th on the Reverse Confetti blog and FB page.