What’s Up Buttercup – Die-cut Picture Book Bear

Hello! Today I am sharing a CAS friendship card featuring the Simon Says Stamp Picture Book Bear die (one of my favorites!). I combined this cutie with flowers cut with the Simon Says Stamp Blooming Circle die and a computer-created sentiment.

What's Up Buttercup - Die-cut Picture Book Bear

  • I cut the bear and assembled him (her?) by taping the pieces on the backside.
  • I cut the flowers and added centers using the small circles cut with the Blooming Circle die.
  • I printed the sentiment on white cardstock and cut it with the Polaroid Shaker Frame.
  • I taped the bear to the frame and backed the scene with light-blue cardstock.
  • I added the frame and bear to the card base, which I had covered with Lawn Fawn patterned paper from my stash.
  • I assembled the flowers on the front to frame the sentiment.

What's Up Buttercup - Die-cut Picture Book Bear

Thanks for stopping by!

Supplies:

Die-Cut Nautical Scene – Two Takes

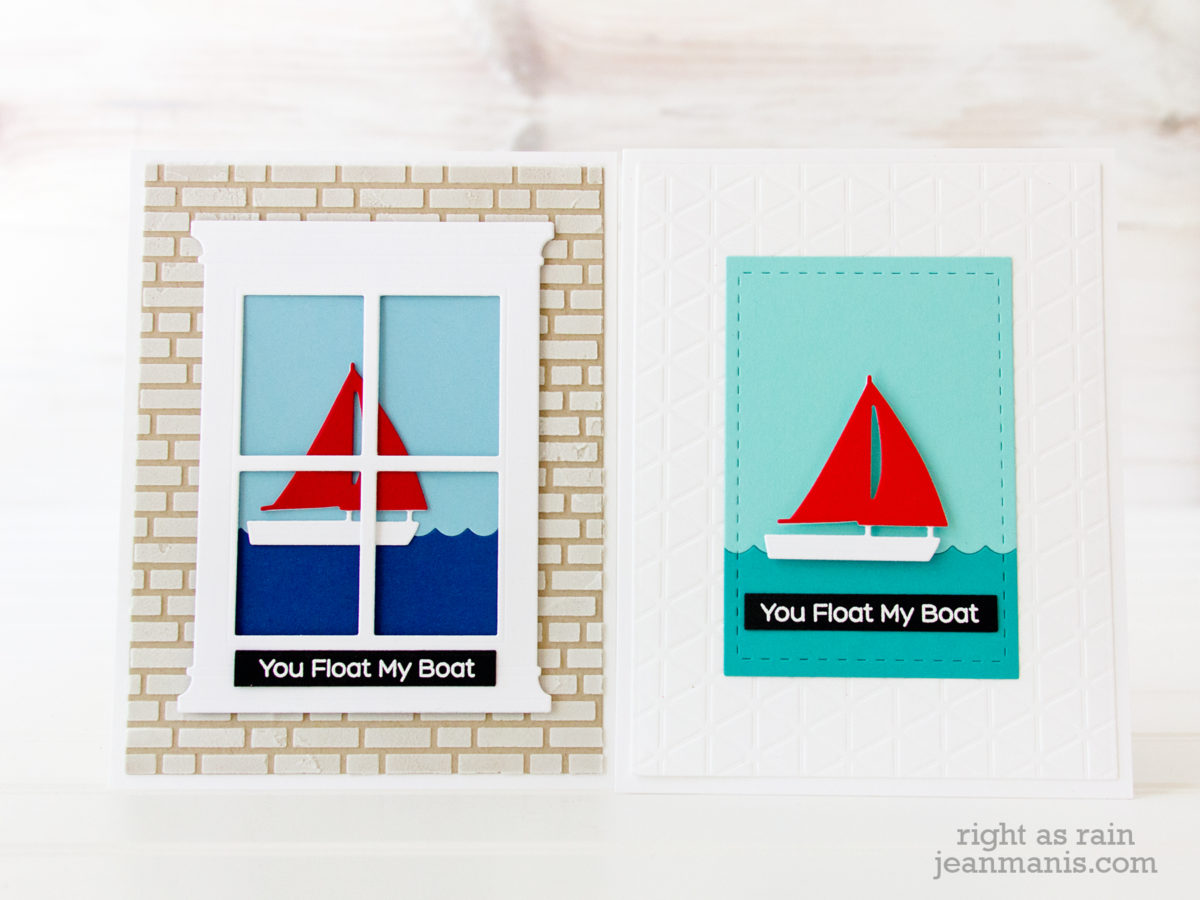
Hello! Today, I am sharing two nautical-themed cards with similar designs.

Die-Cut Nautical Scene - Two Takes

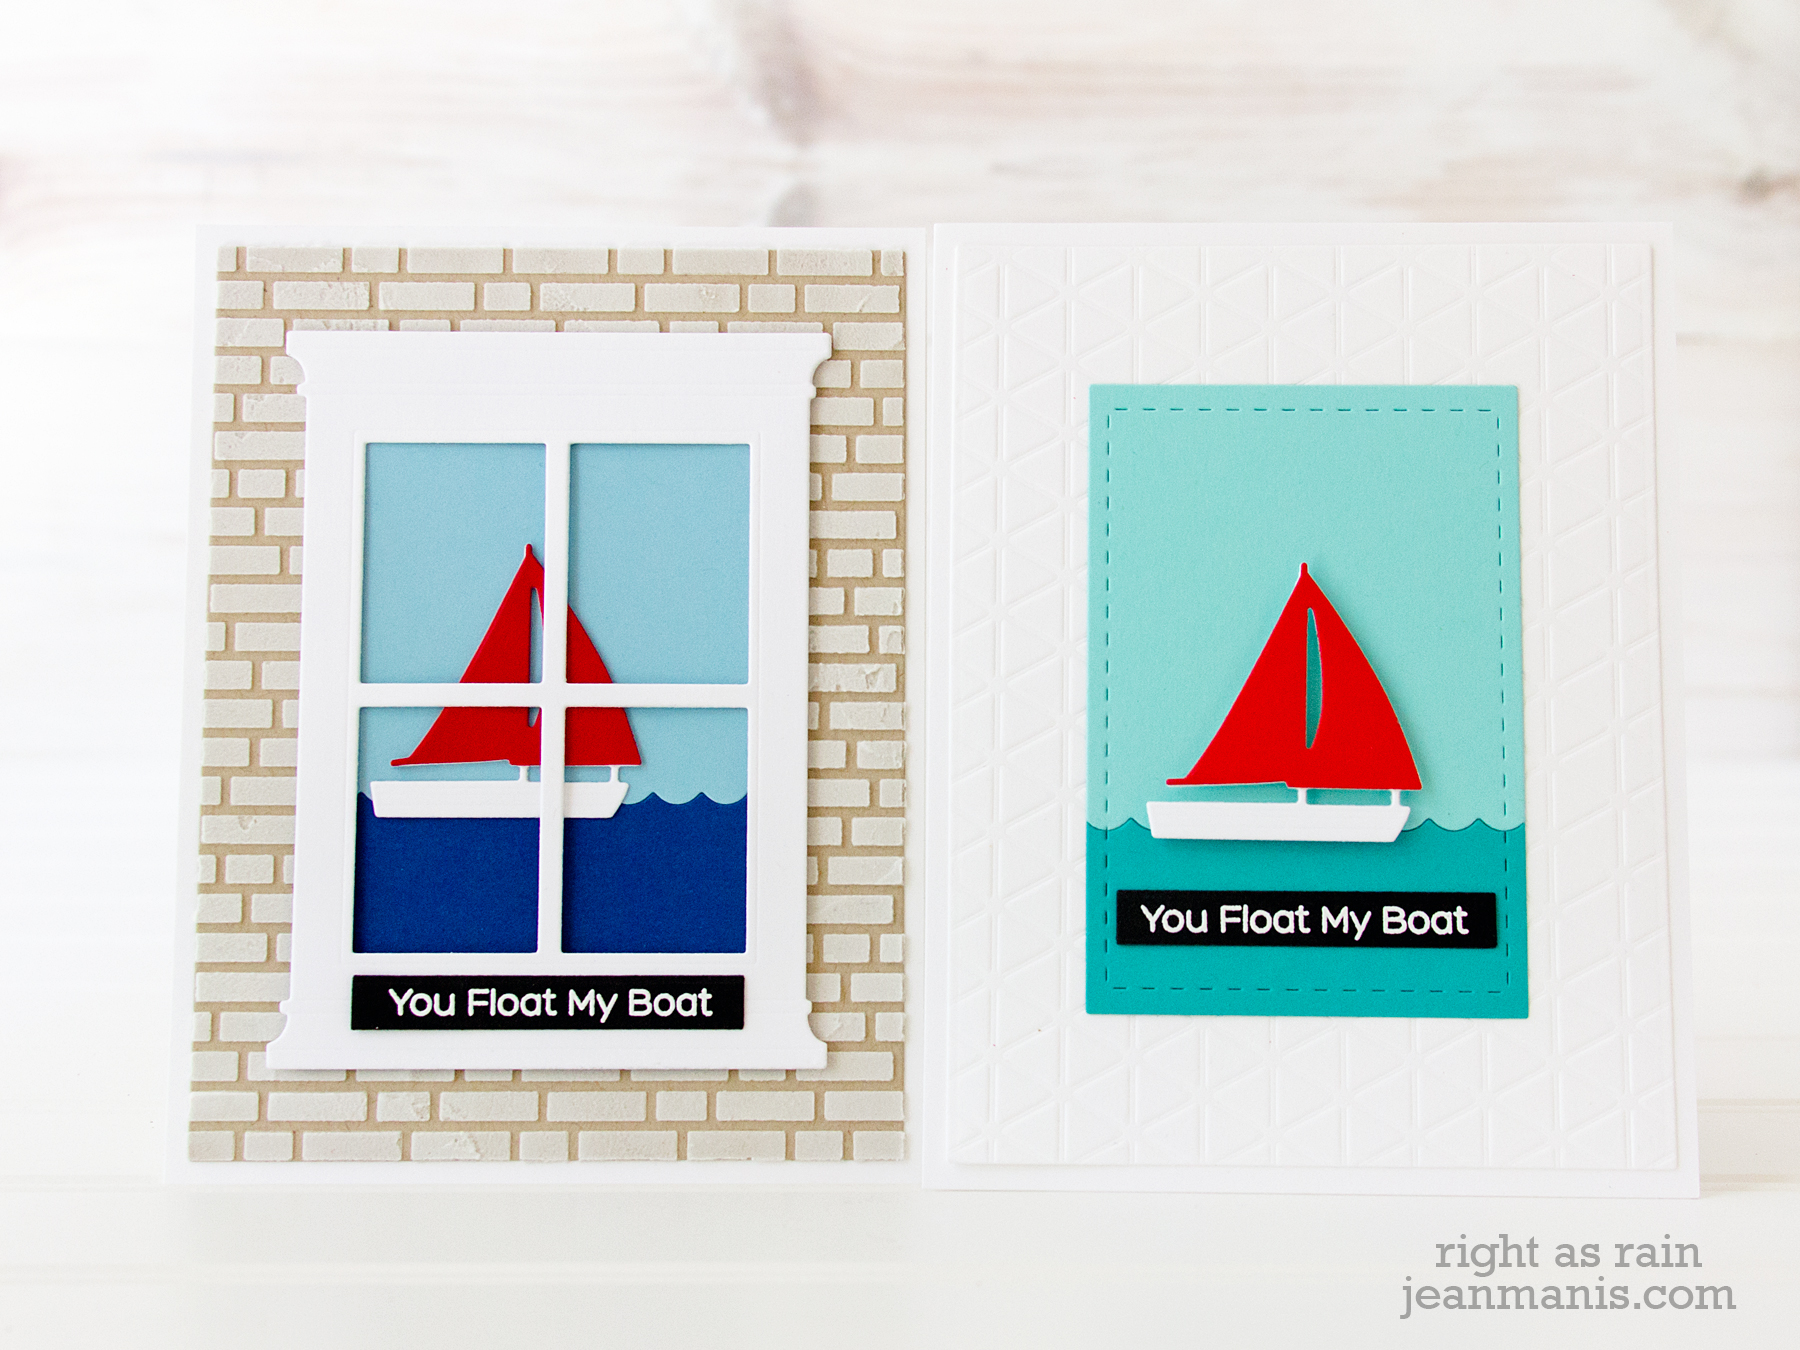
For both cards, I cut the sailboat (Poppystamps Marina Sailboats die) from white cardstock and red cardstock. I trimmed off the sails and added them to the white boat body. The red sail on the card with the window is SU Real Red and the other sail is SU Poppy Parade.

Die-Cut Nautical Scene - Two Takes

Die-Cut Nautical Scene - Two Takes

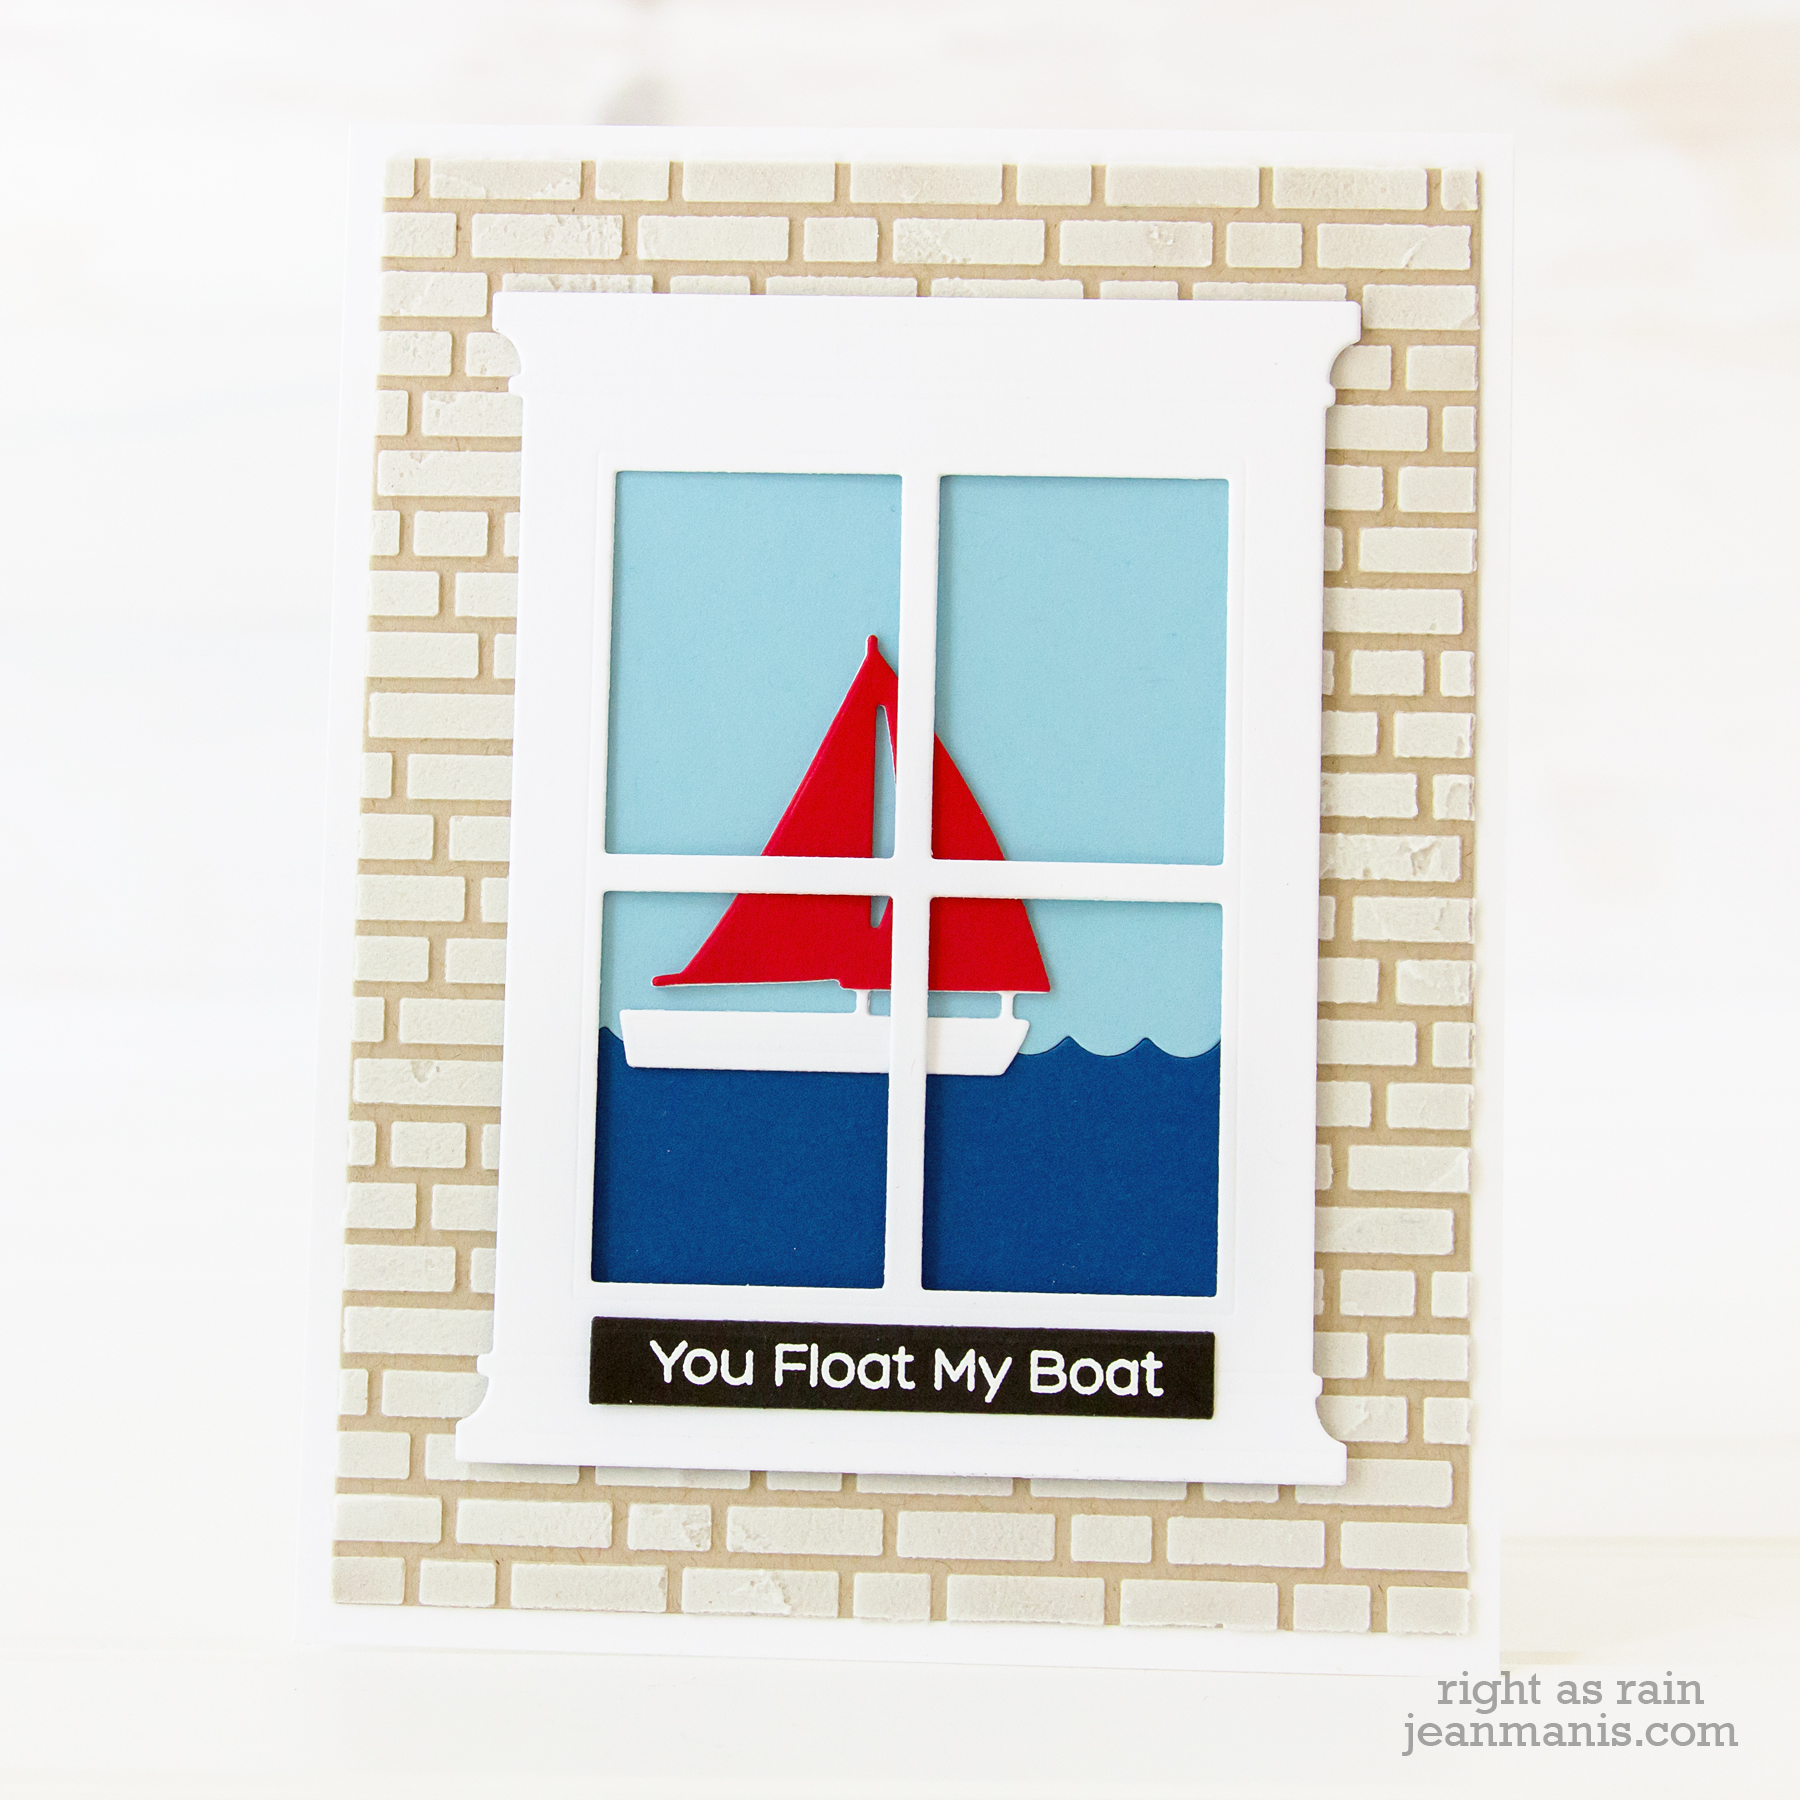
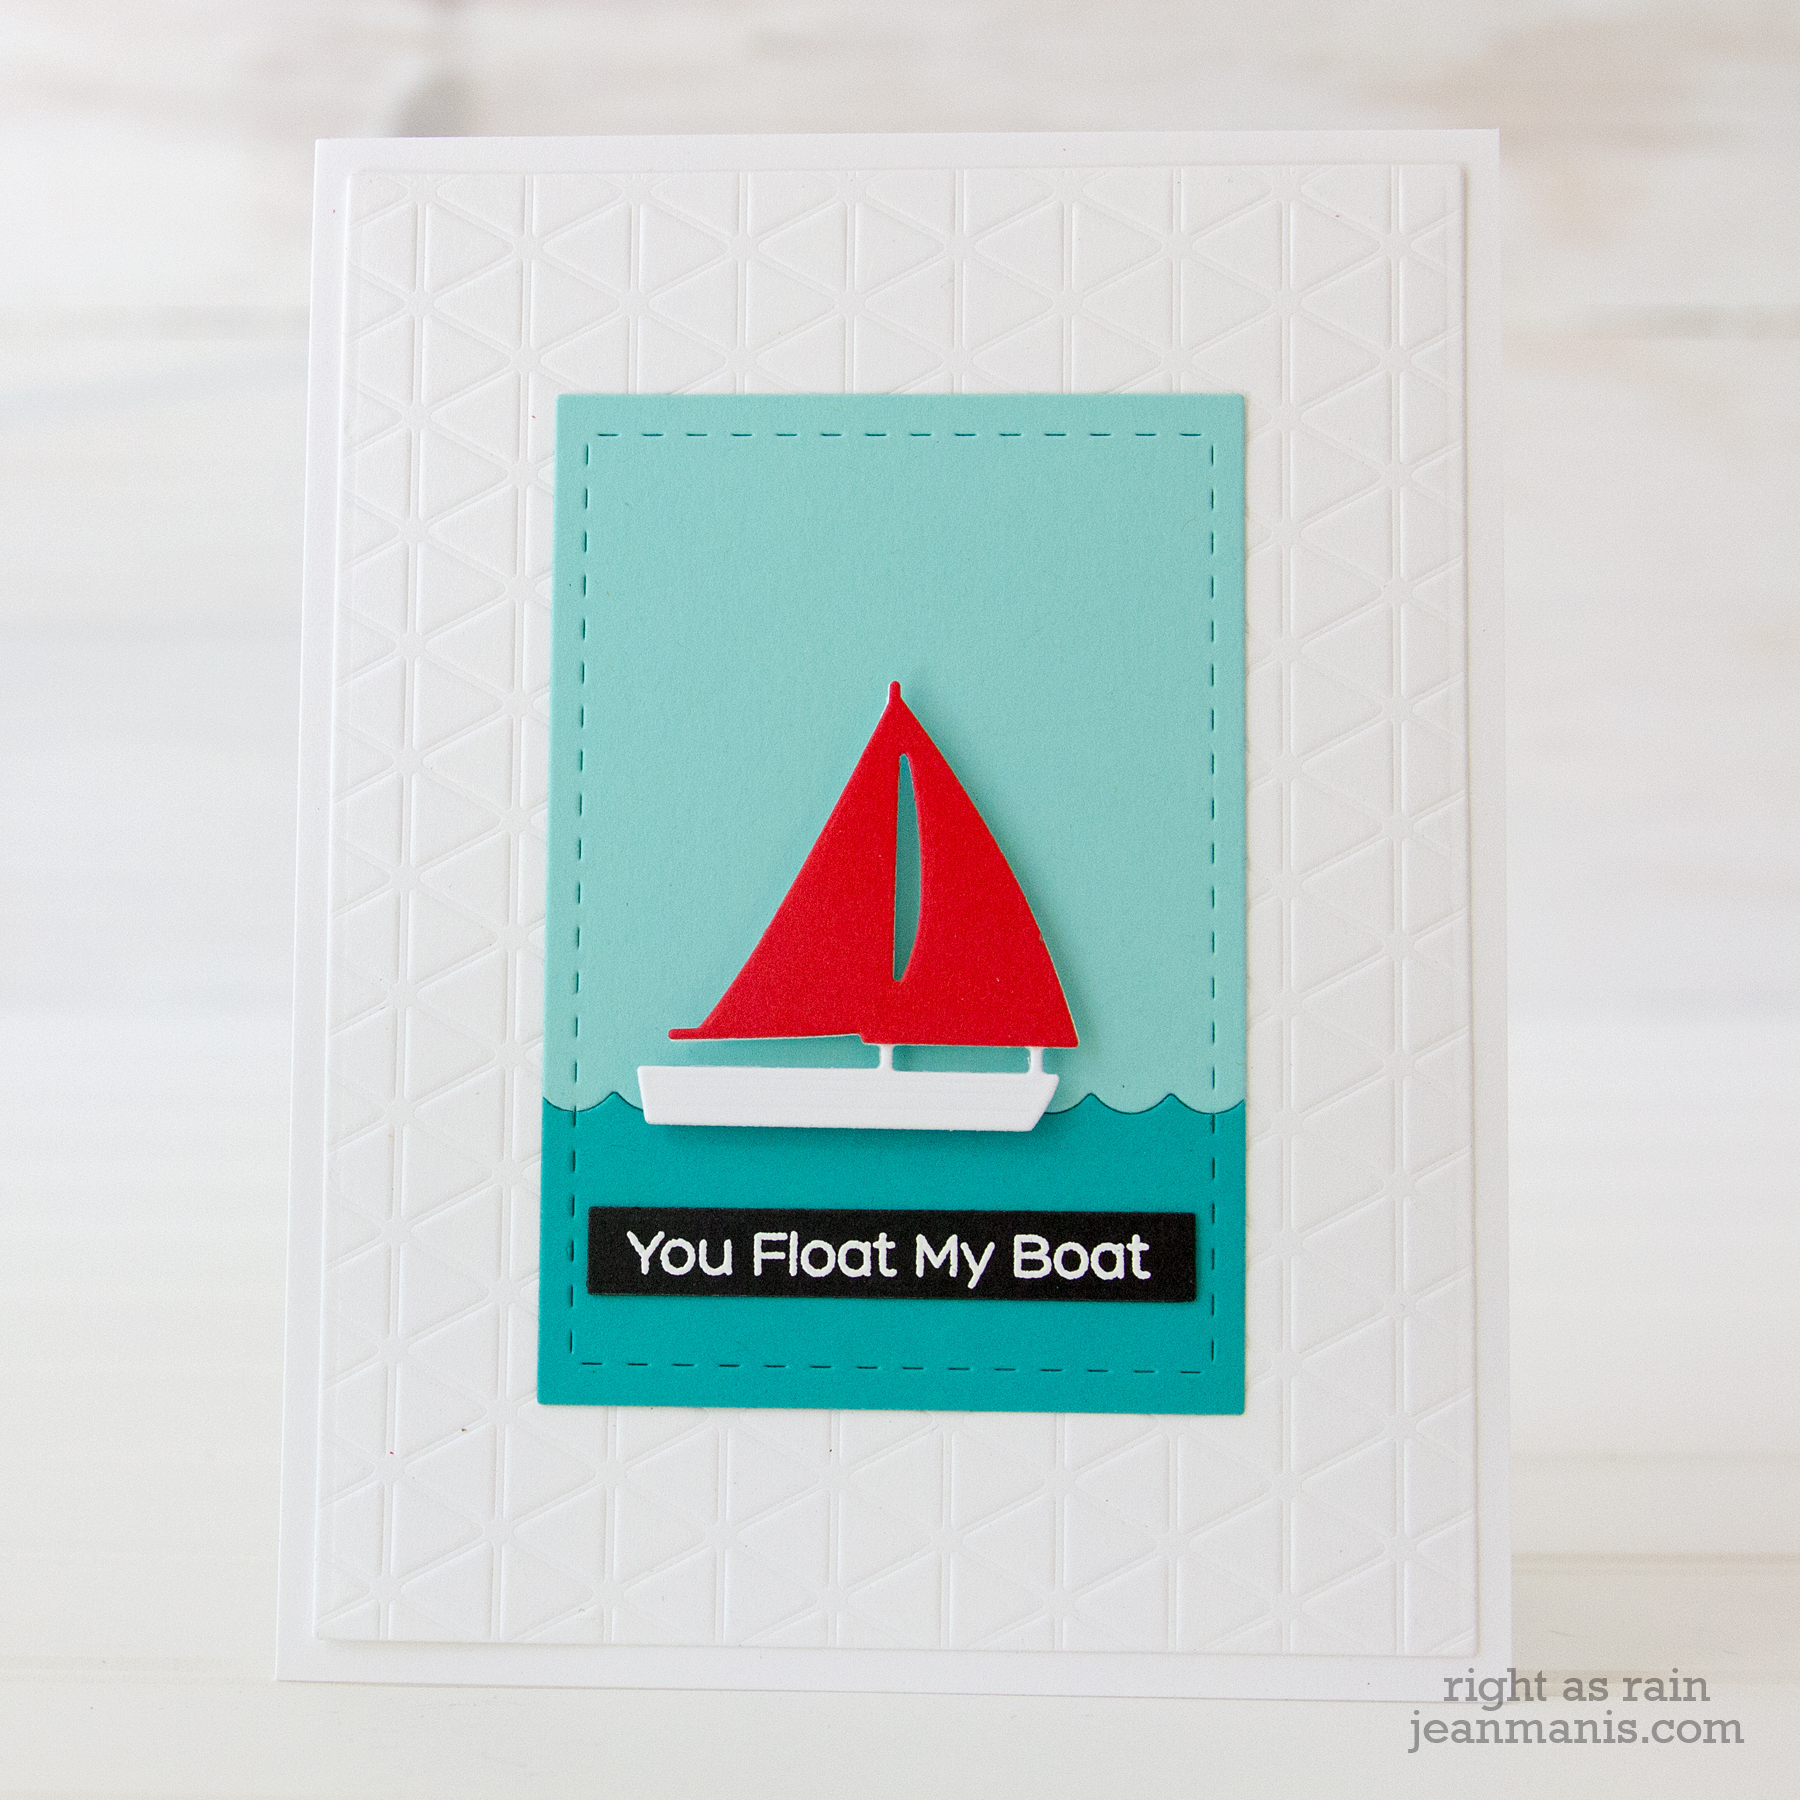
On both cards, I cut the sky and ocean from cardstock using the wave die in the sailboat set. For the card without a window, I taped the sky and ocean together on the back and cut the cardstock with a Lil’ Inker rectangle die. For the card with the window, I simply trimmed the piece down to fit behind the window. The card without the window has a sky and ocean that are more green/teal than the card with the window. I don’t have the names of those colors as I  pulled the cardstock out of a scraps bin. (I have a lot of paper scraps that I need to either put back with the full reams or at the very least sort!) The sky and ocean colors for the card with the window are SU Balmy Blue and SU Blueberry Bushel.

Die-Cut Nautical Scene - Two Takes

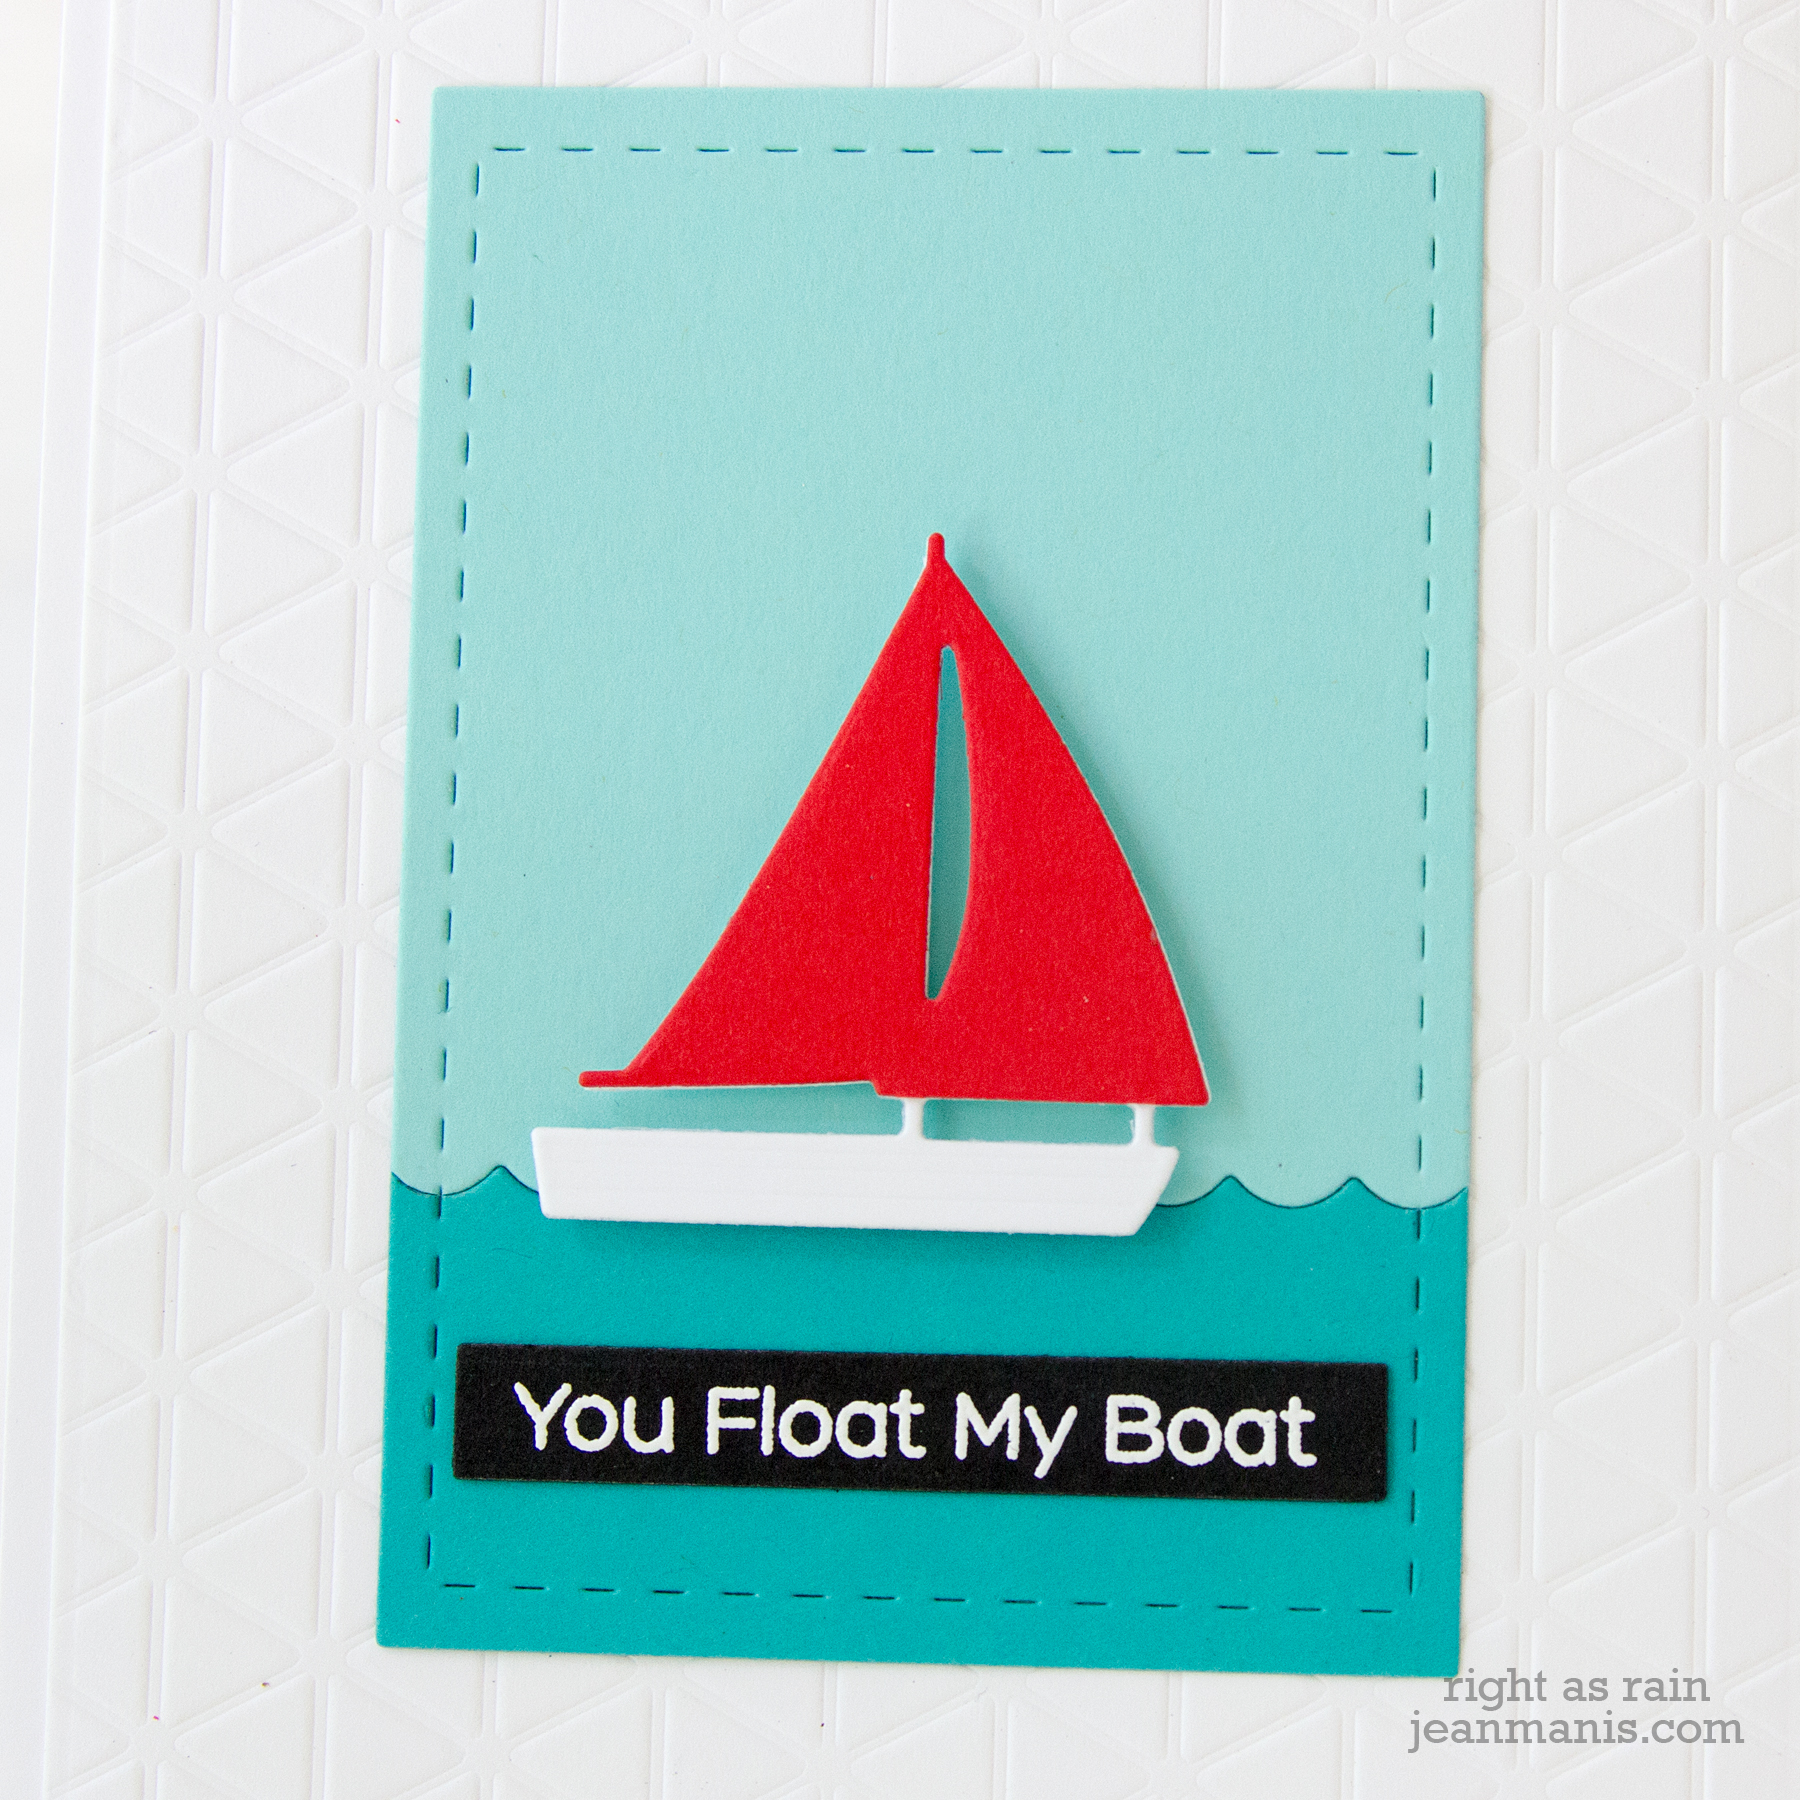
For the card without the window, I dry-embossed the background with the My Favorite Things Geometric Grid stencil. As I have mentioned previously, I am boxing up my supplies for an upcoming move. Most of my embossing folders are packed up. I have several wave embossing folders which I might have used if they’d been handy. Luckily, it’s easy to dry-emboss with a stencil!

Die-Cut Nautical Scene - Two Takes

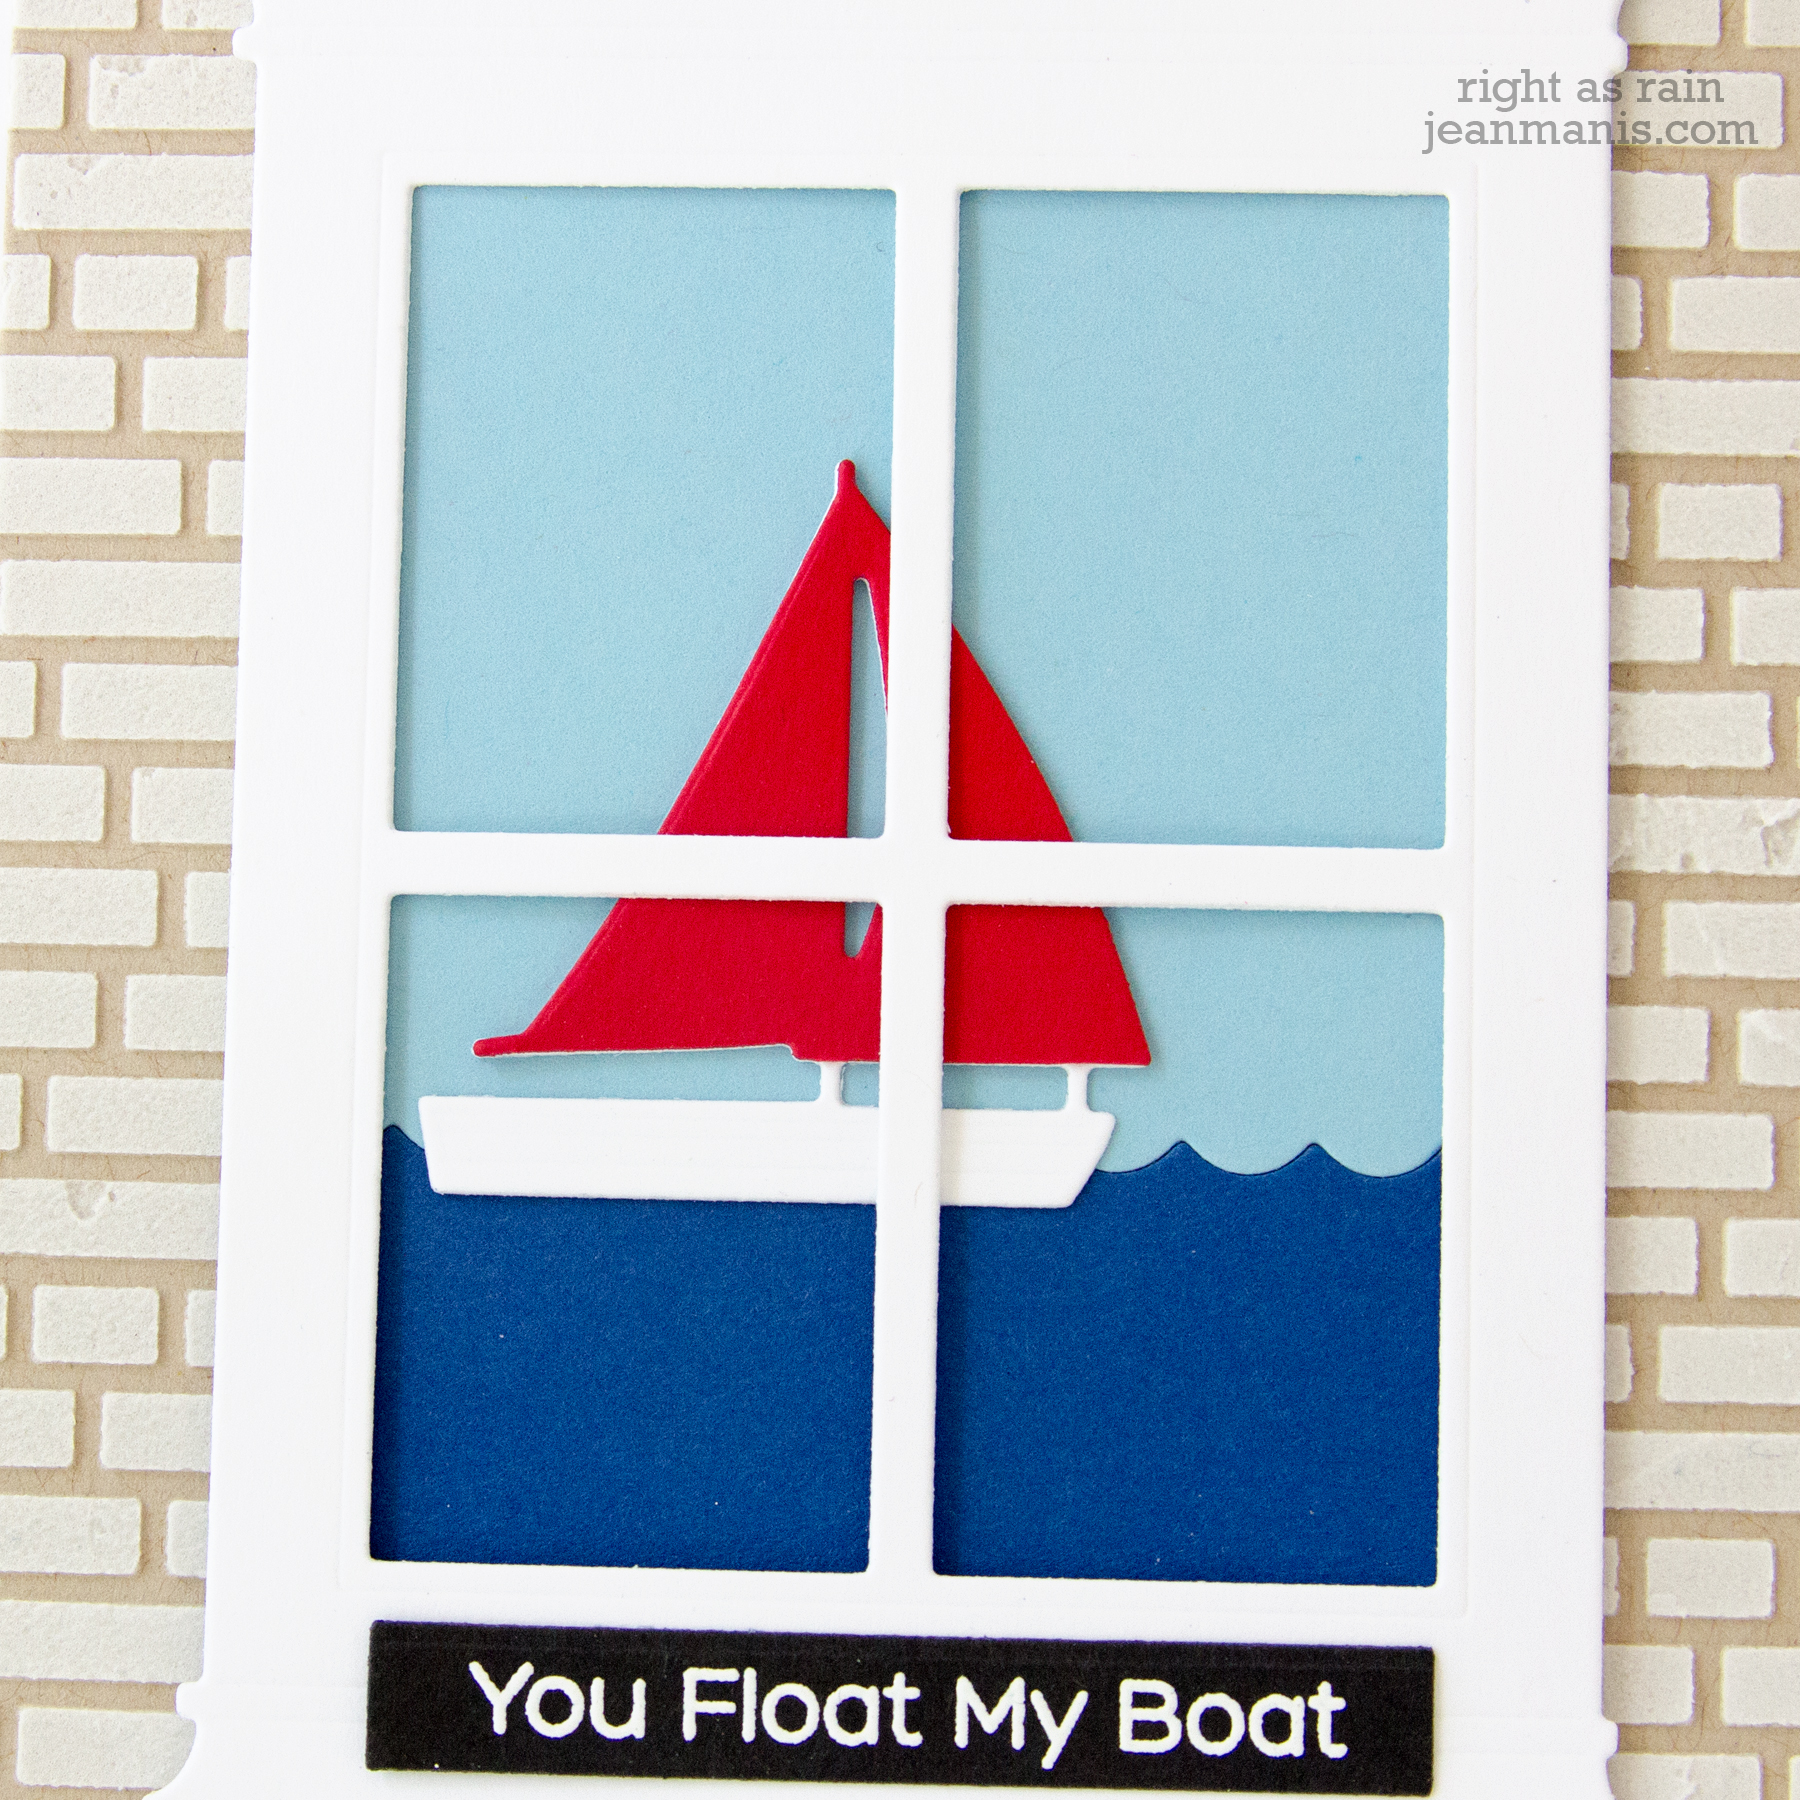
For the card with the window, I added embossing paste through the English Brick stencil on kraft cardstock.

For both cards, I added a heat-embossed sentiment (My Favorite Things You Float My Boat stamp set) which I cut with the MFT Horizontal Hearts in a Row banner.

Thanks for stopping by!

Supplies:

Stitched Florals – Die-cut Thanks

Hello! Today, I am sharing a thank you card featuring the My Favorite Things Stitched Blooms die set. This set is not new but it is new to my collection.

Stitched Florals - Die-cut Thanks

  • I applied Distress Oxide inks on to white cardstock and cut the flowers and leaves from that cardstock.
  • I assembled the die-cut pieces with liquid adhesive.
  • I placed the pieces on a kraft cardstock base on which I had stamped the Thanks sentiment. Some of the pieces were adhered directly to the base and some with foam adhesive.

Stitched Florals - Die-cut Thanks

Thanks for visiting!

Supplies:

Keep Shining Bright – CAS Encouragement Card

Hello! Today I am sharing a CAS encouragement/friendship card in which I have combined a die-cut, a stencil, and a heat-embossed sentiment. I really like the versatility of this sentiment and its message. I am finishing out the week with another card featuring primary colors. What’s up with that?!

Keep Shining Bright - CAS Encouragement Card

    • To begin, I applied Squeezed Lemonade Distress Oxide ink through the Radiating Rays stencil. I trimmed the stenciled panel to 4″ x 5 1/4″.
    • I heat-embossed the Seeing Stars sentiment (now retired) on SU Real Red cardstock. I cut the sentiment with the MFT Horizontal Hearts in a Row banner die (now retired).
    • I die-cut the lantern with a die in the Camping set (now retired) from SU Smoky Slate cardstock. I added a small die-cut circle, cut from cardstock to which I had applied Squeezed Lemonade Distress Oxide ink, as the light. I have a thing for these types of lanterns. They symbolize warmth and safety to me.
    • I cut a circle from SU Blueberry Bushel cardstock as a mat for the sentiment and the lantern. Both the sentiment and the lantern were added to the circle with foam adhesive.
    • I added the panel to a linen-card base. I’ve been using Bazzill 12″ x 12″ cardstock with a linen finish a lot lately because I just happened to have several pieces near my rotary cutter.

Keep Shining Bright - CAS Encouragement Card

Supplies:

A WOW Birthday

Hello! Today I am sharing a CAS birthday card in bright colors (for whatever reason I’m drawn to bright colors this past week). Let’s take a look.

A WOW Birthday

  • To begin, I die-cut the Paper Smooches balloons, the balloon strings (retired Taylored Expressions set), and the MFT Stamps WOW sentiment. I chose colors (Simon Says Stamp Lipstick Red and SU Daffodil Delight; I don’t know the manufacturer of the orange cardstock) to coordinate with the Echo Park patterned paper.
  • I heat-embossed the birthday sentiment on SU Tempting Turquoise cardstock. The sentiment panel and patterned paper panel were cut to be equal height so that the WOW letters were positioned between the two.
  • I assembled the papers on to a larger piece of white cardstock.  I then adhered the WOW letters with dot adhesive and the balloons (which I assembled with liquid adhesive) to the panel with foam adhesive.
  • The panel was added to a linen-textured card base.

Thanks for stopping by!

Supplies: