Spellbinders 2019 Limited Edition Merry Everything Christmas Kit – Day Two

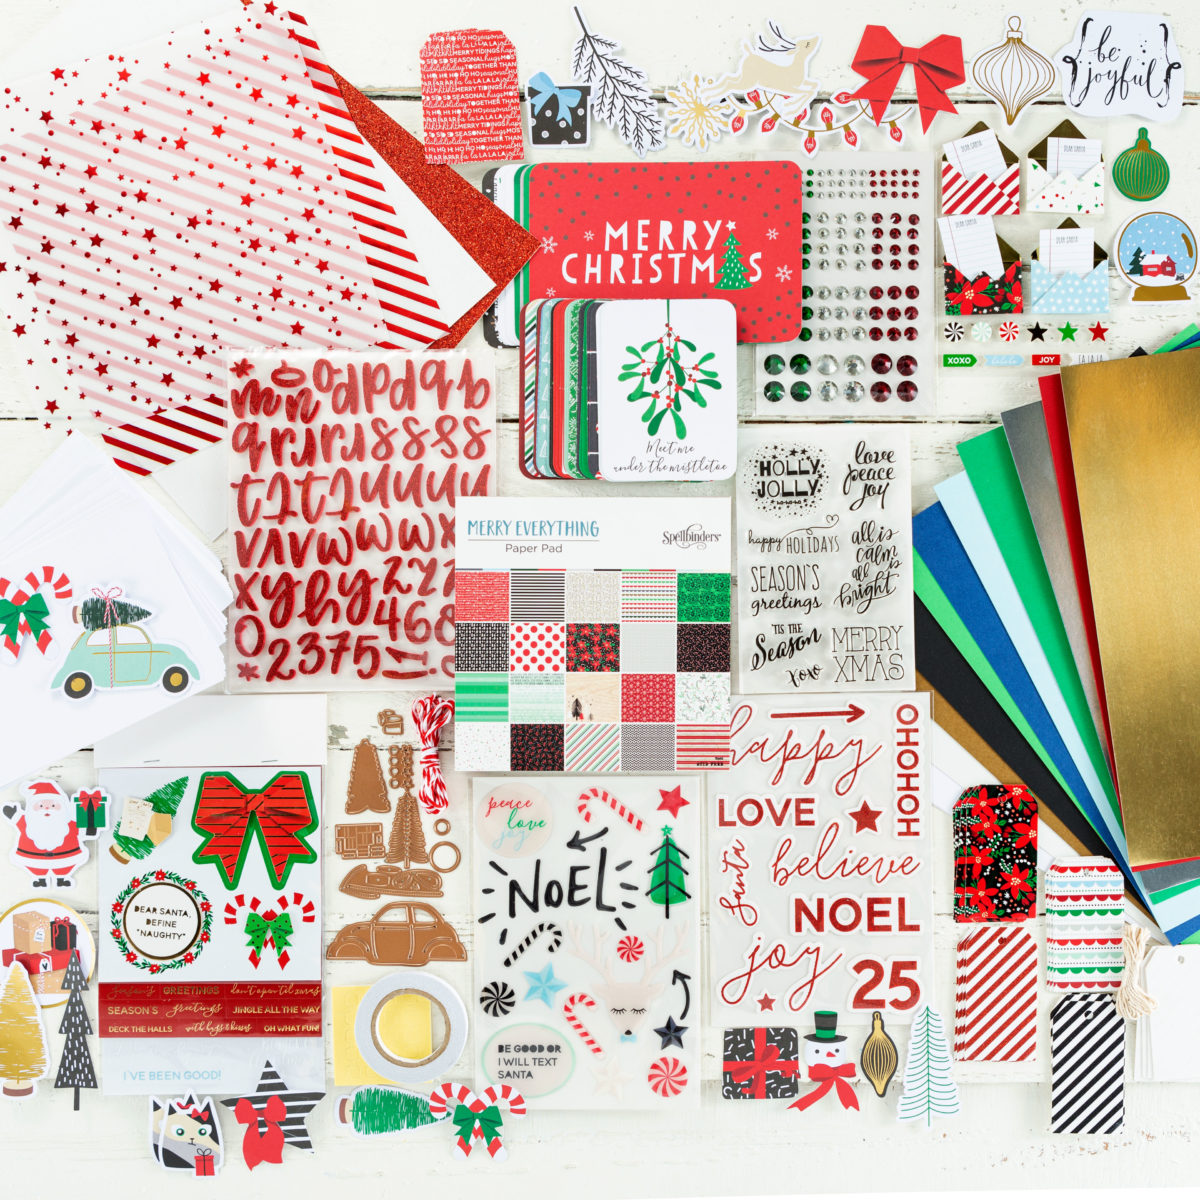
Hello! Today I am sharing two more projects created with the Spellbinders holiday kit – Merry Everything. If you missed my first post of projects created with the kit click here.

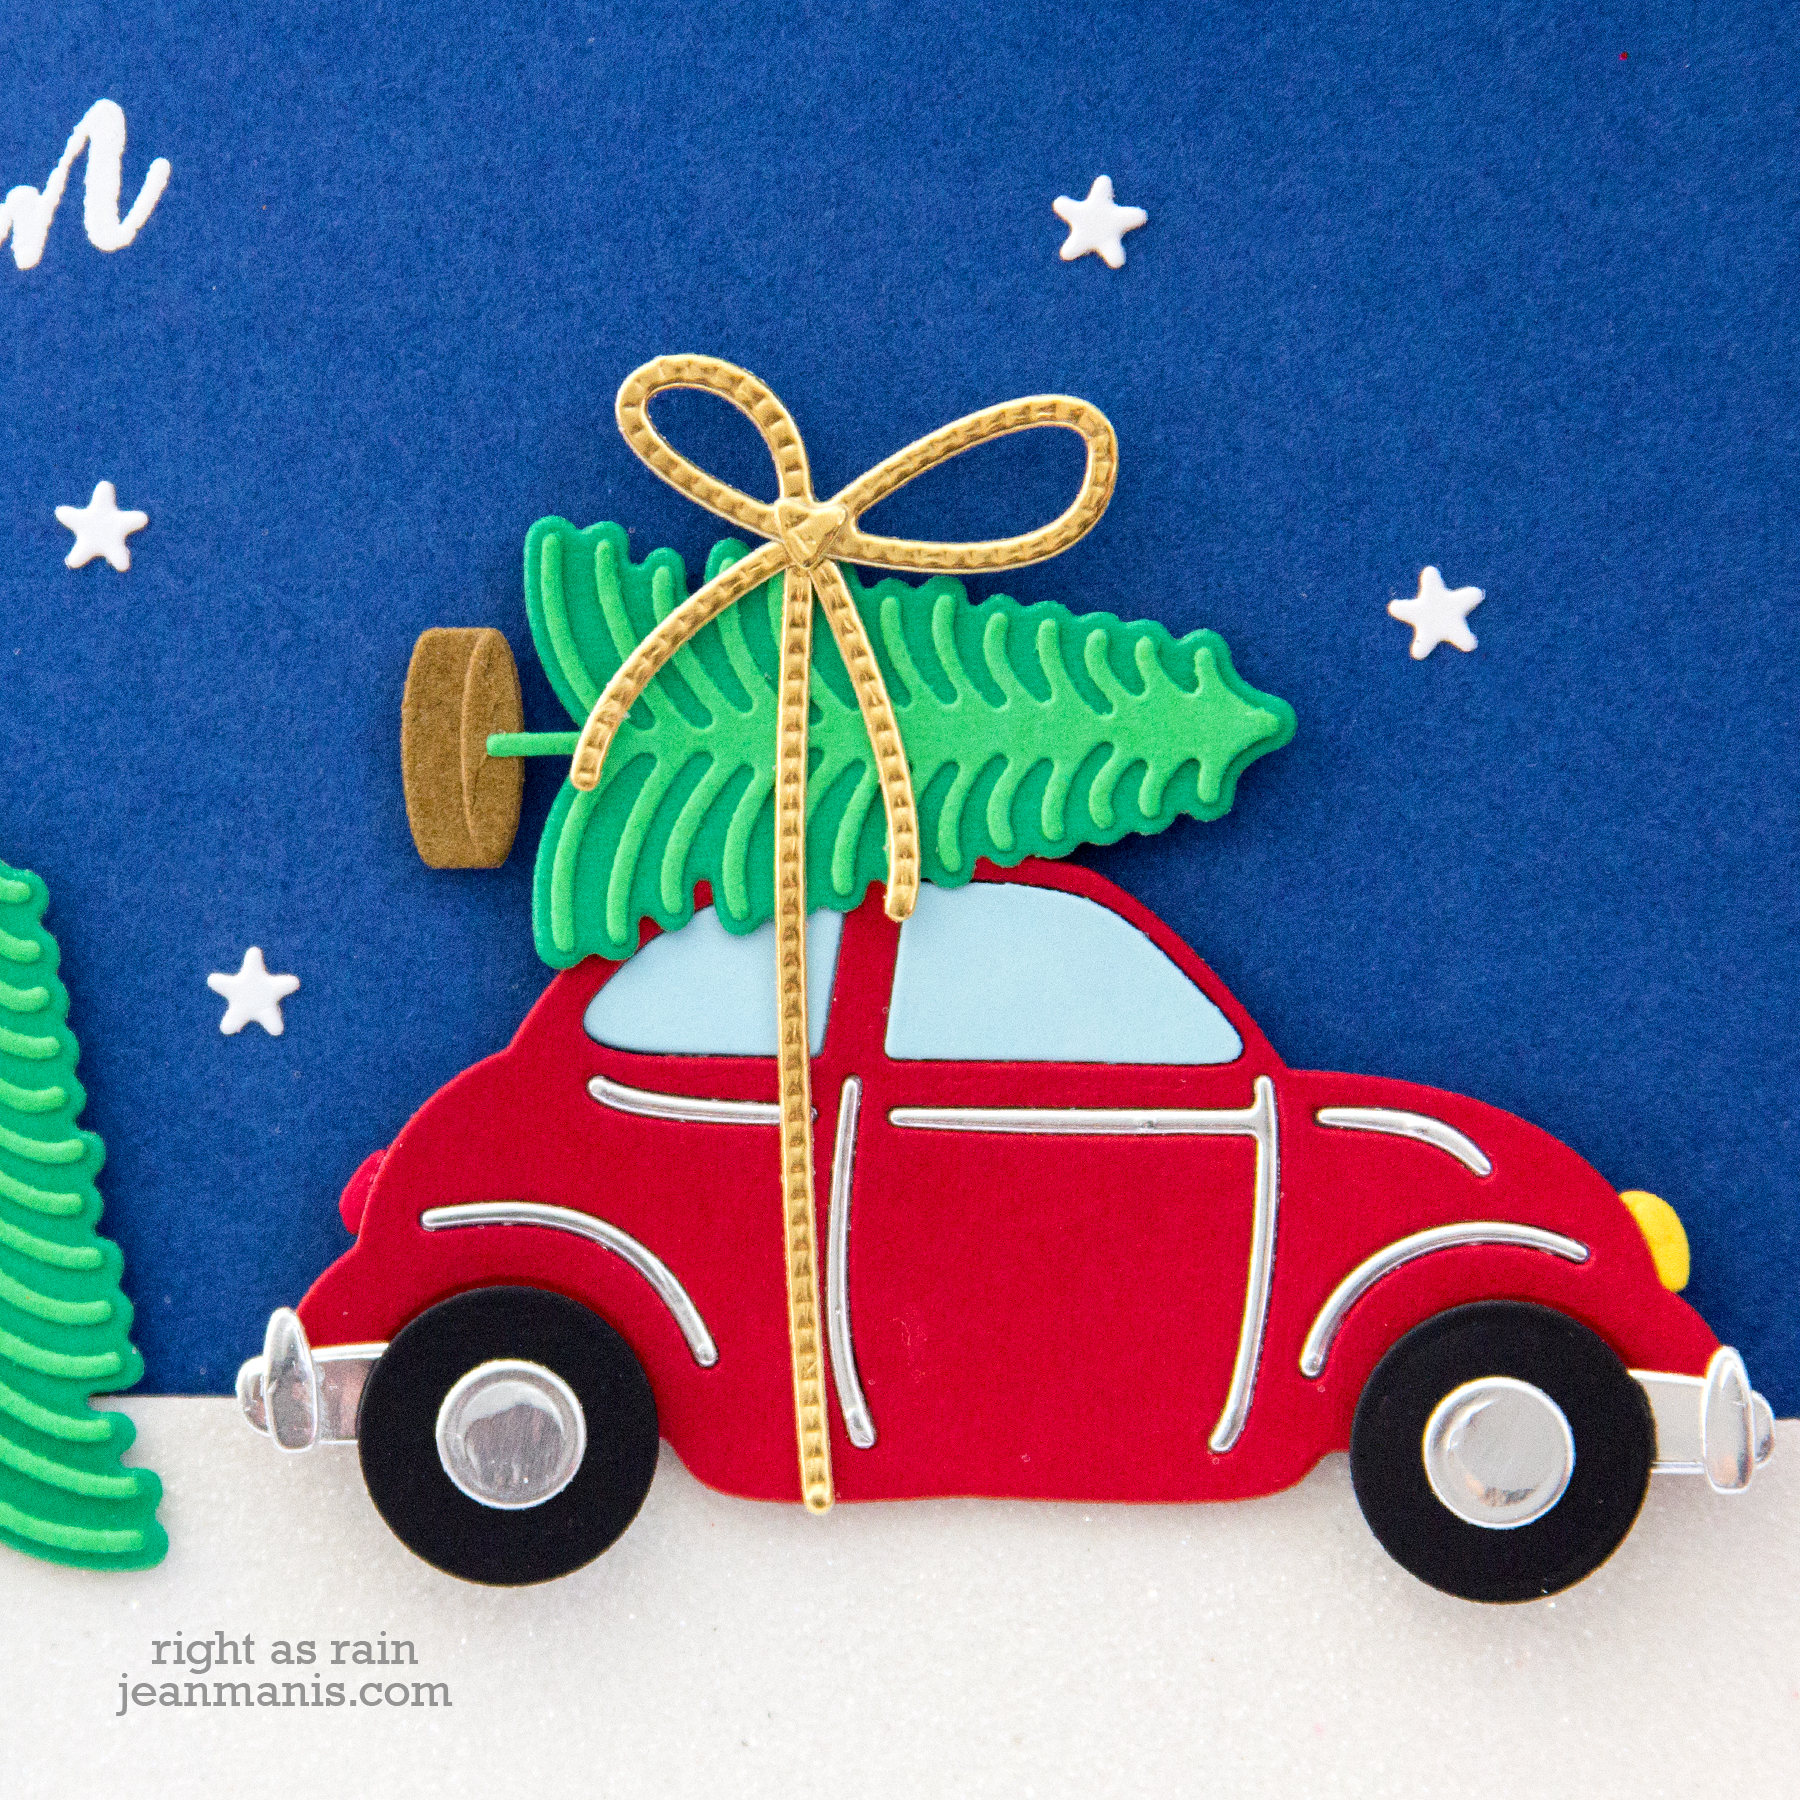
My first project is a holiday card (a nighttime trip to get a Christmas tree) created with the Merry Everything kit’s die set and stamp set.

Spellbinders 2019 Limited Edition Merry Everything Christmas Kit

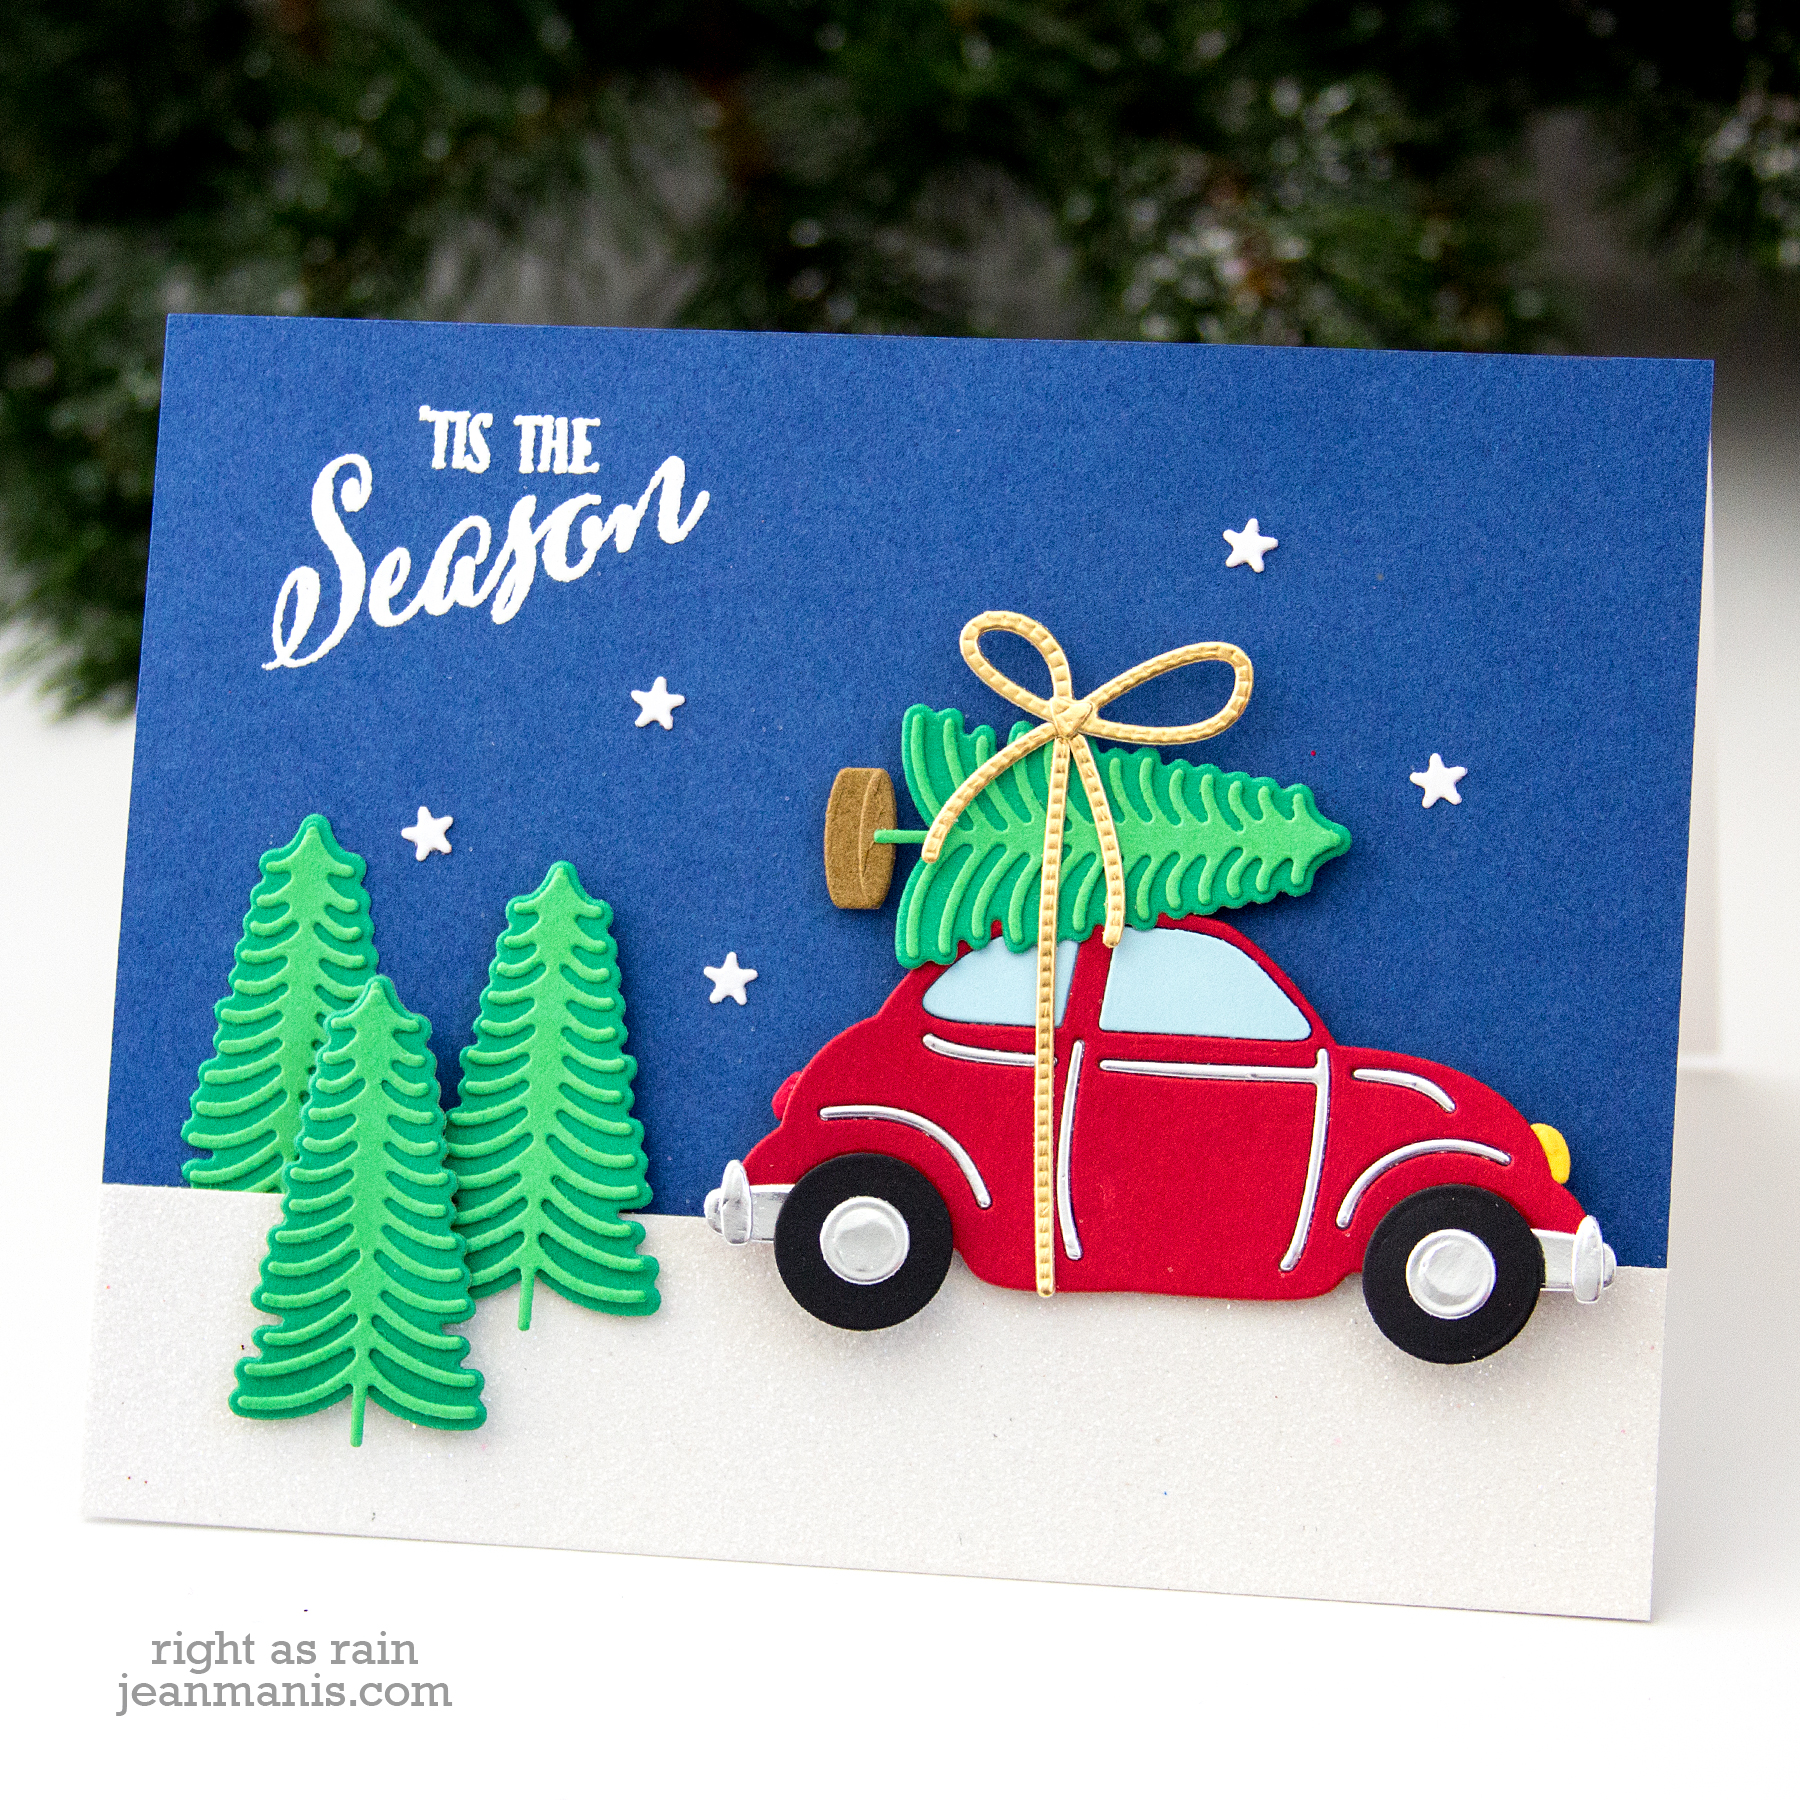
In addition to the stamp set and die set, I used the kit’s solid cardstock, gold and silver foil cardstock and glitter cardstock to create the card. I heat-embossed the ‘Tis the Season sentiment, which is one of several holiday-themed sentiments included with the kit’s stamp set.

Spellbinders 2019 Limited Edition Merry Everything Christmas Kit

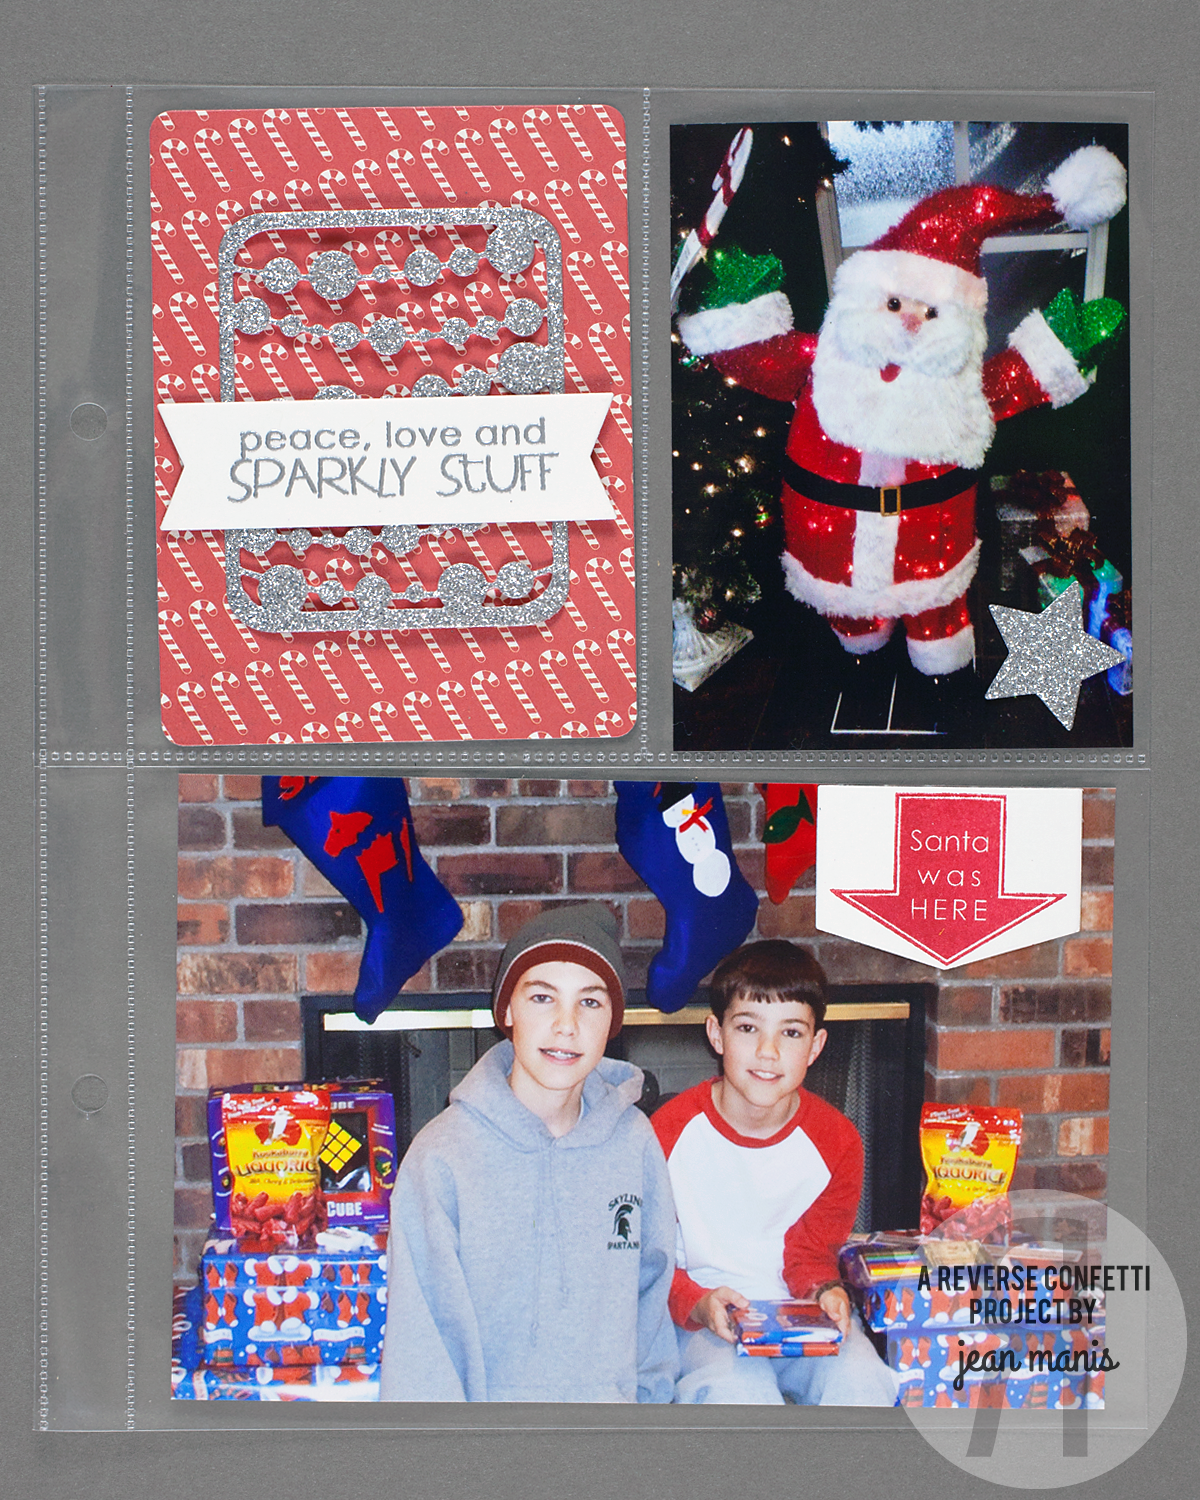
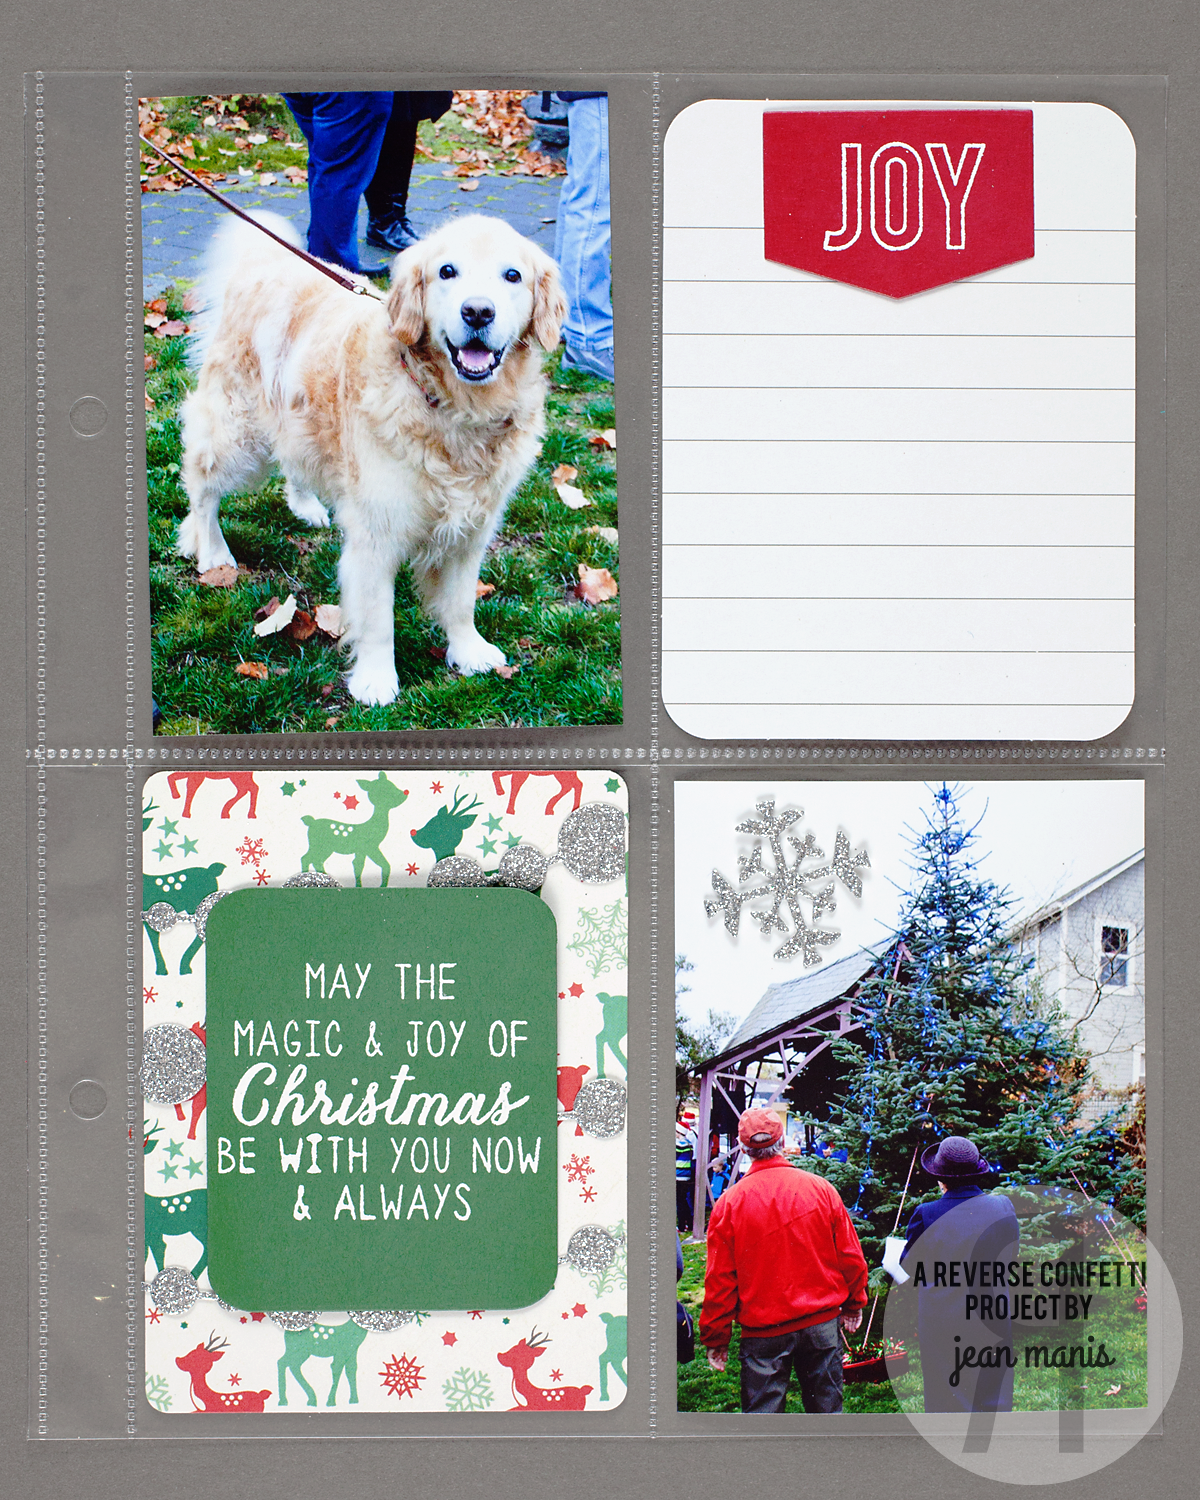
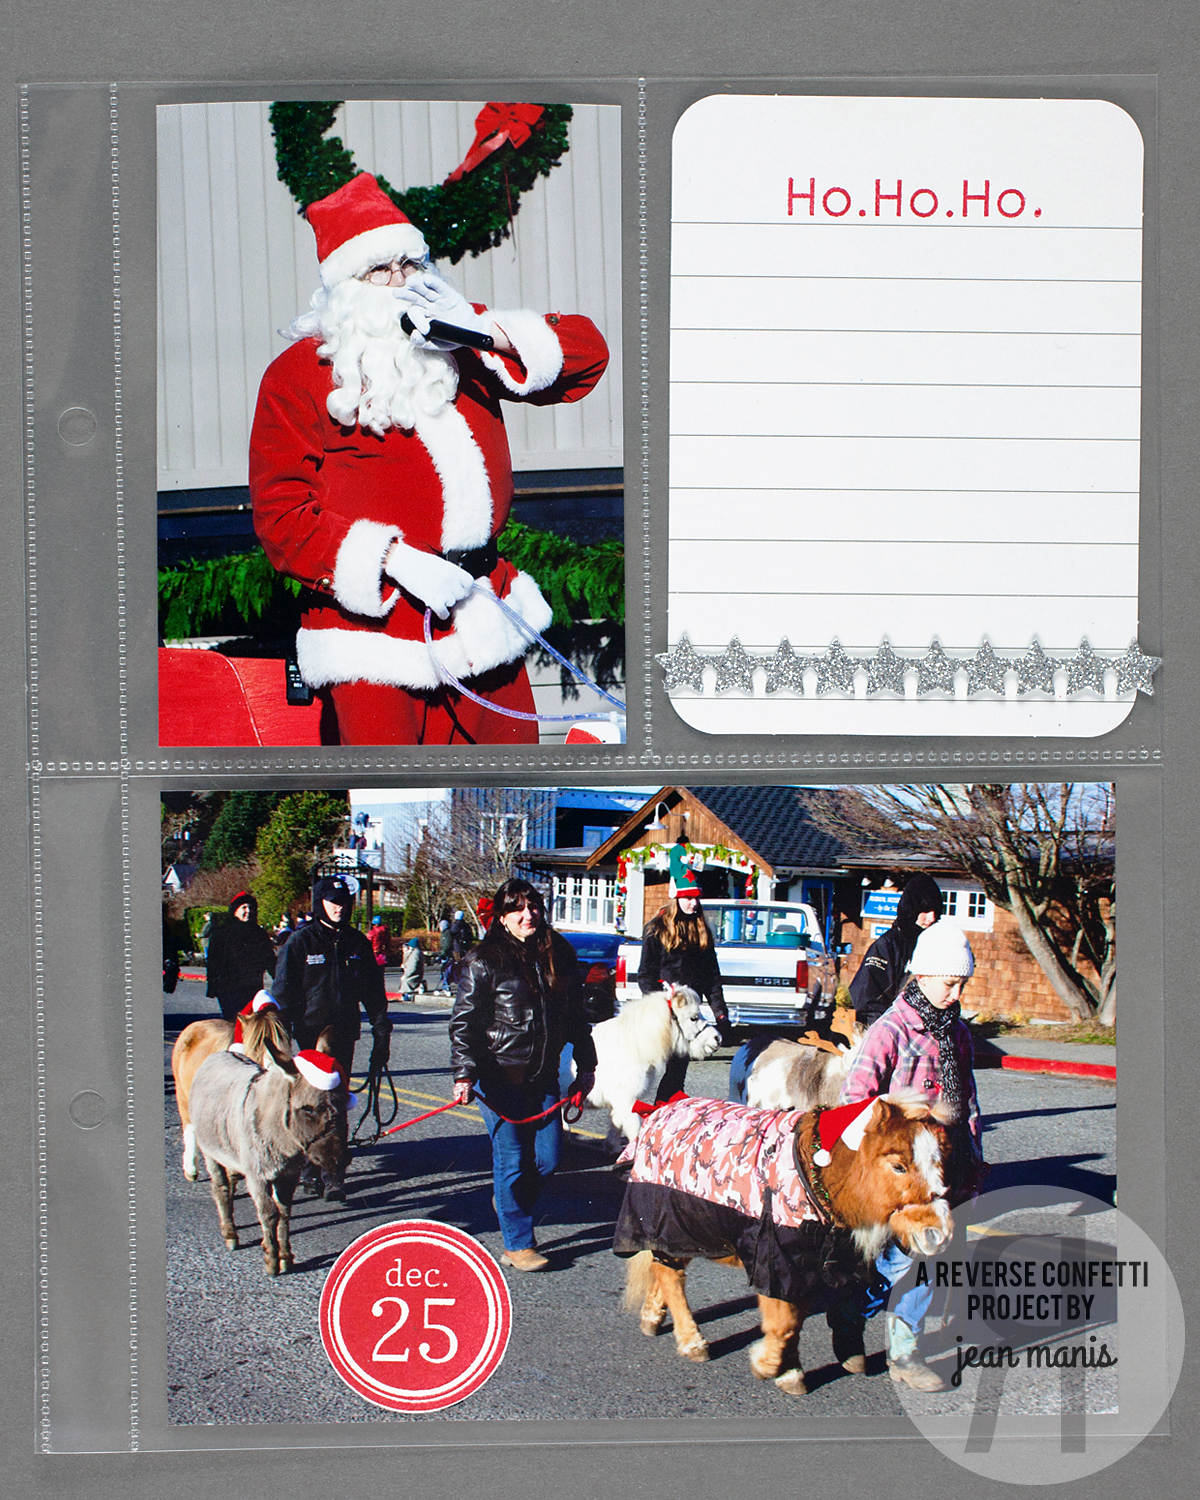
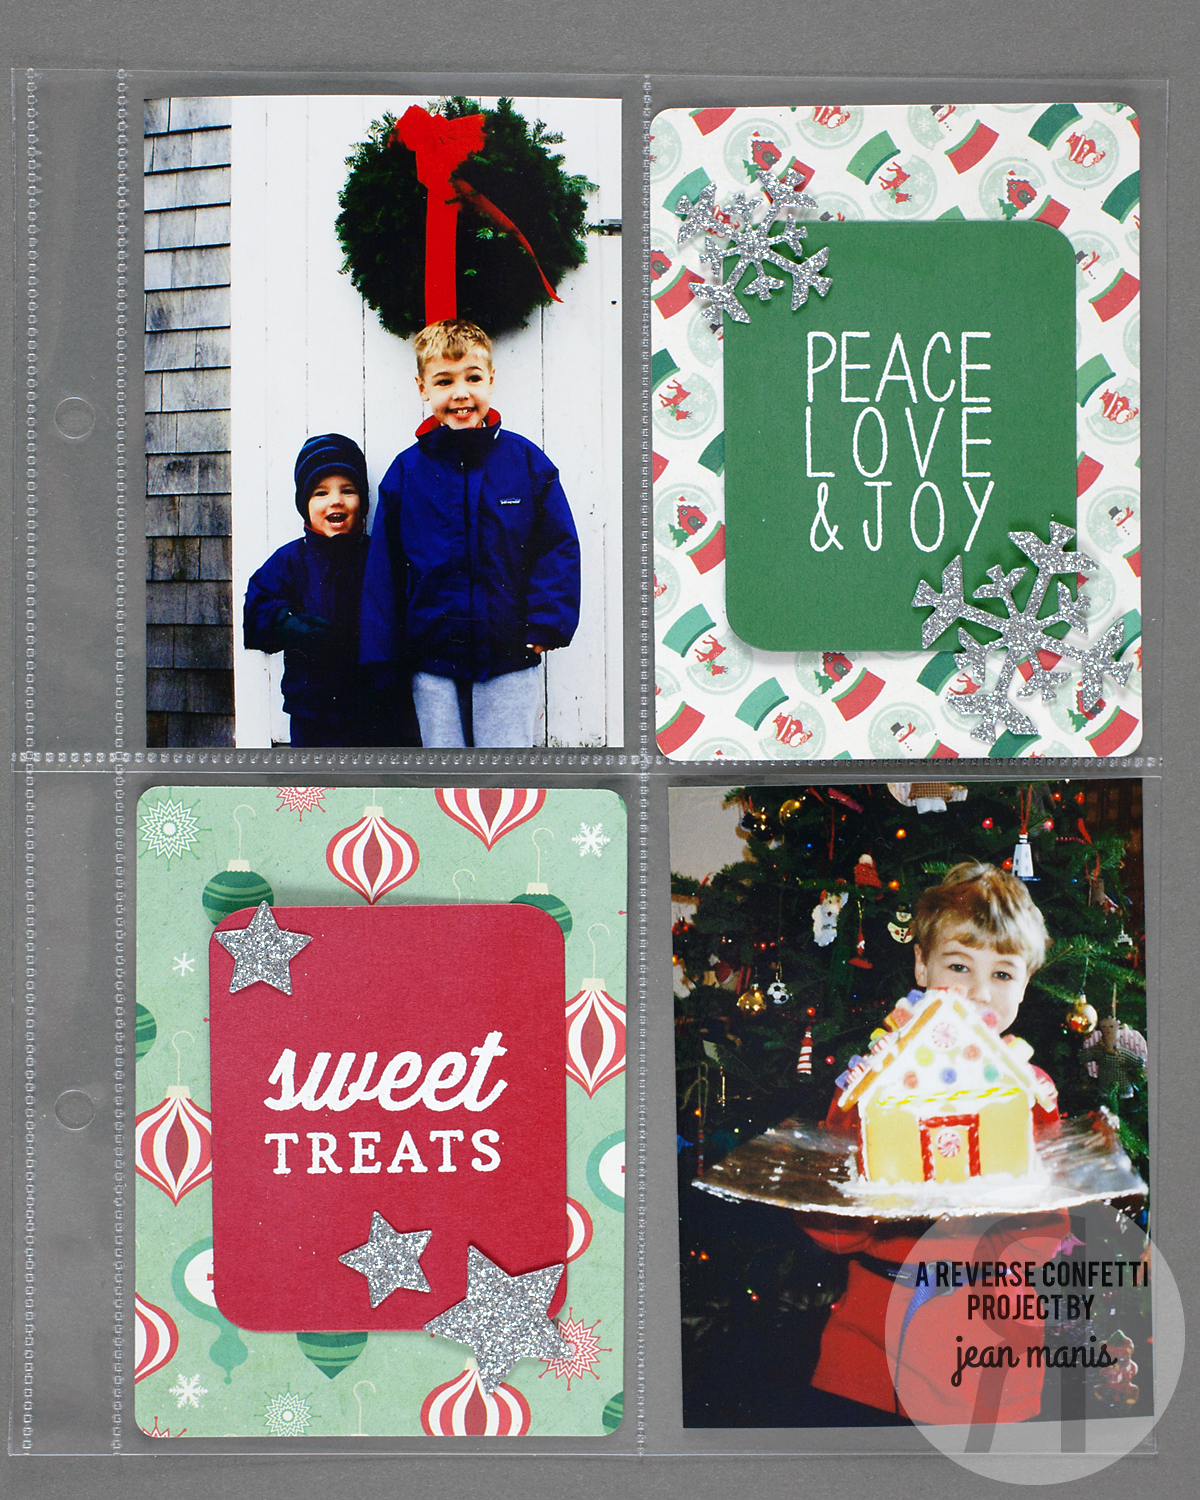
Yesterday, I shared a scrapbook layout created with pieces from the Merry Everything kit. Today, I am sharing two pocket scrapbook pages created with contents in the kit documenting the same Christmas morning as the scrapbook layout. I added stickers and die cut pieces to the printed pocket scrapbook cards for some embellishing.

Spellbinders 2019 Limited Edition Merry Everything Christmas Kit

Spellbinders 2019 Limited Edition Merry Everything Christmas Kit

Spellbinders 2019 Limited Edition Merry Everything Christmas Kit

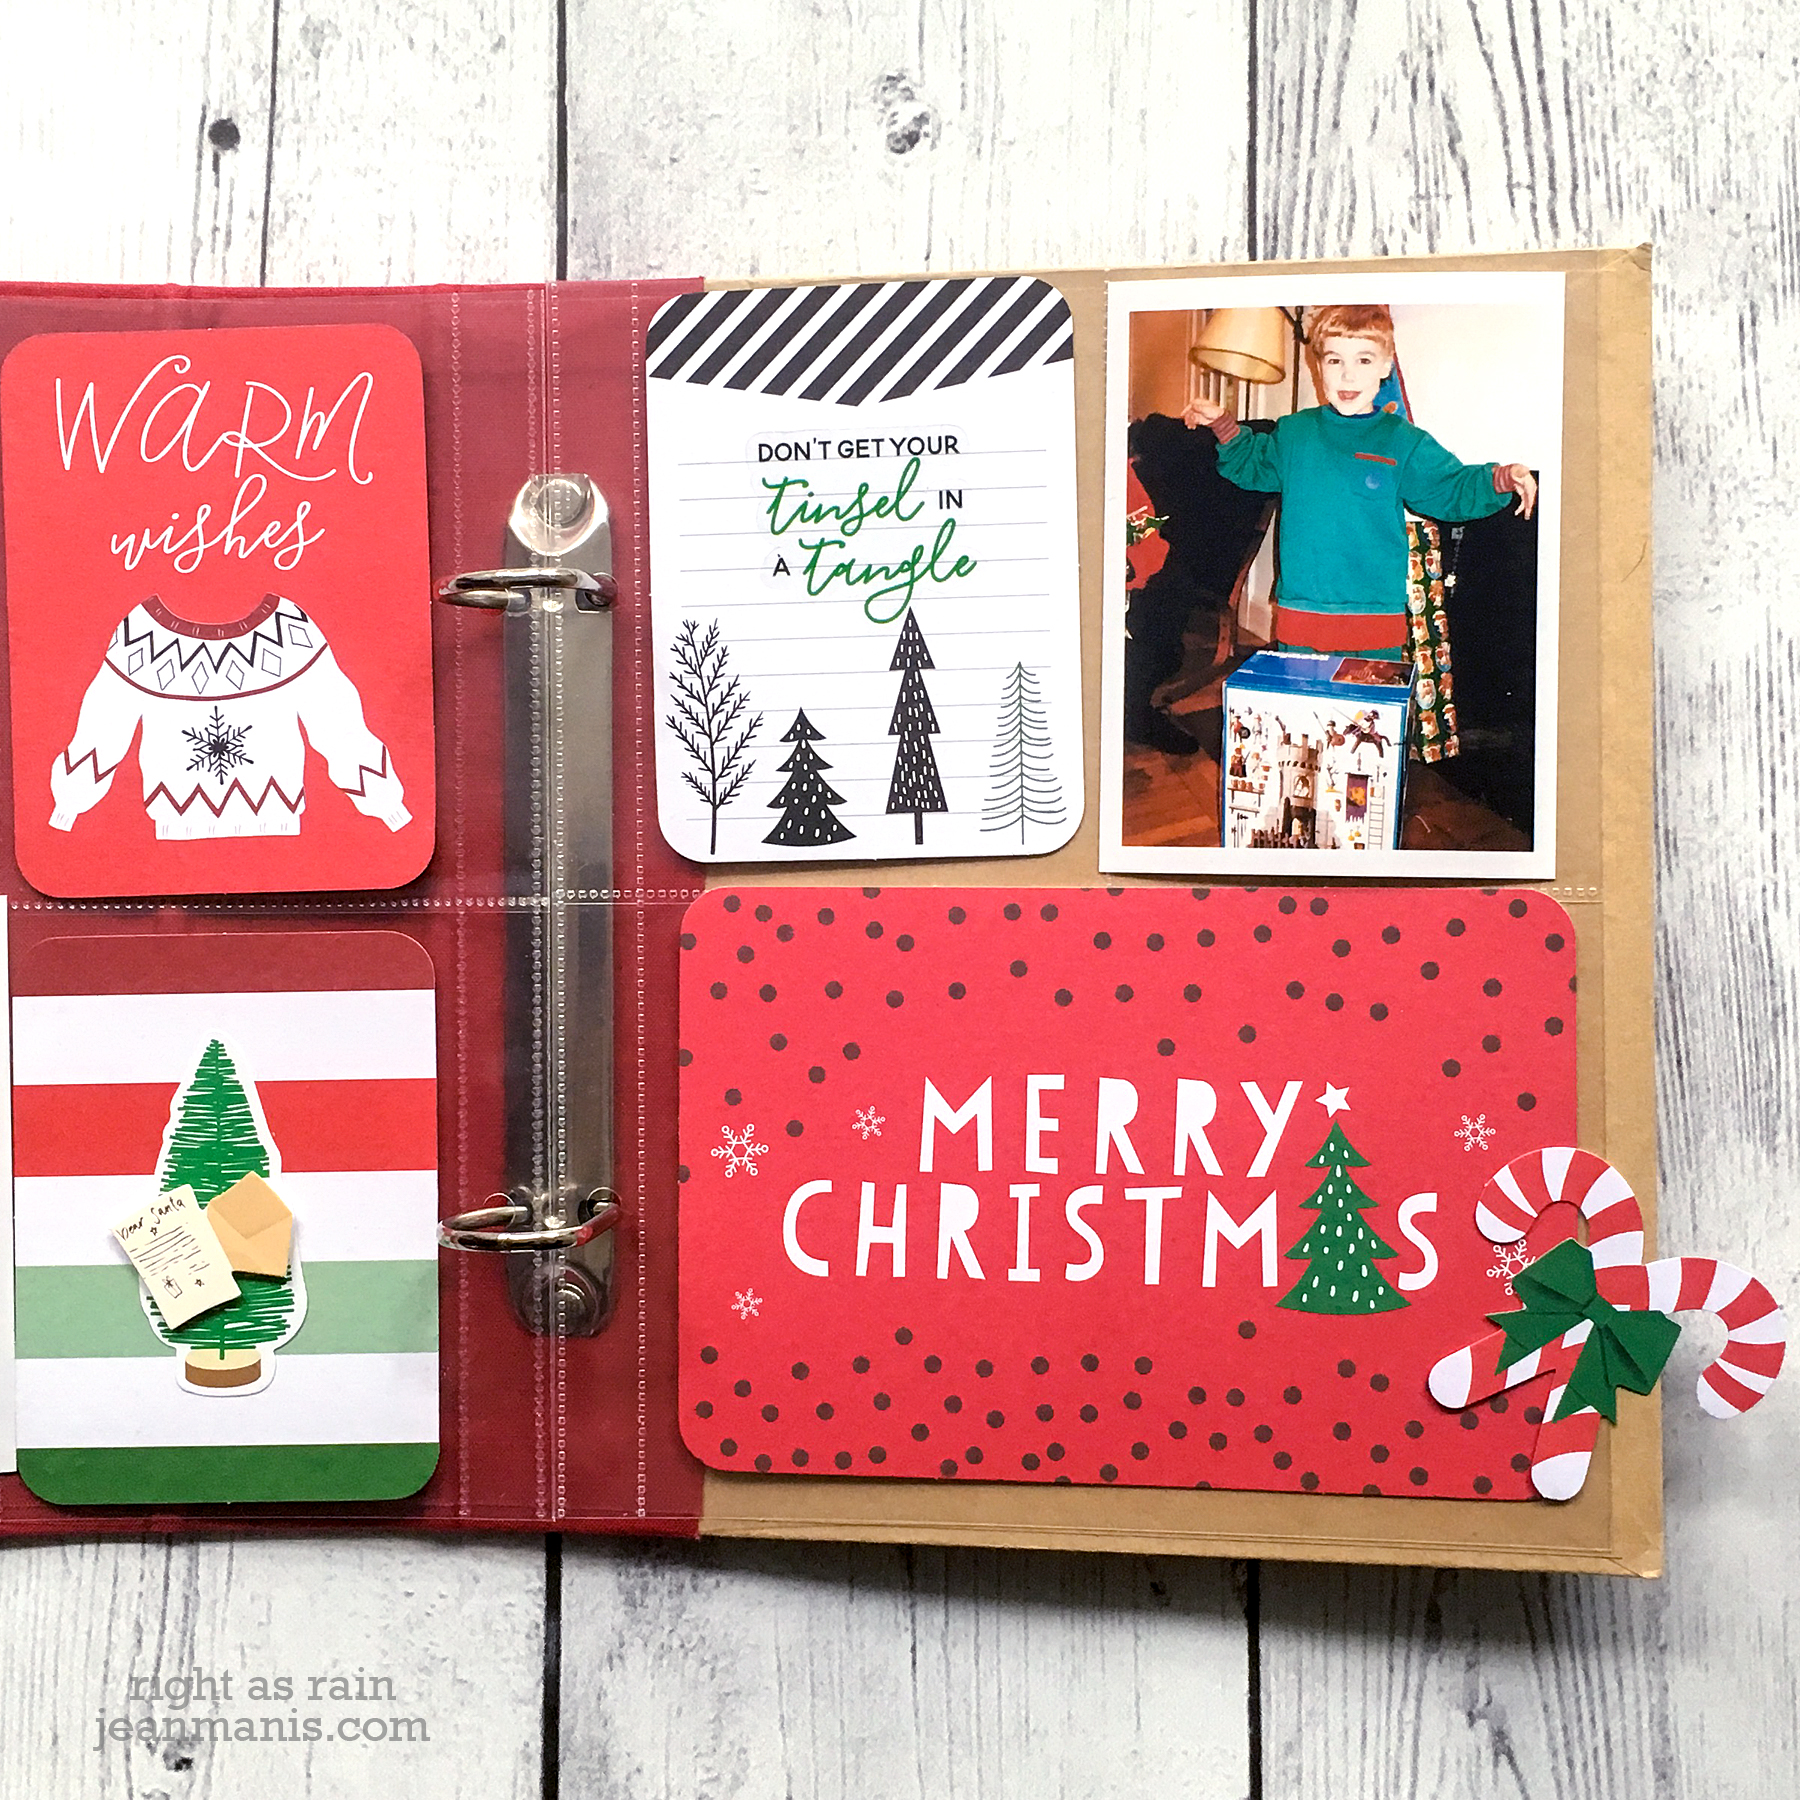
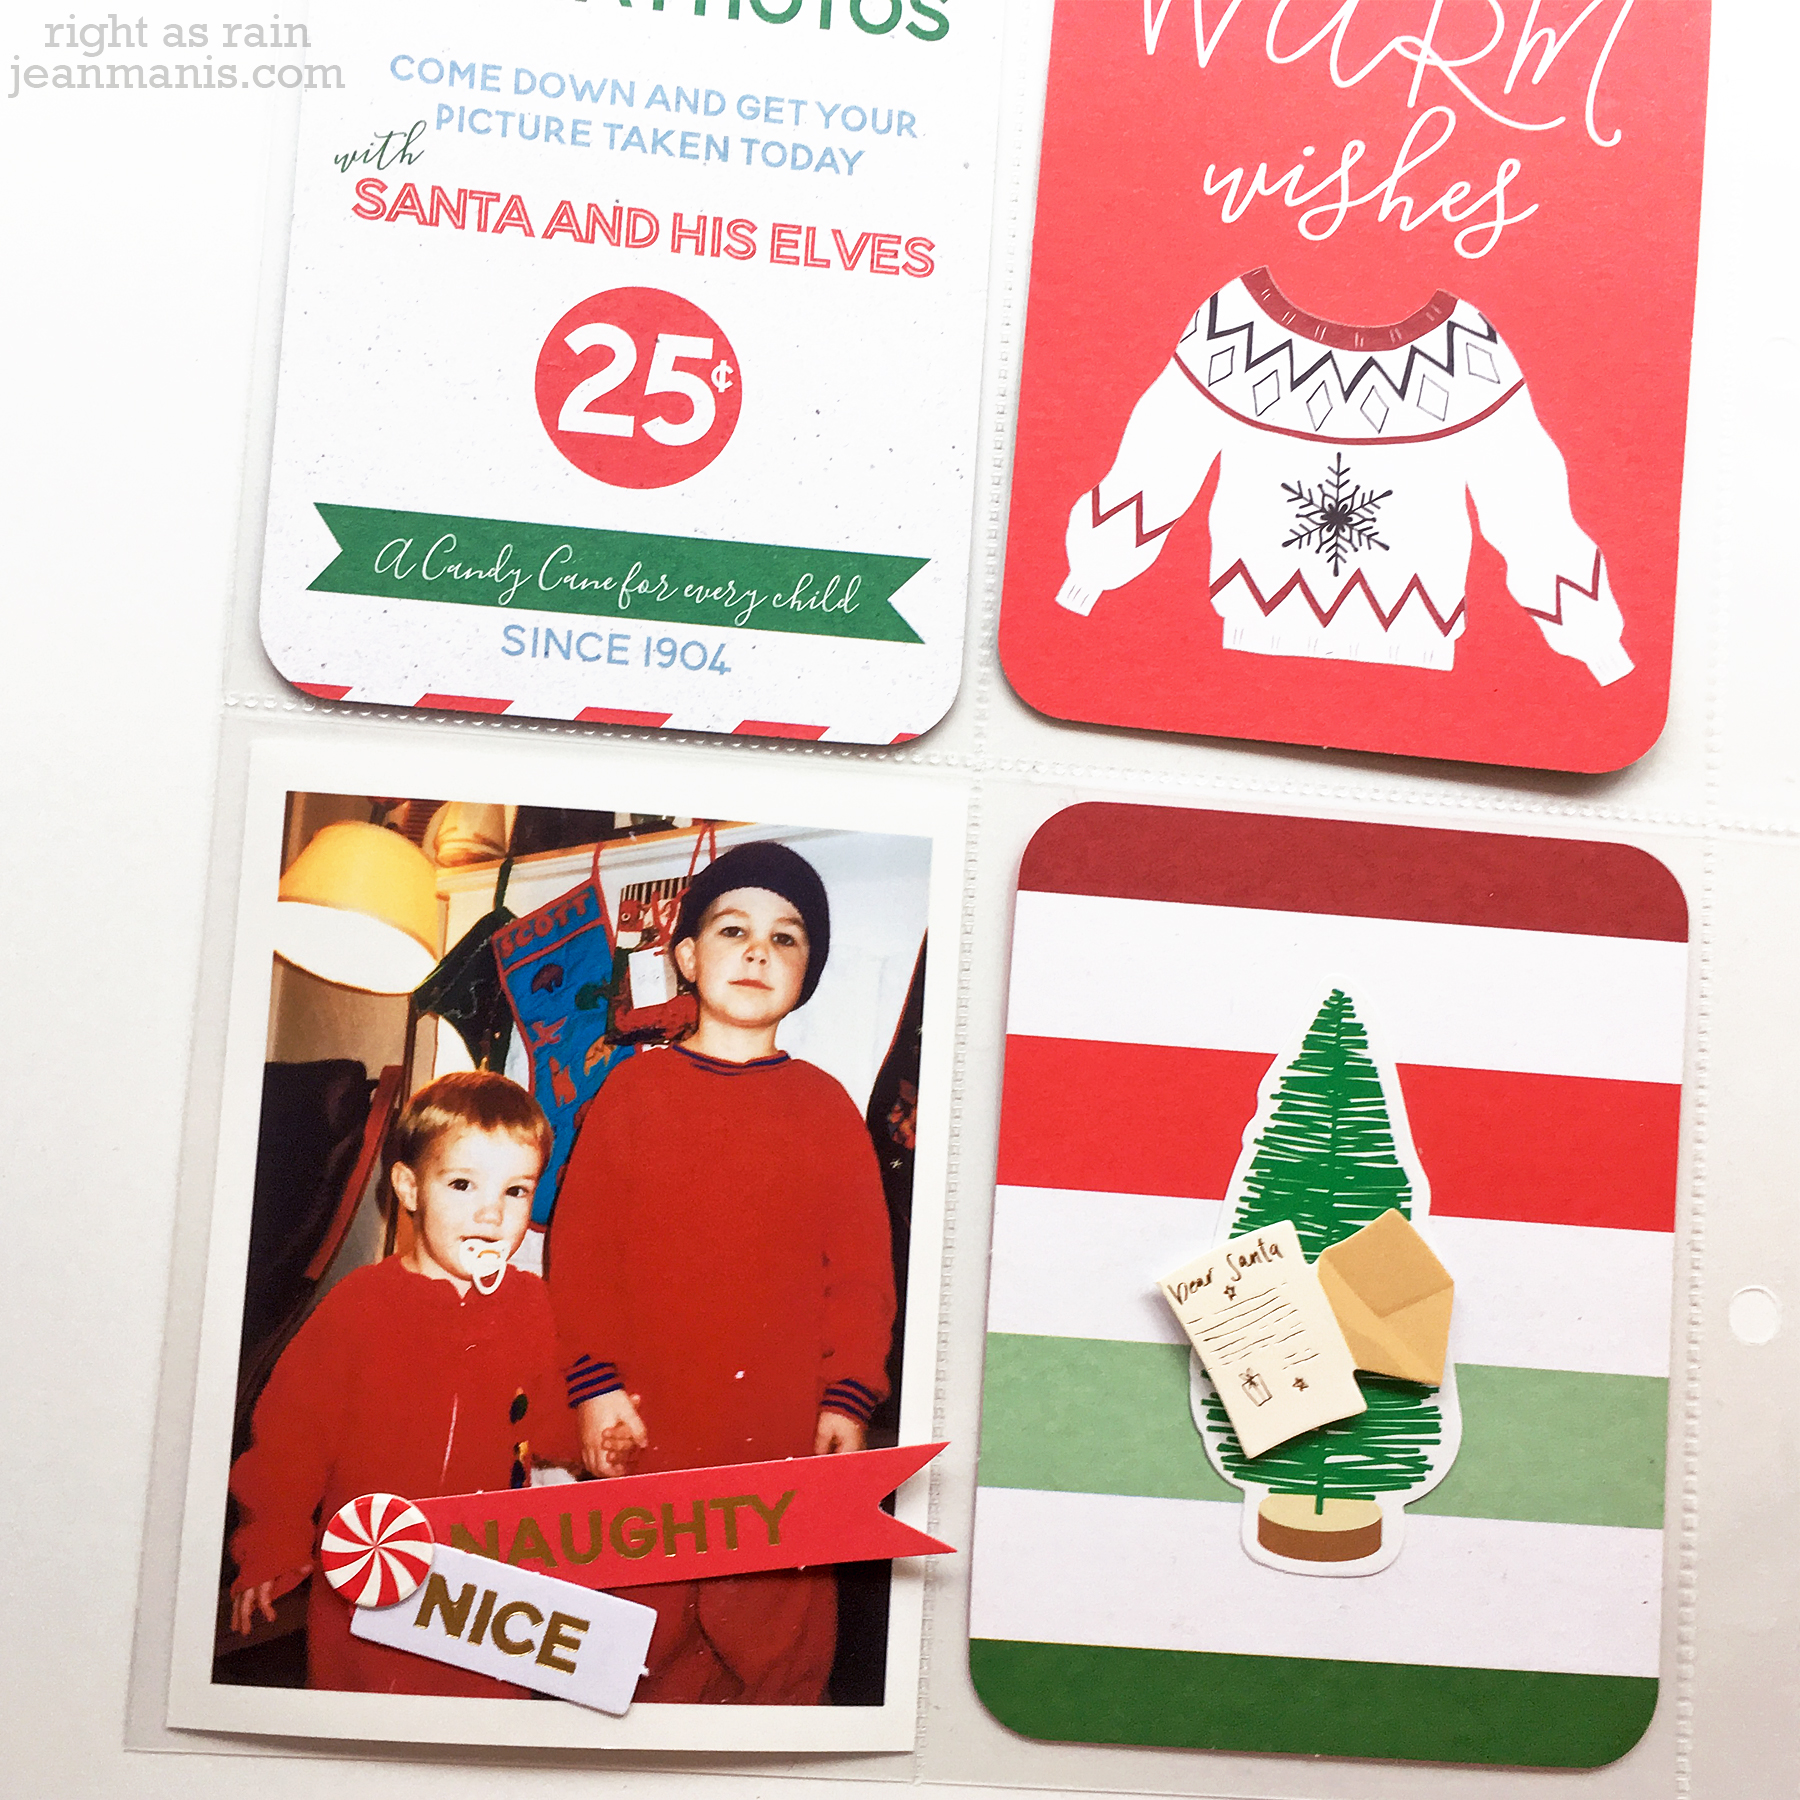
Not a scrapbooker? The pocket scrapbook cards can easily be incorporated on greeting cards.

Thanks for stopping by!


Reverse Confetti Blog Hop

The wait is over! REVERSE CONFETTI has just released SIX stamp sets, EIGHT Confetti Cuts and Quick Card Panels!! There’s something for everyone in this release – whether you’re working on Valentine’s Day cards, putting together classroom or party treats, documenting your everyday or special days with scrapbooking, …

The hop started on the Reverse Confetti blog, and you should have made it here from Lisa’s blog. It would be worth your while to start at the beginning of the hop, so you don’t miss a thing. We have tons of inspiration for you to see using all the new Reverse Confetti stamp sets and dies!

To begin, I’m sharing a Valentine’s Day card that combines several of the newly released Pretty Panels – Heart Love and Big Chevron.

JMHeartLove

Next, here are Pocket Scrapbooking pages using Here’s the Story, Right Here Right Now and the Documented Confetti cuts.

PocketScrapbookingjan2015-1

I used the round-corner rectangle die in Documented to cut out journaling cards and photographs. I printed my journaling onto cardstock and then stamped the lines, from the Right Here Right Now set. For some variety, I heat-embossed one of the sentiments from Here’s the Story and added it to the journaling card. (As an alternative, I could have simply stamped the sentiment and the lines on a card and hand-written my journaling.) For the embellishment in the lower photo, I cut an arrow with Documented and added “love” from the Heart Love Pretty Panel.

PocketScrapbookingjan2015-2

For the card in the upper-left, I heat-embossed the “Today” from Right Here Right Now. The cut out heart embellishment (bottom photo) was created with the Love Note heart die and a die in the Class Act set.

PocketScrapbookingjan2015-3

To embellish the quote card, I used the arrow in Documented topped with the stamped “on this date” from Right Here Right Now.

I hope you’ve enjoyed hopping with us today. Be sure and hop with us on the 8th of EVERY MONTH for more REVERSE CONFETTI inspiration! Now it’s time to hop on over to Kathy’s blog. If you get lost along the way, you can find the hop order and list of all the participating designers over on the Reverse Confetti blog.

Countdown to Confetti Day Two

Welcome back to Day Two of the Countdown to Confetti. There are two stamp sets being previewed today – Right Here Right Now and Here’s the Story – along with the Documented Confetti Cuts set.

I’m sharing Pocket Scrapbooking pages created with the Right Here Right Now stamp set and several of the dies in the Documented Confetti Cuts set.

With the rounded corner die in the Documented set, I cut one of the Quick Card Panels for a Pocket Scrapbooking card, to which I added hearts cut with a die in the Love Note set. I used the rounded corner die to cut the photos and all of the base cards on my pages. The cut out heart embellishment (upper right) was created with the same Love Note heart die and a die in the Class Act set.

I stamped the date of our wedding with the perpetual calendar stamp and a month stamp from the Right Here Right Now set, and used the smaller rounded corner die from the Class Act set to cut it out. I added the stamped “On this Date” and attached the combination to a patterned paper rectangle. For a filler card, I added the ampersand, cut with the Documented set to a rounded corner rectangle, which I adhered to a patterned paper rectangle.

These sets make it easy to quickly pull together Pocket Scrapbooking pages, no matter what your scrapbooking style. I’ll have more pages to show Thursday during the Blog Hop.

Holiday Pocket Scrapbooking with Reverse Confetti

Today, I’m sharing Pocket Scrapbooking (Project Life) pages created with Reverse Confetti stamps and Confetti Cuts. I used Reverse Confetti stamps and die cuts to create 3″ x 4″ cards and to embellish some of the photos.

For memory keeping, my goal is to complete the project. For me, that means limiting embellishments and picking a color scheme that’s easy to mix and match. I’m using Simple Stories SN@P! photo protector inserts, along with patterned papers from Echo Park’s Christmas Cheer and glitter cardstock. I don’t create daily pages for the month of December, but instead I document key events during the holiday season.

Let’s take a look at the pages.

For the top card, I combined a heat-embossed sentiment from Tinsel ‘N Trim, cut with the Tag Me banner, with a Mini Circle Garland cut from glitter cardstock. I added a glitter star cut with Oh My Stars to the Santa photo and a sentiment from Tinsel ‘N Trim, cut with one of the dies in Class Act, to the lower photo.

PLPage2

For the top card, I combined a heat-embossed sentiment from Tinsel ‘N Trim, cut with one of the dies in Class Act, to a journaling card. The lower-left card includes a heat-embossed sentiment from Seasonal Sentiments, cut with another die in the Class Act set, with Circle Garlands cut from glitter paper. I added a glitter snowflake to the lower-right photo, cut with one of the Let It Snow dies.

PLPage3

The journaling card includes a sentiment from Tinsel ‘N Trim and a glitter star garland, cut with Oh My Stars. For the large photo, I stamped the date circle from Tinsel ‘N Trim and cut it with a circle die.

PLPage4

The upper-right card includes a heat-embossed sentiment from Seasonal Sentiments, cut with a die in the Class Act set, with glitter snowflakes cut with one of the Let It Snow dies. The lower-left card combines a heat-embossed sentiment from Sweet Thing, cut with a die in the Class Act set, with glitter stars cut with Oh My Stars.